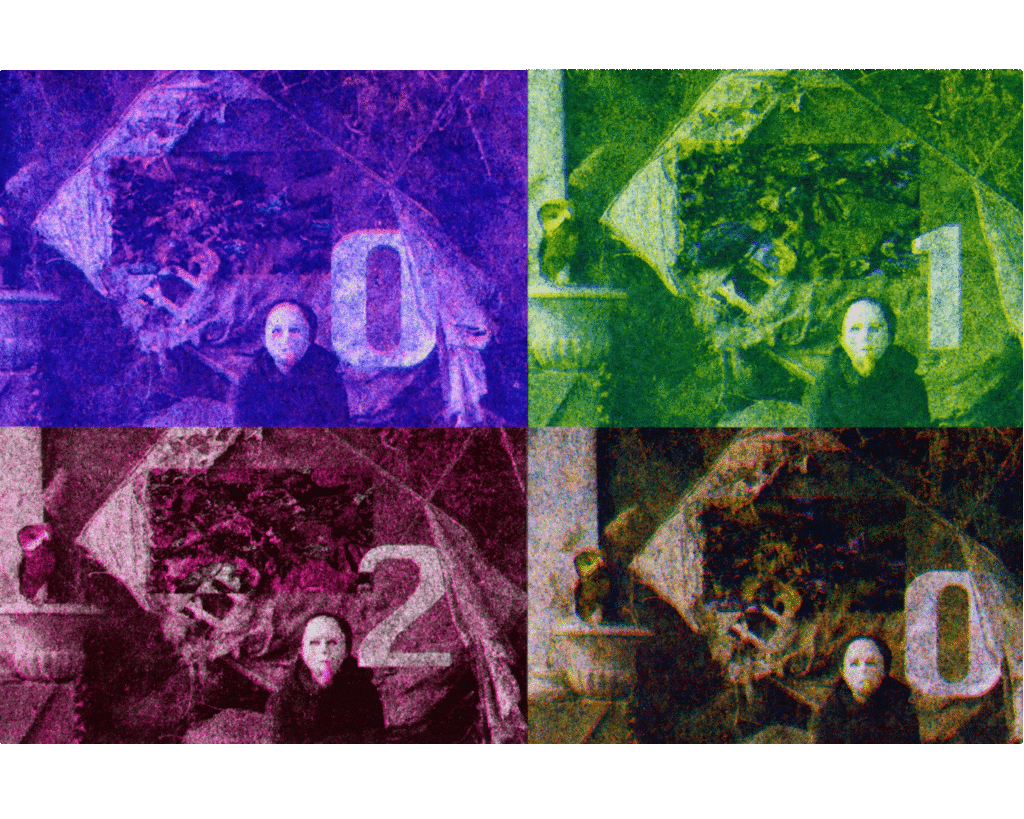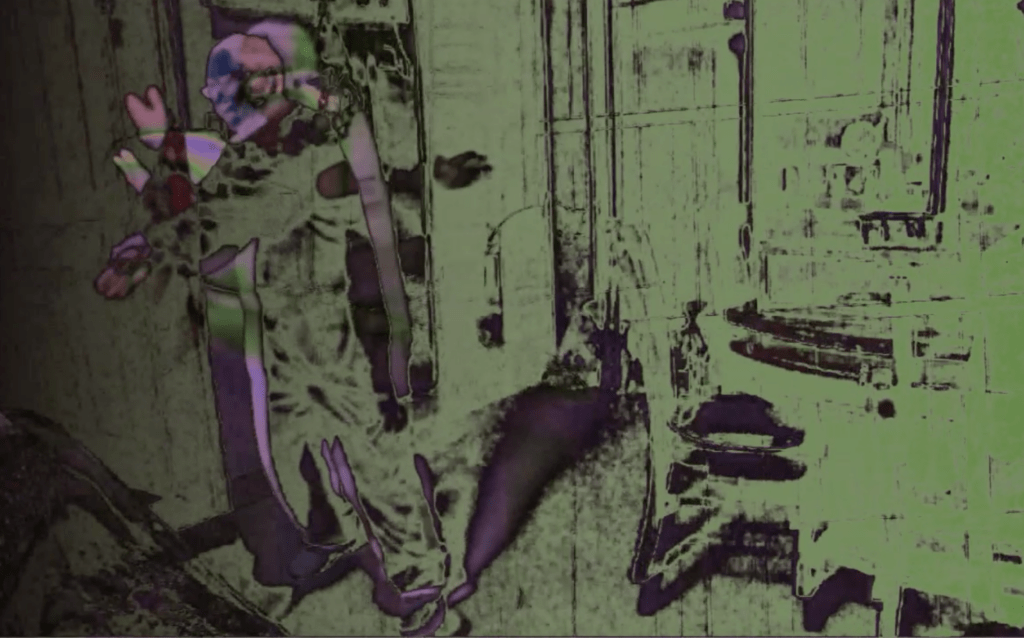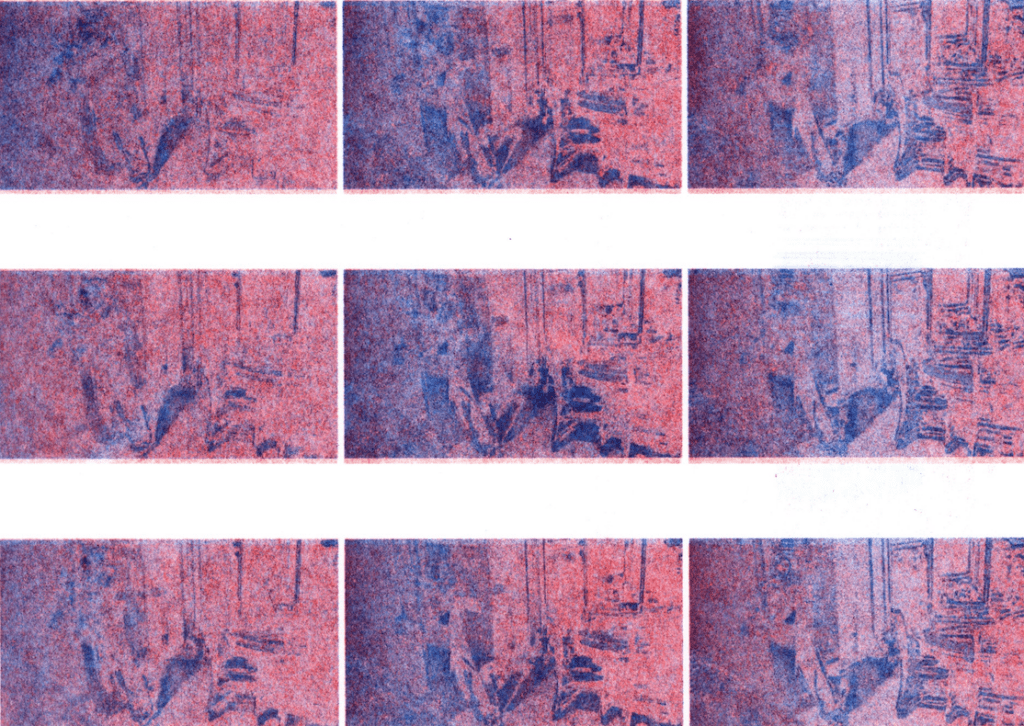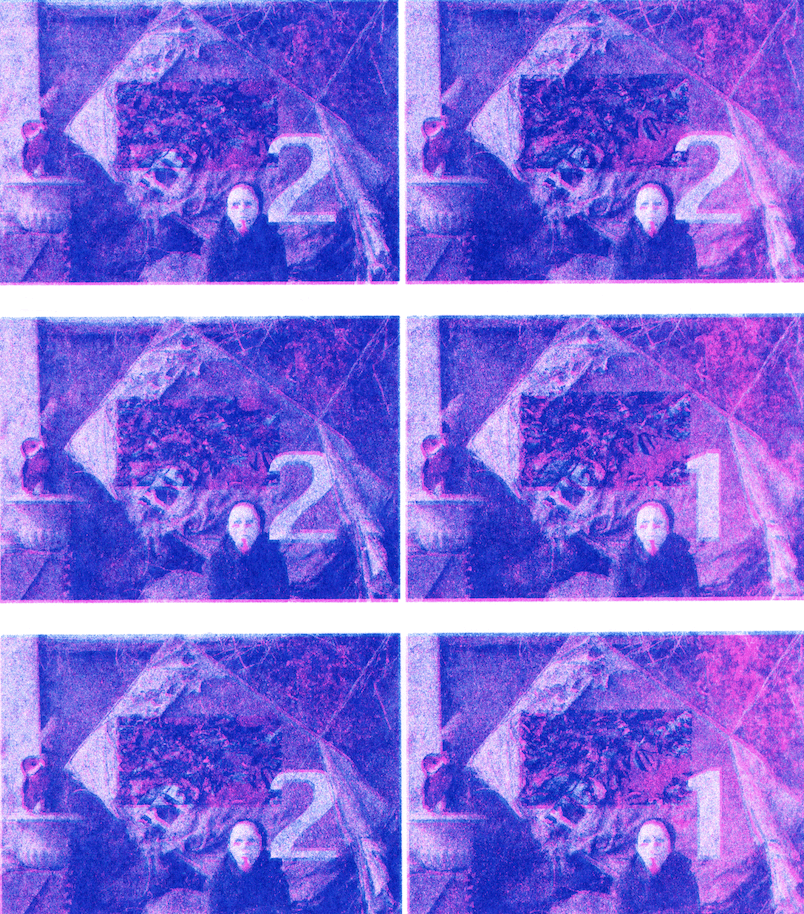
This is my first time using Riso to print. I found it a little more time-consuming than I initially imagined. However, it’s been an interesting process. I realized after I finished with the prints that the color separation in the early stages would largely impact the final print outcome. Last week, I printed two animations, but the results were not very satisfying.


Therefore I switched to using a high-definition video, where I was wearing a mask and tring to inflate a balloon in front of a piece of woodboard. The printed results had a somewhat vintage look, like old newspaper photographs, possibly because the cool/warm color layers were relatively uniform without distinct, contrasting values.
I experimented with various color combinations, including using fluorescent pink and orange, as well as yellow for the lighter parts and layering black, blue, and green for the darker parts. I also tried combinations of yellow with fluorescent orange and green, because at first I printed with only the warm colors and realized they did not contrast so well. To enhance the visibility of the animation details, I created two contact sheets to increase the single image size. A persistent issue was uneven coloring on some color drums, where the colors in the upper left corner appeared darker than the lighter colors on the right side. I attempted several color combinations to try to address this issue.
For this animation, I wanted to showcase the diverse range of colors I experimented with, so I combined them into a single composition. For future prints, I would like to separate the channel layers of different colors more distinctly and use dithering to achieve more interesting varying colors in highlights, shadows, mid-tones, etc.