Name: Eva Solo
Date: 05/12/19
Professor: Marcela Godoy
We shared our progression in class, and mostly got the feedback relating to our original hypothesis: Will it actually fly? or Will it just resemble the appearance of a frisbee?
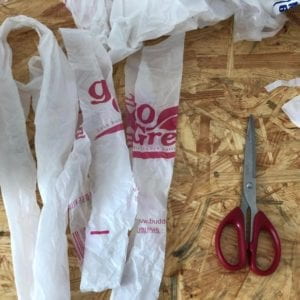
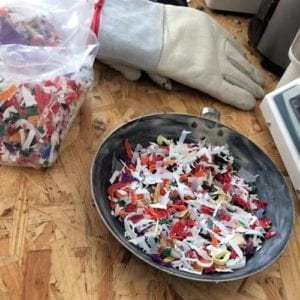
For Trail 2, we focused on the weight of the frisbee, considering the possibility to mix the #2 and #4 plastics from bags with the bottle cap sample. Sofia cut up a reasonable amount of plastic bags, and we used the reminding of our first batch of shreds to replicate the procedure.
1st take away from Trail 1:
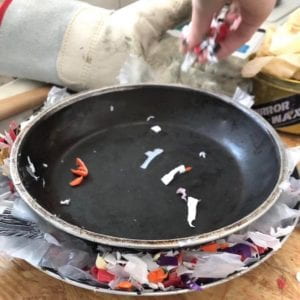
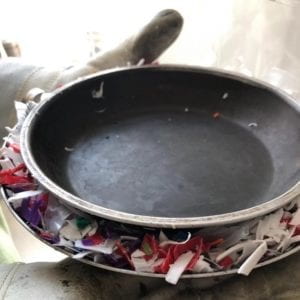
Instead of filling a dense bottom layer, we filled it quite thin, estimating about 1/3 of it to remain in height. Placed the second pan in, and stuffed the sides for the curvature.
2nd take away from Trail 1:
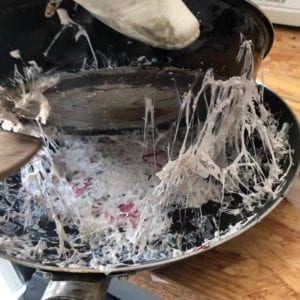
We placed the second pan in the oven for around 10 minutes to weight down the plastic, and allow it to form the shape we want.
Let’s just say, the plastic bags were not an affective way to reduce the weight of the frisbee:
But, the initial placing of the send pan to form the shape, was a great idea, as well as the side stuffing, so we replicated the steps only using hard plastic bits:
The weight of the frisbee was light, and I questioned it’s durability if it would break easily if a wall was hit. It did fly, and even better than the first one, so the shape evolved, and we did our third trail using the same steps, but more material. As we did run out of the shreds, we took a few days to collect plastic and were ready to use the shredder ourselves. Although for the first round, we forgot to dry the newly washed containers, we were quickly reminded, and proceeded without reminding water. It was a little scary at first using this machine, and this is where for the first an idea of ‘recreation’ popped into my head. We were attempting to create something children could make, but no child should be left with a machine as such, or even sizers to cut through such thick plastic (^continuation about this in the next journal entry).
Trail 3:
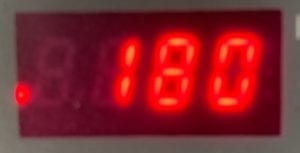
- We once again, preheated the oven to 180°
- Did the routine of prepping the pans with wax, and placing the shreds on the bottom layer
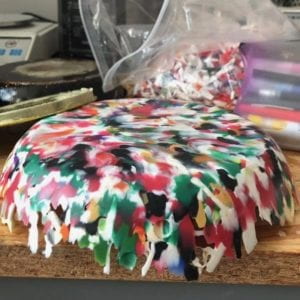
- Placing second pan inside and stuffing the sides. This time we were very generous with the amount of material we used to test how the ticker sides would influence the aerodynamics.
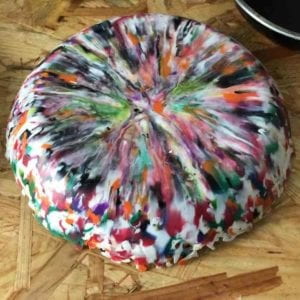
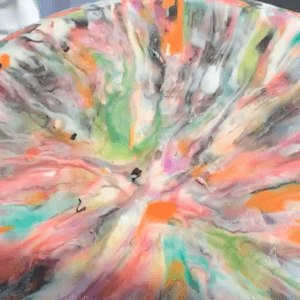
This trail came out looking ‘most-like a frisbee’, but from what I gathered from the MIT study it was the least successful for aerodynamic qualities. Personally, I really liked the aesthetic of this trail, and appreciated the pattern it produced.
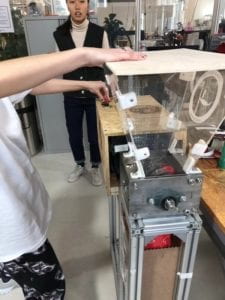
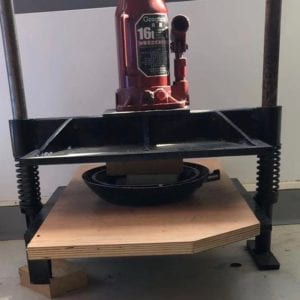
For Trail 4, Sofia took over the production to test one more attempt for a smaller diameter. She used the ‘inside pan’ (which was smaller) as a base, and a metal bowl for the pressing in. This trail would also be more difficult to use the press for, as this is how we have been using the press with block formations:
To attempt to adjust to these circumstances, the bowl was left in for slightly longer in the begging (when were were first forming the shape) in the oven. This sadly burned the frisbee surface, and it got tinted brown – but the shape was the best one yet! It was small, even, and looked like a children’s frisbee. It was really interesting to see qualities from each trail that were great, and elements that were not as successful. I will further discuss the post-analysis in my final documentation. Over the four trails, we managed to get 1) the shape 2) the sizing 3) the weight, although not all in one frisbee.
Leave a Reply