Name: Eva Solo
Date: 16/12/19
Professor: Marcela Godoy
Part 1 Brainstorming
Part 2 Inspiration
Part 3 Development
Part 4 Repetition
Part 5 Consideration
Through the first five parts, I used the journal entries to describe the entire production process from the brainstorming to the polishing of the frisbee and part 6 summarises the development concisely with complimentary visual aid.
Part 6 Documentation
Section 1. Statement
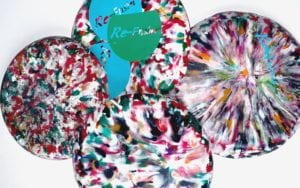
With the inspiration of Patagonia’s Logo Disk, a frisbee from 15% recycled plastic, Sofia and I attempted to take this model to the next step and create a frisbee from 100% recycled material. Our primary focus was to share some of the knowledge relating to discarding waste with the demographic of children, as we agreed that effective societal change can be best implemented by changing generational outlook on waste production and usage. Alongside the final ‘product’ of the frisbee, we also created a step-by-step guide on how to reproduce our creation which also included some foundational understandings of trash and its recycling to create something completely new by up-cycling waste. Our updated hypothesis for experimentation was ‘What qualities of the frisbee will allow it to be its best extent of aerodynamic?’ We looked into shape, weight, and sizing of the physical form to provide the best suited information for the guide to avoid an extensive trail-and-error when reproducing. Through this project creativity is also heavily involved, at least in our case, as we had to think of innovative ways to tackle obstacles at hand. Overall, the evaluation bellow provides a better in-depth look of the post-production assessment and the margin for improvements if more time was available.
Section 2. Description
The Frisbee
As mentioned, the Logo Disk was our primary inspiration in the realisation of a 100% recycled material frisbee. As it takes up to 500 years for plastic to decompose in landfills, we acknowledge the damage we create every time we forget our refillable water bottle and have to buy a new one from the store. What if we could use some of the plastic we would otherwise throw away towards creating something brand new. Giving plastic another life is a great way to practice up-scaling and further introducing Reusing into our daily routines instead of constant carless consumption.
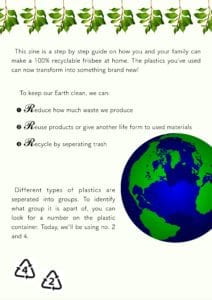
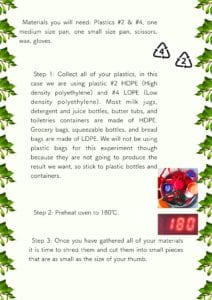
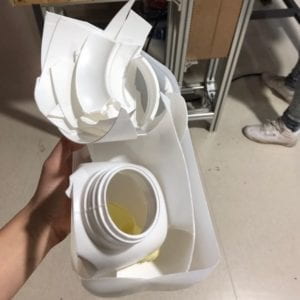
No. 2 HDPE plastics are high-density polyethylene and are most often used to produce milk containers, cleaning containers, as well as bottle caps. No. 4 LDPE plastics are low-density polyethylene and are used for bottles, bags, wrapping material. These two groups are used in the production of our frisbee and can be mixed together when melting.
The aim was to create a frisbee shape that could be thrown from one person in the direction of another, and get to its destination without excessive efforts (a lot of strength etc.). We love frisbees because they are a fun way to get active outside and create quality socialising time in the community. Through our project we are not only aiming to educate kids how they can up-scale waste, tap into their creativity of DYIing, but also go and be active outside when the internet is creating a perfectly entertaining bubble for anyone with a connection.
The Guide
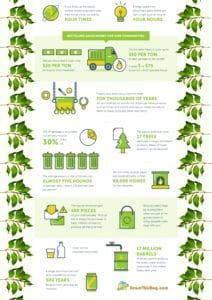
The goal of creating a guide was providing some foundational understanding of recycling to kids as well as step-by step directions how this frisbee could be recreated. We looked into the website ReuseThisBag which provided simply worded definitions about the environmental impact of waste and decided to source this in our guide as a lot of inspiration was drawn from the website in the aesthetic formatting. Further commentary how this phase of project realisation can be improved is described in the evaluation section bellow, as it came to be the place with the most potential for alterations. Through the guide, we want to share our experience and create inspiration for others to use similar techniques in up-scaling and/or creating art from waste.
Section 3. Production
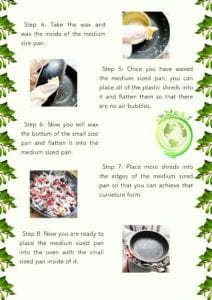
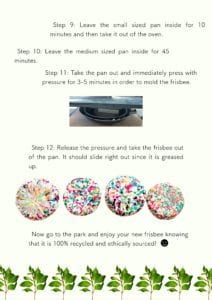
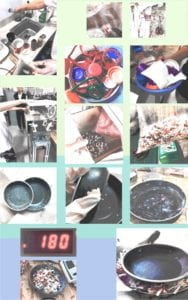
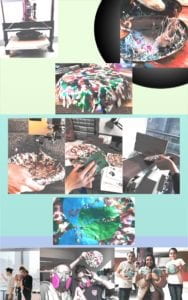
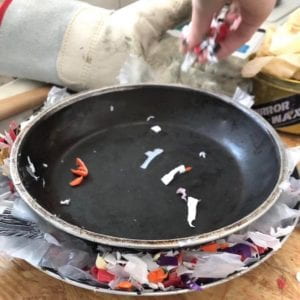
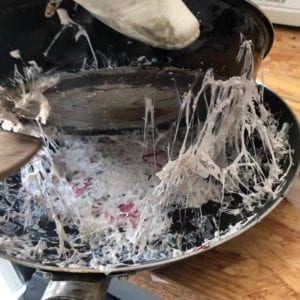
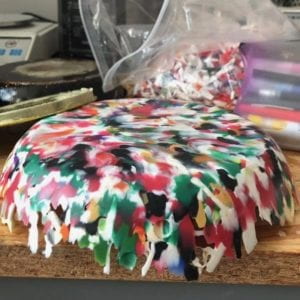
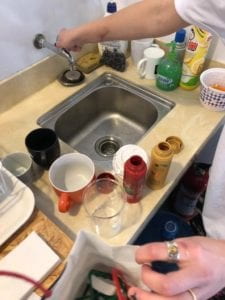
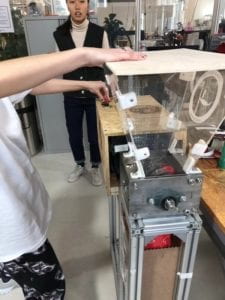
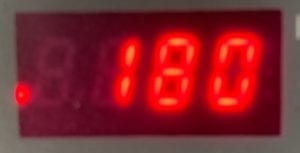
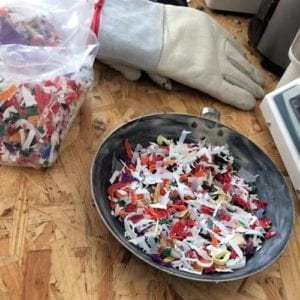
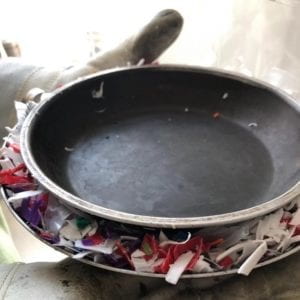
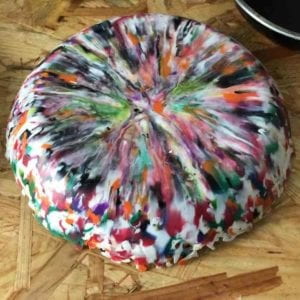
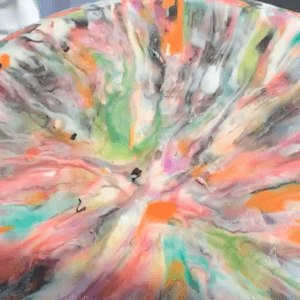
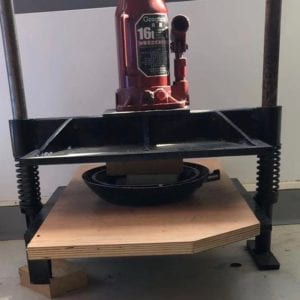
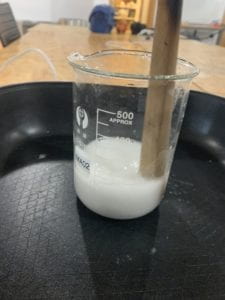
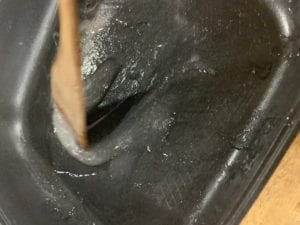
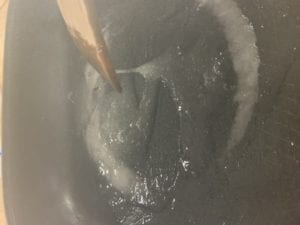
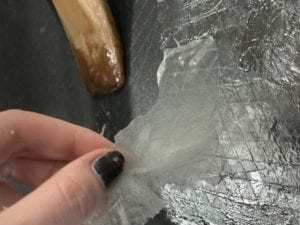
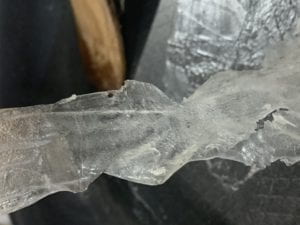
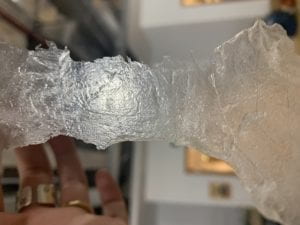
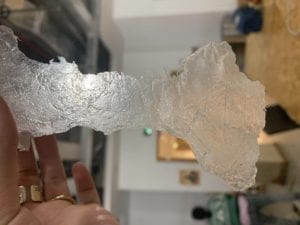
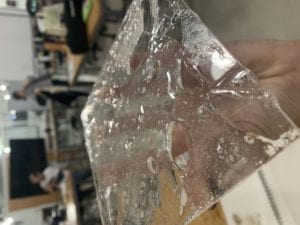
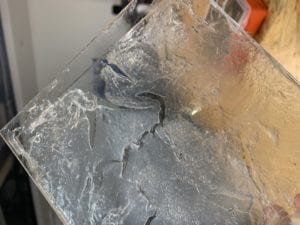
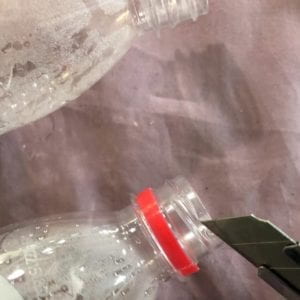
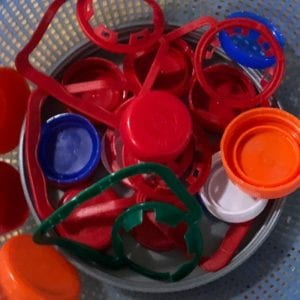
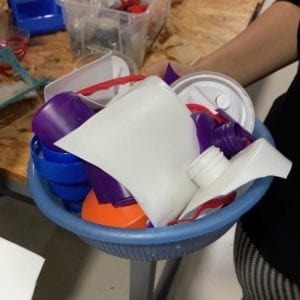
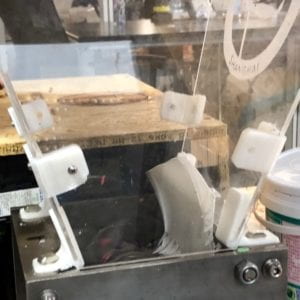
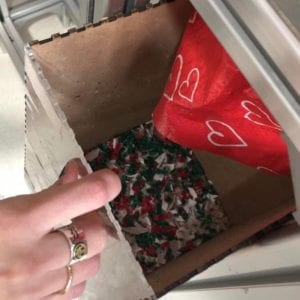
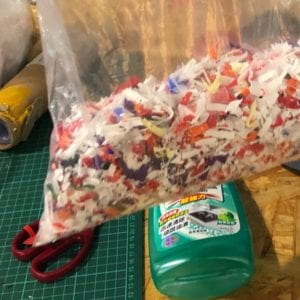
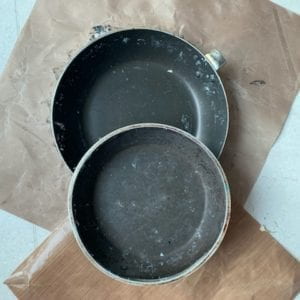
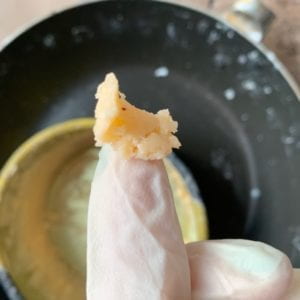
A brief overview of the production steps (Pt. 4 describes our production in more detail) : collecting plastics (#2 and #4), cutting the material, shredding the pieces using the shredder, waxing the pans that stand as a mould to prevent plastic from sticking to the pans (as visible in error in the image circled black) , placing the shreds into the bigger pan – covering the base, placing second pan on top and stuffing the sizes, placing both pans into the oven for the first 10 minutes to weight down the melting plastic, take the second pan out, wait 40~50 more minutes, take the pan out, place the smaller pan back inside, place wooden cubes to create height before placing under the press, press down and wait 30-40 seconds, taking the pans out from under the press, allow time for cooling (~5 minutes), cut around the diameter of the curve for any sticking out pieces, use the drill to even the sides, use sand paper to smooth, use sand paper conveyor belt ti further smooth a flat surface of the curve, place sticker on the front, PLAY!
Section 4. Experimentation
While combining the knowledge from the Precious Plastic lecture tutorial on making stools, as well as the MIT case study on the Physics of Frisbee, we tested the recyclable frisbee production through four trails. Each aimed to focus on different qualities that would allow this prototype to be its best level of aerodynamic.
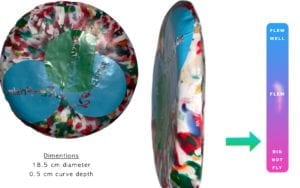
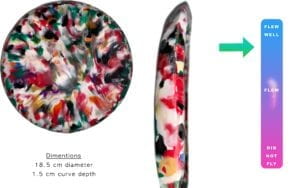
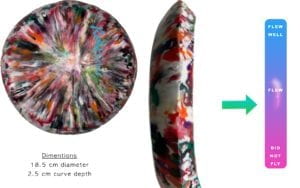
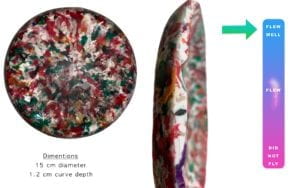
In the images for each trail, I added a self-assessed scale on the evaluation of how aerodynamic the frisbee is. The results were based on: general feel in the hand (weight; size), how precisely it flew in the directed direction, feedback from user testing.
Trail 1. [First Trail, Test Trail]
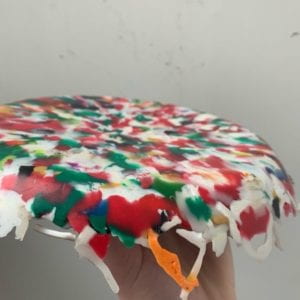
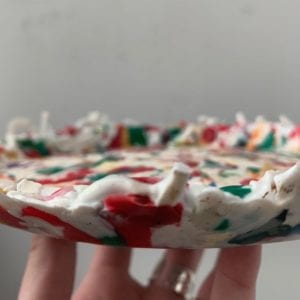
In our first trail, we added too much material in the base of the pan with the hopes it would smoothly curve up when pressed down. We were no yet familiar with the press mechanism and had to rely on body weight to squeeze it down as much as possible. The result was thick and not equally curved throughout. It was also indented inwards (while it would be preferred to scope outwards when looking from above), the stickers in the image, as well as the side angle are good indications of how the shape formed without using a press.
Trail 2. [Curvature&Weight]
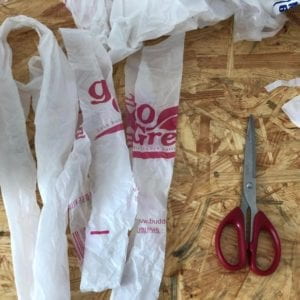
We began this trail with the addition of plastic bags (that were #2 and #4 groups) with the shreds, to reduce the weight, but quickly learned that plastic bag melting properties were very different and melted a lot quicker. We continued this trail with just the shredded pieces, but instead of filling the base densely, we laid a fairly thin coat down and stuffed the sides with the second pan present. This is where the idea of placing the second pan into the oven for the first 10 minutes came. This trail was fairly successful, but the thickness of the base and the sides were not even, although the weight was radically reduced.
Trail 3. [Shape]
In the third trail, we focused on achieving the shape of even and balanced material throughout the whole shape. This trail reminded me of Ben’s point during the feedback session in class ‘It might look like a frisbee, but will it fly like one’. This one definitely flew well, but I would not give this to a child due to the danger it could cause due to it being very heavy.
Trail 4. [Size]
This trail was overall the most successful in achieving a smaller shape (used a metal bowl as the pressing mould part), as well as the evenly distributed light weight. The aesthetic of this frisbee was altered due to some burning marks and made it quite undesirable in appearance, while the best in its aerodynamic qualities.
Section 5. User Testing
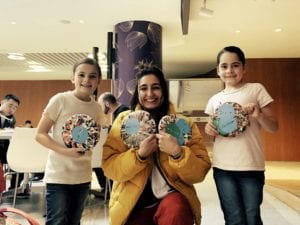
We played with the frisbees ourselves, and had a great time, but were still determined to get some feedback from the targeted demographic of children. Although we originally considered 9 to 13 years of age to be our focus, we primarily chose this with the intent of the children trying to recreate the process. When it came to playing with it, all age groups are very welcomed! We found two girls (ages 7 and 9) who wanted to test our creations. Due to the time restrictions on uploading video, I added the trimmed version of a successful catch we all were very proud of! Post-play, we asked the girls how the frisbees felt, and got the response that Trail 2 and Trail 4 were our most successful developments due to the way they ‘felt in the hands, and when throwing’ which I associate with the weight and sizing of these particular trails.
Section 6. Evaluation
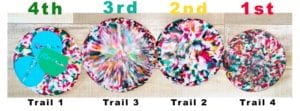
Frisbees ranked by how successful we deemed each trail:
If more time was available some changes could further push this project in the direction of environmental awareness for a better result. Although, we were pretty close in getting what we wanted for the frisbee aerodynamic qualities, another trail could encompass the shape of T4, the approximate weight of T2 and a better developed aesthetic look (eg. T3). Where I see the most place for improvement is the realisation of the guide. The majority of our focus over the last month was geared towards the hand-on experimentation, and the guide lacked the same level of consideration. Firstly, I would acknowledge that experimentation of this complexity cannot be simply created at home and for the ‘guide portion’ of the project – would propose holding a workshop in our lab. The same guide could be used (although I would change page 3, and instead of using sourced facts would create my own summary) and taken home. With this example the steps could be described more vaguely as there would be assistance for the kids to lead them through the process, and more emphasis could be directed towards retainable information about the environment. Keeping this in mind, I don’t think a themed aesthetic would be too overwhelming as that was my main concern when just realising an online version for families to look at by them selves.
We did user testing for our hypothesis of the flying qualities, and I asked my nine year old brother to read over the guide to see if it is accessible in language, but another improvement could be actually taking a child through the process themselves, hence the workshop idea. This development would slightly change the trajectory in how we are presenting the information and the purpose of understanding it. As the process has around a one hour wait for melting the plastic in the oven, during the workshop this time could be spent for interactive learning. I was considering how much more informative and interesting events are that make me do things myself, and yes we would already be making the frisbee, but the physical product is only the representation of the larger ideas Sofia and I have been actively discussing. Maybe the ‘guide’ could have some ‘workbook’ pages, where some of the environmental statements had a blank gap, and during the discussions children could learn the facts and fill in the gaps. This goes back to the conversation with my mom (psychologist, who works with children) and how she explained her effective techniques in explaining mindfulness practices to six year olds.
Section 7. Conclusion
In conclusion this has been a very rewarding experience due to the commitment I dedicated towards the realisation of the initial idea. I combined my interest of arts, environmental awareness, and the demographic of children to participate in the production of a project that truly meant something to me. This opportunity also allowed me to personally grow in terms of collaborative work, as Sofia and I made a great team and shared a lot of compromises to overcome relevant issues. The Re-Frisbee was also monumental in using the science knowledge I had retained in the sphere of visual creations, which further inspired me to open my perspectives when scouting for materials for my own projects in the future. Just reflecting on my outlook of creating during the duration of this course, as well as sharing the experience (instructions) with the larger audience instead of just the final product, has levelled up my confidence as a creator. I realised it’s not just about how you finalise your progression, but how you can share the process. This was my first fully hands-on experimental project for an environmental cause, and I have to thank Andy for introducing us to so many new machines and techniques that I will most definitely be exploring the next opportunity I have. The journal entries during the weeks capture it better than I can summarise here, but I further pushed my design thinking to produce radical ideas that can later be simplified into achievable steps for the betterment of our planet, whatever the creation. I feel how the information from this course, as well as the production of Re-Frisbee, has evolved me as a global citizen and a team player when on the topic of the environment, and I am very excited to see where my life takes me with this new direction I have sourced through our IMA community.
