Name: Eva Solo
Date: 04/12/19
Professor: Marcela Godoy
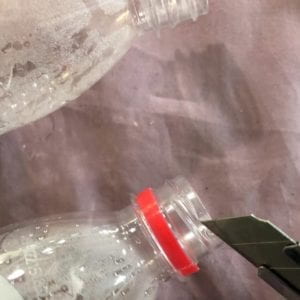
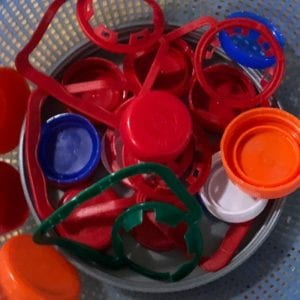
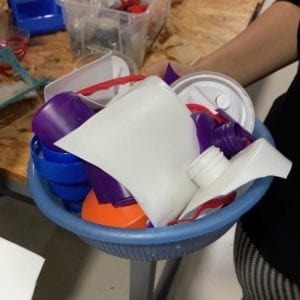
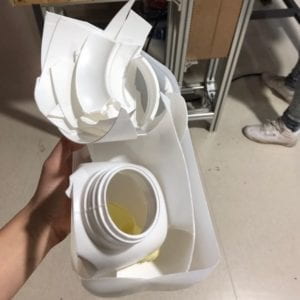
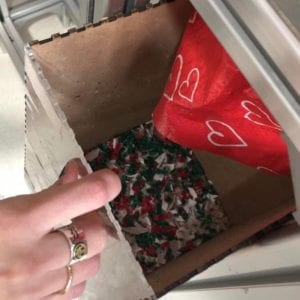
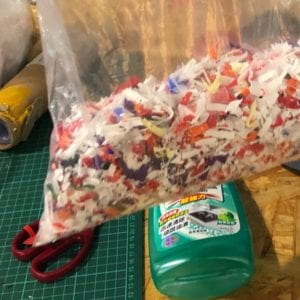
We gathered as much #2 and #4 plastic as we could find around school, cutting every last bit from the bottle necks. We also cut the larger containers into smaller pieces, to help the shredder be more time efficient.
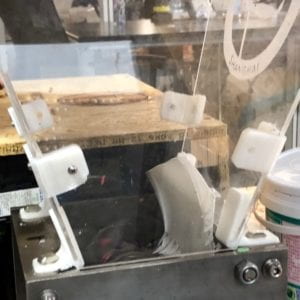
For our first trail, we first needed to shred the plastic containers we collected and got a tutorial from Marcela as she helped us with our first batch.
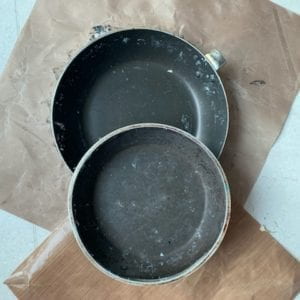
As we were ready to melt our contents, we realised we’ve been toying around with the idea of using the big pans in our lab as a mould, but they truly were way too big. We were on a mission to scout the 8th floor for any possible form that could stand as our mould. As we walked around and discussing where else we could find something like this without investing our own funds, we were pointed to a lone box in the corner of our IMA lab, with a tag FREE FOR ALL. What are the odds? We find two small pans inside, one perfectly fitting in to the other. For a moments I questioned if this is actually happening, and if we really were able to just take it for our project, with the assumption that we would have to break off the handles and basically make them unreturnable. After a confirmation from a fellow, we were ecstatic to give our first trail a go. As we waited for Andy to help us take the plastic handles off the metal pans, I felt looseness in one of the handles and began picking at it will it broke off. The other one was held together with a screw, and by using a screw drive I was able to undue that one too. I’m not sure if it was the excitement from finding the pans, but I felt very handy to complete this task myself. I sanded the metal dents on the inside pan of our mould and our pans were ready for the oven!
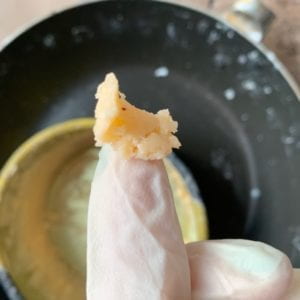
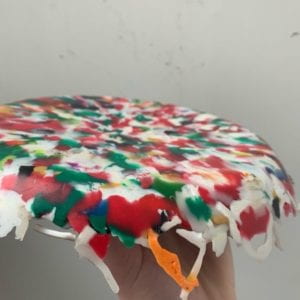
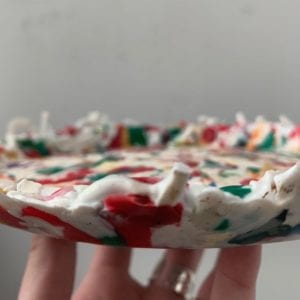
Waxing the inside of the bigger pan and the outside of the smaller one, will allow the plastic form to slip out easily and not stick to the surface which would damage the flat shape when removing from the mould. After we took the steamy pan out from the oven after ~50 minutes, we placed the smaller pan inside and tried to figure out the press mechanism. We realised we should have confirmed the instructions before we took out the pan, and were now in a race with time before the plastic began hardening from the cooling. To not risk loosing this trail completely, we both attempted to press our body weight onto the pans, squeezing it as low as we could. This got, I would estimate, ~20% of the job done and we were left with a thick surface, barely any curve – shape.
From this trail, we understood that the melted plastic is a lot more thick than expected, and it will not just ‘squeeze’ upwards to create a perfectly circular curve on all of the sides. We did get slight curvature, so we tested throwing it. It did travel distance in the air before landing, and was durable when fitting the floor, but we both agreed it felt too heavy when realising from hand. Giving this trail to some friends got comments along the lines of ‘if this was for a heavy weight disk thrower, than sure, definitely not a children’s frisbee feel’.
We took all of the feedback, as well as the mistakes we could pin point ourselves, and moved forward to the next trail.
Leave a Reply