In the first week’s recitation, we made our own circuits and soldered. The materials for the circuits are as follows:
Materials:
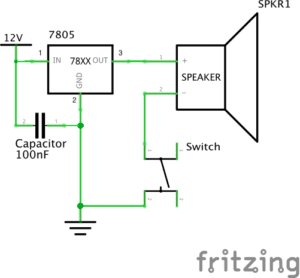
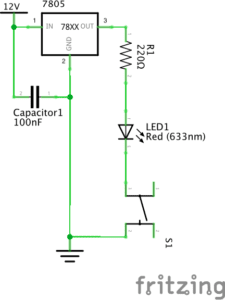
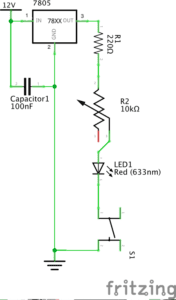
- 1 * Breadboard
- 1 * LM7805 Voltage Regulator
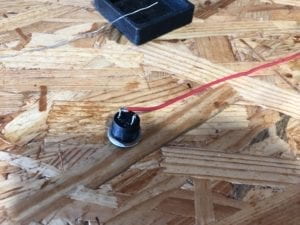
- 1 * Buzzer
- 1 * Push-Button Switch
- 1 * Arcade Button
- 1 * 220 ohm Resistor
- 1 * 10K ohm Resistor
- 1 * 10K ohm Variable Resistor (Potentiometer)
- 1 * LED
- 1 * 100 nF (0.1uF) Capacitor
- 1 * 12 volt power supply
- 1 * Barrel Jack
- 1 * Multimeter
- Several Jumper Cables (Hook-up Wires)
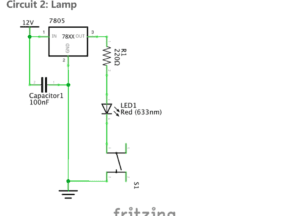
The first circuit is the simplest, 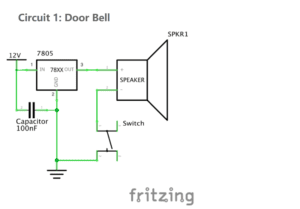 however, me and my partner(especially me), were not still able to handle it. I didn’t study physics in my high school, and the basic knowledge about physics that I absorbed in middle school has nearly been forgotten. So, it was hard for me to recall that knowledge and make a circuit based on that in a short time. Also, I’m not so good spatial imagination and making the circuit draft into reality is a big challenge for me. luckily, with the help of our kind LA, we finally make it.
 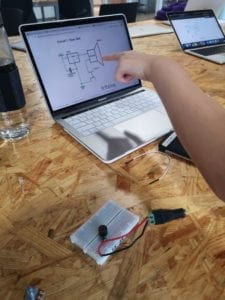 (we were struggling)
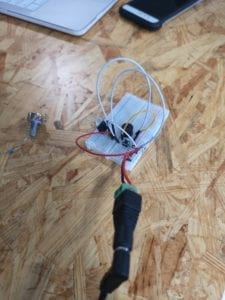
(we finally made it)
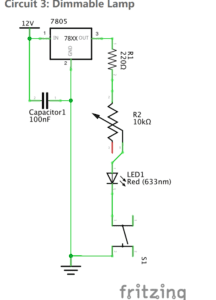
Because of spending too much time struggling with the first circuit, we nearly had no time for the next two.
Recalling this experience, I could have done better even if I didn’t have solid physical knowledge. I could have read materials which introduced electronics components and circuits more until I understood. Being more prepared for class should be always remembered.
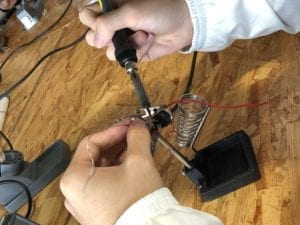
We also did soldering, which was great fun. After prof. Marcela introduced the tools and showed us each step we need to follow, we managed to accomplish our first soldering.
Question 1: I believe the whole process of making circuits is interaction. Connecting the wires, installing components, open the circuits, etc. These actions are all our “instructions” to the circuits. Some can be inconspicuous, for example, when we connected wires, there was no obvious reaction, but it was part of the whole interaction. We cannot make the final happen without these steps.
Question 2: From Zack Liberman’s video, I find technology acts as a medium, connecting people with their work. The painter made scrawling through his”eyes”. Actually, it is the technology that makes him be able to interact with the “paintbrush” and scrawl on the wall.