3D Scanner Tutorial – Fixed Scan Mode

Fixed Scan mode is designed for achieving high resolution and high accuracy scanning for small (from 30*30*30 mm ^3) to medium size objects. In this mode, the scanner and the object are fixed during a single scan. Successive single scans are aligned automatically or manually based on the common area or markers to generate a whole scanned data. The texture camera is available in this mode.
For equipment, introduction, and software&hardware preparation, please refer to the Handheld Rapid Scan Mode Tutorial.
| CALIBRATION |
| SET UP |
| SCAN |
| GROUP |
| ALIGNMENT |
| POST PROCESSING |
calibration
If you are using the machine/ texture camera for the first time, do the calibration following the instructions.
SEt up
Select or create a new project. Set up the tripod and camera, make sure the camera & texture camera is well fixed on the tripod, and they are in a proper position that can capture your object well.
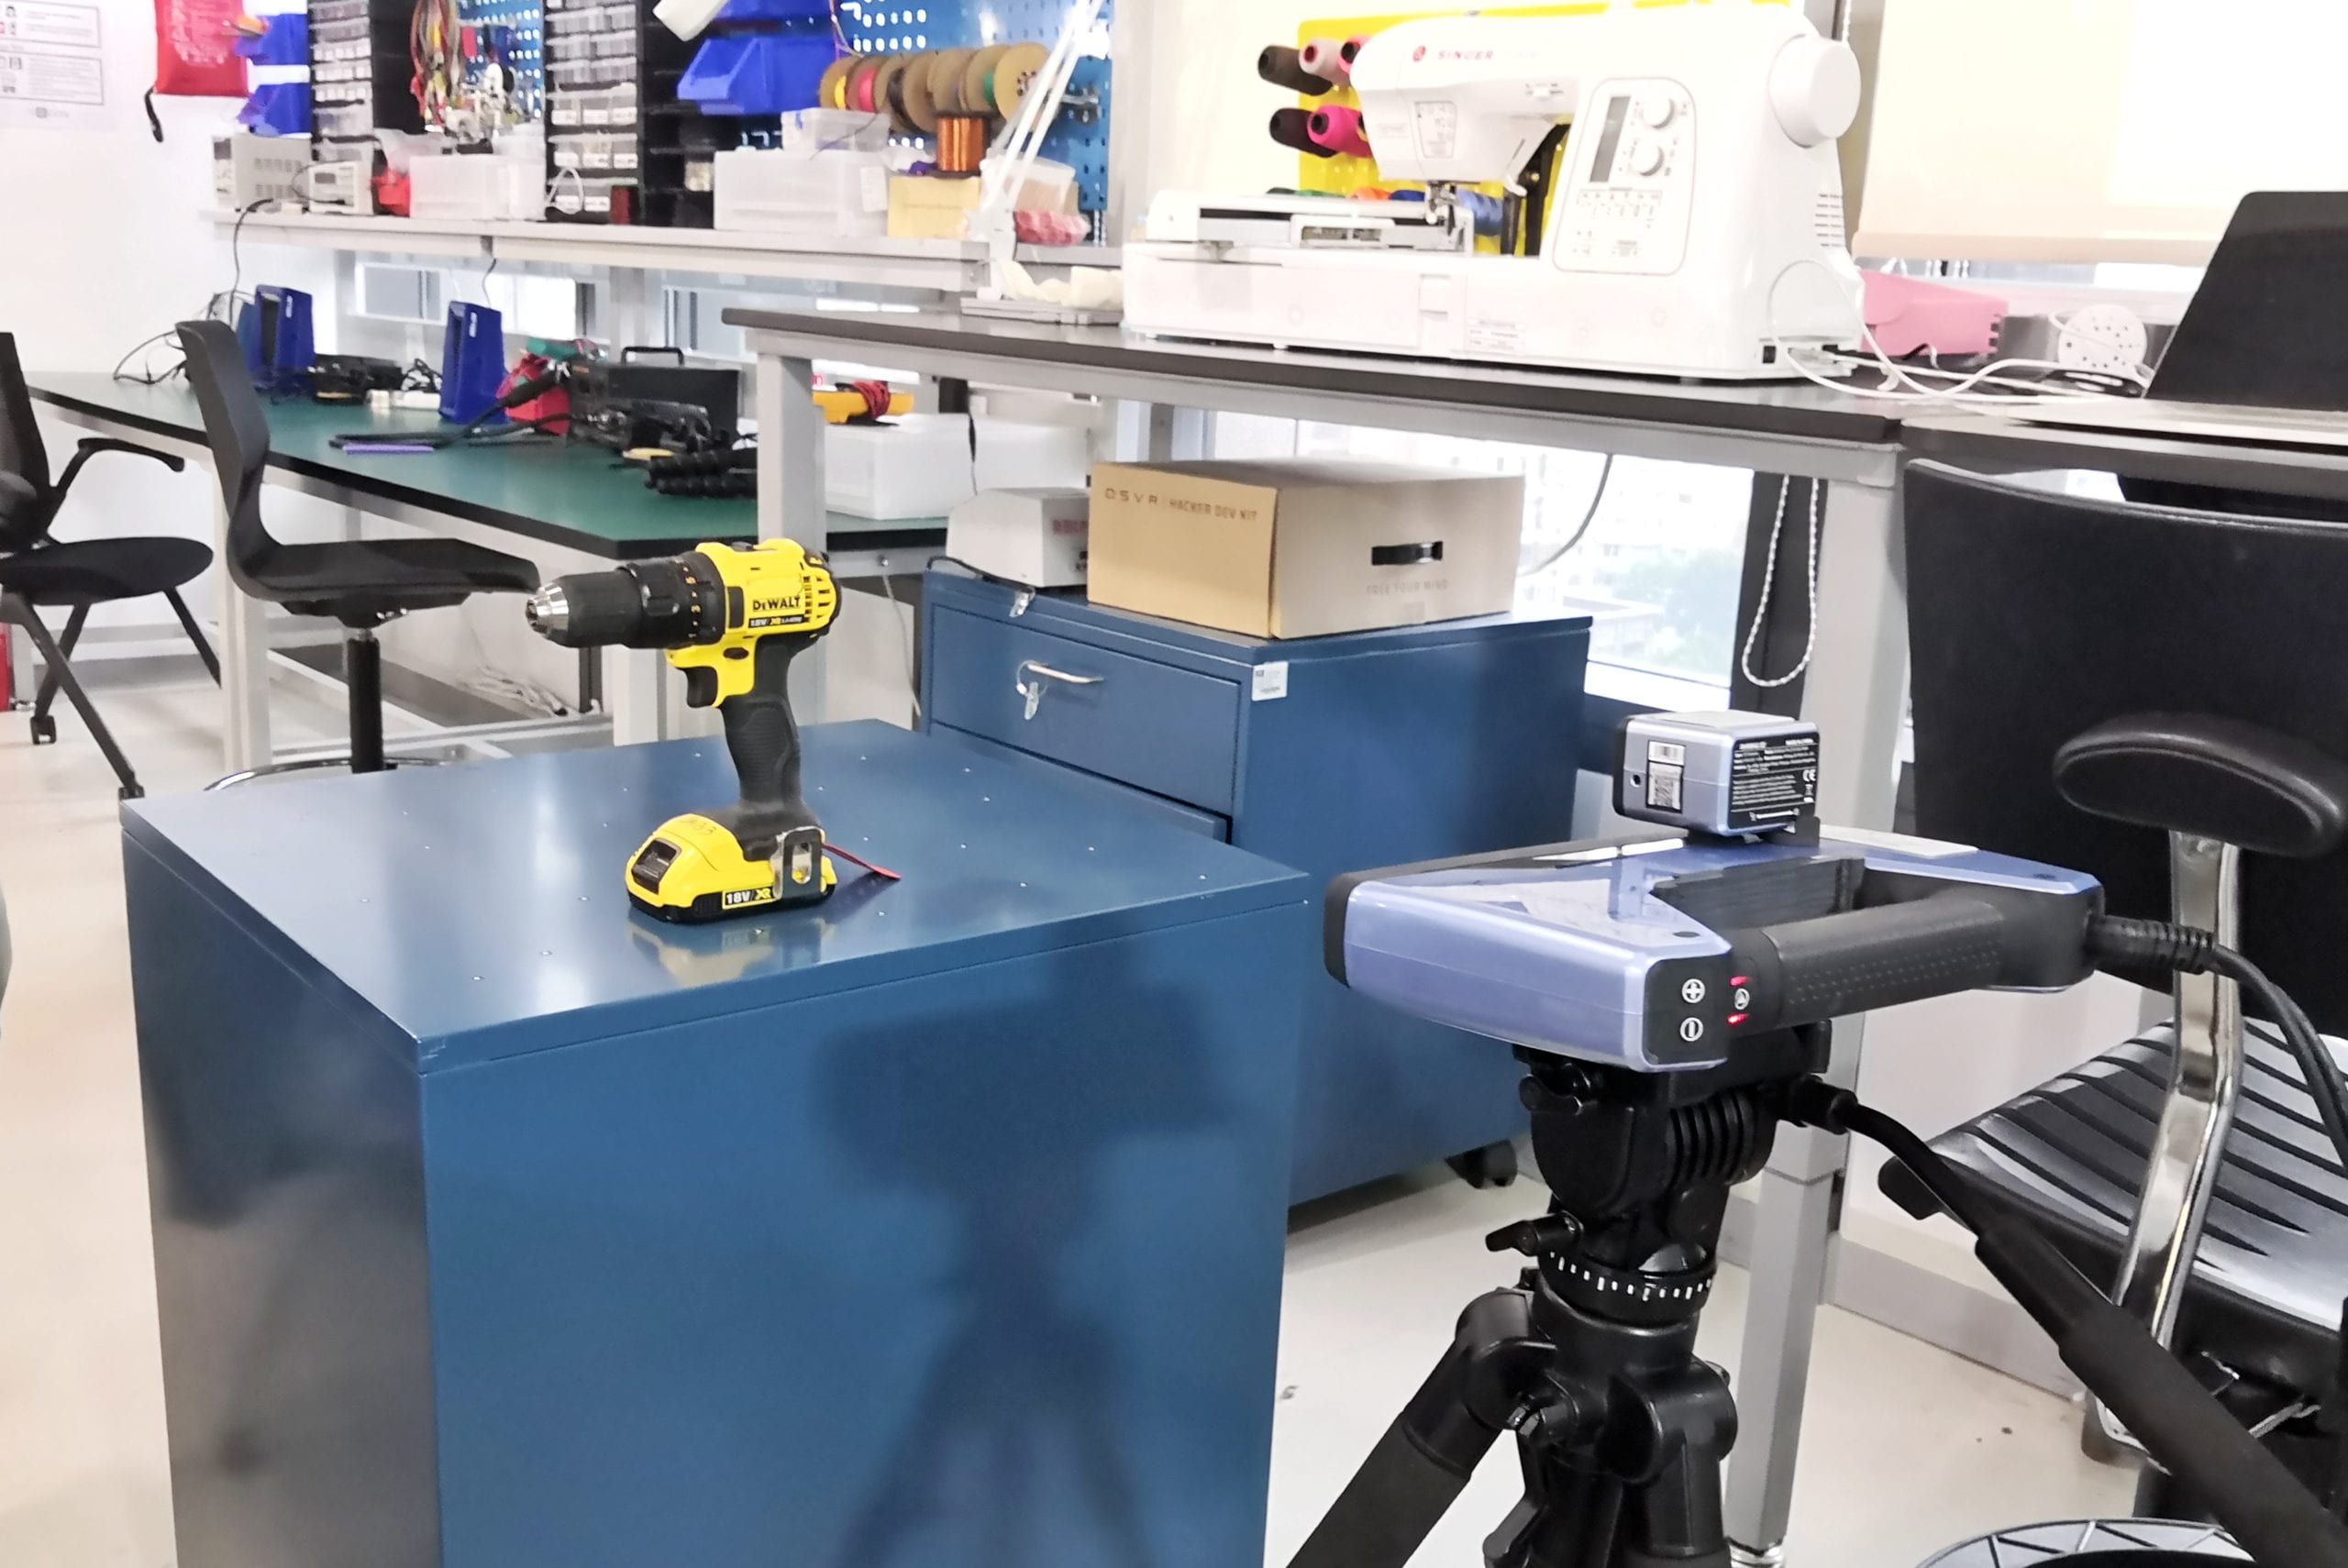
Scan with Fixed Mode
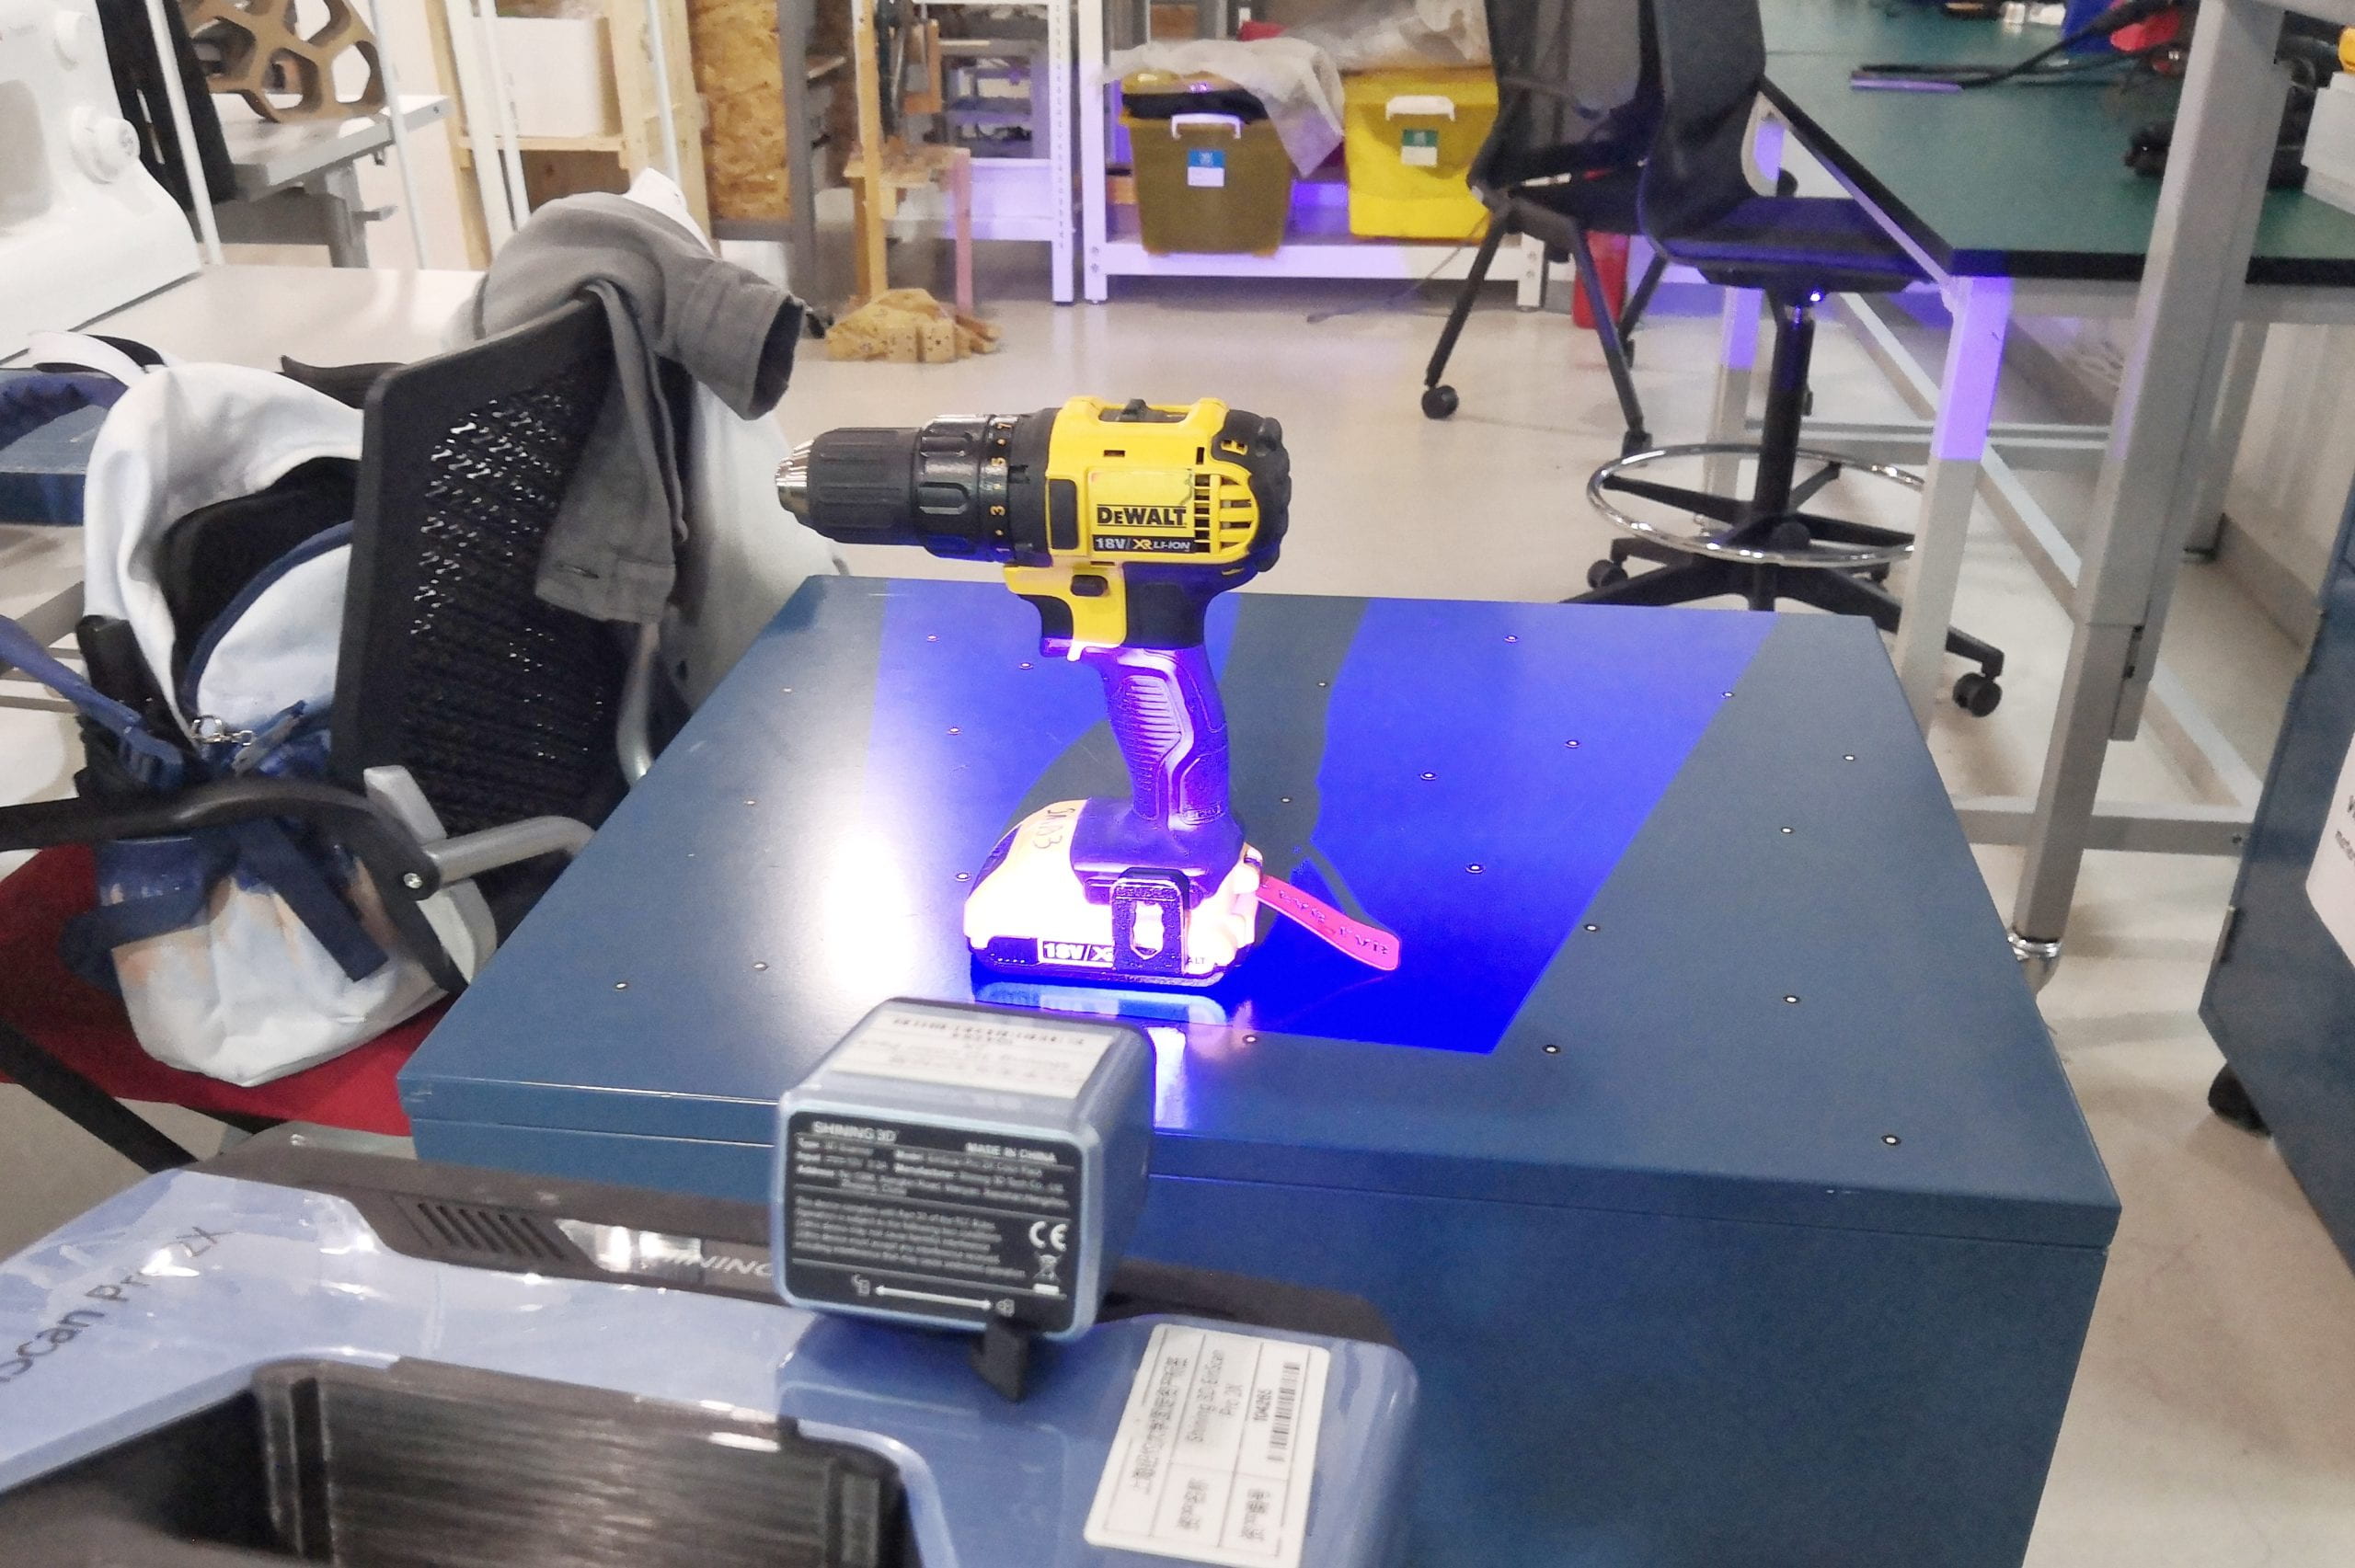 If needed, you can try to scan the object from different directions.
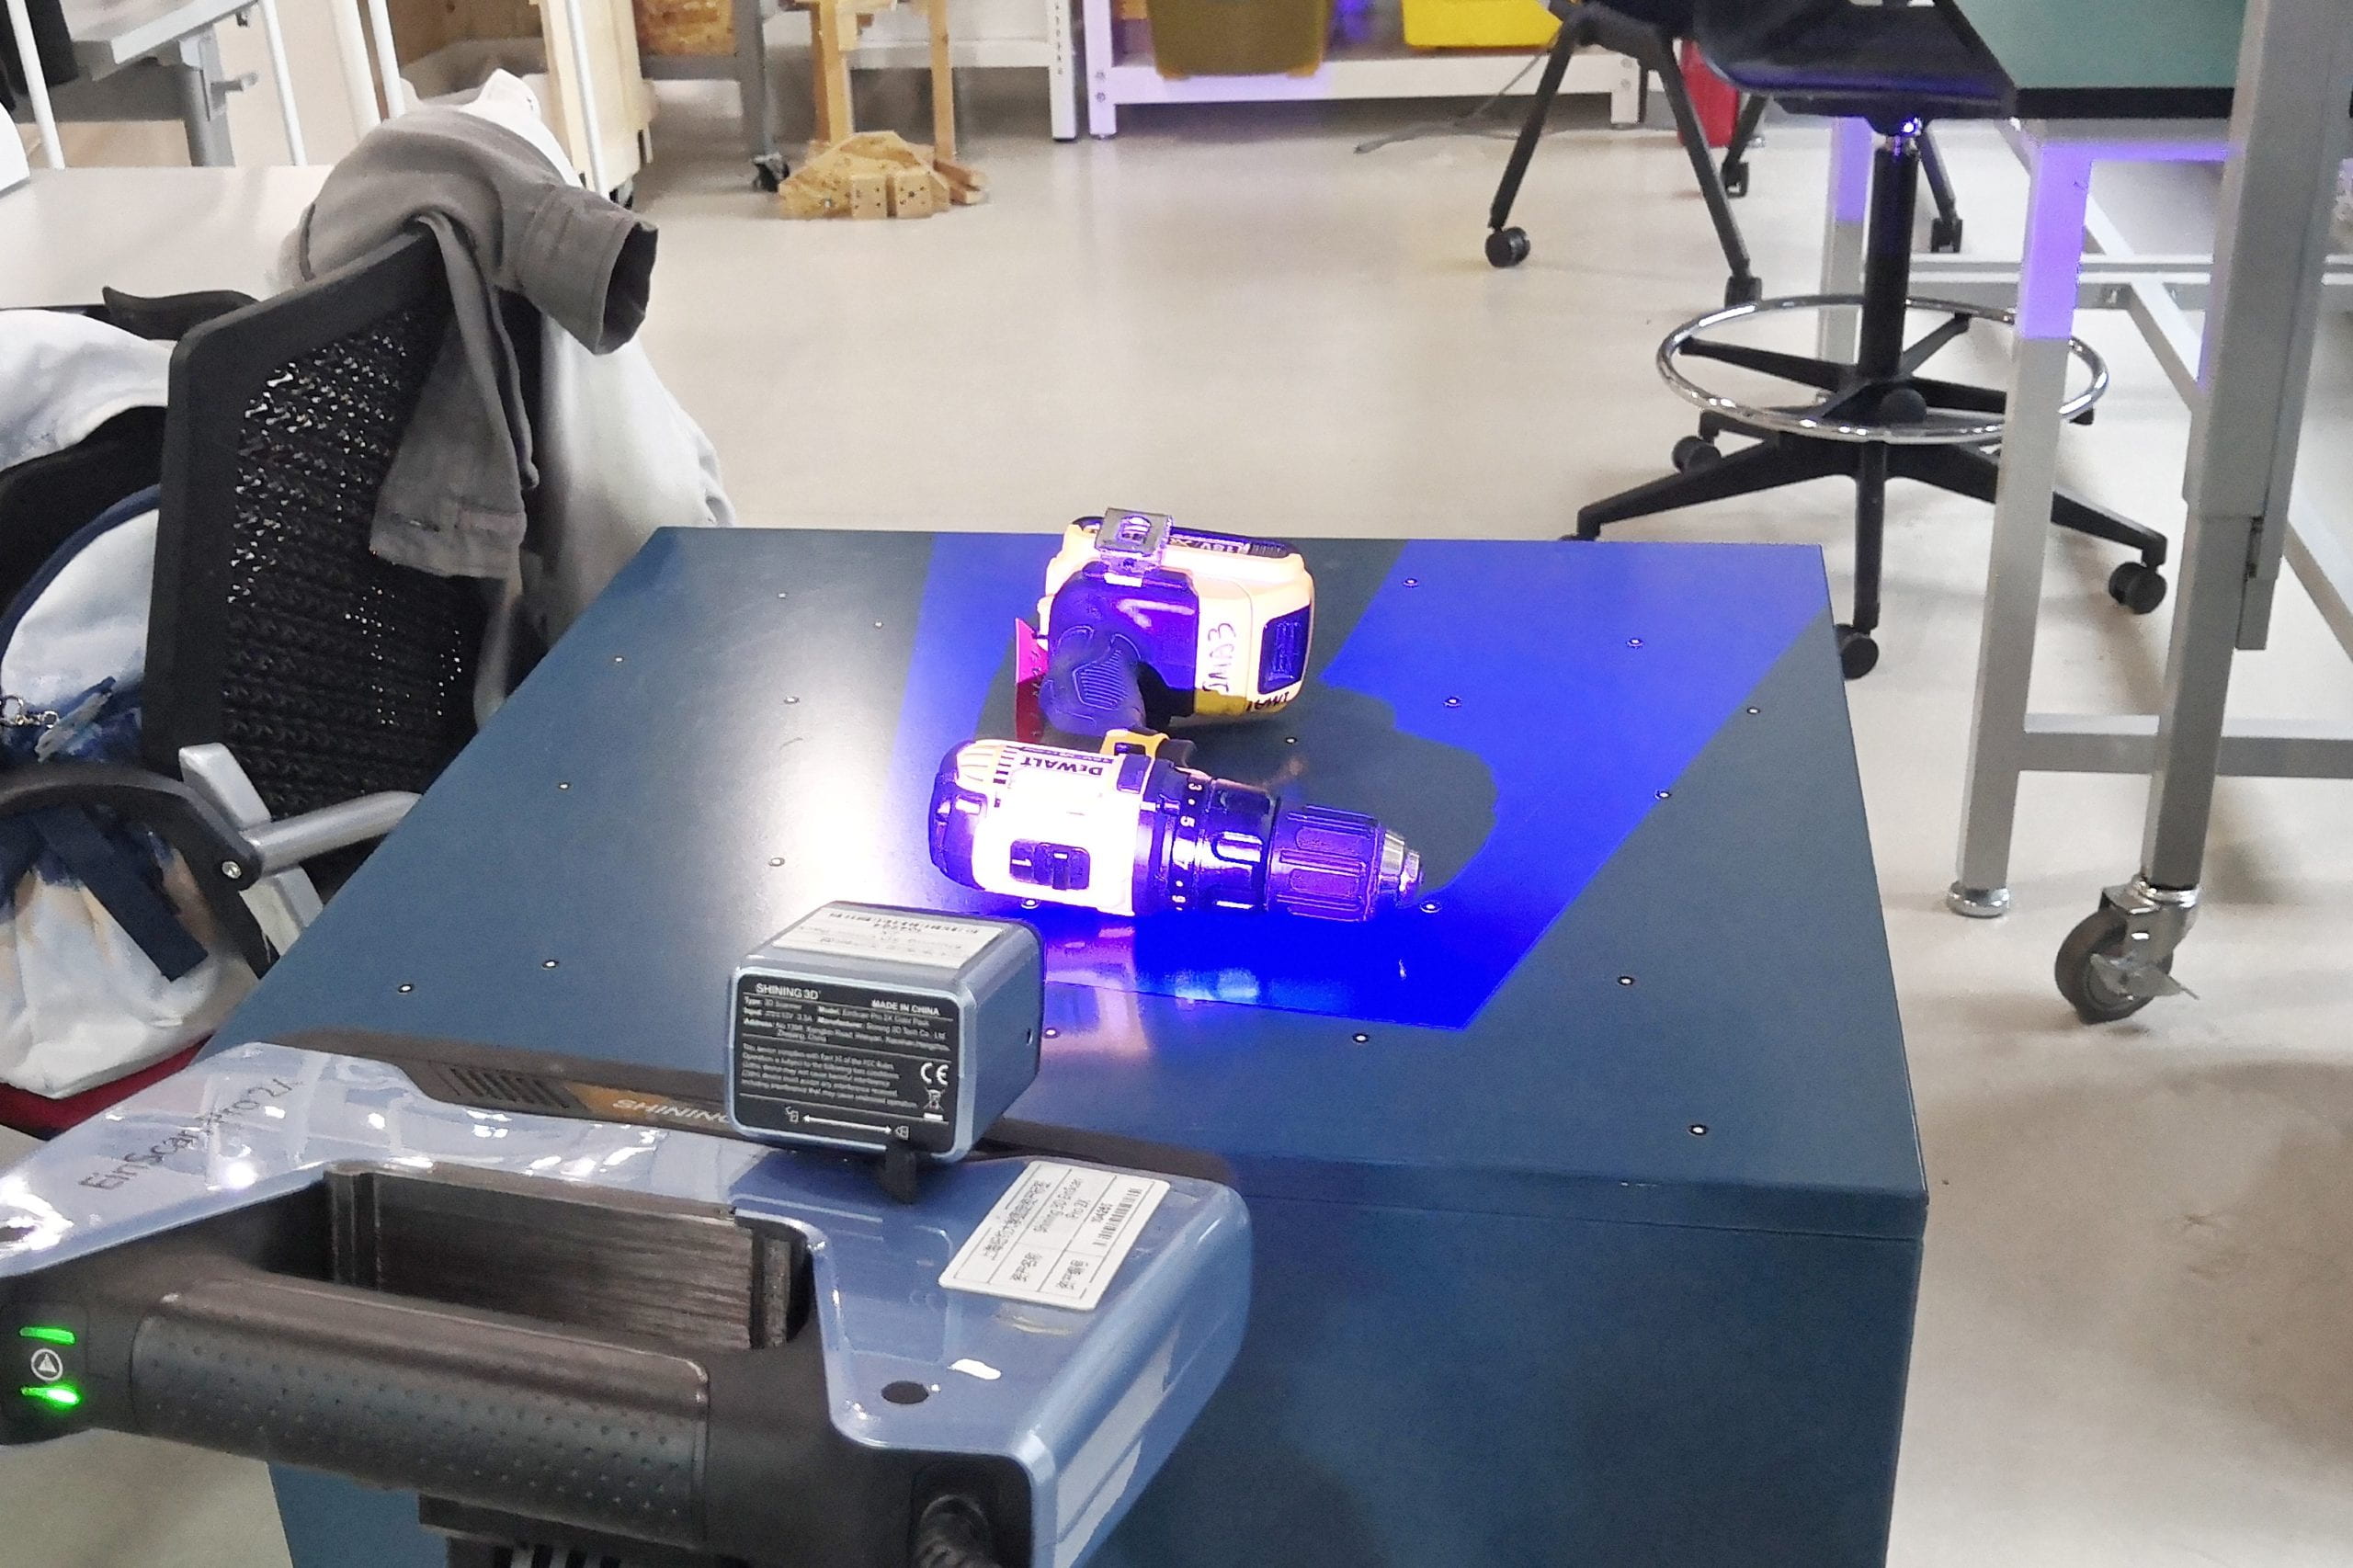
However, the change in the direction may confuse the scanner and the result you get need to be manually aligned later.
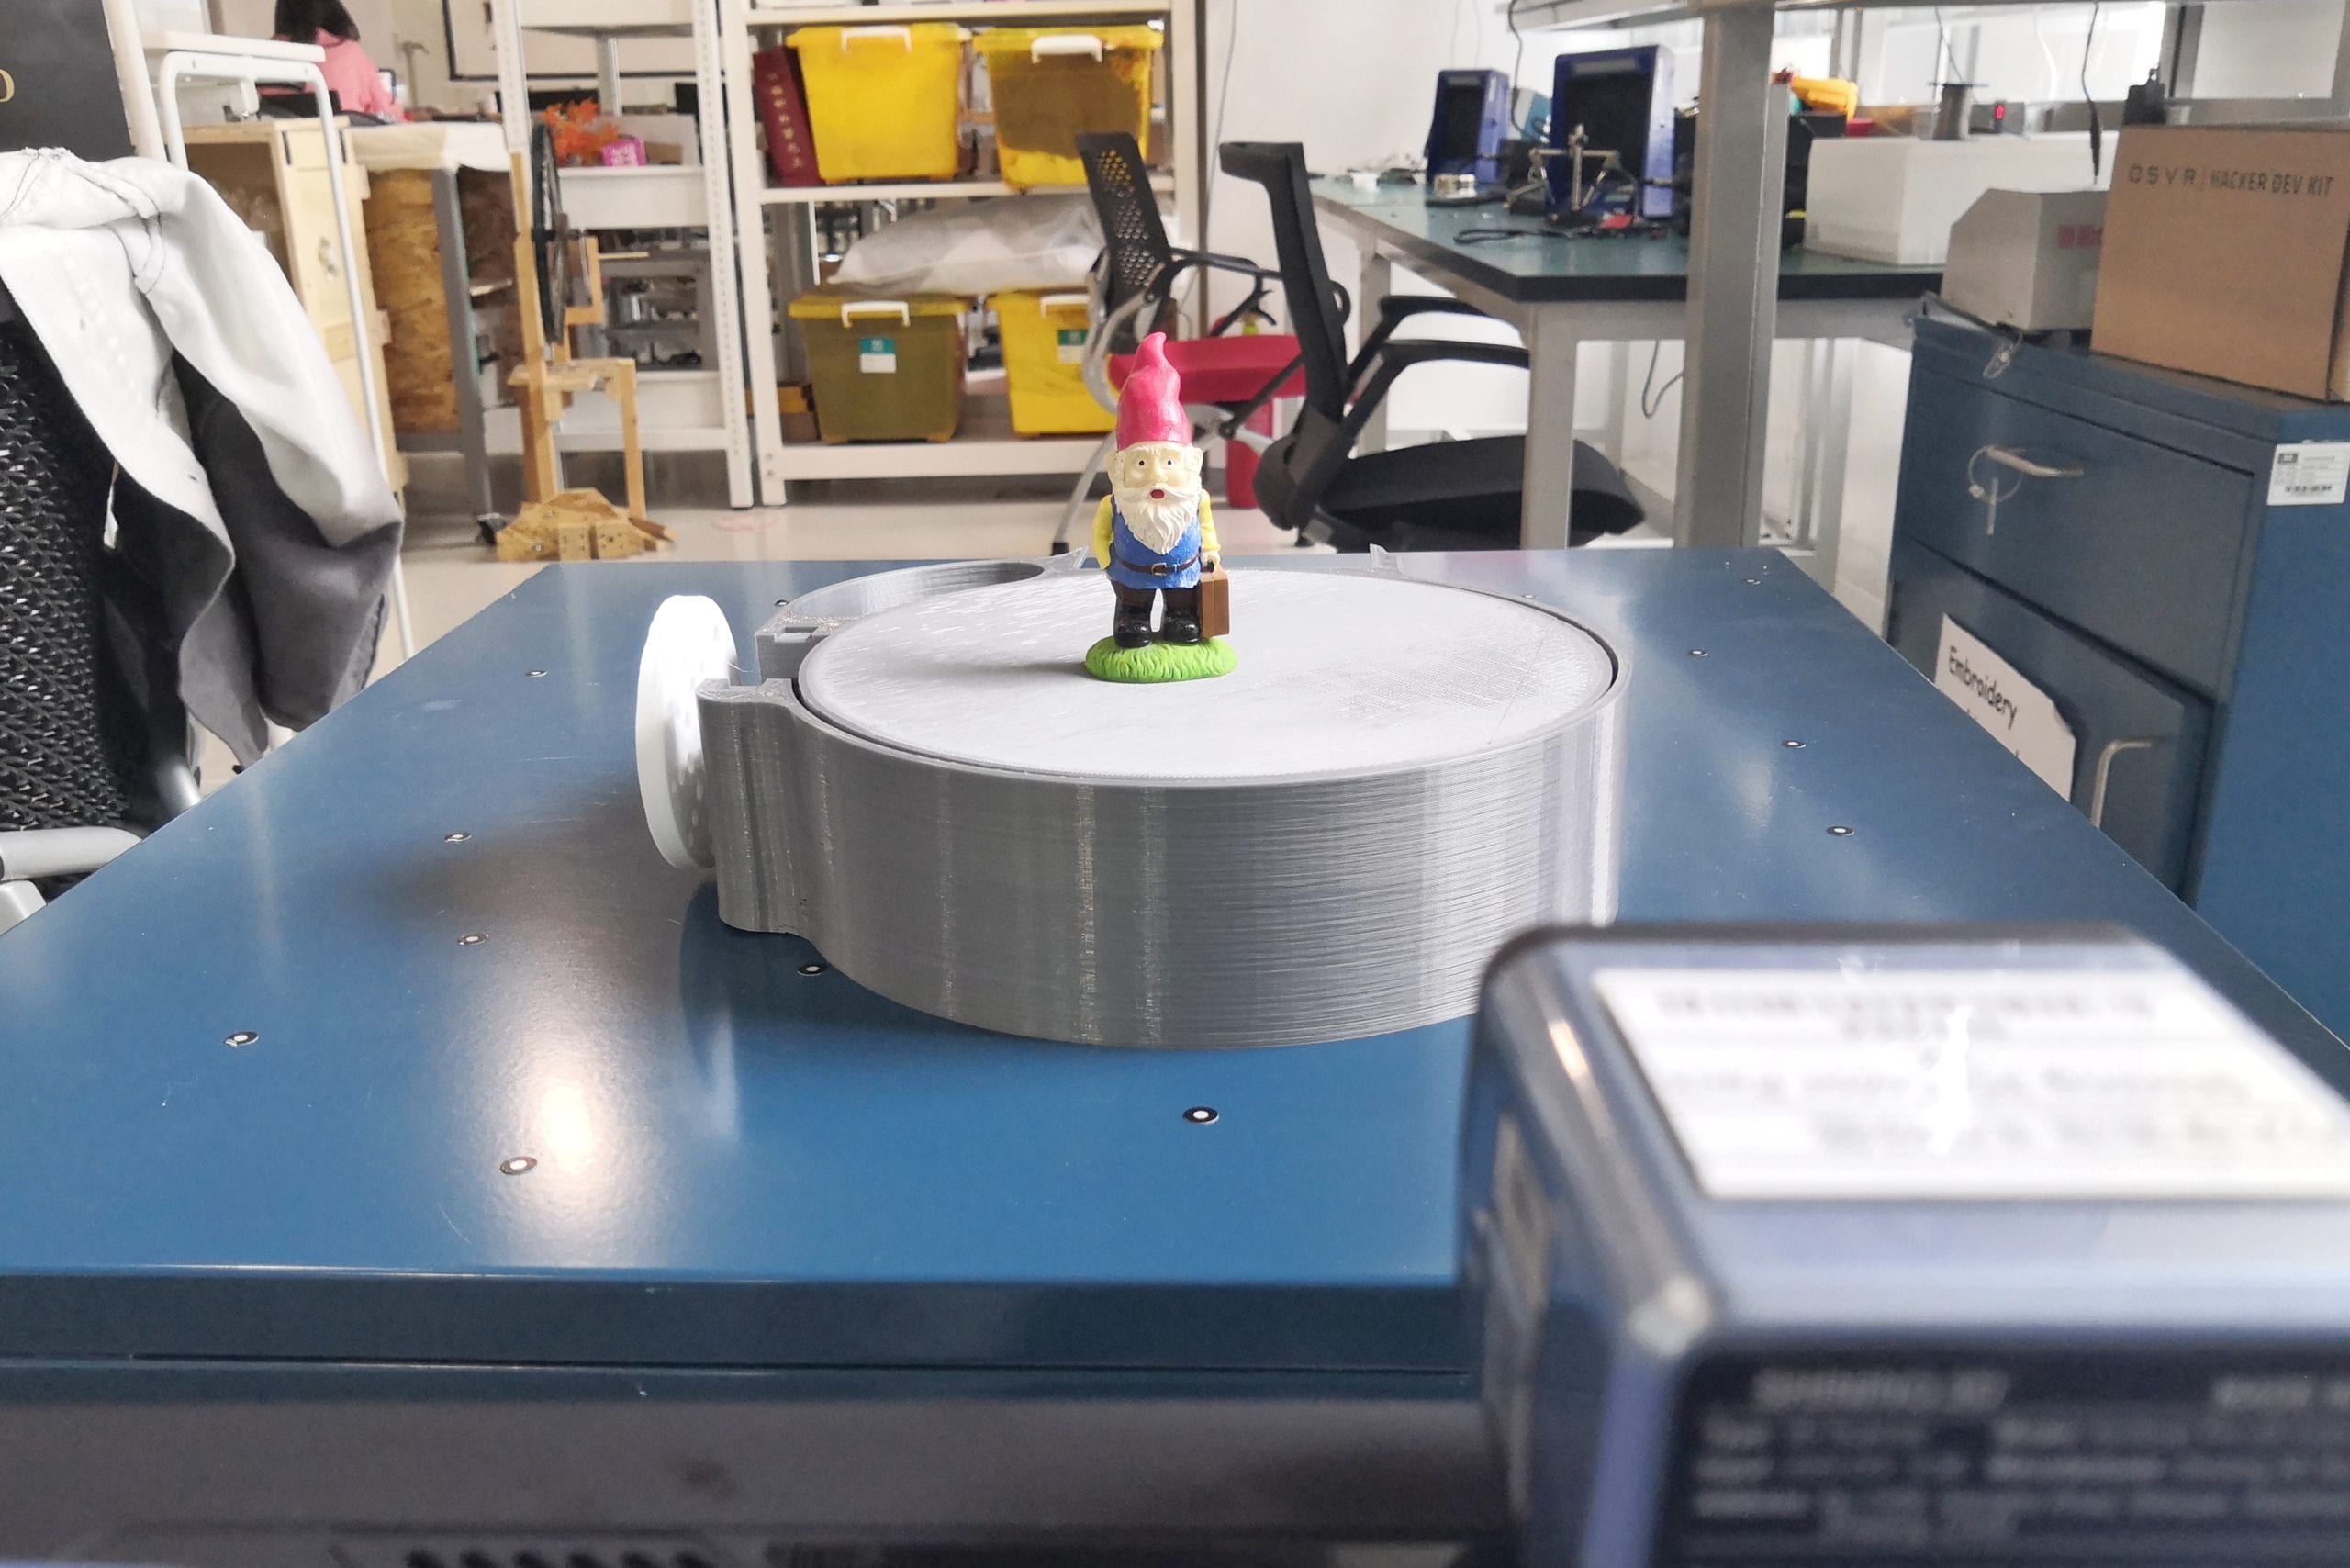
If your object is small and doesn’t acquire directions from below, you can use the turntable in the Fabrication Lab to rotate it stably.
Groups
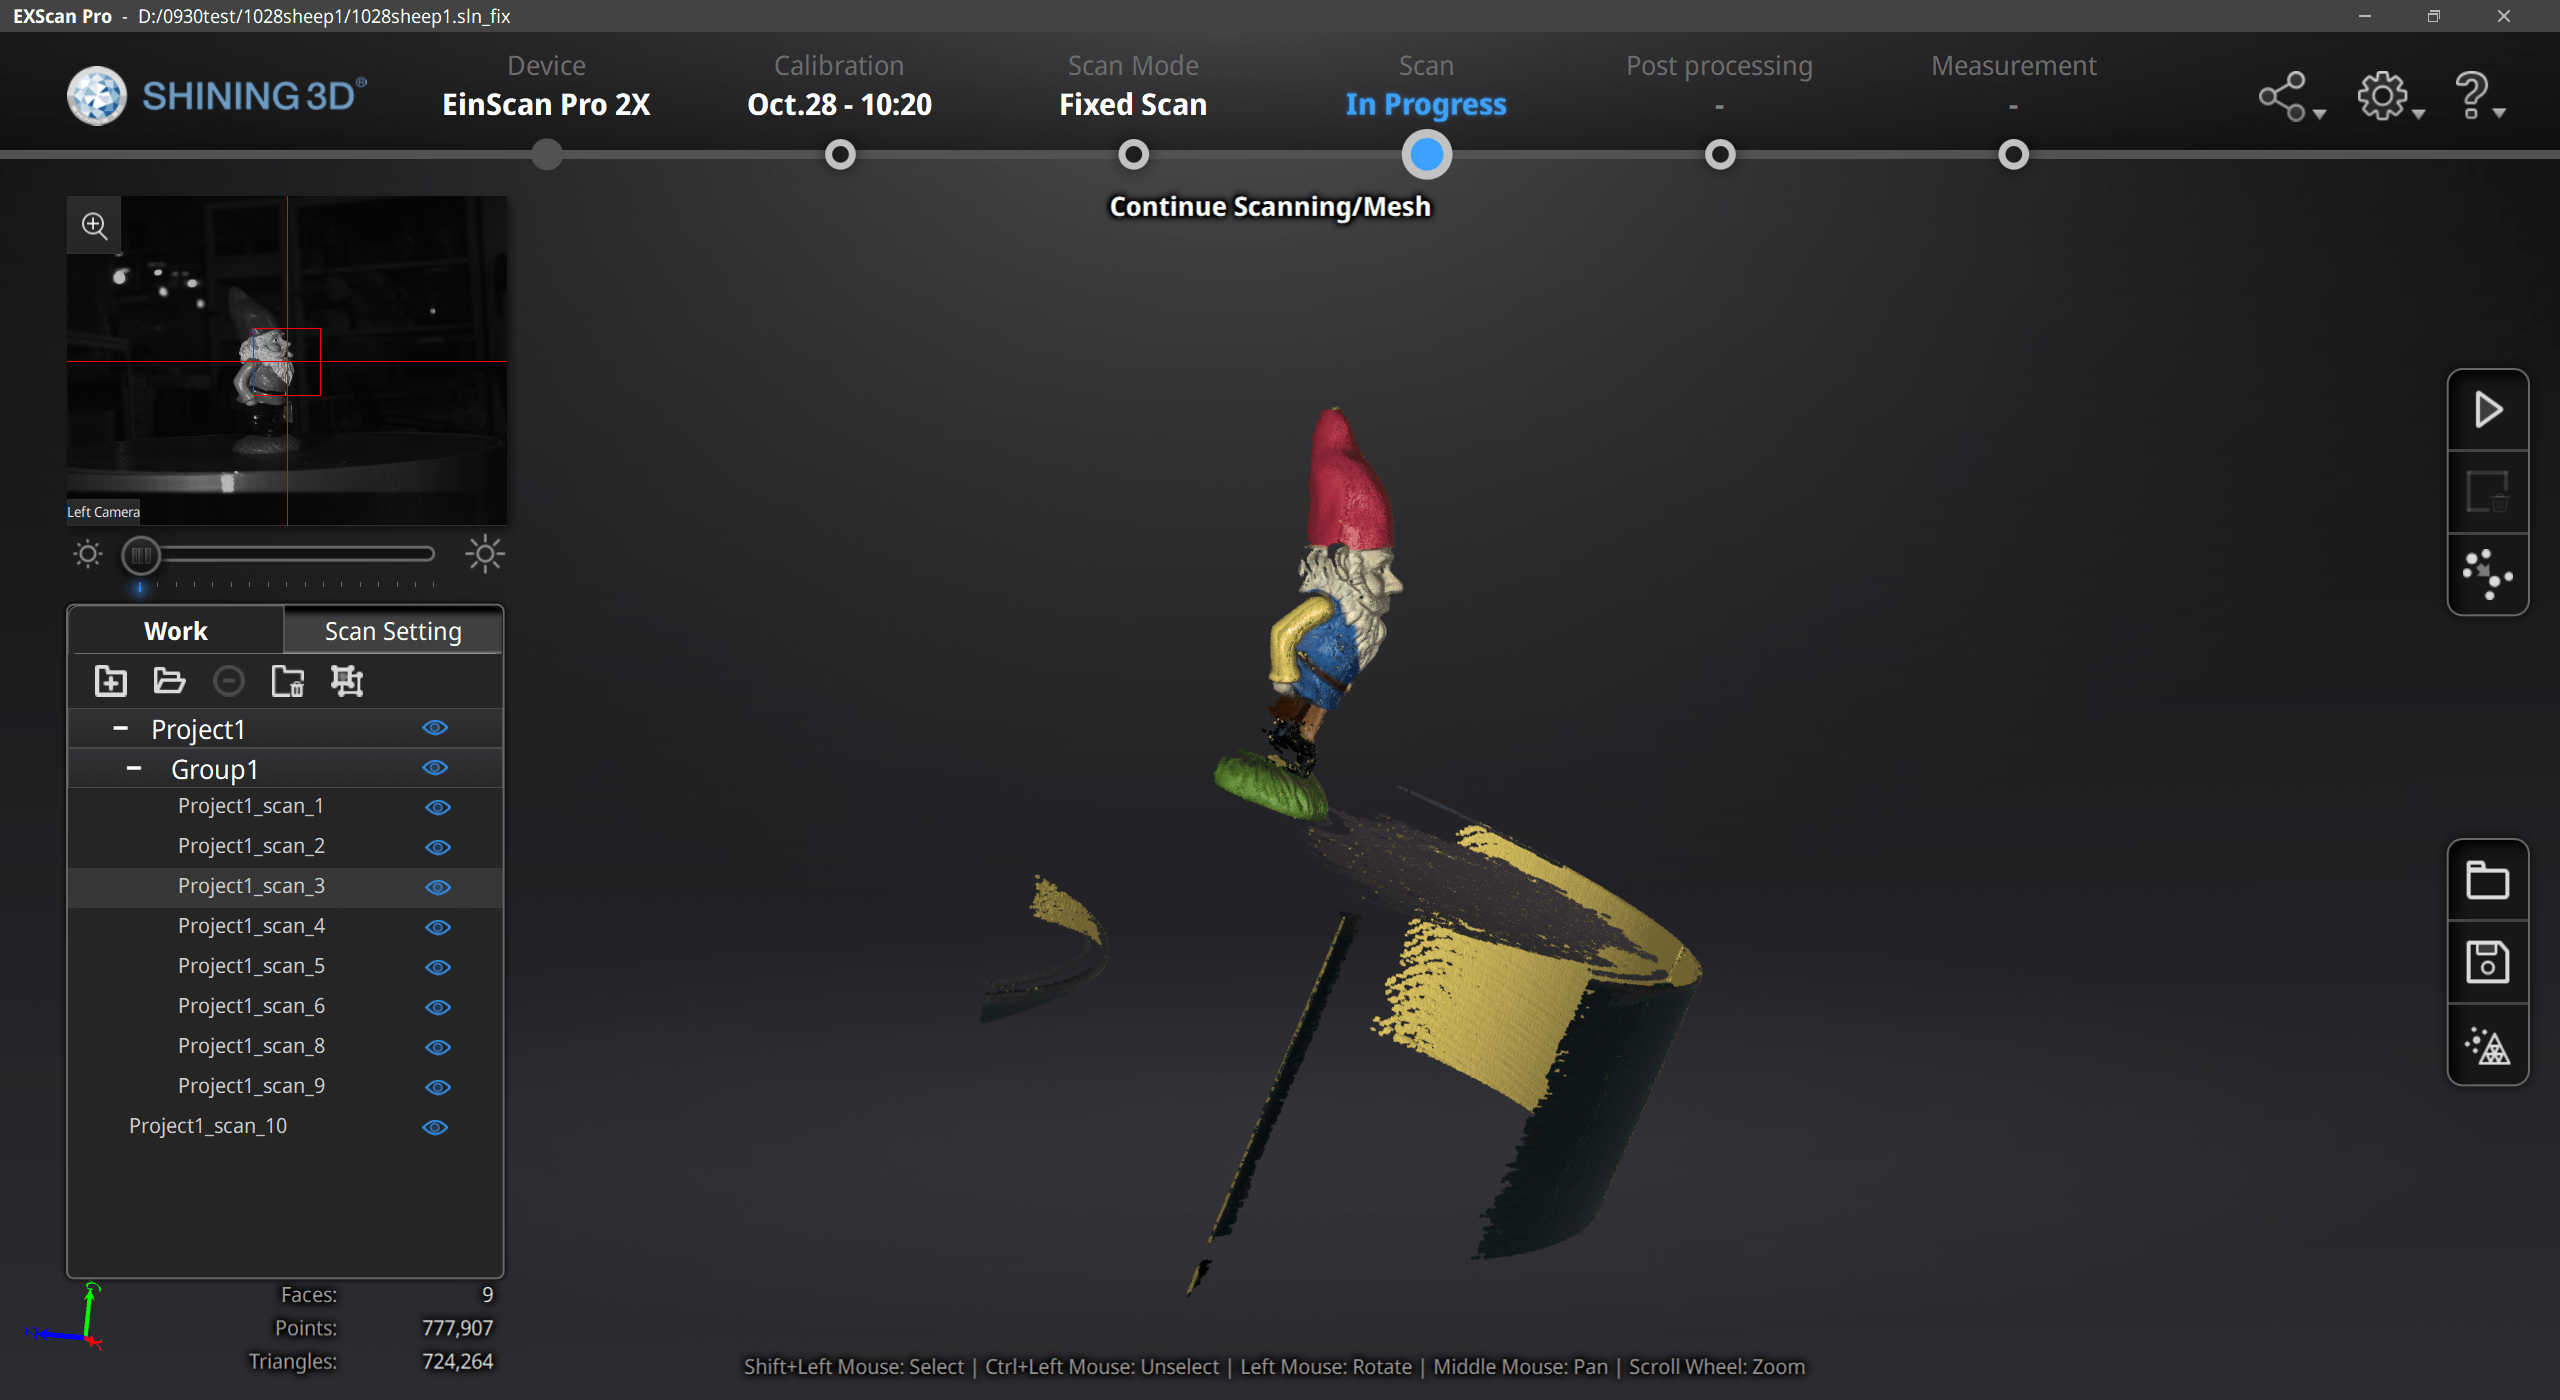
Fixed mode scan will save every scan as a project. To structure your scan, you can create different groups and projects. you can select a certain scan/group with the left mouse, create a group or delete one.
In the scan setting, you can check the HDR mode which will work better on objects with high contrasting texture, such as something white and black. Uncheck the HDR to modify the light settings under the camera preview.
Alignment
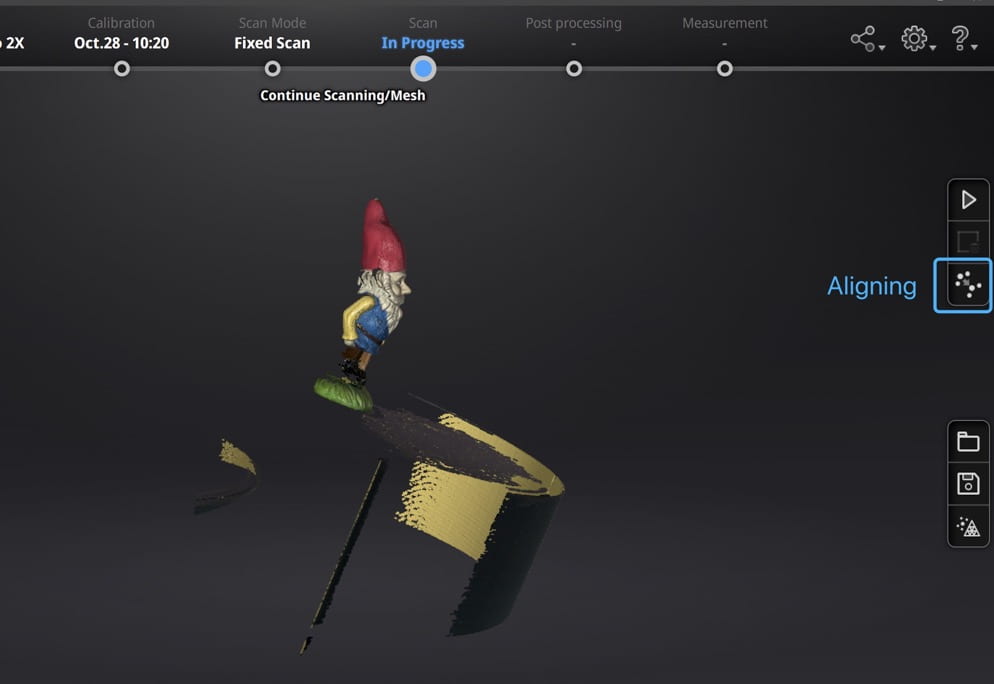
Sometimes you will have to align scans manually if the objects are not with enough geometric features.
To enter the aligning mode, click the manual aligning menu on the right-sidebar.
After entering the interface as shown below, you can drag the single scan or group directly into the corresponding area. SHIFT + click left mouse to select at least 3 non-collinear corresponding points (see the green and redpoint below) in the 3D preview windows for the manual alignment. Ctrl + Z to cancel the previous point picked.
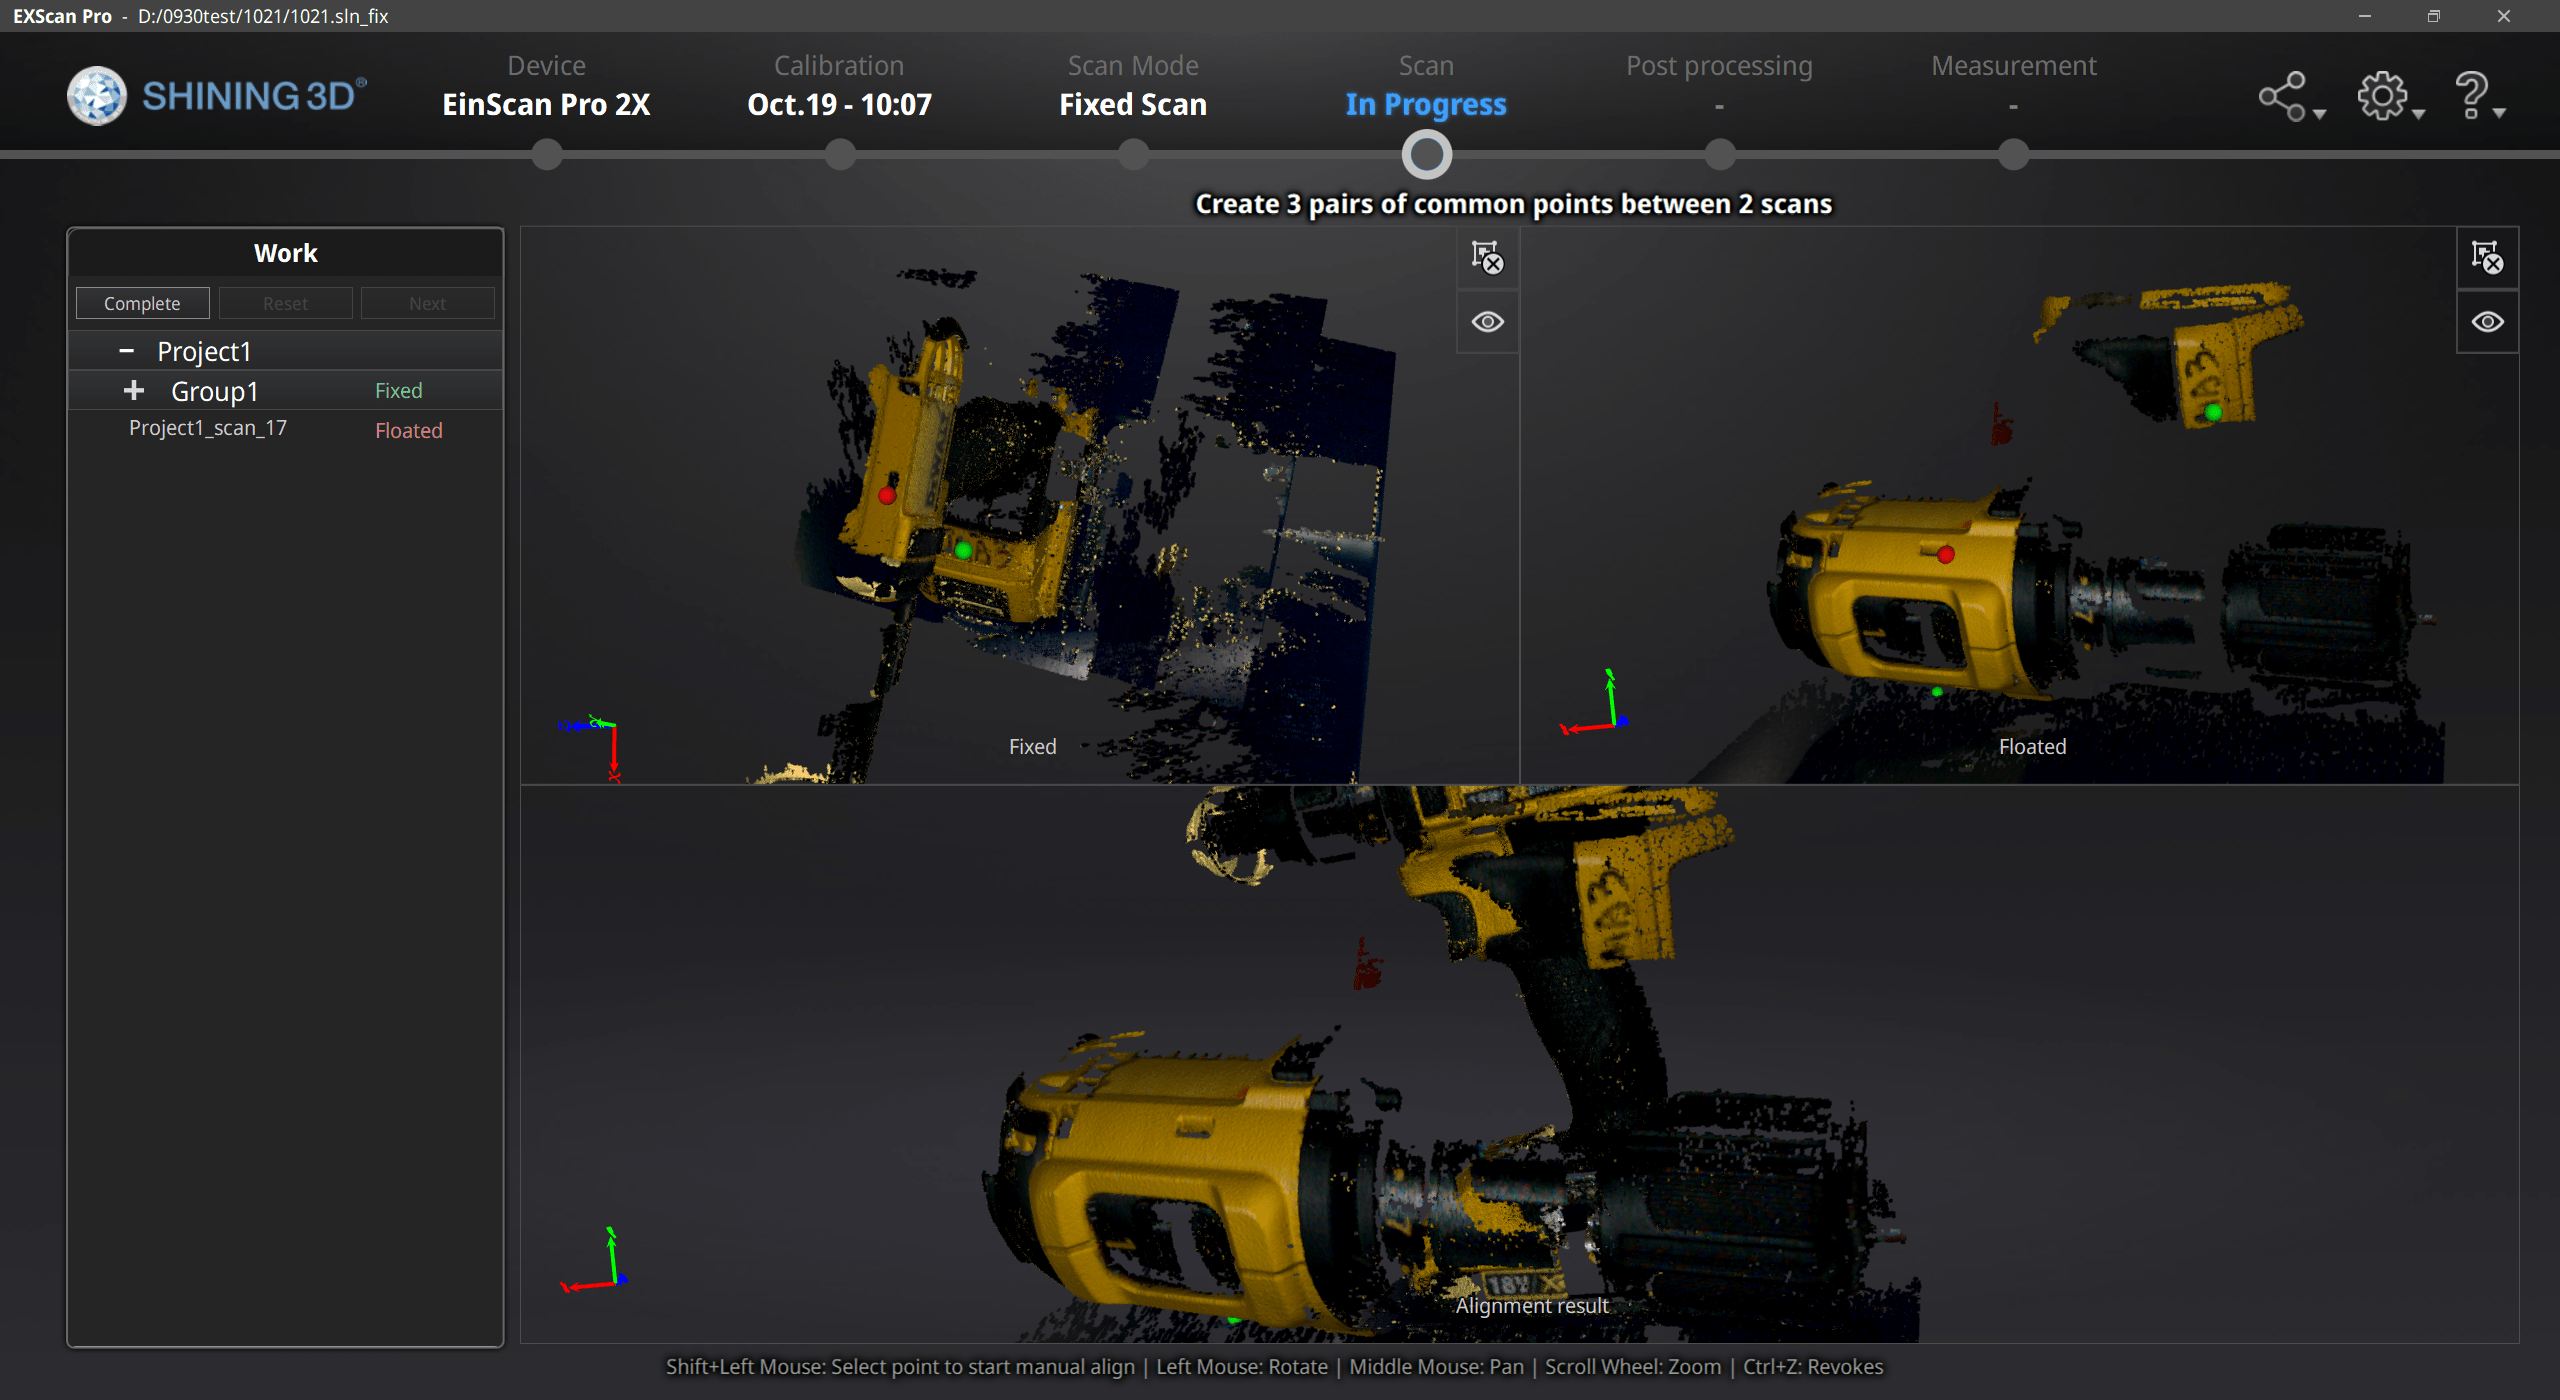
Click Complete to validate the modification and go back to the scan interface.
Click Reset to go back to the scan interface.
Click Next to continue to align scans.
Post Processing
For the post-processing process, please refer to HD Scan Mode Tutorial.