This week, we learned more about Object Oriented Programming (OOP) and particle systems as well as constructors. To be honest, I still struggle a lot with these concepts and fully understanding how they work.
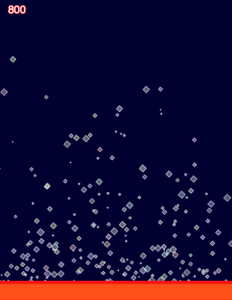
For this project, I used Moon’s original example code as the foundation of my code, and started to change different attributes such as color and shape.

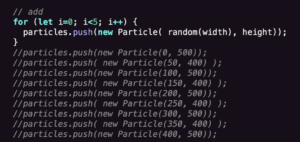
The first part of the code is adding the particles initially. To do this, we used a for() loop function and particles.push() to generate particles from a random point on the canvas. I originally had the code individually push the particles from each point on the canvas, but the process was made shorter with the new Particle() function.

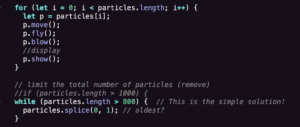
Next, we set the movement of the particles with the p.move(), p.fly(), and p.blow() functions. The p.show() function displays the actual particles. In order to limit the number of particles on the screen, we insert a while() function to set the cap at 800 particles, then pair it with the particles.splice() to make the oldest particles disappear first.

Adding the mousePressed() function allows for user interaction. When the mouse is clicked, the existing particles on the screen will explode outwards towards the edges of the screen.

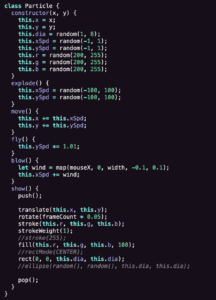
Now we set the constructor and particle class. This basically controls how the particles appear and move on the screen. By setting the values for this.x, this.y, this.dia, this.xSpd, etc., we allow for the randomization of the appearance of the individual particles (not shown in my code screenshots, but I set the particles as squares). Setting the RGB values at restricted randoms will create diversity within the coloring of each particle. For the explode(), move(), fly(), and blow() functions, we assigned the this() attributes accordingly. Specifically for the blow() function, the map() function allows the particles to be “blown” towards the direction of the mouse on the screen. The show() just controls how it appears on the screen rather than the actual movement.
I still don’t completely comprehend the code and each individual function, but I’m slowly working on it as I explore and put the pieces together.
Here is my final code: ccl06-oop-yaz
