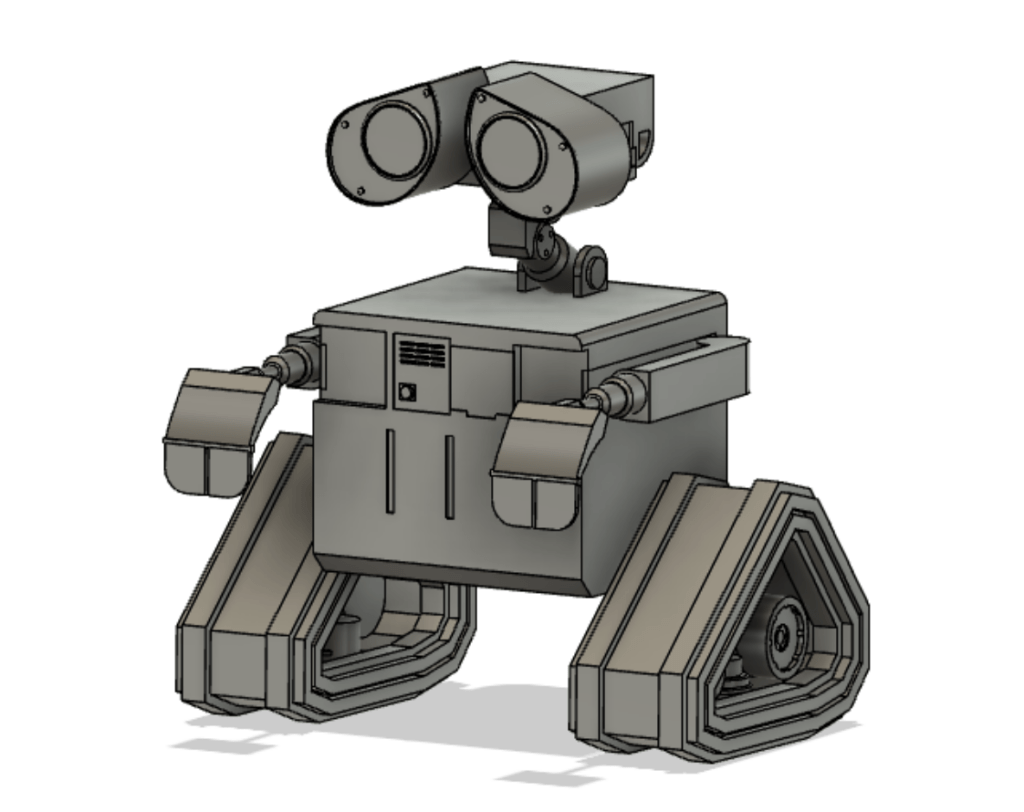
During my attempt at recreating Howl’s Moving Castle, I had a realization that WALL-E would be a great object to 3D model. Compared to the castle, WALL-E has shapes that are less organic and more straightforward to recreate. Additionally, there are a bunch of reference images and other people who have created a 3D model of WALL-E. While it is easier than the castle, it’s still a challenge to create.
3D Modeling Process
First, I found reference images that I could use to trace. There were so many that I could’ve used, but I decided to follow this image:
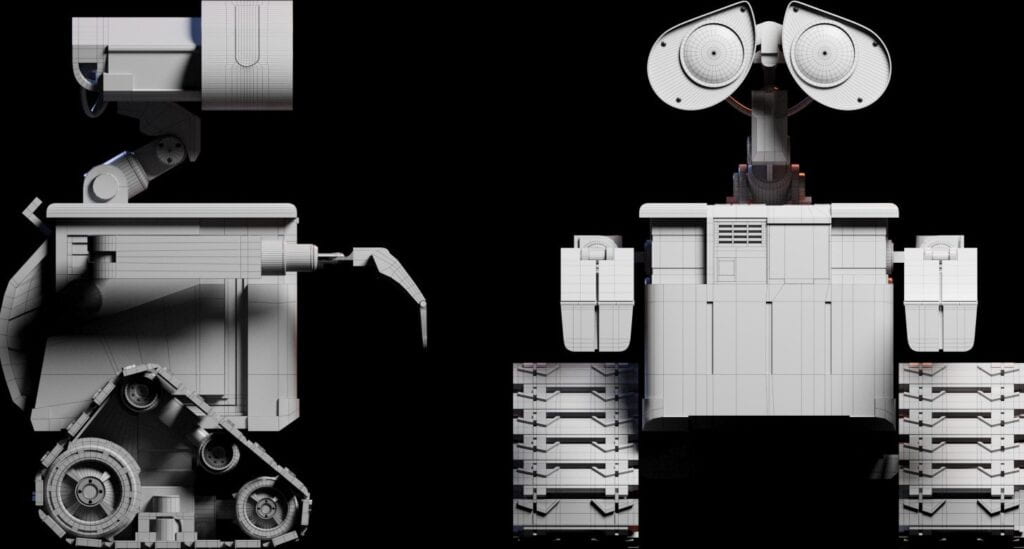
I cropped and cut it into two images (front and side) and added it to the respective views. This made it easier to trace and get more accurate dimensions for my model. I also tried center the images, but it didn’t end up being exactly centered which caused some issues later on.
Step 1: The Body
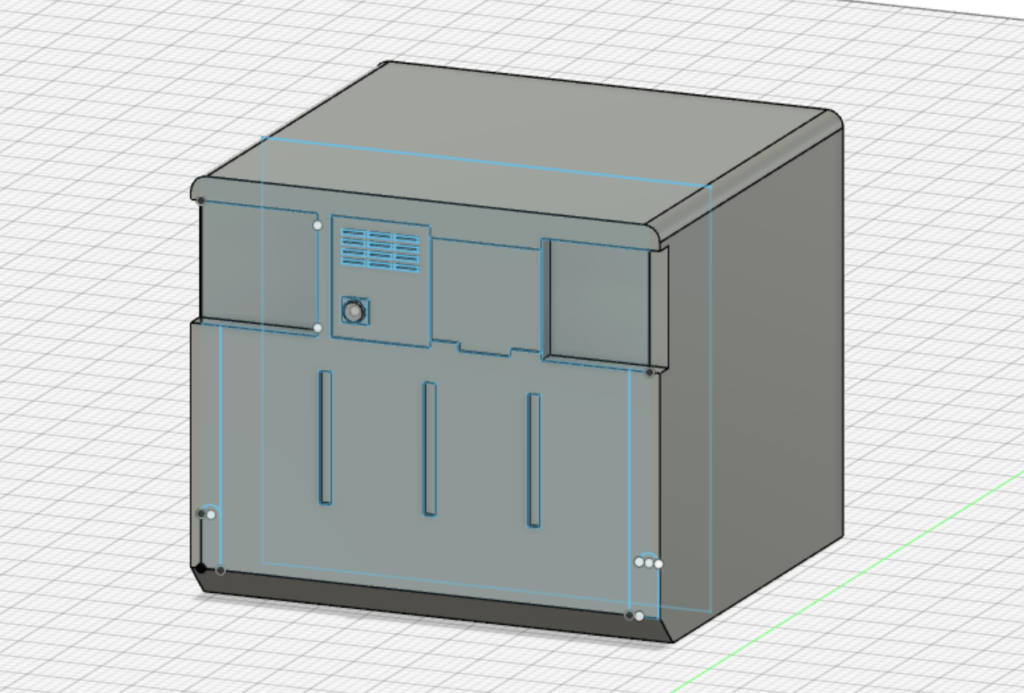
I first began with the body, which is essentially just a box and details. This section was relatively simple, since I did the details in one sketch and the box was just an extrude from a sketch of a rectangle. I could’ve used the box in solid, but I wanted to match the dimensions of the image. The details were a bunch of different extrudes. I also used fillet to create the rounded edge at the top and chamfer for the bottom.
One problem I ran into was that the image I imported was actually mirrored, and I realized this only after doing the extrudes and sketch of the front. I was going to leave it but I ended up mirroring it back and redoing the front.
Step 2: Eyes
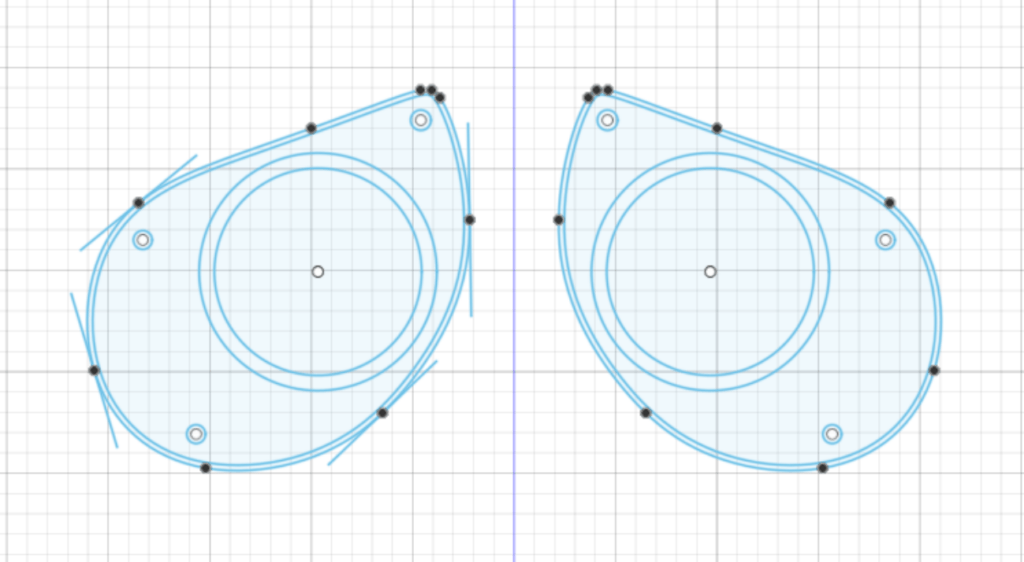
To create the eye shape, I used fit point spline to trace one eye of the image and adjusted the points until it matched. Then I used offset to create the inner part. Then I used mirror to get the other eye and all the pieces of it.
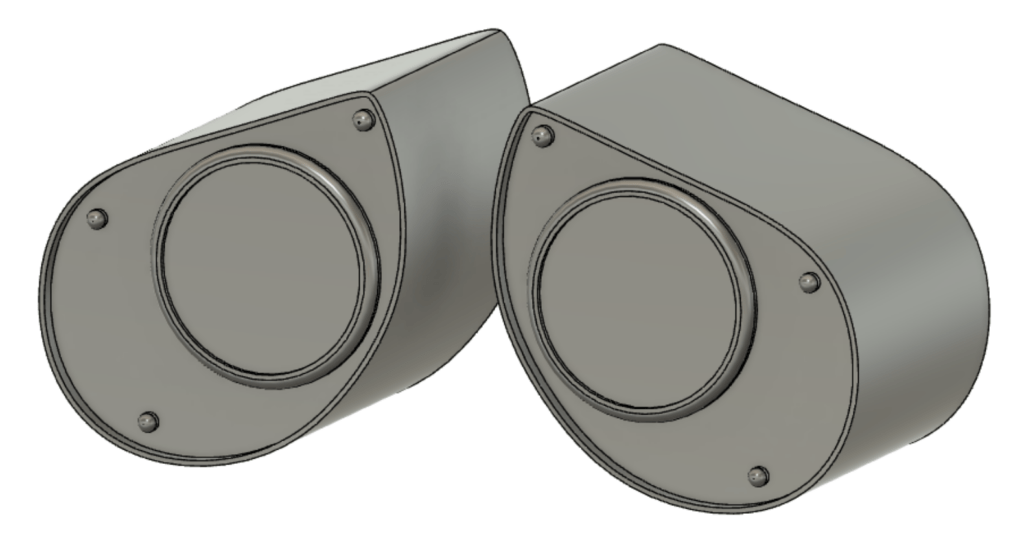
The extrusion was similar to the body, where it was a bunch of small extrusions on top of the main one to get the little details. I then went over the circles with fillet so the edges were softer.
Step 3: The Neck + Back of Eye
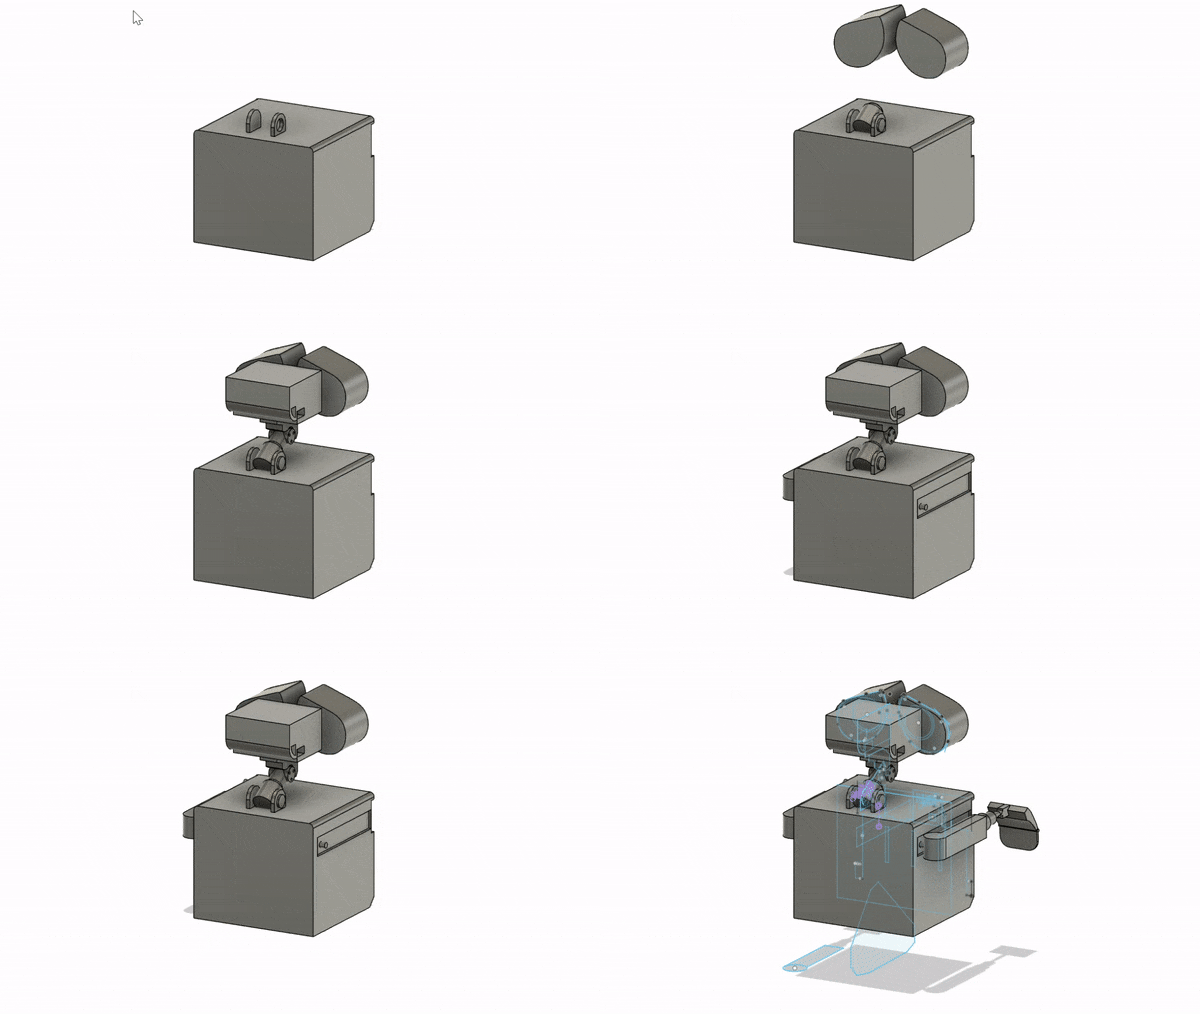
I actually did a small piece of the neck before doing the eye, but the rest of the neck was done together.
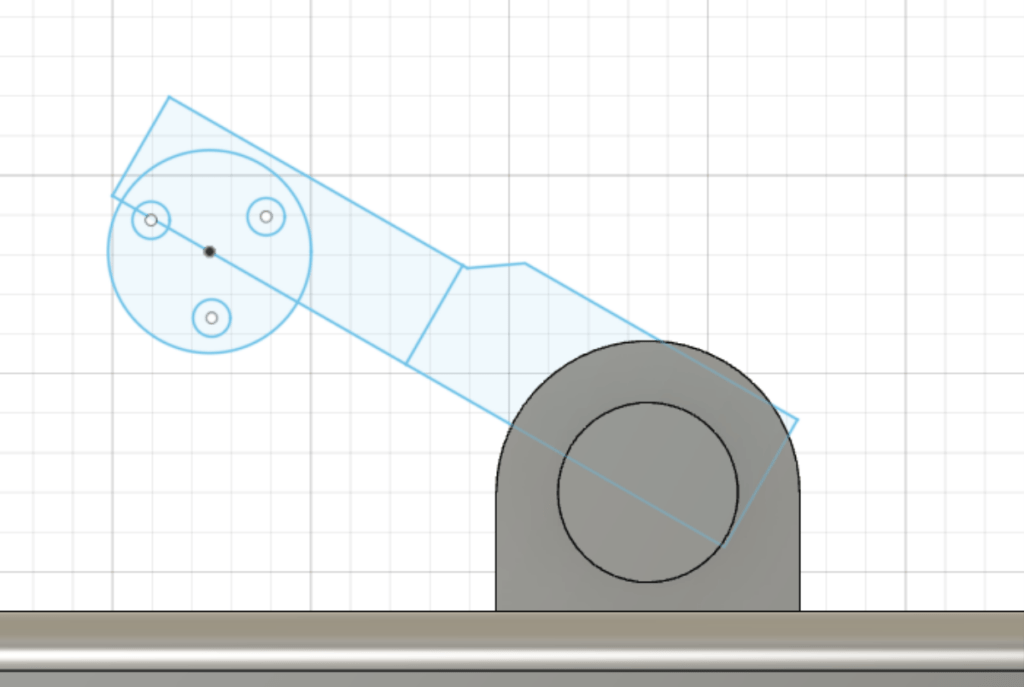
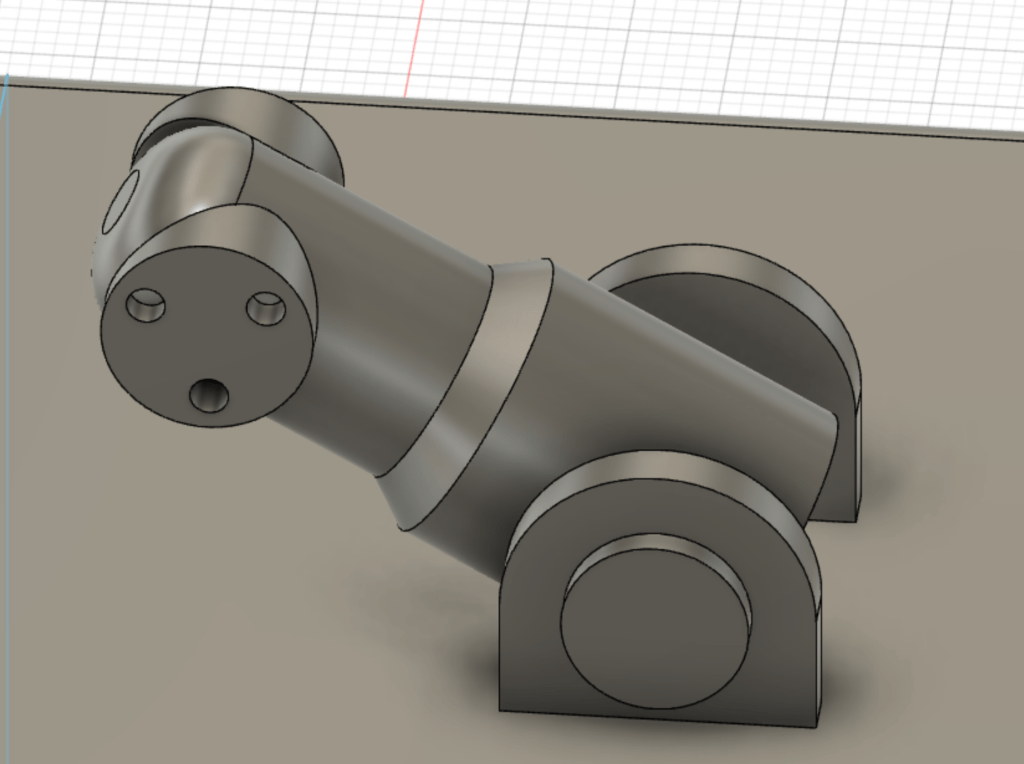
Following the side reference image, I felt like for these pieces of the neck the simplest approach would be to use revolve. So I created the sketch (ended up doing the two revolves in one sketch) and revolved. Since they were technically 2 different profiles, I did the revolve separately. As for the circular piece, I used circular pattern to add the 3 inner circles. Then I used extrude and split body to add that piece to the neck. I added a fillet to the end piece since it was supposed to be more rounded.
The next part of the neck and the back of the eye was just a trace and extrude. I wanted to use sweep or pipe for the eye part, since what I have now wasn’t accurate to the image, but I decided to come back to that later and tackle the other parts of the body first.
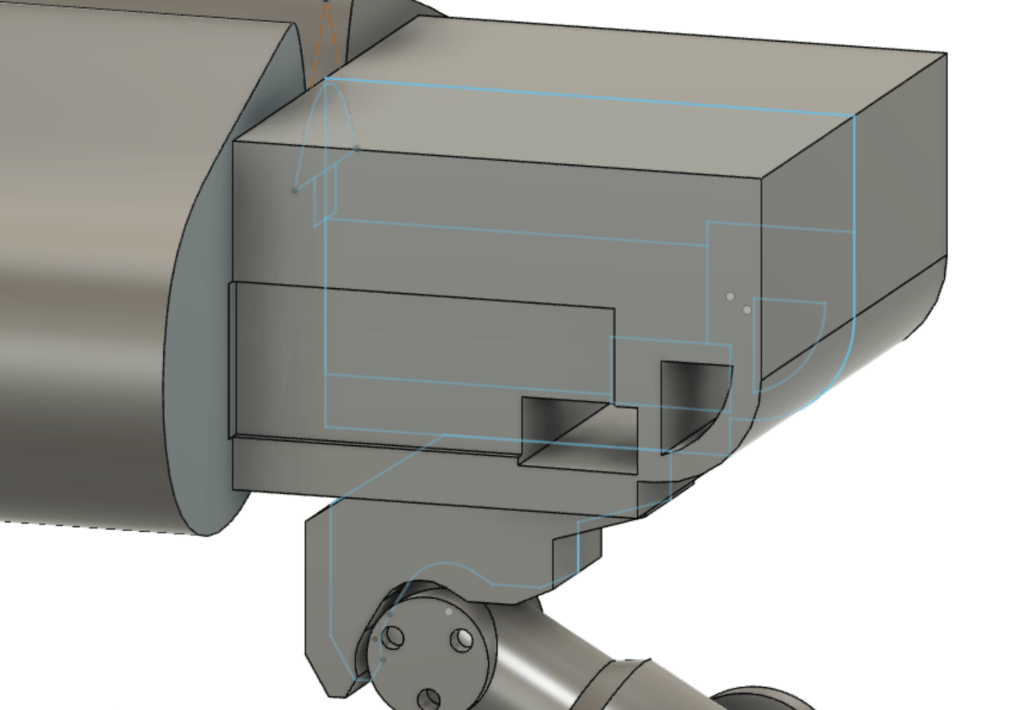
Step 4: The Arm + Hand
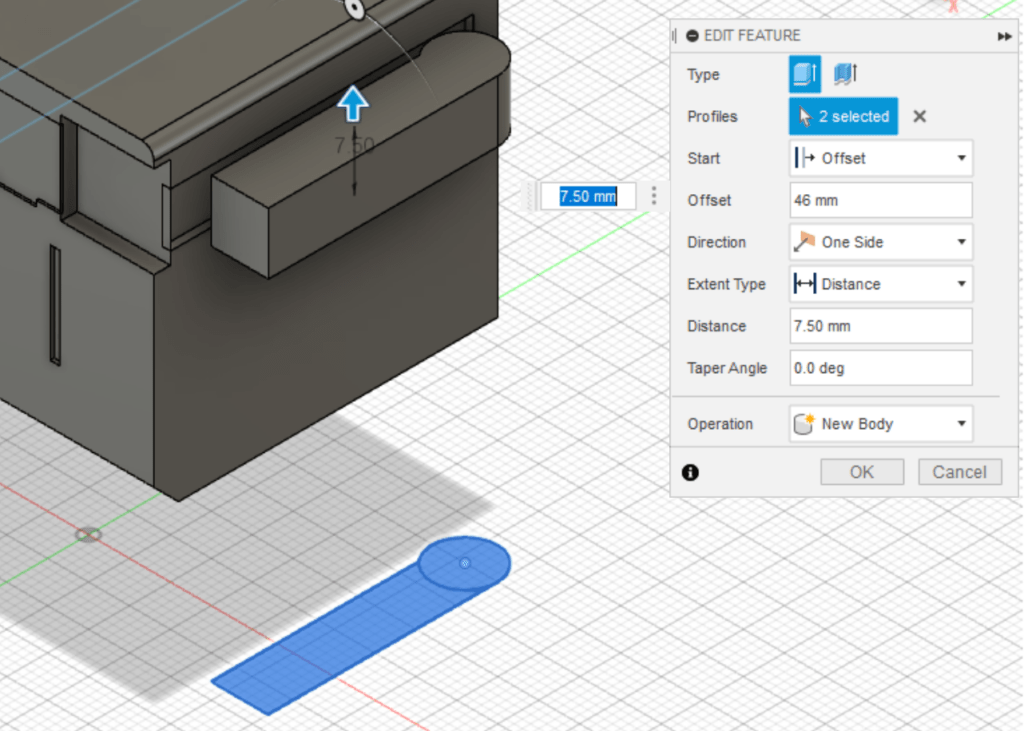
I noticed that there’s a slight cut out where the arm is, so I added a rectangular sketch and cut that piece slightly. I also added a circular piece to connect the arm with the body.
When I initially drew the sketch for the arm, I forgot that it wouldn’t be positioned where I wanted it to be. So when extruding the arm, I had to set the start at an offset of 46mm, which was determined by trial and error (i.e. trying different numbers until it match the image position). The rest of the arm was created with cylinders and chamfers/fillets.
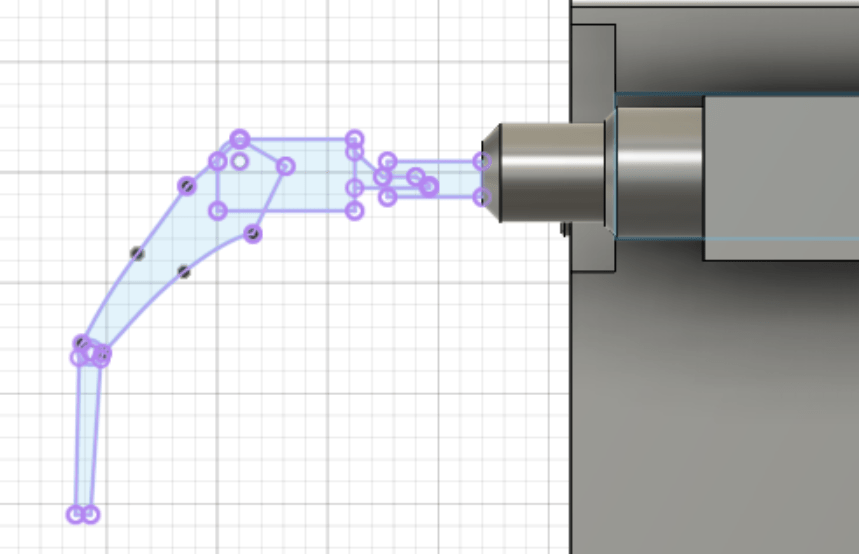
For the hand, I traced the side view and extruded. This time, instead of guessing the offset with the extrude, I tried projecting the hand sketch to the center of the arm and then extruded two sides instead of one. I did multiple extrusions instead of it all in one.
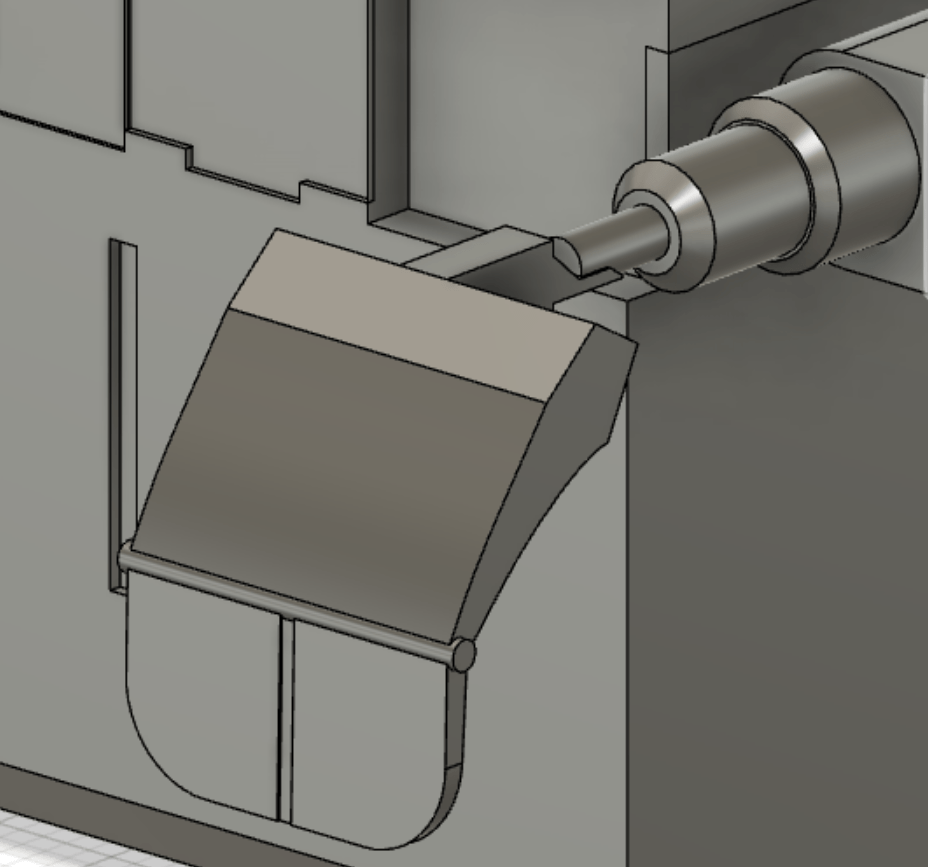
For the cut in the hand, I used a solid box and tried cutting the top of the hand as well, but since it was angled it didn’t work in one go. So I left the top of the hand as is and fillet the end of the hand to get the rounded look.
I then mirrored the arm to the other side. Here is where the center positioning mattered because when I did the mirror the arm was closer to the body than it was supposed to be. This issue was fixed easily by just moving the arm.
Step 5: The Legs/Wheels
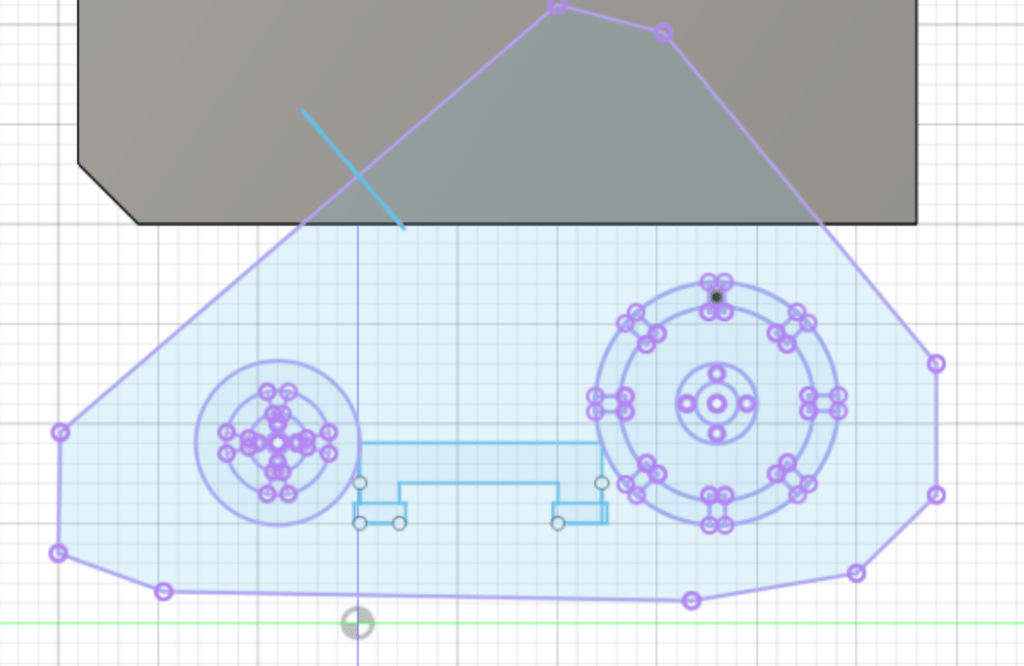
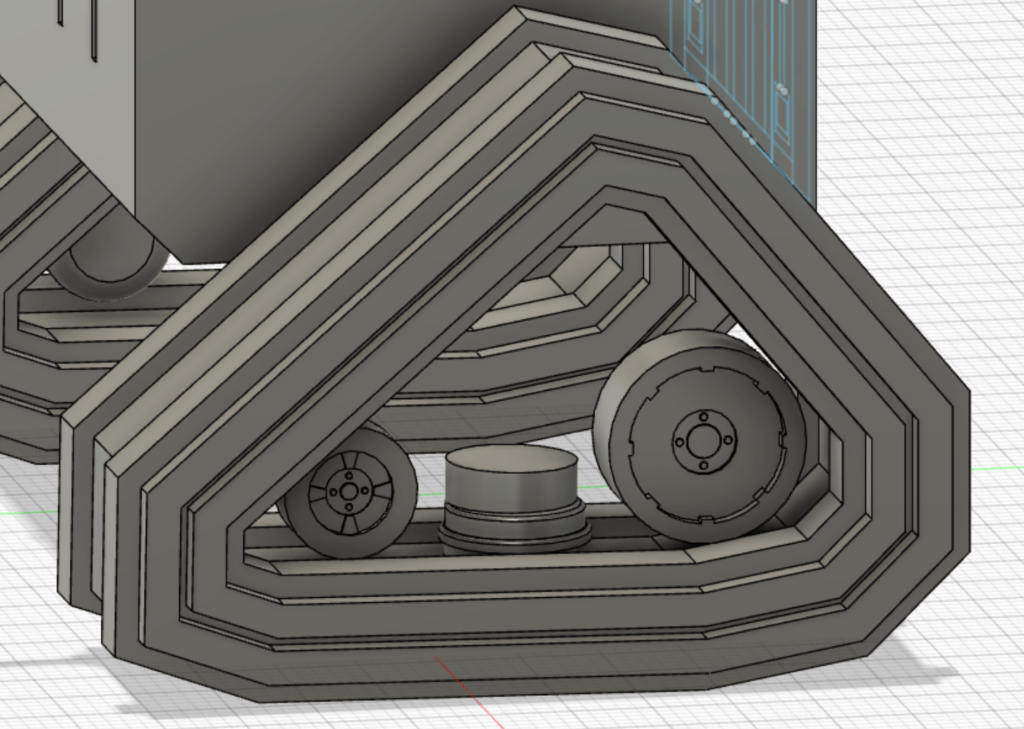
For the wheel/leg of WALL-E, I decided to use sweep instead of an extrude because I wanted the pattern of the wheel as the profile I’m sweeping. That didn’t go as planned, but I did get an interesting shape for the final wheel look. I projected the sketch of the wheel like I did with the hand so I could position it where I wanted it to be. This was the profile and this was after sweeping:
The details inside the wheel were pretty difficult since the wheel wasn’t accurate. There were also a lot of little pieces inside the wheel that I didn’t exactly get, but it was essentially extrusions from sketches. When that was done, I mirrored the wheel to the other side.
Step 6: The Back
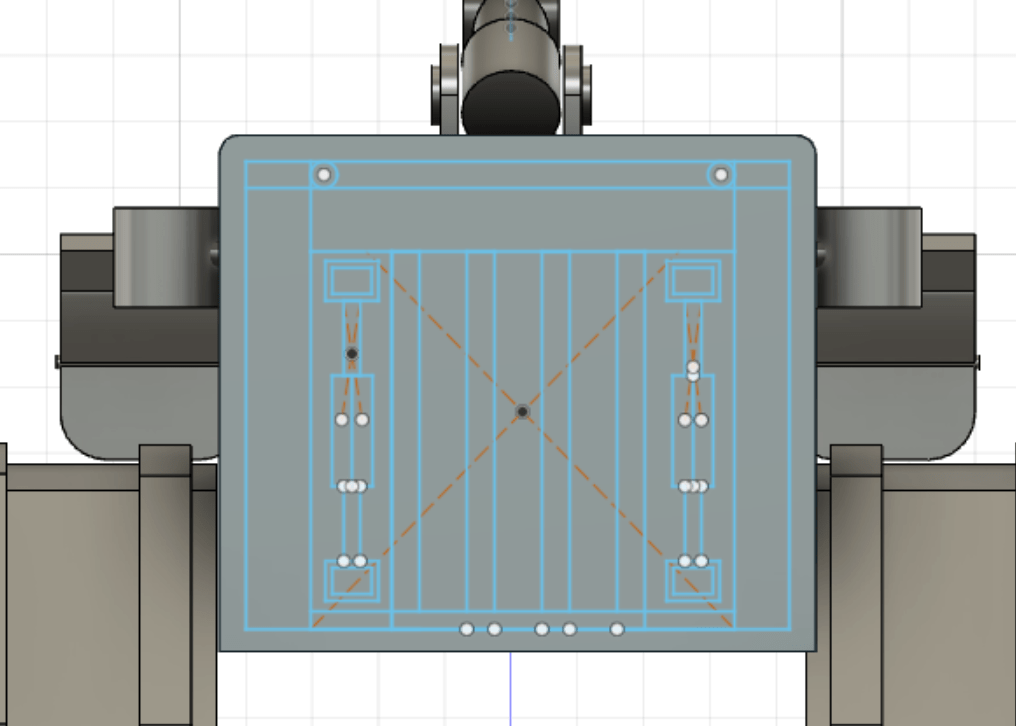
The final part of this model was the back. If you look at the reference image, the back is curved and hollowed out. I tried to recreate this shape by using 3D sketch or drawing a curved sketch and extruding onto an existing rectangular extrusion, but these methods didn’t really work out. Instead, I just fillet the edges to try and mimic that look.
The rest of the details were done with extrusions. However, the tube looking pieces on the side were created with revolve, which is why there was a midline in the sketch.
Further Improvements and Things I Would Change
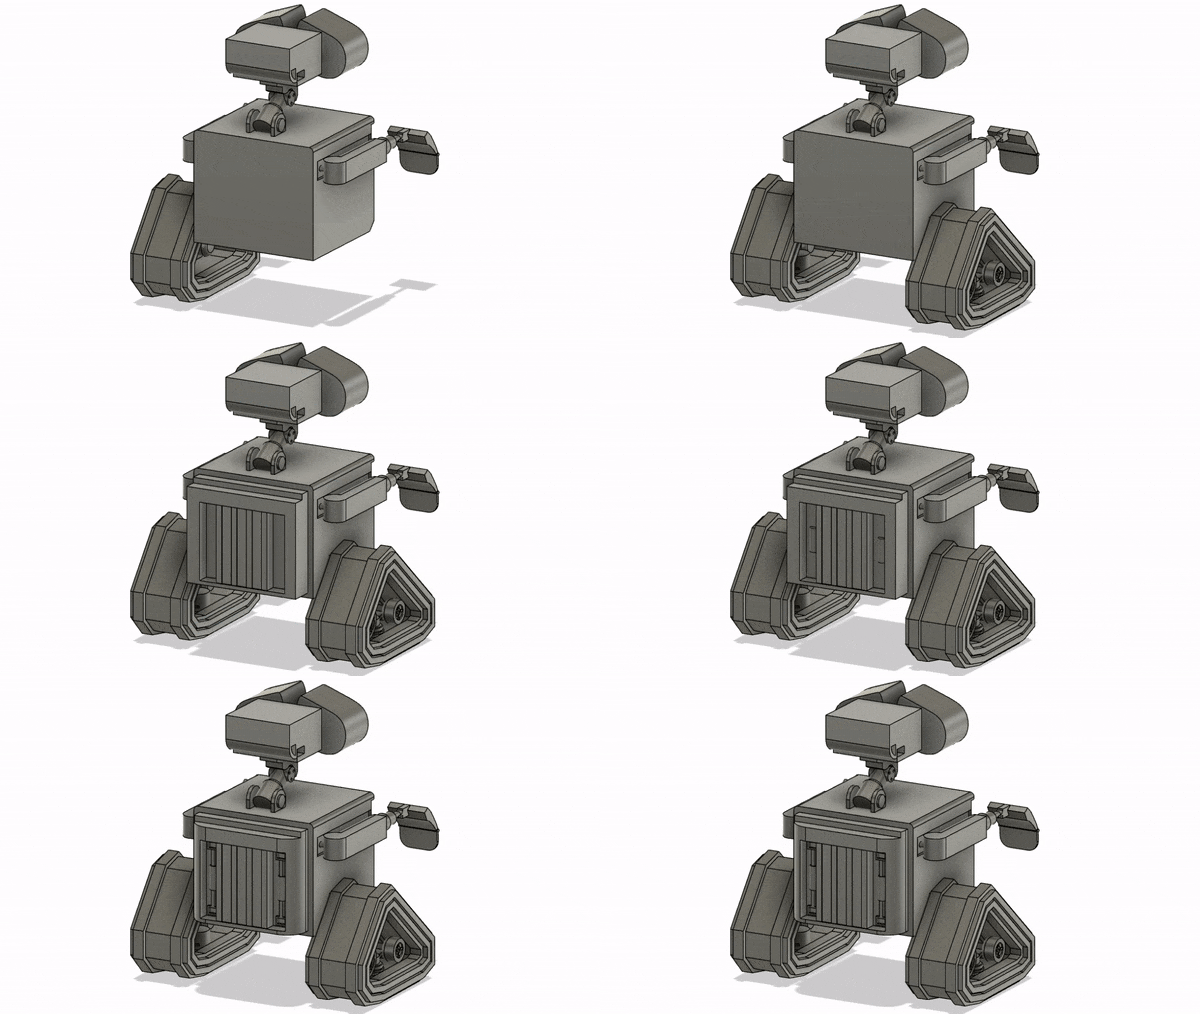
If I were to create this model again, I would focus less on the details until the basics were done. I feel like this is a rule I try to follow, but this time I had a less organized approach when I was creating the model. If you look at the entire timeline, I was rather sporadic and never fully focused on one section.
I also wished I didn’t combine all the pieces together because this makes it hard to modify some parts of the model without affecting another. It also restricts the ability to add joints and create animations like moving the arm or neck.
I definitely would redo the back, back of the eyes, and wheels of this model. I noticed that there’s a pattern on path, which would be useful for the wheel. It would also be cool to render this model and add materials to it to create a more polished look.
Overall, this model was really fun to create and definitely a challenge! I do hope at some point I will be able to recreate Howl’s castle though.


