This week in CAD for Virtual and Reality we learned how to sweep and emboss. So for practice, we recreated the Vattenkrasse watering can from Ikea using all the techniques we learned so far.
Process

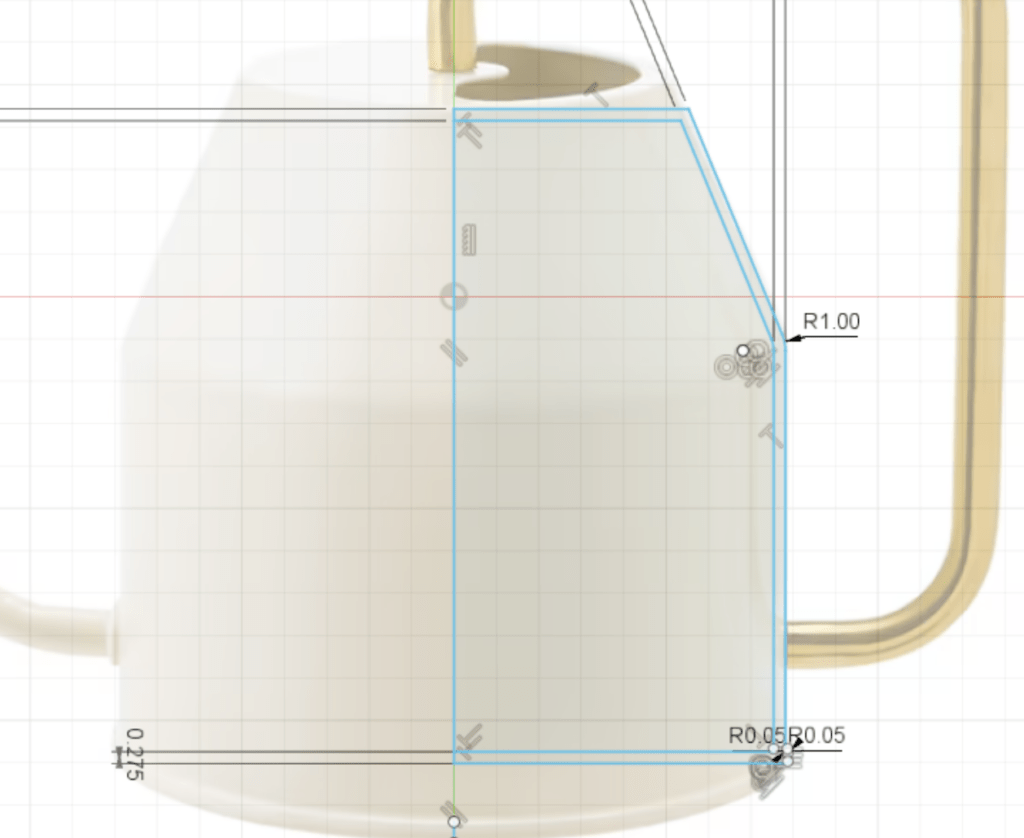
I started by inserting a reference canvas. While there was an image with the dimensions of the watering can, I found it easier to just draw over an image. I used line and fillet to make the edges smoother, then I used revolve to create the overall can shape.
Instead of using shell to make the inside hollow, I decided to offset the original sketch and revolve again because I needed the top to be covered. Additionally, I noticed in the 3D model example on the Ikea website that the bottom was not flat, so I drew a cylinder on the bottom face and extruded upward to cut.

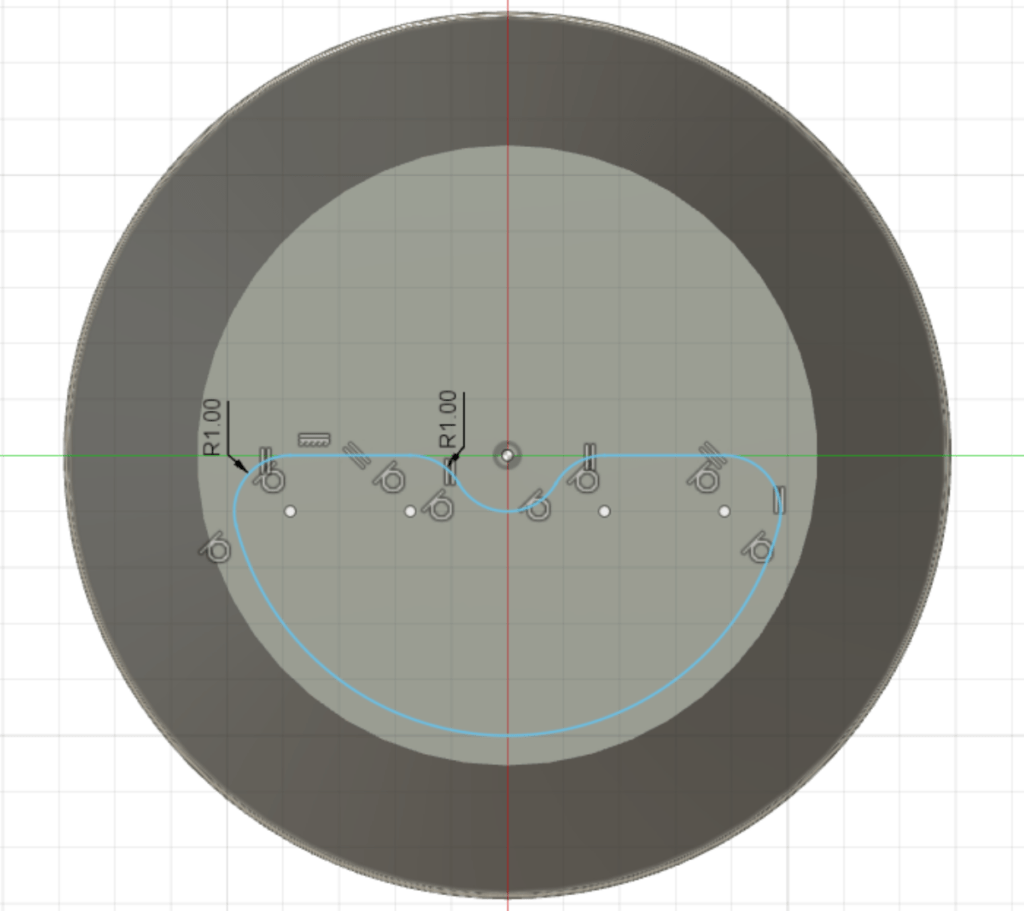
For the hole at the top of the watering can, I created a new sketch on the top face. I used arch and lines to create the shape. This part I had to eyeball since there was no top view of the watering can. I then used fillet to make the edges more rounded. To finish, I extruded downward to cut the piece out of the watering can.
I also noticed that in the close up image of the real model the edges of the hole was smoother so I added a fillet later on.
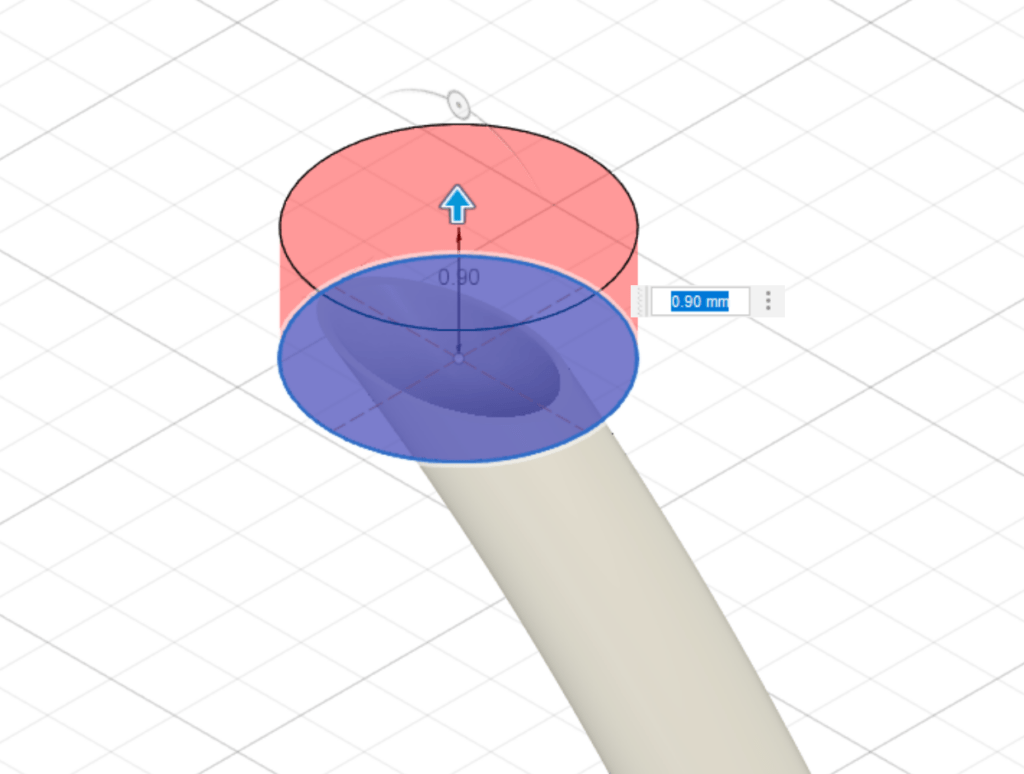
The spout was probably the most difficult part but I managed to figure out how to create the point! As seen in the image above, I managed to get the oval pointed spout by rotating the profile for the sweep, but this of course affected the overall shape of the spout. As seen in the real model, the spout is circular with the end being pointed, but in this case the whole spout was flat and followed the oval shape. When I just used a circle, the end of the spout didn’t have that oval finish. I tried to cut by drawing another sketch above, but it didn’t cut the way I wanted to.

I realized that instead of placing the sketch above the end of the spout, I should place it in between and then extrude upward to cut the piece out. I didn’t have to worry about the dimensions for the sketch I was using to cut the spout, and it ended up looking more like the real model.
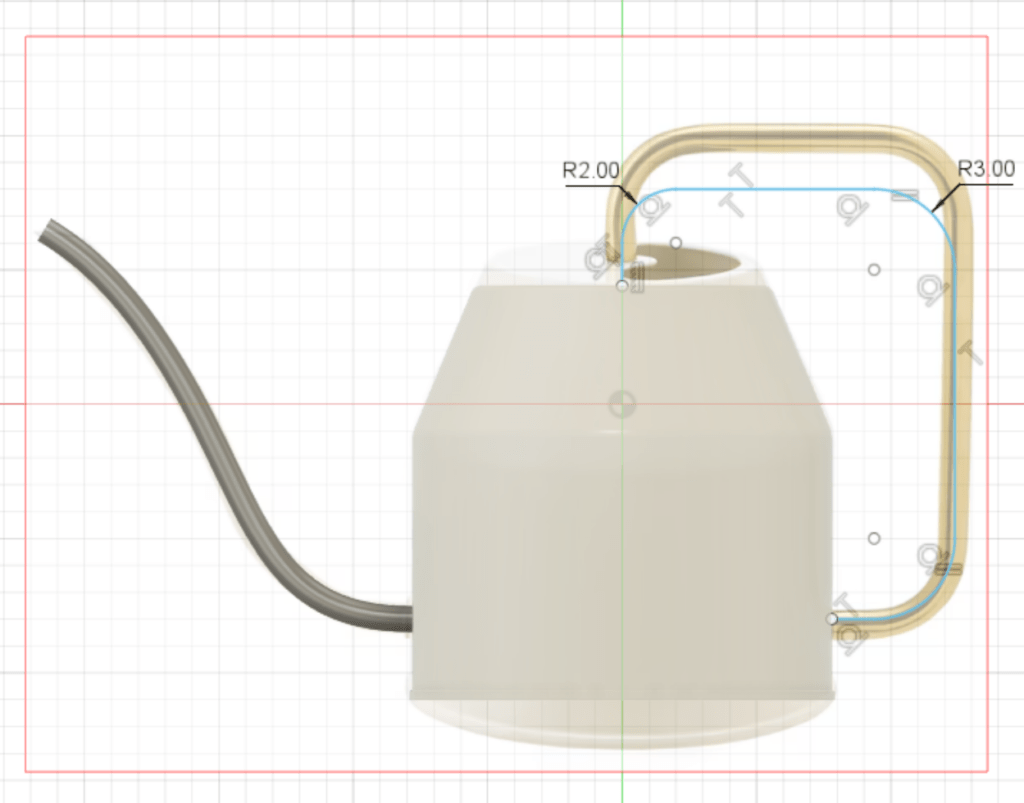
During the sweep for the spout was pretty straightforward, since I just drew the path using controlled spline and followed the reference image. I noticed that at the point where the spout connects to the body of the can there’s a rim, so to do that I created a new sketch and just drew a circle and extruded to join the spout with the body. Then I used fillet to make it rounder.

Finally for the handle just used lines to create a rectangular shape and then fillet the edges to get the rounded finish. Then I created a circle profile and used sweep to get the final shape.

Midterm Project Ideas
I am currently in another class called “Virtual Performance and Unreal Interactions”, which uses Unreal Engine 5. I think it would be interesting to create my own assets for my midterm project in that class. The prompt is to create a music video, but I haven’t really came up with an idea for it yet.
Another idea I thought of was to create a 3D model of something from Studio Ghibli. While this isn’t exactly original (since I would be referencing Studio Ghibli), I think it would be a fun challenge to recreate the castle in Howl’s Moving Castle (this would be a huge challenge) or Cat bus from My Neighbor Totoro.
What if I combined the two ideas and used music from a Ghibli movie for my music video and created assets for that?


