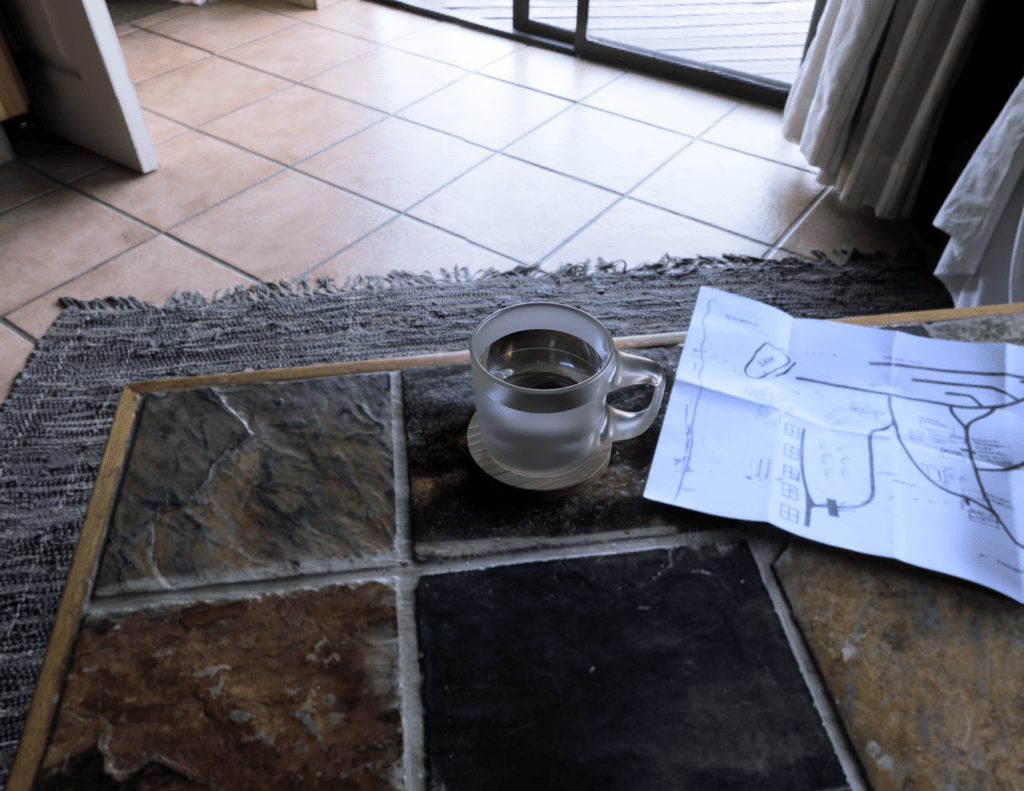
This is my rendering of the mug from class. I tried searching for the enamel material, but I don’t think I had it so I ended up using frosted glass. I actually rendered this twice on my laptop and it took probably 6+ hours to do both renders. So for the Grabcad model, I used a computer and each render took roughly 10 minutes. Since it was way faster, I was able to test out different positions and backgrounds and render multiple times.
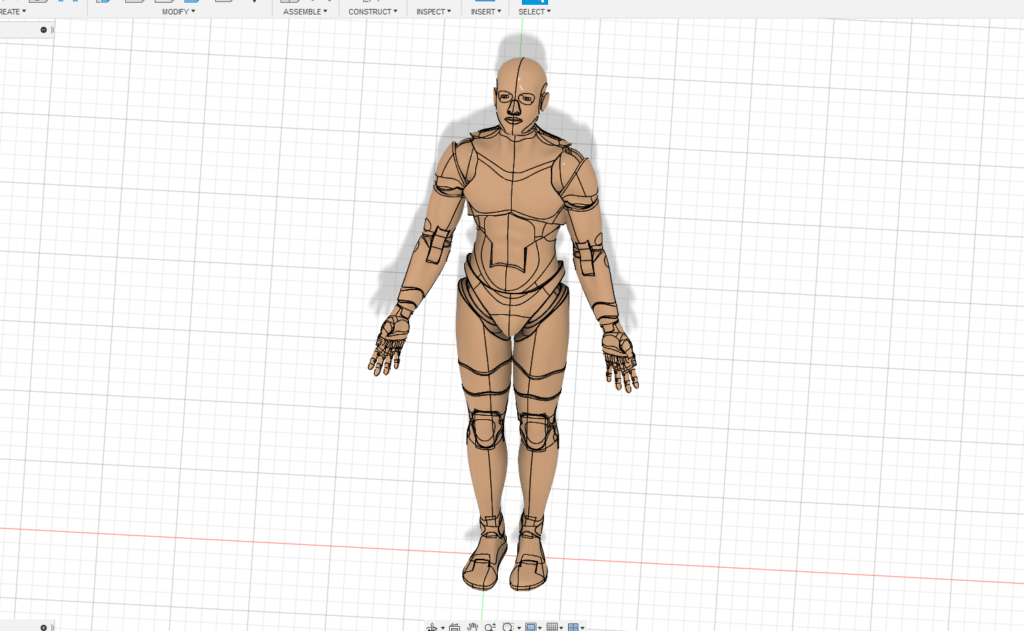 I found this model on Grabcad called Adam-78 solid body with limited joint in Fusion 360 and it looked fun to mess around with because the examples included had interesting poses. However, I had no idea how to move the joints to create poses, so the final render did not turn out as expected. I also ran into a couple of technical difficulties along the way, which some of them I figured out, while others I’m still left scratching my head.
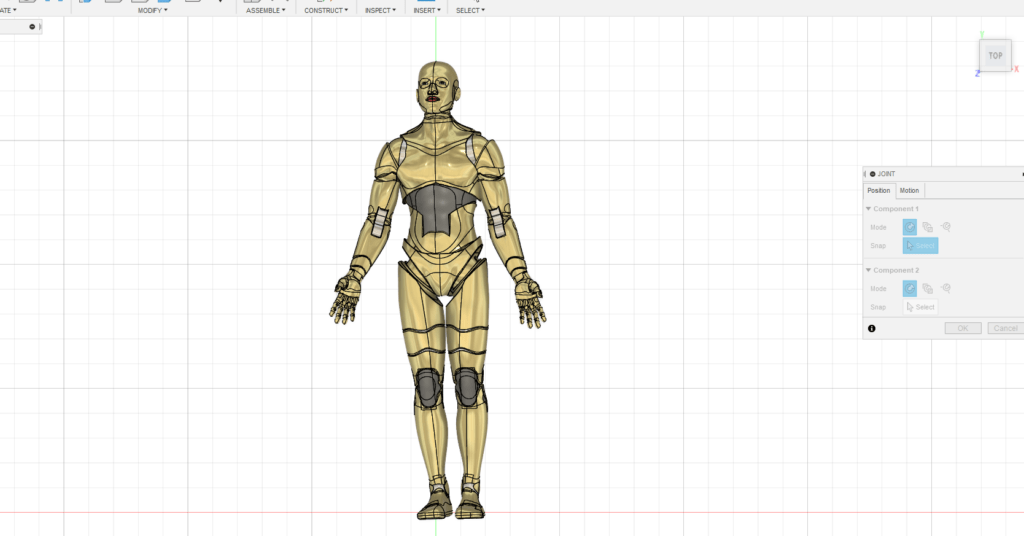
I feel like changing the appearance of the model was pretty straight forward. I wish I took some close-up screenshots of what I did, but I basically made the whole model gold and then added a few accent colors. After making it all gold, I felt like it looked a bit like C3-PO, so I tried to color it in a similar way. In the end I did my own thing and made the eyes blue and gave it red lips, but it’s hard to see in this screenshot.
I tried looking up tutorials on how the joint works and how to move it because the model supposedly had joints already. But I don’t think my side bar fully loaded so I couldn’t see the bodies or the points, and I ended up not changing the pose.
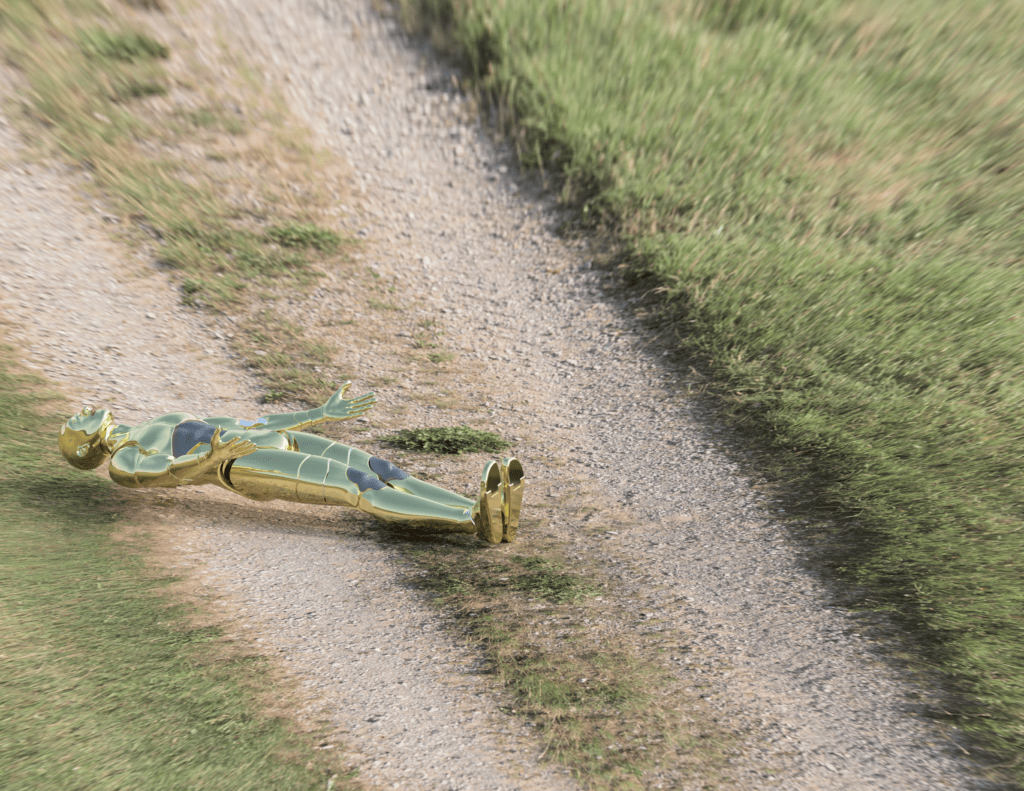
I actually rendered it multiple times, so this picture was the first attempt. I though the lying flat pose was kind of funny looking, like it’s staring at the sky and asking “why”. But I didn’t really like how the background looked and the shadow seemed off, like it was kind of floating. Before rendering, I think I changed the camera setting, which is probably why it looks distorted.
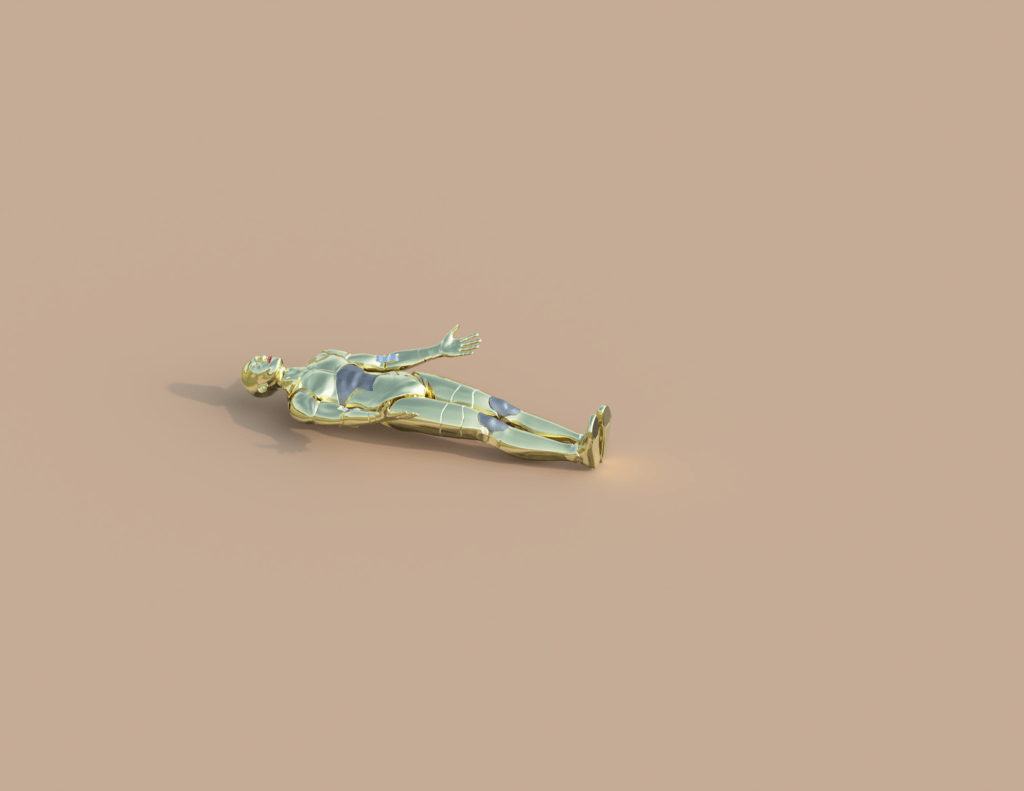
This is the second rendering attempt. For some reason, the environment disappeared, but before I rendered it, the environment was still there with the camera setting changed (sadly again, I don’t have a screenshot of how it looked like before the render, but environment looked less motion blurred than the first one). I felt like the shadow here is better than the first one, but I couldn’t get the head to look like it wasn’t floating.
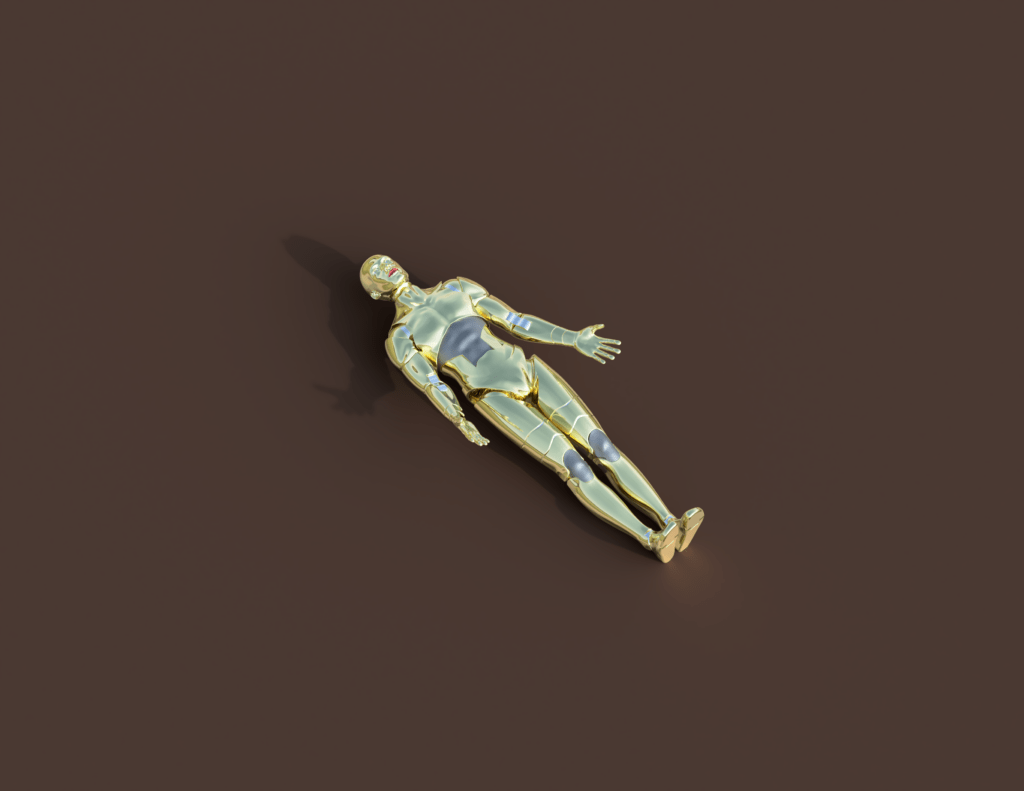
This was the third attempt in rendering. Again, the environment disappeared even though it was there before rendering. I thought this happened because I messed around with the model while it was rendering in the background, but this time I didn’t do that and the environment still disappeared. I do quite like the look of it without the environment though.
I tried rendering it a fourth time with a different environment, and it did work, but my computer froze and I had to cancel it. It was going to be a front facing close-up render, but the feet were cut off when I previewed it. I wanted to change the position then rerender, but my computer was not happy about that. I closed and reopened Fusion 360 to try to render it one more time, but it didn’t still work. I decided to go back to Design and move the whole model so it was standing instead of laying down, but I couldn’t really figure out how to make it fully standing. I used the move/copy function and tried rotating, but I ended up with a position that wasn’t what I intended for. So here are three renderings of a model I found on Grabcad. I think I might go back and play around with it some more once I become more familiar with Fusion 360.