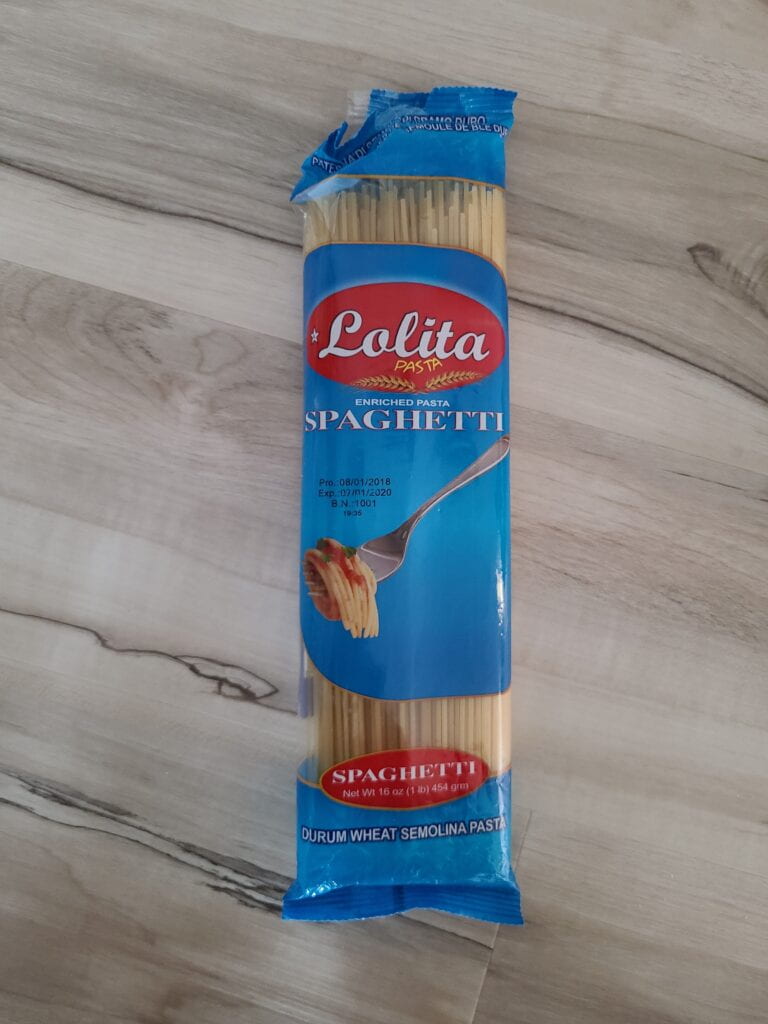
Since I don’t want to waste too much spaghetti and glue, I decided to draft a plan before starting to build. Unlike the egg drop challenge where we could create multiple prototypes before the final one, the spaghetti bridge challenge makes me work sparingly with the materials I have. This challenge is also a bit scarier because I can’t really test the bridge to destruction before the actual in-class test day unless I build multiple bridges.

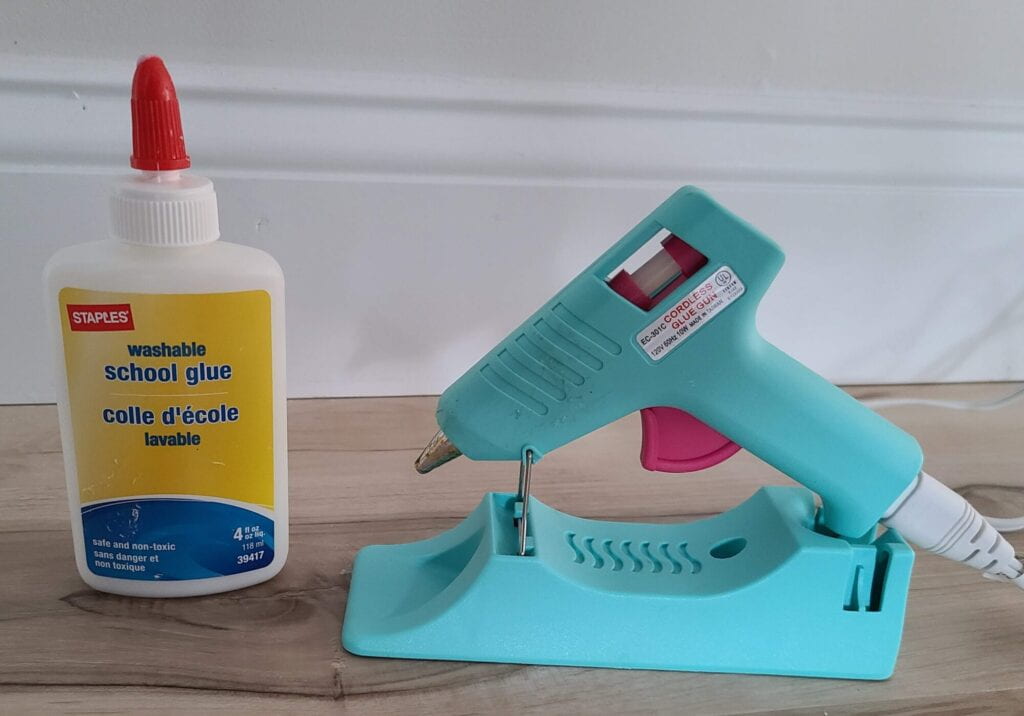
I originally was going to buy UHU glue since it was recommended, but I couldn’t find it in the craft stores near me, so I used the one glue that I had. I also have a glue gun, so I decided to use the bottled glue for piecing individual strands together and the glue gun for piecing the “beams” of the bridge together. I was a hesitant to use the washable school glue, since it’s most likely water based, but surprisingly the spaghetti strands are holding together pretty well and it dries pretty quickly. The glue gun is also really good for filling in gaps between when piecing the spaghetti beams together.
Design and Building Process

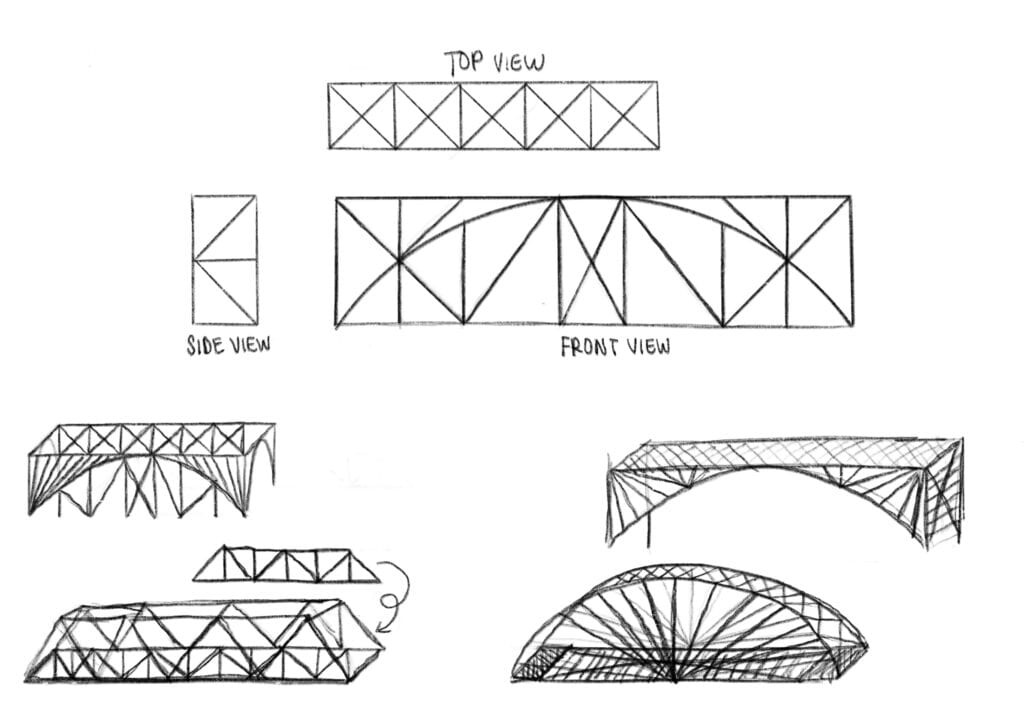
These are a few design ideas for the bridge. Going into this, I definitely wanted to incorporate triangles in my bridge. While I was researching, I also considered doing an arch. The bottom right design is kind of inspired by this video of the winning spaghetti bridge in a contest.
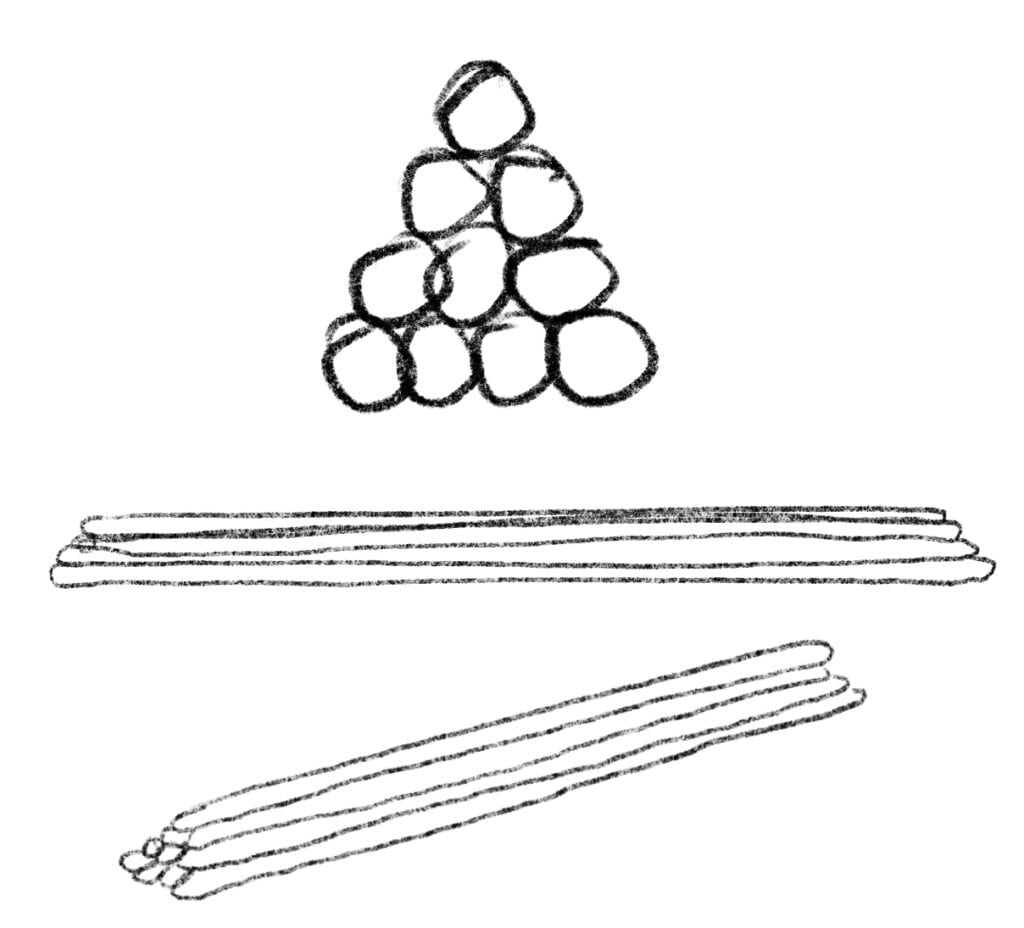
 However, once I started building and playing around with the spaghetti, I kind of strayed away from my plan. I first made the longest beams that are supposed to span the 500mm. I used 10 pieces of spaghetti and stacked them like a triangular prism (like the picture).
To make the triangular prism, I would glue the flat pieces together and then assemble it. At first I tried to go fast and just stack and glue, but that didn’t work out. I also started off with gluing the ends and then going back to the middle, but I found it easier to just glue the whole thing, lay it down to dry, then go back if it wasn’t completely stuck together.
One beam is about 250mm, so I tested it out with a 500ml water bottle sandwiched in between and it was pretty sturdy. The issue was that some of my spaghetti was 240mm, so if I connected them it wouldn’t be the full 500mm. I decided to connect 3 instead of 2, so the whole bridge would be 750mm. To connect the pieces together, I glued 4 pieces of spaghetti flat and made sure to stuck the 3 sides of the triangular beam with 3 different flat pieces. Then I hot glued the center piece where there were some gaps.
Moving Forward
To reinforce the bridge, I’ll add the x-pattern (as seen in the sketch “top view”) and try to do the arch. I originally planned for the arch to be supporting the bottom, but I’m not sure now. Also when I was piecing the beams together, I kept the ends uneven so they could kind of intertwine when I pieced it together, but I feel like it probably would have been better to flatten it out and glue it together.
Now that I kind of get the hang of how the spaghetti bridge building process is like and learning from my mistakes, I think I’ll be a little faster building the rest, but who knows what other issues I might encounter.

