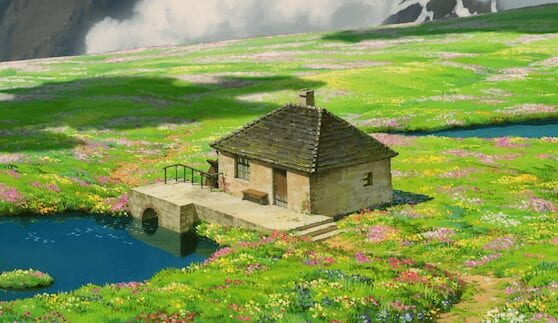
INSPIRATION
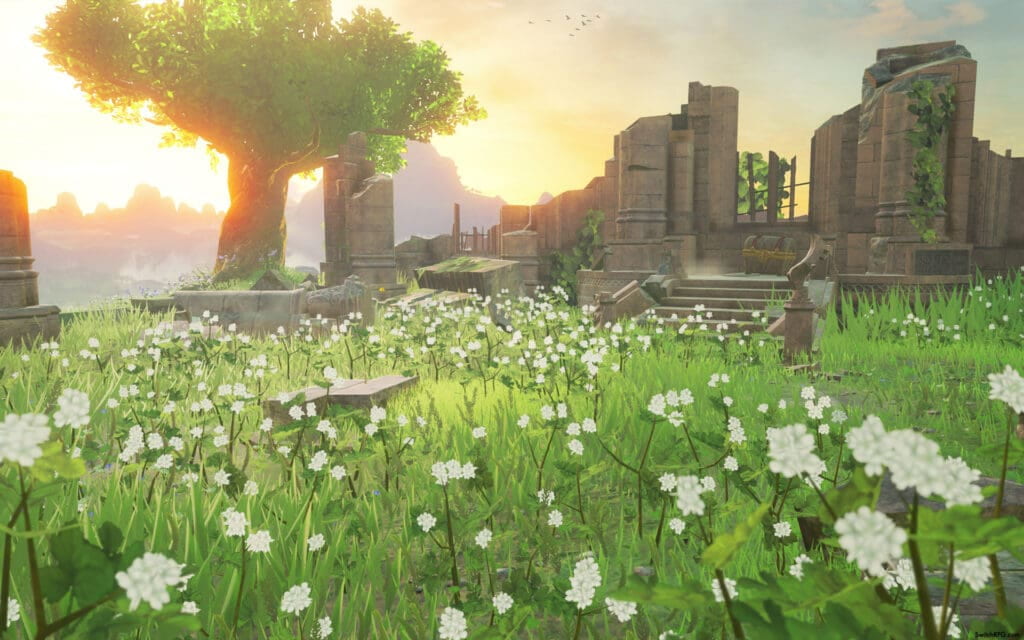
I took some inspiration from my capstone, which revolves around video games and escapism. I wanted to take the concept of escaping into another reality that’s a peaceful space for people to relax and not worry. As for visual inspiration, I am particularly drawn to Legend of Zelda: Breath of the Wild and Studio Ghibli films such as Howl’s Moving Castle.
PROCESS
Bubble
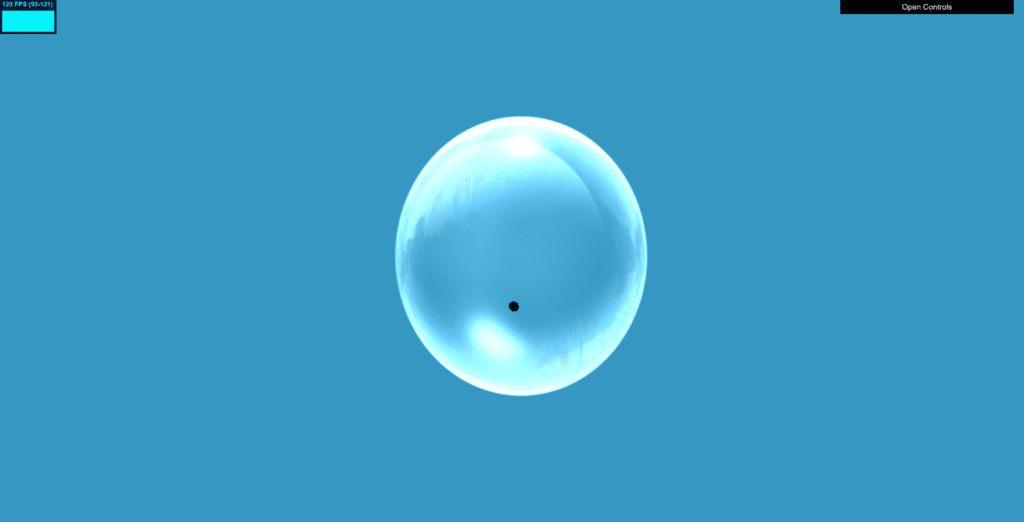
I began the project with the first main piece: the bubble. Adding this to the project was pretty straightforward, I followed the example code and was able to successful display the bubble. However, since it is a 2D image, there is no 3D element to the bubble when you move around, which is something I wish that was incorporated.
Flower
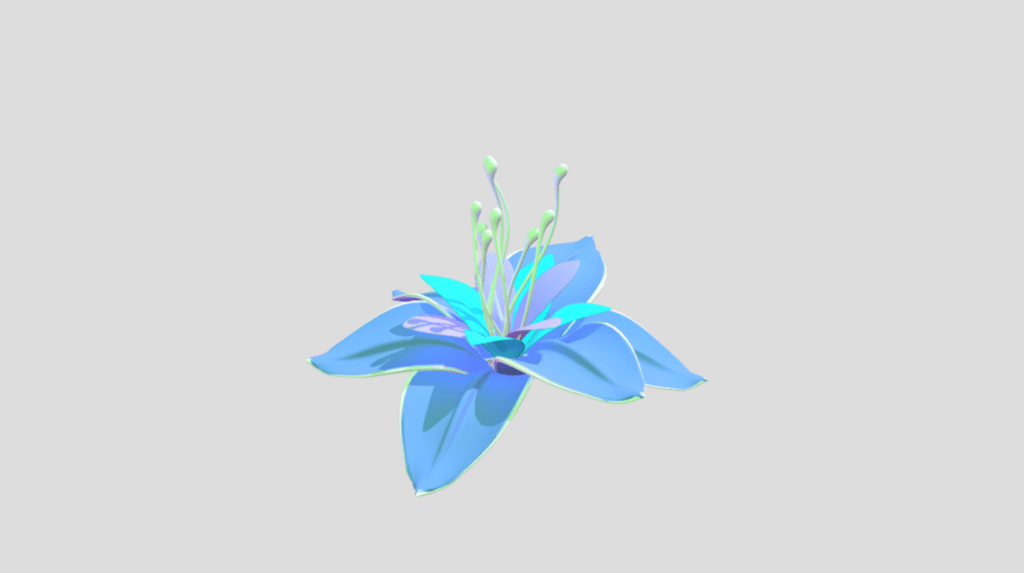
This is the 3D model I found on Sketchfab. For the flower, at first I wanted to just use a torus knot, but then I decided to find a model online and import into the project. However, none of the files I found were OBJ, so I tried converting it using Blender but the texture/material saves as another file. I could’ve used GLTF, but if I remember correctly, OBJ was easier to use and load in three.js. One issue I encountered was the material not loading in with the model, but I ended up just experimenting with different materials on three.js.
I was able to convert it, but the next issue was getting the OBJLoader to work. I kept getting an error saying . At first, I thought it was because I didn’t add the script in the index.html file, but after doing that I still got the same error. Turns out, I was missing window.OBJLoader = OBJLoader;which after adding that to the html the object showed up!
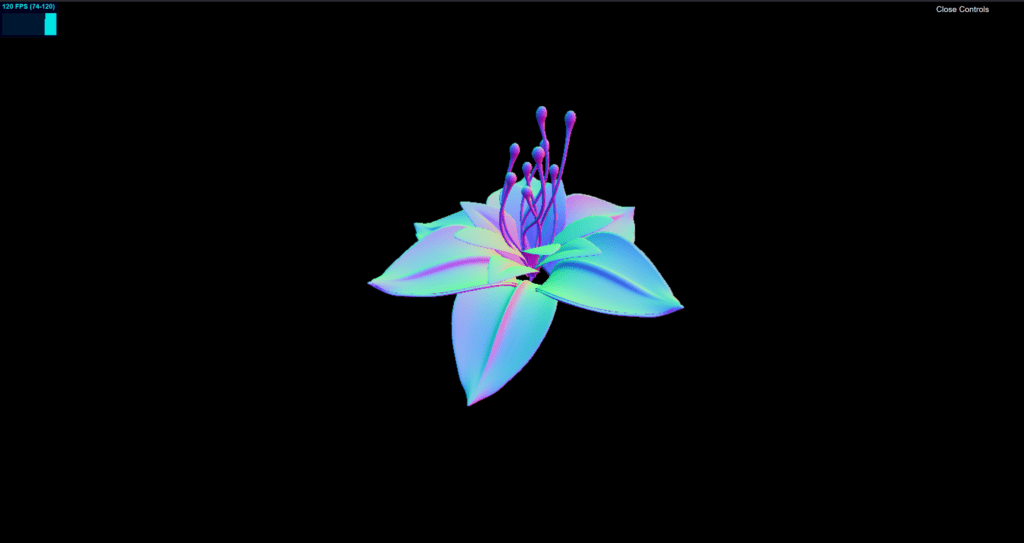
So for the material, I decided to stick with normal because it created a nice effect and looked pretty similar to the original texture, but later on changed it because I wanted to play around with shadows and lighting on the flower, and since normal doesn’t allow that I had to change it. After looking at this again, I kind of wish I kept the normal material.
Landscape
For the landscape, I wanted to use the noise texture map method from the example code. I felt like it really simulated the feel of an ocean if it was moving, or mountains if it was static. In project A, I tried exploring mountains using cones, but the look wasn’t quite there. So, with mapping the image to a plane, it made the landscape feel a little more realistic and the movement was calming.
This is what it looked like without the movement:
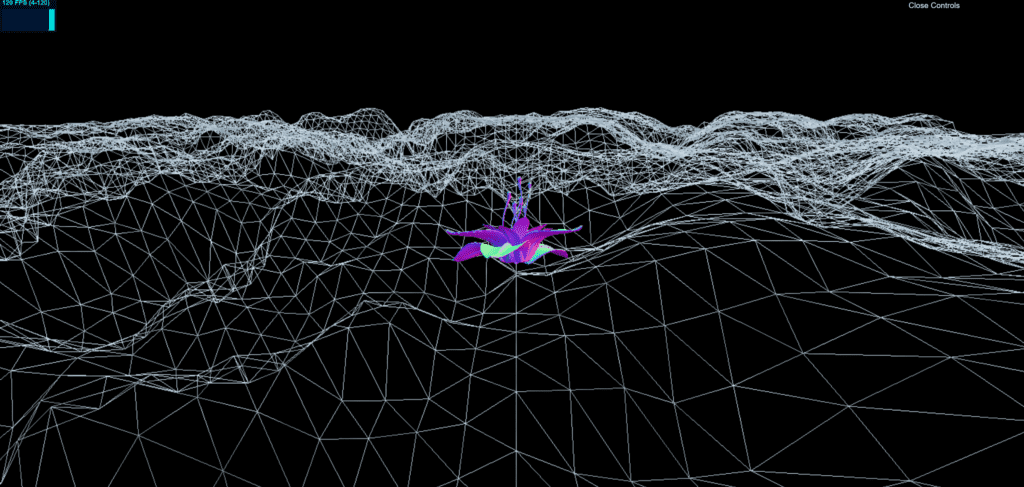
And this is what it looked like with the movement:

I kept changing the style of the world multiple times, which will be discussed later.
Snowflakes
The particle system, i.e. the snowflakes in the background of the scene, was what I struggled most with. So I tried to create the snowflake falling effect using p5 first and then implementing that code into three.js. I referenced this project, and turned it into a class rather than using a function. But since I tried to copy the p5 code into three.js verbatim, it didn’t work out at all. Nothing was showing up even though technically there was nothing wrong with the code.
So I had to go back to the drawing board. Firstly, I commented out the move() function in the class to see if there was actually stuff being added into the project. Sure enough, without the movement I could see that the torus knots were being drawn.
I received help from Professor Moon at this point, and he said to simplify the movement. Start with just modifying the y position of the snowflakes. Additionally, the position I set initially for the snowflakes was also why I couldn’t really see where it was located after adding movement. So after simplifying things, I got to see the snowflakes moving down the screen.
I also received help with the continuous falling effect and making the snowflake disappear after reaching the bottom of the screen. I mapped the opacity to the position of the snowflake, so when it reaches the bottom it slowly disappears. Then it will reappear at the top again after exceeding the “world half size”. But after adding all the other elements, it became hard to tell when the snowflakes disappeared.
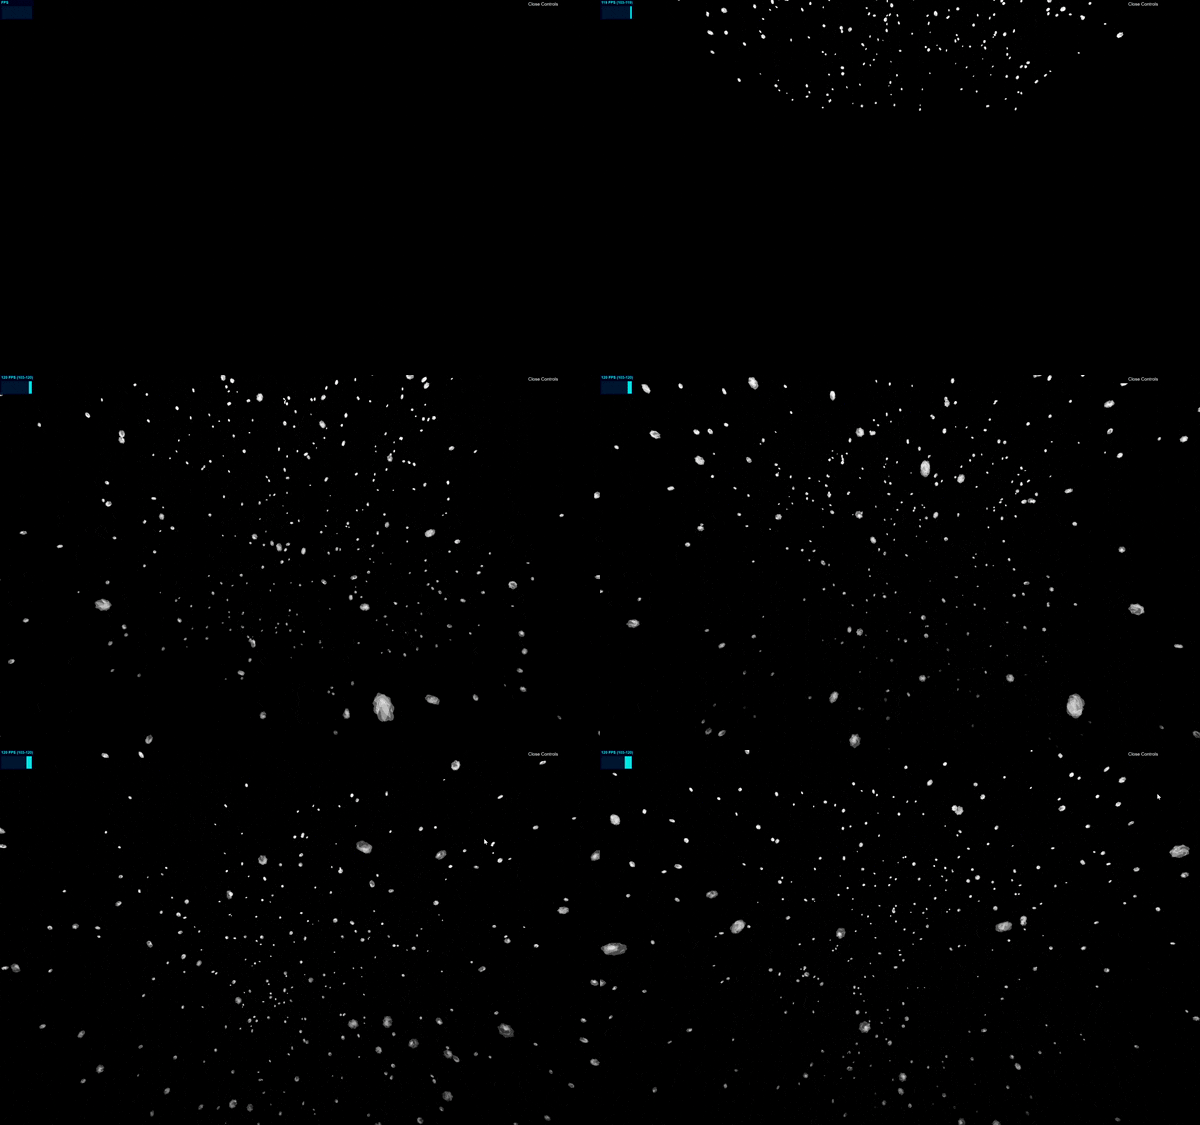
Later on, I decided to play around with the wind effect by adding acceleration. However, it made some of the particles move especially fast and after a while the number of particles that showed up decreased significantly.
VISUAL ELEMENTS
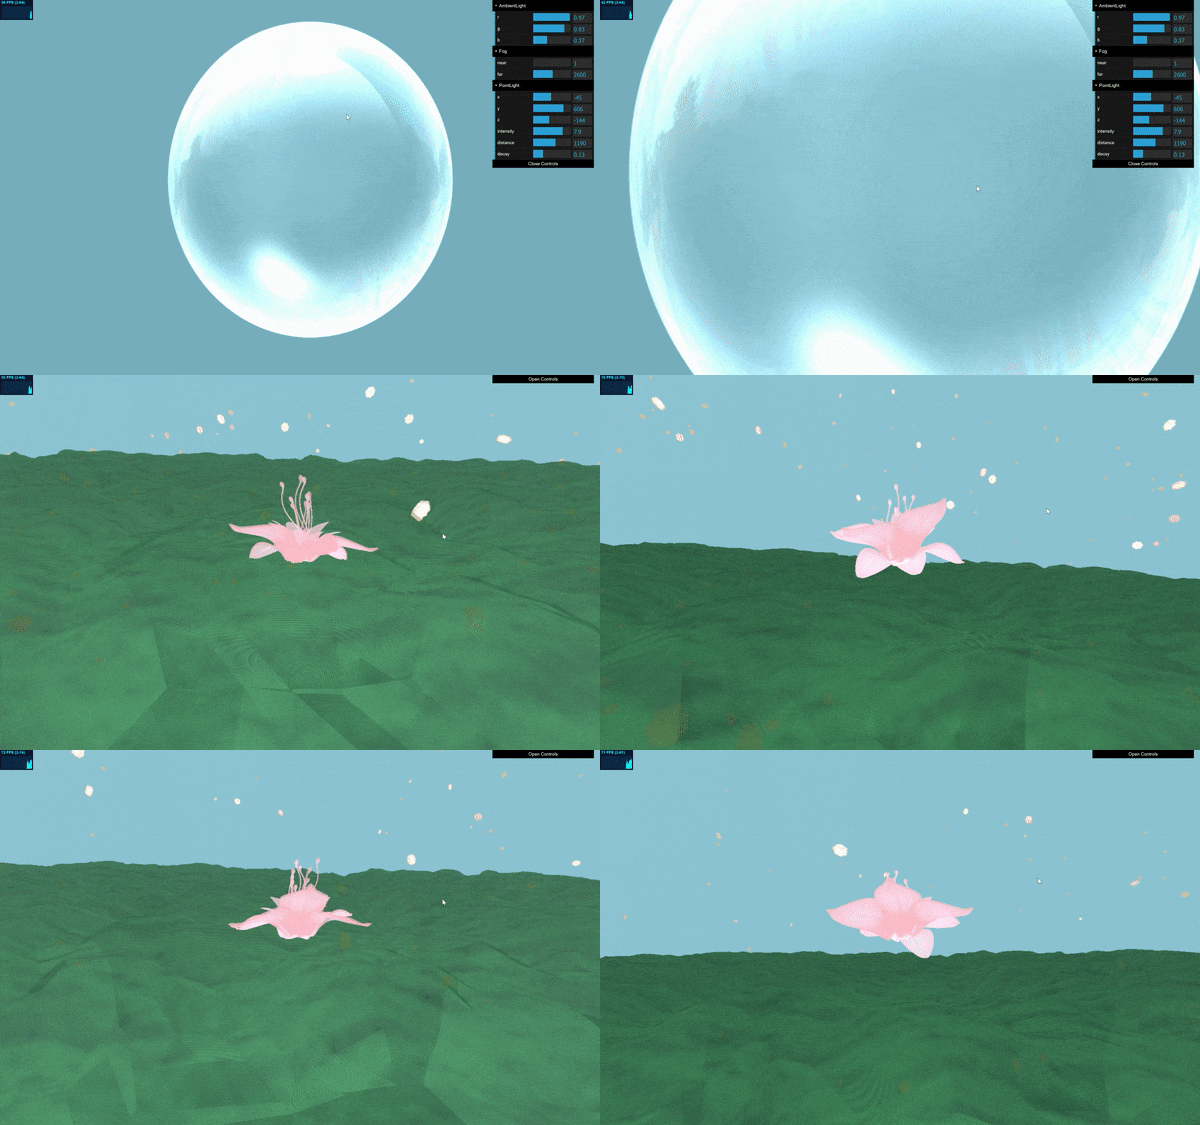
I played around with different colors and lighting and kept changing it, but this is basically the final look:
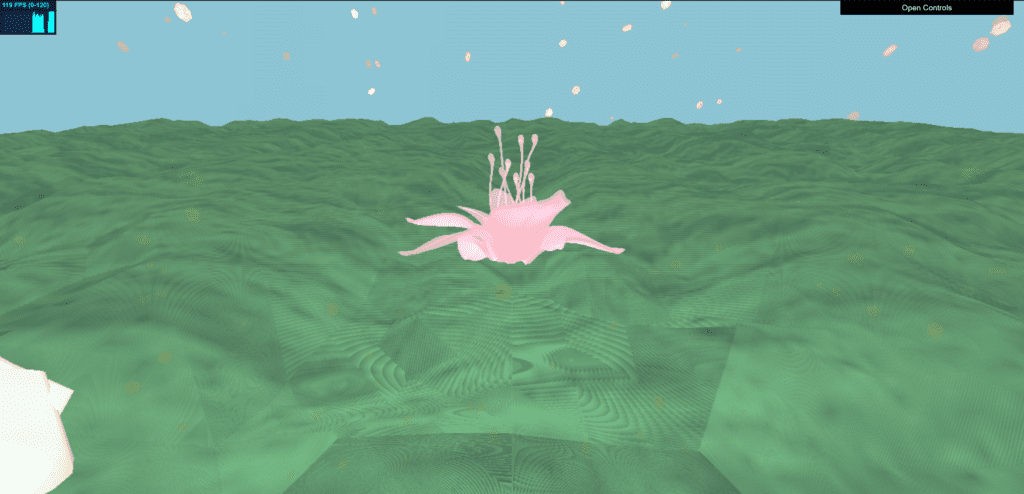
Additionally, since it’s supposed to be in a bubble, I wanted to make it so that the world appears only when you enter the bubble. To do this effect, I used opacity and mapped it to the camera position on the z axis.
FUTURE DIRECTIONS
Right now, the environment is quite simple and there are so many other things I wanted to add. I also want to be able to navigate around the environment and incorporate more models such as trees. But since the flower is the center piece right now, I think it would be interesting to keep exploring with that element as well. What if the flower was points material and slowly materialized into the solid model? What if the particle system (snowflakes) was coming out of the flower?
Also, since the title of this project is “You-topia in a Bubble”, it would be fun to incorporate the “you” aspect into the project in my future development.
As I said in a previous project (and didn’t follow in this one), always start simple!
