Loft Practice: Whiskey Bottle
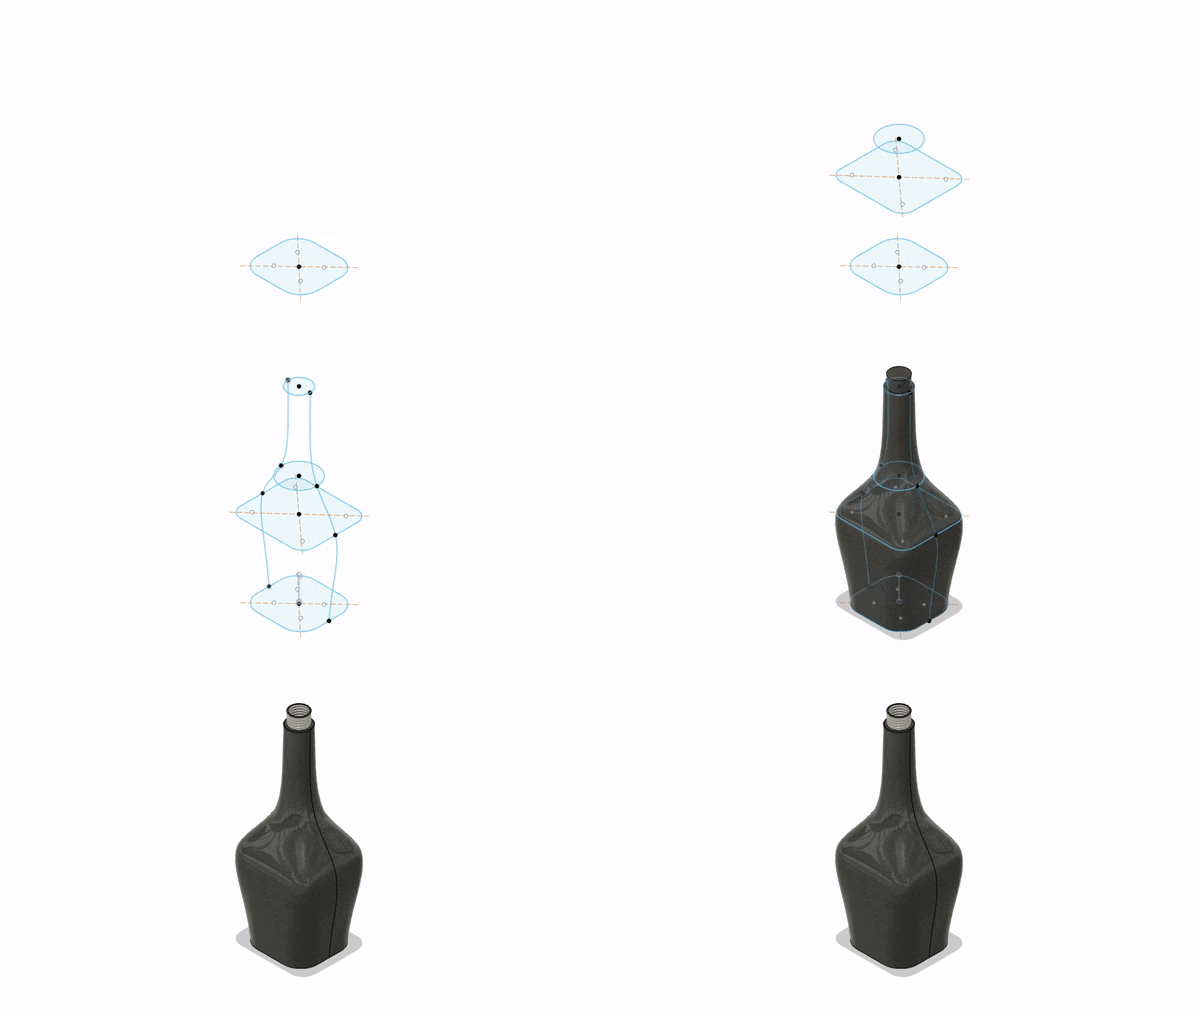
Since we had only a reference image for the whiskey bottle, I eyeballed and played around with the measurements and size of each sketch for the loft. I ended up going back and adjusting the size of the sketches and ended up with this final bottle shape.
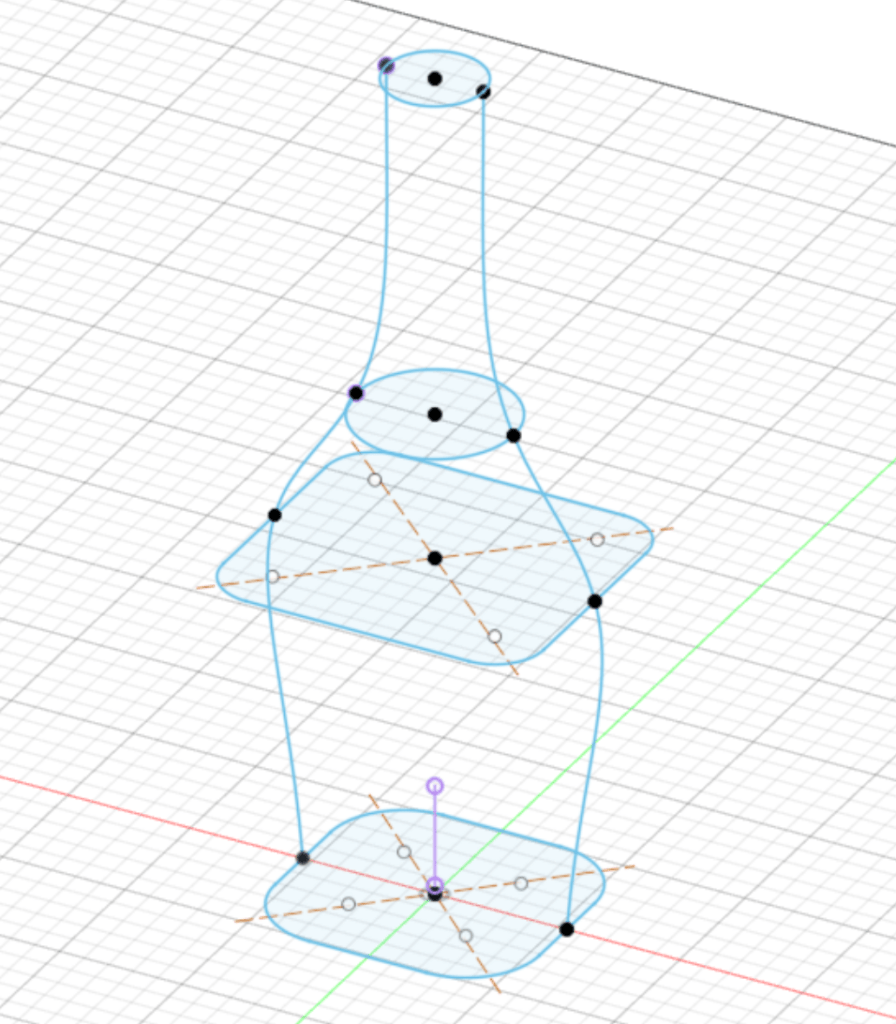
Creating the whiskey bottle was relatively simple: basically a bunch of sketches and offset planes. Then for the guide rail, I used project/intersect to make sure the rail connected to each sketch. I used spline to create the curved line. Then I used loft and the guide rail sketch to create the final bottle shape.
The last few steps included creating the thread at the top of the bottle and shelling it all. At first, I shelled, added the thread, then shelled again, but I realized that you could shell it all at once.
Midterm Progress
I decided to recreate the castle from Howl’s Moving Castle, which is a big challenge and I’m not sure if I can accomplish it.
It was really hard to find the right reference image and I kept starting over with what I had. At first, I tried to create it without sketching over an image, so I began with the “head” of the castle:
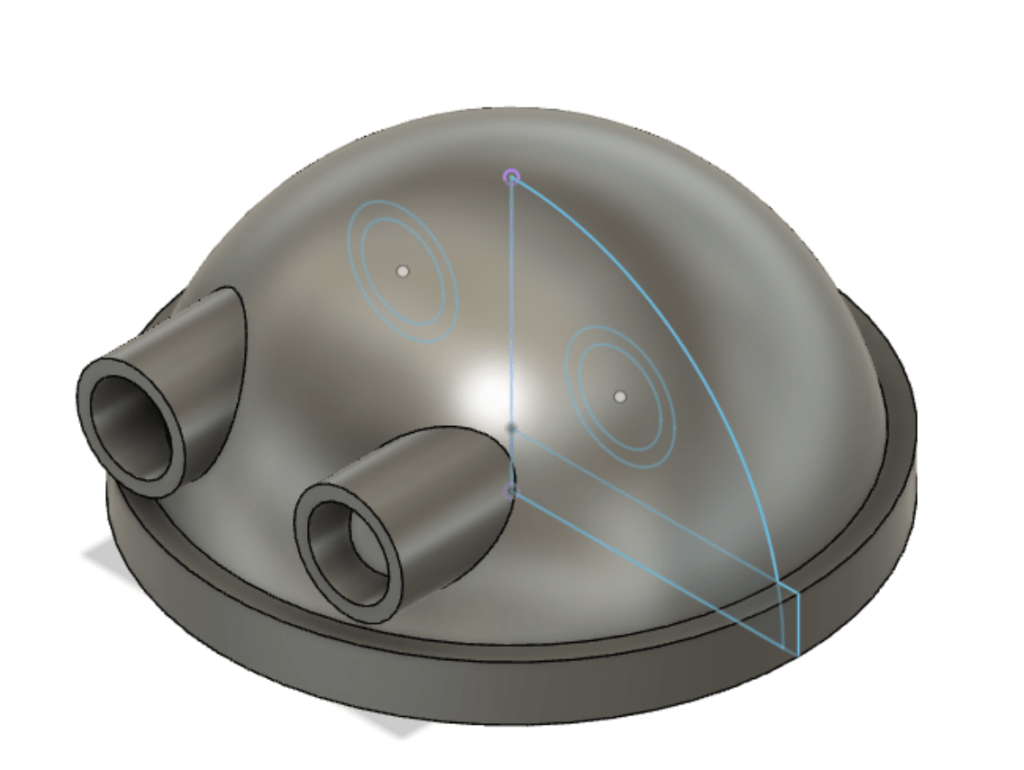
Since I wasn’t tracing over a reference and I didn’t have any measurements, I ended up making it a lot bigger than expected. I used revolve and then extruded the eyes. I wasn’t really happy with this result, so I scrapped this one and tried following a reference image by creating a canvas in Fusion.
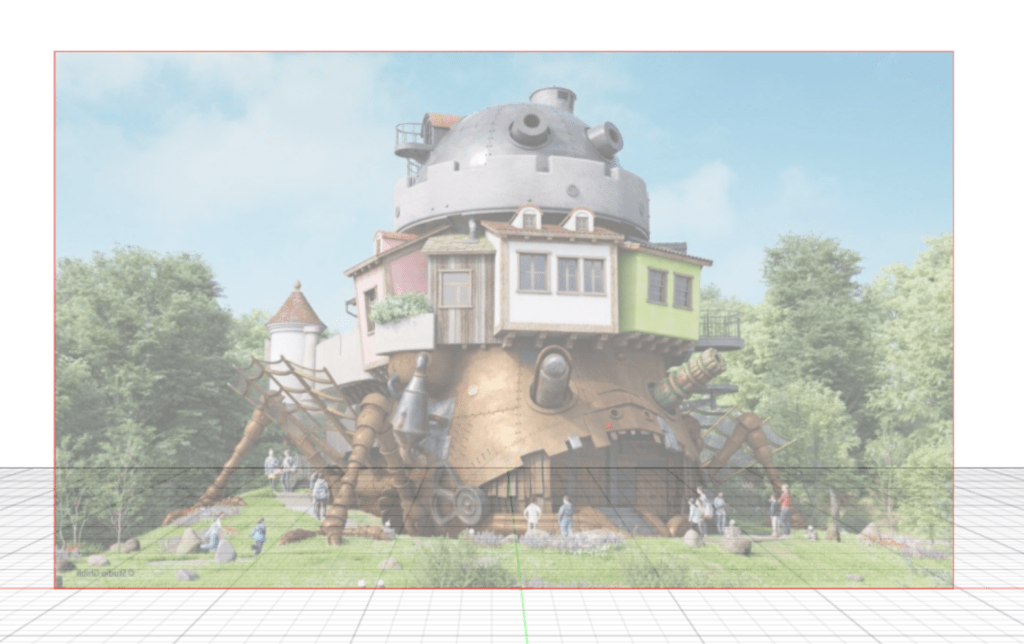
So the next thing I tried was to trace this image. I started with the head again and created basically the same shape as the previous one, but this time following the image size as best as I could.
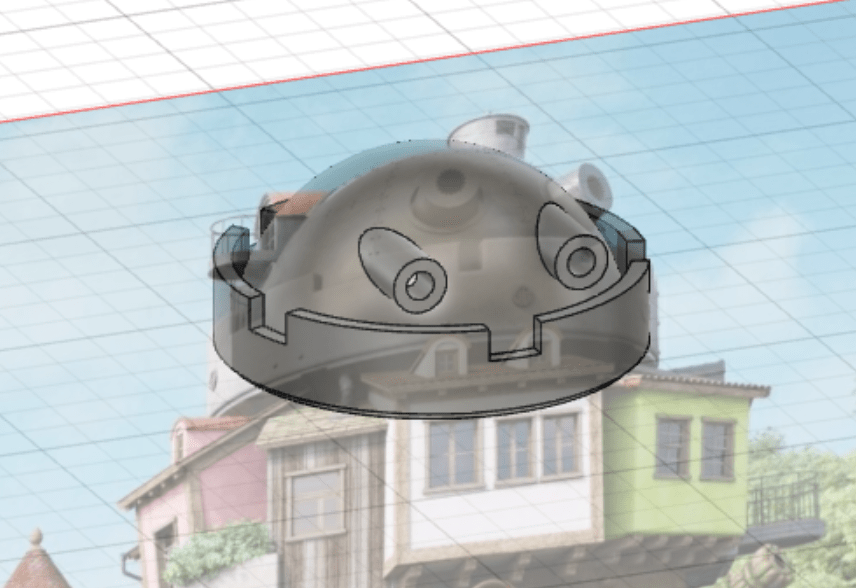
I used circular pattern to create the cuts in the ring that goes around the head. It didn’t exactly match the image, but it was the closest I could get. I tried moving the rectangles in the pattern, but that affected the position that the rectangles were in as well (they didn’t move around the circle, instead they moved out). I then tried to create the body with loft, but that didn’t work out at all.
At this point I was becoming more and more despaired with my choice of model, so I tried one more time to find a simpler version of the castle to model. I found this version and thought it was more straight forward than the last one:
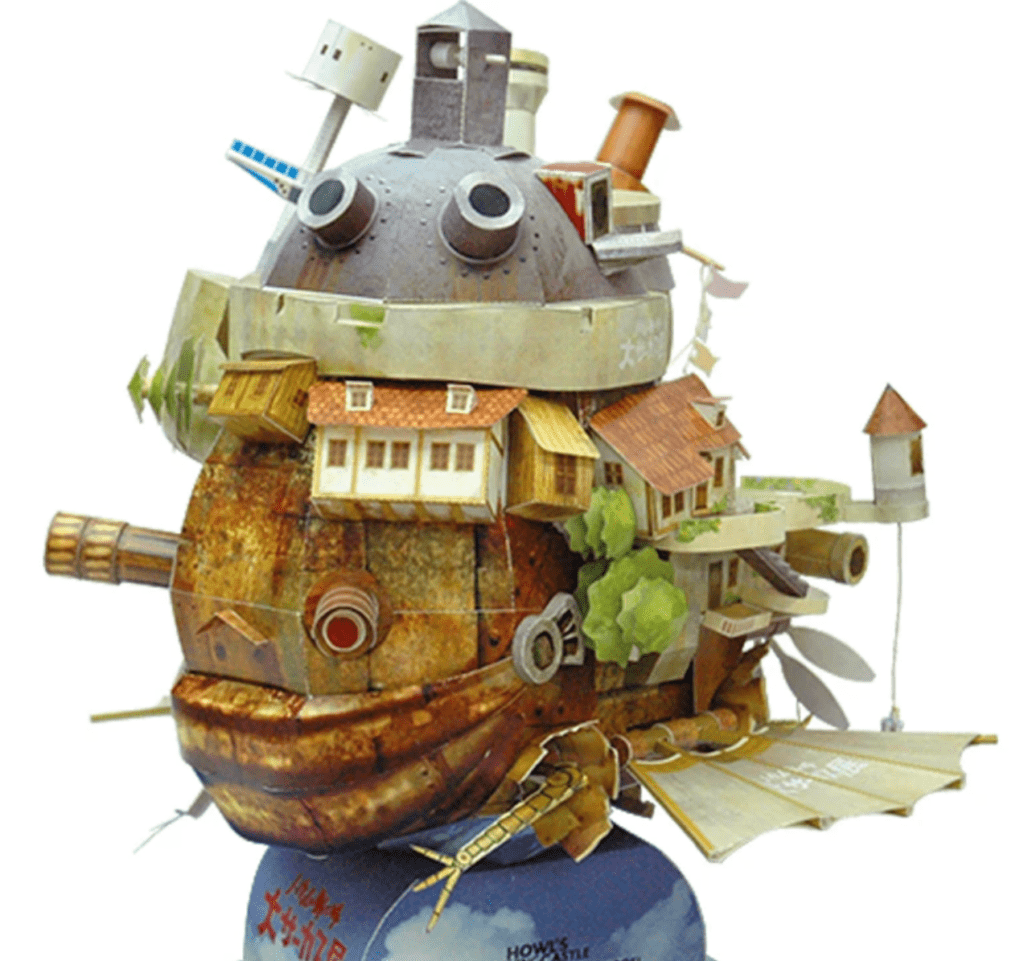
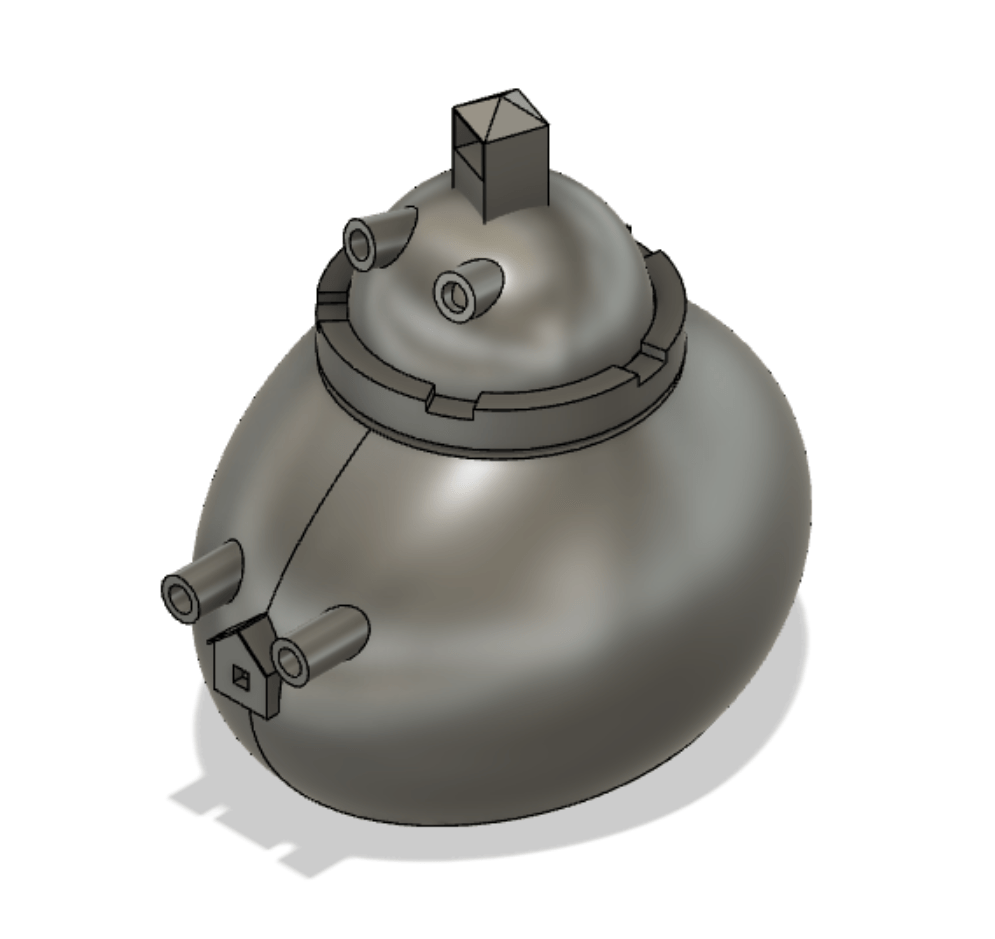
Again I started with the head and tried tracing over the image. This time I also made the little chimney on the head at first using loft for the whole thing, but it was easier to create an extrude out of a rectangular sketch and then do a loft to a point for the roof.
I faced difficulties with the body once again. I did various lofts to different sketches to try and create the shape in the image, but none of them ended up looking the way I wanted it to. At that point I decided it was better to just leave it be and try again later, so I made the little house nose and eyes.
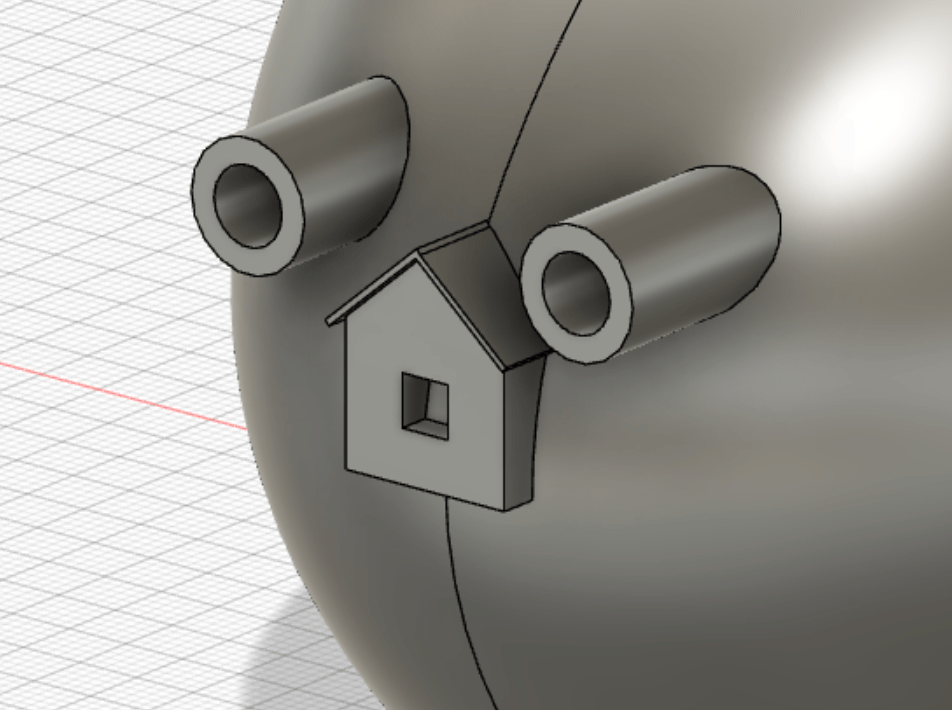
To make the house, I used extrude from a sketch. For the roof, I placed a box on the surface of the triangular part of the house and adjusted it to make it look more like a roof. As for the eyes, I feel like this was my breaking point because it didn’t look right at all. I tried angling it to look more natural and like the image, but that didn’t work as planned.
In the end, I accepted defeat and decided to scrap Howl’s Moving Castle as it was too difficult for my beginner level.
Difficulties and Problems Faced
One issue I came across with using a reference image is there aren’t any images where the castle is not taken at an angle. Therefore, no matter how hard I tried to follow it, it wouldn’t look right. So there were a lot of differences between my version and the reference because of the angles and such.
Another difficulty was getting the shape correct. The castle is very intricate and has various shapes that looked doable at first, but ended up being challenging. I think trying to get the organic and magical look of the castle in 3D form was a huge challenge, but I tried my best to tackle it.
