For this week’s practice I recreated the Ikea plant stand using revolve, pattern, and extrude. However, this model was quite challenge and I definitely didn’t do it accurately or efficiently. I ended up moving the bodies and adjusting because it didn’t look like the reference.
Process
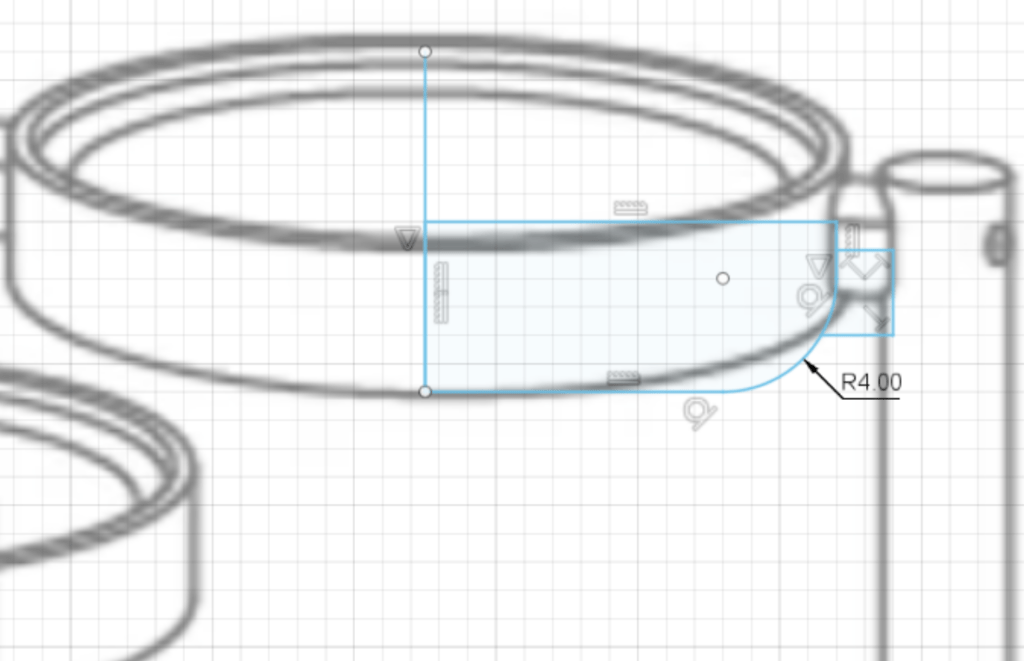
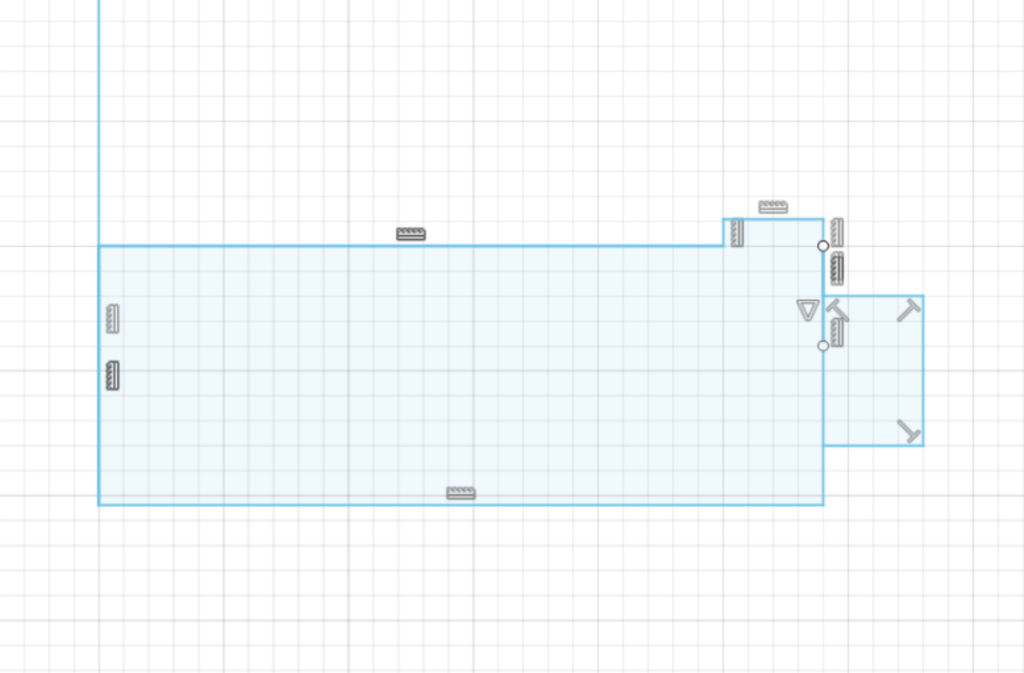
At first I imported the reference image and tried drawing on top of that instead of following the given measurements (I felt like it was too big when using the given height). I sketched the circular part first and used revolve for it. I used extrude for the small rectangular piece that connected the circular part to the legs of the plant stand.
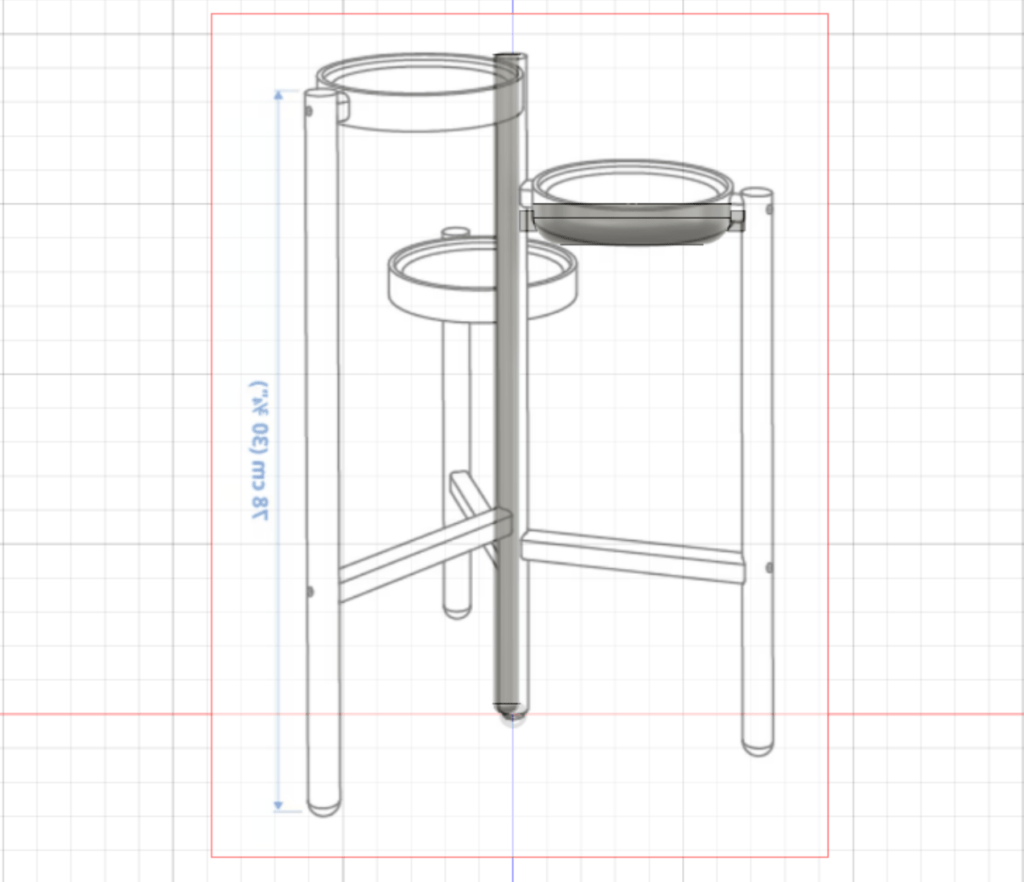
I tried to place the leg seen in the picture above at the (0,0) point so I could use pattern, but it didn’t really work out. I tried circular pattern at first, but it ended up doing something completely different than what I was expecting, so I tried rectangular pattern. This kind of worked, but I ended up just moving the position of the legs. Also, since the legs were supposed to be different heights, I used press/pull to modify the height of the already extruded legs.
As for the rectangular beam at the bottom, I just sketched it and extruded it. I did it in a really inefficient way where I would basically rotate each piece and extrude the beam. Since one of the stands was aligned with the front plane and the rest were not, I found that repeating the rotating and extruding process was what worked. Again, this probably wasn’t the best approach, but it was what worked for me.

Future Improvements
For this model I want to know how to do it more efficiently and with less moving around bodies. I feel like maybe I could have made one stand and then used pattern around the middle leg, instead of doing pieces at different times. This model also doesn’t really look like the reference, so for the future I want to work on the accuracy. I made the plate too deep because I used shell and I probably shouldn’t have added a fillet since the plate was not rounded at the bottom.
Update
After going through different people’s processes in class I redid the plate so it’s less of a bowl and more like a plate. However, I think it’s still a bit too deep and I didn’t shell the bottom.
model 2: Korean stone bowl
For my other practice model, I decided to recreate a stone bowl that is typically used in Korean cuisine. At first I was going to make the pot used for hot pot, but I felt like this bowl is more of a challenge and has more dimension for the revolve.
Process
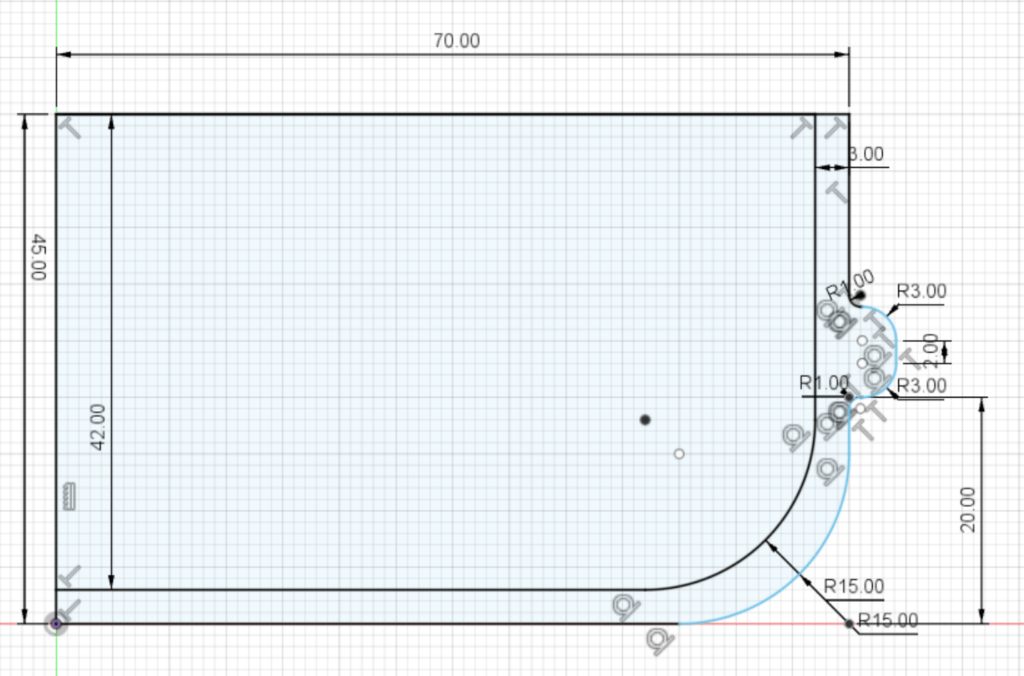
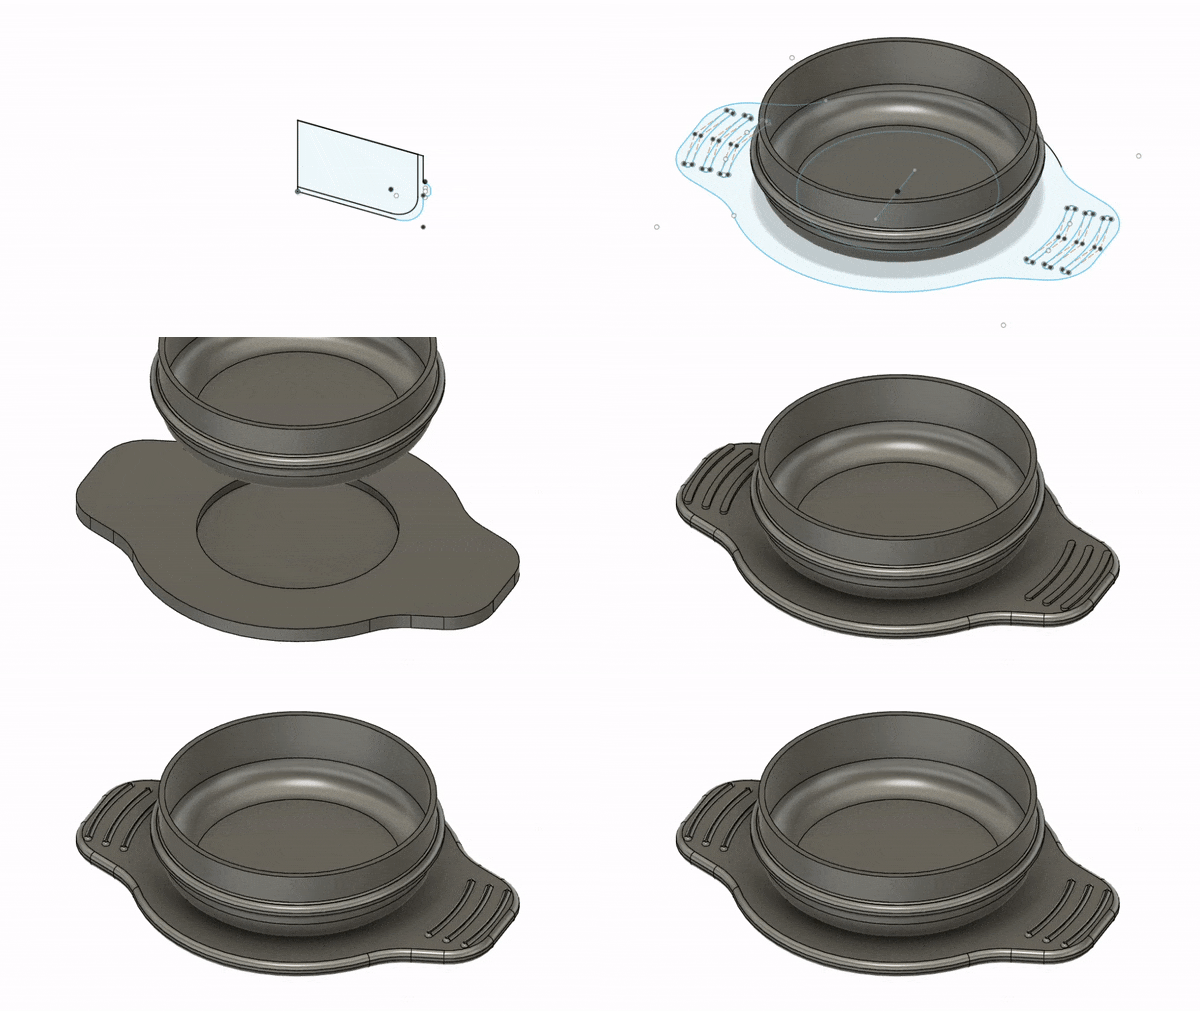
I tried to shell the bowl, but the problem with shell was that it also shelled the outer ridge. The reference image I used the inside of the pot was round and smooth, so instead of using shell I decided to cut. So I drew the part that I was going to cut out of the pot in the sketch.
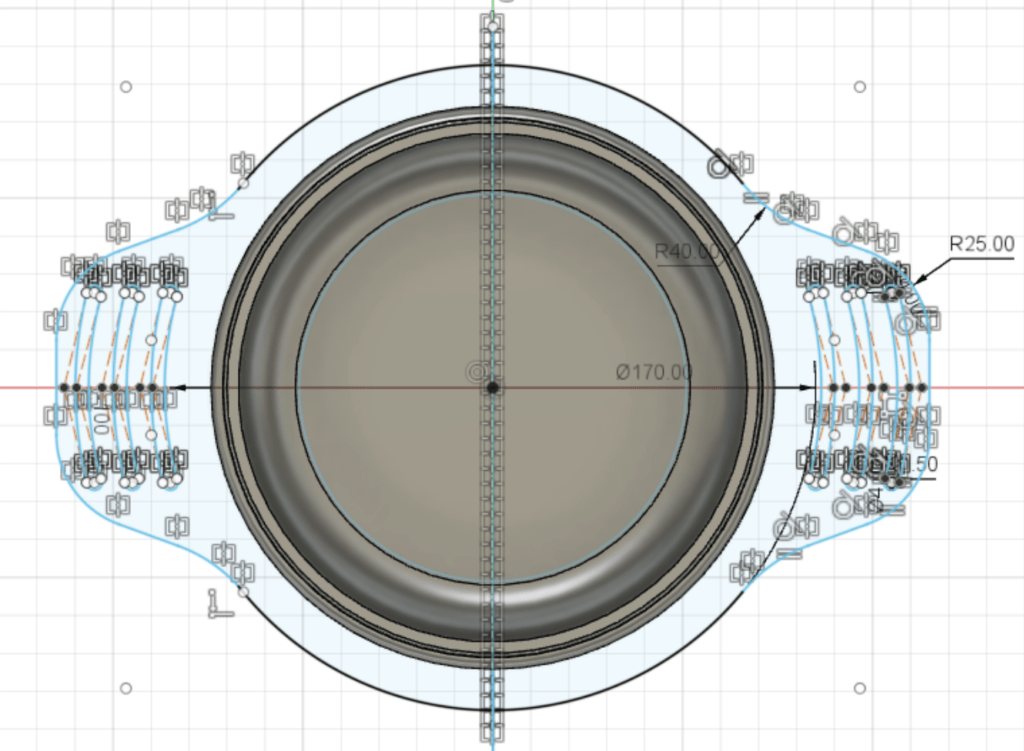
The more challenging part was creating the plate to put the pot on. At first I made the handle part too wide and I realized that after doing all the extrusions. As seen in the picture above, I used mirror for the ridges on the handle. To make these ridges, I drew one using spline and circles for the end. Then I used pattern to create three in a row and mirrored those three to the other side. I also used mirror for the handle. After finishing the sketch, I just used extrude and fillet for finishing touches.
Future Improvements
Again, since I did this model purely by looks and not dimensions it’s not accurate. I also just noticed that the pot has another pattern, so it would’ve been nice if I included that as well. But overall I do like how this model turned out!
