Partner: Vivian
Following the instructions on the official Dfrobots website, the first step for building a painting machine robot is organizing all the materials you have and installing the side part of the robot. A kind reminder may be to pay attention to different sizes of screws and nuts. We suffered from that when building robots. I think the reason may be the last user did not classify them in the correct places and some of the materials are missing.
Then, decide how many wheels you want to have on the painting machine. We chose the regular four, so we built four motors and wheels. Here is another thing. The motors need to be connected to the ports later, so soldering motors with cables is a necessary step. It took me a lot of time because I am really bad at soldering. I always hope I have three arms when soldering so that I can put all the things into the correct place.
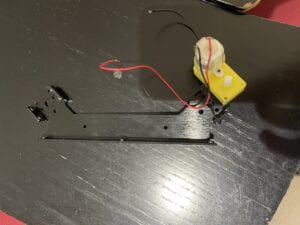
Later, install the main board and the microcontroller on the brace using the nylon PCB standoffs Subsequently, lead the motor power cables through the holes on the main board. The design of the board is unreasonable in my opinion because one of the holes would be covered by the battery holder, which is the next step of installation. To solve the problem, we tilted the battery holder.
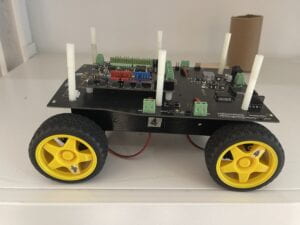
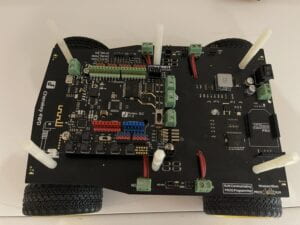
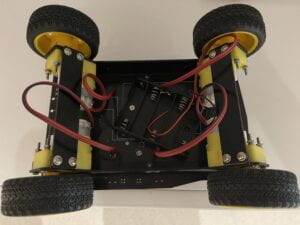
Until now, we finished the major part of the installation. At that time, we did not know that there would be more and more problems coming up.
When the battery we bought arrived, we met again. The main goal of the meeting was to build up all the circuits and test the codes. At first, we connect the motor power cables to the main board and use circuits to connect the two boards. Nevertheless, even though we read the instructions on the website, we still face many issues. It seemed like the main board and the microcontroller did not connect properly so the car could not move. We searched for information on the Internet and asked classmates, but still can not find the solutions. We checked the board and port on the Arduino but also failed. As a result, we decided to meet professor Rudi for help.
After the office hour, we finally figured out the situation. We can only choose to use the main board or the microcontroller to run the program. In other words, if we connect the motor power cables and the batteries to the microcontroller, we do not need to connect the main board and the microcontroller to control the motors’ variables, such as speed and direction, because there are already ports for controlling these on the microcontroller.
(Just like the picture below.)
By the way, the cables connected 5v and ground on the main board and the microcontroller is not necessary too since we did not use any ports on the main board right now.
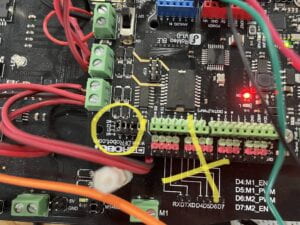
Later, the car just stopped and kept buzzing. We debugged for such a long time to try to figure out the problems. Vivian even reinstalled every cable but still no clues. We asked Rudy again and finally find out it was the battery problem…
After that, we could finally work on the codes. We decided to draw something like flower petals so we tried many times to run the code in a more proper way.
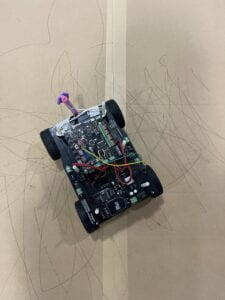
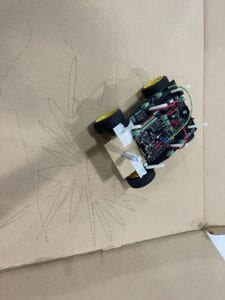
In the end, we build a cat-looking appearance to make the painting machine looks cuter. (The pen is in the back representing the tail)
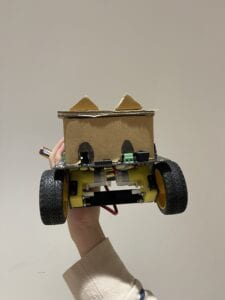
Below is the final presentation. Unfortunately, the pattern is not that clear due to the similarity of the highlighter and the paper.
We also tried to use a brush during the class, but did not success. I think we need more time to find a way to paste the brush tightly on the painting machine.
Leave a Reply