Analog Output
This week we’re mainly learning about analog output, and the three ways to write in Arduino IDE which can control different elements on the board.
analog.write();
tone();
servo.write();
Since Arduino board can only output a high or low voltage, so to create a seemingly changing voltage, we have to turn the pins on and off really fast (in milliseconds) to create a pseudo-analog output.
analog.write (pin, value from 0-255)
The value controls the pulse width modulation (PWM), meaning the percentage of the on pulse in one Hertz.
This can adjust the brightness of a LED light.
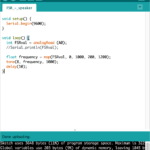
tone (pin, frequency, duration)
Frequency modulation – modify the frequency of the pin, meaning how many on-off pulses should happen within a second.
This can adjust the pitch of a speaker.
related function : noTone()
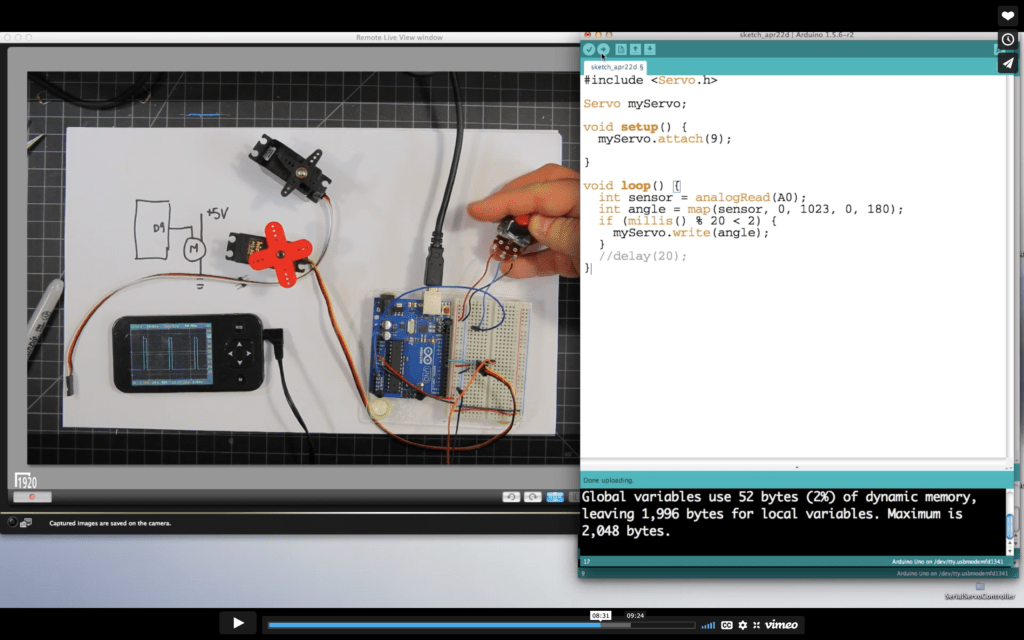
servo.Write (angle)
Used on a servo to control its angle – similar to PWM, but its on-pulse contains meaning, and the off-pulse is usually 20 millisecond (bc servos don’t expect pulse continually -> could cause jitterness.)
**note**
in the lines below, it uses the millis function instead of delay bc delay could sometimes cause trouble when doing more complex stuff
-> the whole program doesn’t have to pause for 20 milliseconds if use the millis function
* Q – How does the on-pulse width seen in the oscilloscope affect the angle of the servo?
* Q – I don’t understand this line – if (millis() % 20 <2){} – why is the remainder set to be less than 2?
LAB
Tone Output Using an Arduino
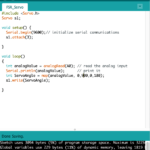
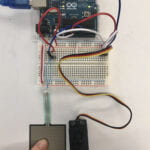
1. Connected an FSR with the speaker to adjust its tone (figure 1.01, 1.02)
and later added a transistor to make it louder
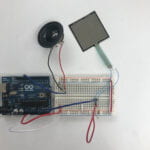
* Q – Why are we using a digital 8 pin (with no tilt~) instead of a tilt pin? (why a digital output?)
-> because ~pin is specific to analogWrite() (noted on the reference page): find the pins that can analogWrite here / and tone(), servo.write() are different functions that have a different architectural structure from analogWrite() (see the reference page)
*Q – On some speakers, the tip 120 transistors did make them louder, but some didn’t…?
2. Playing melodies and notes by the speaker (figure 1.03)

* Q – Why do we need the delay of a duration +30 ms here? (though I tried to take it off and the melody didn’t work, but I didn’t quite figure out why)
3. Using several FSR together as a keyboard, playing different notes (figure 1.04, 1.05)
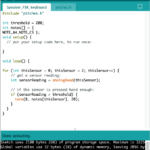
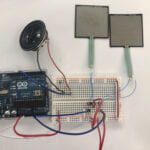
* Q – If I press two FSRs over the thresholds at the same time and hold them, is the speaker playing 2 notes in turns at a really fast speed? (like A4, C3, A4, C3, A4, C3……)
Servo Motor Control with an Arduino
Connect an Analog Input Sensor and a Servo (figure 2.01, 2.02)
