This week, I presented the Forgetful Machine installation in class and received invaluable feedback. Therefore, I would like to write two posts about my midterm project, one to summarize the project, and the other to reflect on the project. I will post the second post later upon collecting additional feedback from the class.
This post is about the design and implementation of the Forgetful Machine. You may view more recordings and screenshots of the installation from here.
You may download my max patch from its GitHub page.
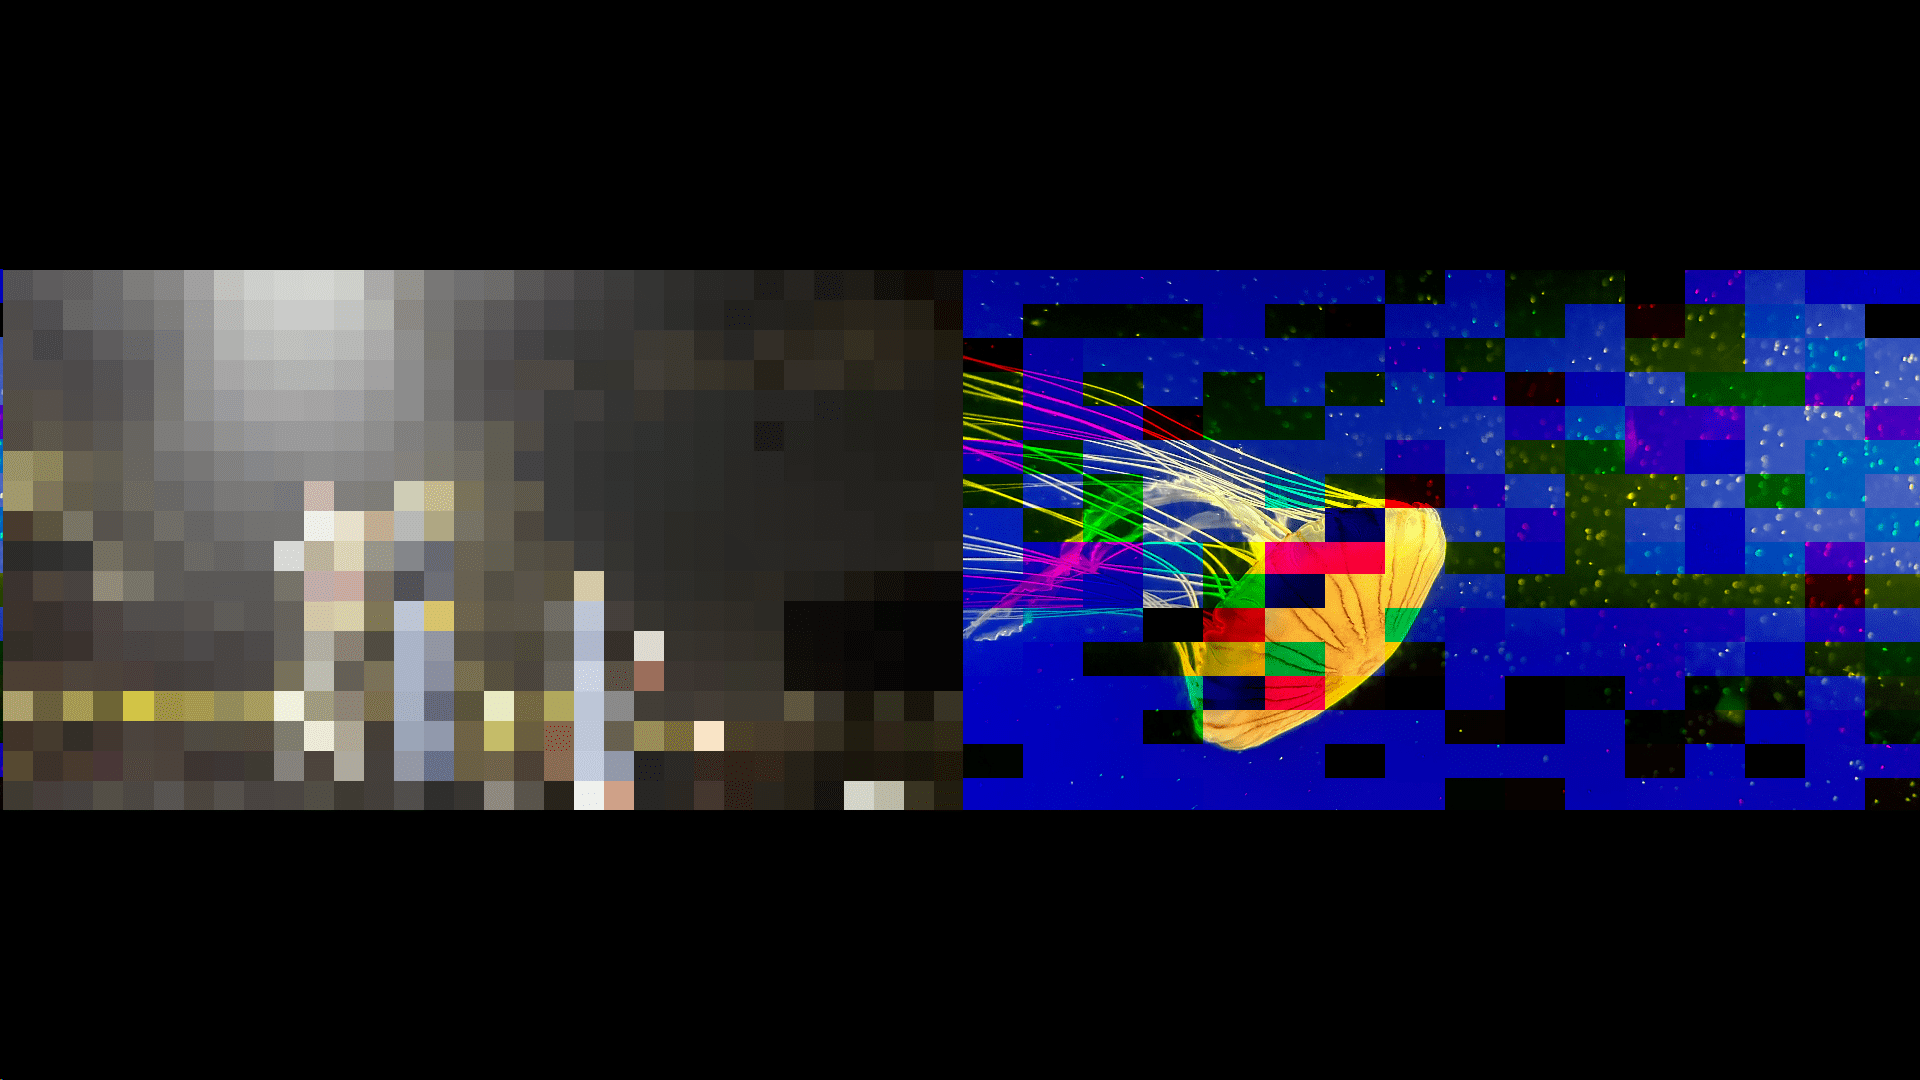
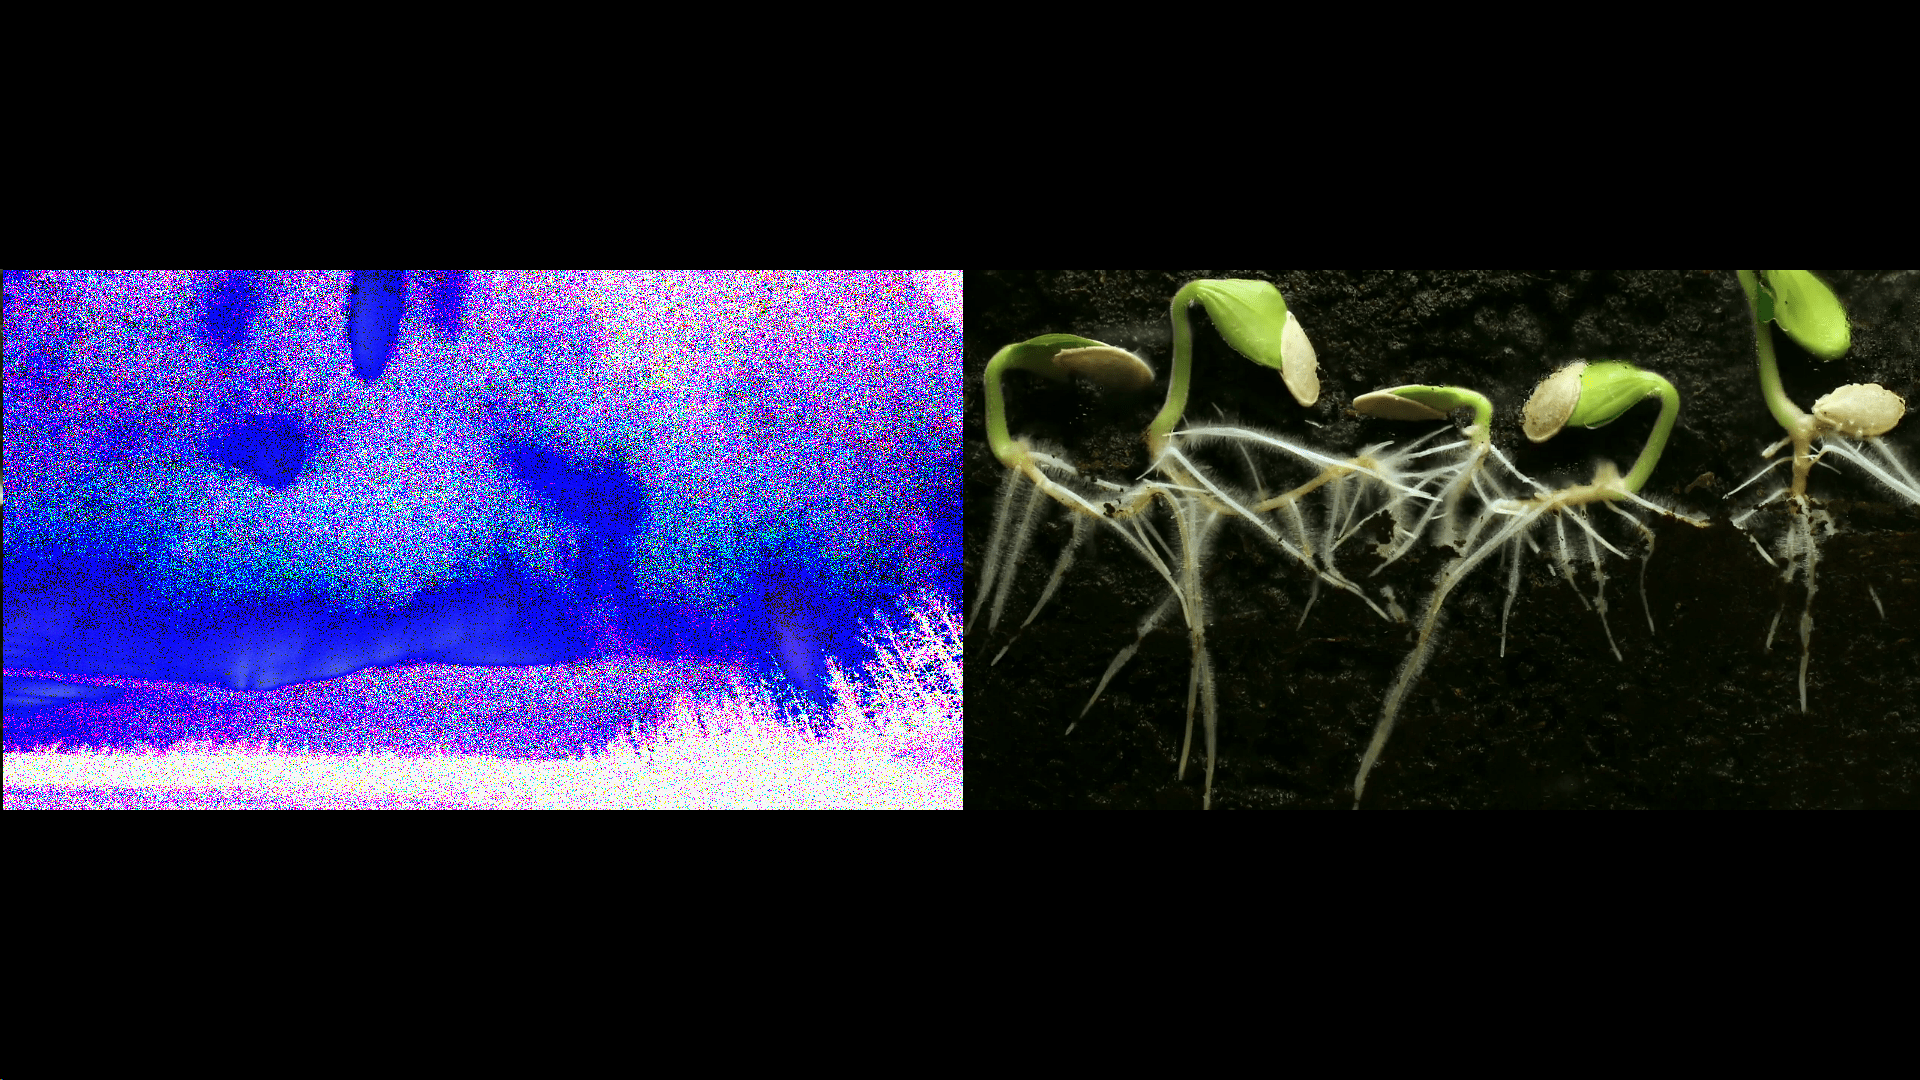
Installation Design with Max 8
Choices of Media
Visuals
I have considered many images and videos to include in my installation. Initially, I tried to find the media about the concept of memory, but it is a very broad concept and I don’t think it means the same for everyone. Finally, I chose four media below based on my understanding of memory and people’s usage of digital media. While knowing that these choices can make my installation personal, I hope to at least convey the sense of time and moments.
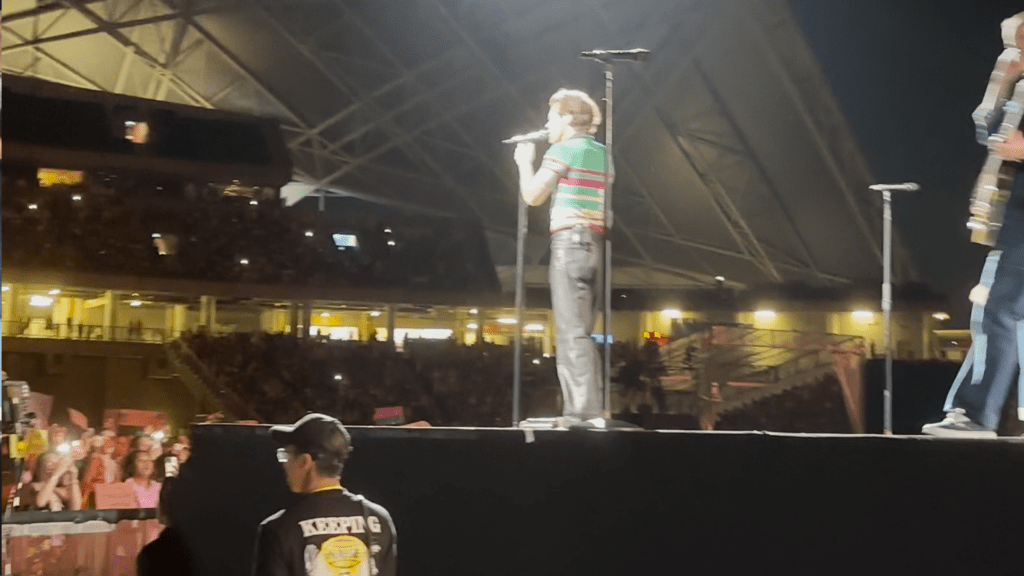
The first medium is a video I recorded during the Harry Style’s concert on March 17th, 2023. It is meaningful to me as I love Harry Style’s songs and I received my last master’s degree admission offer right after the concert. This video represents one of my happiest moments this year.

The second medium is a jellyfish photo I took at the NYC Aquarium. Jellyfish is my favorite animal, and the NYC Aquarium is the first tourist spot I visited after coming to NYC.

Aside from recording moments in life, I wish to show other uses of machines like phones and cameras. For example, people document observations of the world via digital media. The third medium is a video of the Arora I found online.

The fourth medium is a time-lapse seed-growing video I found online. This video reminds me of how I conducted experiments on seed growing back in my primary school.
Moreover, time-lapse photography/video is a commonly used way to document changes over time on an object. Therefore, it might be interesting to shuffle the chronological order of changes.
Audio
Inspired by Christian Marclay, I decided to add a clock video and the clock ticking audio effect to the Forgetful Machine. I reused the metronome audio in Random Jazz, my second assignment in this course. Different from the plan in the previous post, I created a digital clock in Max instead of using the clock video I found because that video doesn’t fit into my installation style, and is hard to make it show the current time.
Logic of Interactions
My installation consists of six sections: camera input, media input, preset, window settings, effects, and a clock.
Camera input
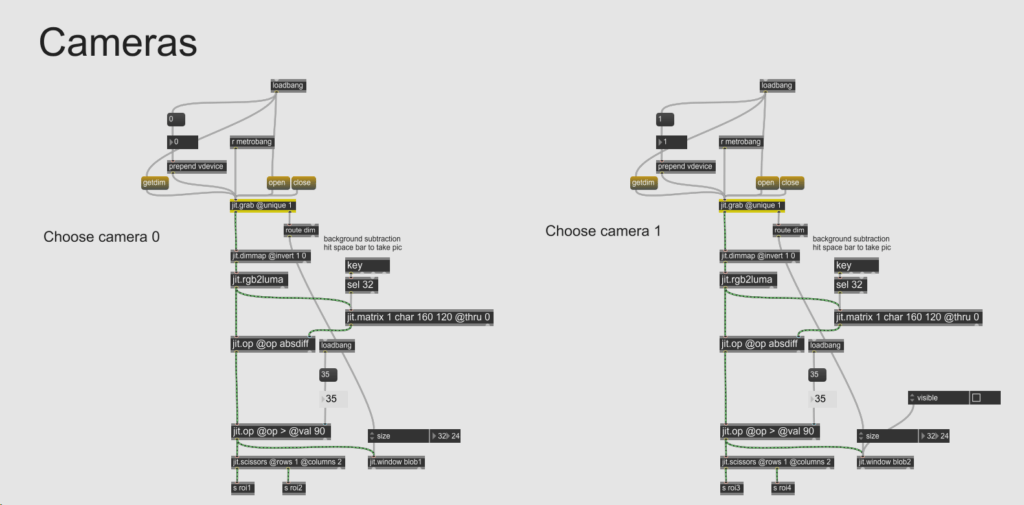
Since I have two webcams, the patch has two camera input structures. Upon receiving signals from each webcam, the absolute difference between the background and the current frame is calculated, and only those pixels with changes smaller than a threshold value are filtered out. In my case, the threshold value is initialized to 35. This step cleans up the signals received for future processing.
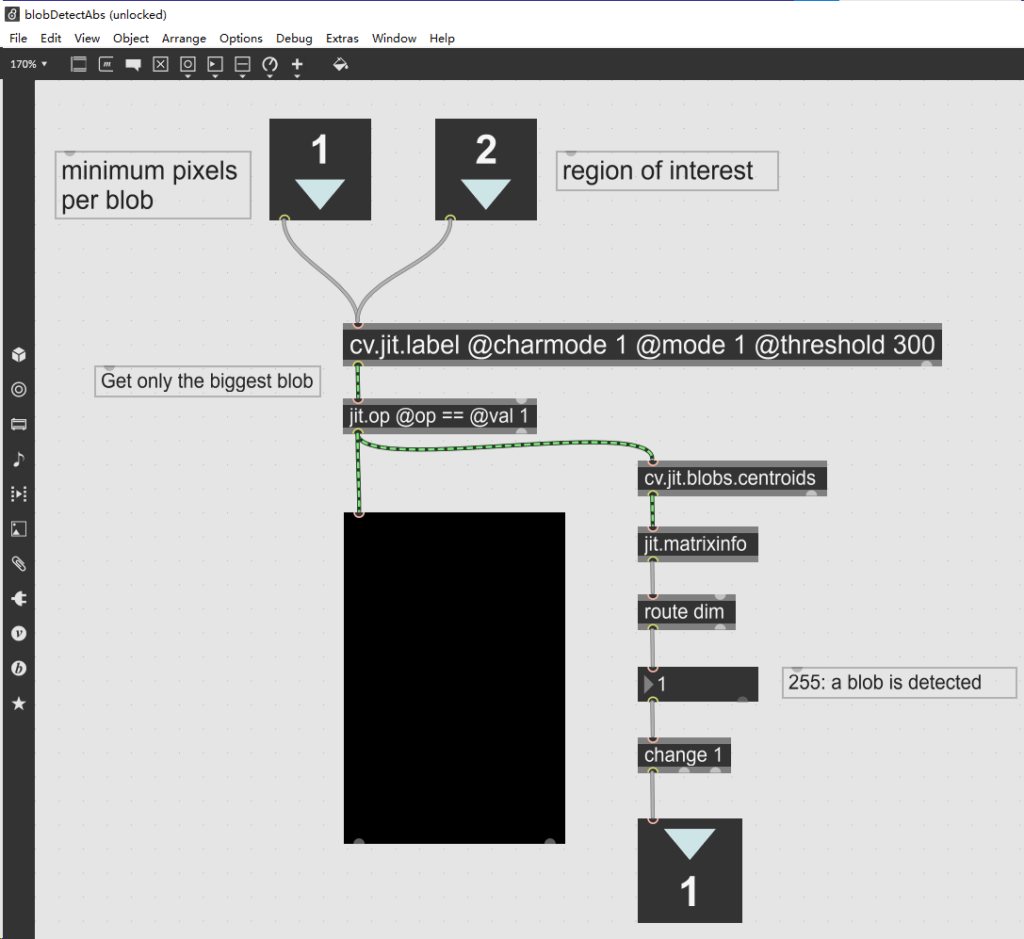
Then, each camera range is divided into two regions of interest (ROIs), notated as roi1, roi2, roi3, and roi4. Each ROI is processed by a blobDetectAbs max abstraction for blob detection.
Preset
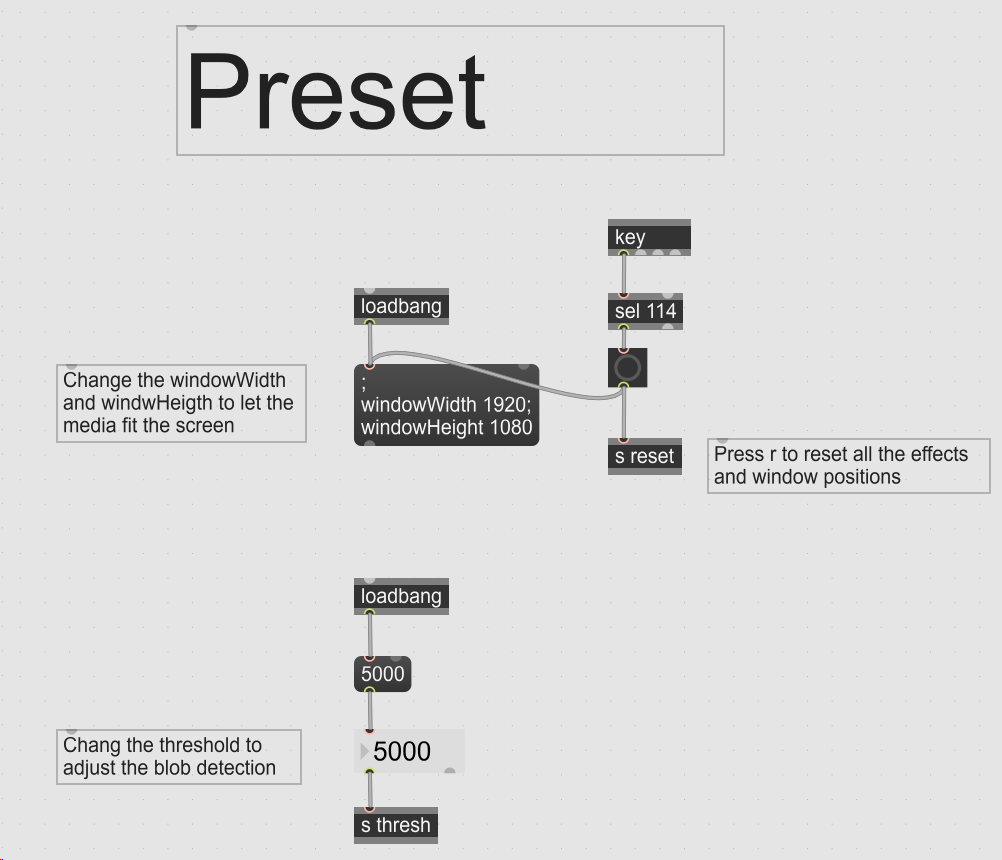
Since the effect and background windows need to adjust to the monitors’ resolutions, I added a message in my patch to “inform” the windows of the screen resolutions. Pressing the “r” key will reset the four effects, the window sizes, and their positions based on the resolutions in the message.
Another preset is the threshold for blob detection. Since blob detection is highly sensitive to the environment, this number should be adjusted according to the environment.
Window Settings

Following the preset, the Window Settings section calculates the dimensions and position of each effect section and sends them to the corresponding effect window object.
To enable/disable the window borders, hit the “b” key.
Effects
As introduced in my previous posts, there are four visual effects showing the concept of a forgetful machine.
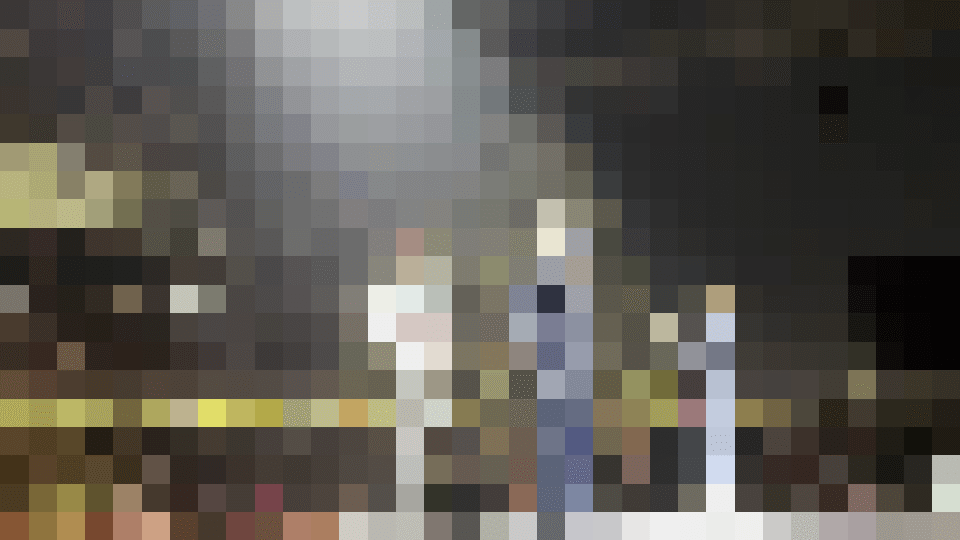
Resolution Reduction
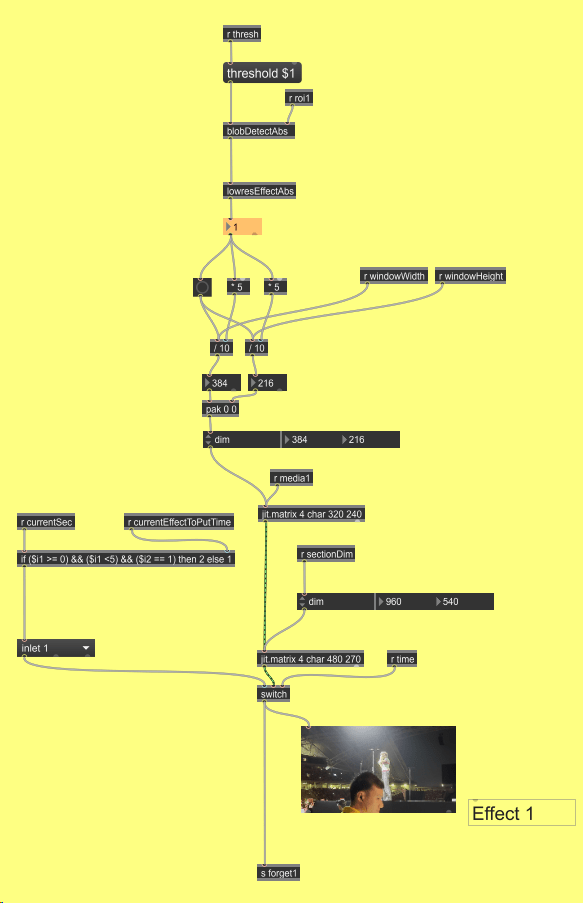
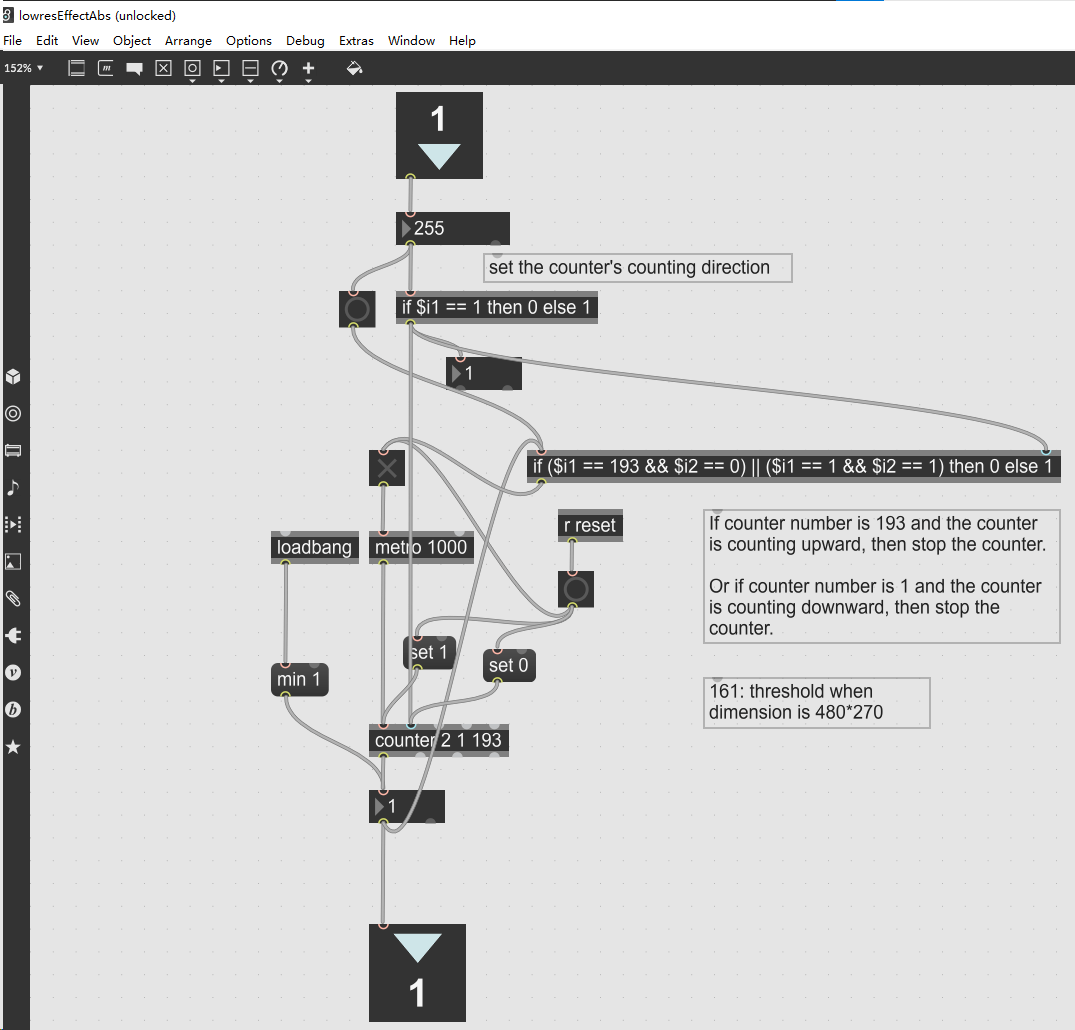
Miscolored Pixels
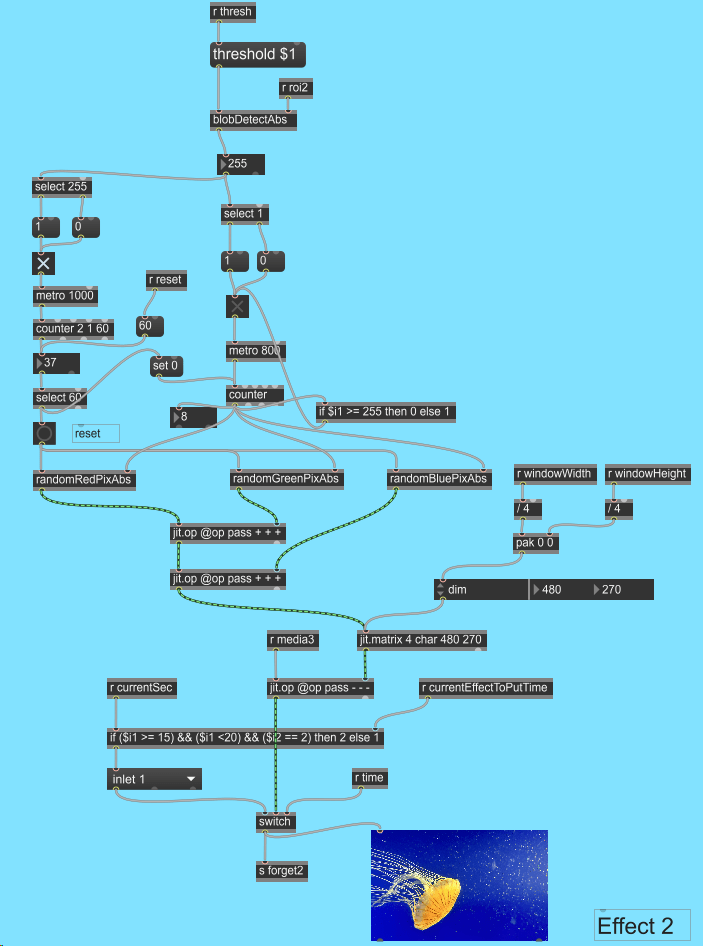
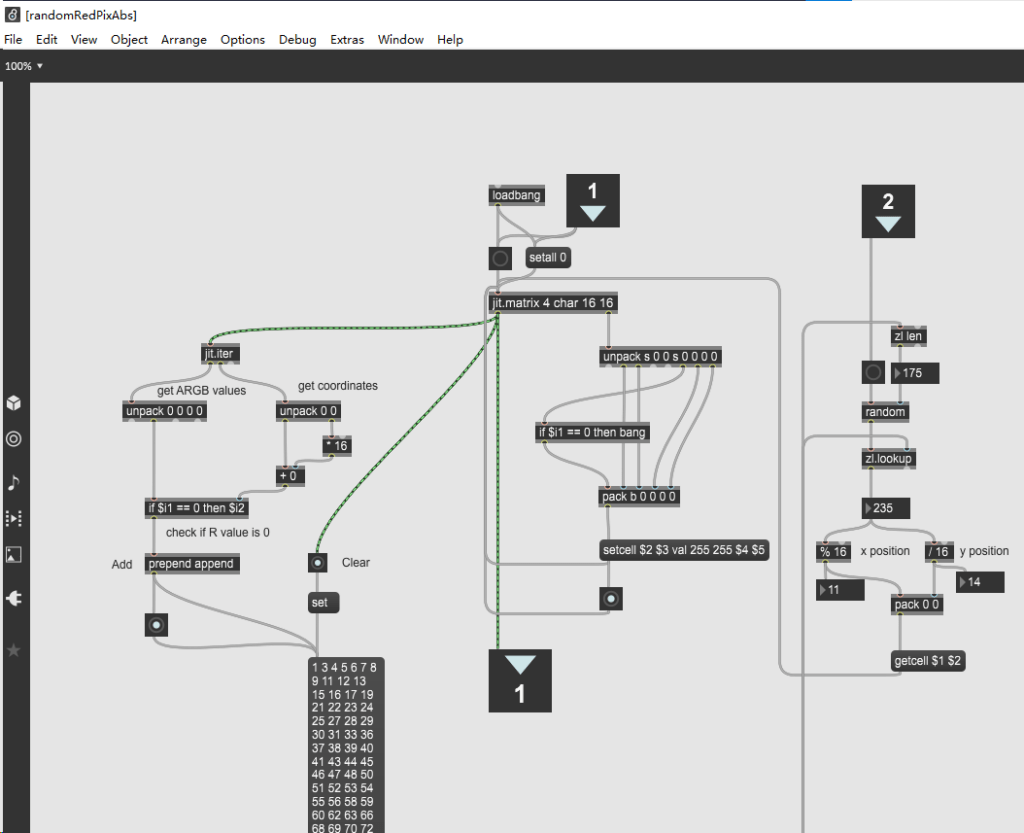
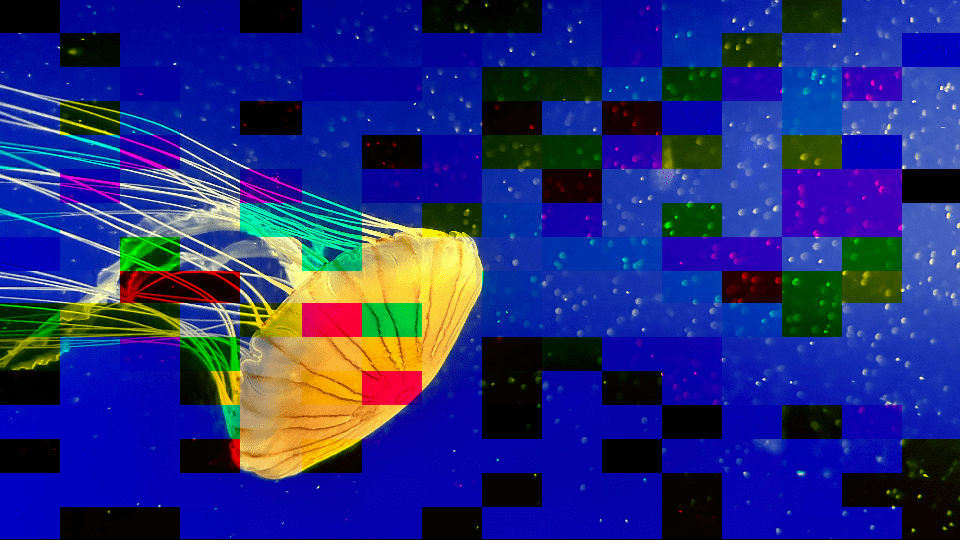
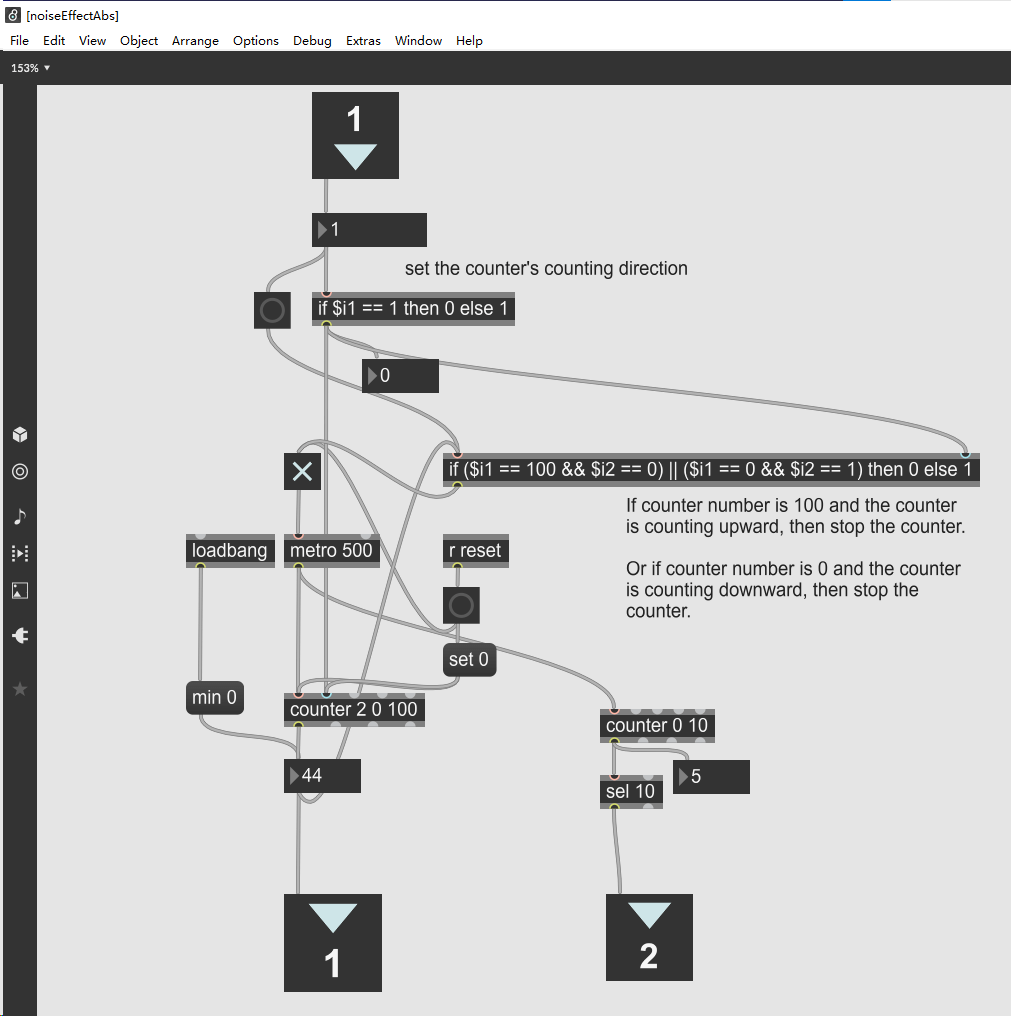
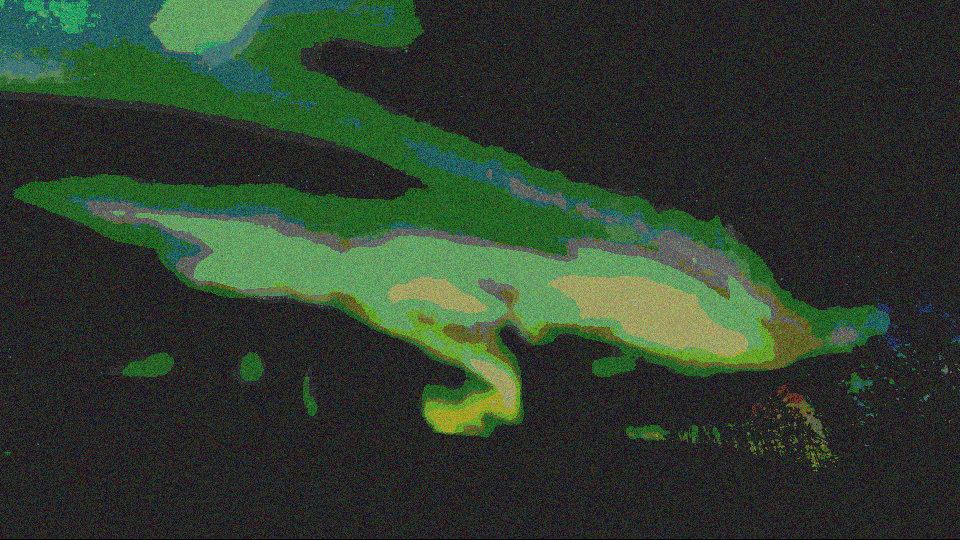
Image noise/filter effects
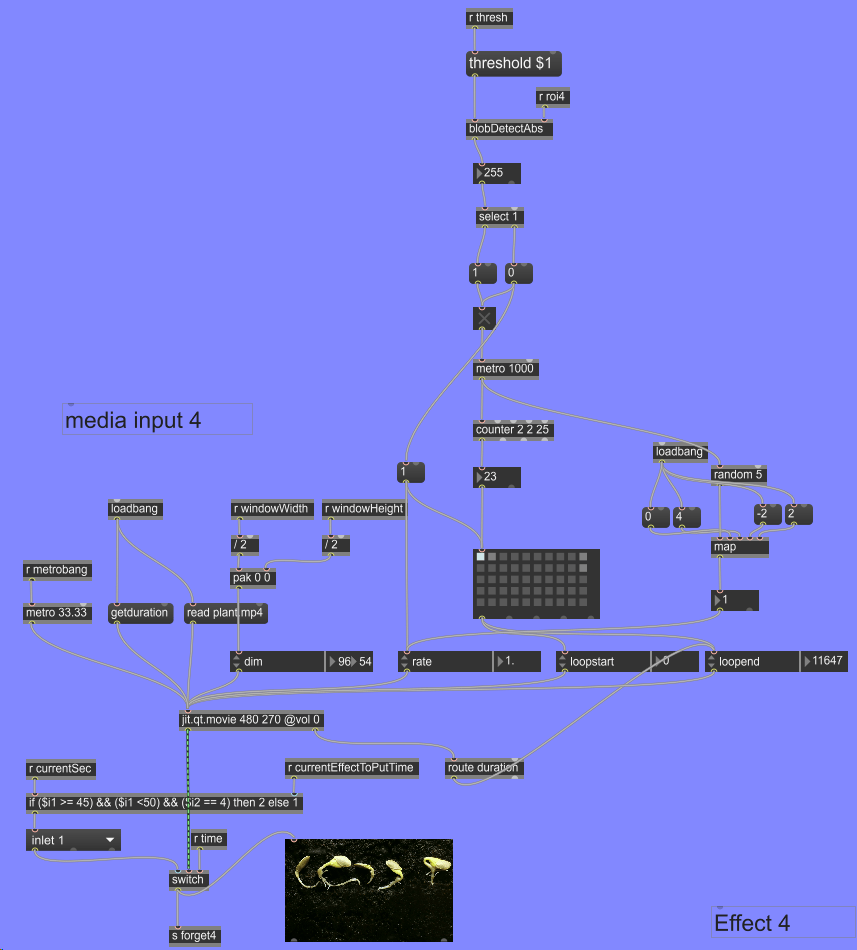
Random Video Excerpts Effect
Clock
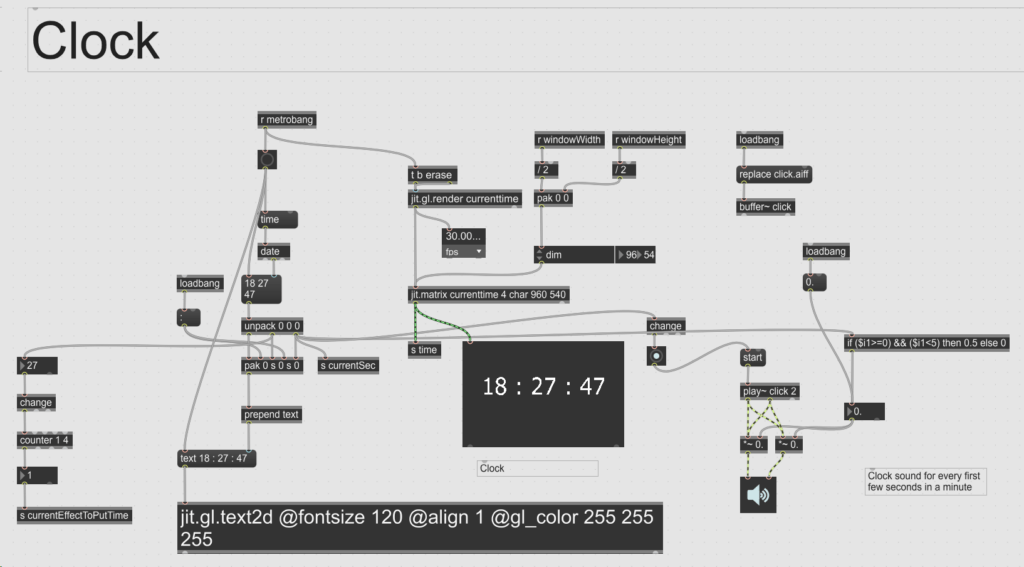
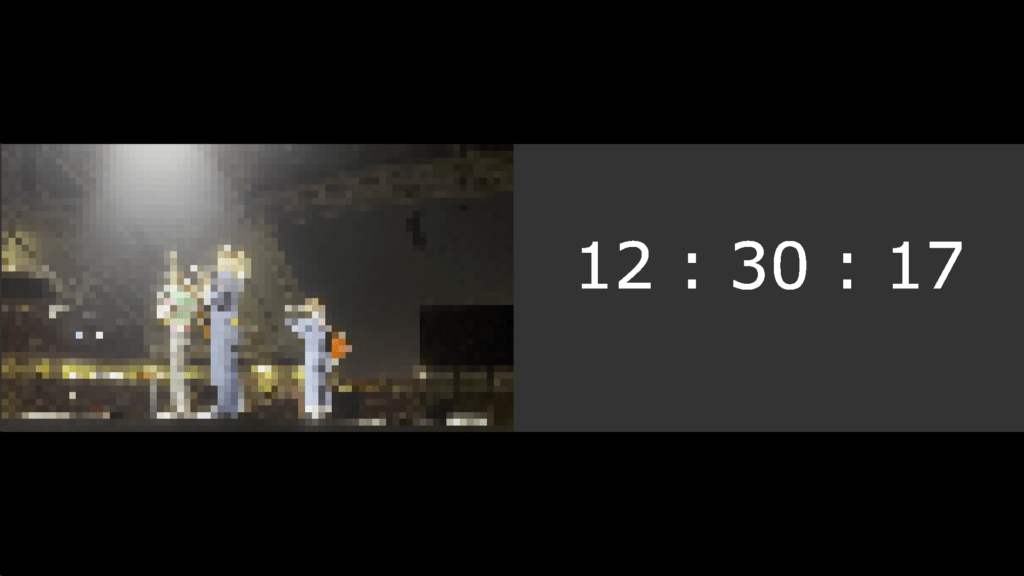
I created a clock in my installation to show the current time at certain times. The code first gets the current time by sending a “time” message to a “date” object. Then, it processes the string to show on the screen and sends it to a “jit.gl.text2d” object. The string is rendered by the “jit.gl.render” object named “currenttime”, and the rendered matrix is sent to the “jit.matrix” object also named “currenttime”. The volume of the clock audio will be on for the first five seconds of each minute, then adjusted to 0.
Implementation
Ideally, my installation should consist of four monitors in the same area connected to one computer. While the Media Commons ballrooms (where my project was showcased) have four monitors, I wasn’t allowed to move them around. Therefore, I borrowed two monitors: one from the Media Commons and the other from Ri, one of my friends in class.
I also borrowed a Corsair One Pro computer from the Media Commons, which worked fine during previous tests. Unexpectedly, when I tried to run my max patch on it on Monday, it couldn’t connect to the Internet. My max patch doesn’t need access to the Internet, but the max key server does; if disconnected from the Internet, the key server will keep asking me to quit the Max 8 program. To solve the problem, I borrowed an Internet cable to physically connect the Corsair One Pro to an Internet port in the room. However, it turned out that the computer was not registered at Media Commons so couldn’t access the Internet via an Internet port. This was disturbing, and I worried that my program would be forced to stop during my critique. Therefore, I immediately switched to the computer in room 222, configured the max environment, and downloaded my max patch to it. Fortunately, this computer had a stable Internet connection and the max patch ran nicely on it. The computer was even nicely configured to a speaker built in that room so I didn’t need to worry about the audio connection. Now that I look back on that process, I think borrowing the Corsair computer was unnecessary, and I should have tested my max patch on the computer in room 222 in the first place.
To do the blob detection, I used two webcams: one is my own, and the other I borrowed from Ri. Each monitor was paired with a webcam so that each camera would capture the presence of people in front of its corresponding monitor.
One thing not convenient about the Windows system is that it cannot project different virtual desktops on different monitors. My initial plan was to put Effects 1 and 2 on virtual desktop 1, put Effects 3 and 4 on virtual desktop 2, then project virtual desktop 1 on monitor 1 and virtual desktop 2 on monitor 2. Some people in online forums also hope that Microsoft will develop this feature.
Summary of Knowledge and Experience
- Always test the project at the same location where it will be exhibited.
- See what I can use at the location of the exhibition before borrowing anything because the equipment there may have a more stable performance in terms of hardware configuration, Internet connection, and so on. Moreover, it is a more convenient option.
- HDMI and DP ports are different. Make sure to check the input ports of a monitor to decide what cables to use for its connection to a computer. A computer usually has 1 HDMI port and 3 DP ports, but always check when working on different models.
