This week I actually already planned to start testing for my CNC project. I want to make a custom knife holder that I have wanted for a long time. I plan to make the piece out of regular wood, but I began testing on ply.

So I ordered some magnets online, and began testing the most optimal way of arranging them. This includes where on the board to put them, but also how deep should I place them in the wood, because distance affects the attraction of the magnets to the blade.
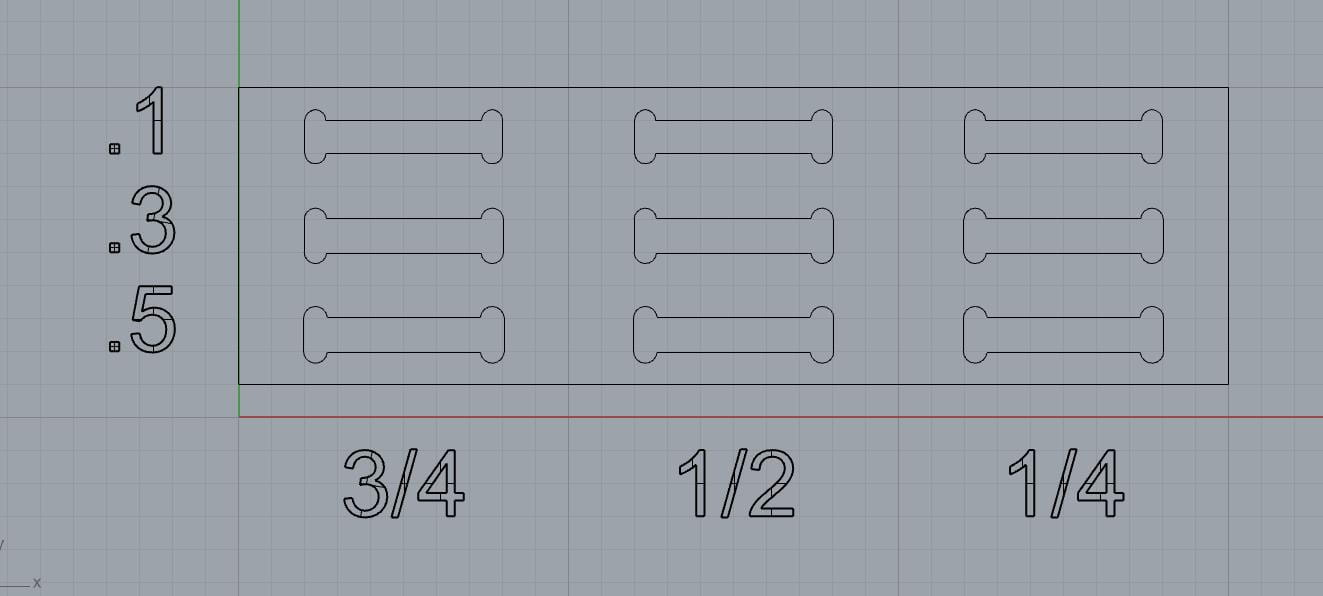
As we can see, learning from the lesson in previous weeks, I offset the shapes by .1, .3, .5 mm. to see which fits the best. And also, I plan to cut different depths for all three versions, respectively 3/4, 1/2, 1/4 of the thickness of the material (I know my final material might have a different thickness, but I will record the distance in mm where the attraction is most effective).
I also dogboned the pockets since I have square-cornered magnets.
I then proceeded to MasterCam where lots of things happened.
So firstly the file conversion was wrong and every mm in my software is an inch in MasterCam, and the piece was absolutely huge, and it maxed out the machine from the get-go.
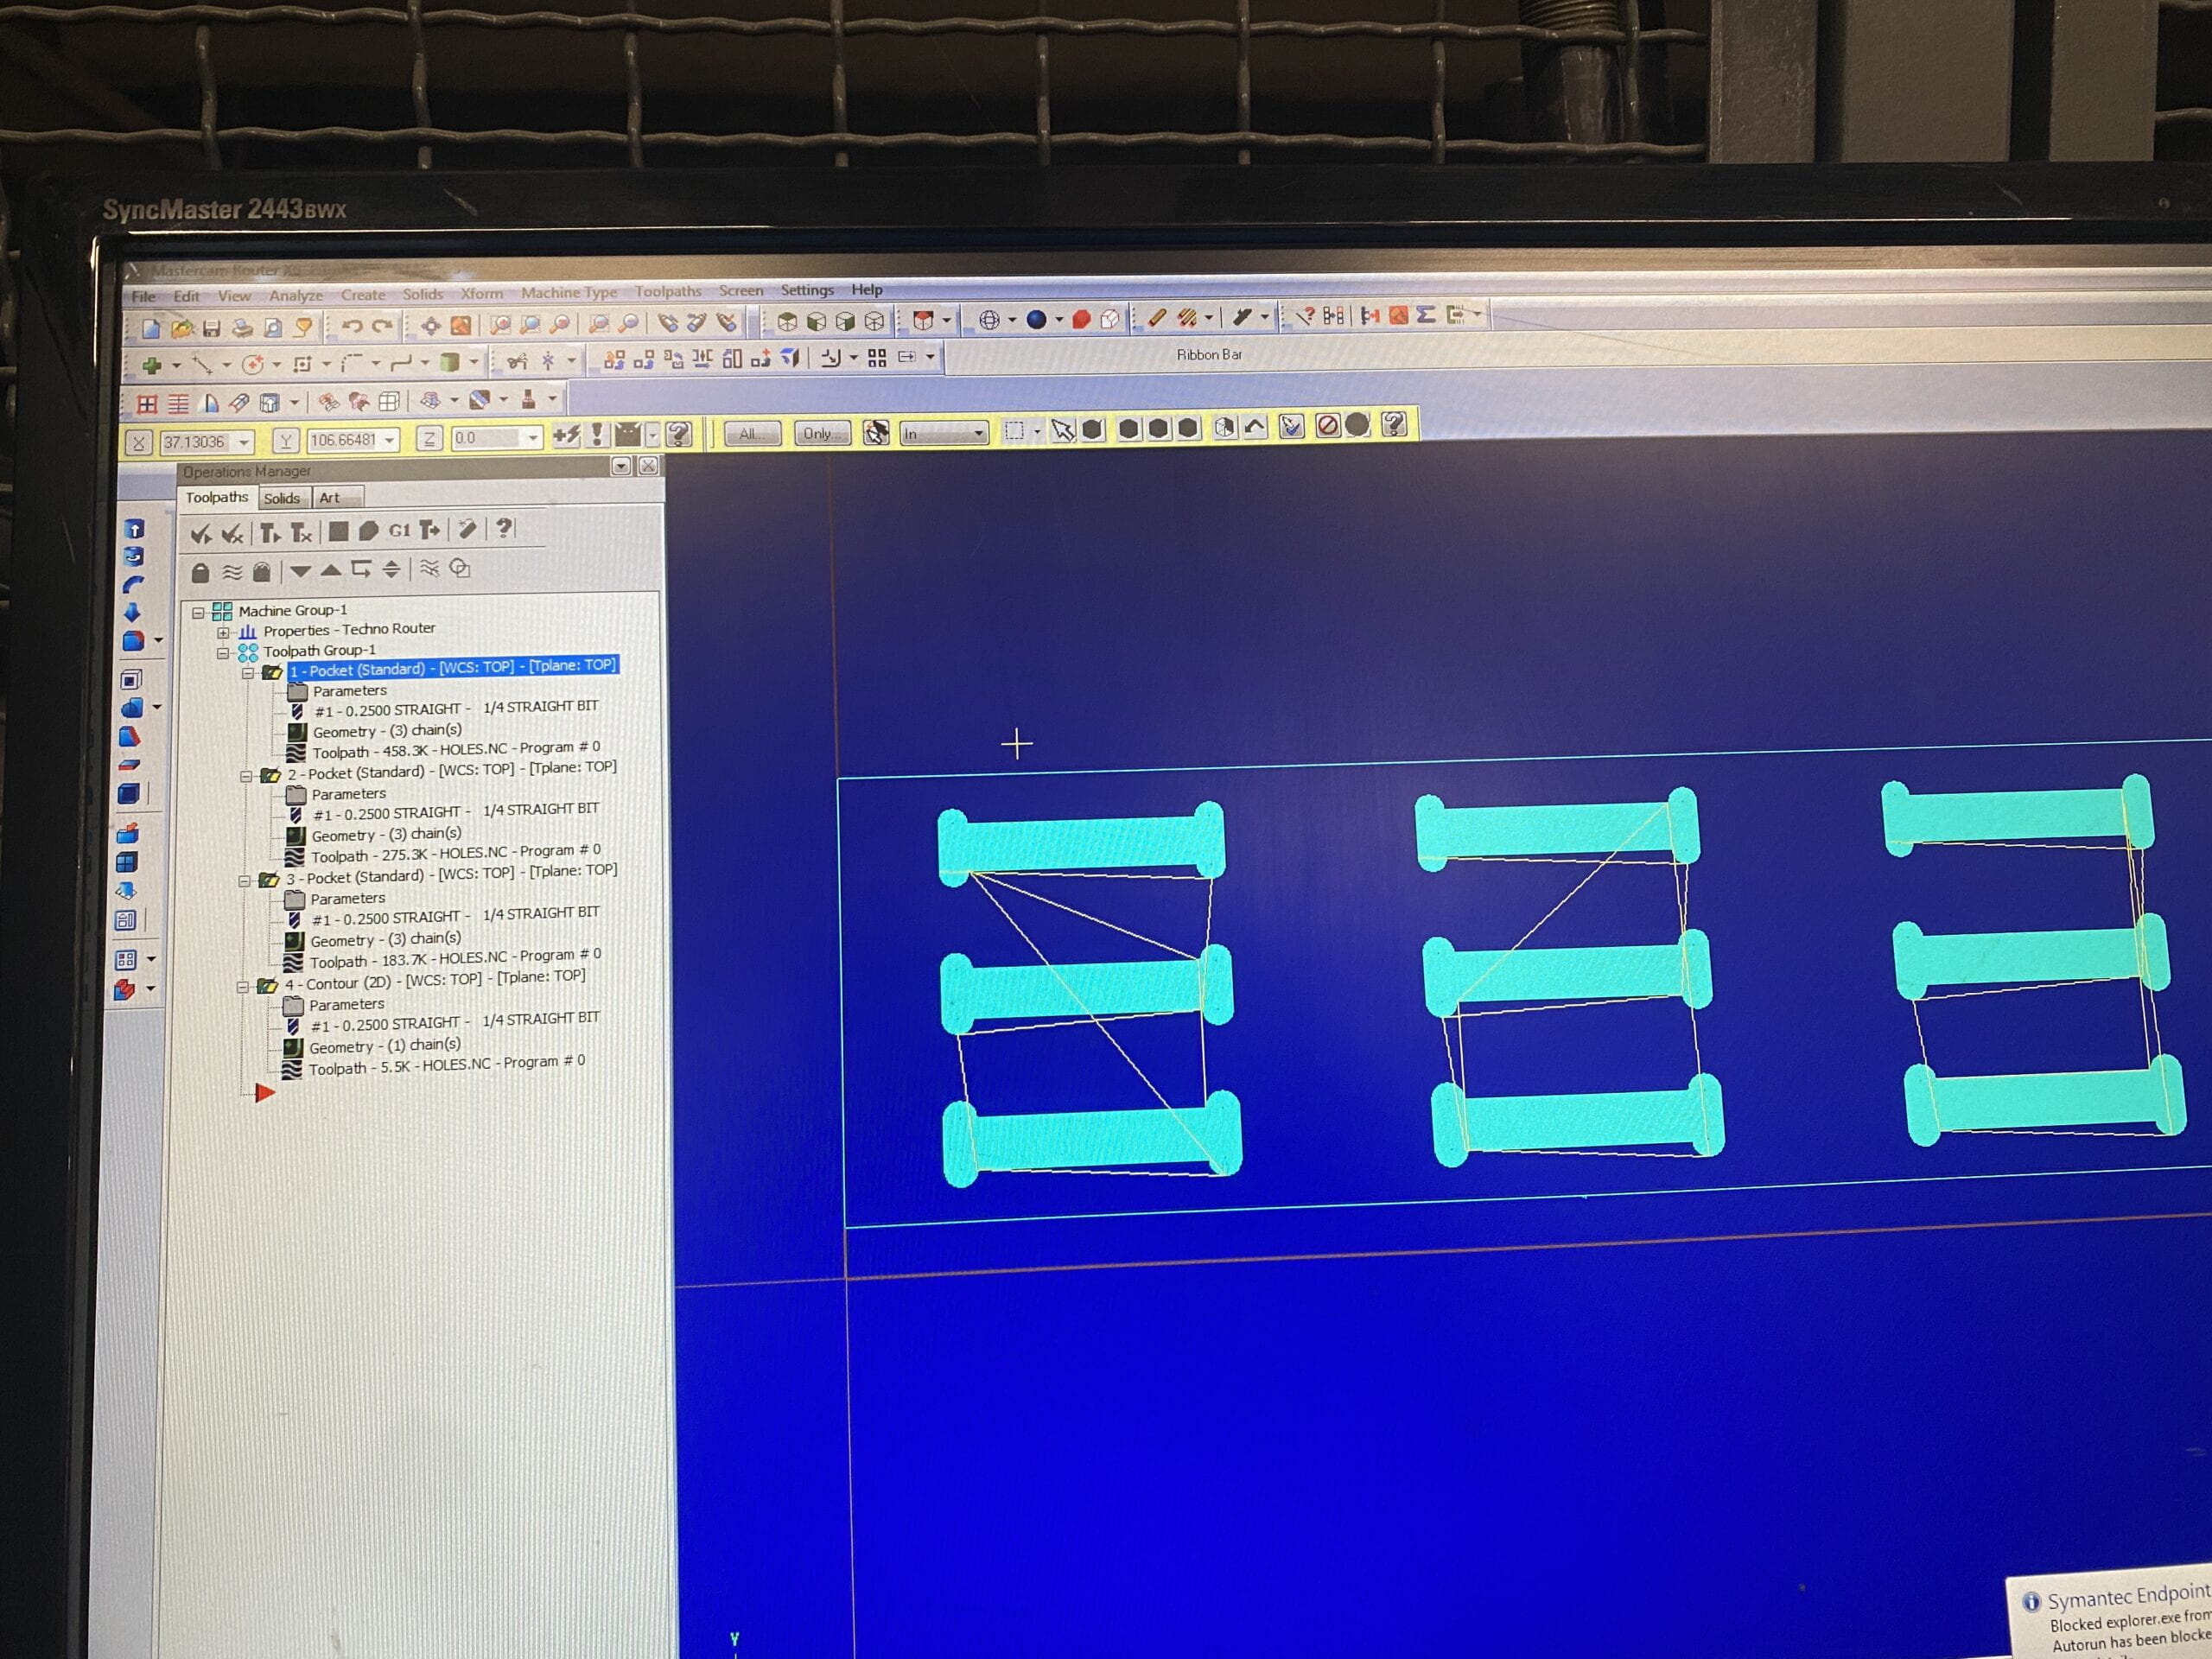
Then it seemed that no matter how I set the direction of the cut, the path calculated by the computer is always inside the pocket, which is what I wanted, but still very weird. I didn’t do this version because me scared.
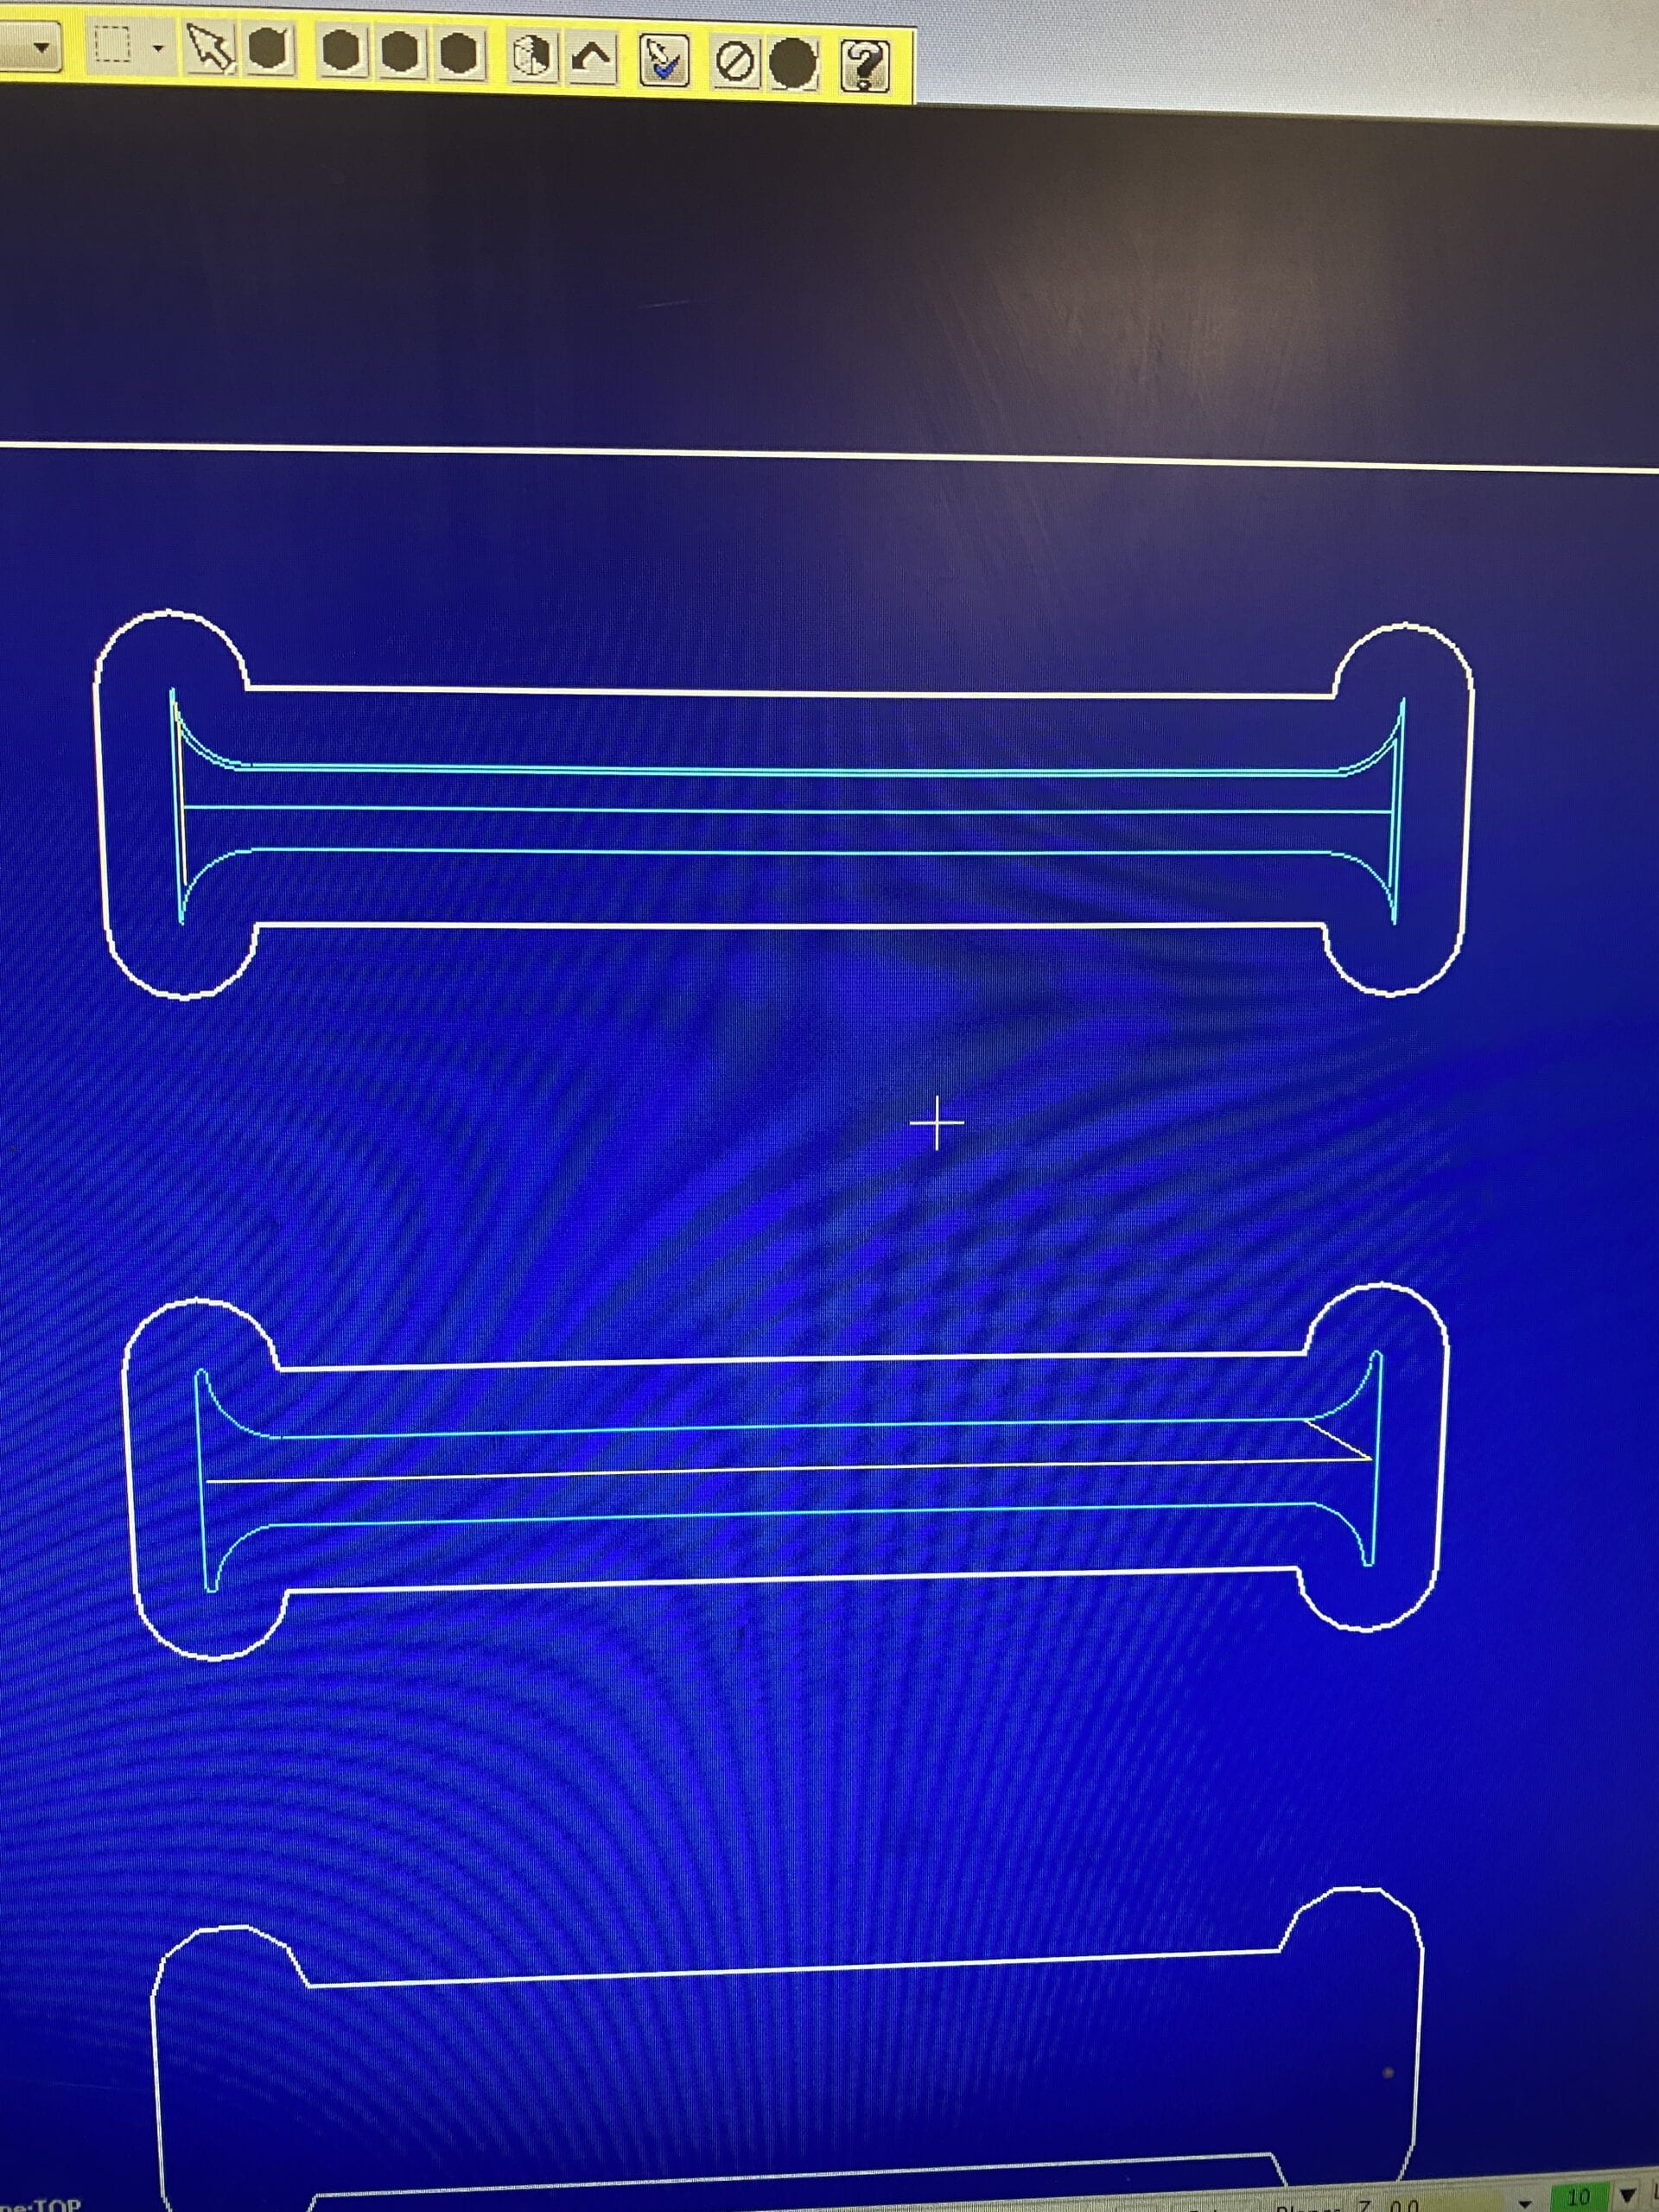
I came in the next day and redid it, and it went a lot smoother, except for one problem: as you can see from the images above, I put my piece directly to the left edge, which I thought wasn’t going to be the problem if I put my material a little bit to the right, but it totally was. I should have left enough space on the left for the pit to go through.
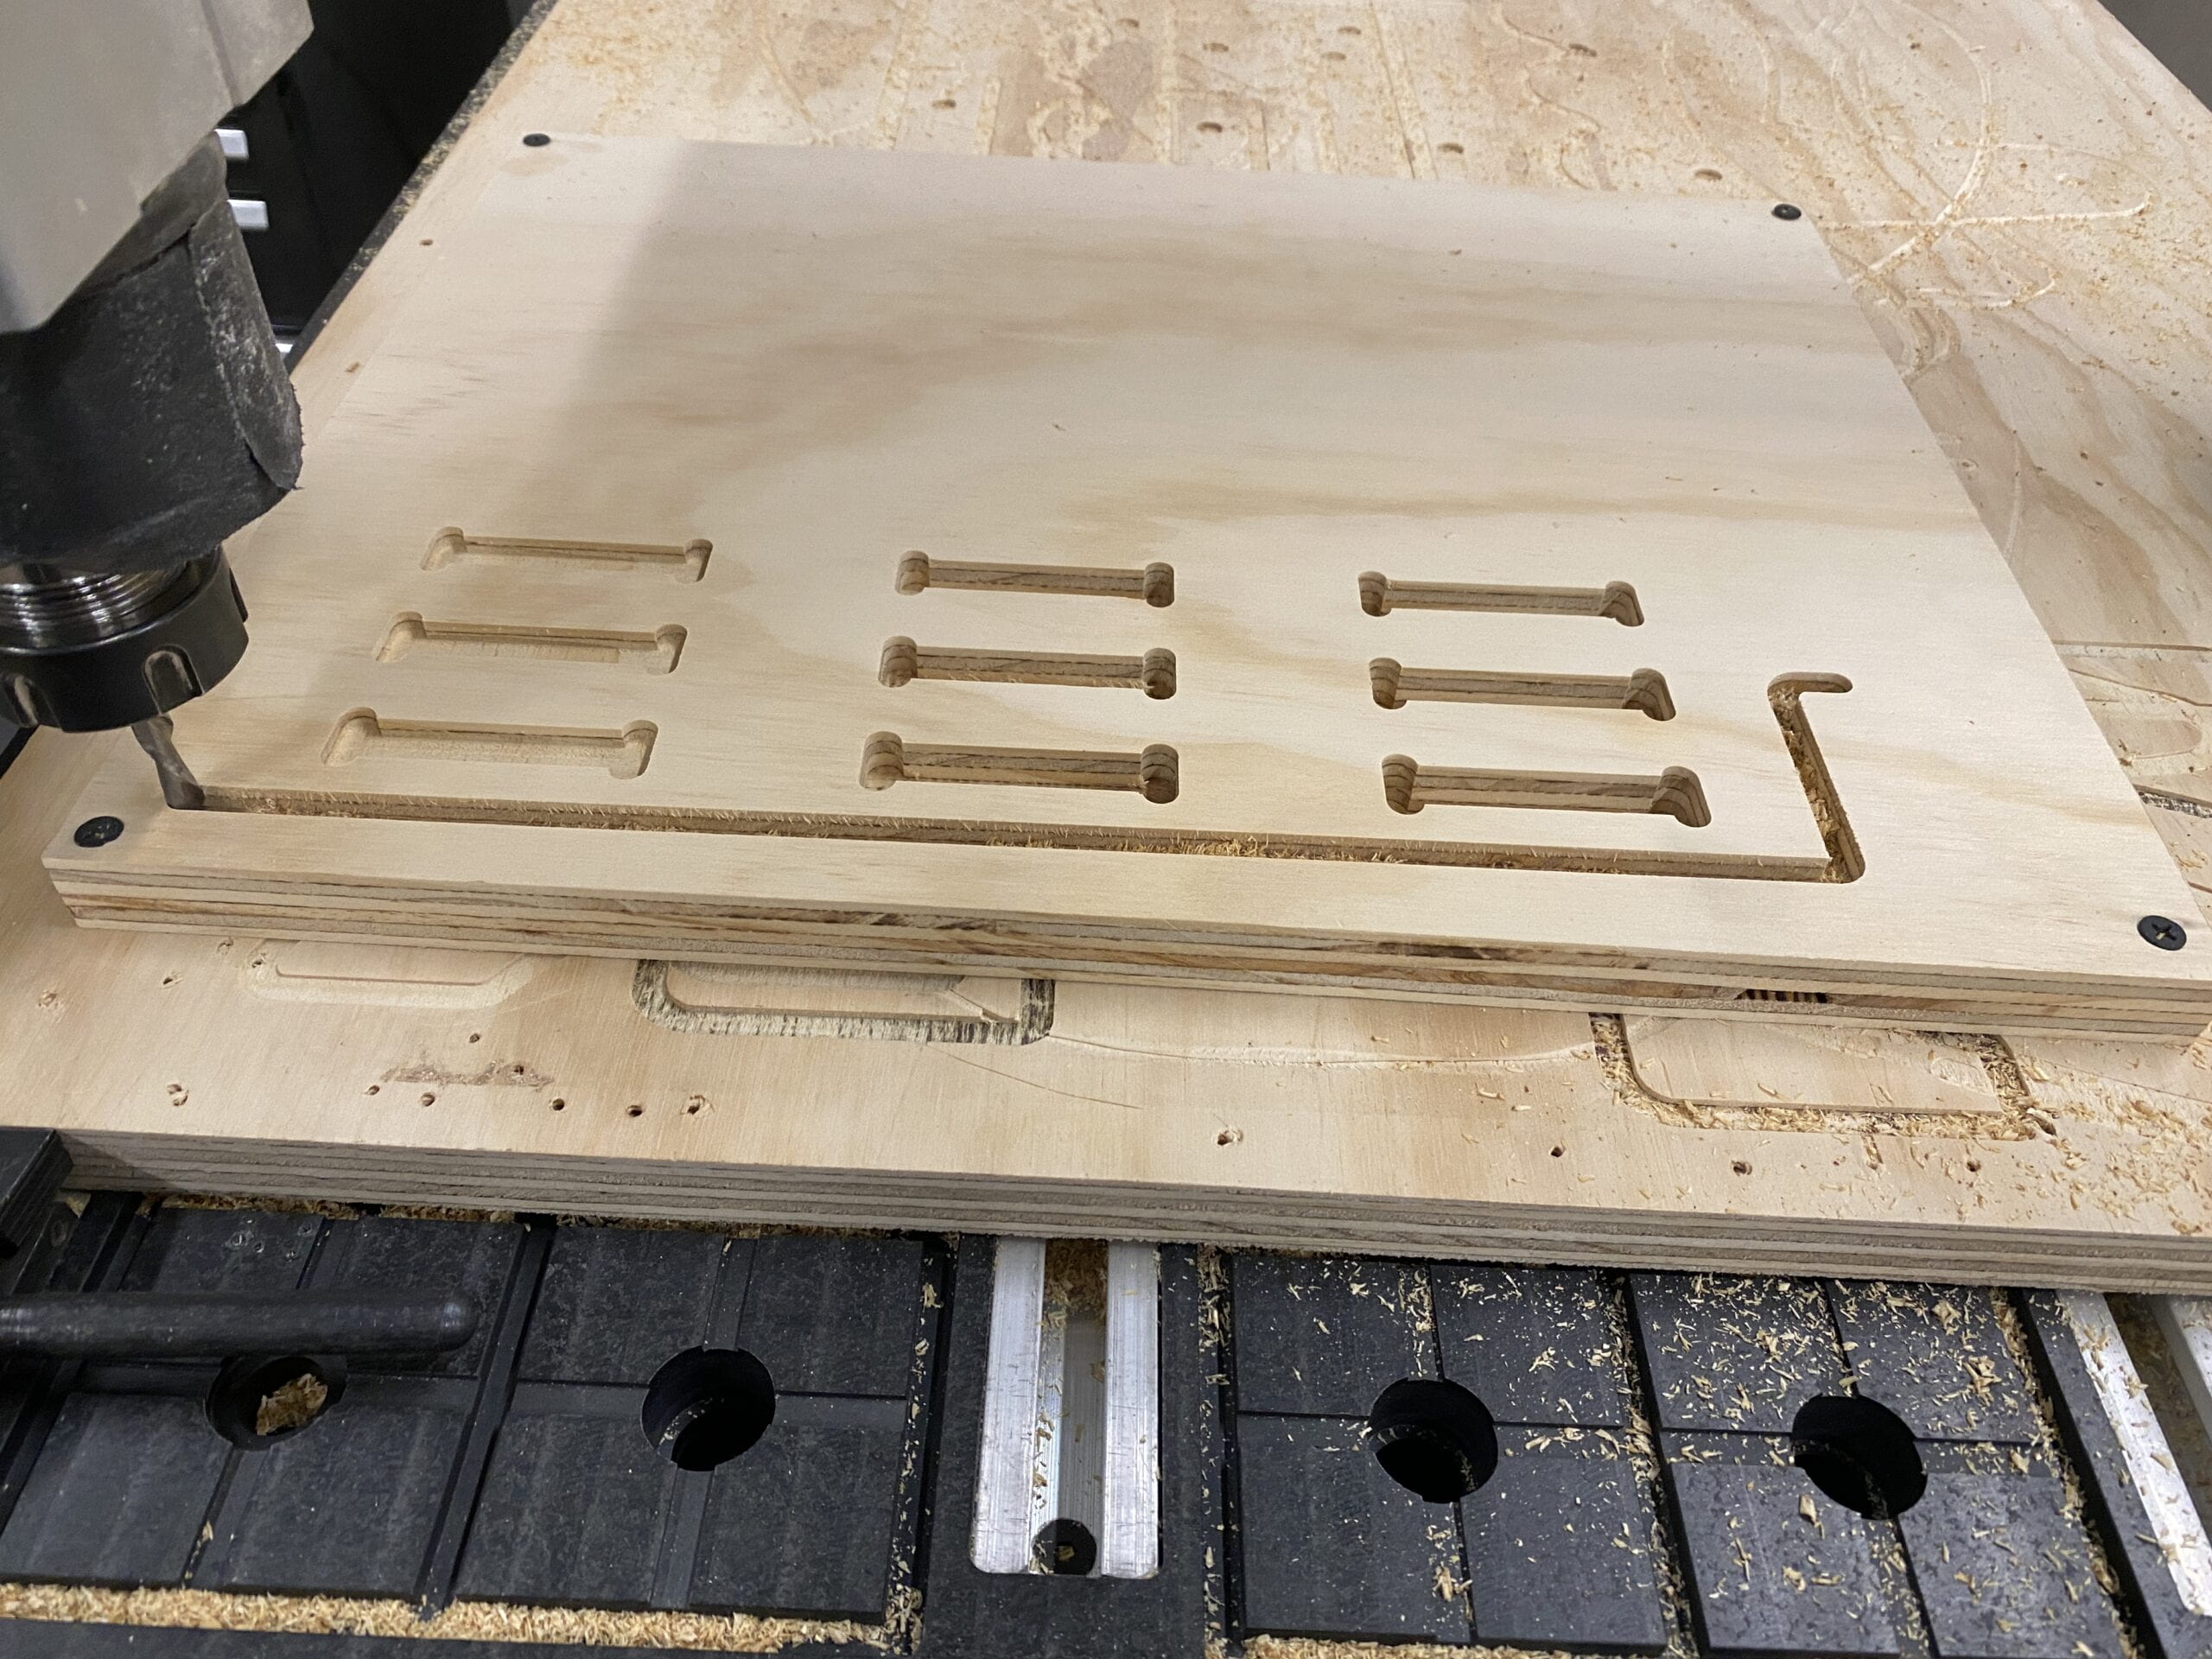
so the machine stopped cutting the contour and said something like “x soft limit reached”.
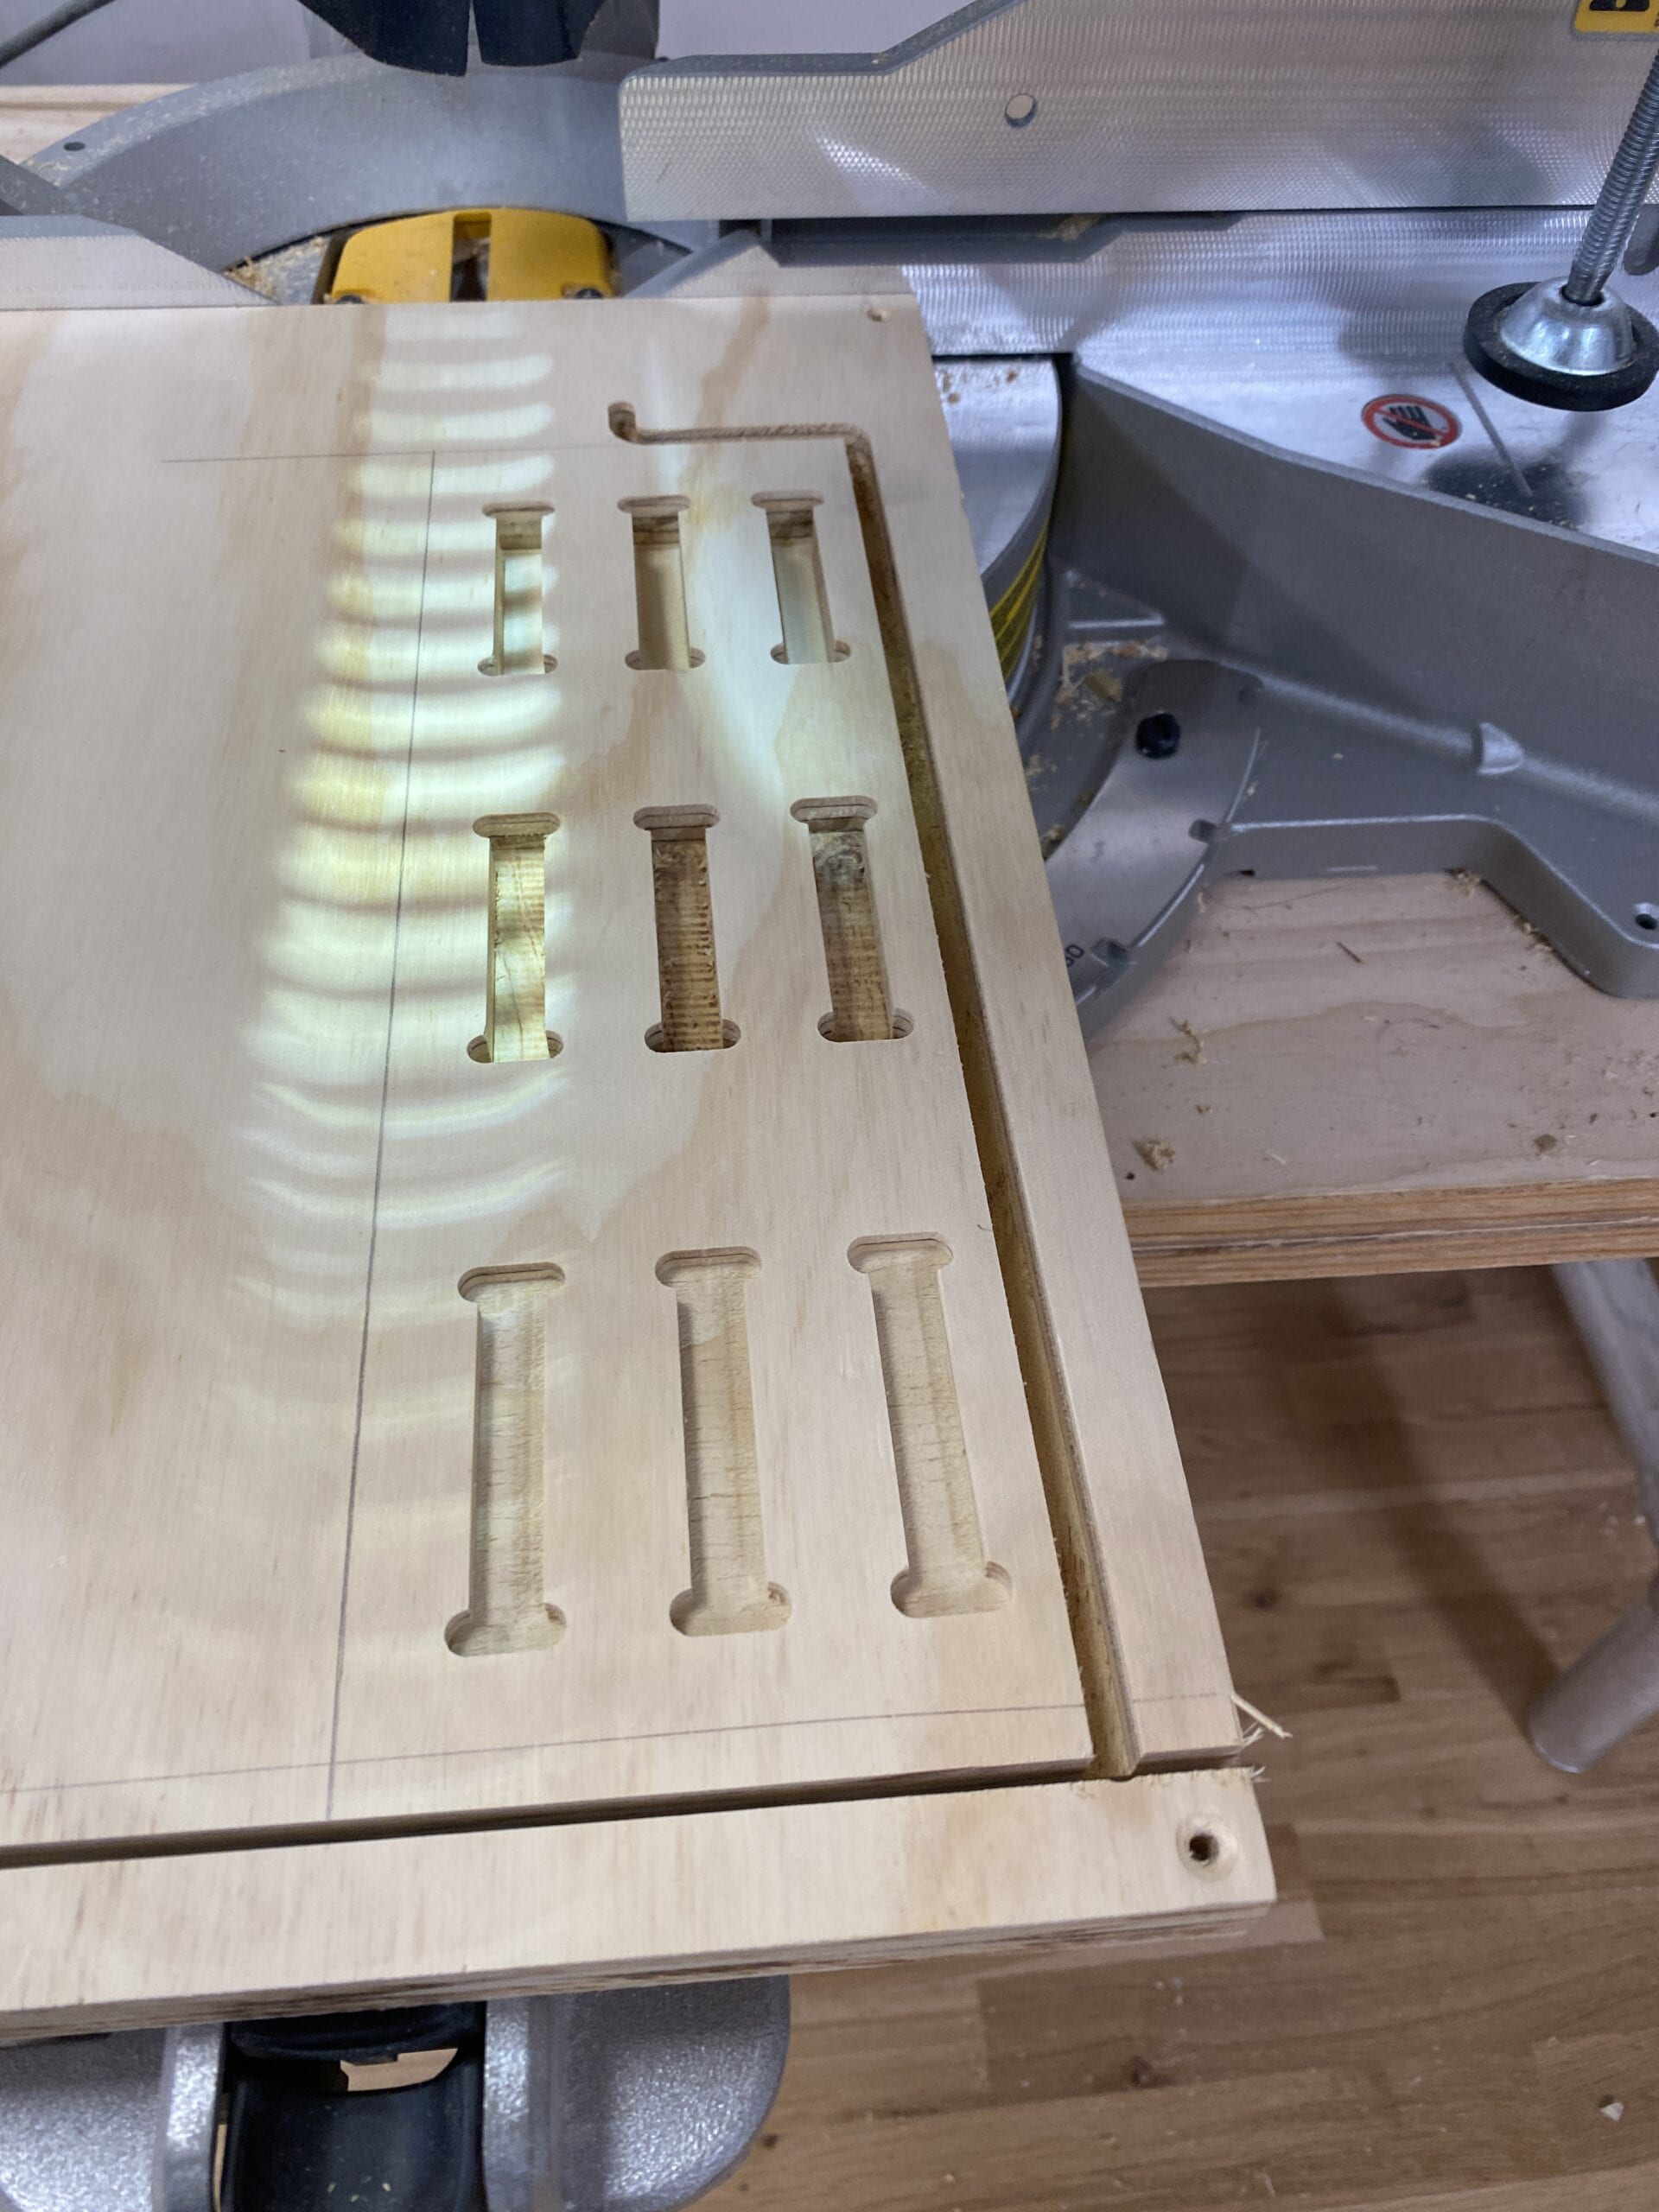
So I took the piece up and finished the contour with the miter saw and the sanders. 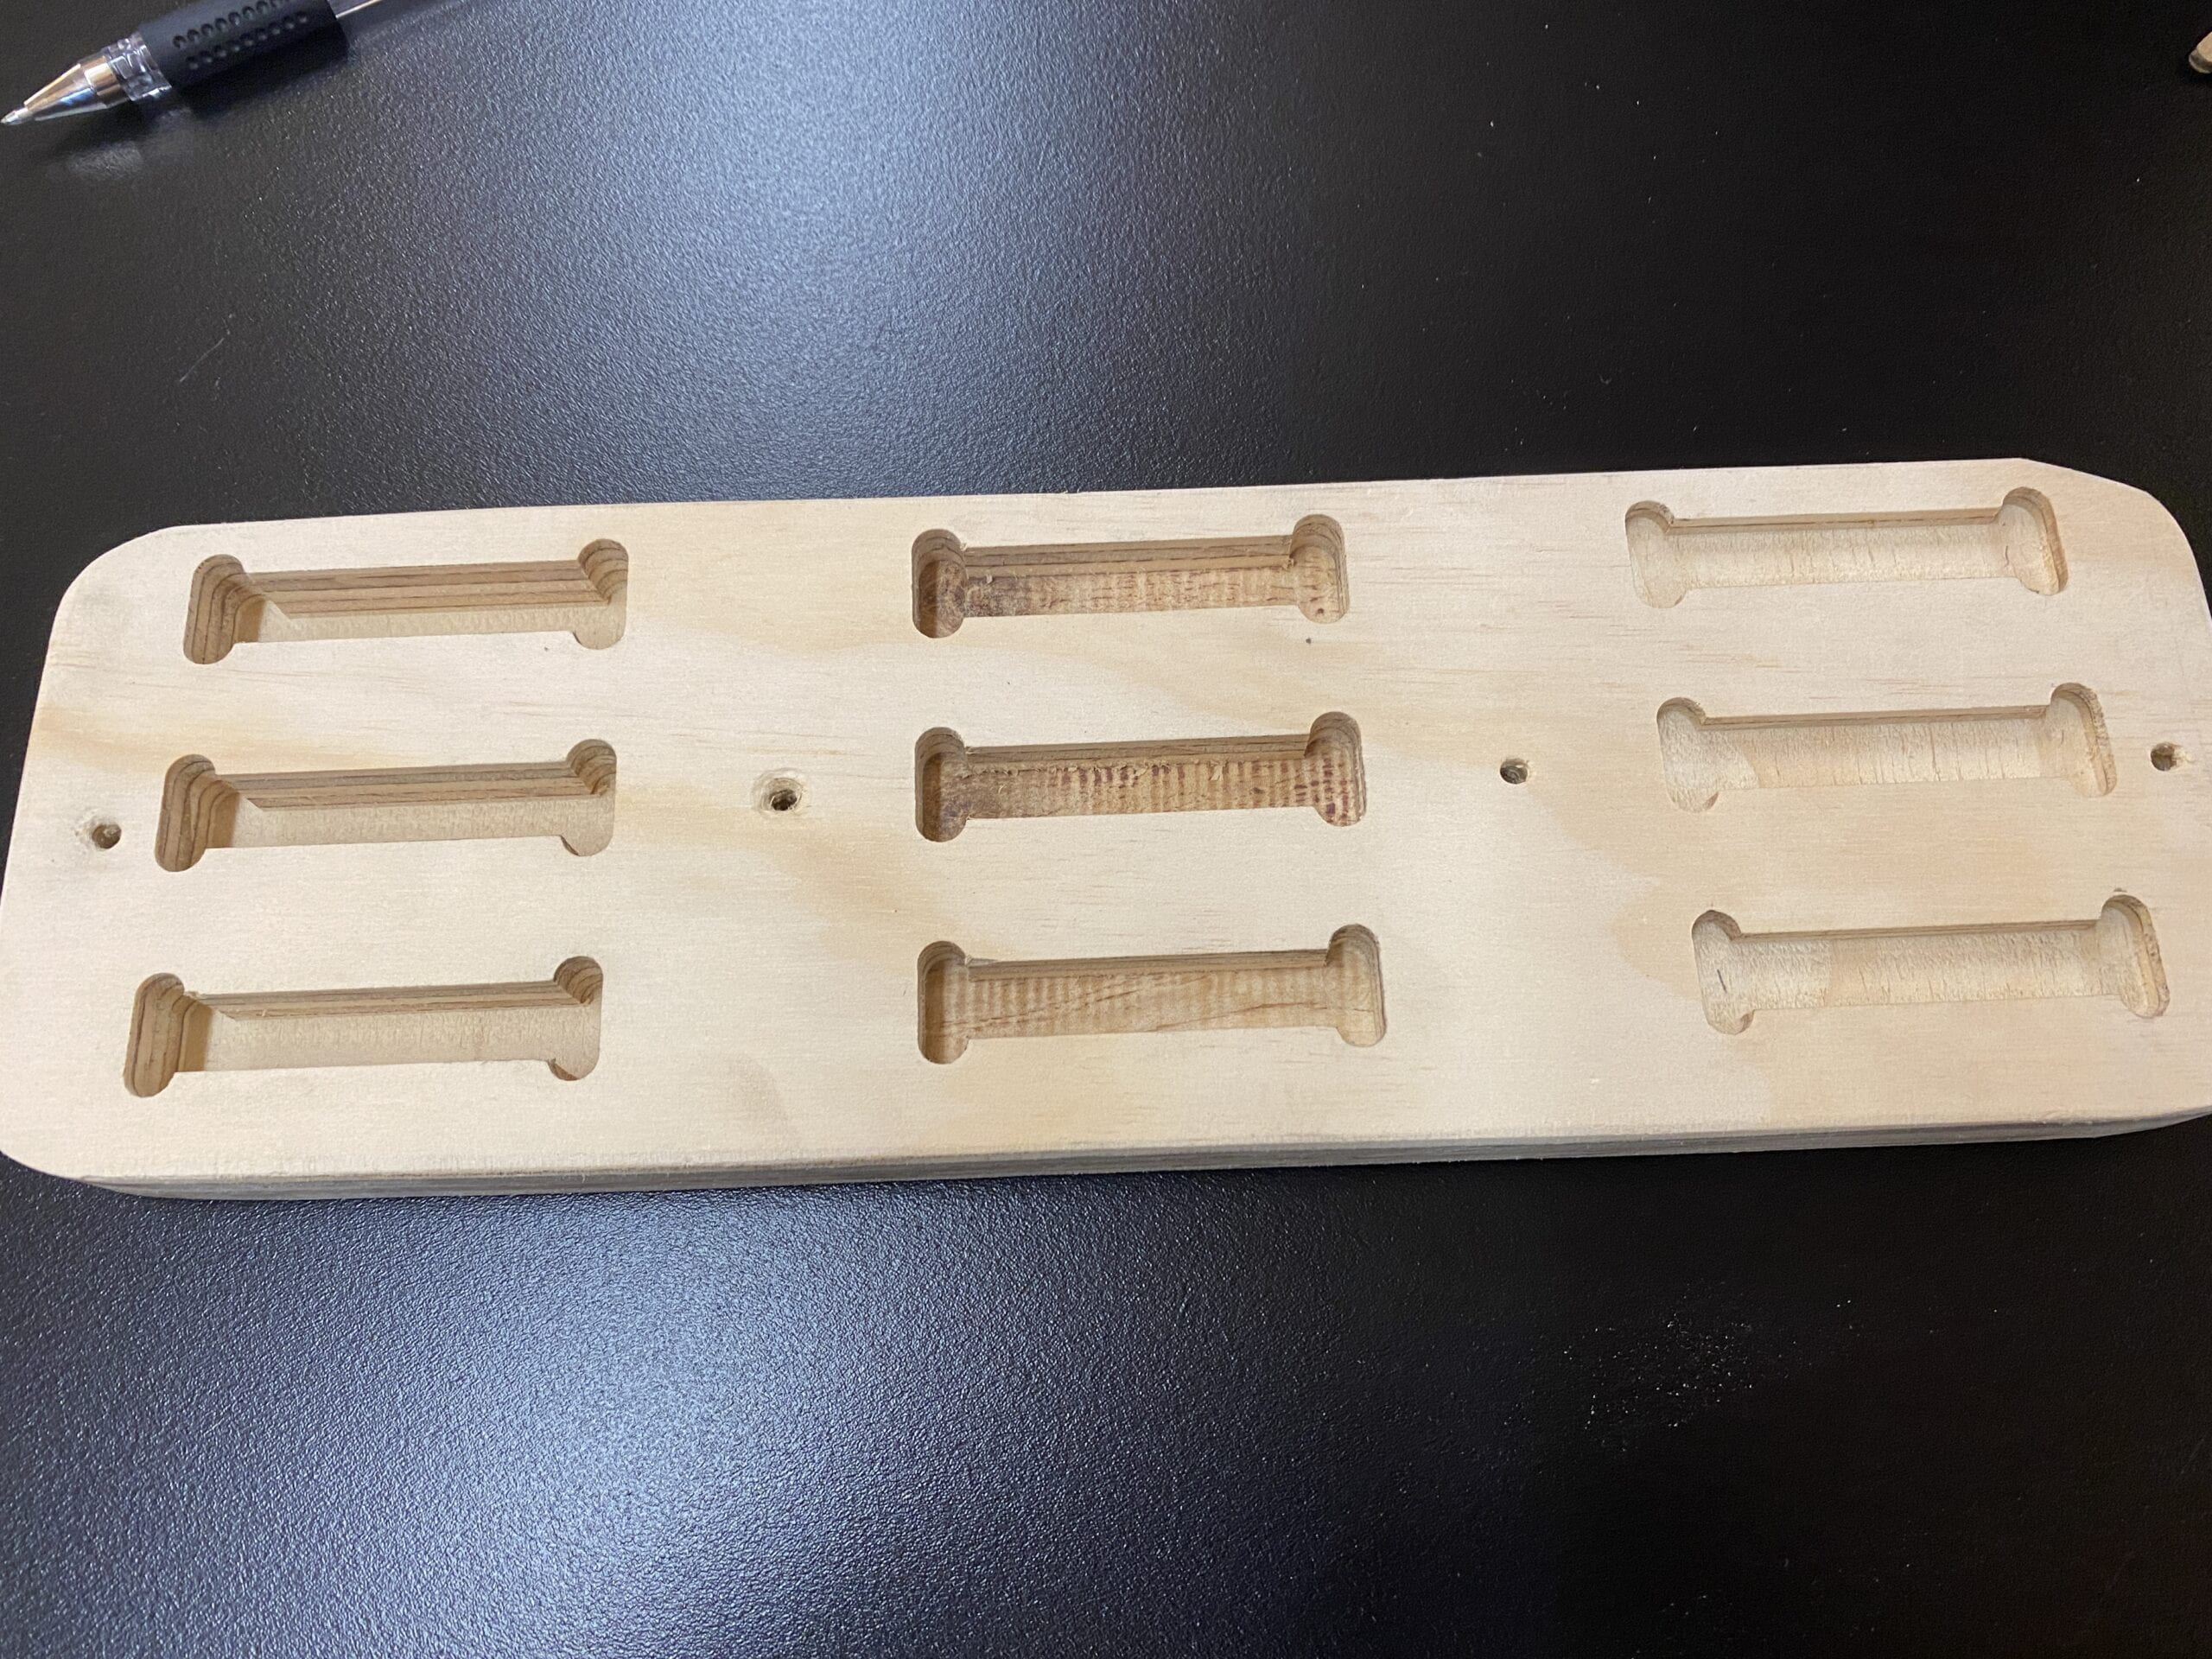
and here is the final product, I will keep posting further testings here or on future blogs.