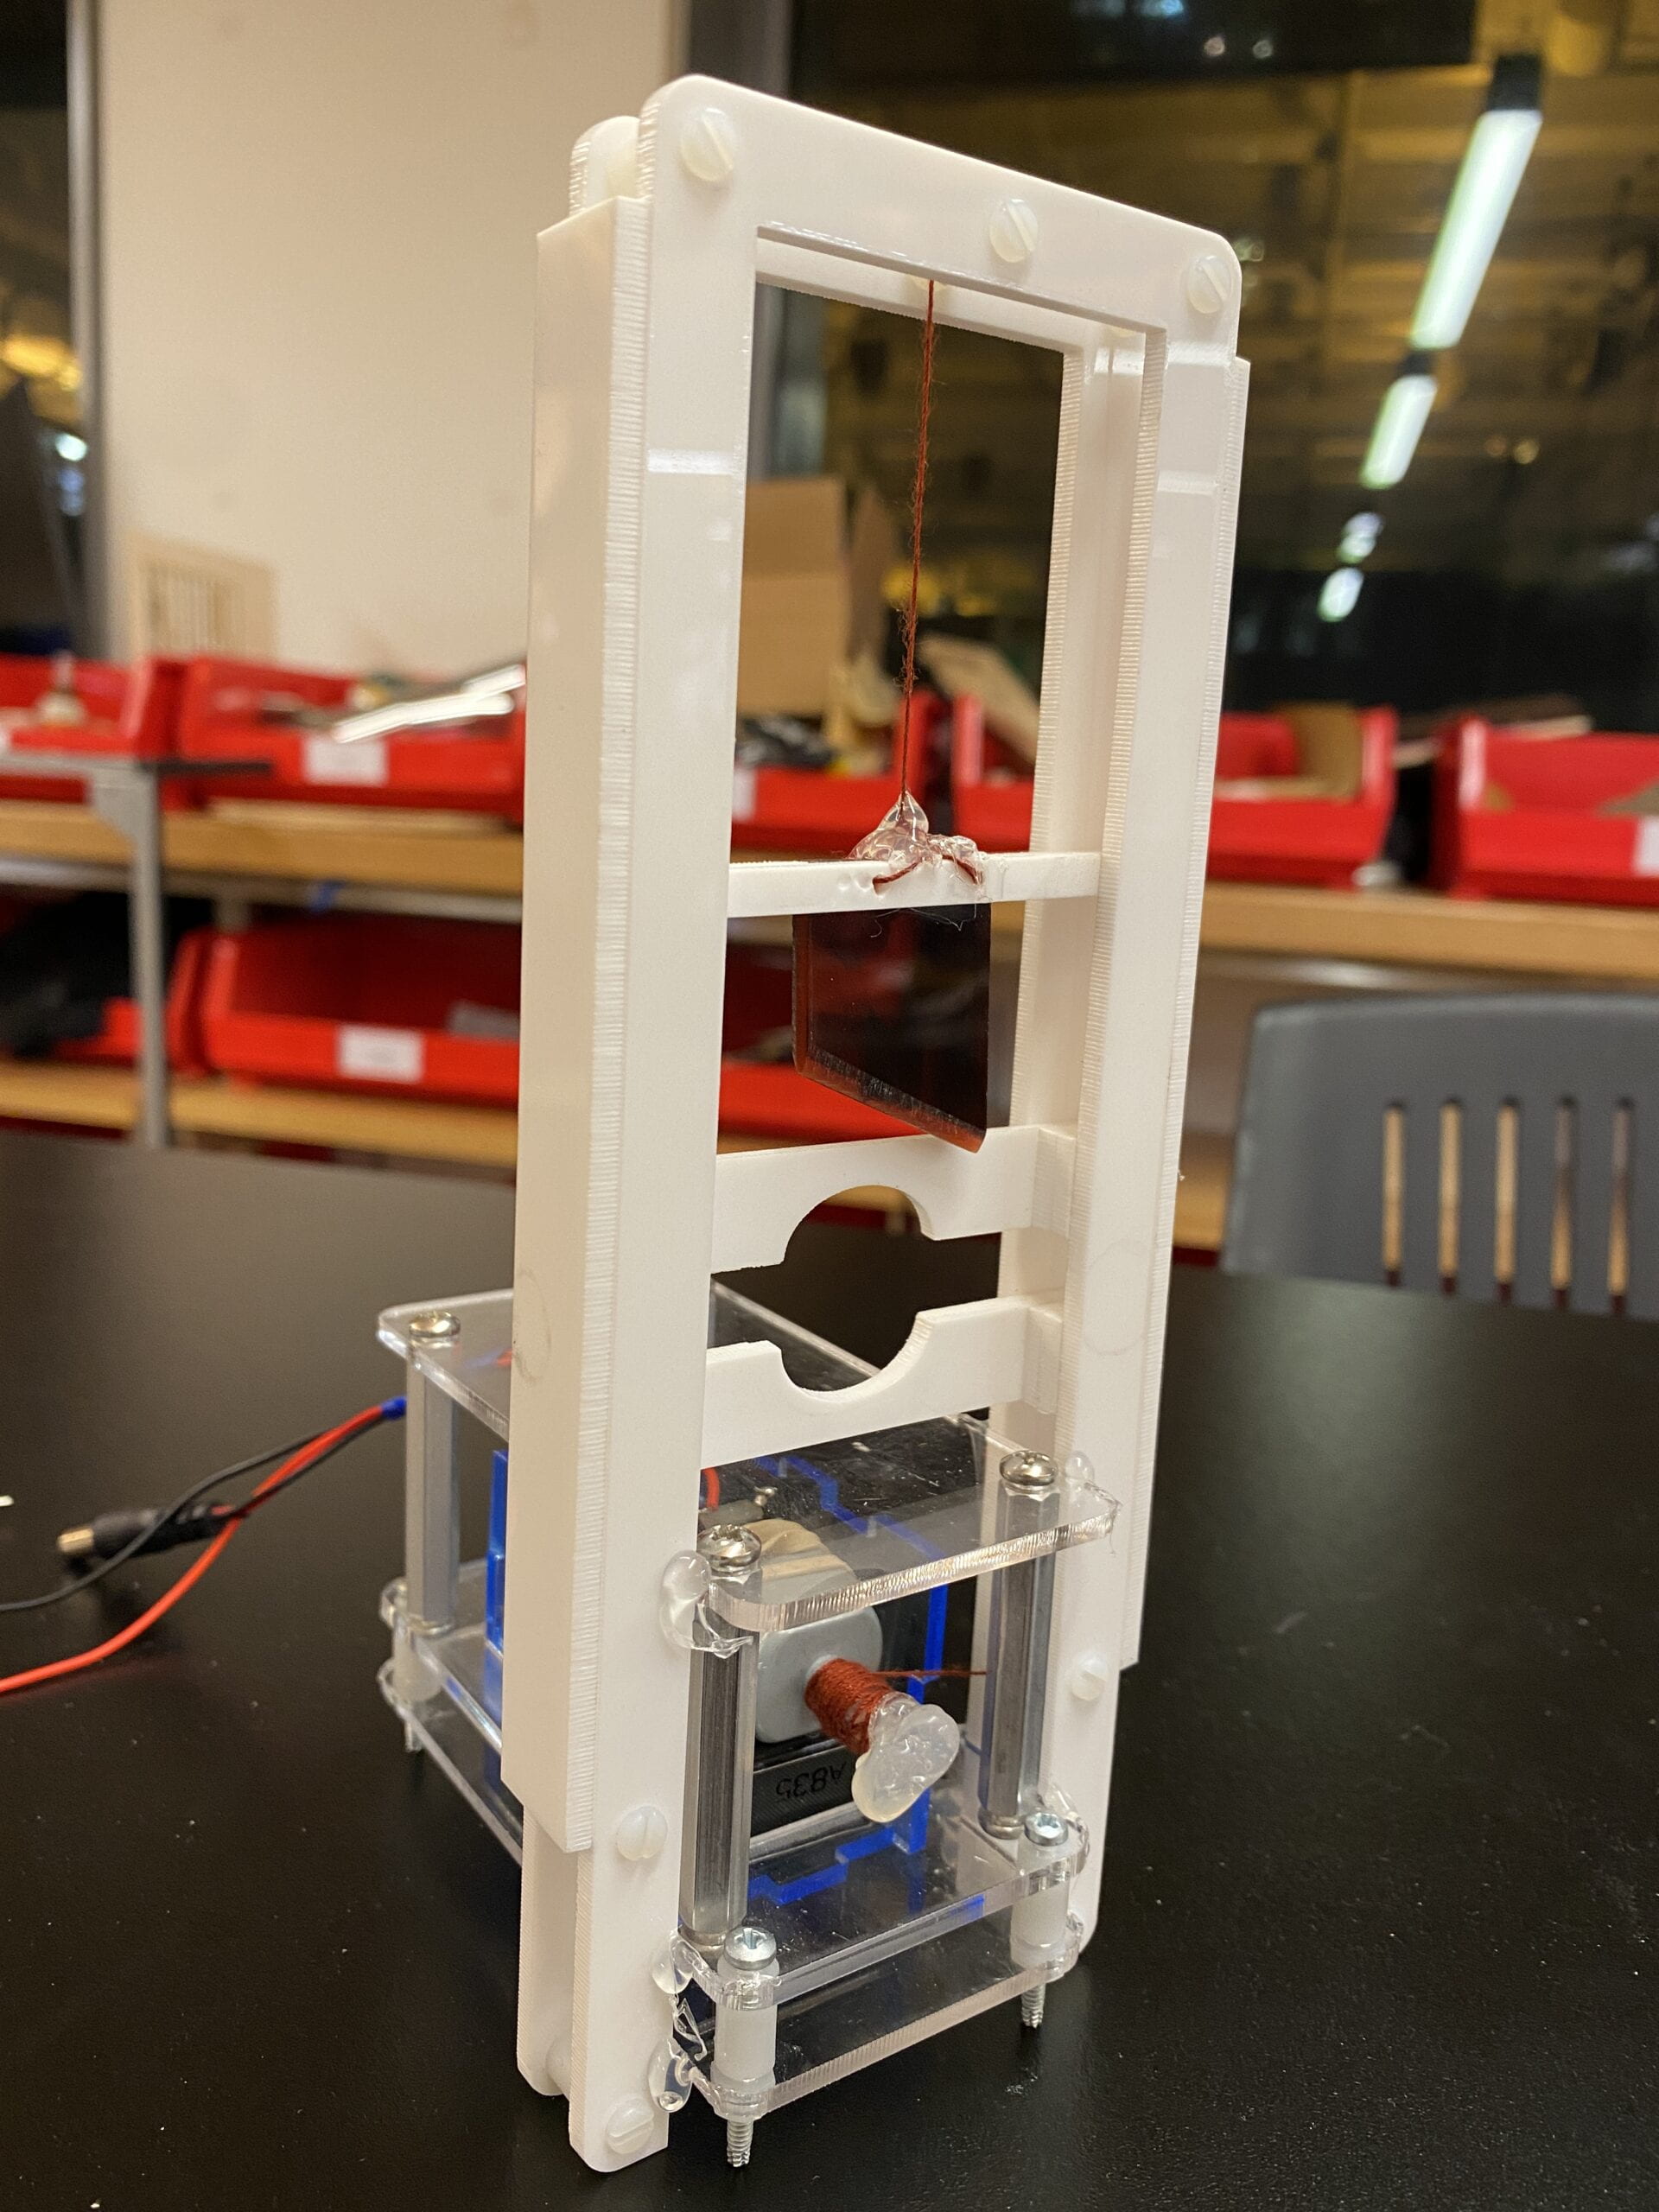
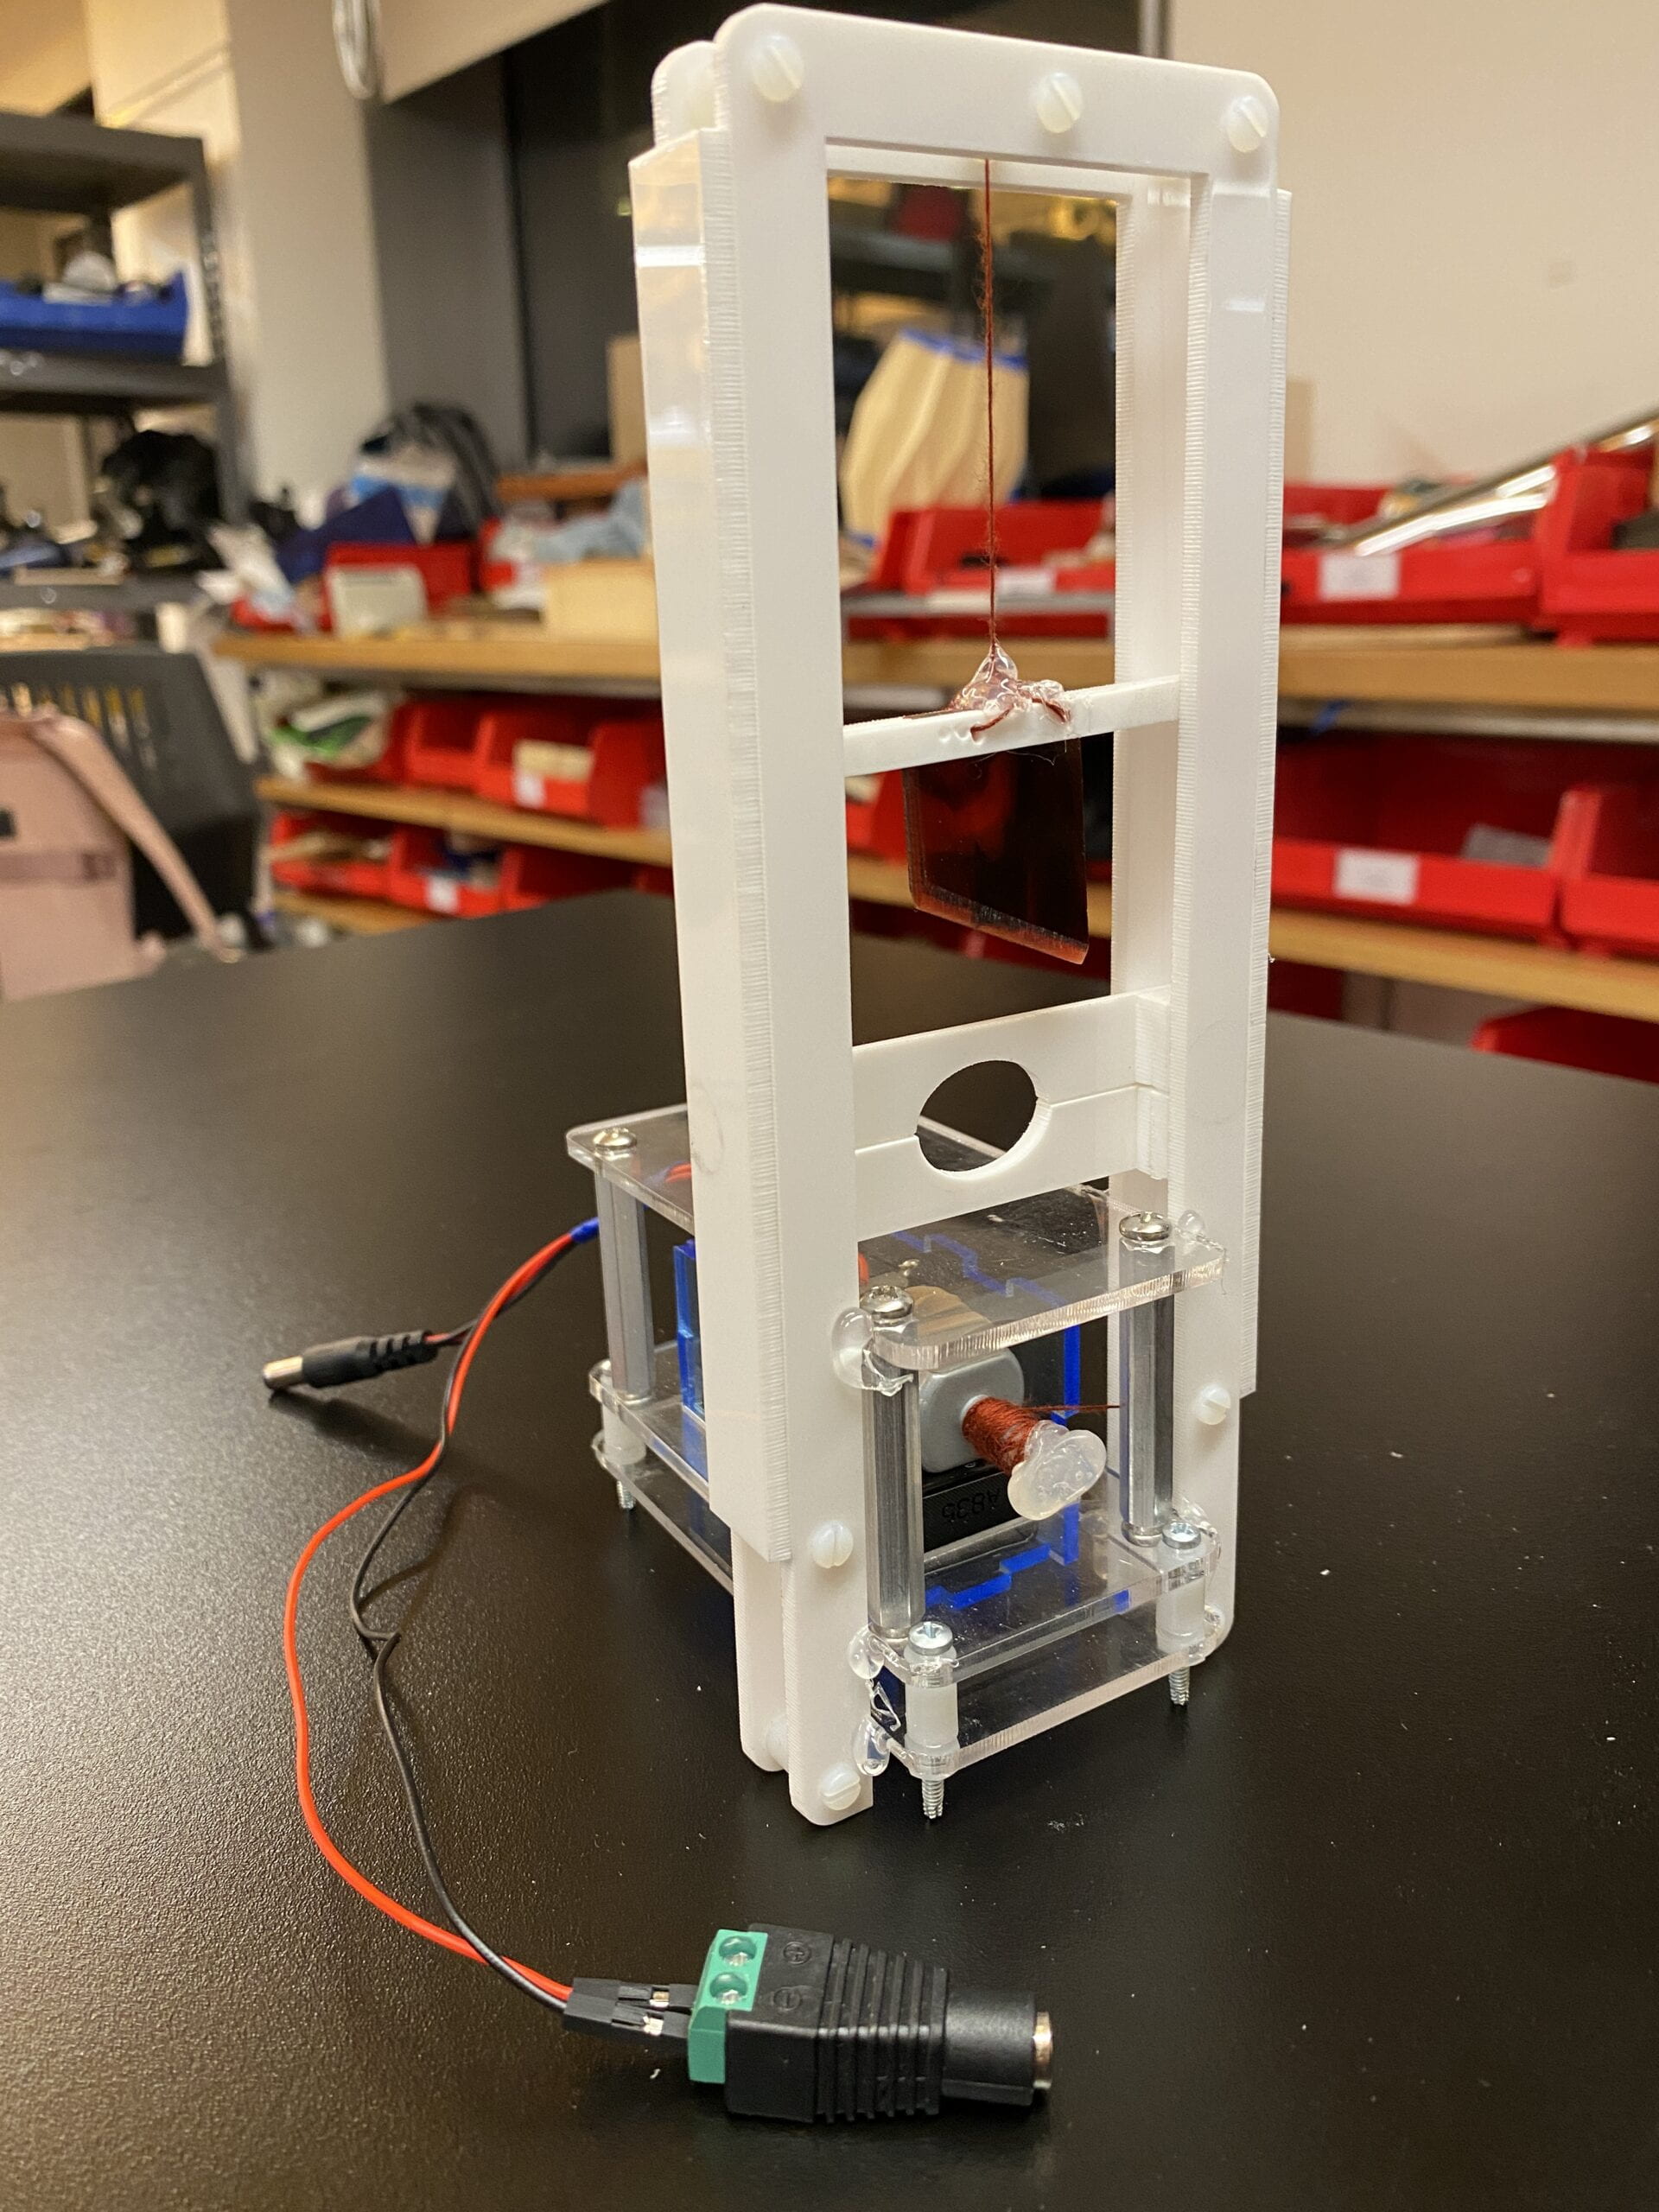
For the final project I decided to make a motor-powered small guillotine.
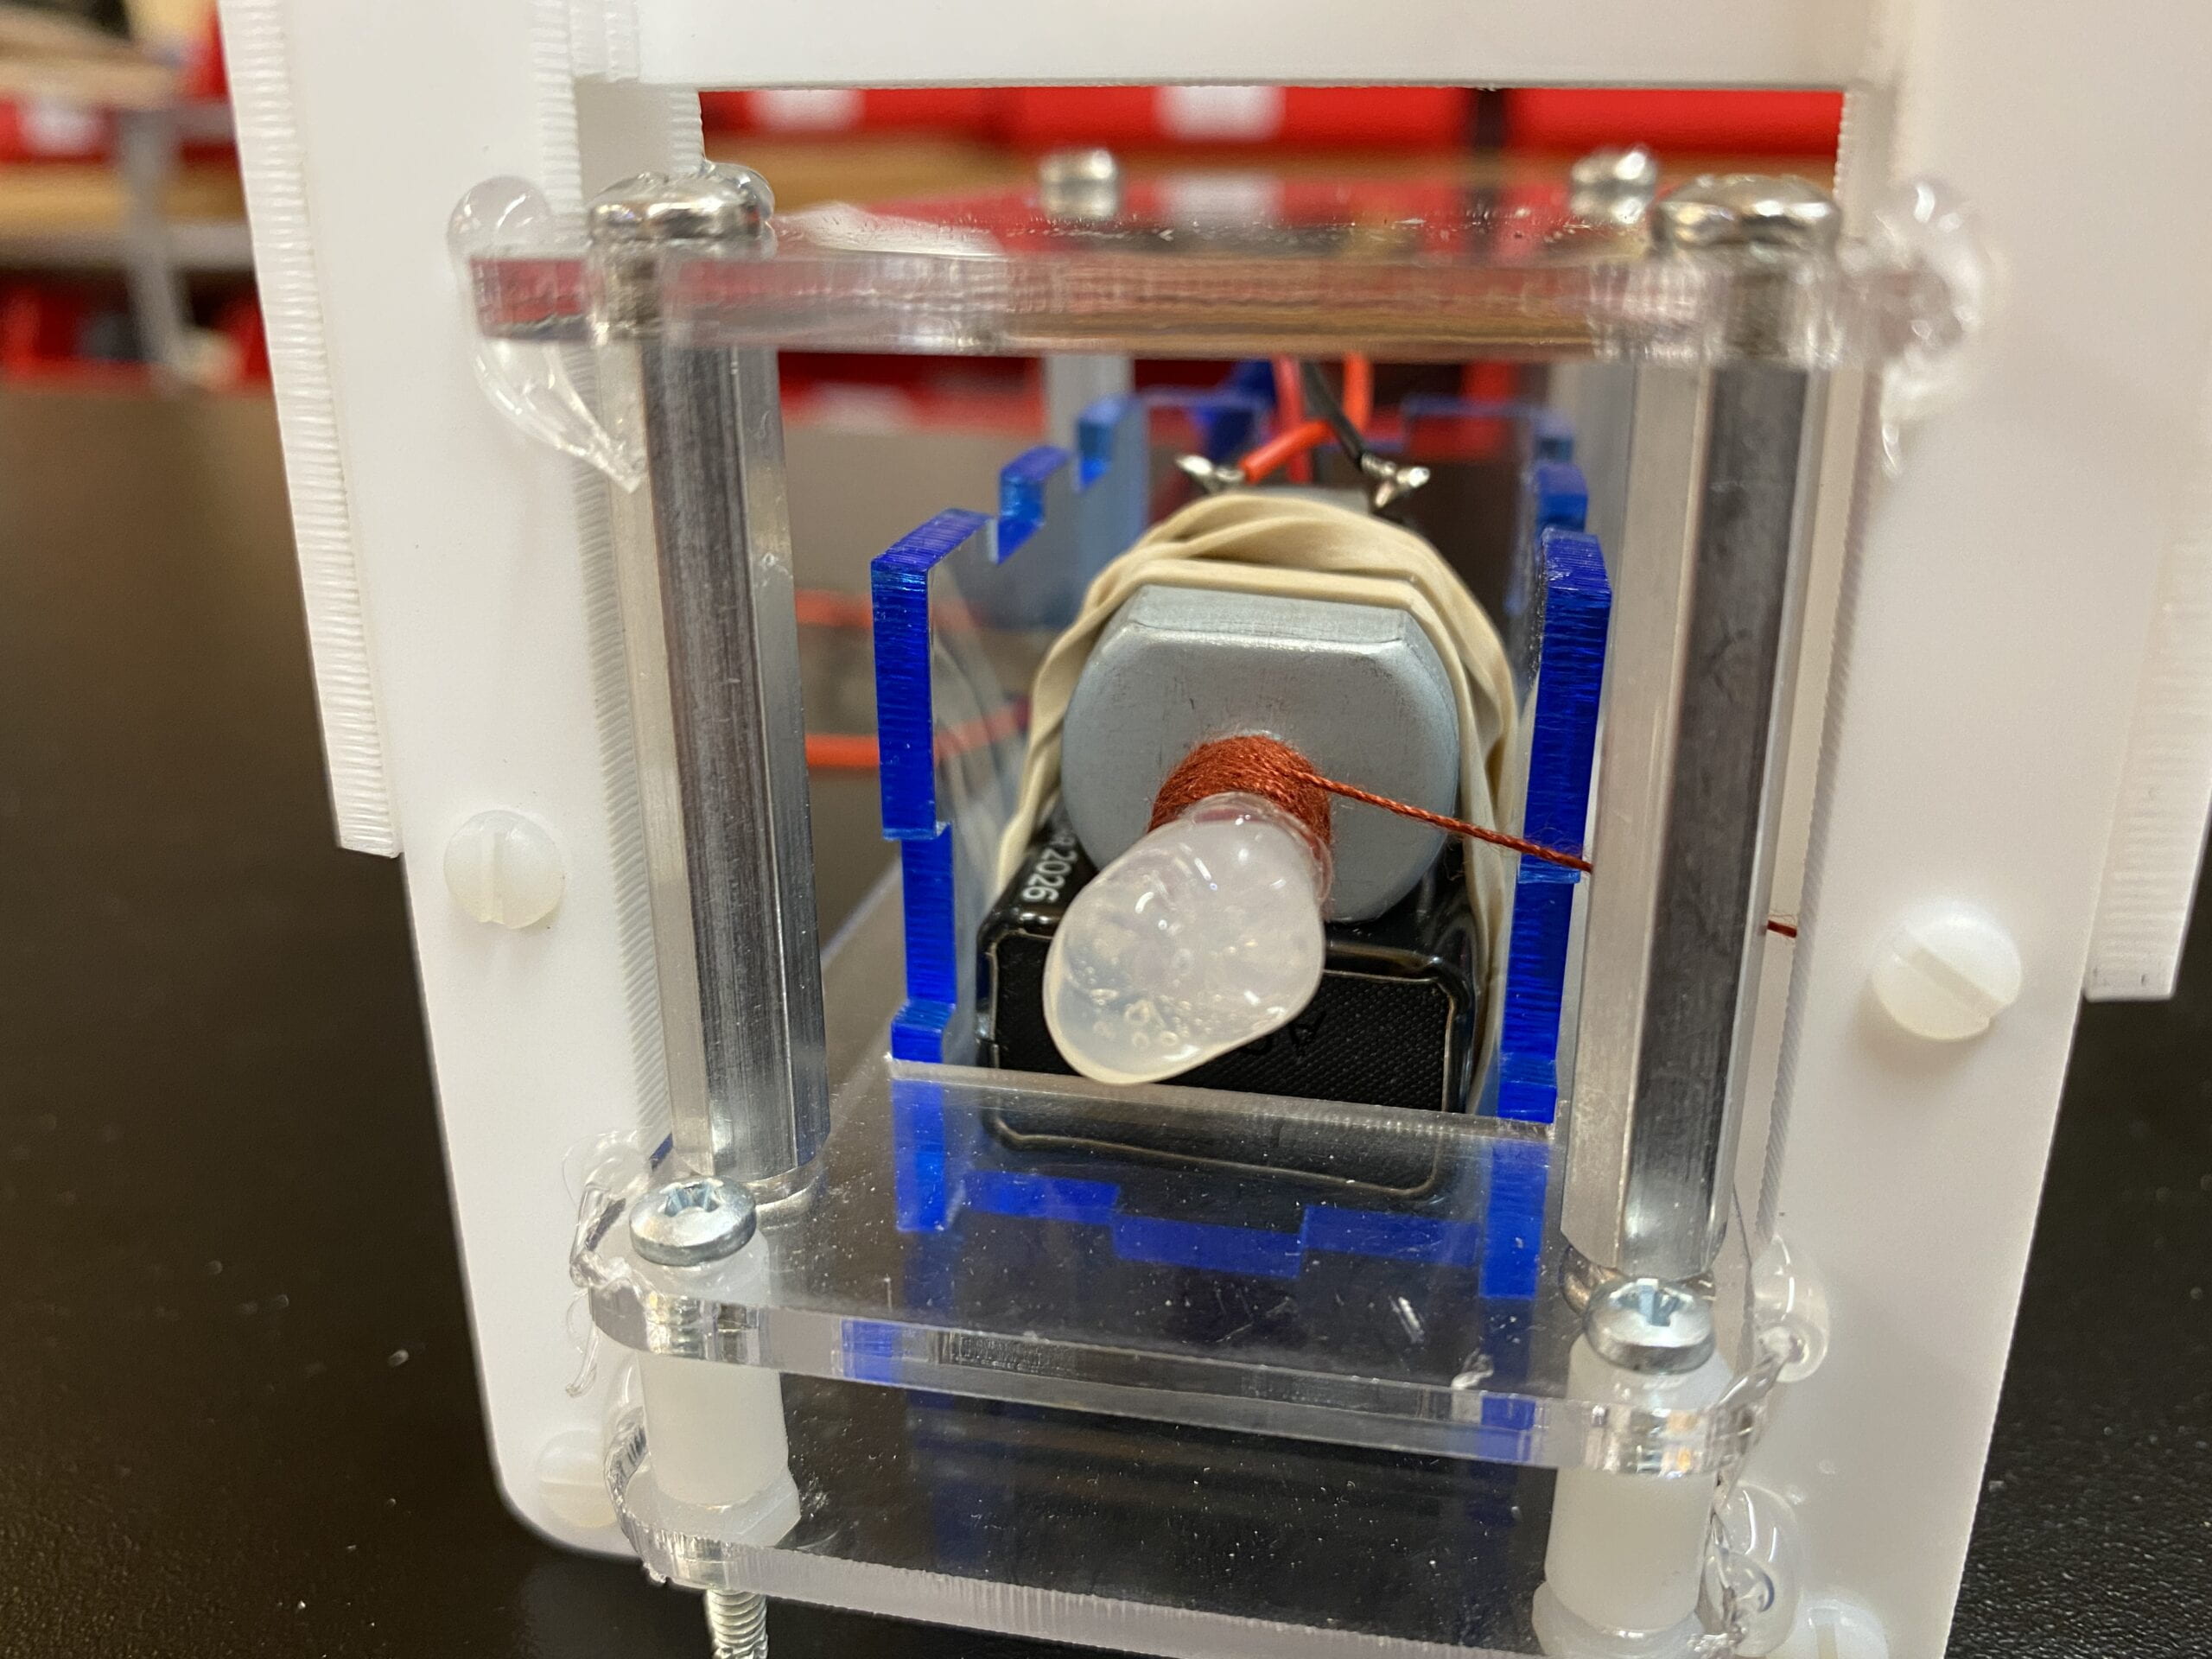
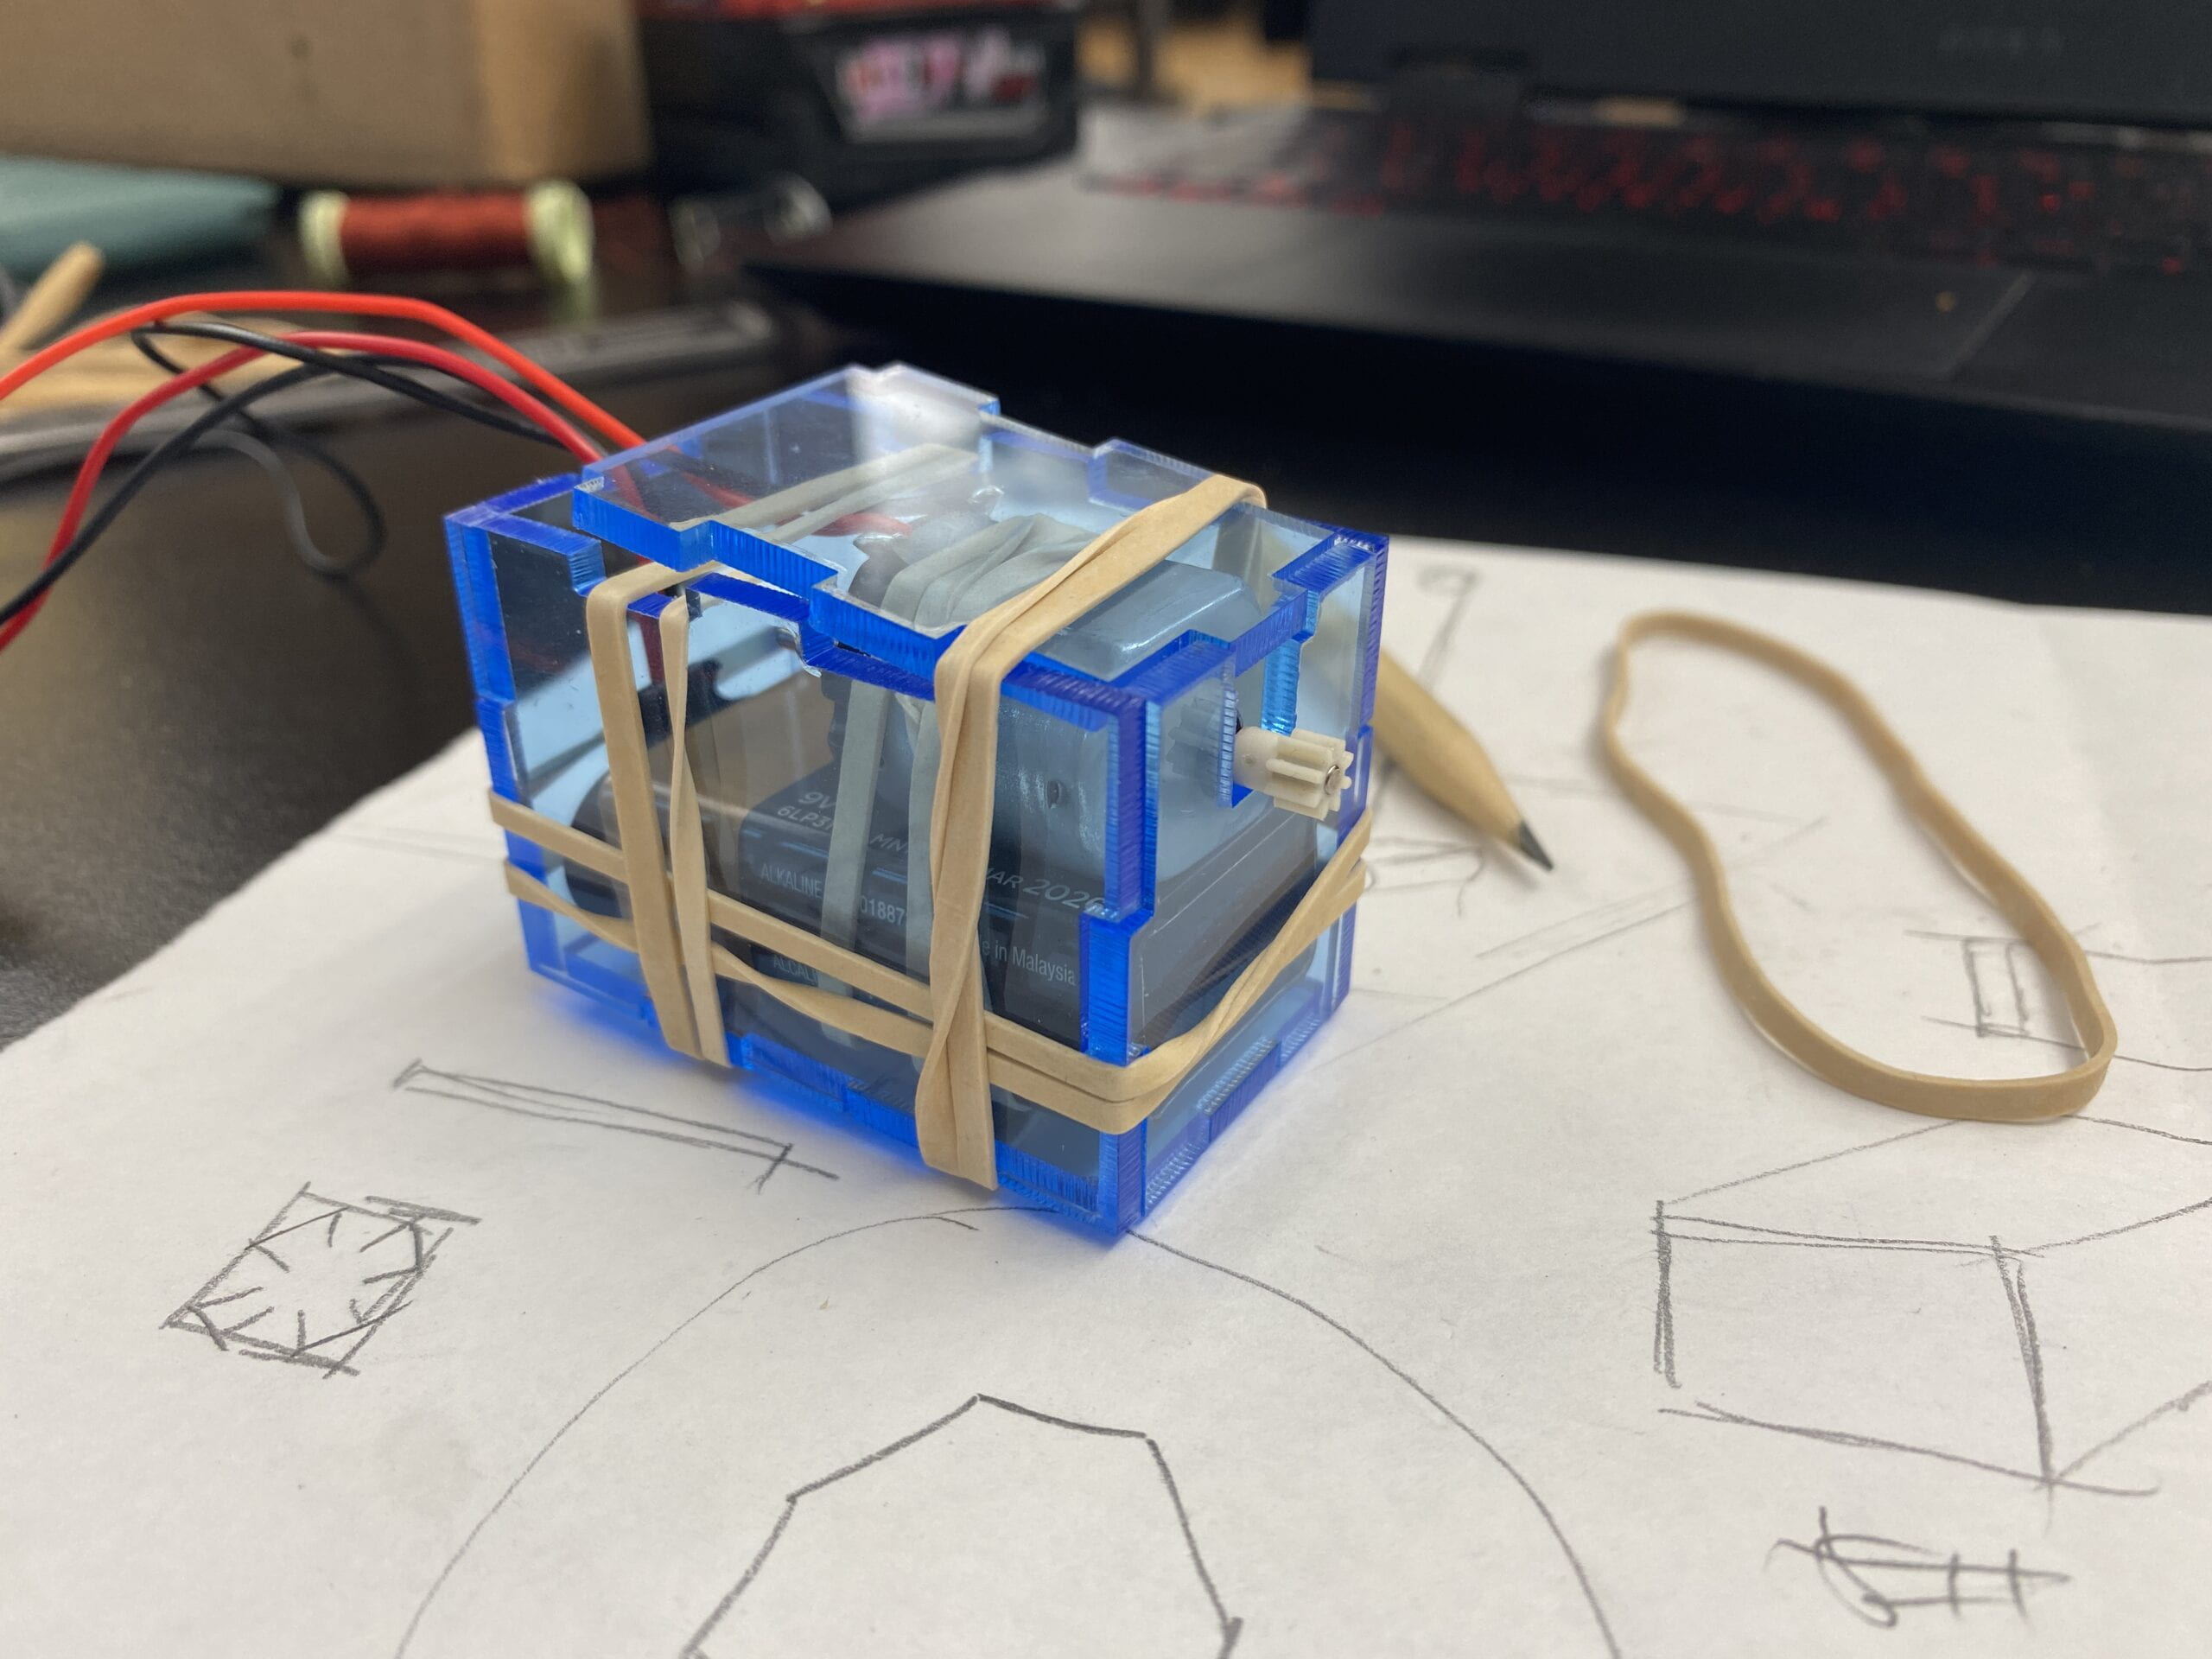
For the motor mount I found some acrylic that I cut into a finger joint box. For testing purposes, I left it unglued but rather tied it with rubber bands so that I can take it apart and adjust it when needed. And YES I made a finger joint box because it is very easy to do and easy to assemble, and for this project it serves its purpose and I can easily swap it for a store-bought more sturdy and nice-looking box of similar dimensions if I need to.
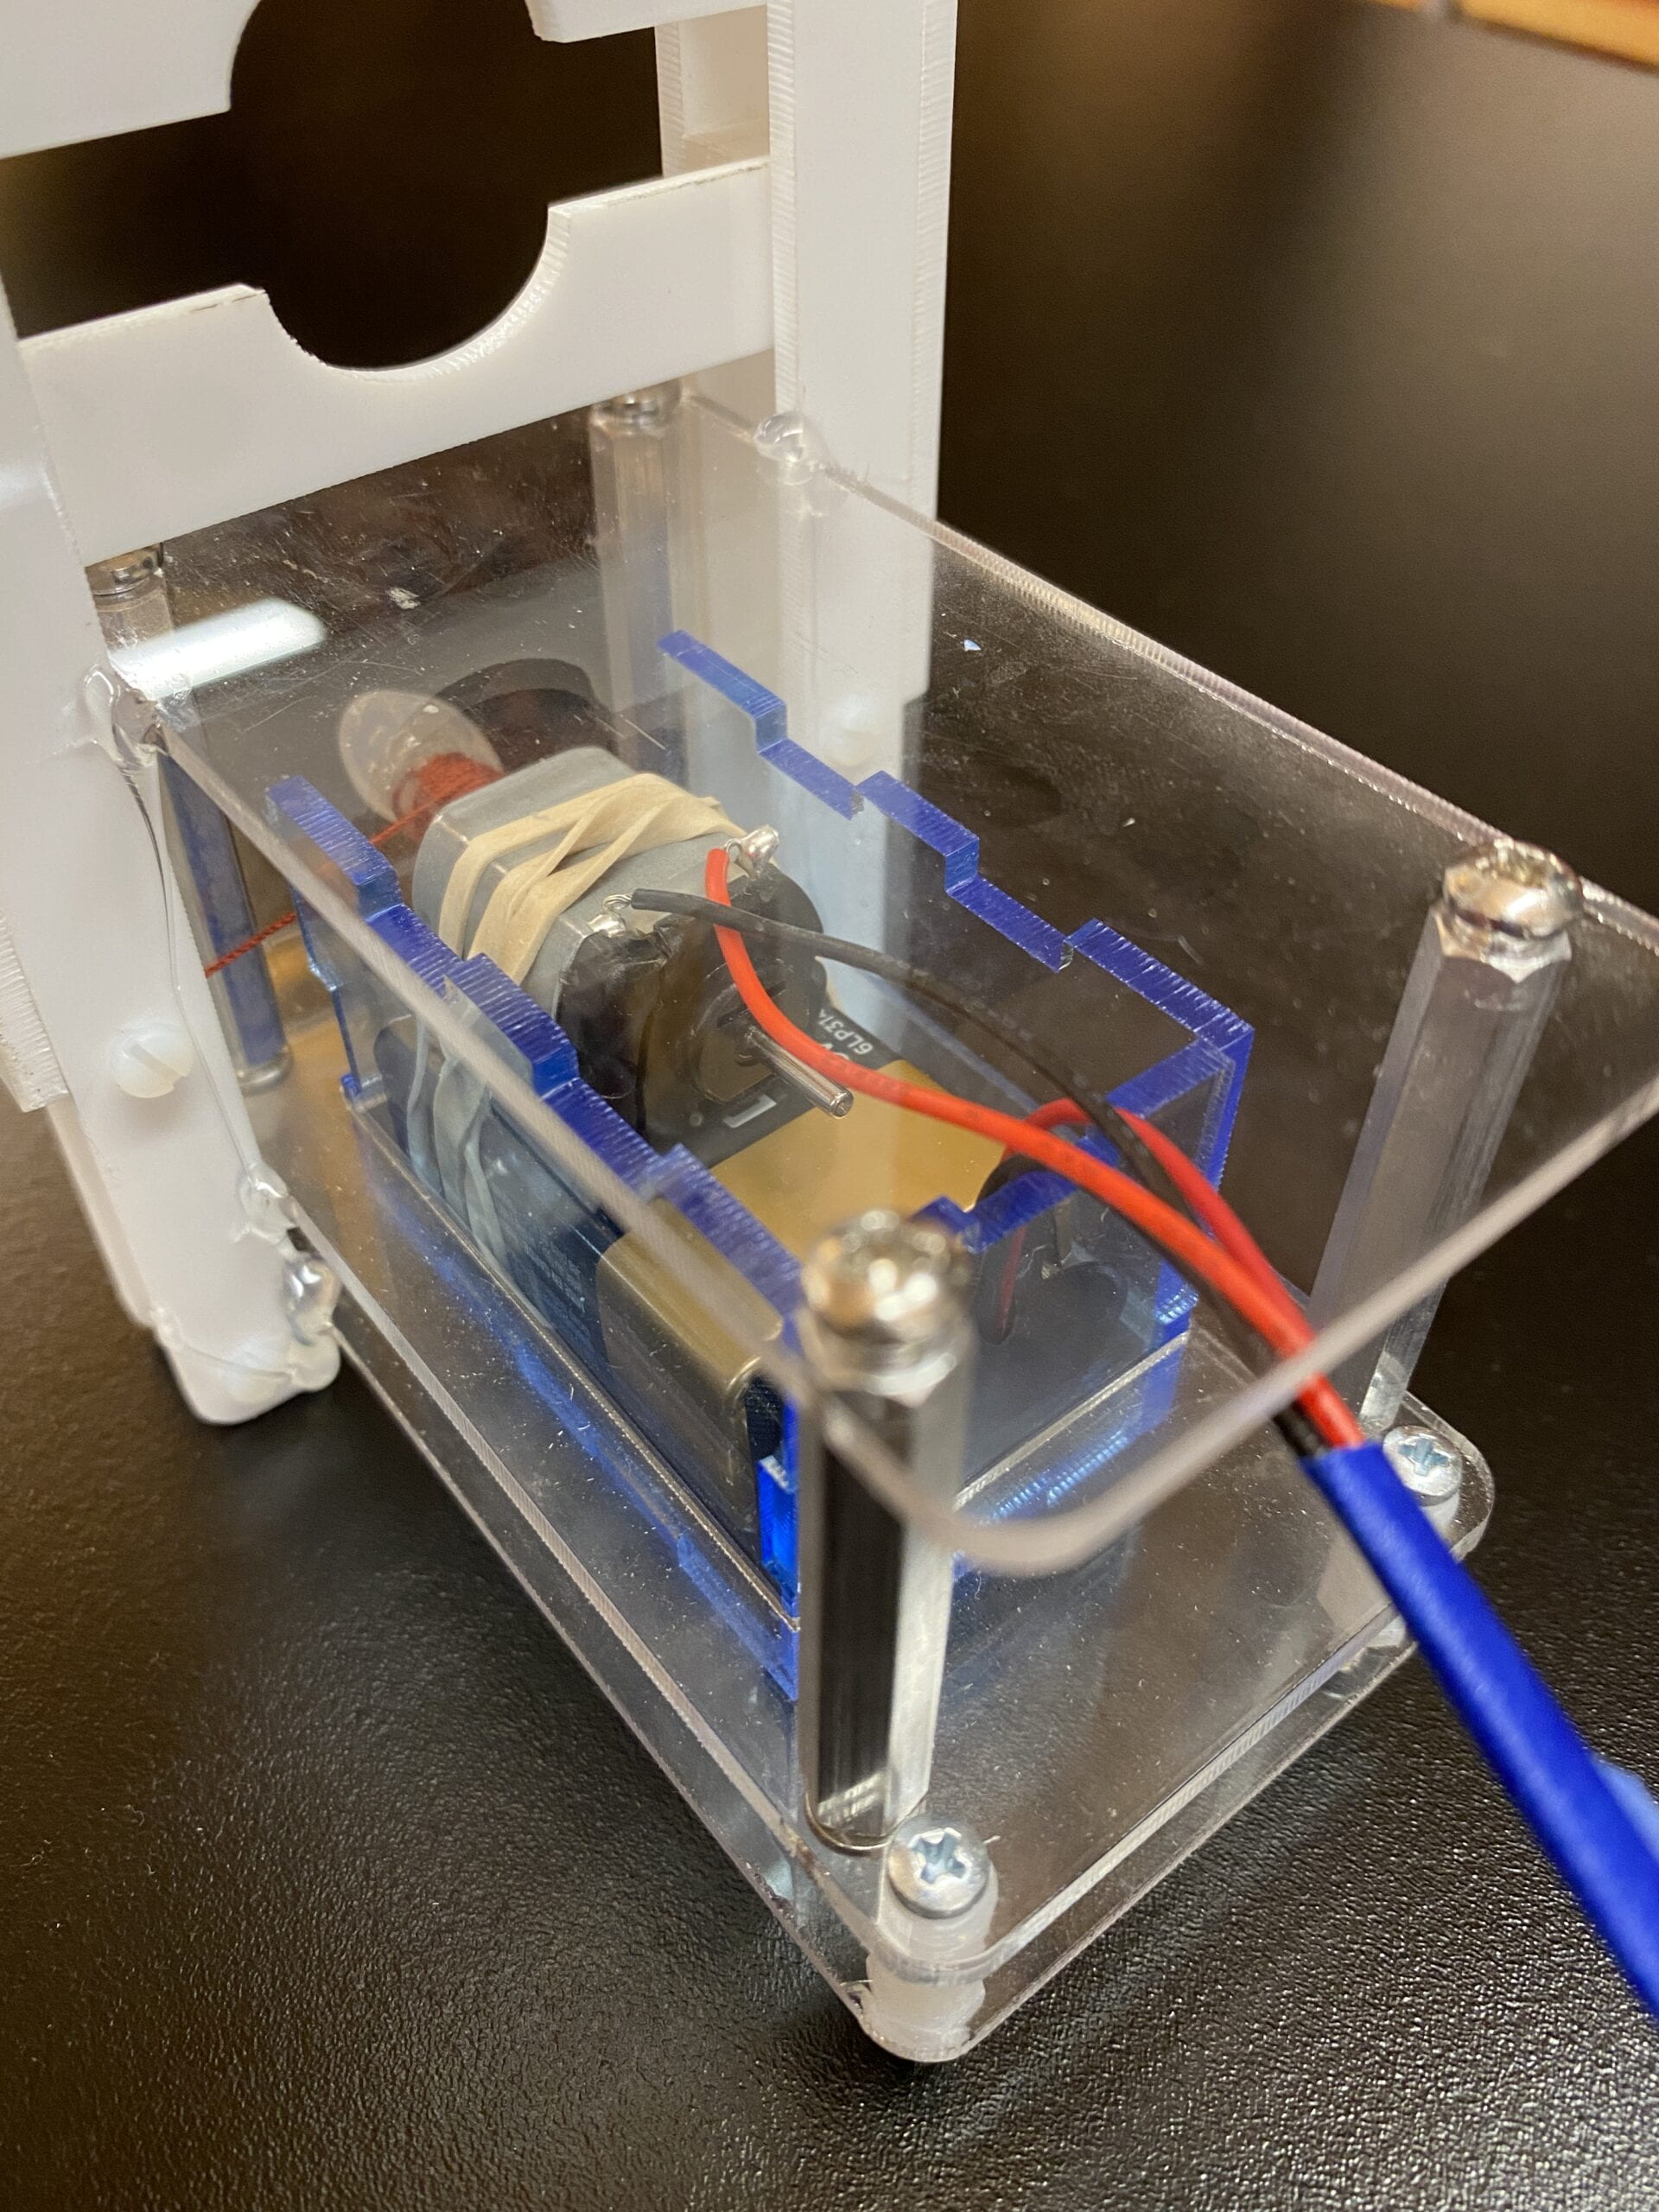
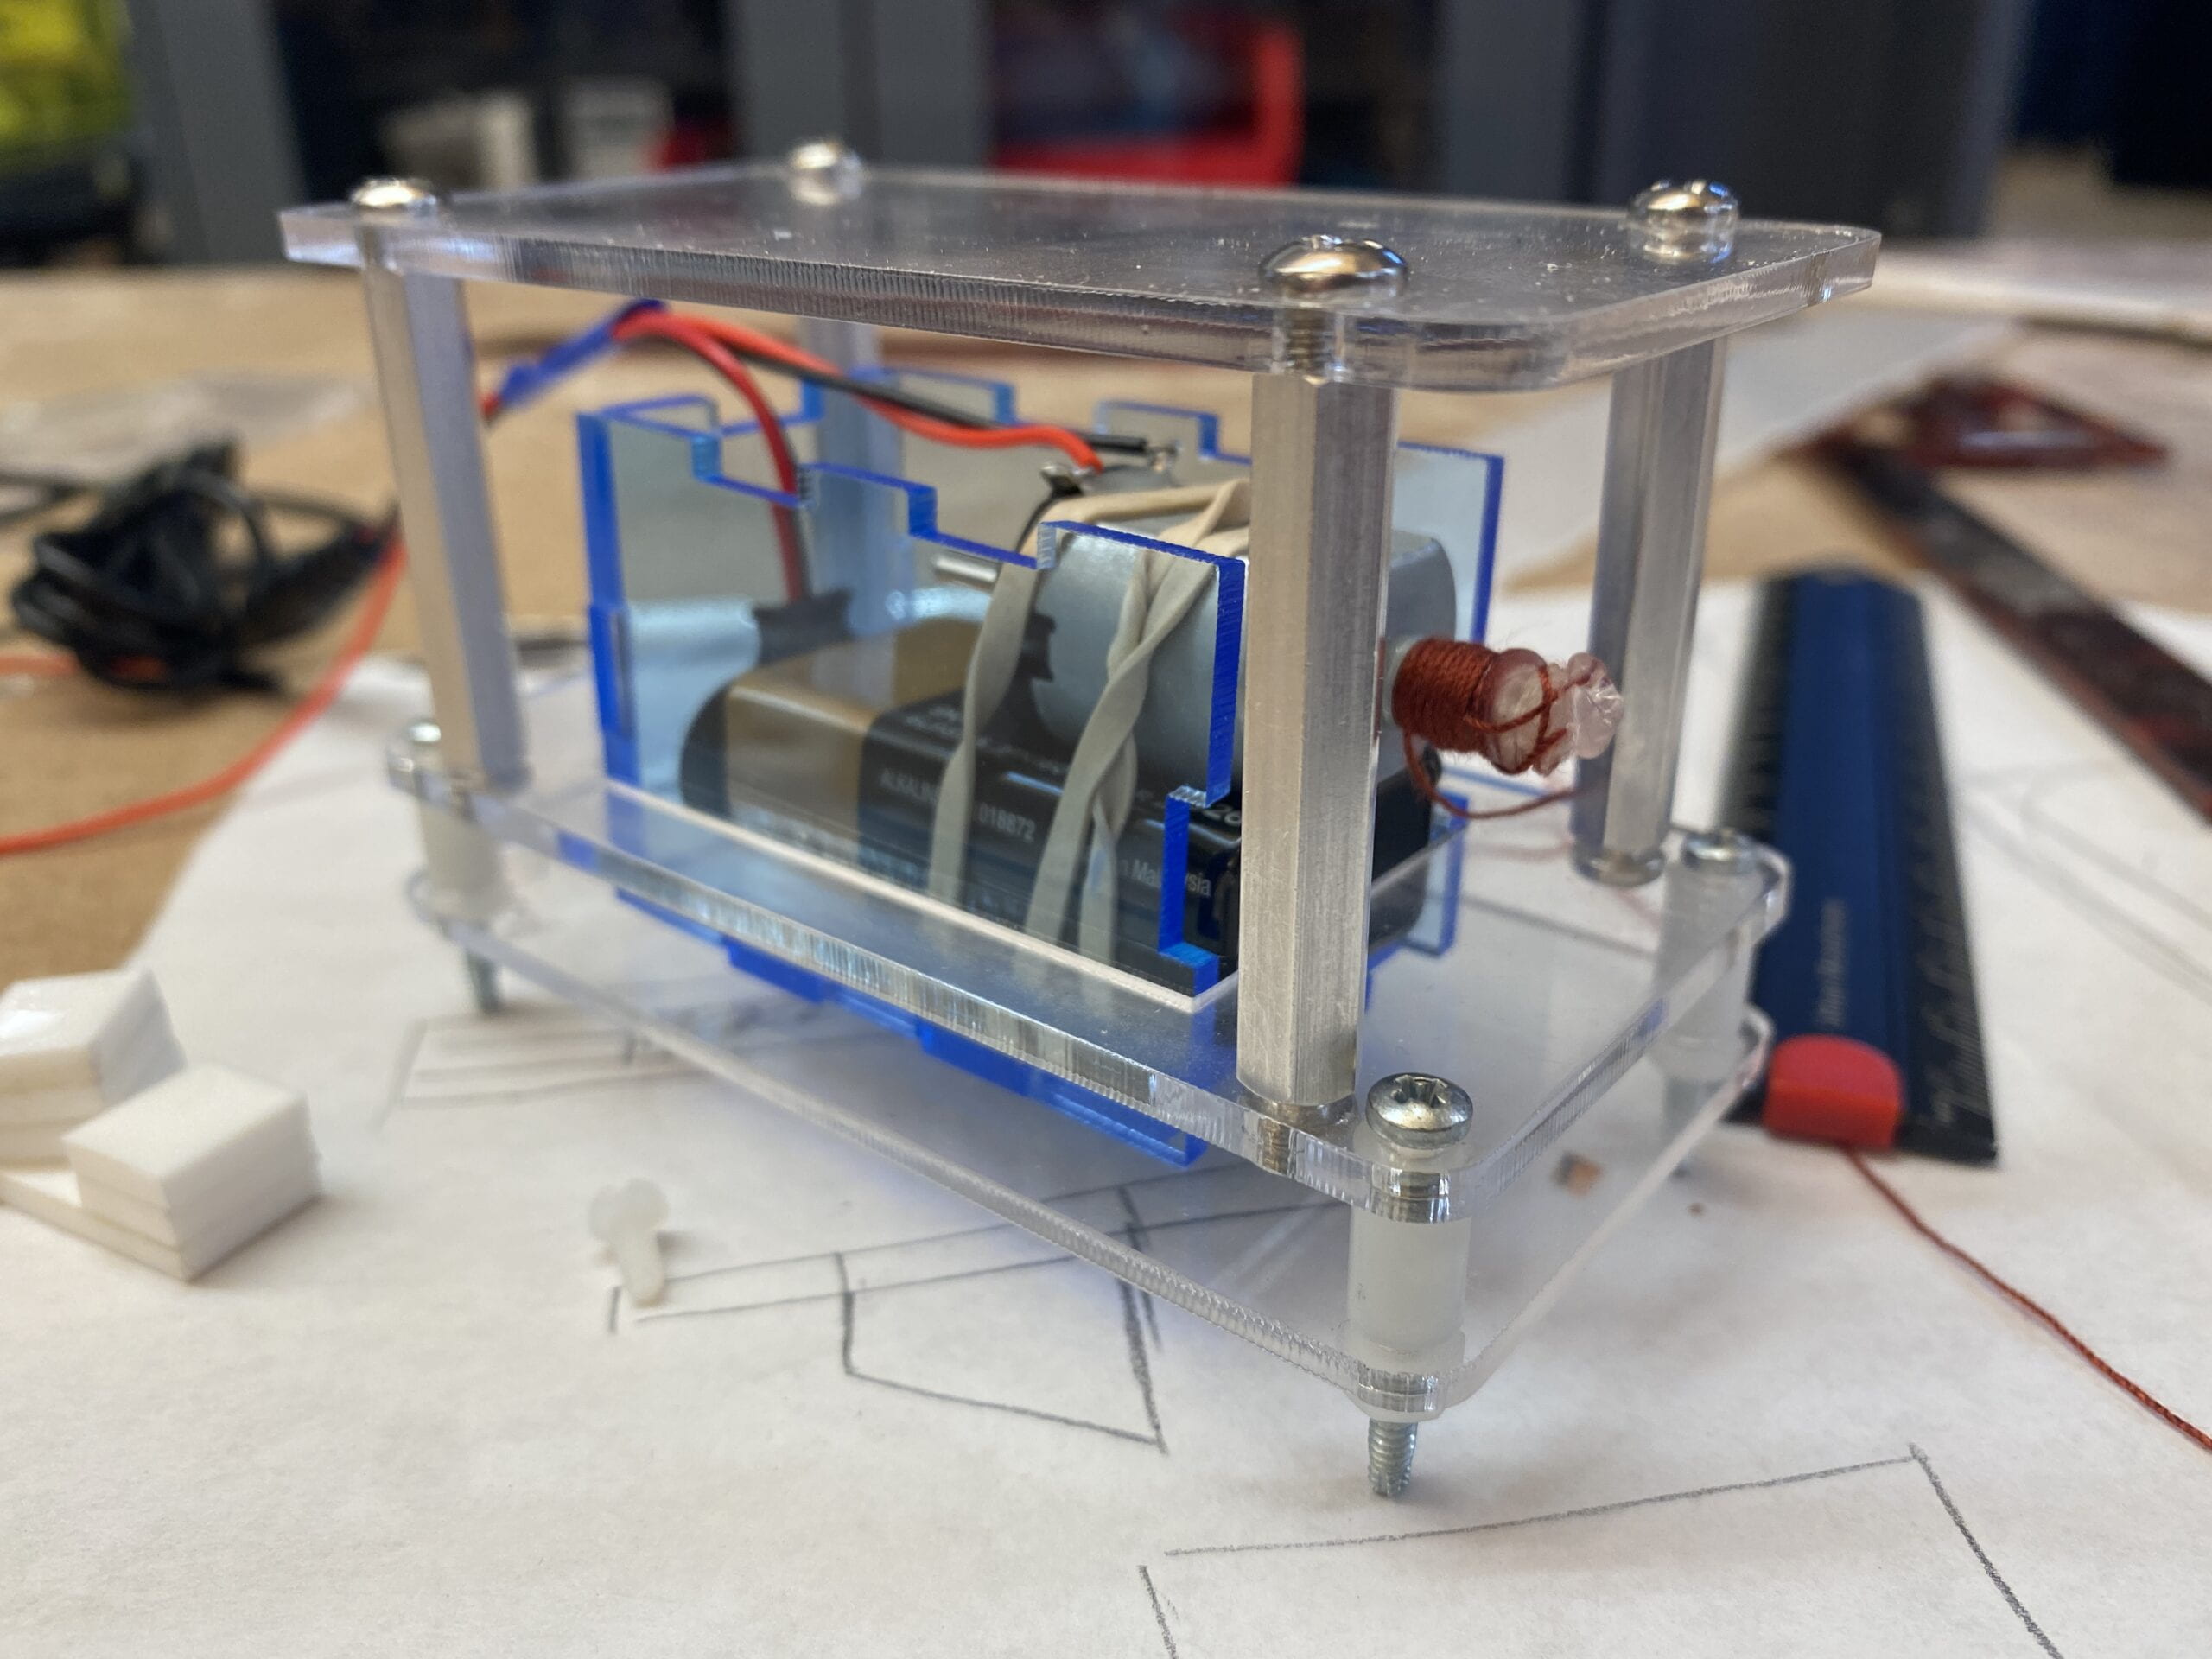
Here is the base of the guillotine made of laser-cut acrylic and plastic & metal stand-offs. I tied the motor and the battery together and hot-glued some cotton strings to it. I wouldn’t do it if it were a smooth shaft but since the motor is geared I thought the teeth would grab onto the hot glue a lot better. I ditched two of the box pieces so that I can move and adjust the motor when I need to.
the order of operation here is rather important. I first tried to screw it from bottom to the top, but then I realize that it is impossible to get in the small space on the bottom to screw the top stand-offs. So what I needed to do was screwing everything in the middle first and then bottom and then top.
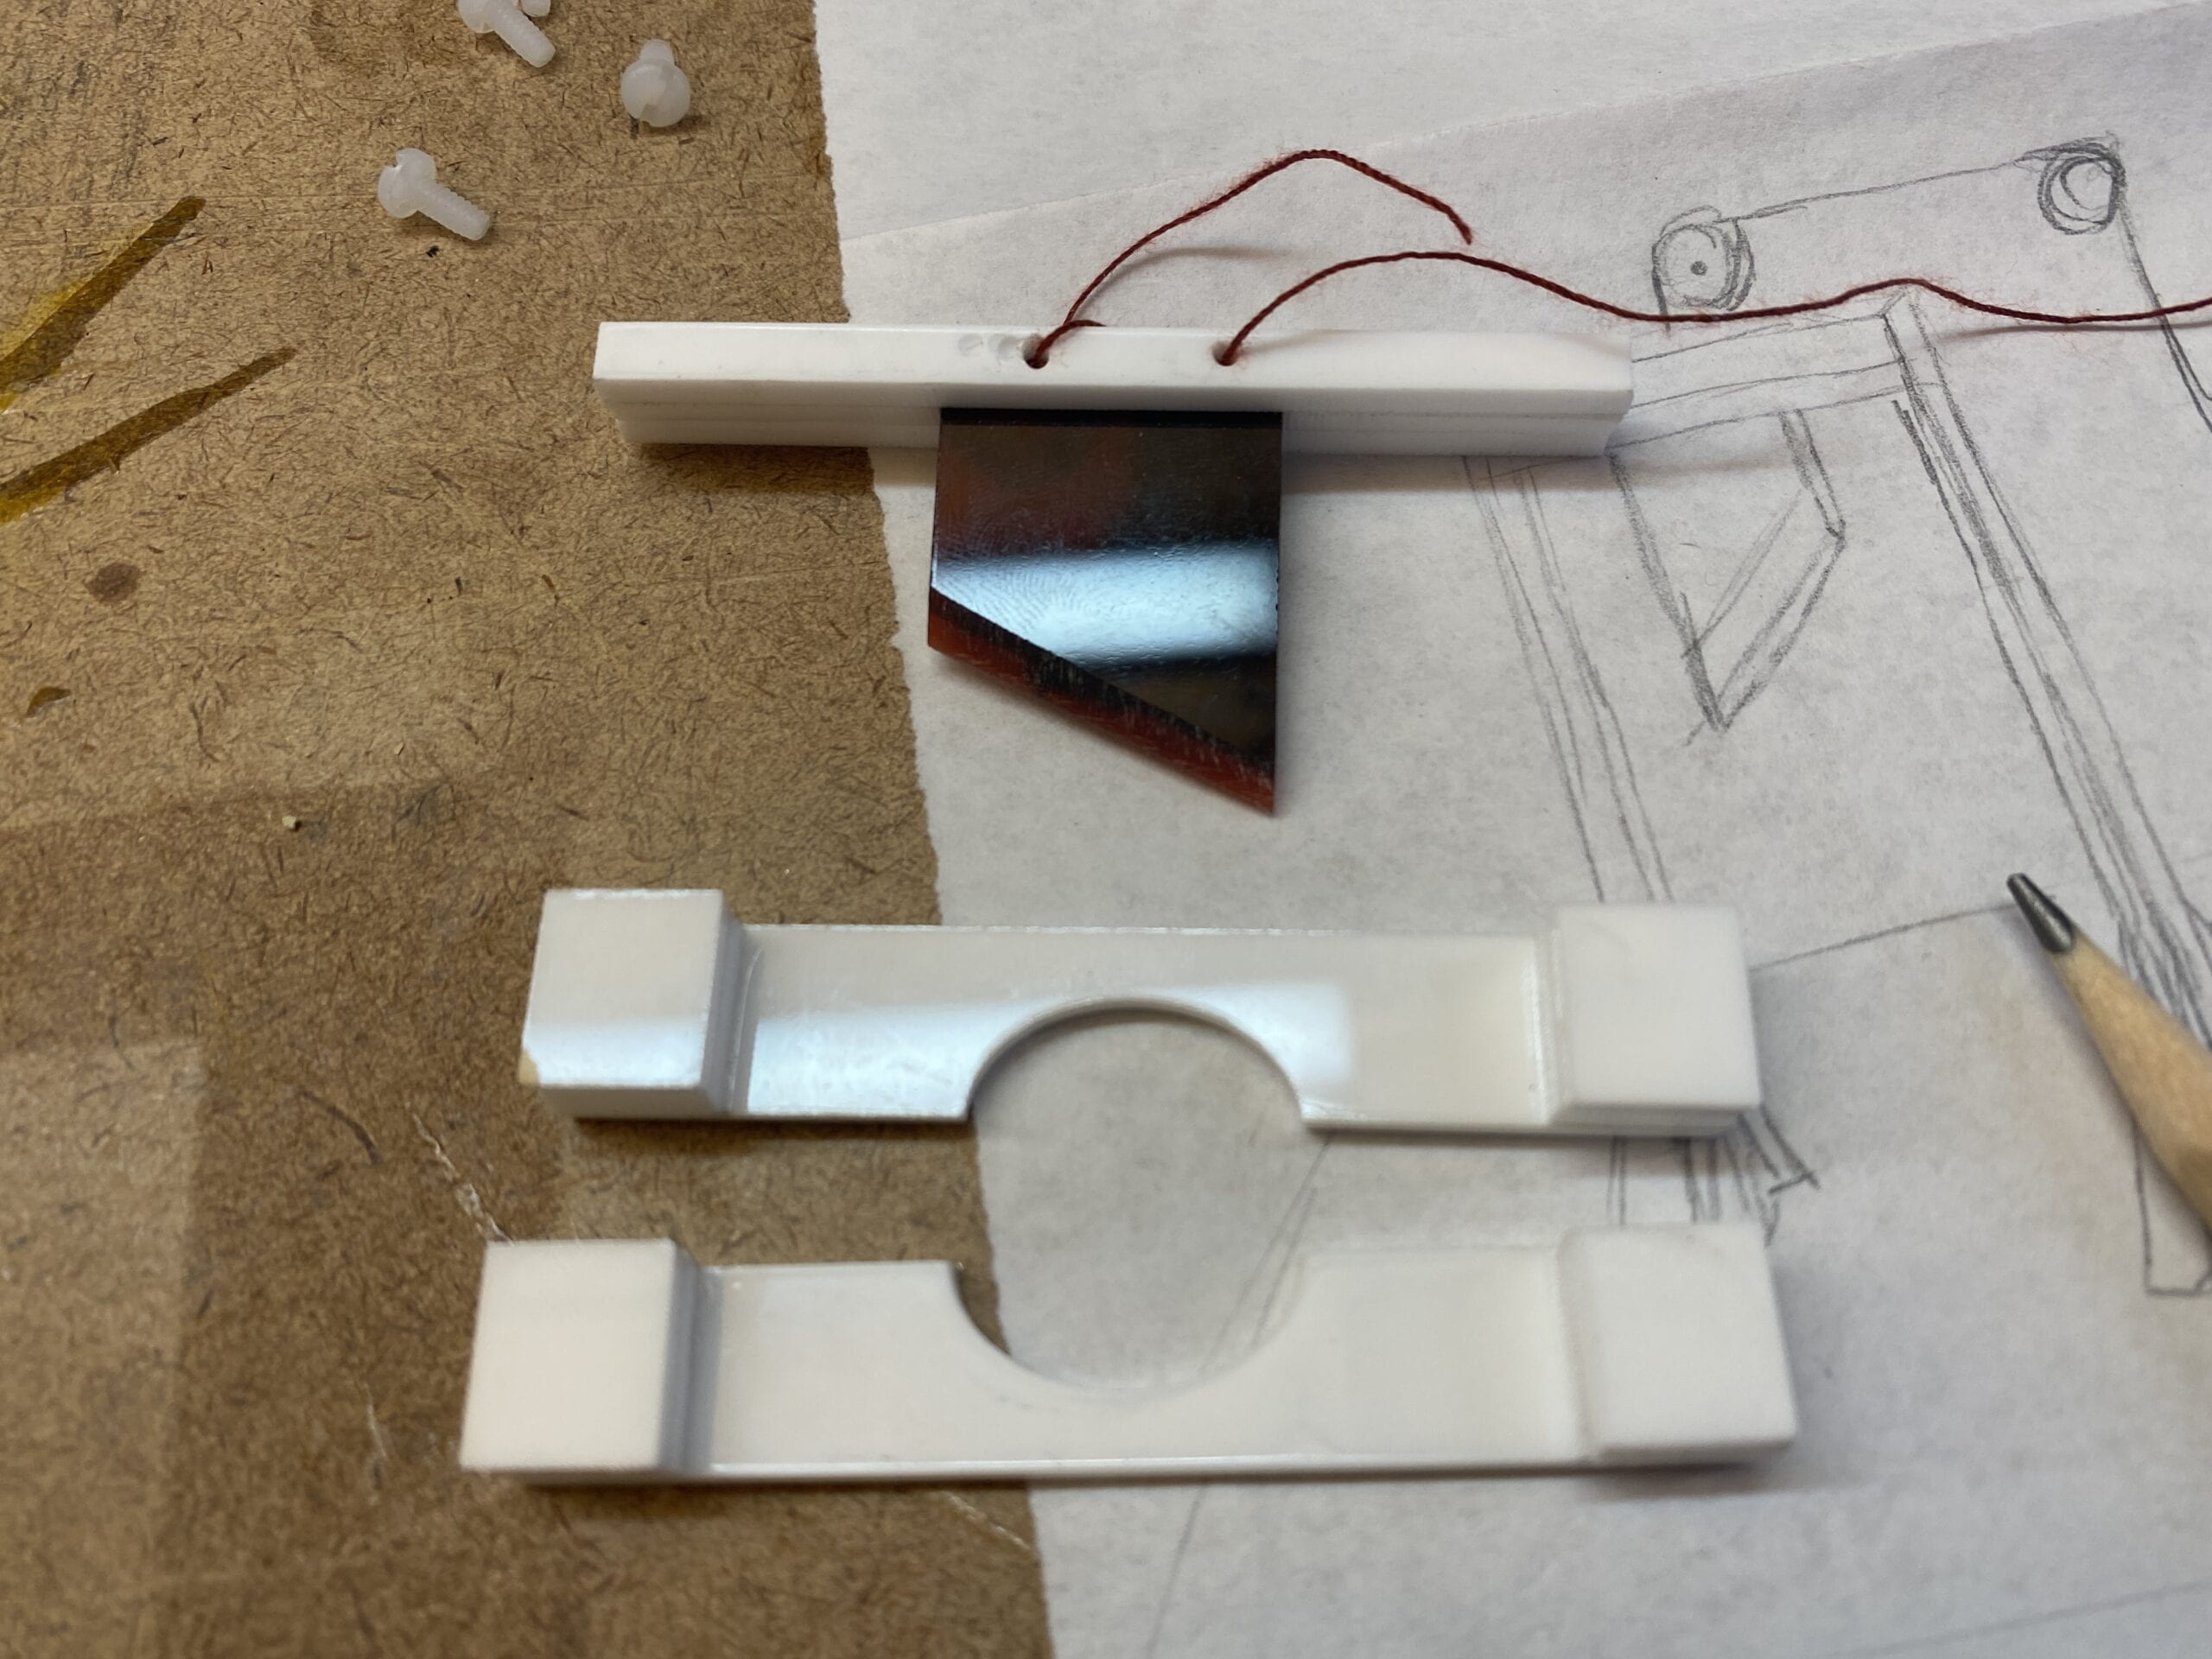
I made the blade and the head holder out of laser cut acrylic and welded them together. I was lucky that the small stand-off I was using happened to be roughly as tall as 3 acrylic pieces stacked together. So I made the center pieces out of three acrylic layers. I put the blade on the middle layer and the holders on the first, so that they can overlap when their sides stacks together.
I even sanded the blade to have somewhat an edge.
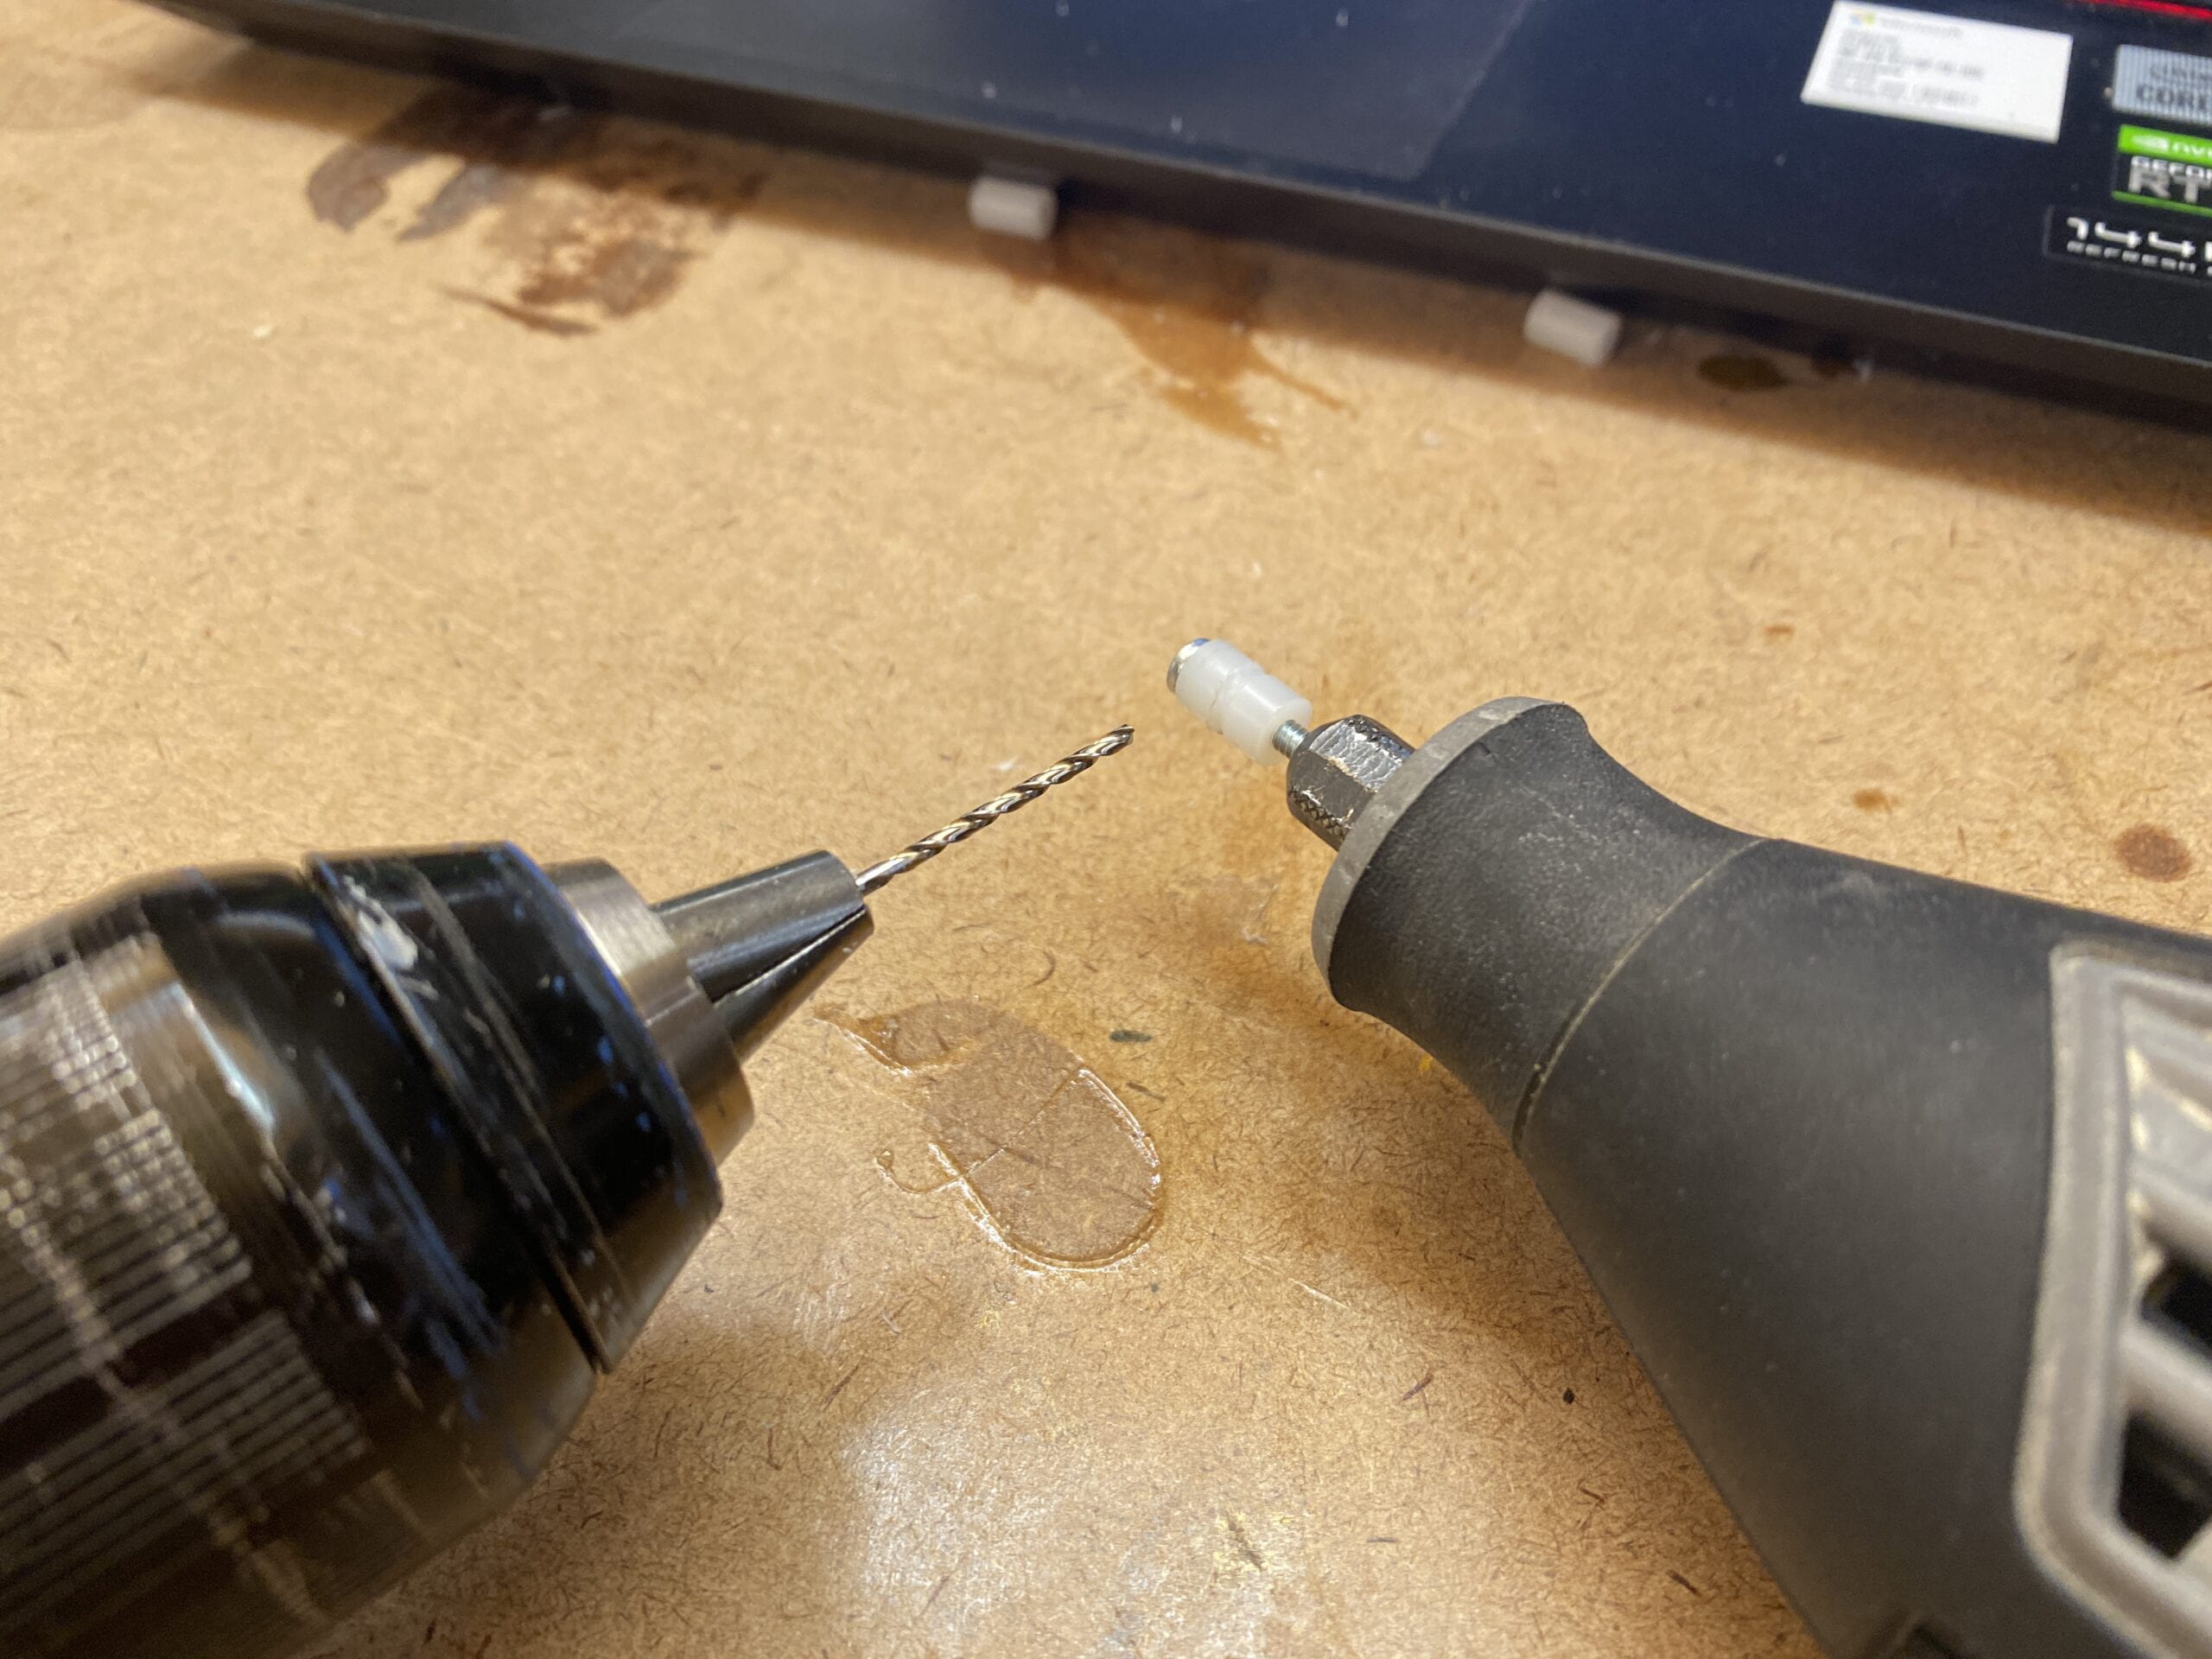
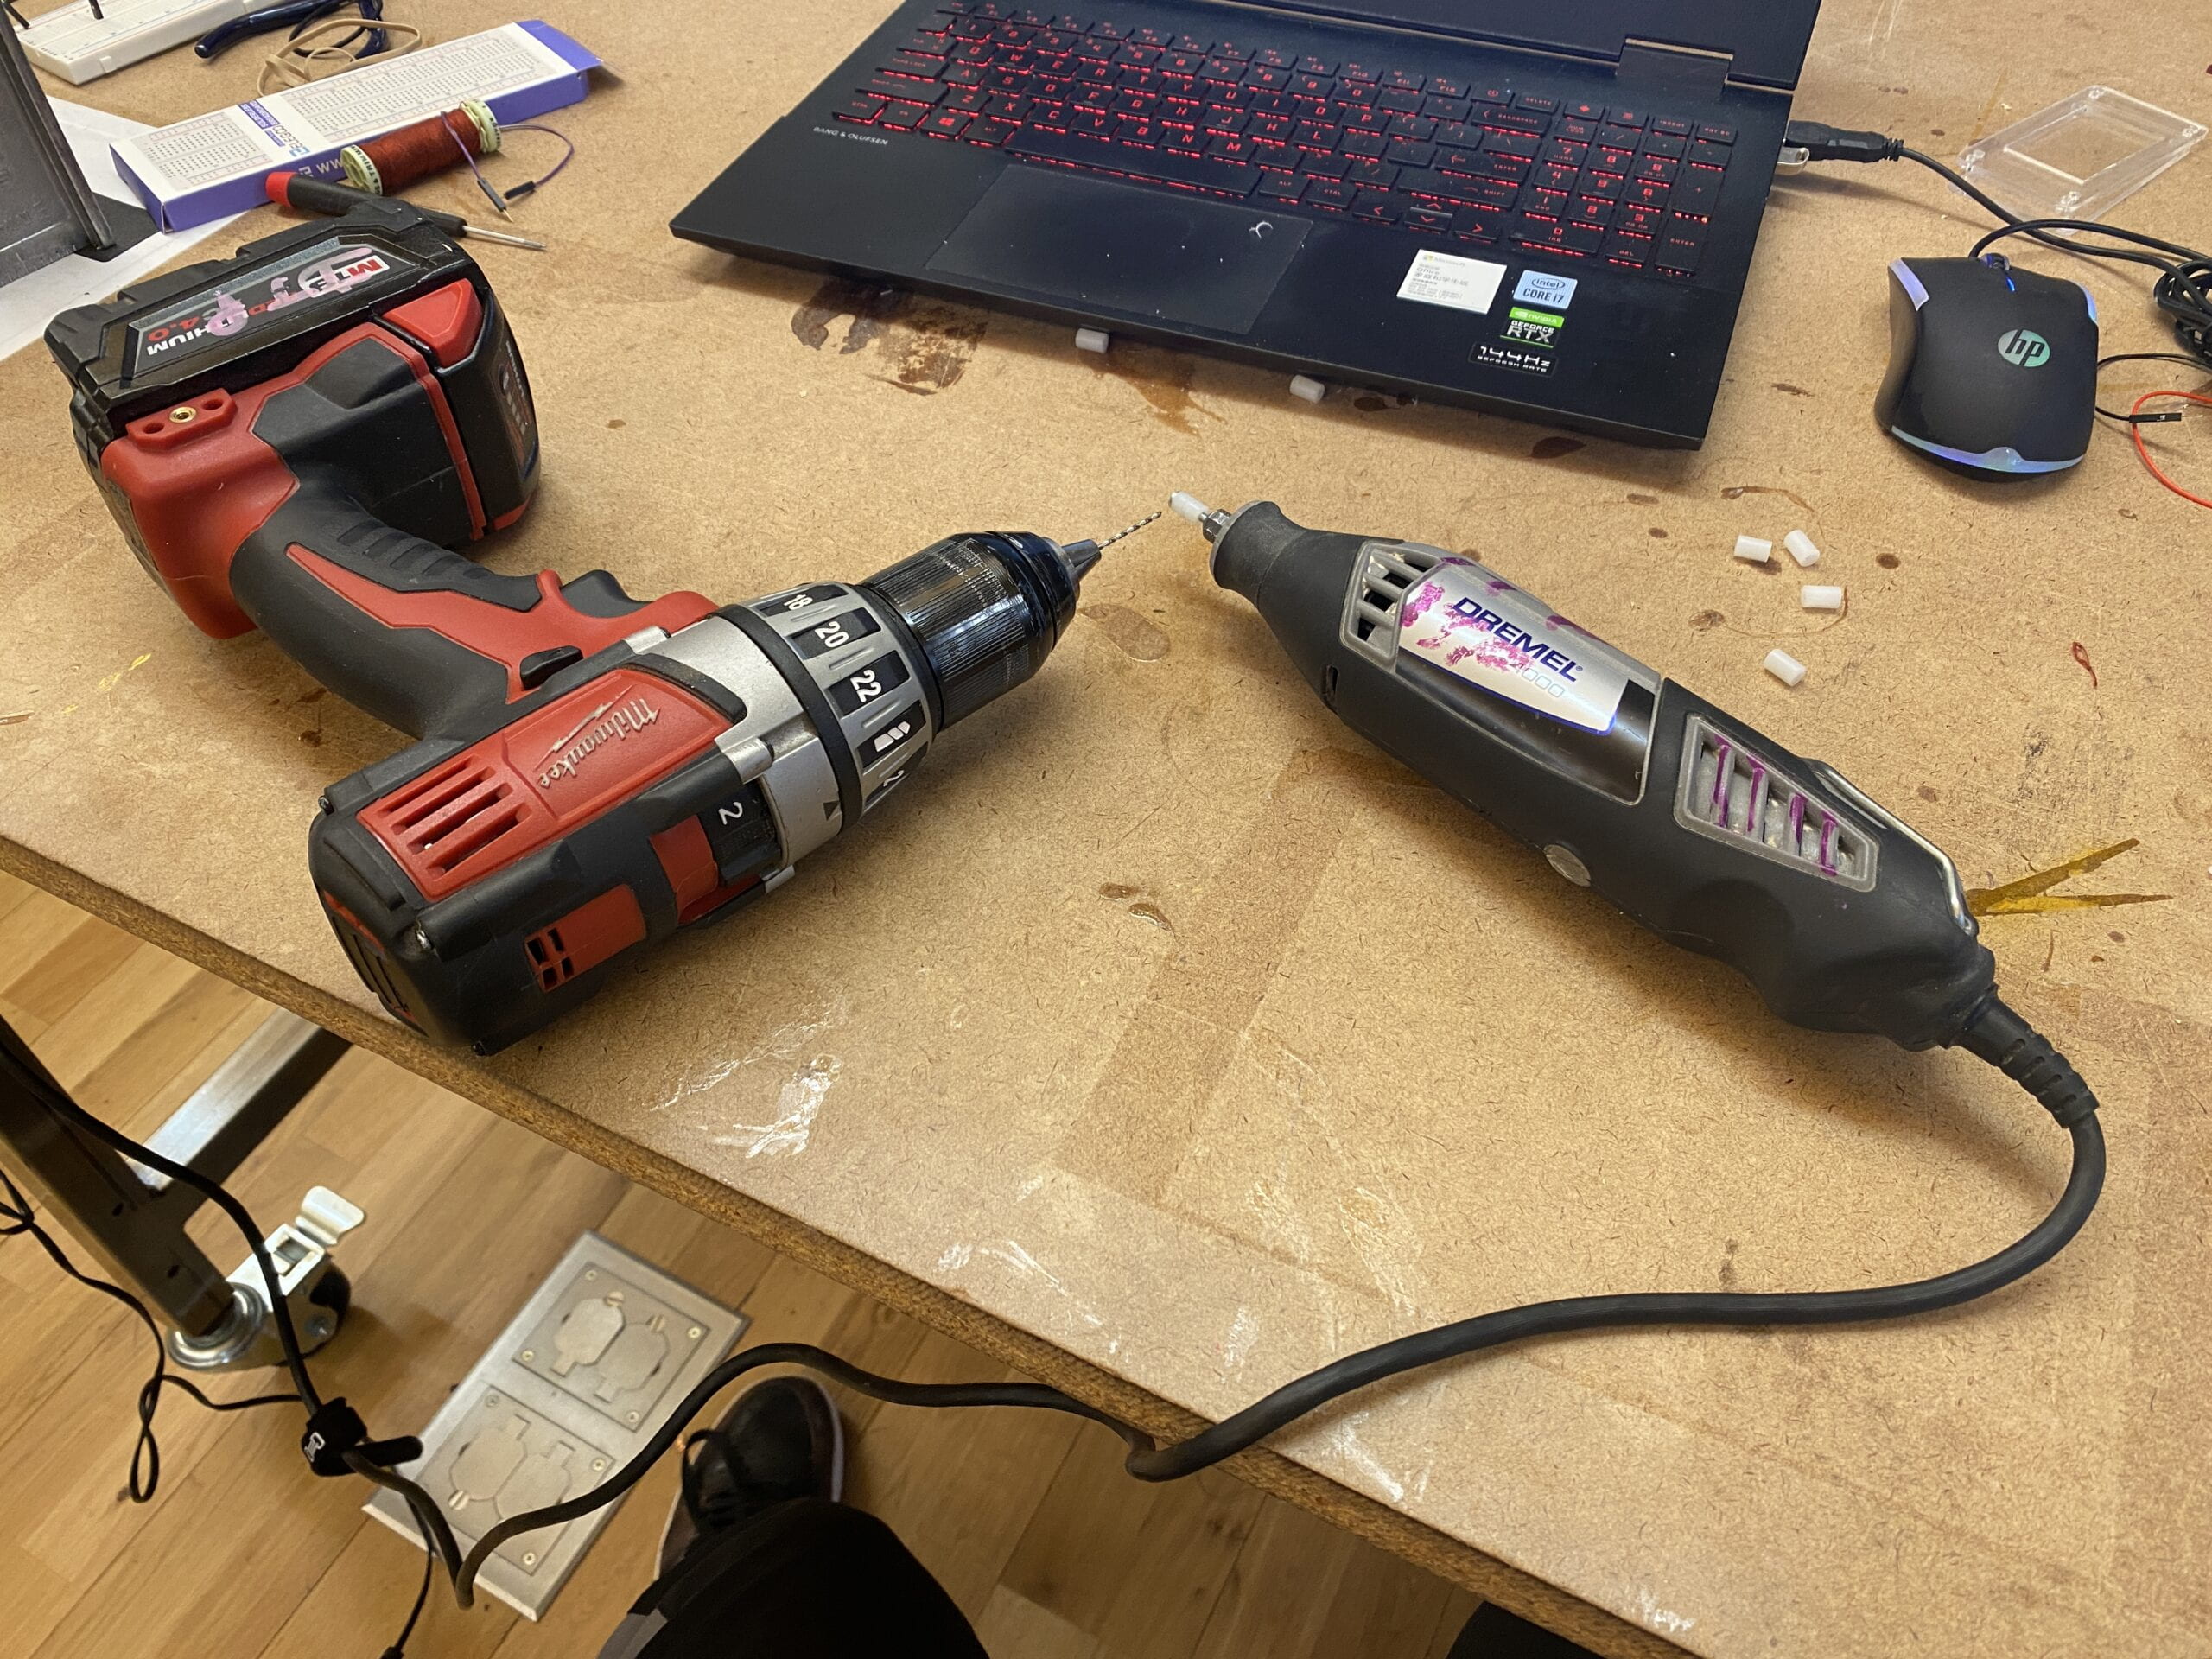
Here is when I thought I was incredibly smart: I made a setup to make my own pulley system. So I took three of the stand-offs I was going to use in the guillotine frame, secured them on some long screws, and spun them on the Dremel. Then I took a drill with a very small drill bit, and drilled it in the middle to try and make a groove.
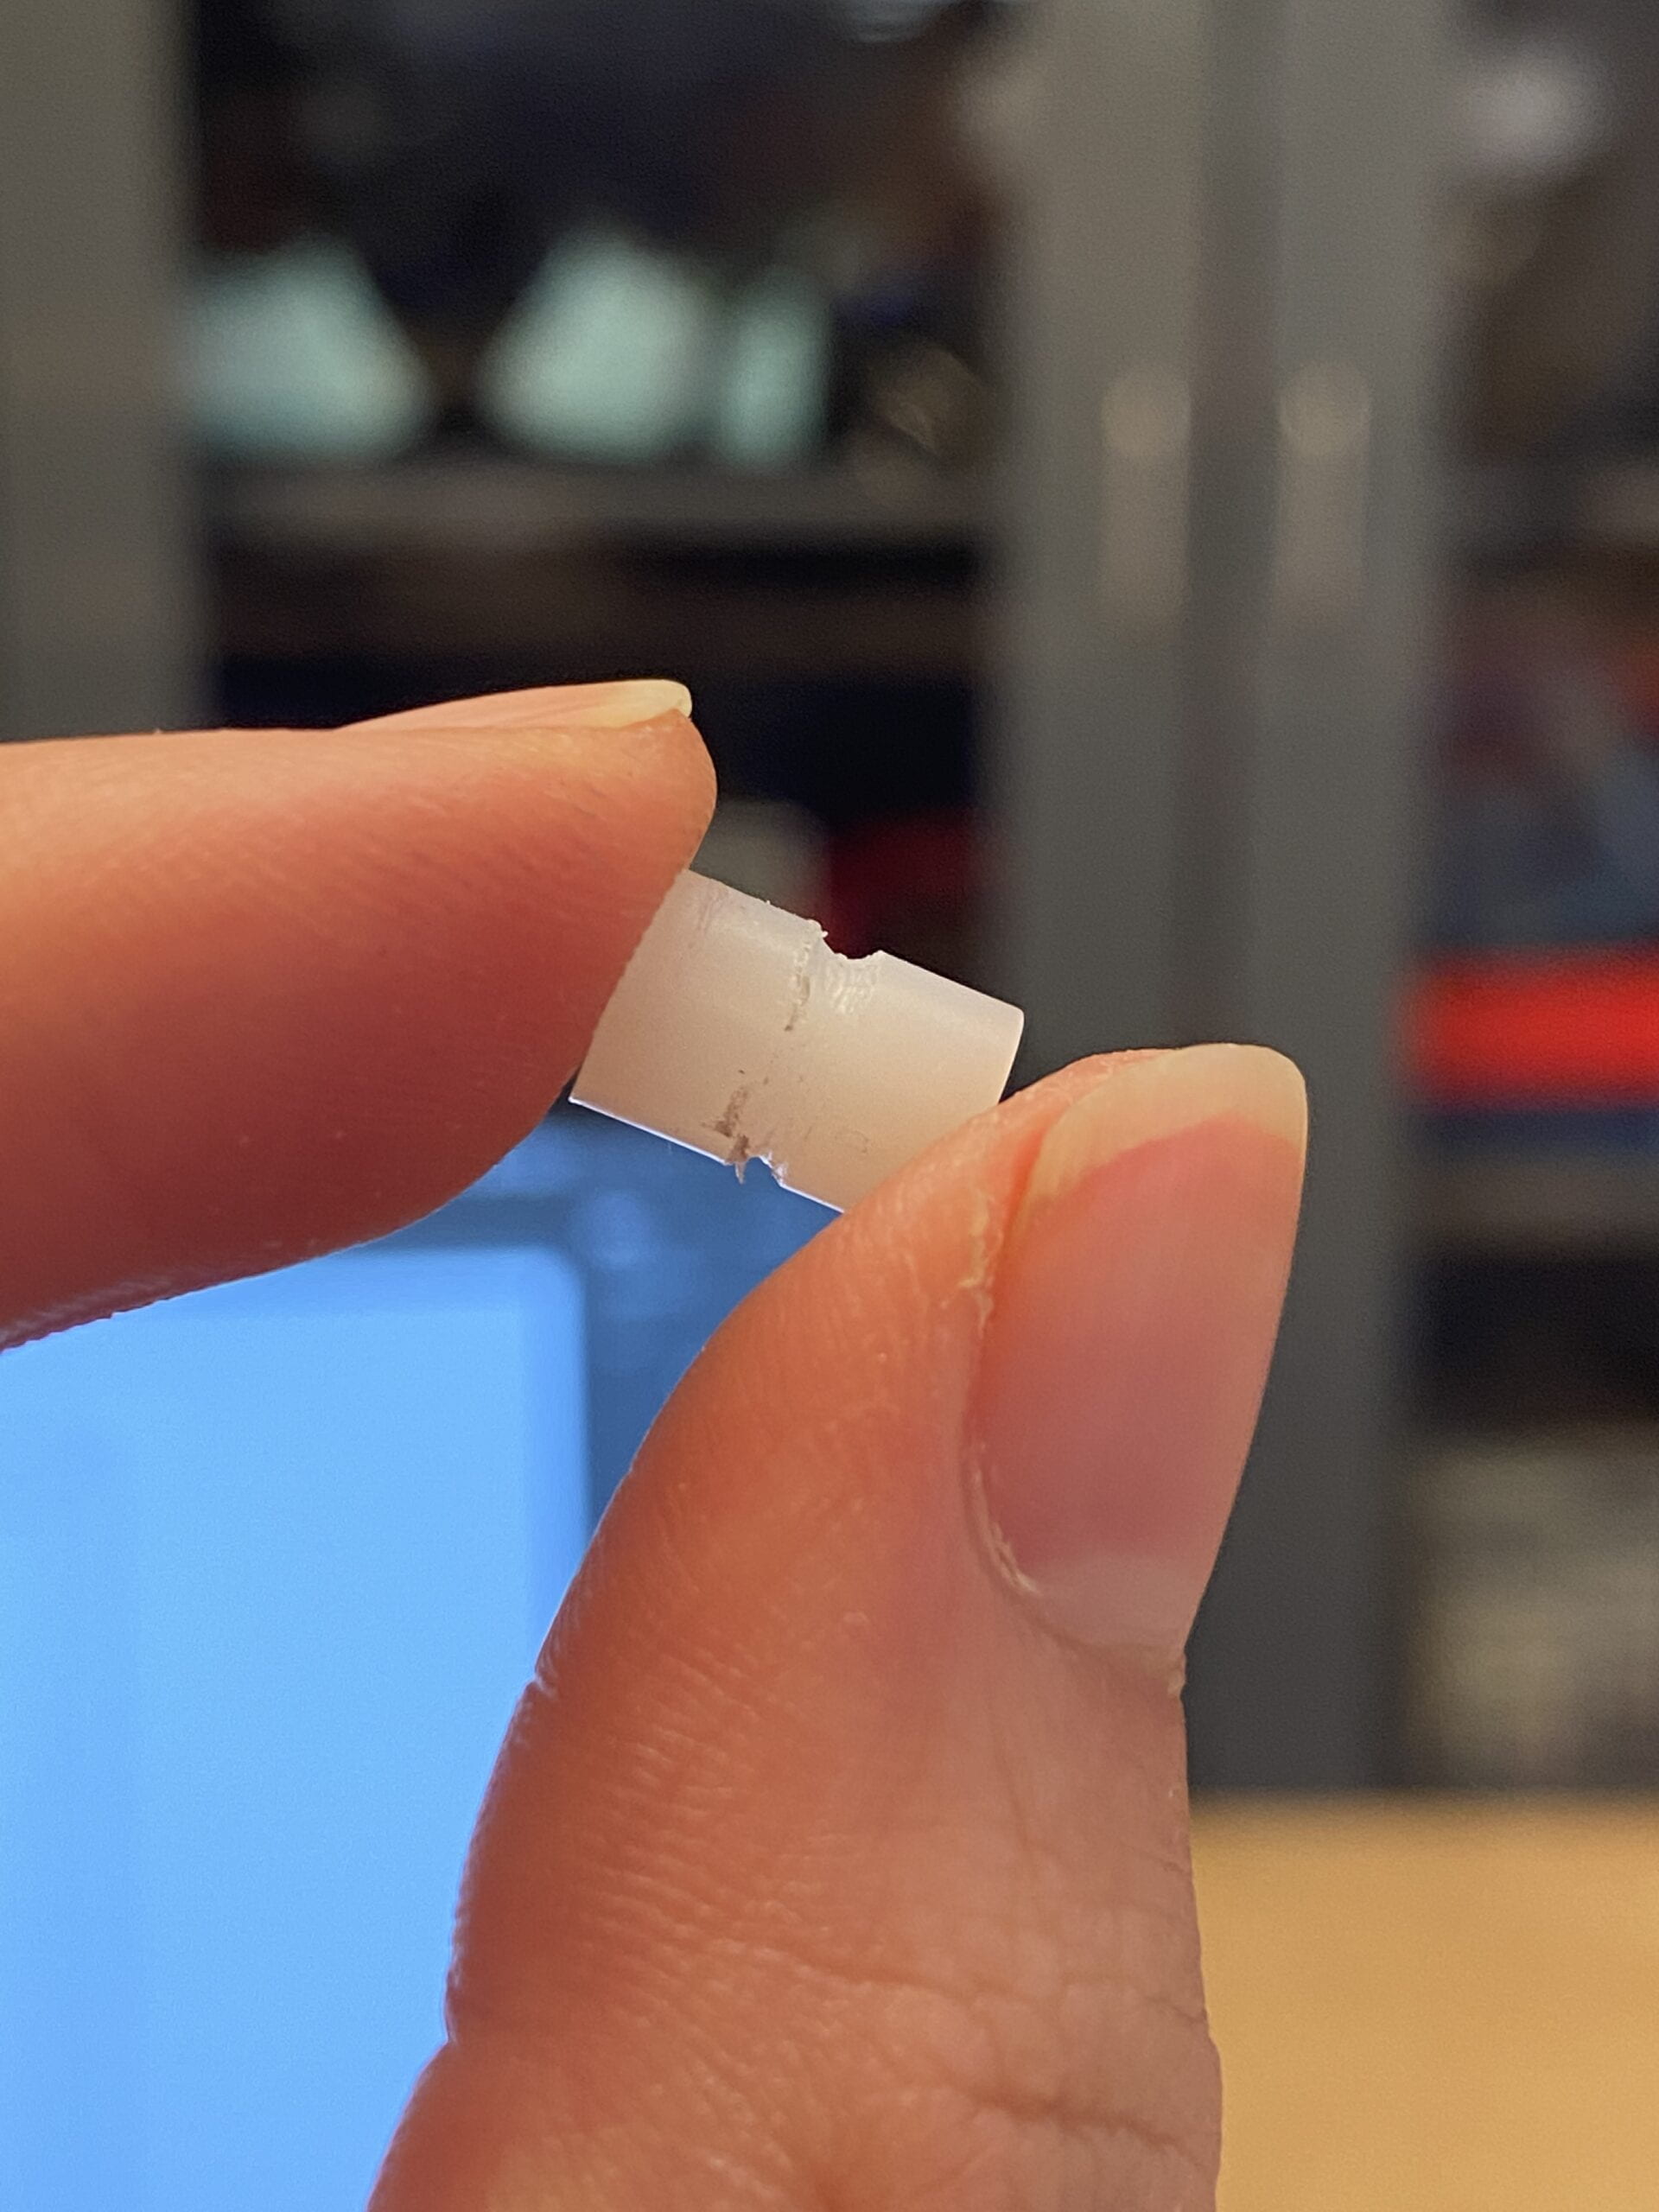
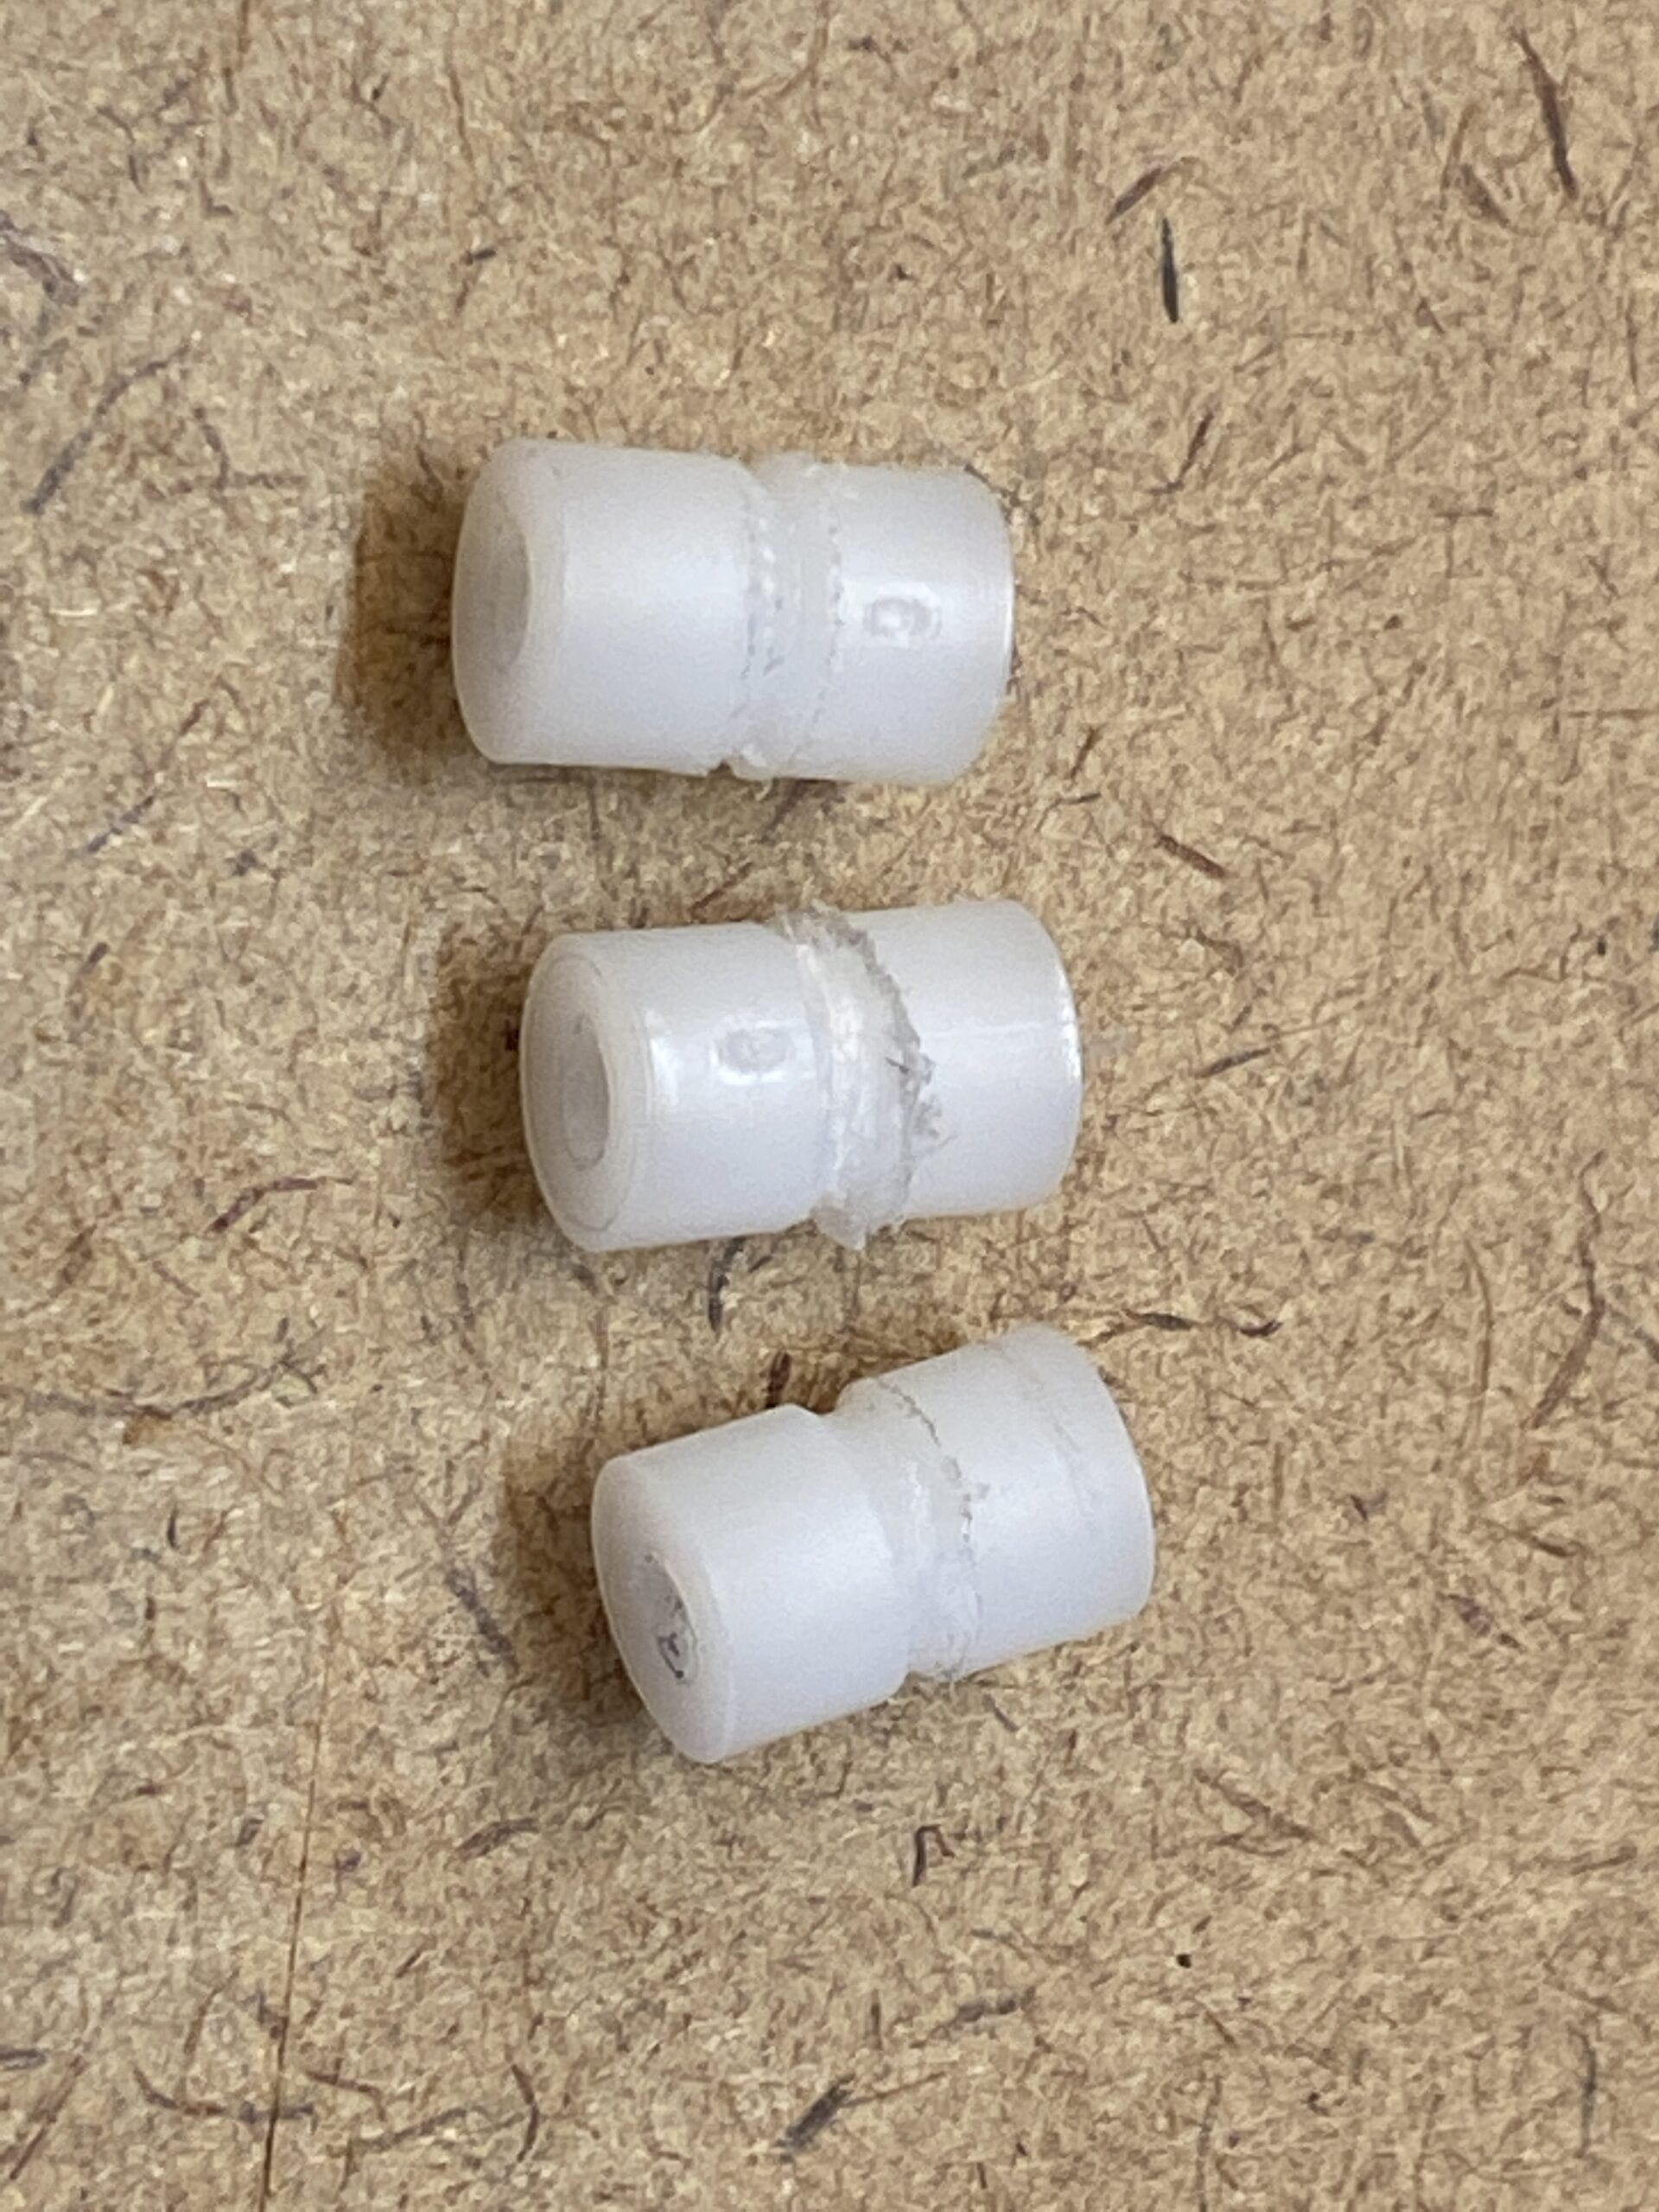
These are the finished pieces. VERY ROUGH in the grooves what did I expect lol.

this is how it looked before I installed the side panels. The strings are SUPER messed up.