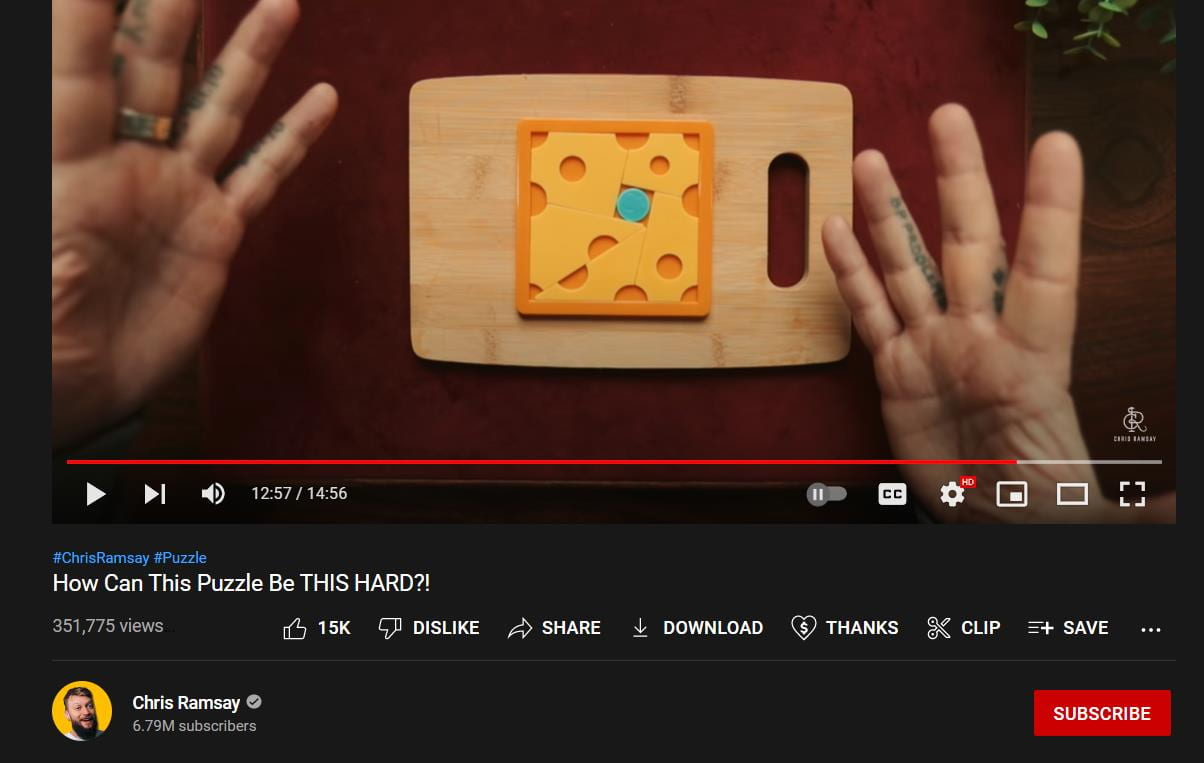
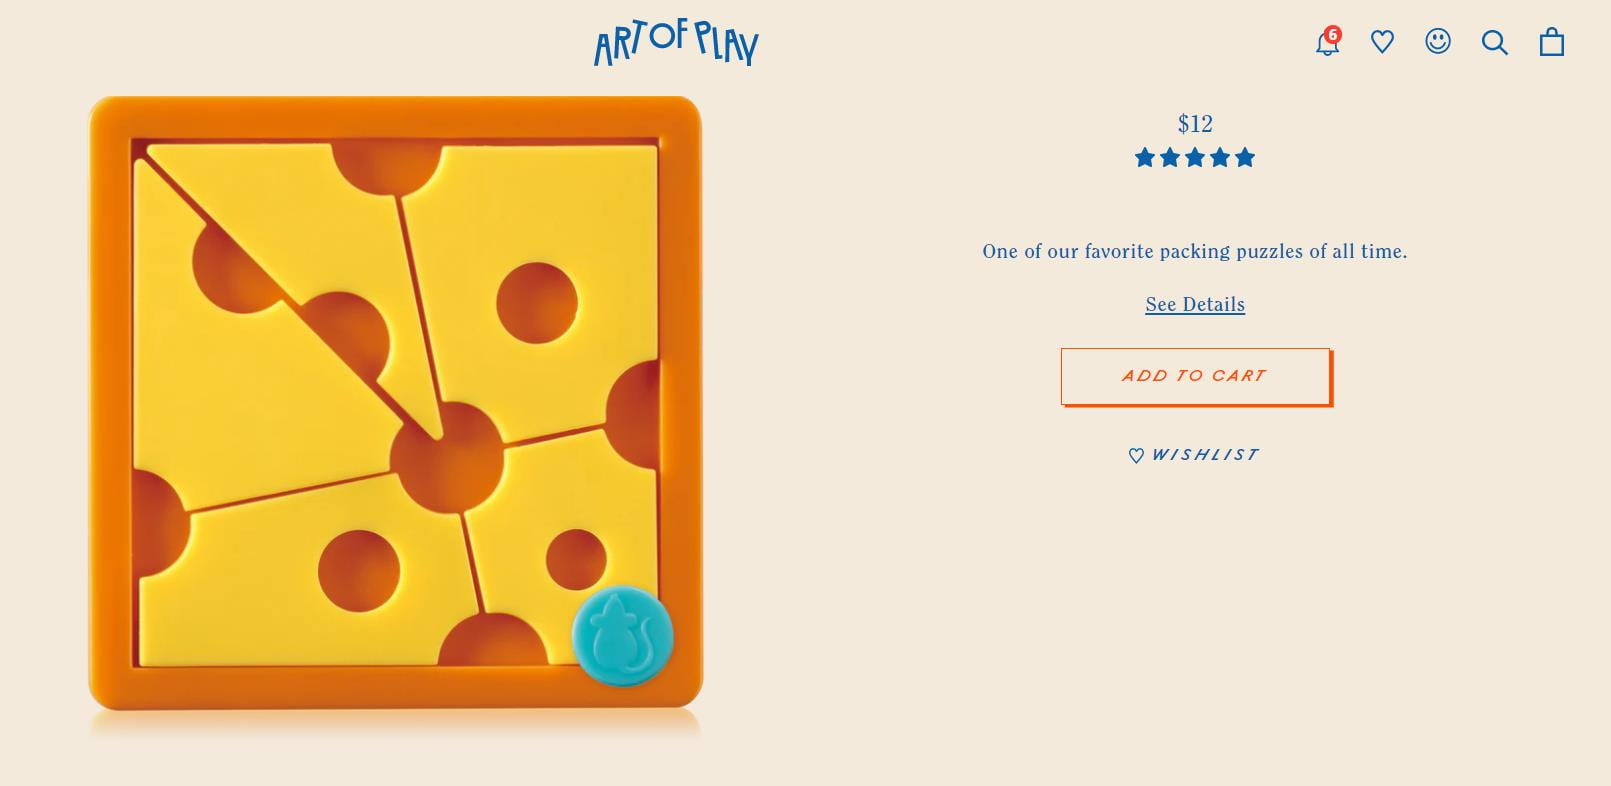
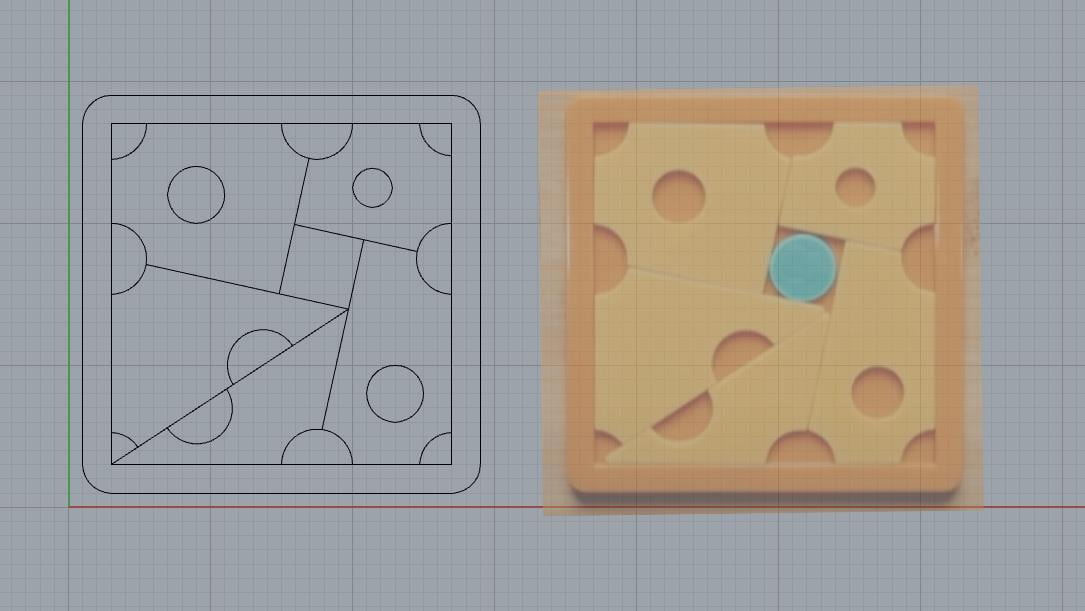
I made this cheese puzzle that I first saw on the YouTube channel Chris Ramsay. It is designed by Art of Play, and it is supposed to be one of the harder ones they have. The pieces looked like they are laser-cut pieces of acrylic, so I decided to make this.
Design:
I began by simply image tracing a screenshot of the piece directly on illustrator. The result was actually better than I thought it would be.
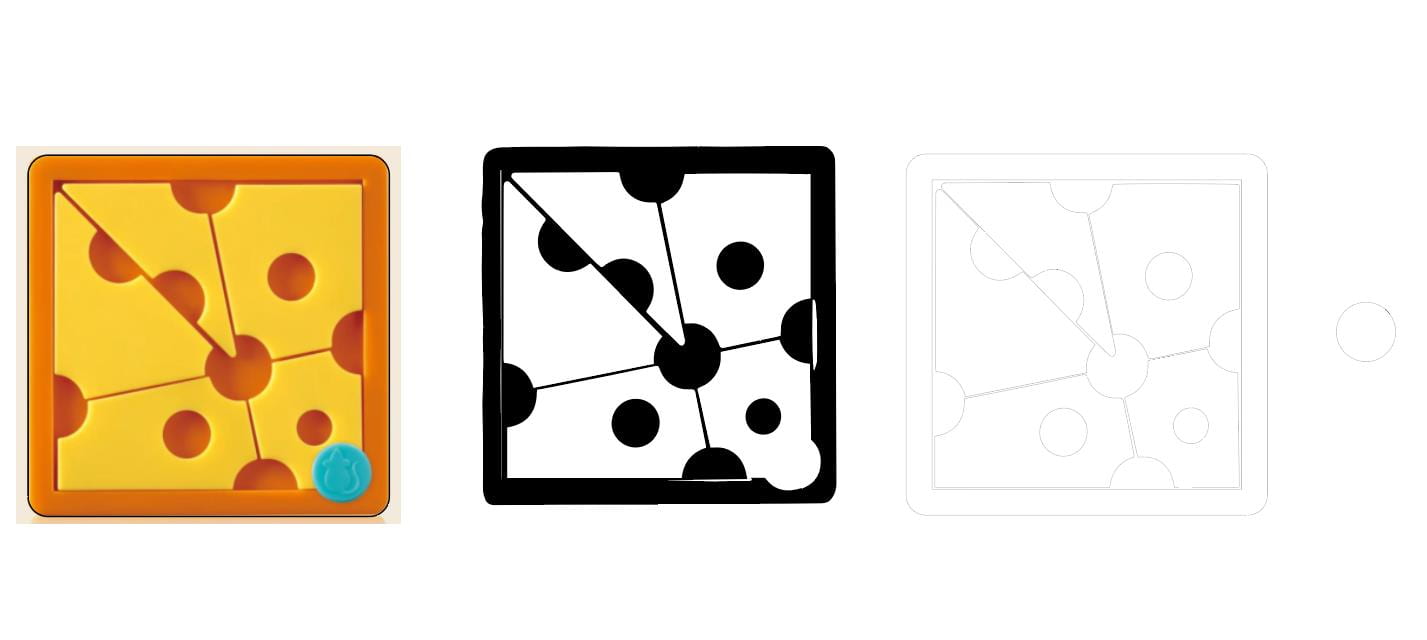
the pieces actually were separated fairly well, I only needed to do some minimal cleaning up, like the bottom left corner. I then picked up a piece of 1/8” piece of acrylic, and went ahead to cut it on the machine.
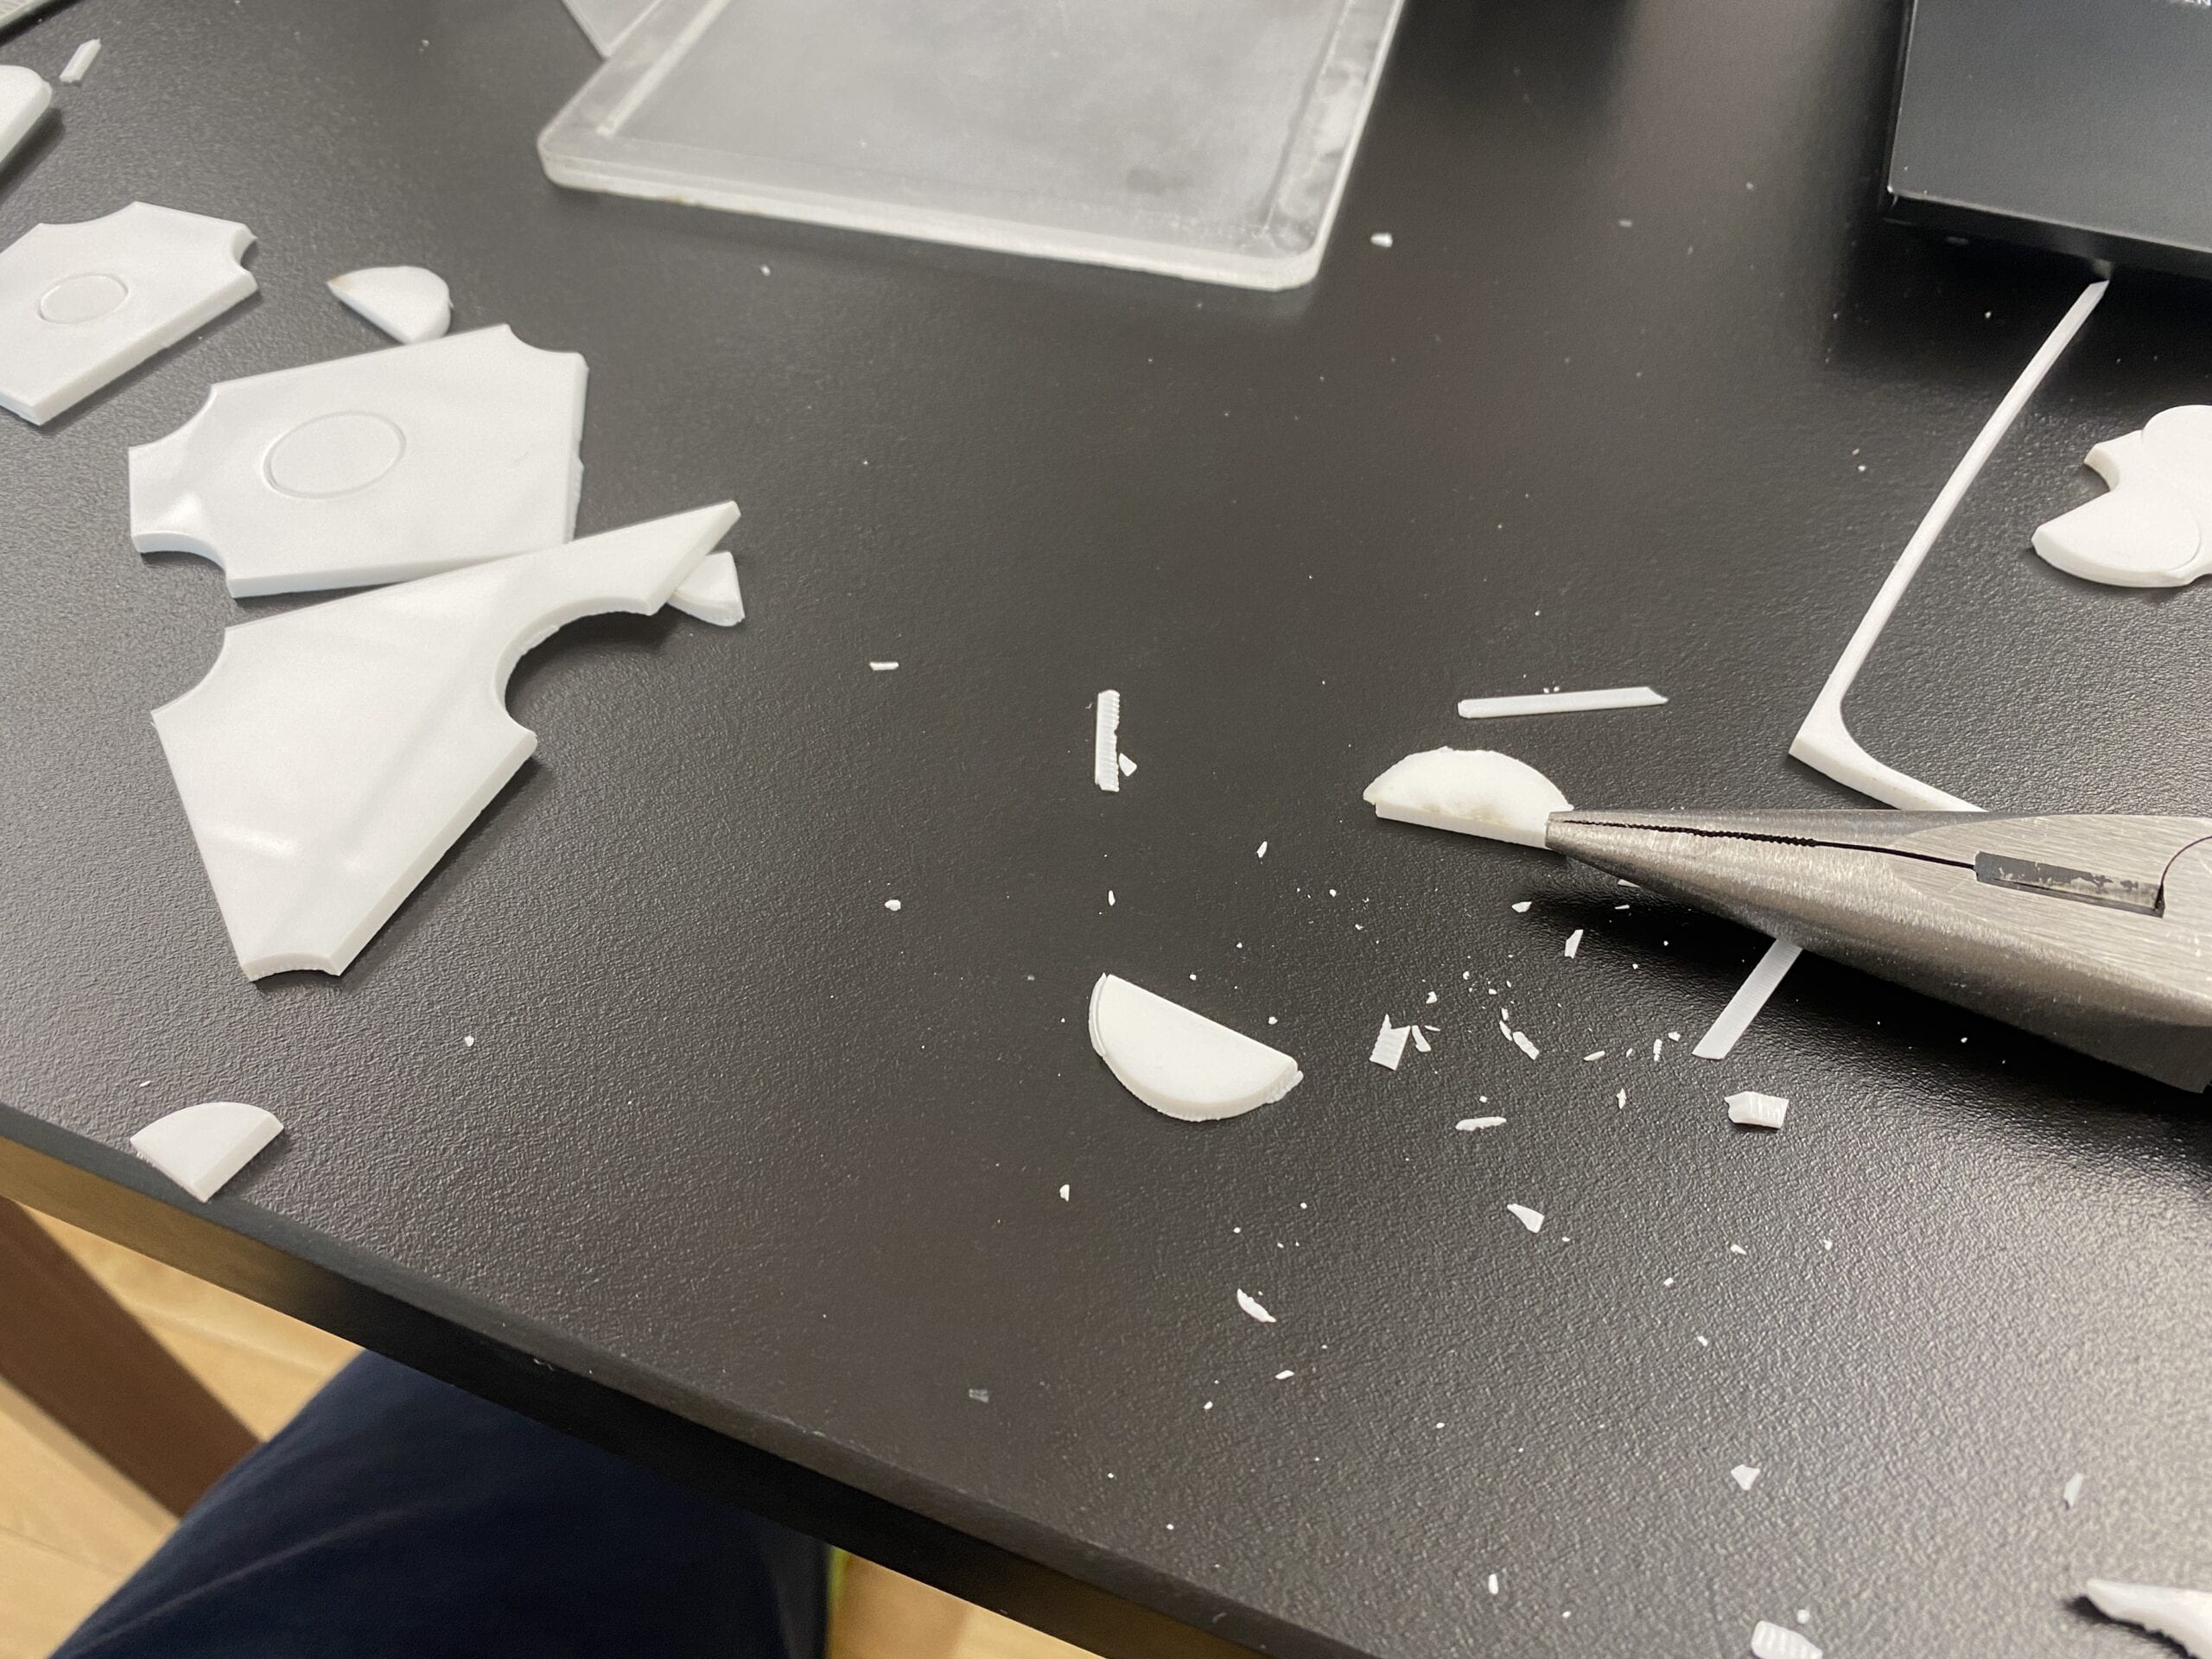
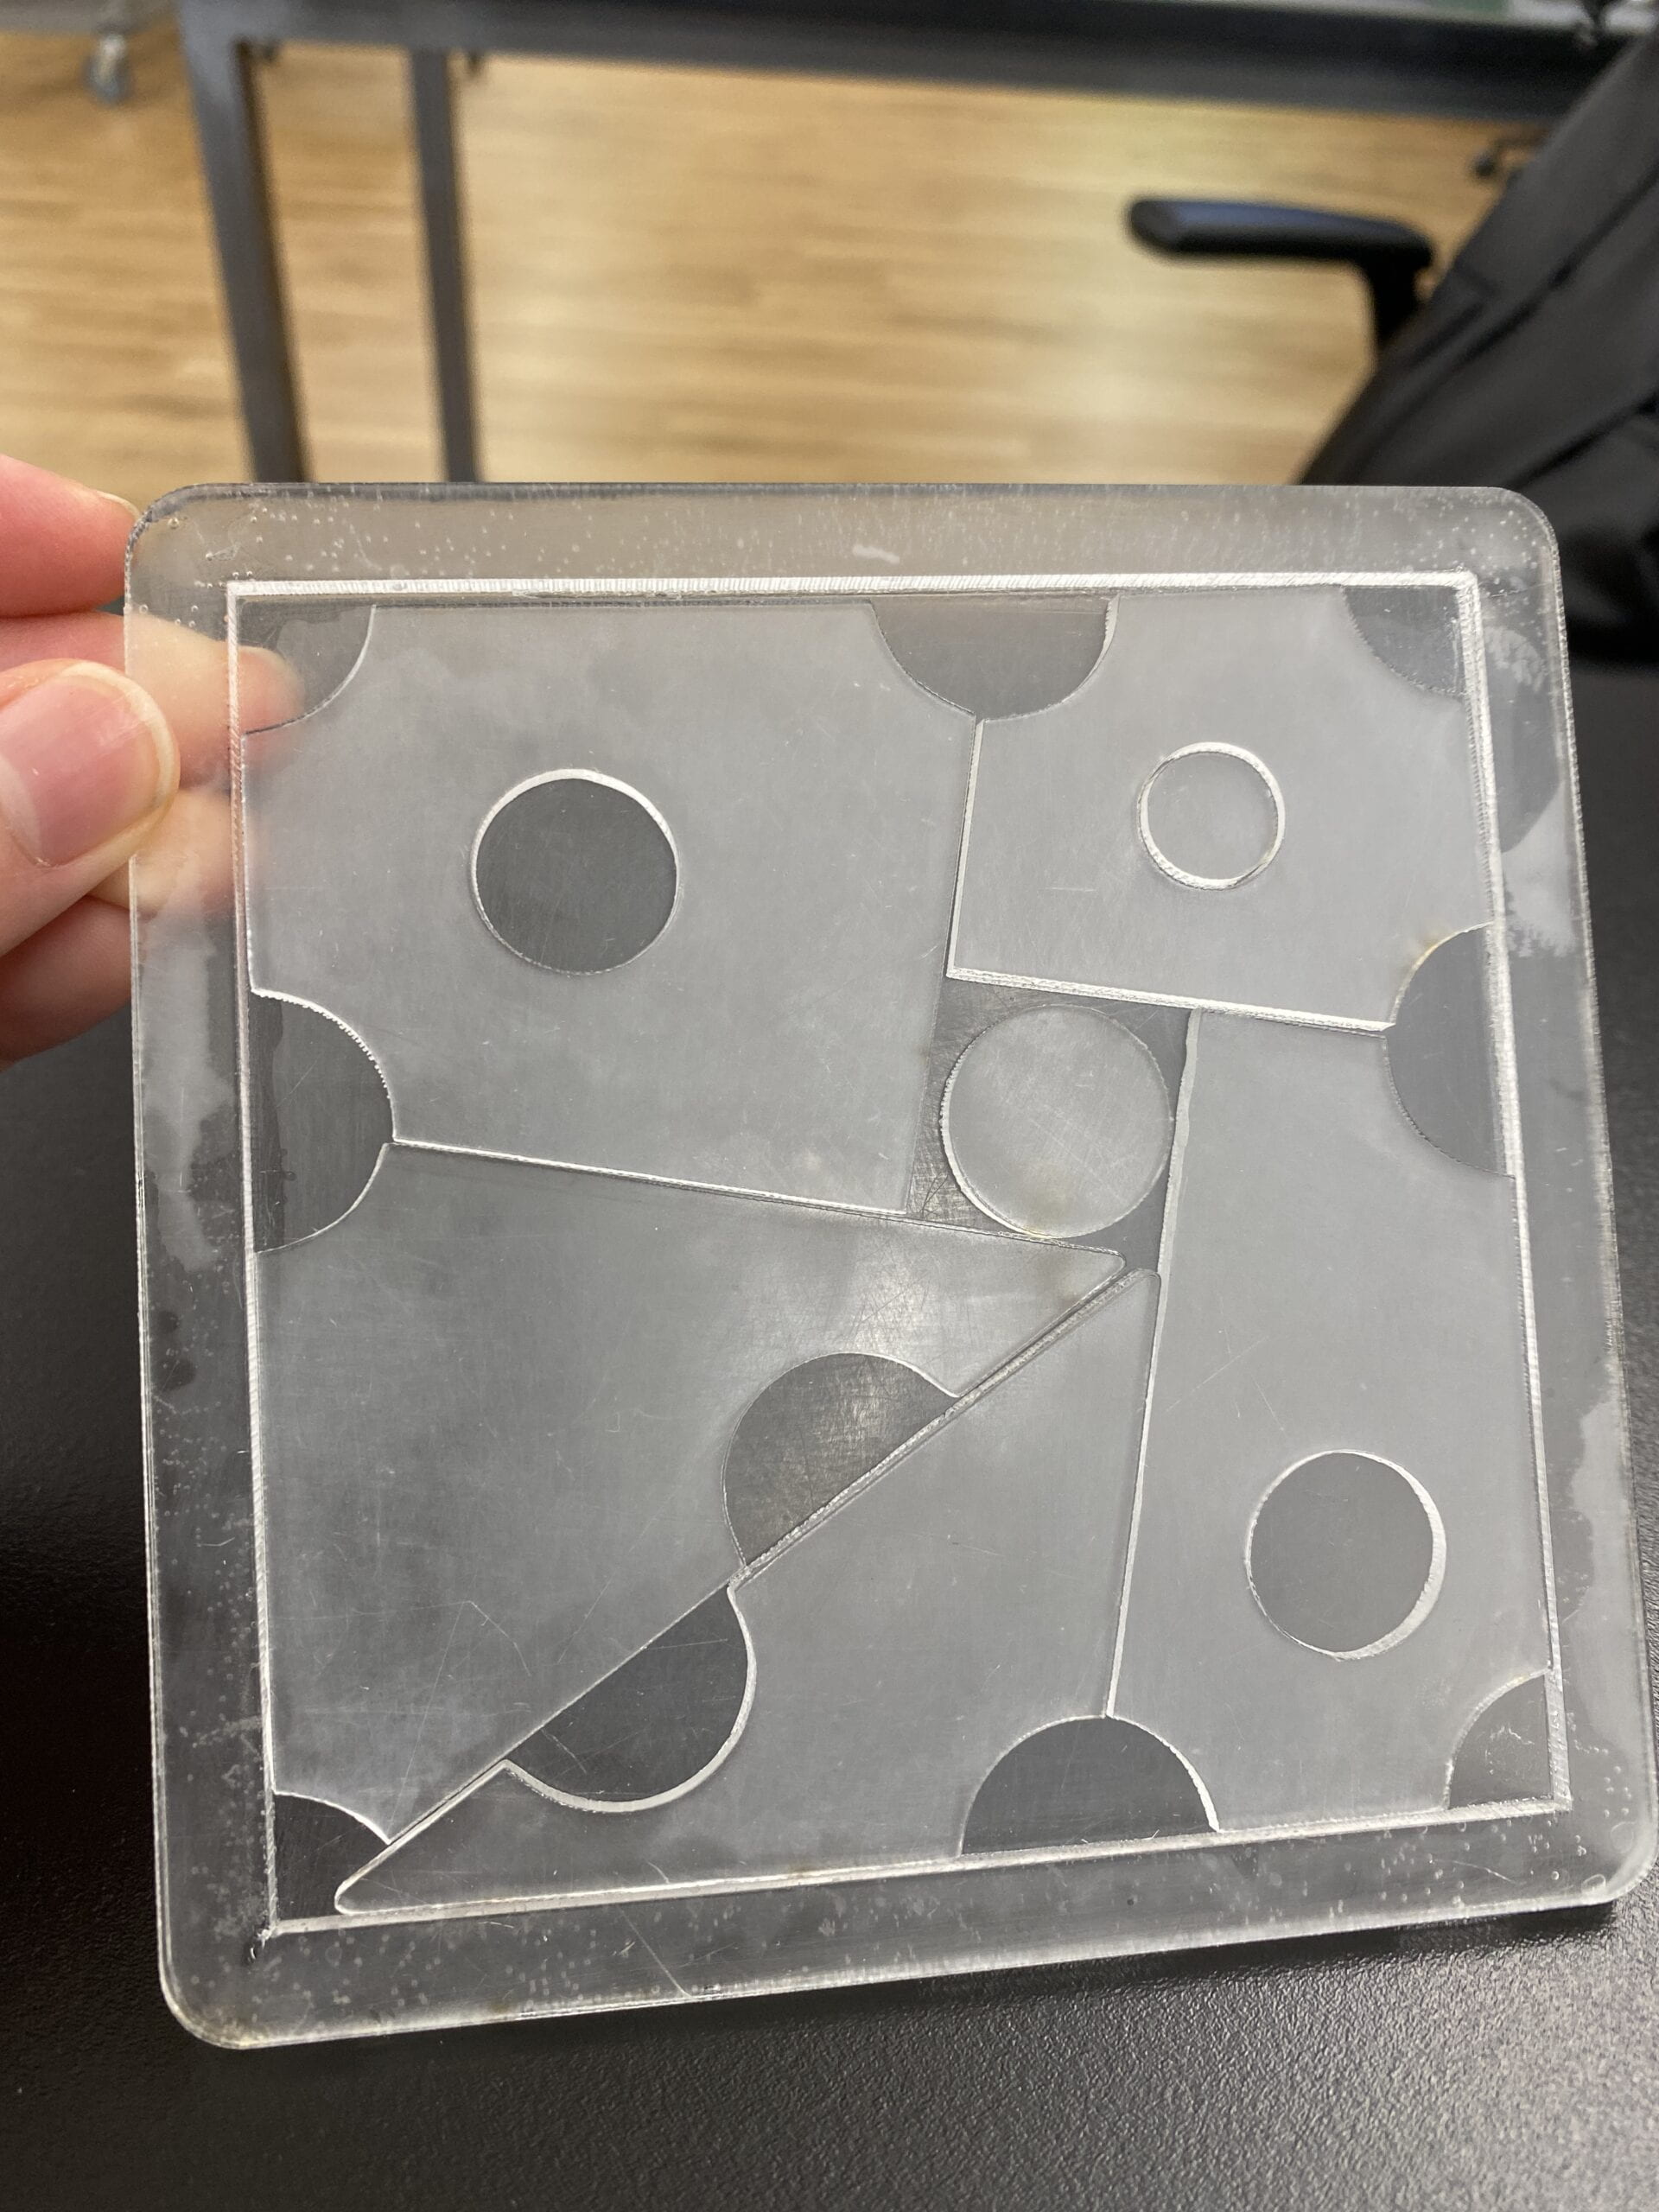 The result was pretty good for the first test. The shapes work, and there wasn’t any space where wrong solutions could also work. But K totally was not satisfied with 2 things: 1, the correct solution was not filling the frame completely, it had too much extra space like it suggests in the image above, and 2, the pieces did not break off very easily, as we see, there is still one piece that I failed to break off. This is probably because the settings were not calibrated to different thicknesses of acrylic — it might work better with 1/4” but I could be wrong, anyway the problem is that the laser did not cut all the way through.
so with these two things in mind, I began designing the second version.
This time I designed everything geometrically in Rhino with the correct solution as a reference, which I think is a lot better and way cleaner, this also guarantees that the pieces don’t have any significant wiggle room in the correct solution. I proceeded to cut this on the machine, but forgot to cut it twice before taking it out. No surprise, it did not cut all the way through. Ben suggested that I don’t use chisels to break them off because they would explode (acrylics are sharp and brittle Steve, learn your lesson). So I put it back in the machine and cut it again.
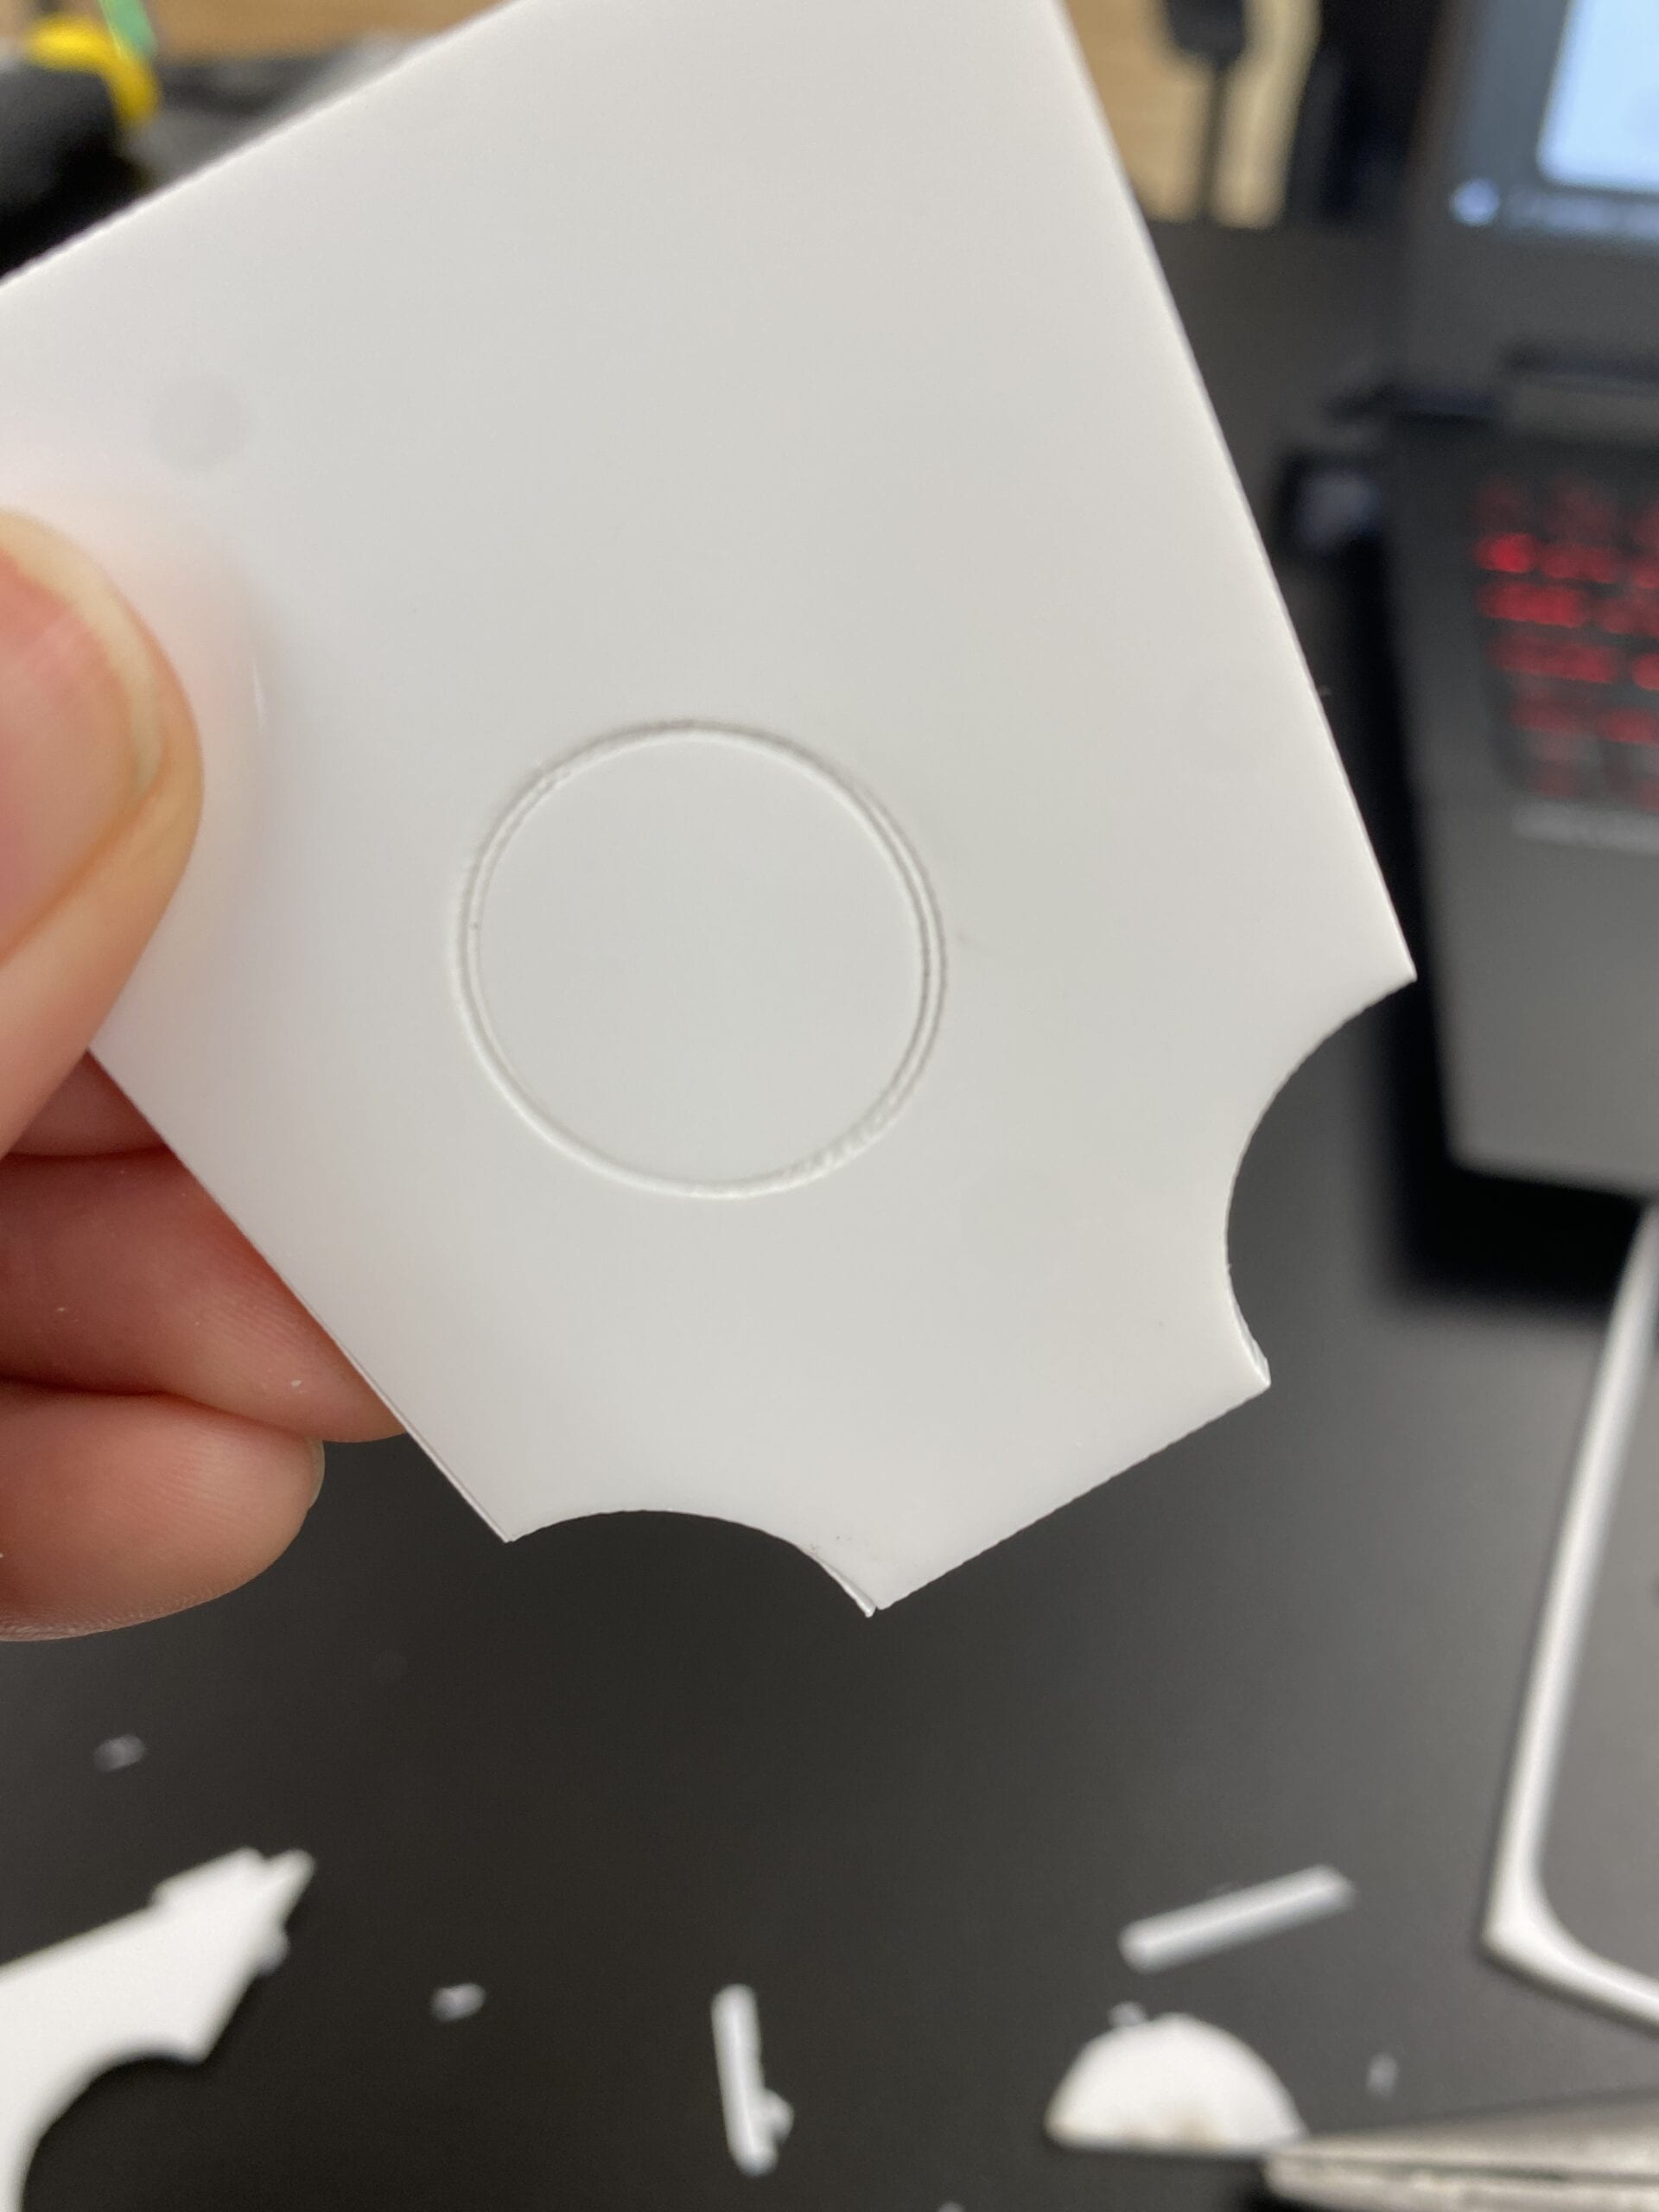
they came out like this: not only did they not want to come off, but I had to use some pliers to break them, and they still broke into shards.
Upon further looking, I found that I did not put them in the exact same place both times. This resulted in it cutting in another place which it also failed to cut through.
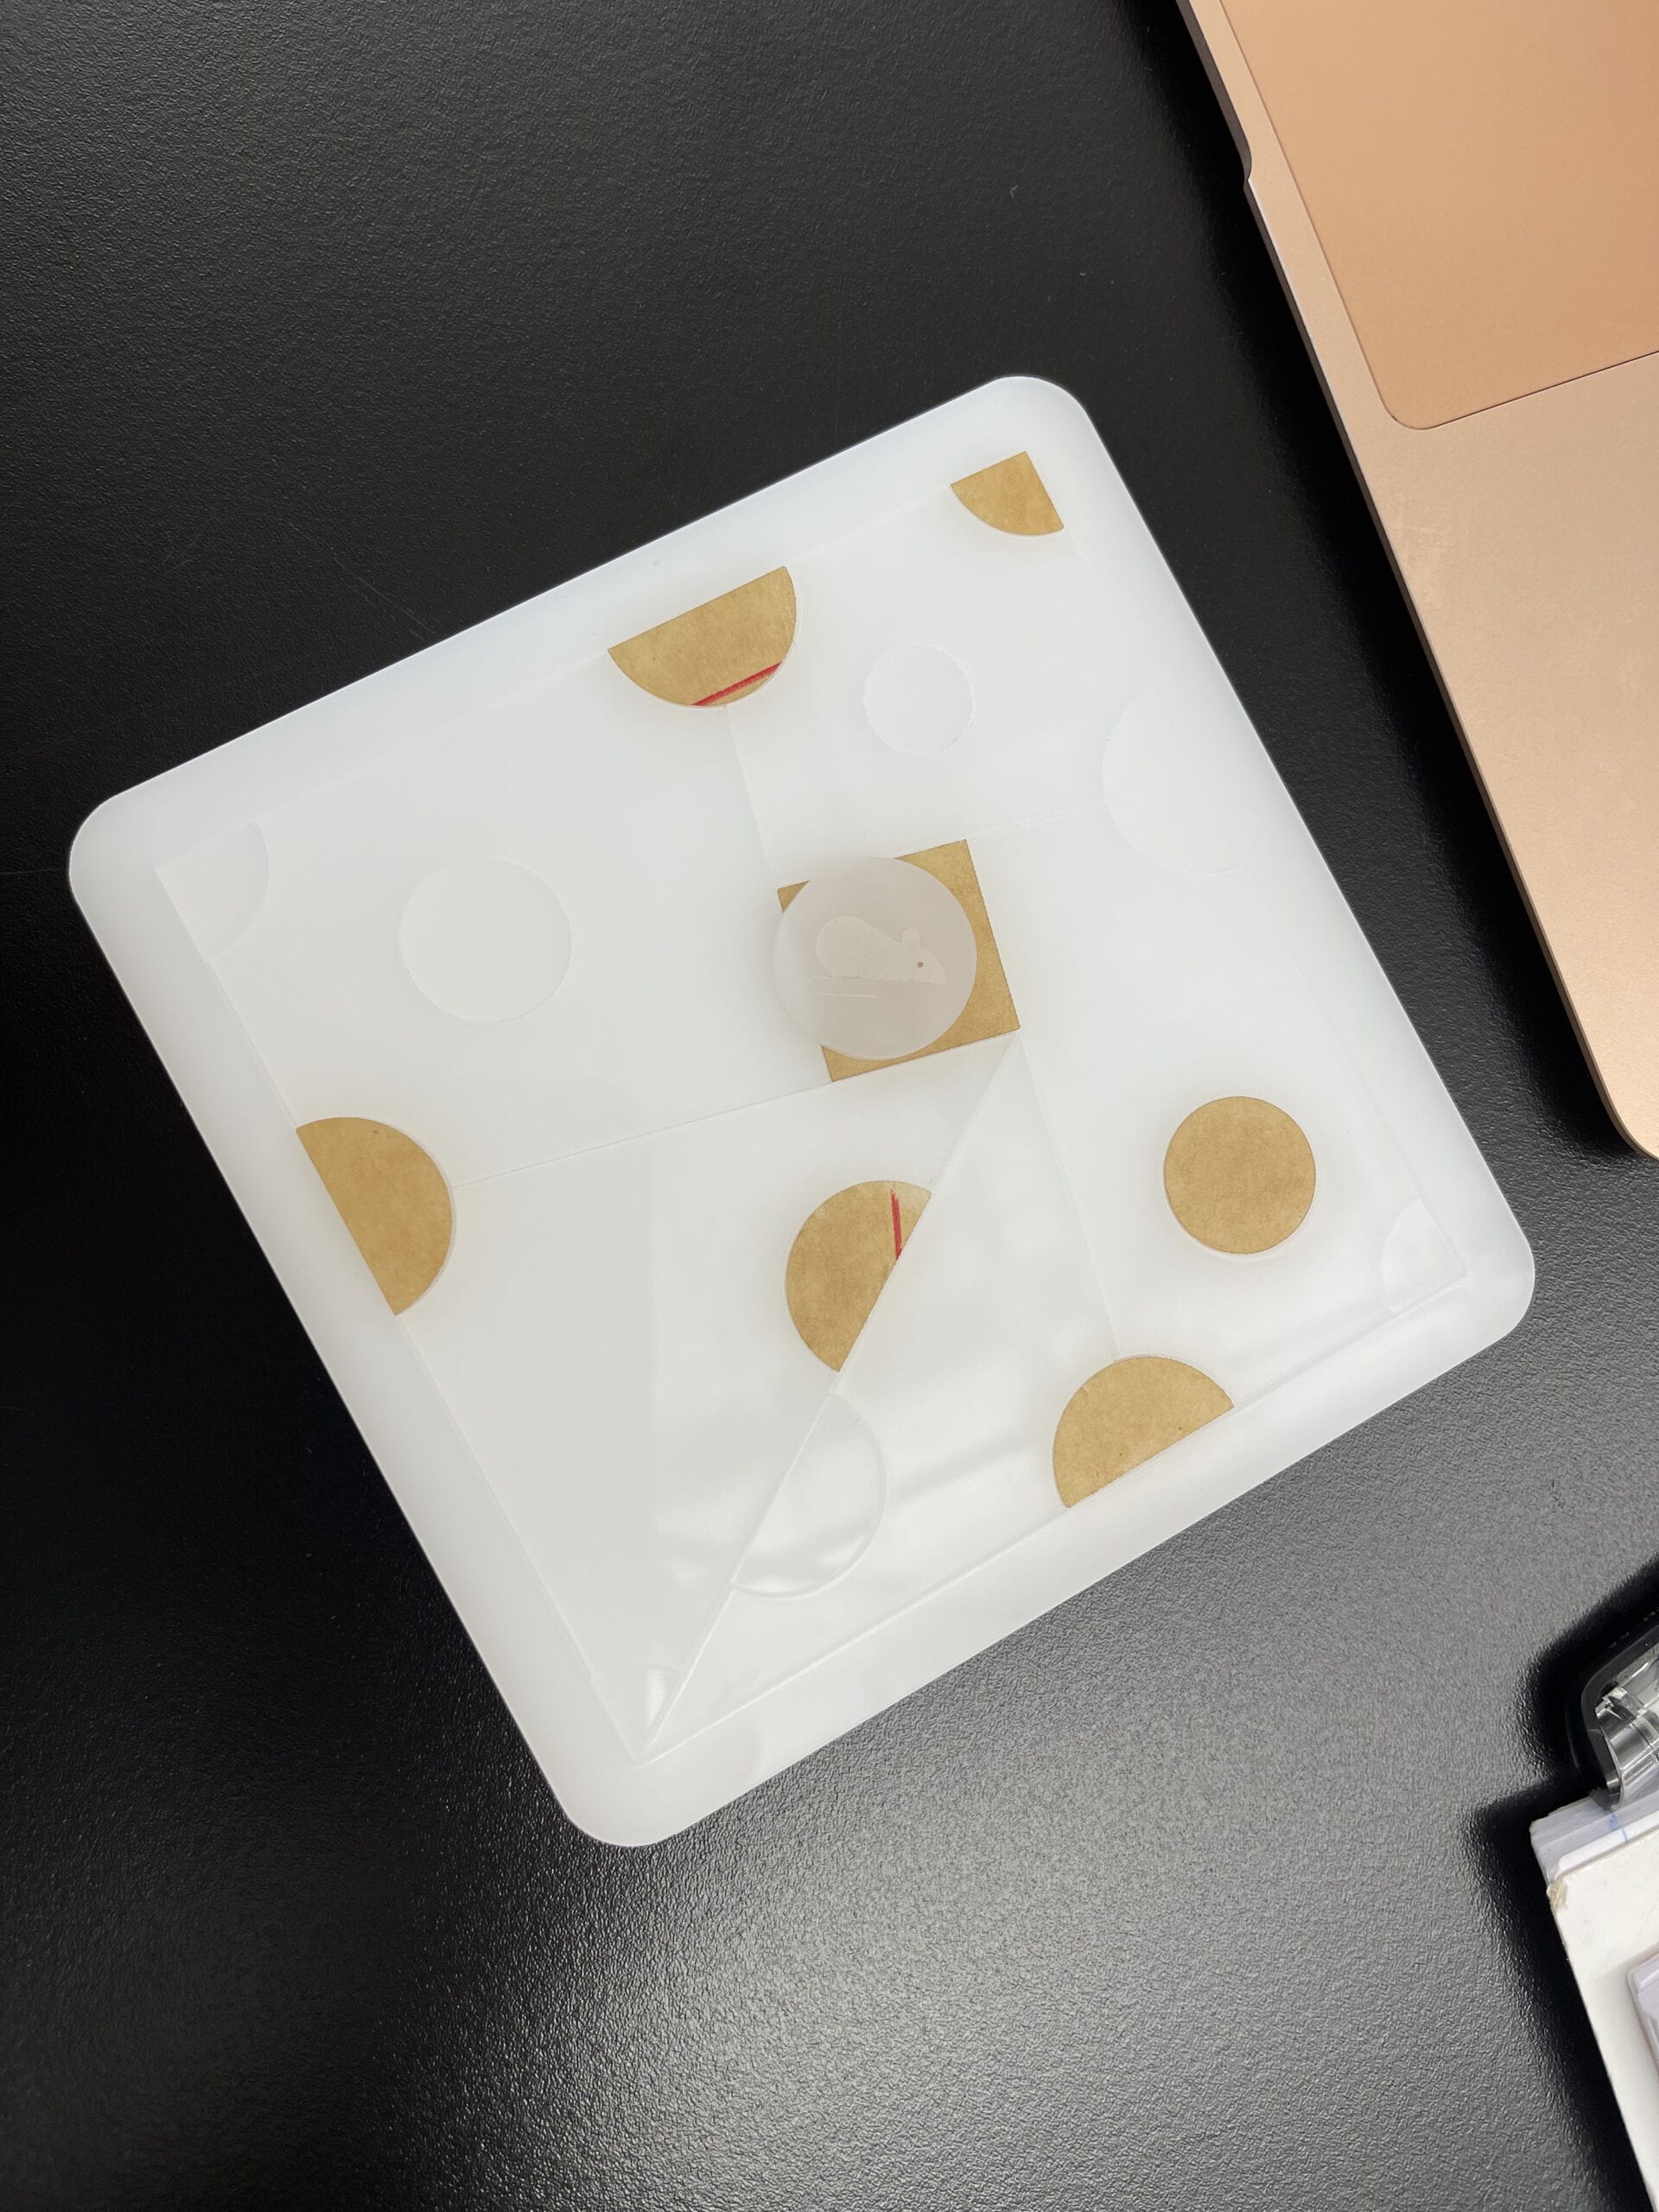
So, third time is a charm, I changed the setting on the laser cutter and slowed down the speed the nozzle moves, to give the laser more time to cut through. I made sure to test the cutting ability in a separate piece of material (and also engraved a small rat icon that I found on the noun project), and it worked very well and cut very cleanly. I then proceeded to cut the whole thing one last time.

and here is the final product:
Final verdict:
I am very satisfied with how this one comes out. The pieces stayed put but I only need very small amount of force to pop them off. I tried to sand the edges a bit but if I can polish it later it wouldn’t matter too much. In short, very happy.
Lesson of this week: start testing new settings on smaller pieces, and also if you think it won’t work, don’t go ahead and do it and hope for the best.
Update: I TOTALLY DID NOT SEE THE ACRYLIC SETTINGS ON THE RIGHT