For this assignment I used LED as my main light source. I really wanted to make it small and elegant and nice to use, and not over thinking it too much as I always do. A really good indicator is if I want to use it after I made it, because if I don’t, there is a good chance that others won’t either.
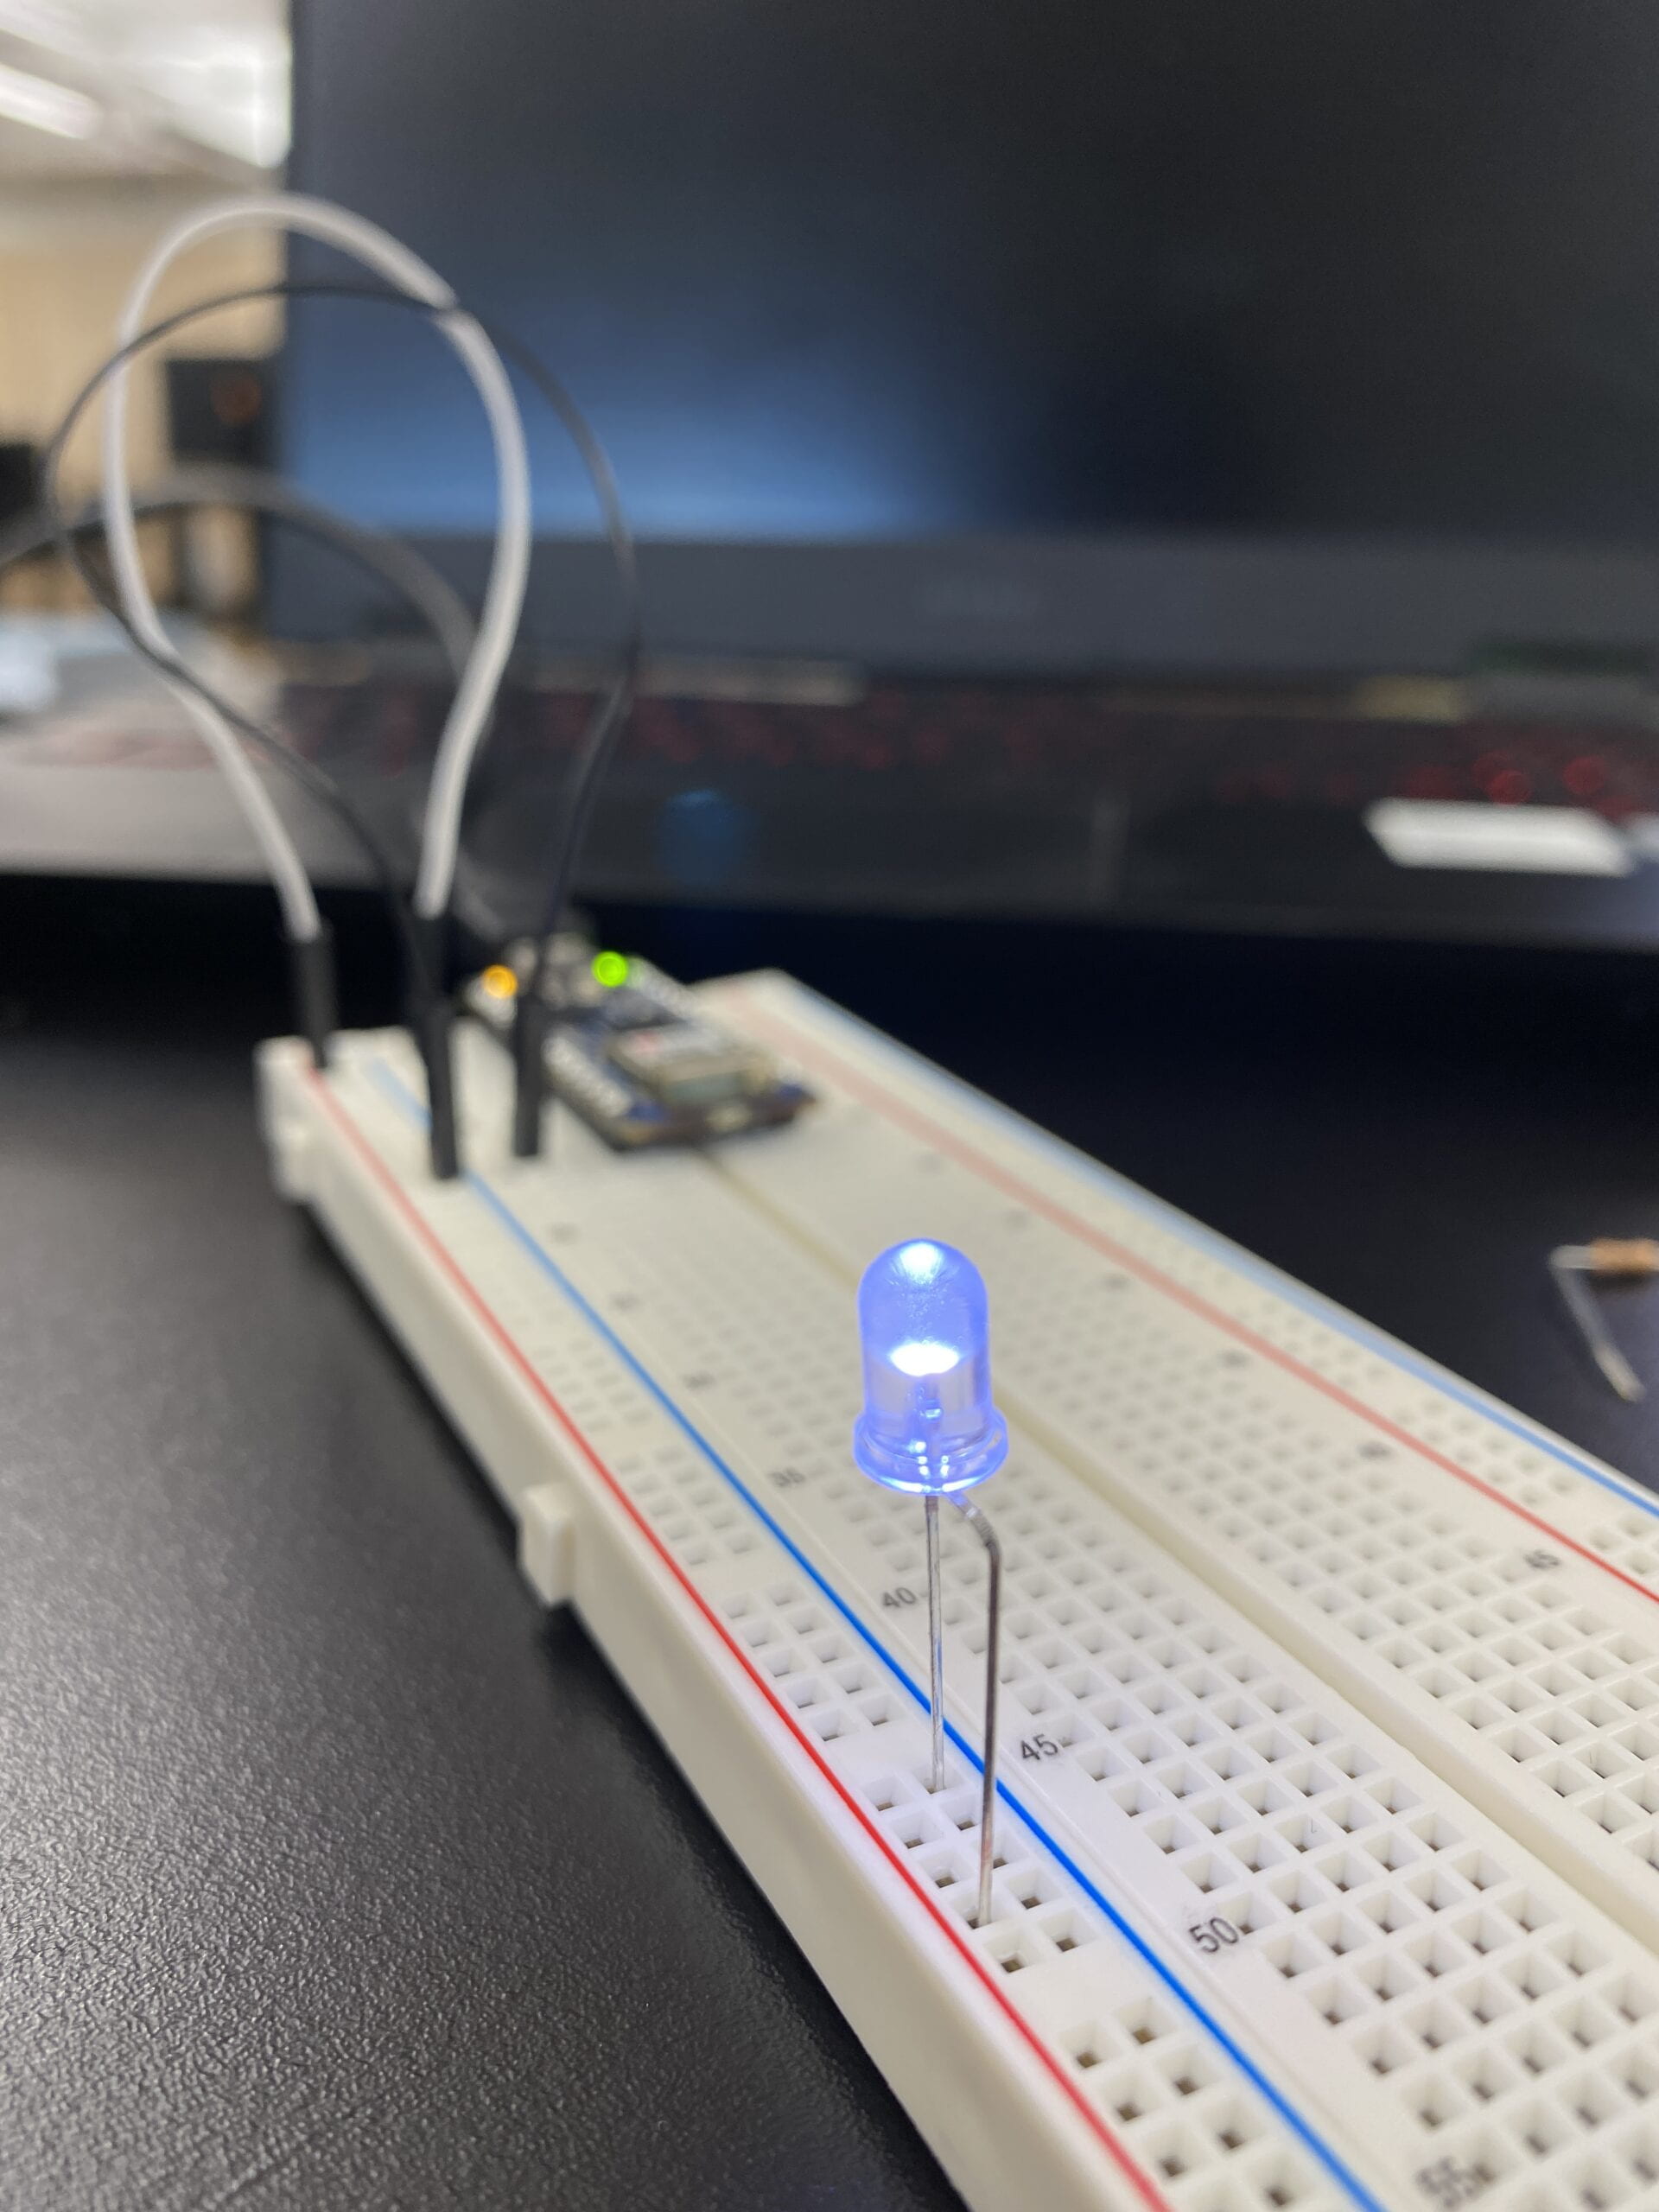
My first intuition is to connect the LED to a breadboard and Arduino and then power it with my laptop because my P Comp brain autopilot-ed my hands. Then I realized this is not really portable if I carry my laptop around. Even if it’s a portable charger and I switch the breadboard to just cable, it’s still too much for what it does.
Then I tried to look through the links Ben recommended and I saw this link.
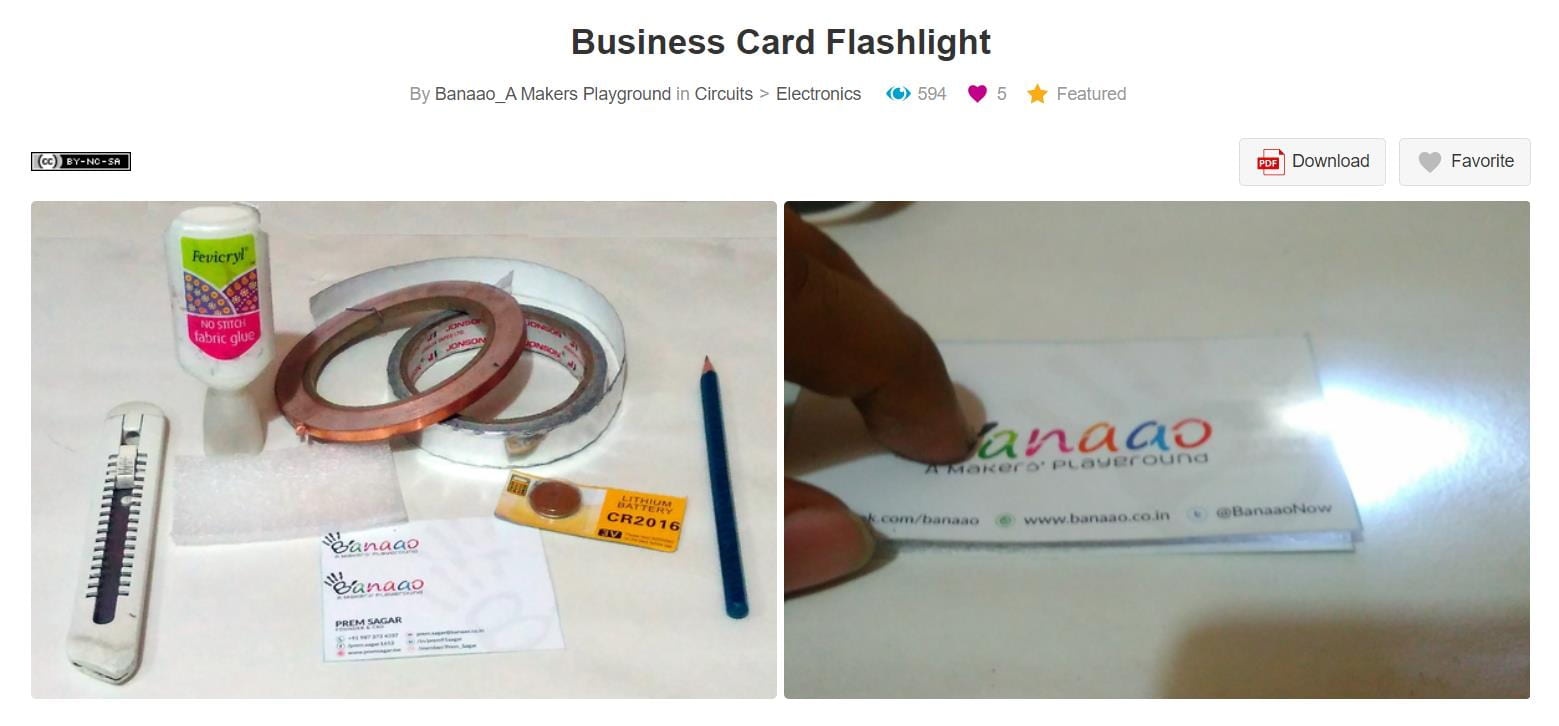
This person uses a coin battery to power the LED, which I thought was a really simple and good idea and it gets rid of all the cables. For some reason this solution managed to just escape me before I saw this post.
So, here comes the part where I got kinda lucky. Normally any kind of batteries are now allowed to be put on the junk drawer but apparently someone was careless enough that I found this:
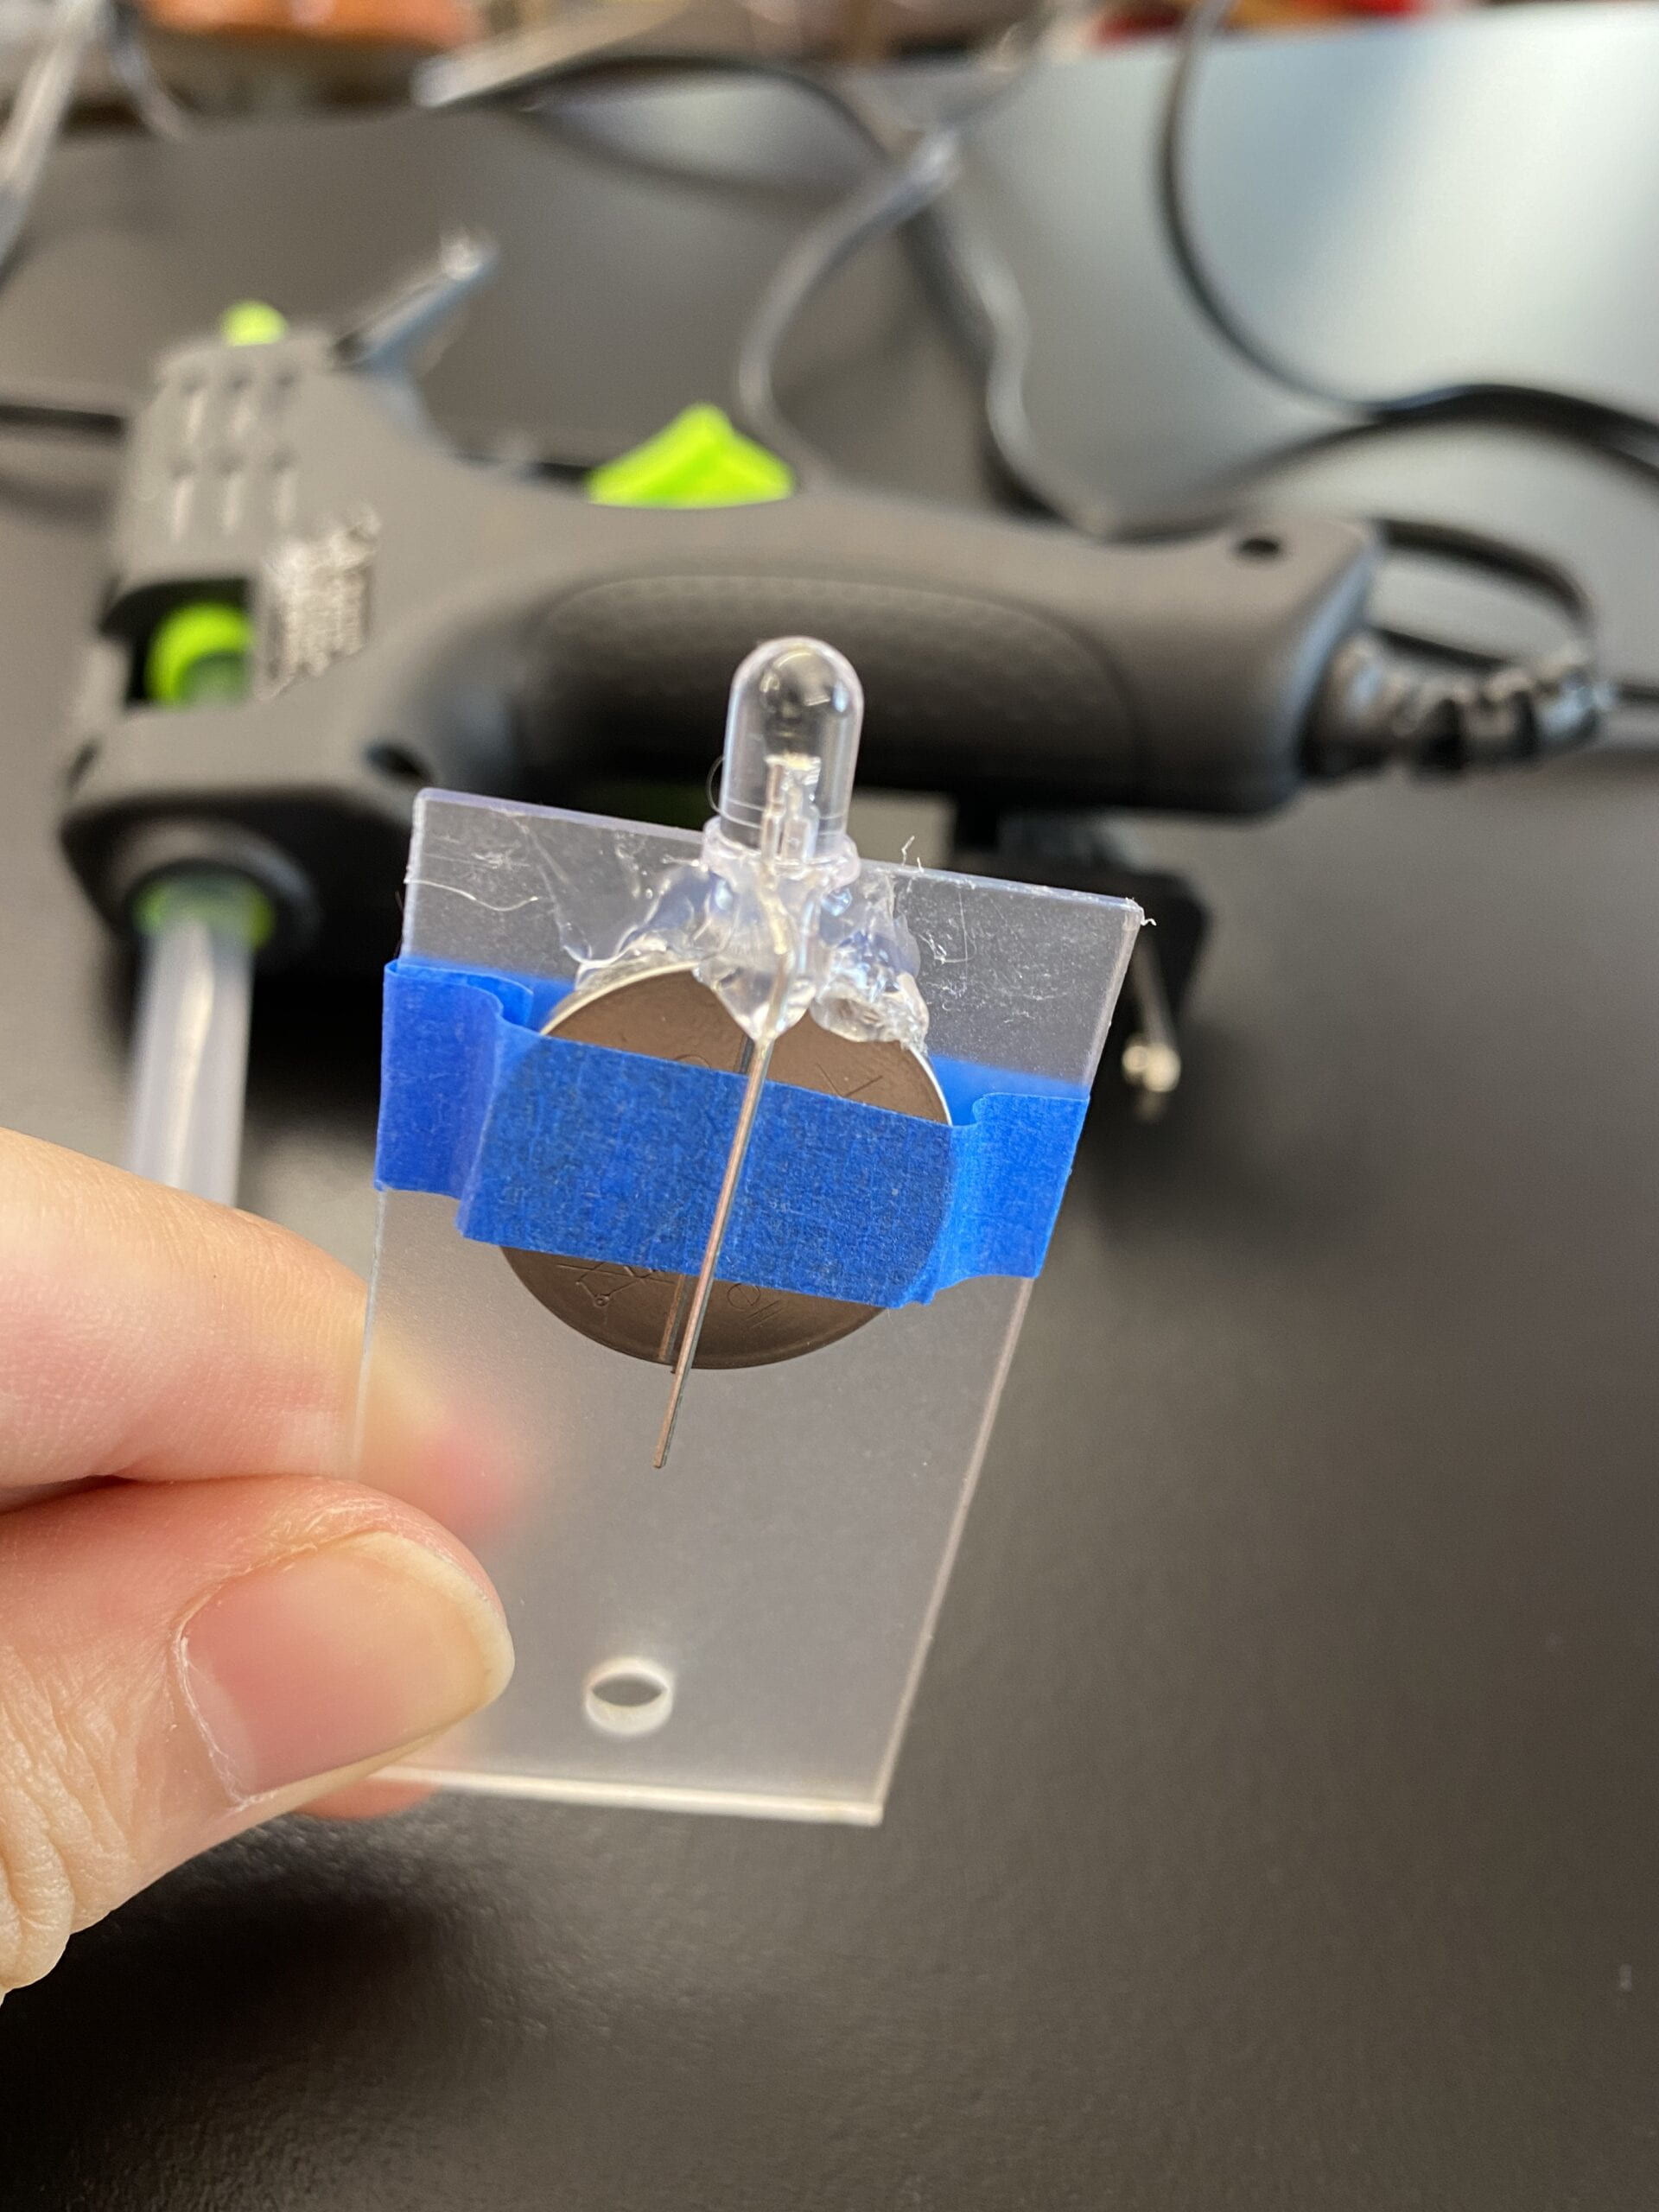
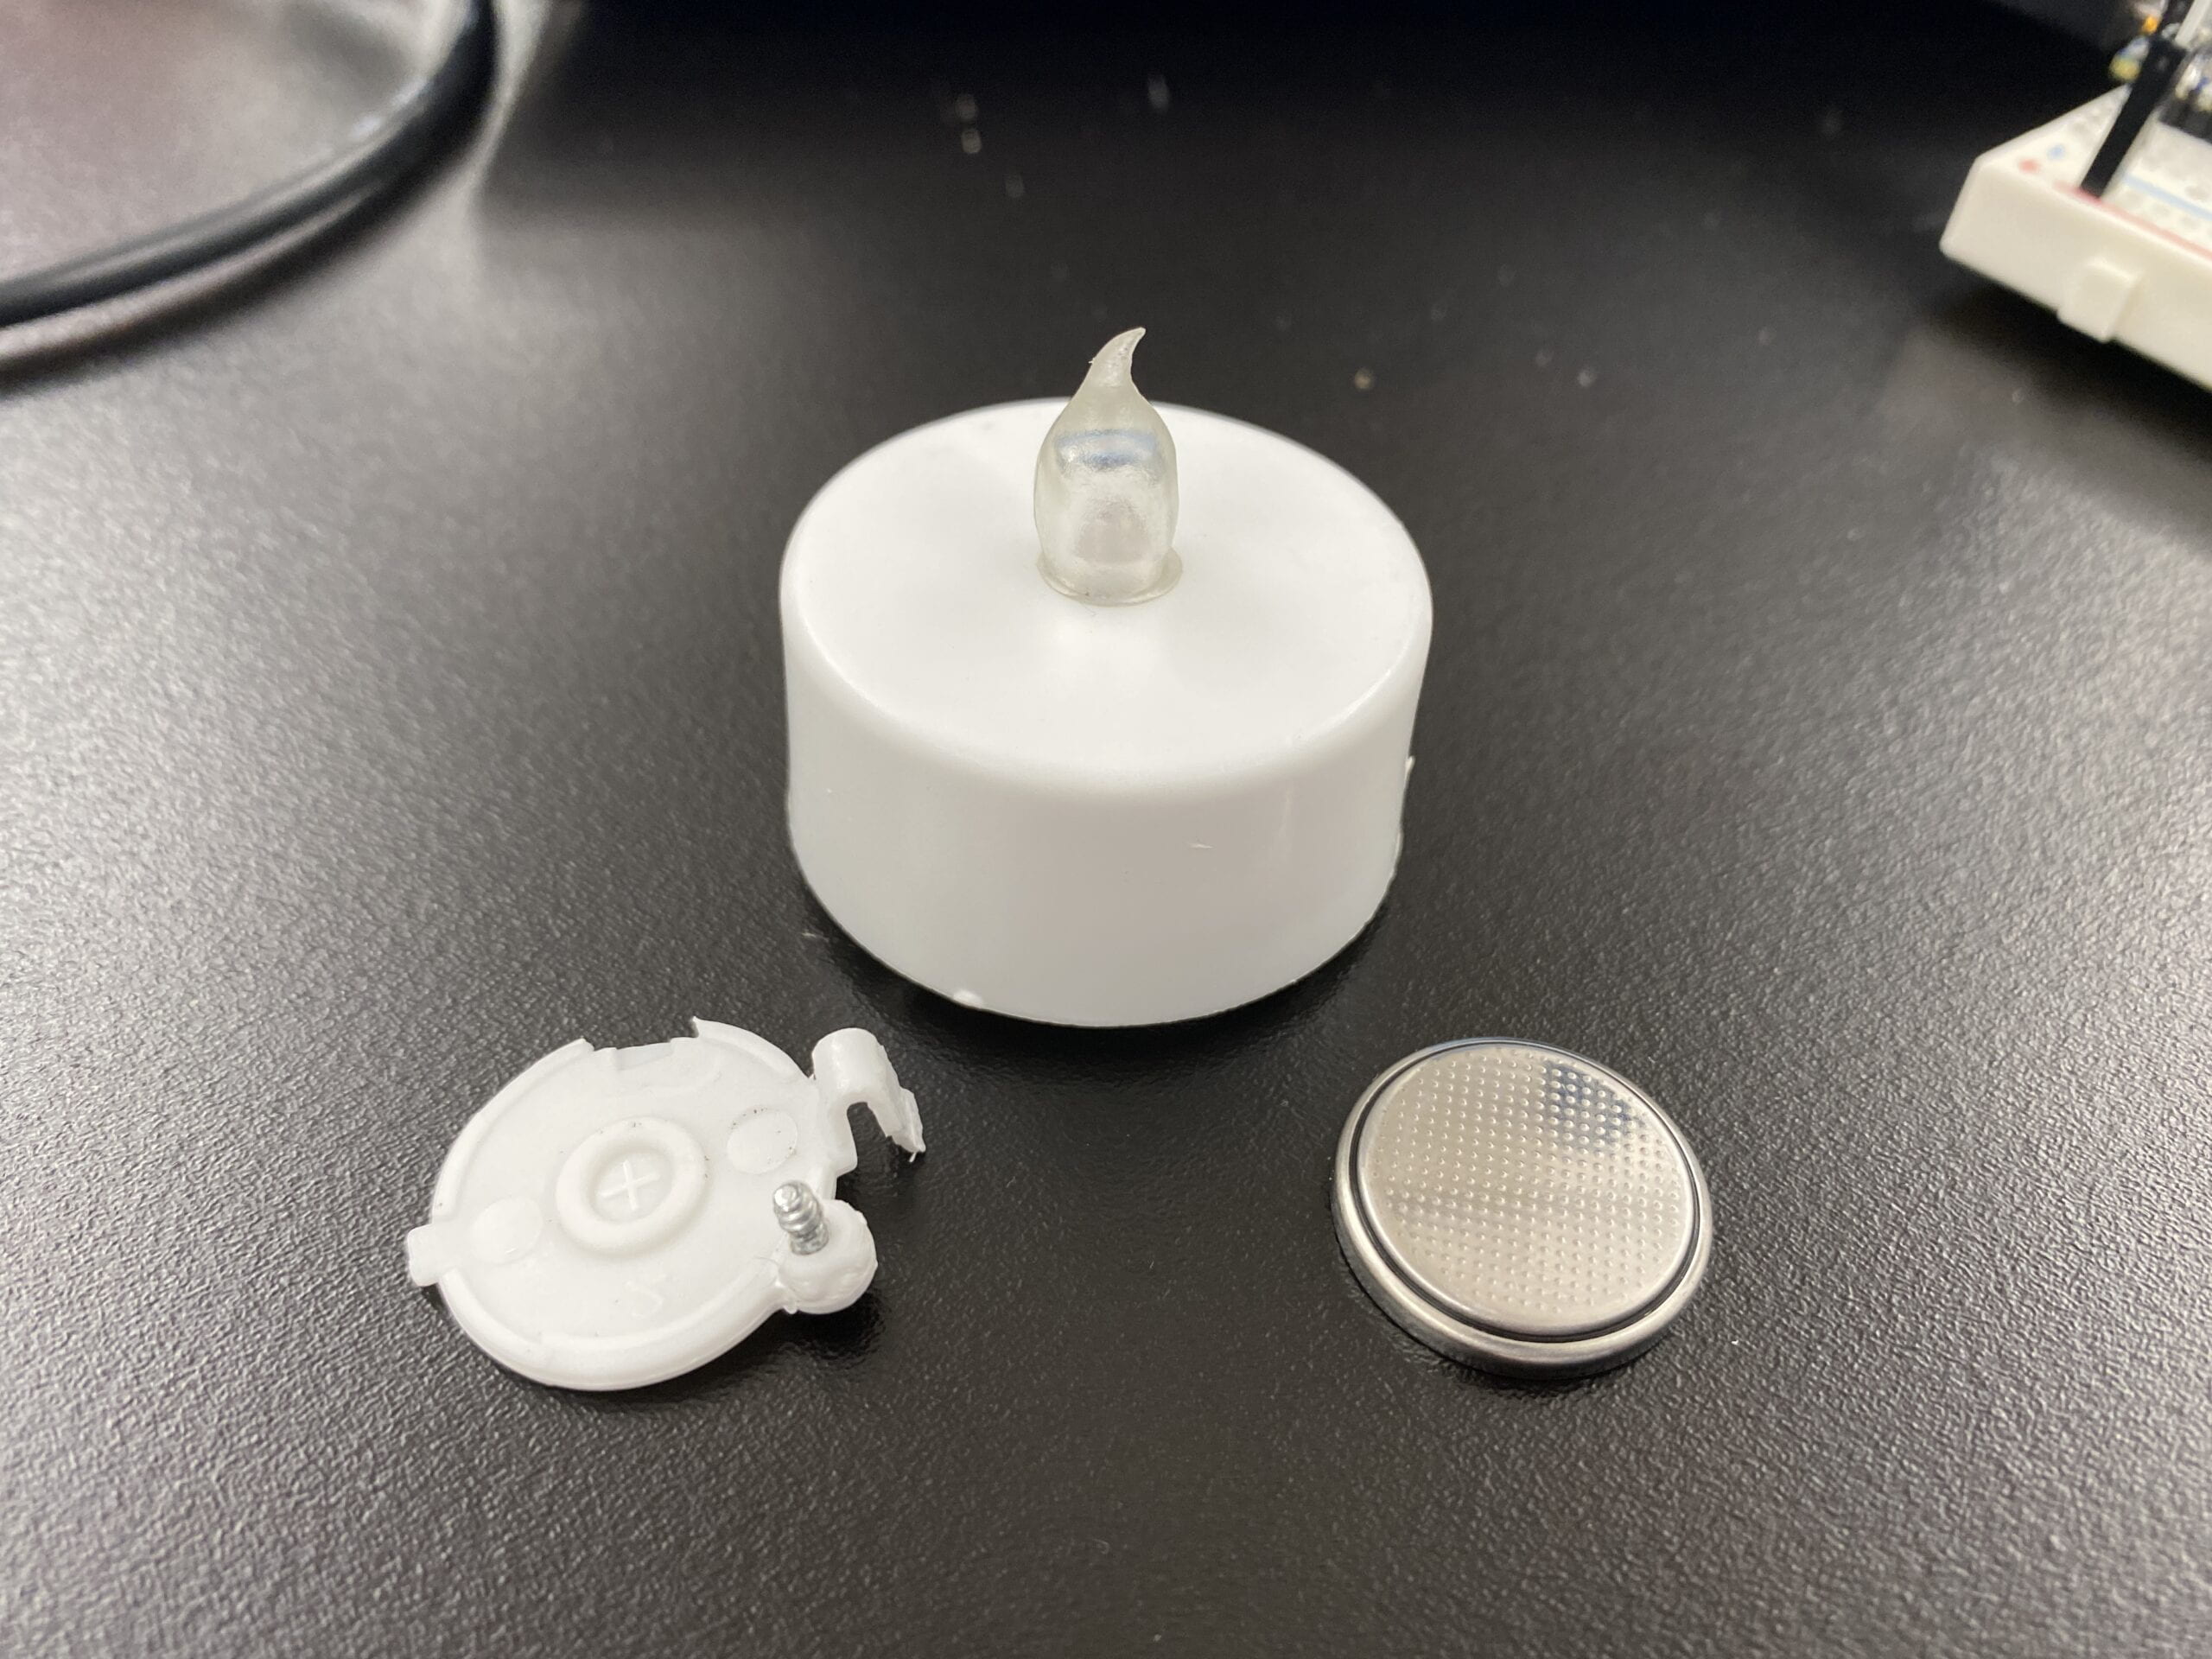 a candle light with an LED in it powered by a coin battery. So naturally, I took the battery since it shouldn’t really be there anyways, and made this:
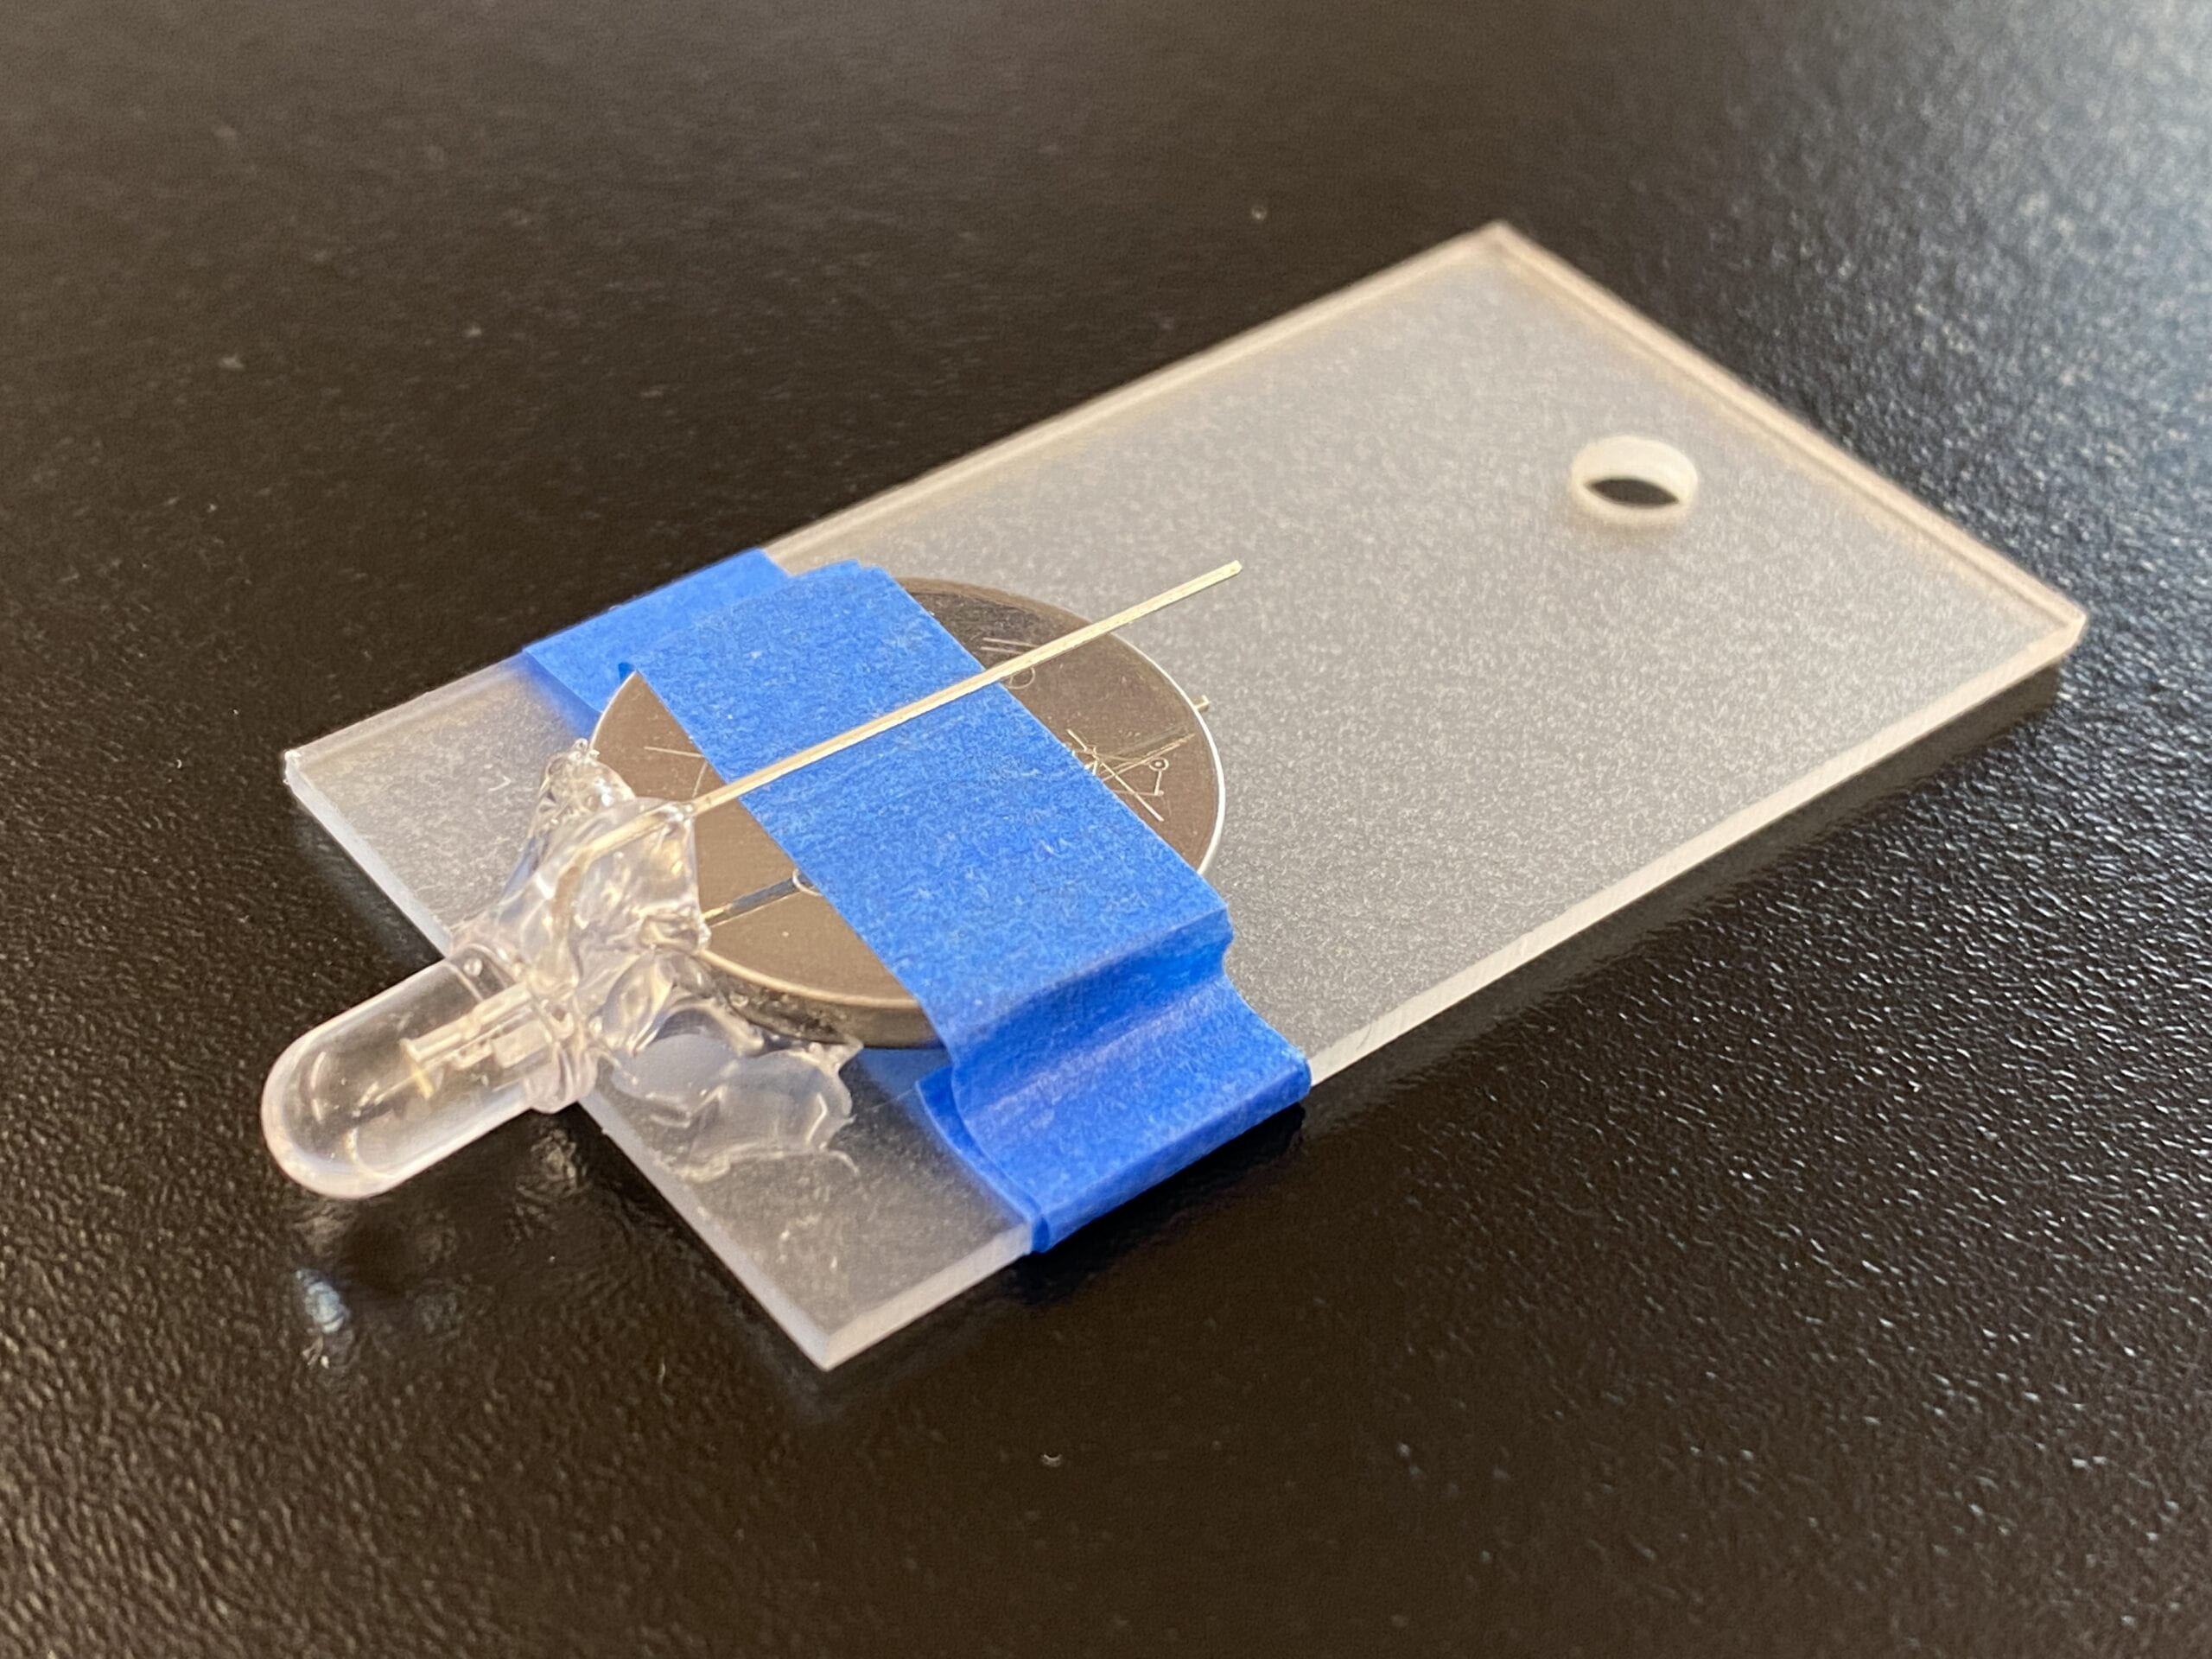
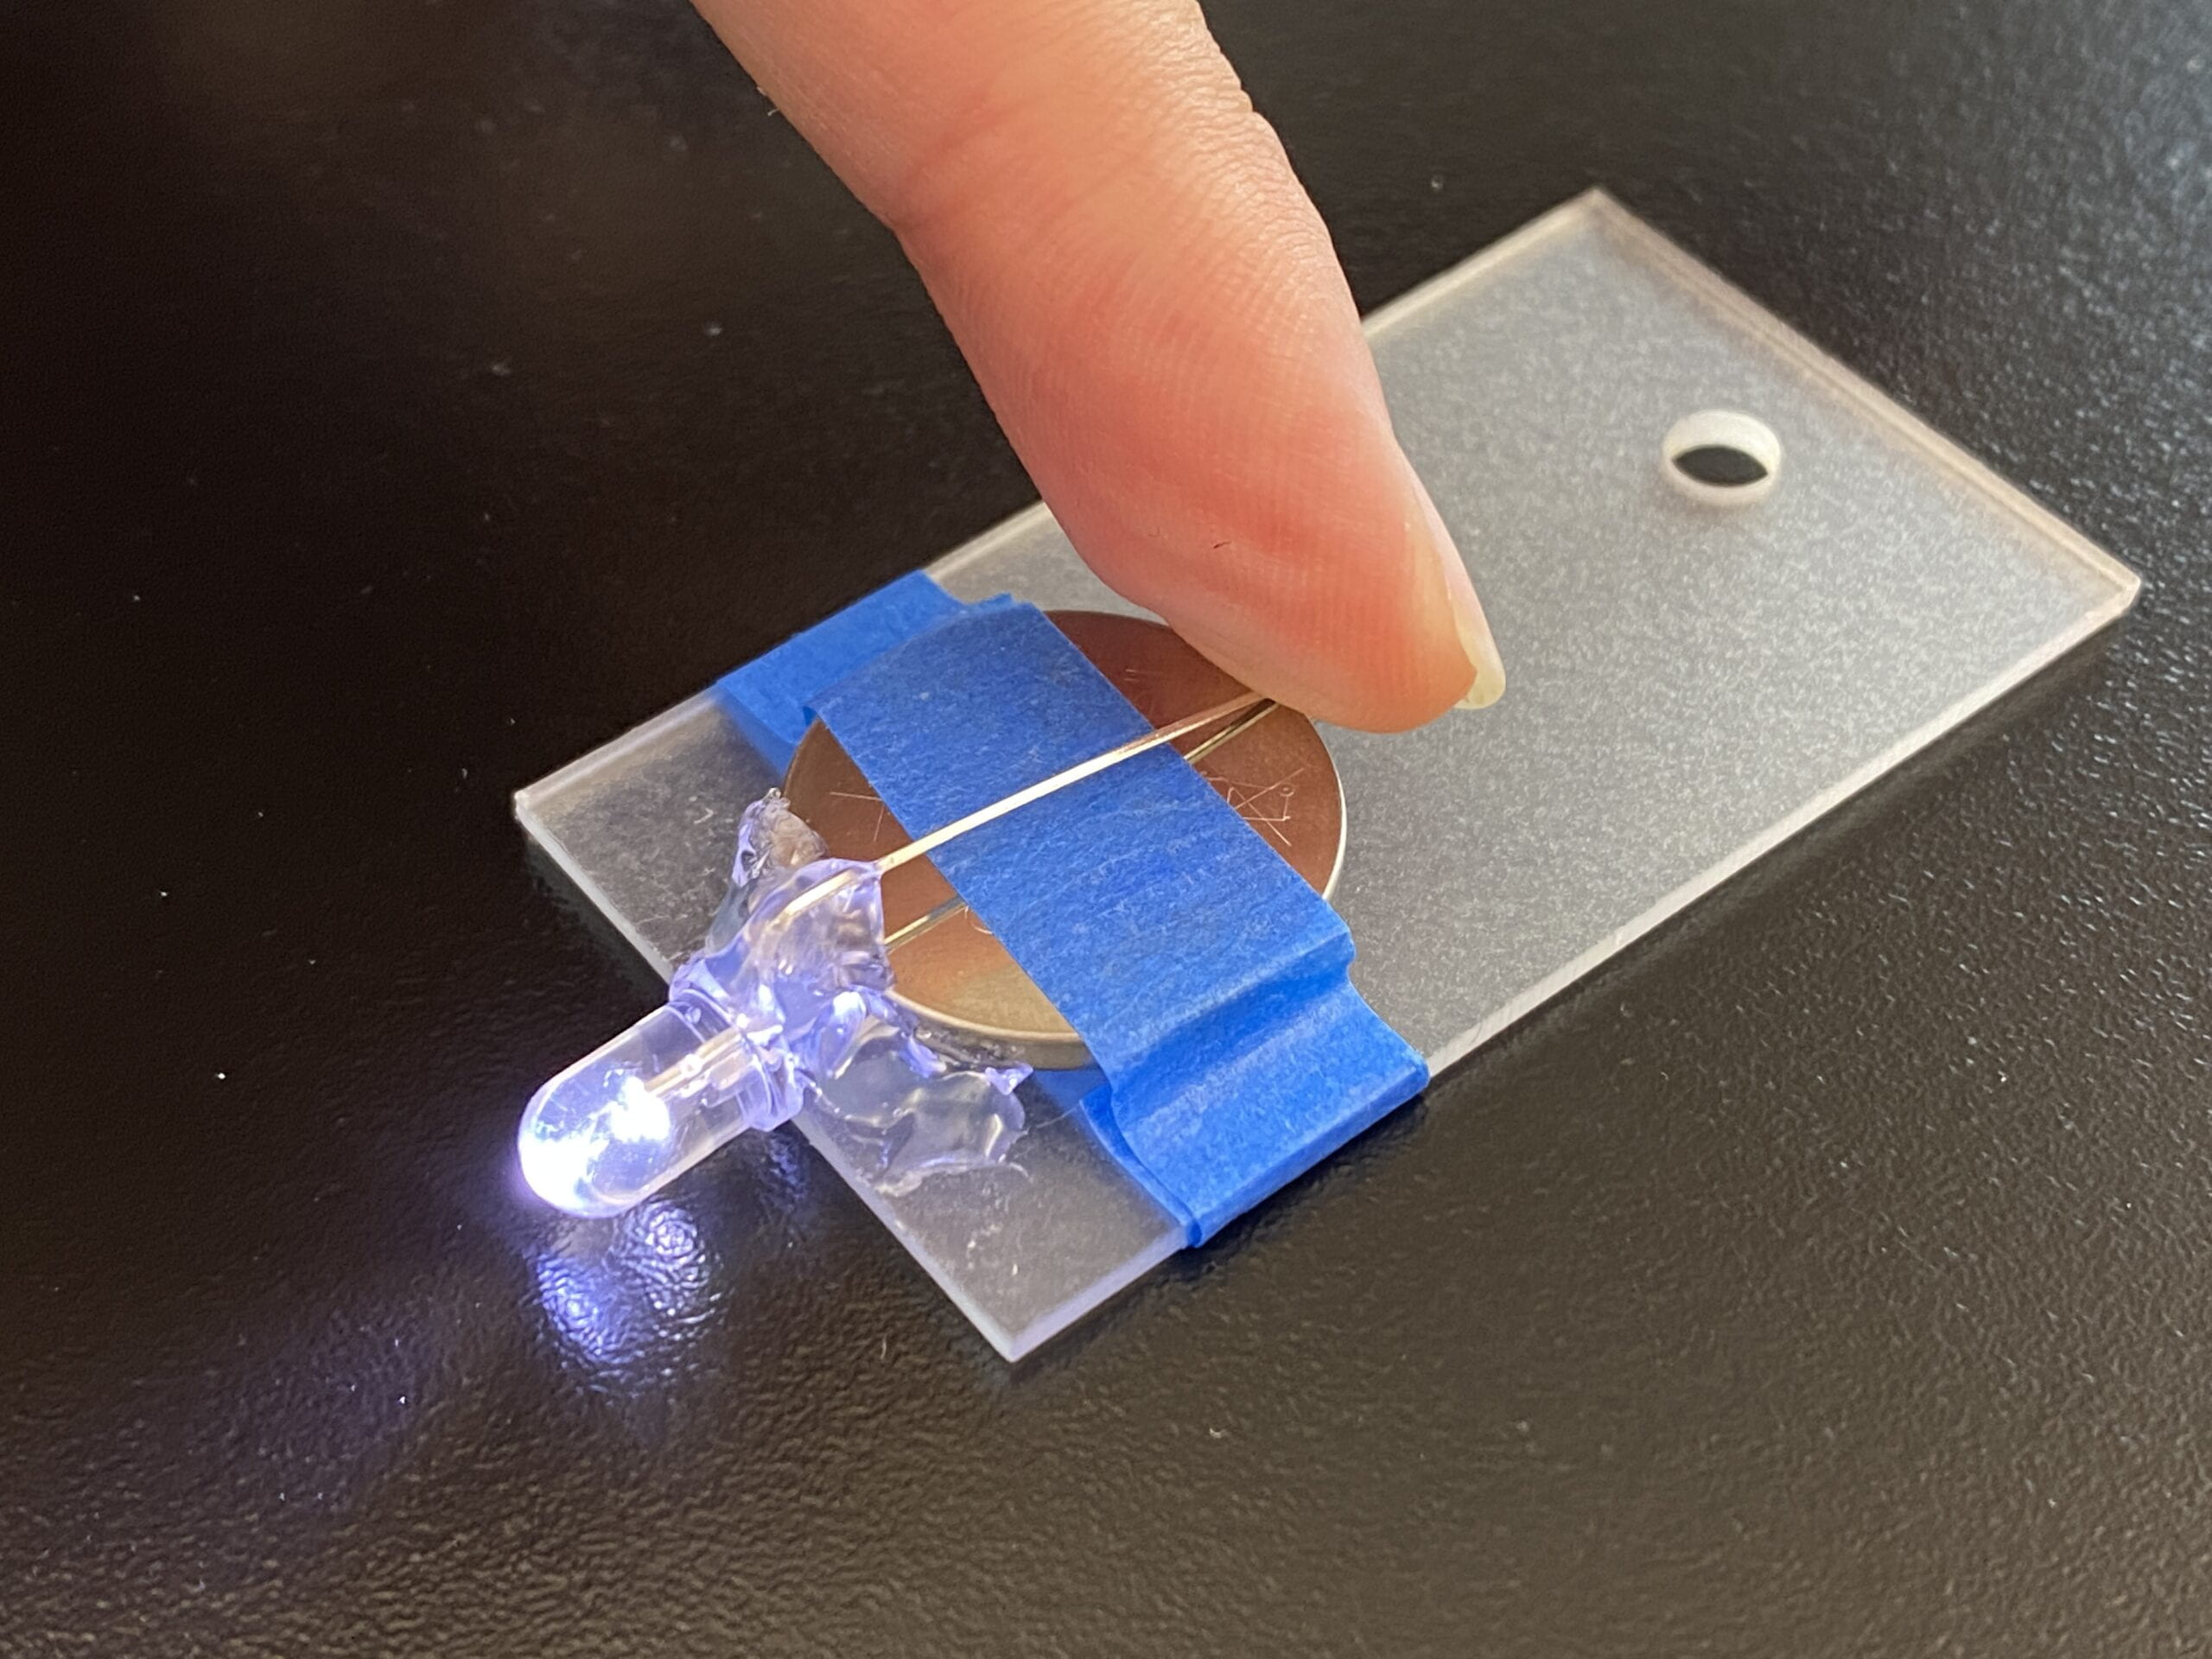
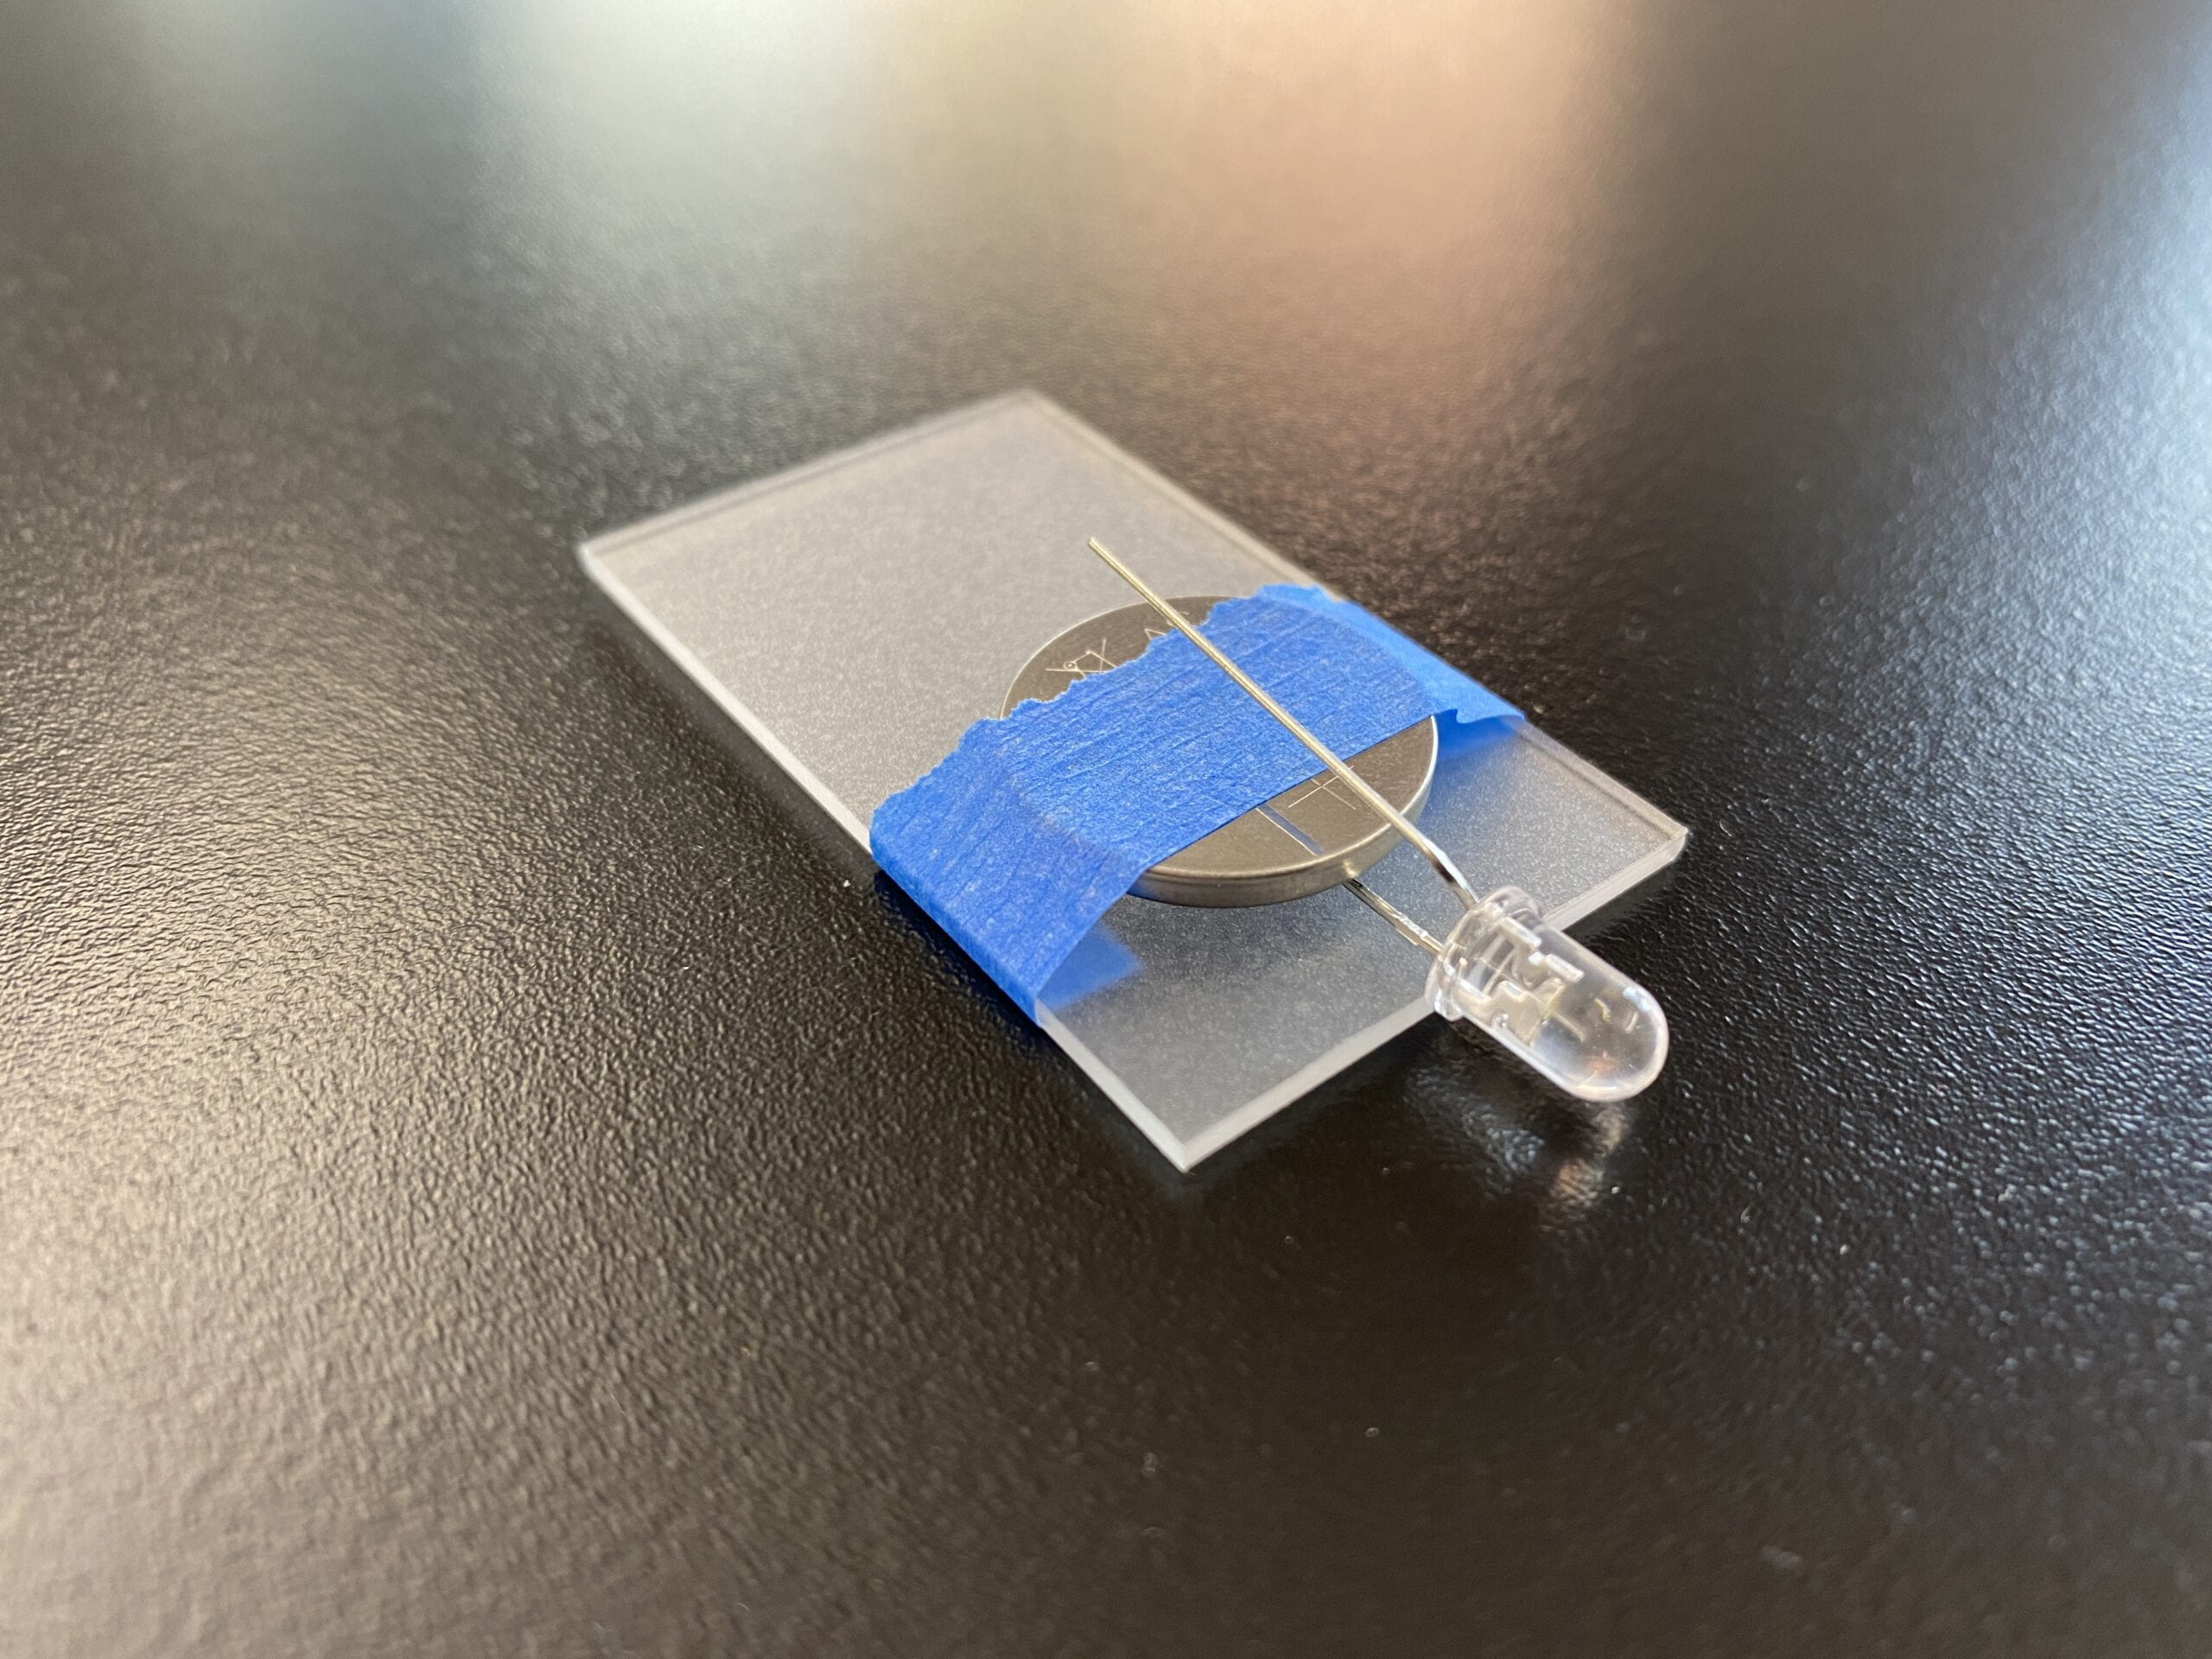 First prototype: I took a piece of acrylic (I found several days before also in the junk drawer) and just taped everything together like so. And when I press the long leg of the LED, it connects with the + side of the battery, thus the LED lights up. As shown in the video below:
Honestly, I was this close to buying a battery from Target before the junk shelf came to my rescue
Then I tried to make it portable by making this whole thing into something you can hang or put into your keychain. So there needed to be a hole in it. However, I don’t really know how this acrylic material takes drilling, i.e. how clean is the hole, is it fragile or more flexible, does it break if the bit is too big from the get-go (spoiler: yes it does, it explodes), etc., etc.
So, I did some testing with the extra pieces with different drill bits.
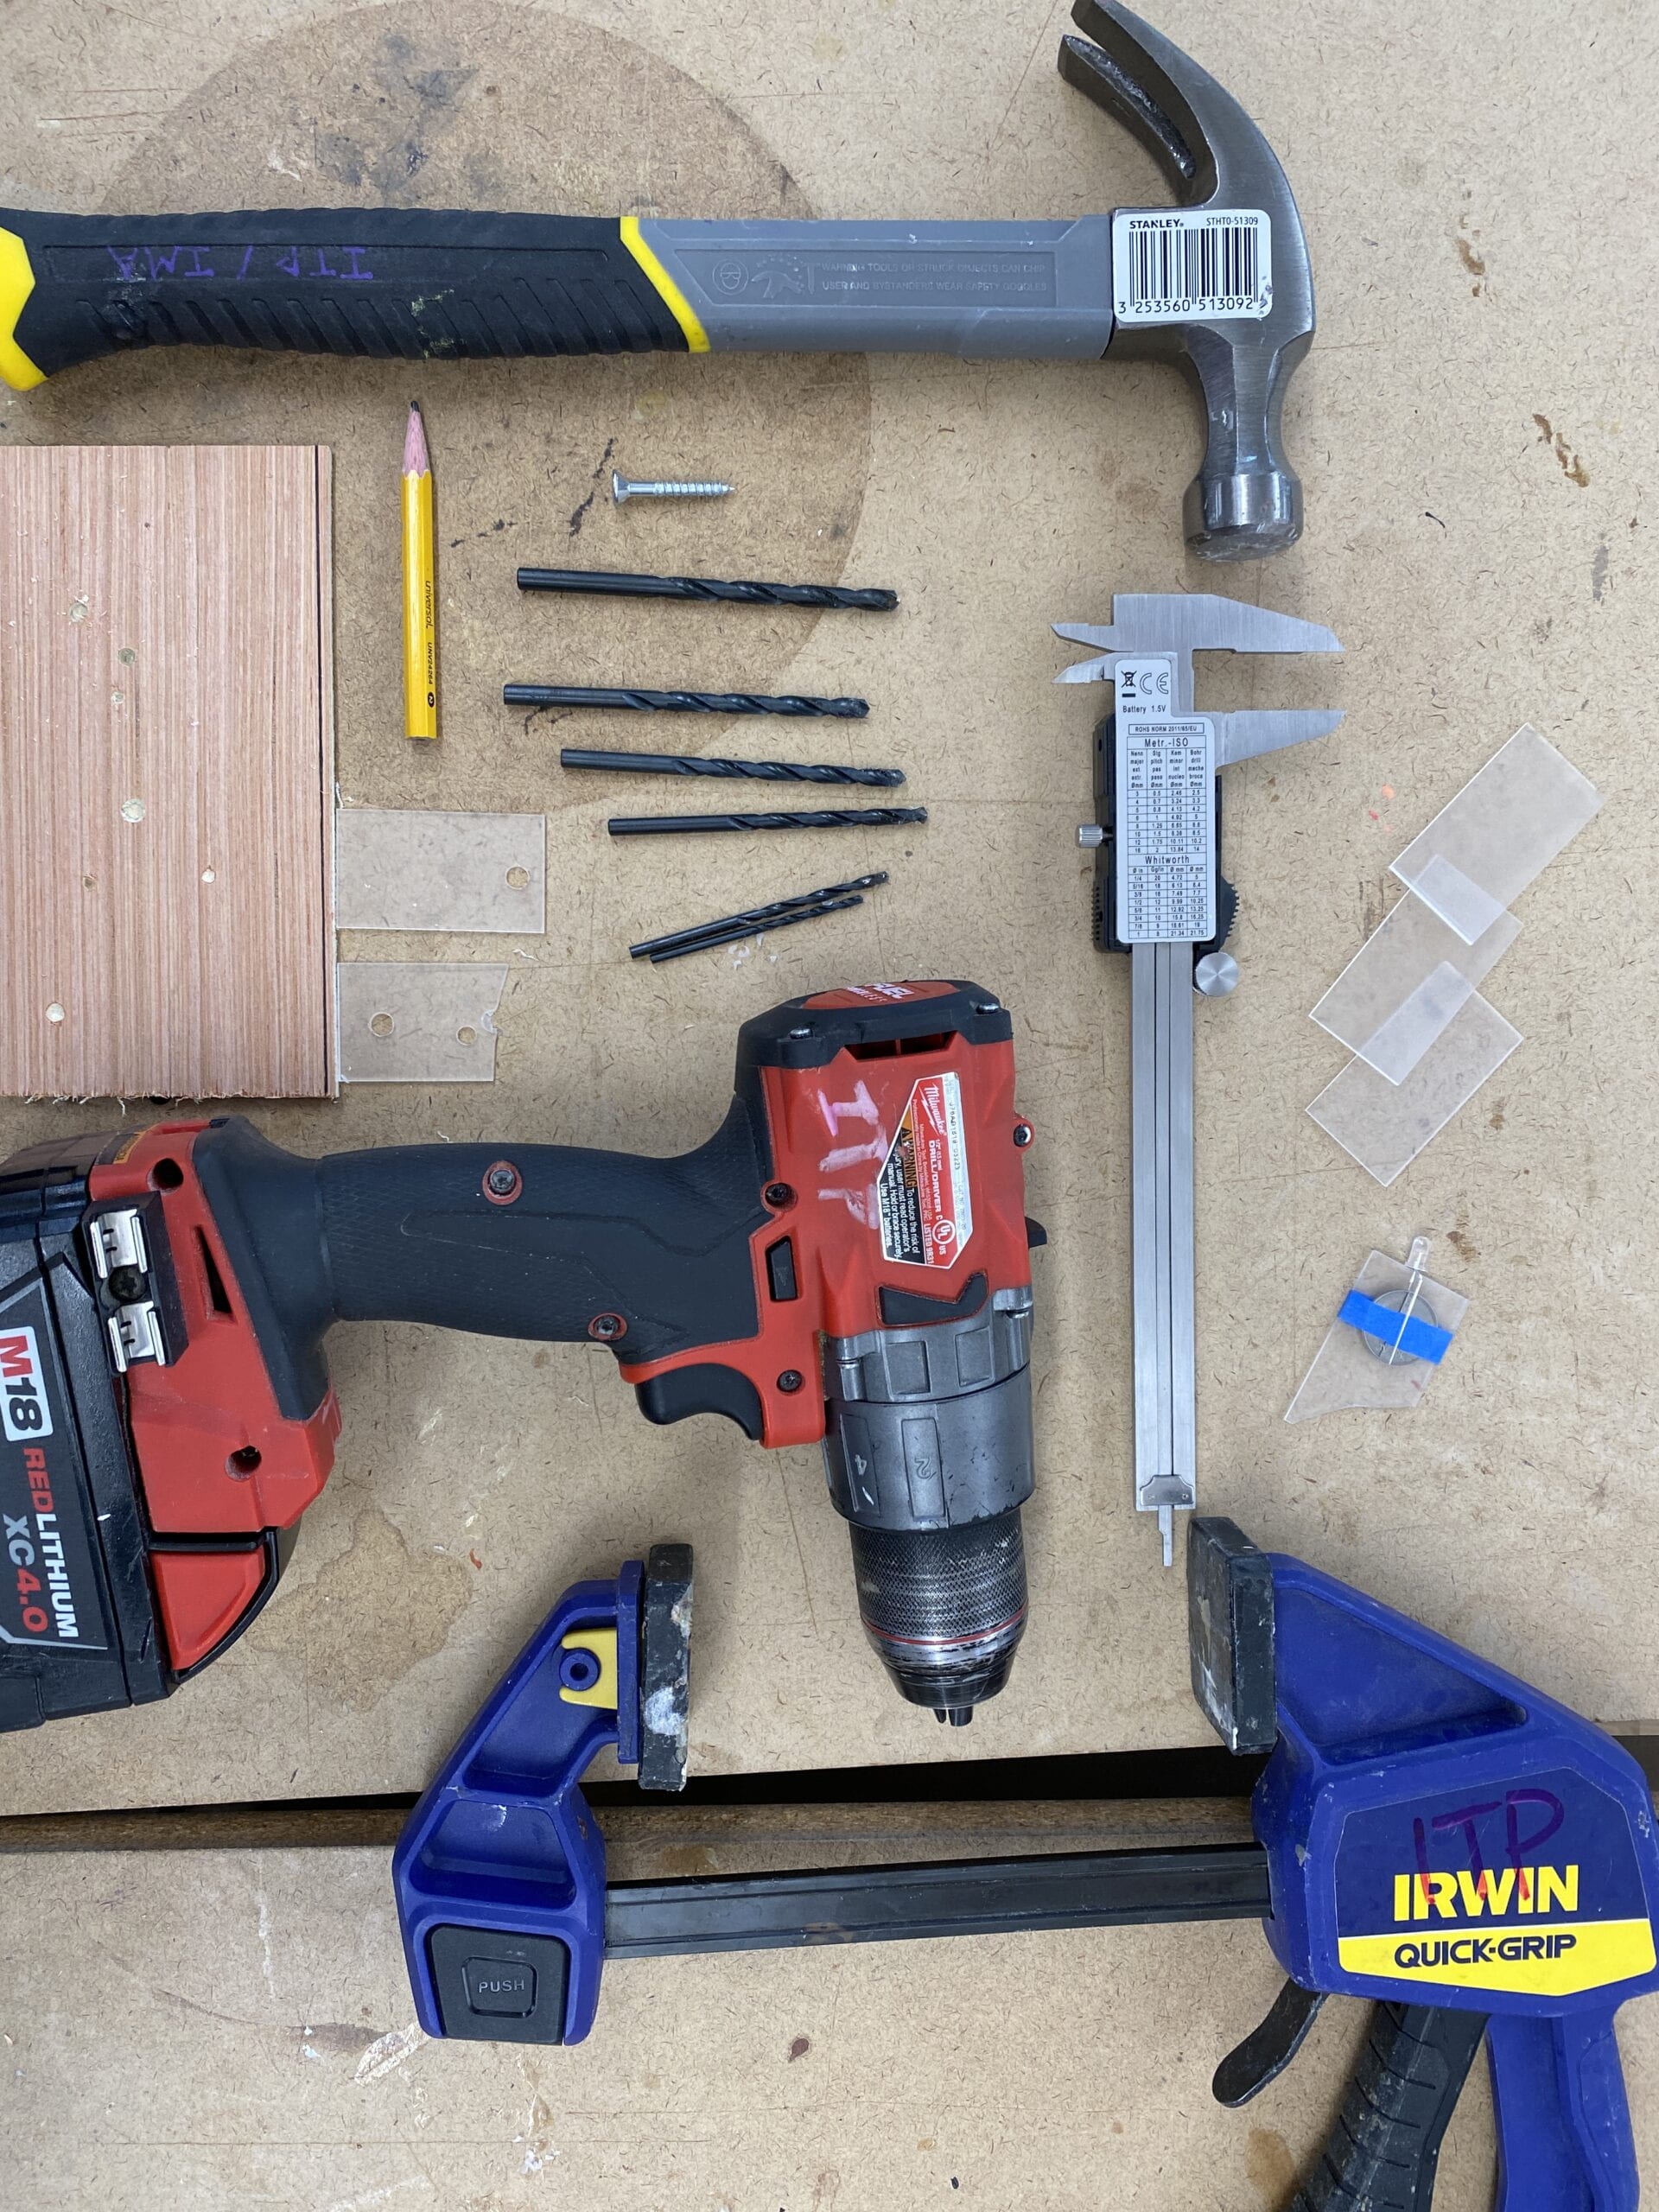 So I mark the center of the piece (roughly) with a caliper and a pencil, and punched a small dent with a screw and a hammer (since I didn’t have Ben’s punch, which might be a good thing since it might just be powerful enough to make the acrylic pieces explode). And then clamped the piece down on the table with a sacrificial board on the bottom to prevent me from drilling into the table. I changed the bit from small to large as gradually as possible, and also tested different speeds of drilling.
And here are the results.
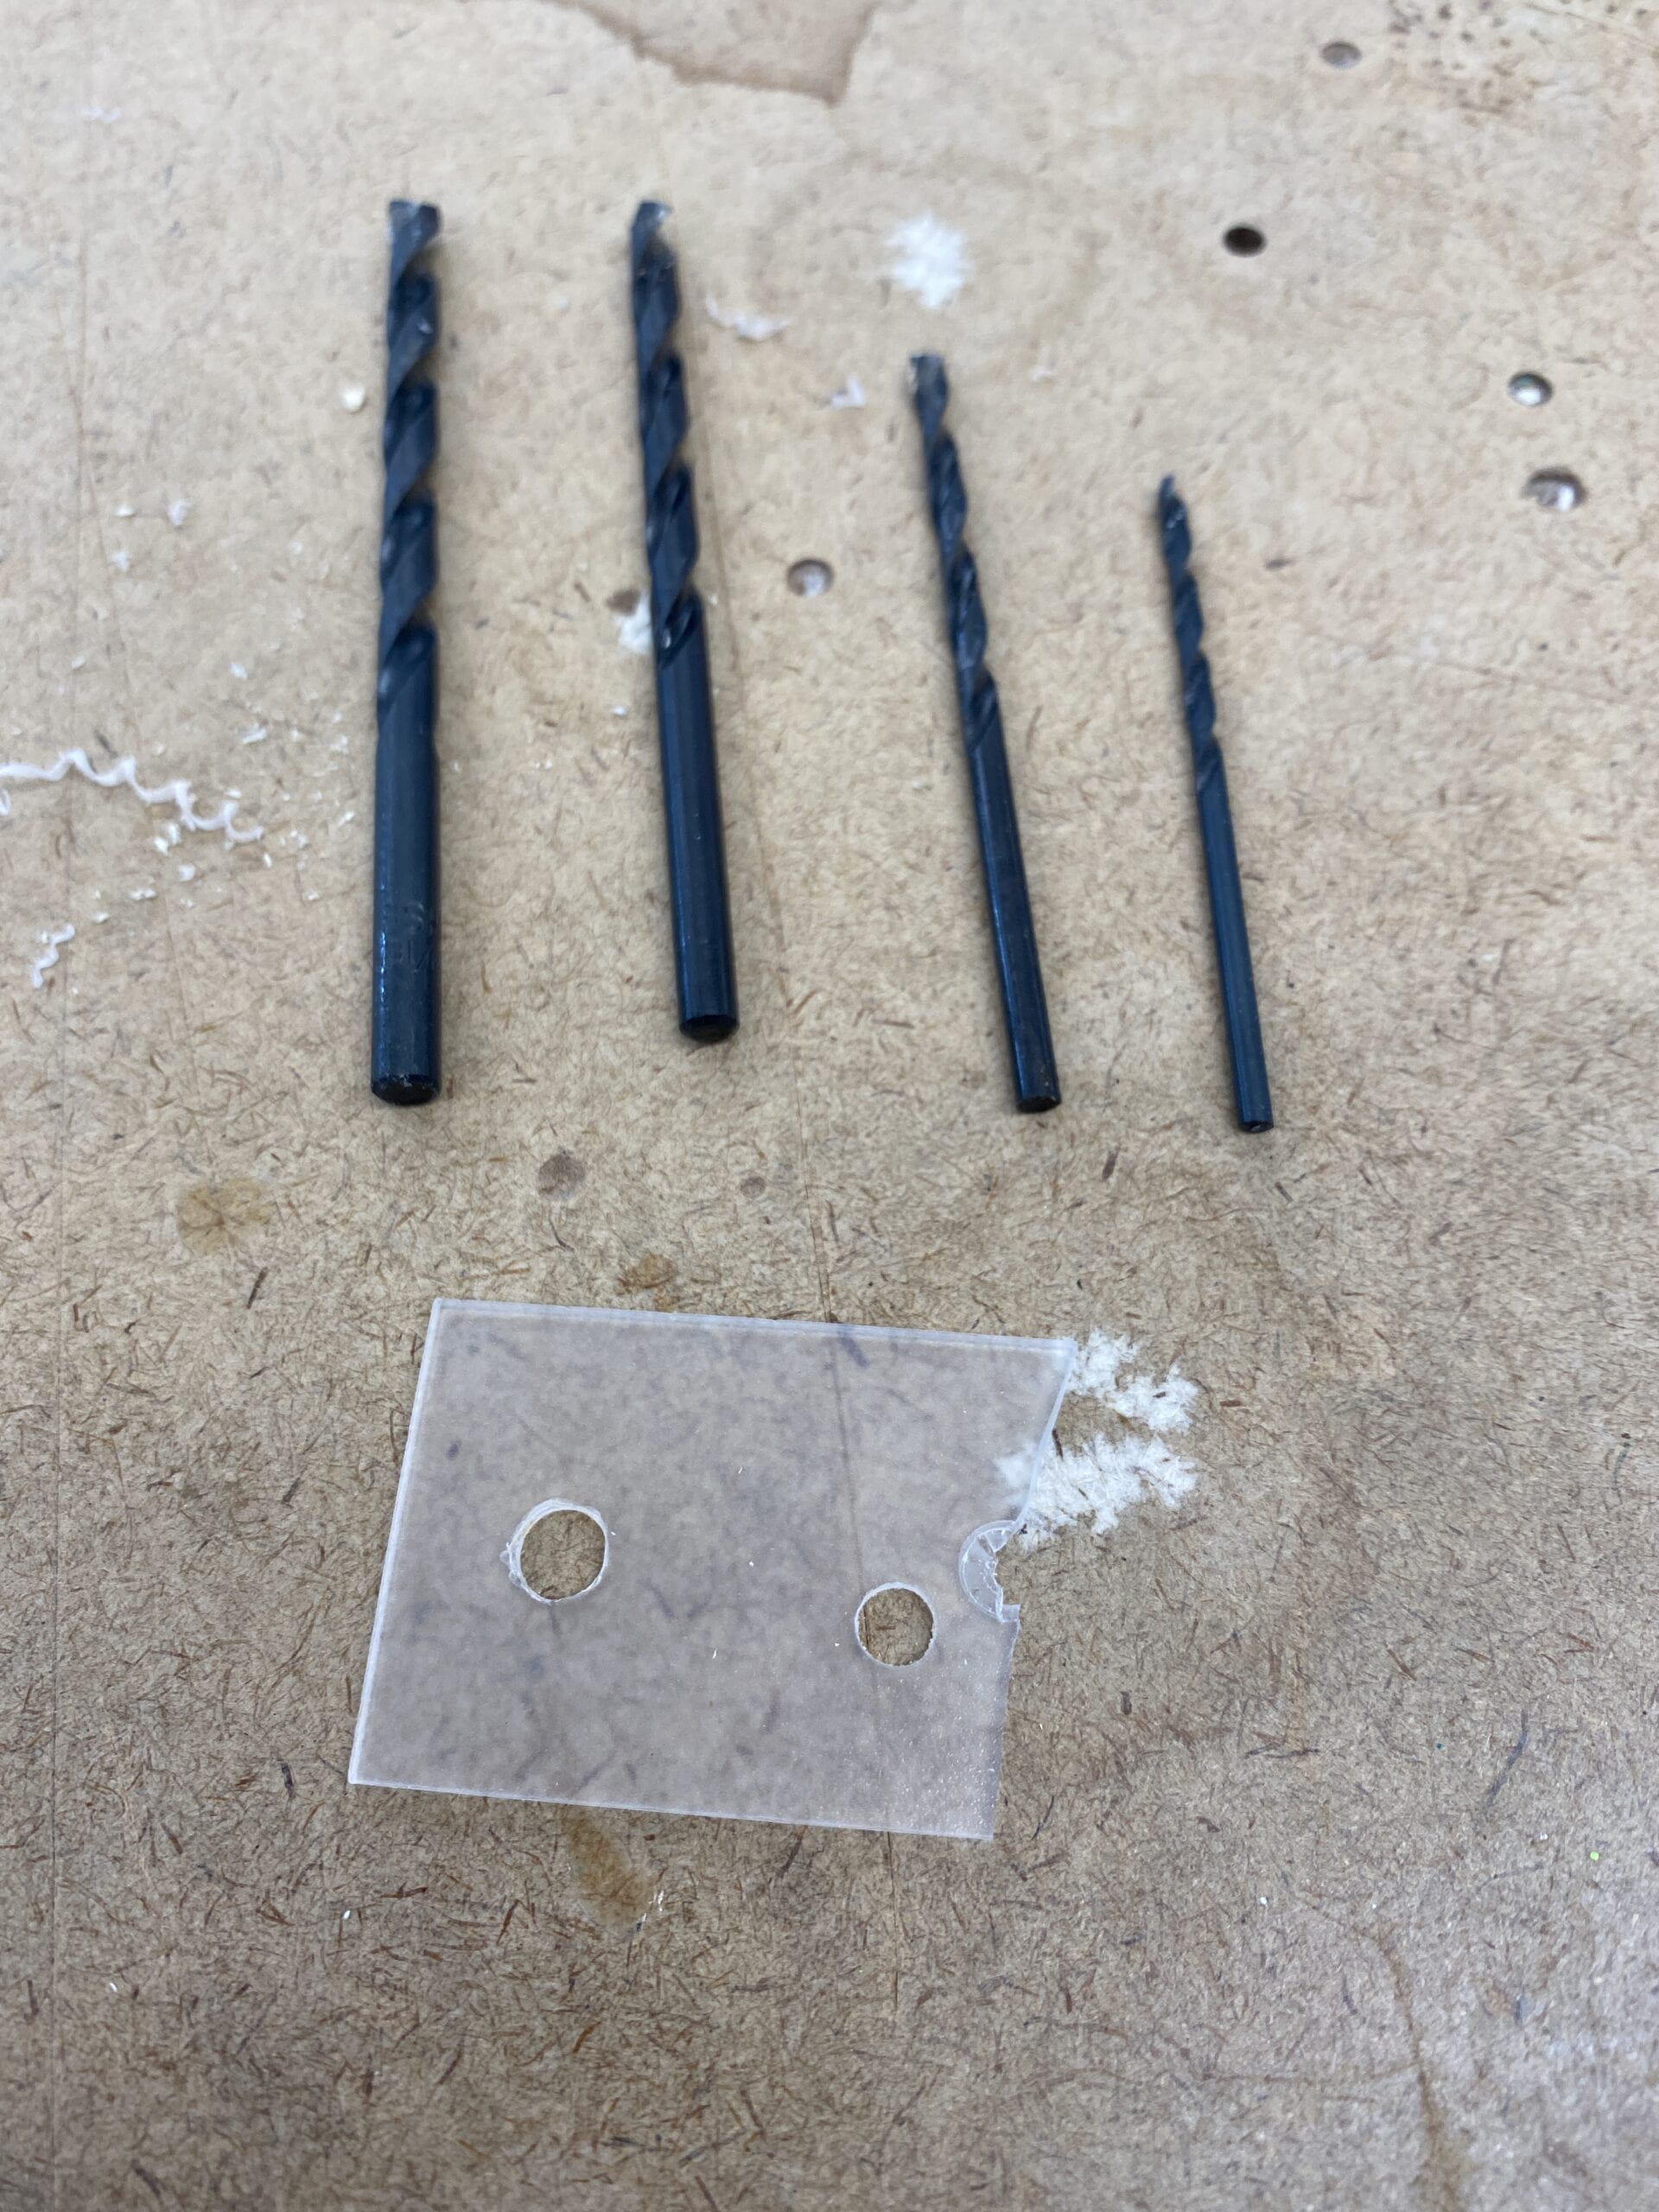
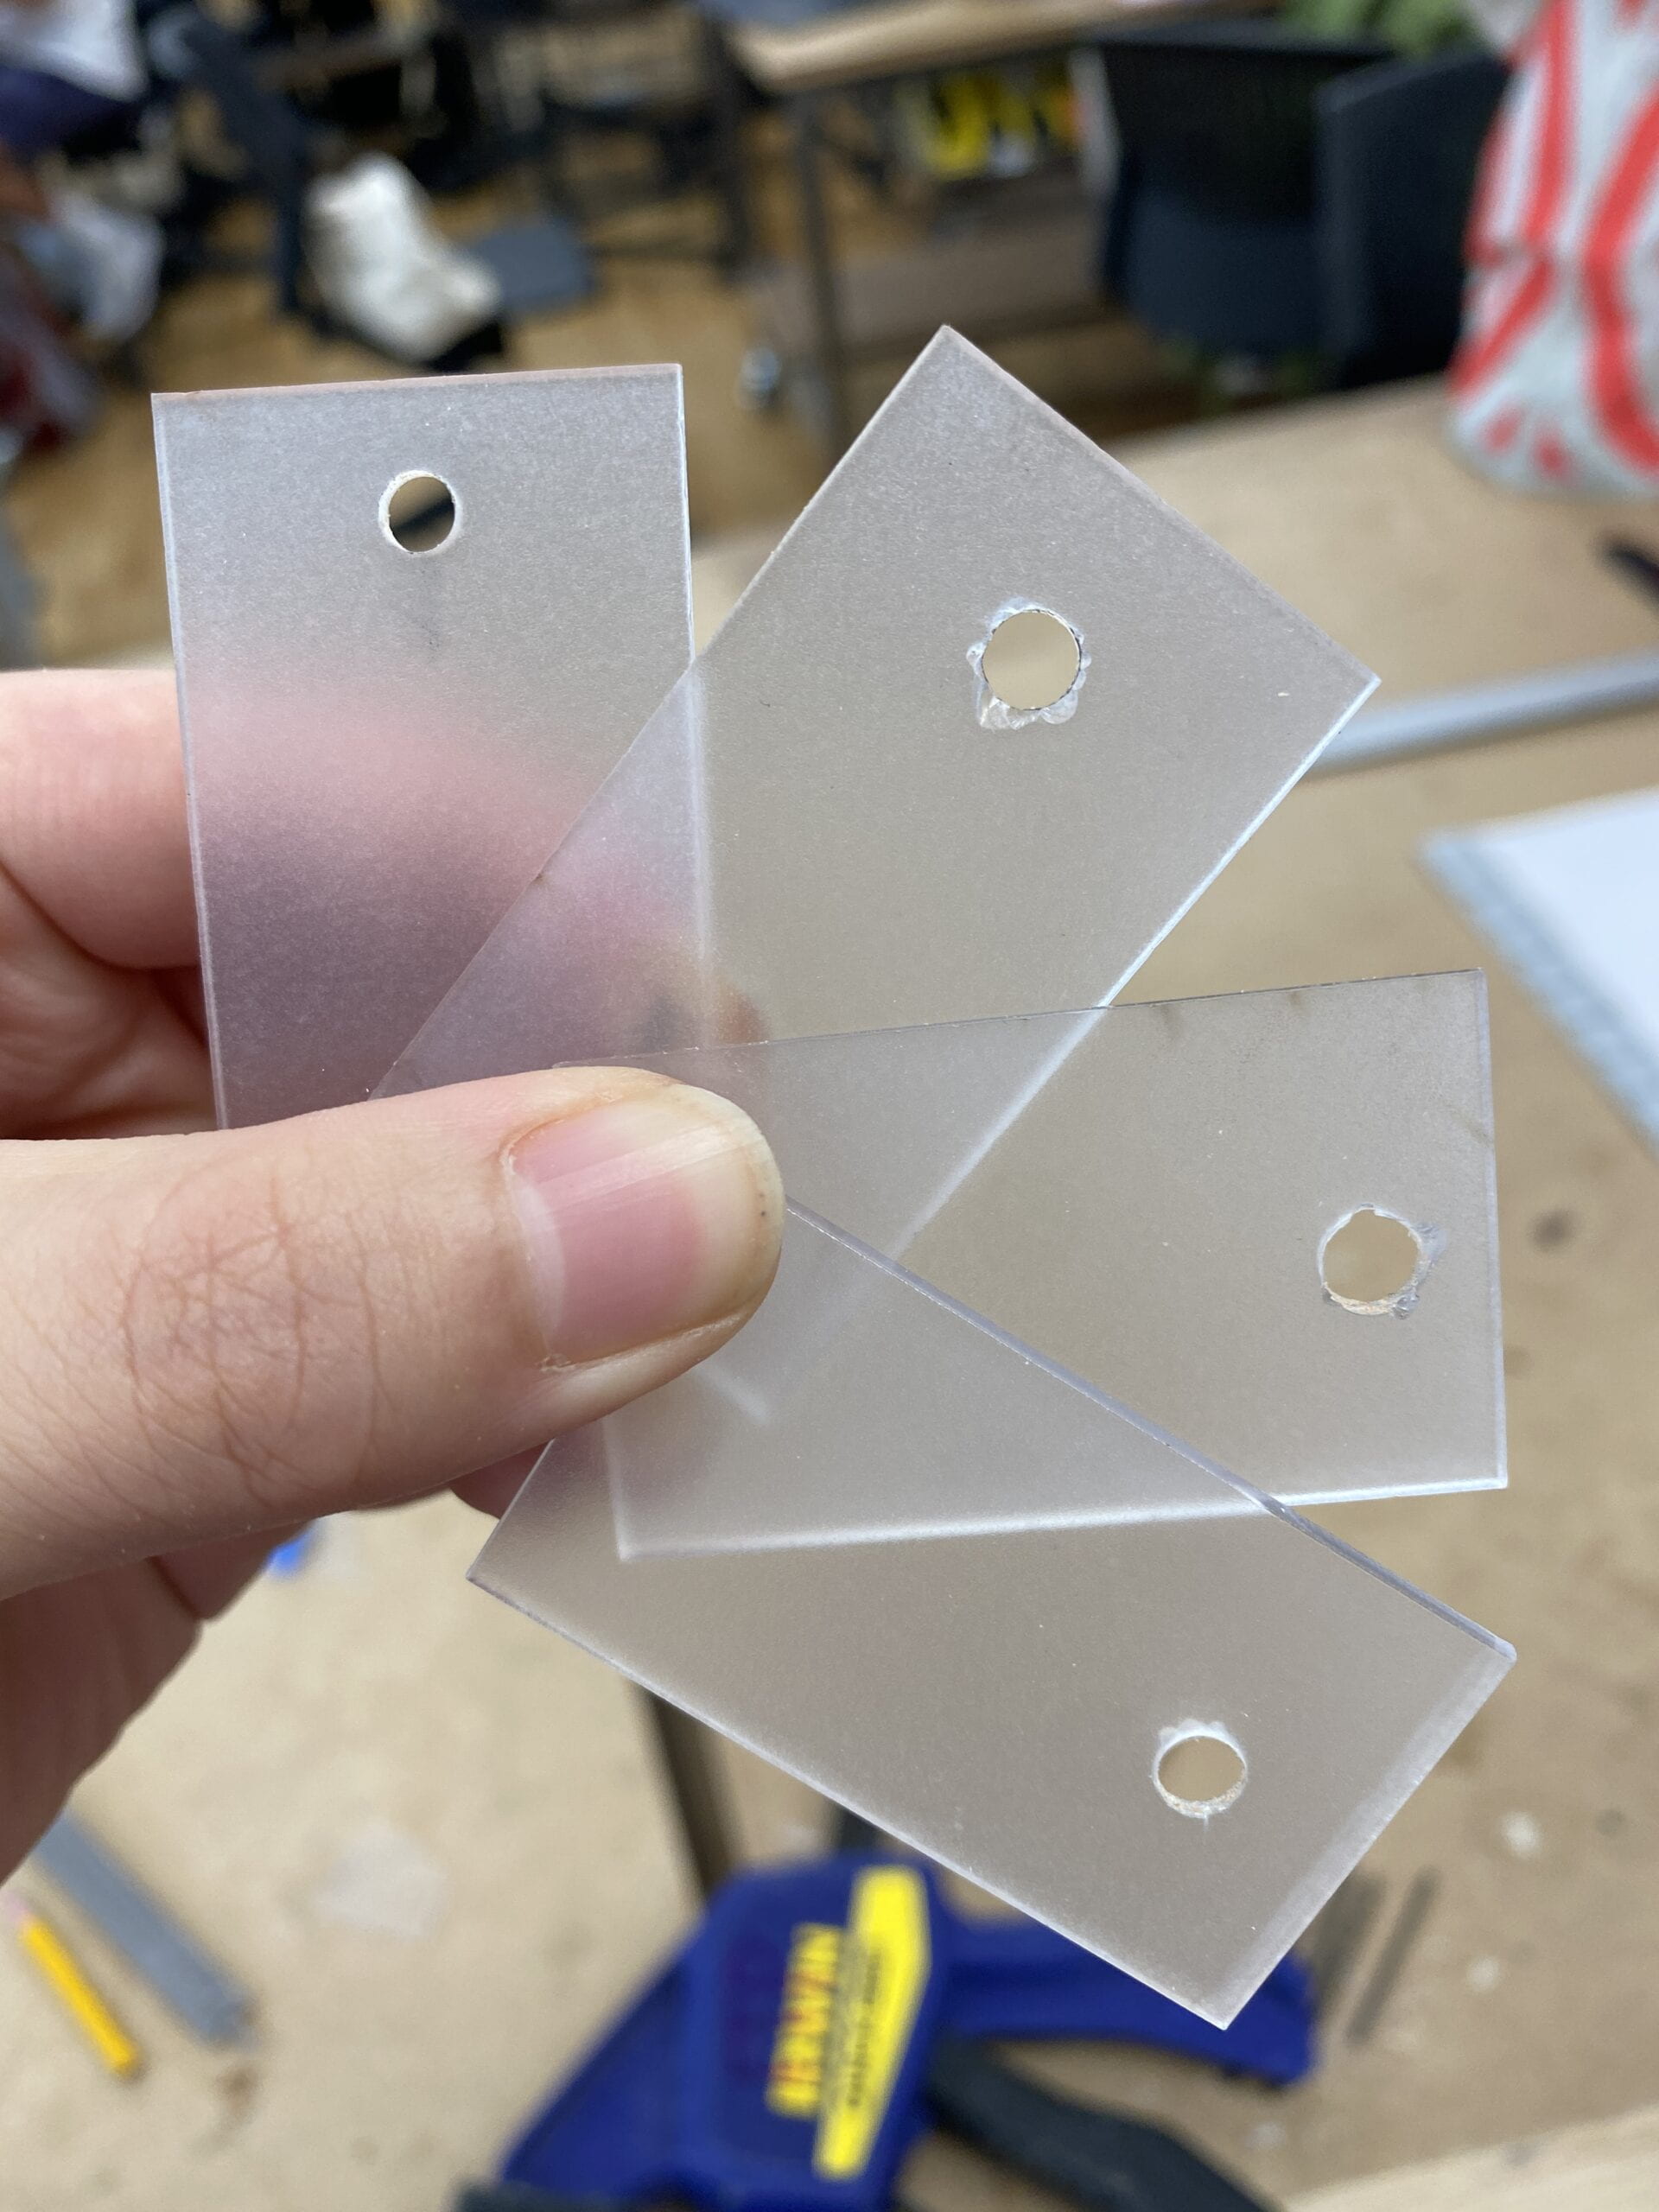 For the first tries (p2 middle pieces), it was all good until the last bit where I might have jumped the bit size too quickly or started the drill on a speed that is too fast, they ended up having huge tears on the edges. So I literally changed bits as slowly as possible for my next try, (p1 left hole). It still had tears, which I still didn’t like. Then I tried to start on a fairly large bit and only do it once (p1 right side), and yeah it exploded. I wasn’t even applying that much of a force.
Then I tried the same thing on smaller bits, I got mixed results: p2 bottom piece was ok but it had tears from drilling too fast, so Then I literally did it at the lowest speed possible, and it seemed to me that shaving the material gradually instead of going to town on it is far more effective and yields the best results (p2 top piece). So that’s what I ended up using.
Finally I used a glue gun to adhere the LED and the battery to the acrylic piece.
And here is the final product:(pics of this flashlight on my keychain will be updated come later tonight)
Final thought: this thing will definitely get caught in my pocket when I try to pull it out the wrong way lol. Maybe a laser-cut box on the outside and a button rather than me just pushing the pin would be a lot better. Might actually do that given more chance and definitely after the laser cut training.