The ideation process
I’m generally interested in crazy and interesting-looking geometric shapes and so for this one I’m drawing most of the ideas and inspirations from my pinterest collection. Here is an interesting example. However, this simply is a collection of wood blocks that I glue together, which will be boring. So I decided to make this out of wood beams and well-cut joints, without any glue or nails holding it together. As a result, this is indeed some sort of skill show-off but I was fairly confident that I will be able to pull this off.
I was able to find a video making this exact shape but with glue, which provided me this 3d model here (I tried to figure the dimension myself and not to look into any diagrams or sketches he also provided).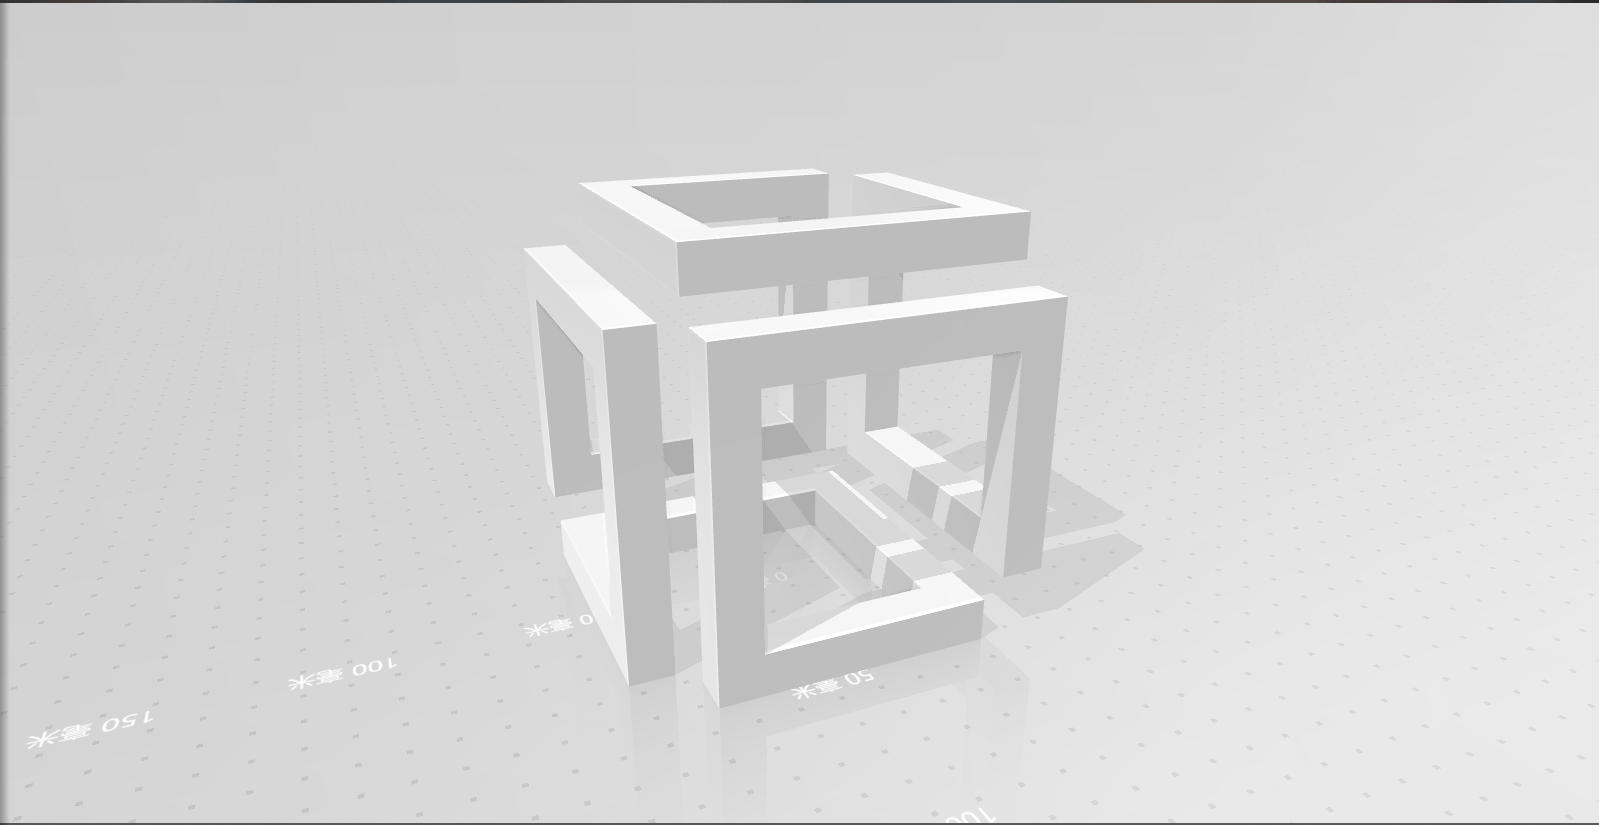
This is very important for the whole process because this means that I was able to take some measurements and figure out the dimensions of this sculpture.
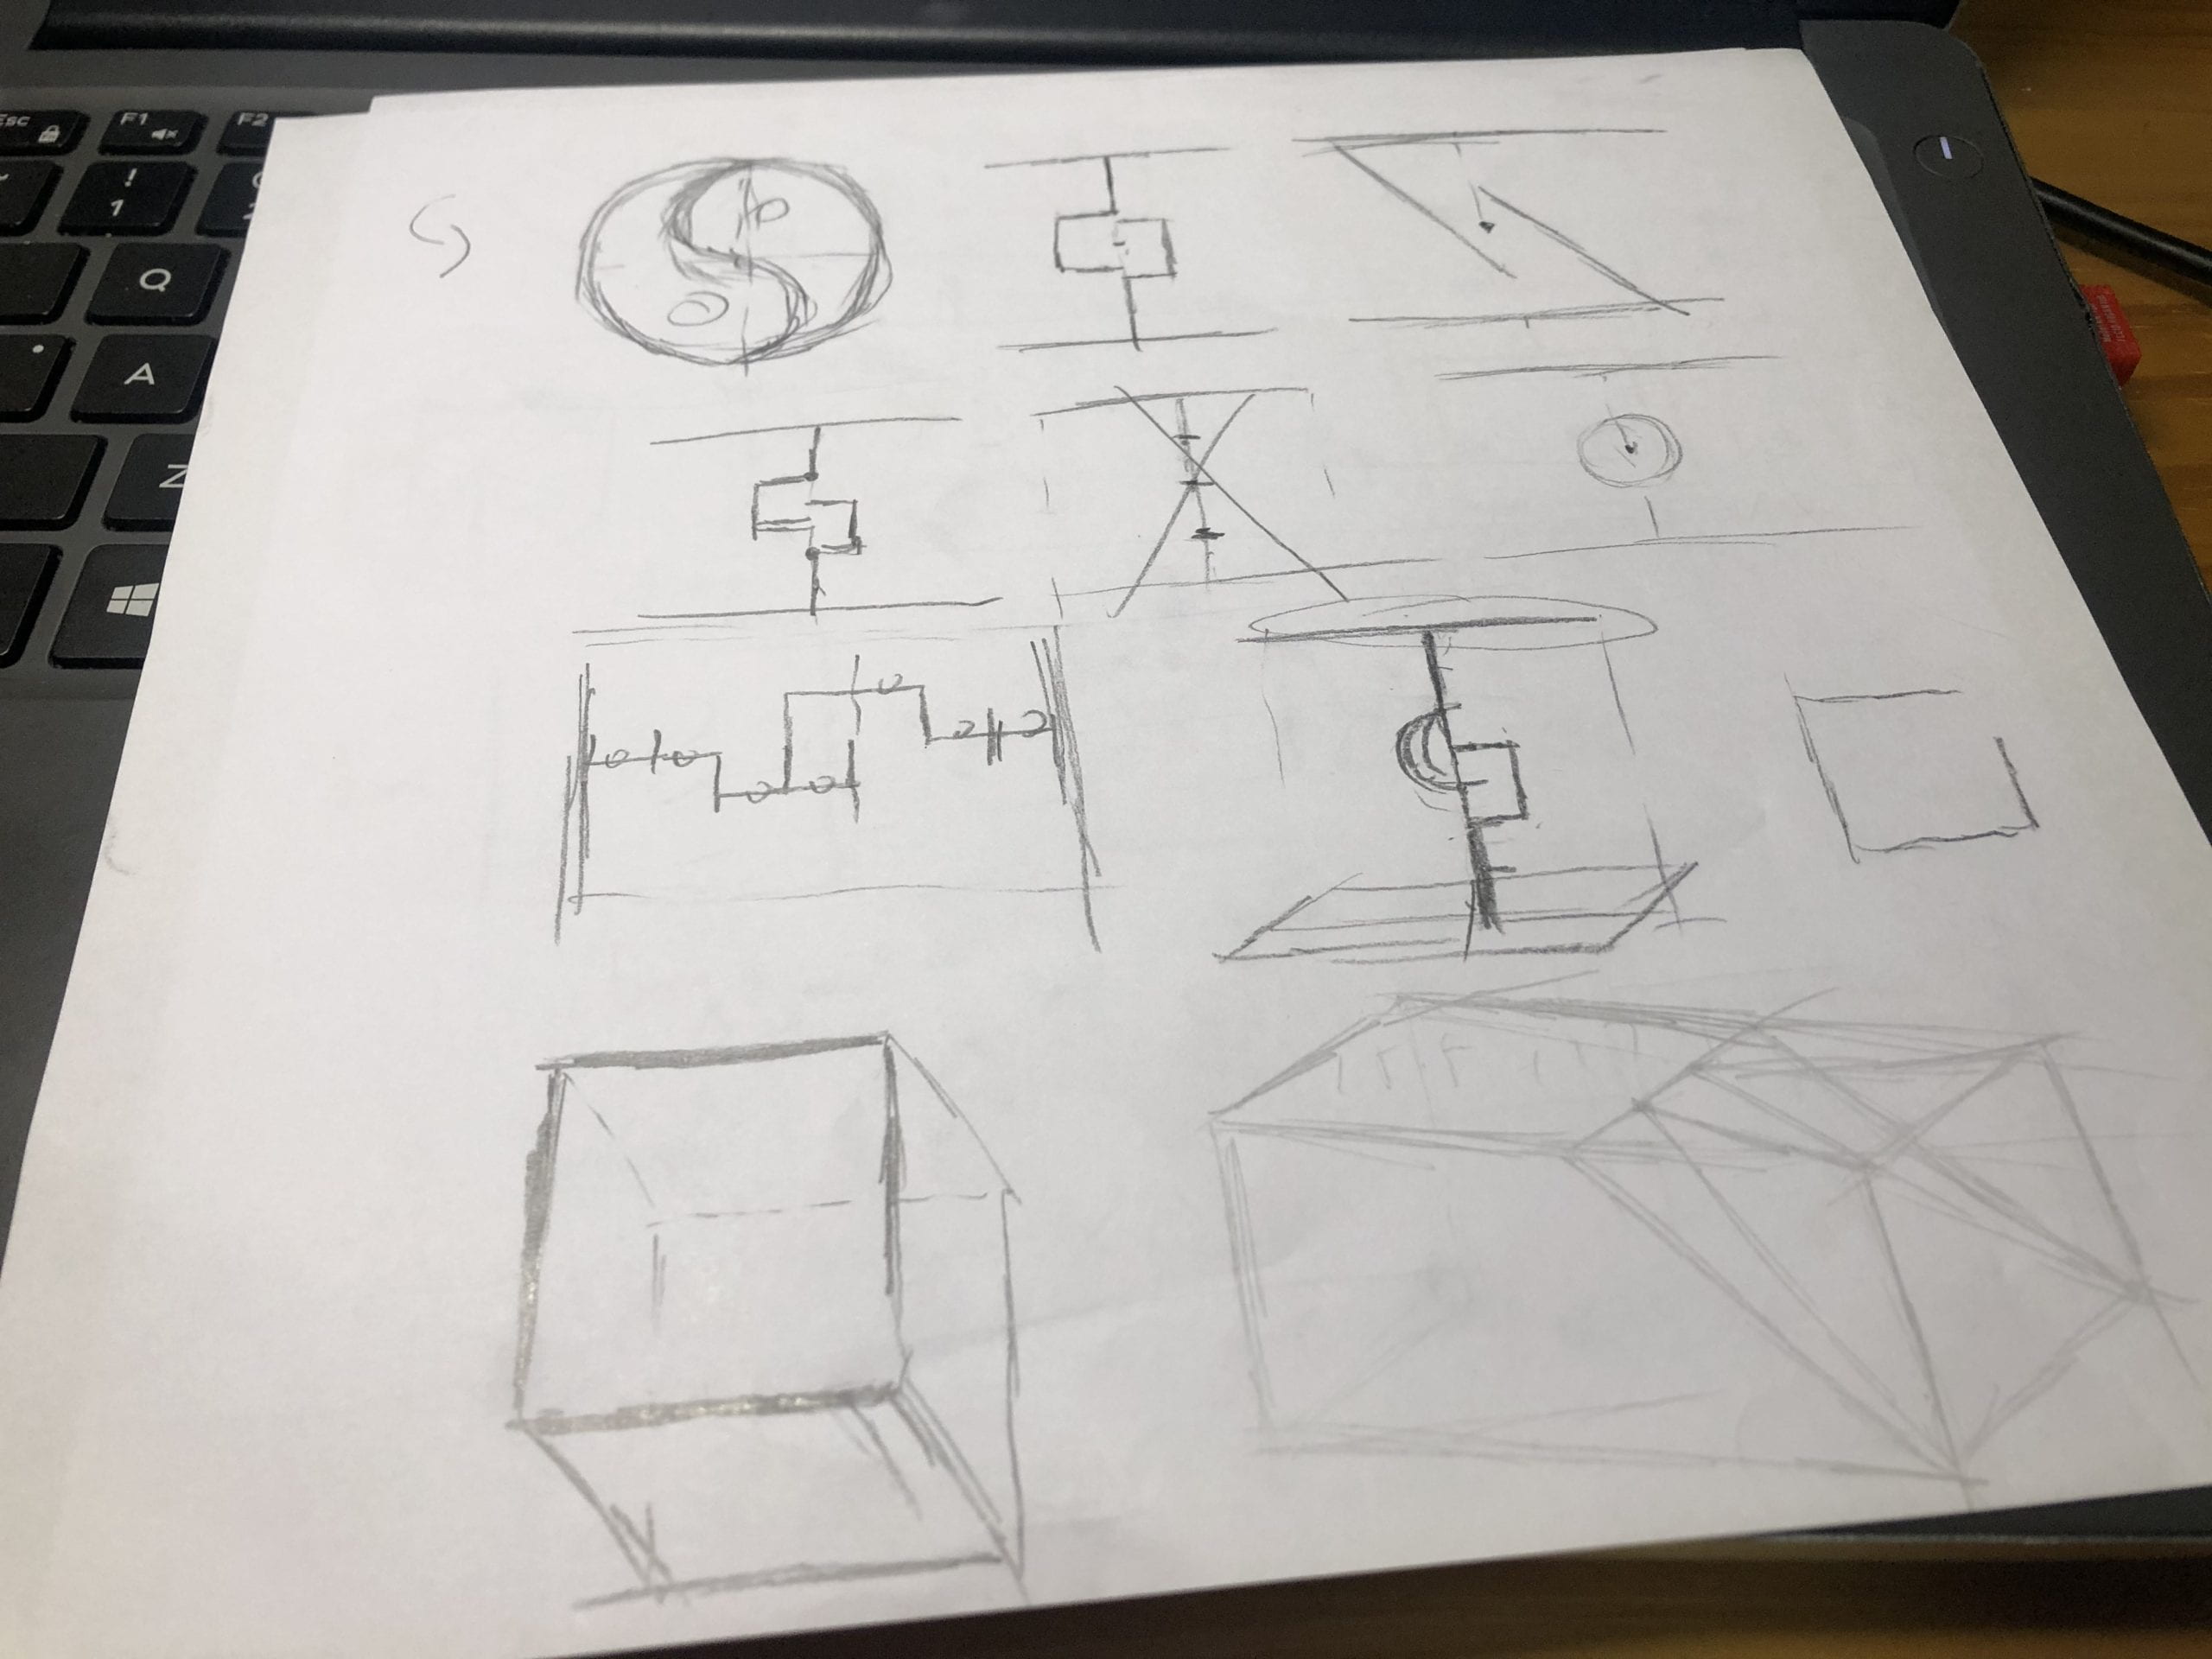
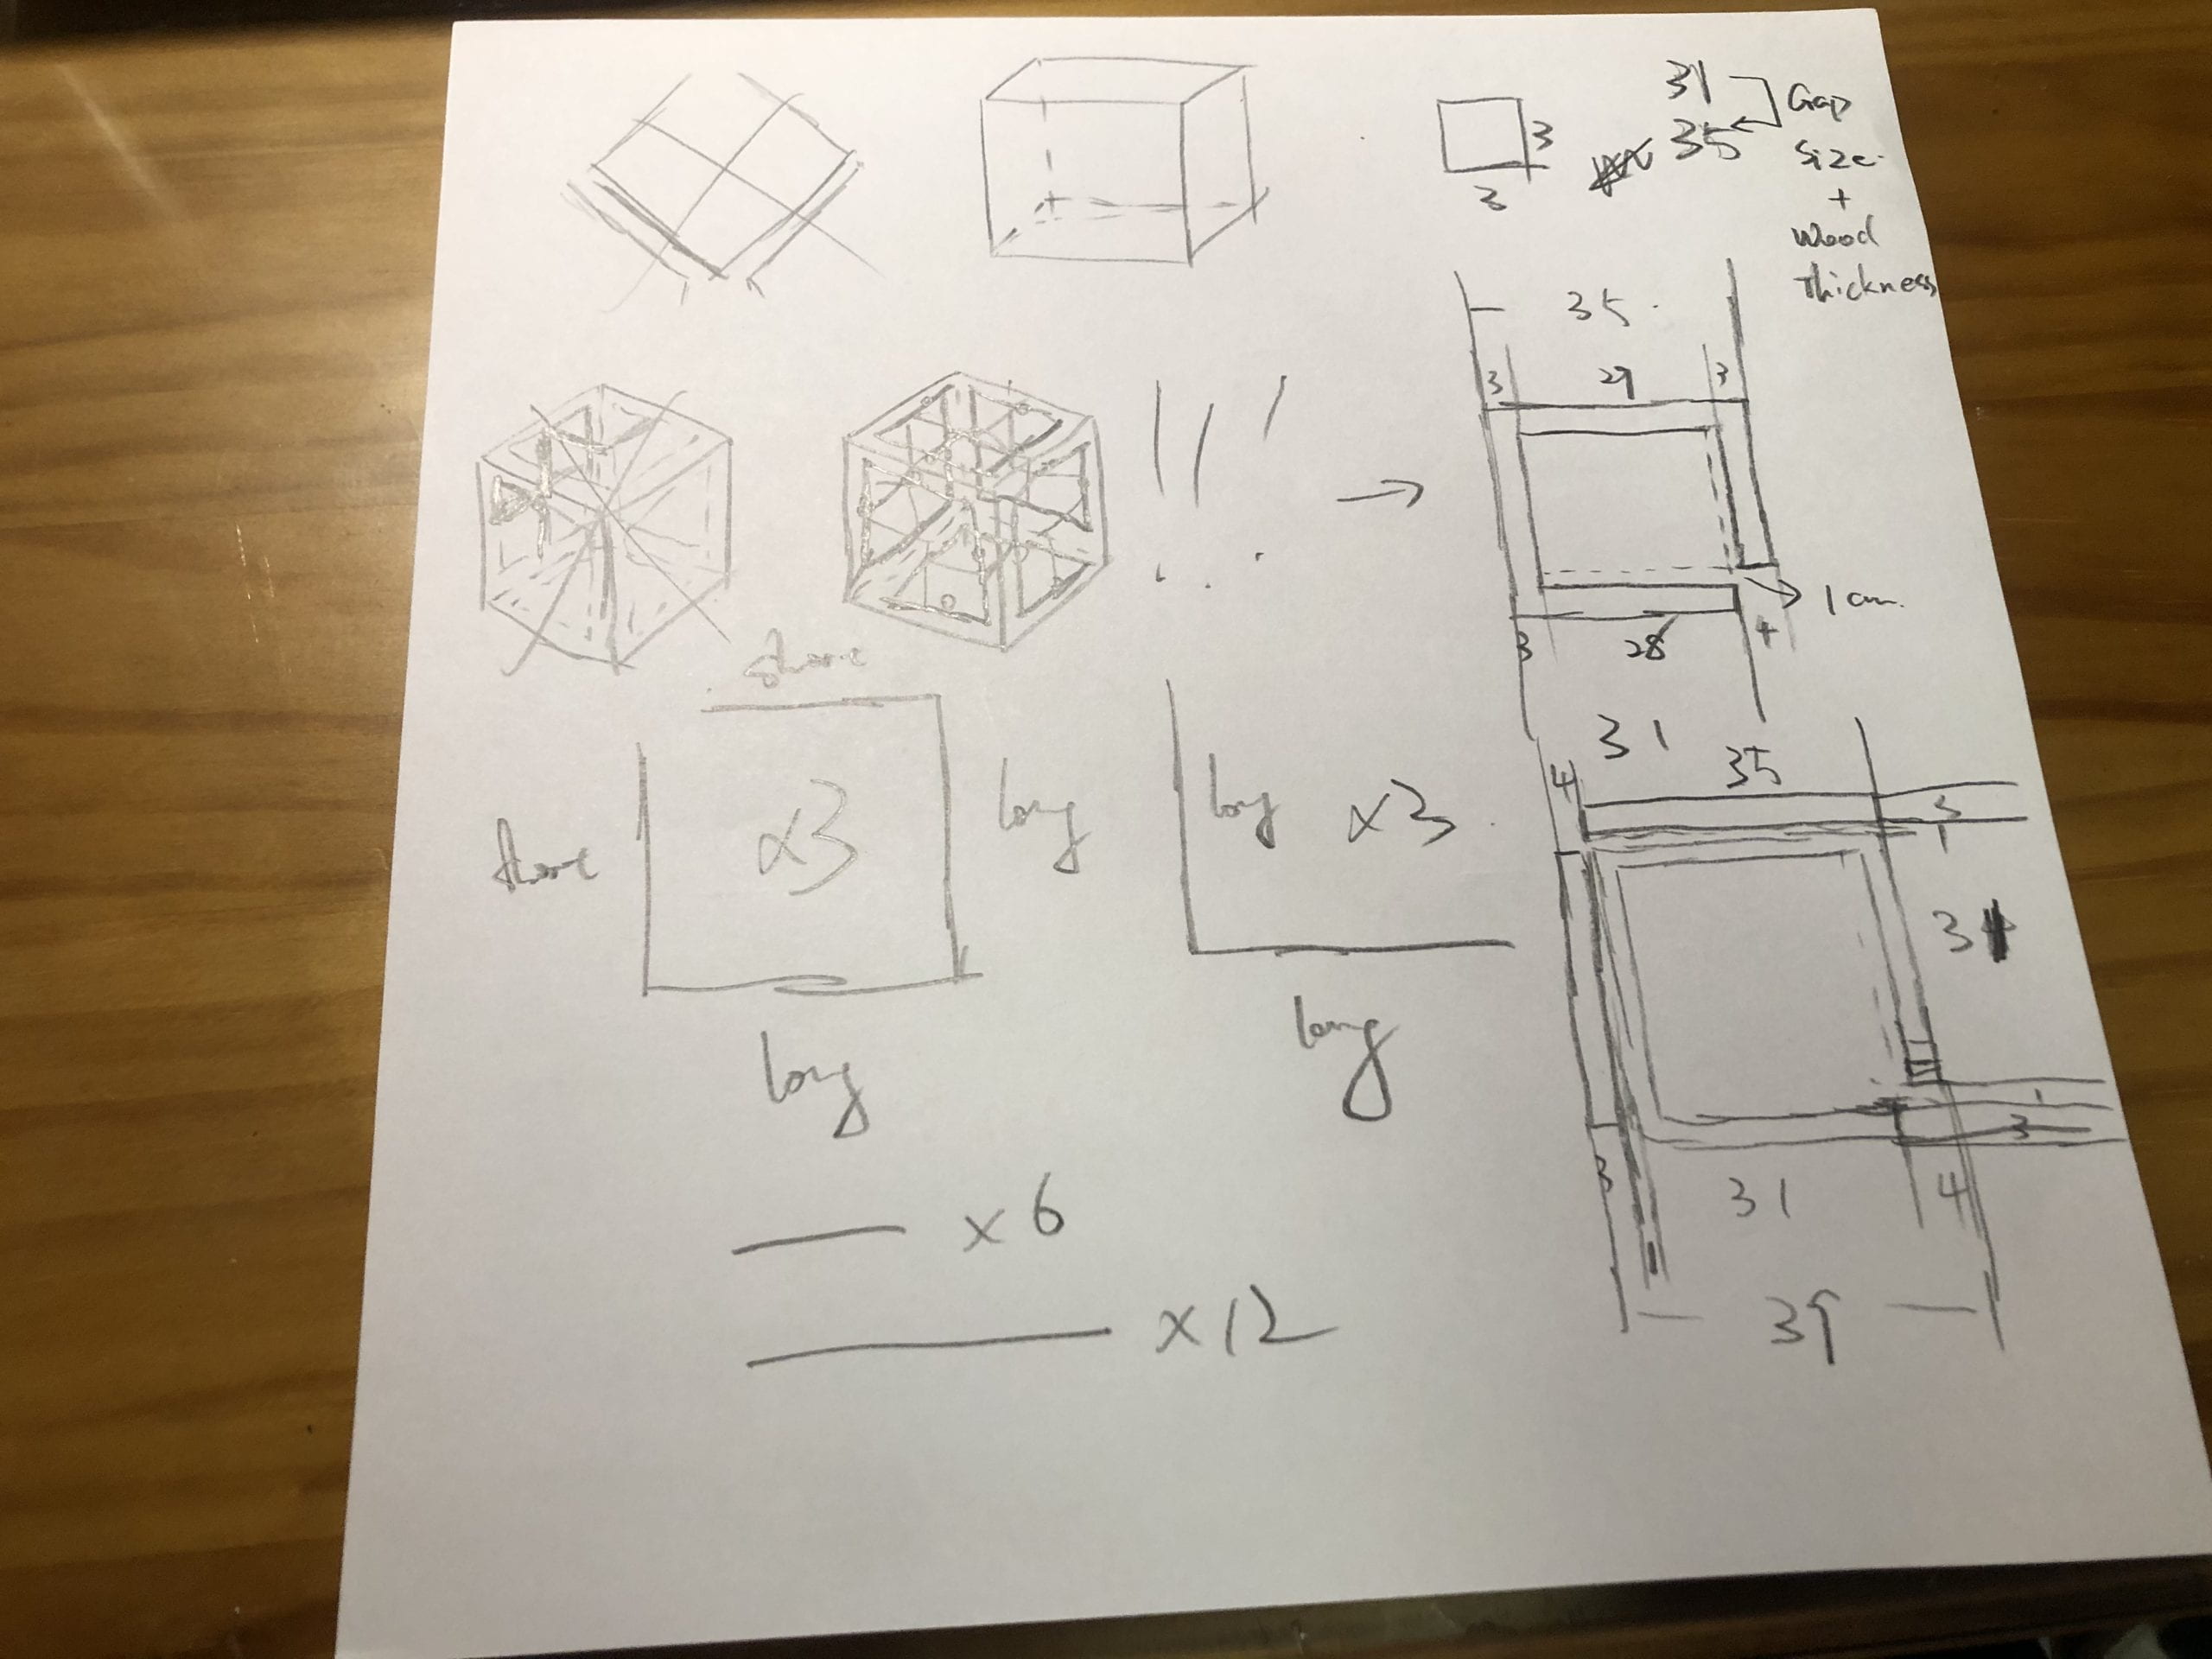
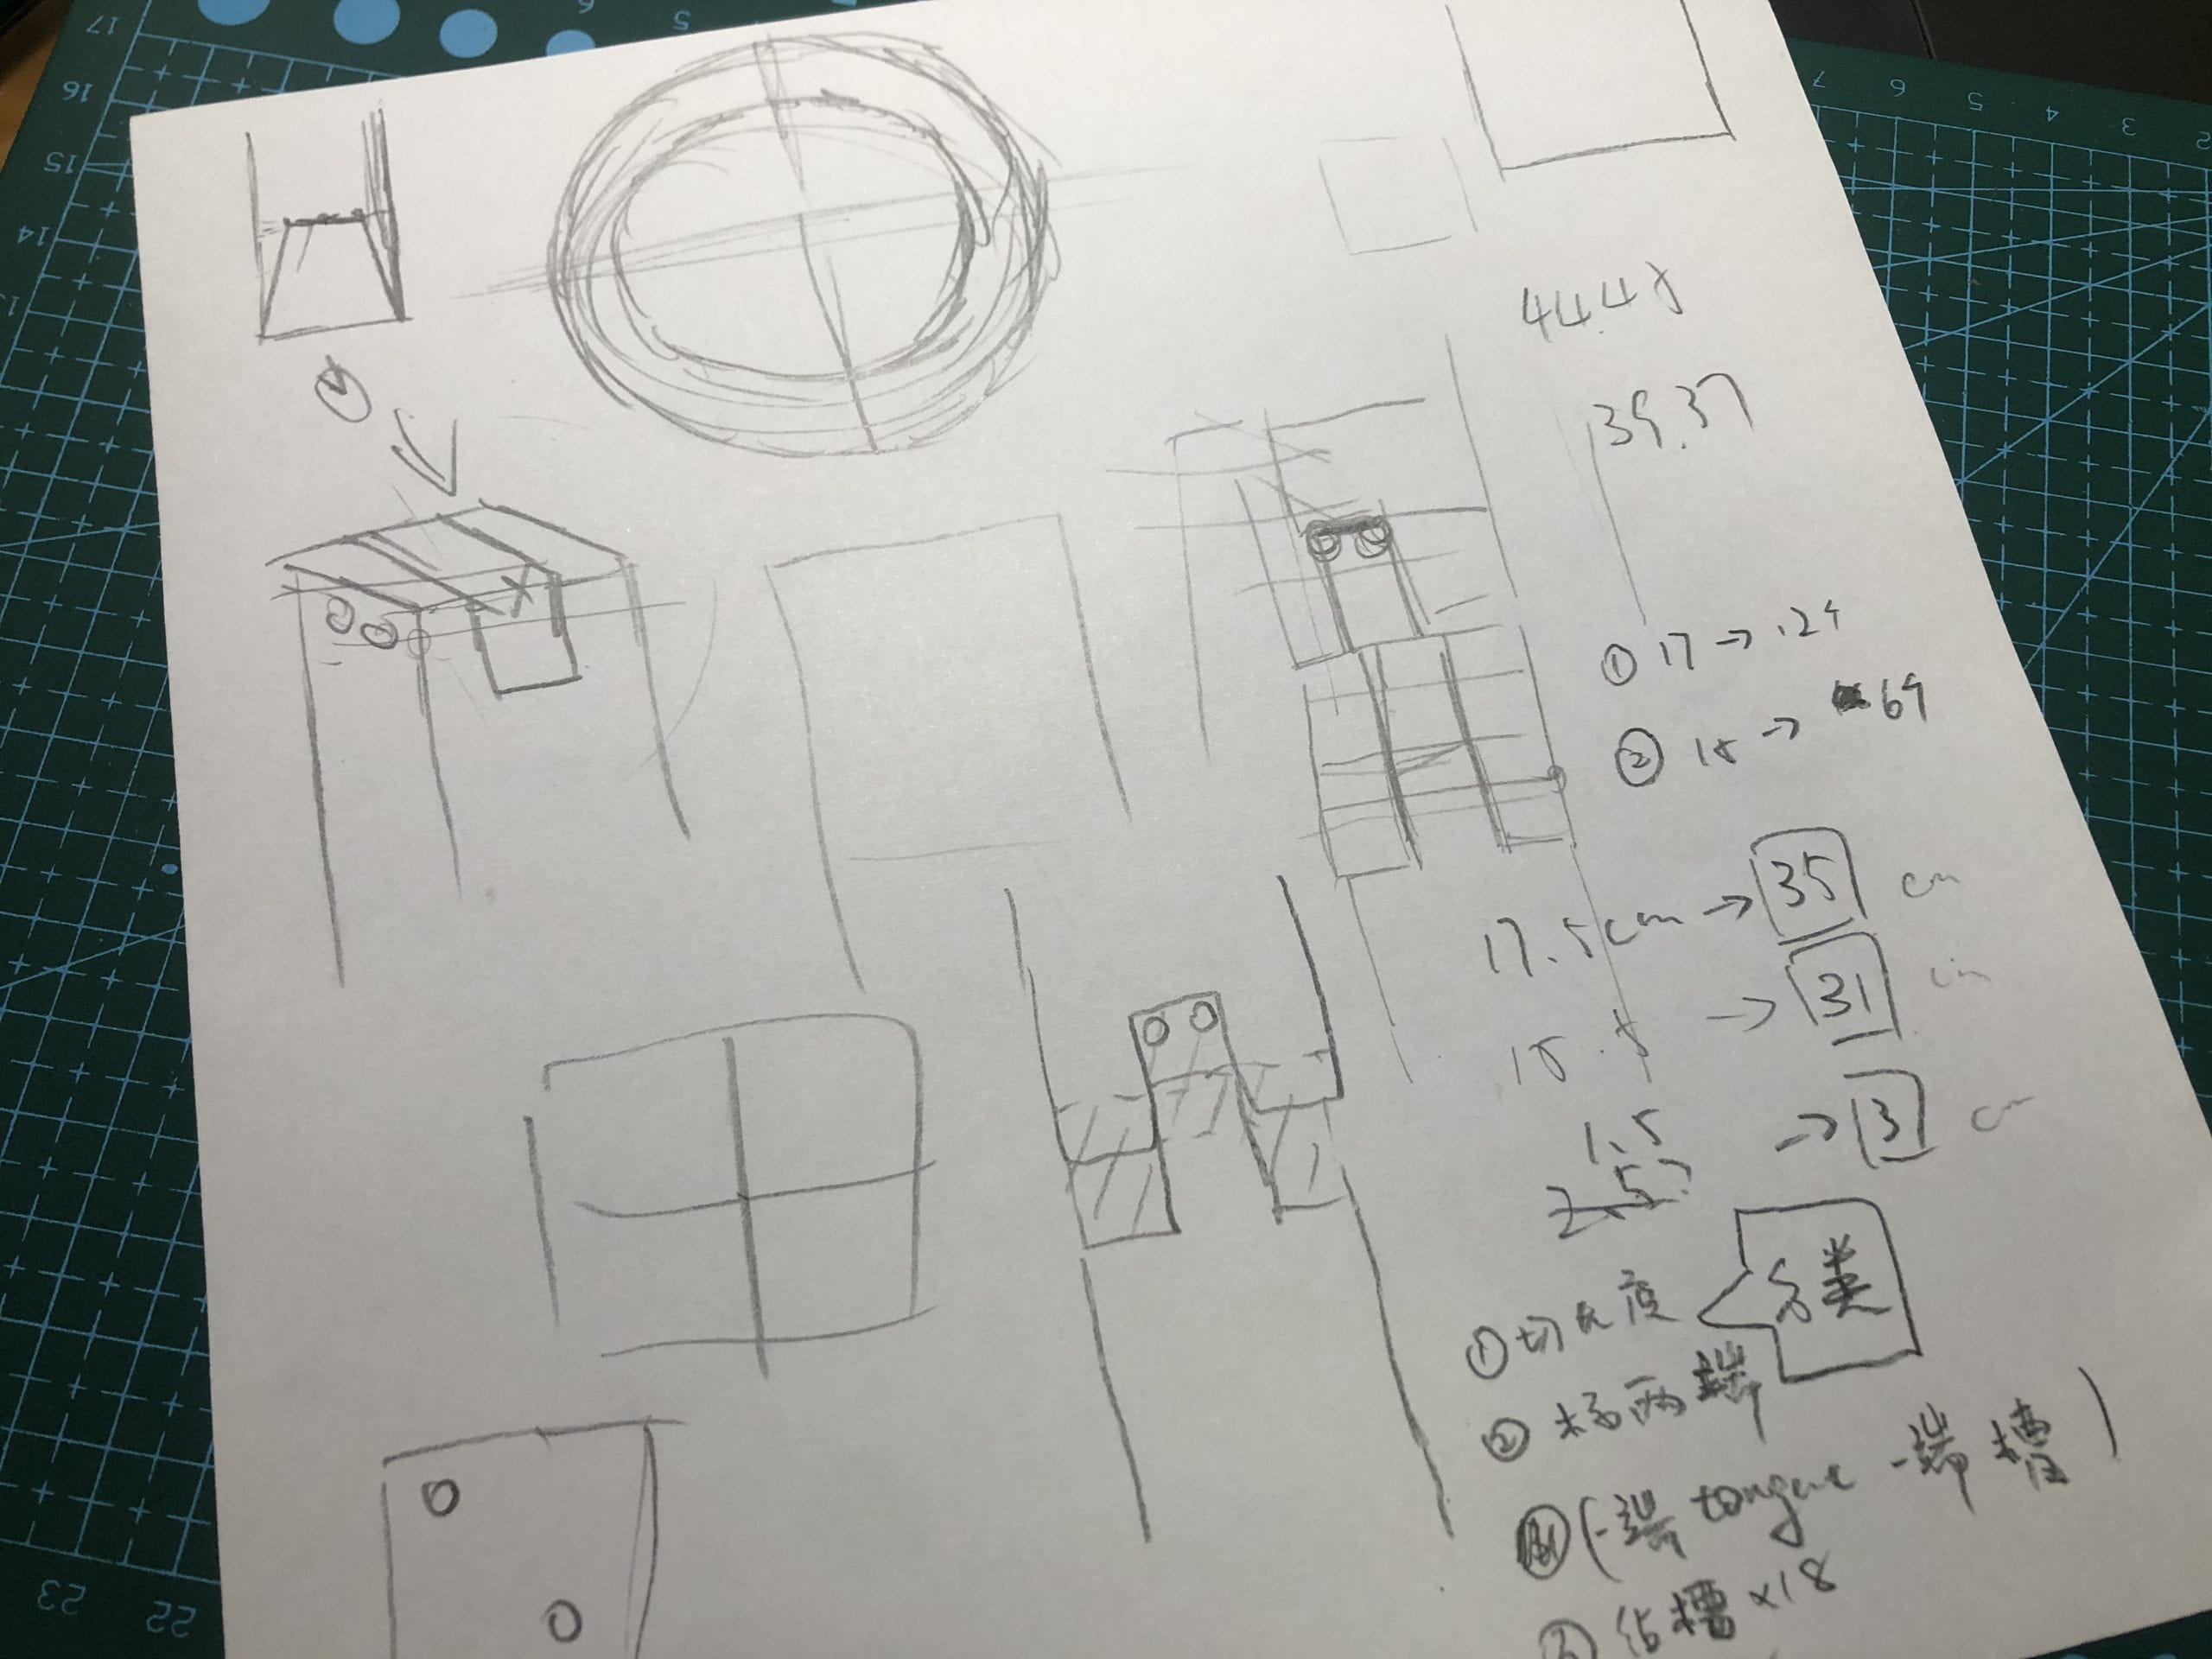
Here are some sketches that I did. Trying to figure out some of the early ideas (p1), the dimension of the sculpture (p2), and the joints (p3).
The fabrication:
The basic idea is that I cut the joints using the band saw and adjust the thickness and angle with the band saw or hand file them according to the need. I’ll walk through some of the more important steps using photos.
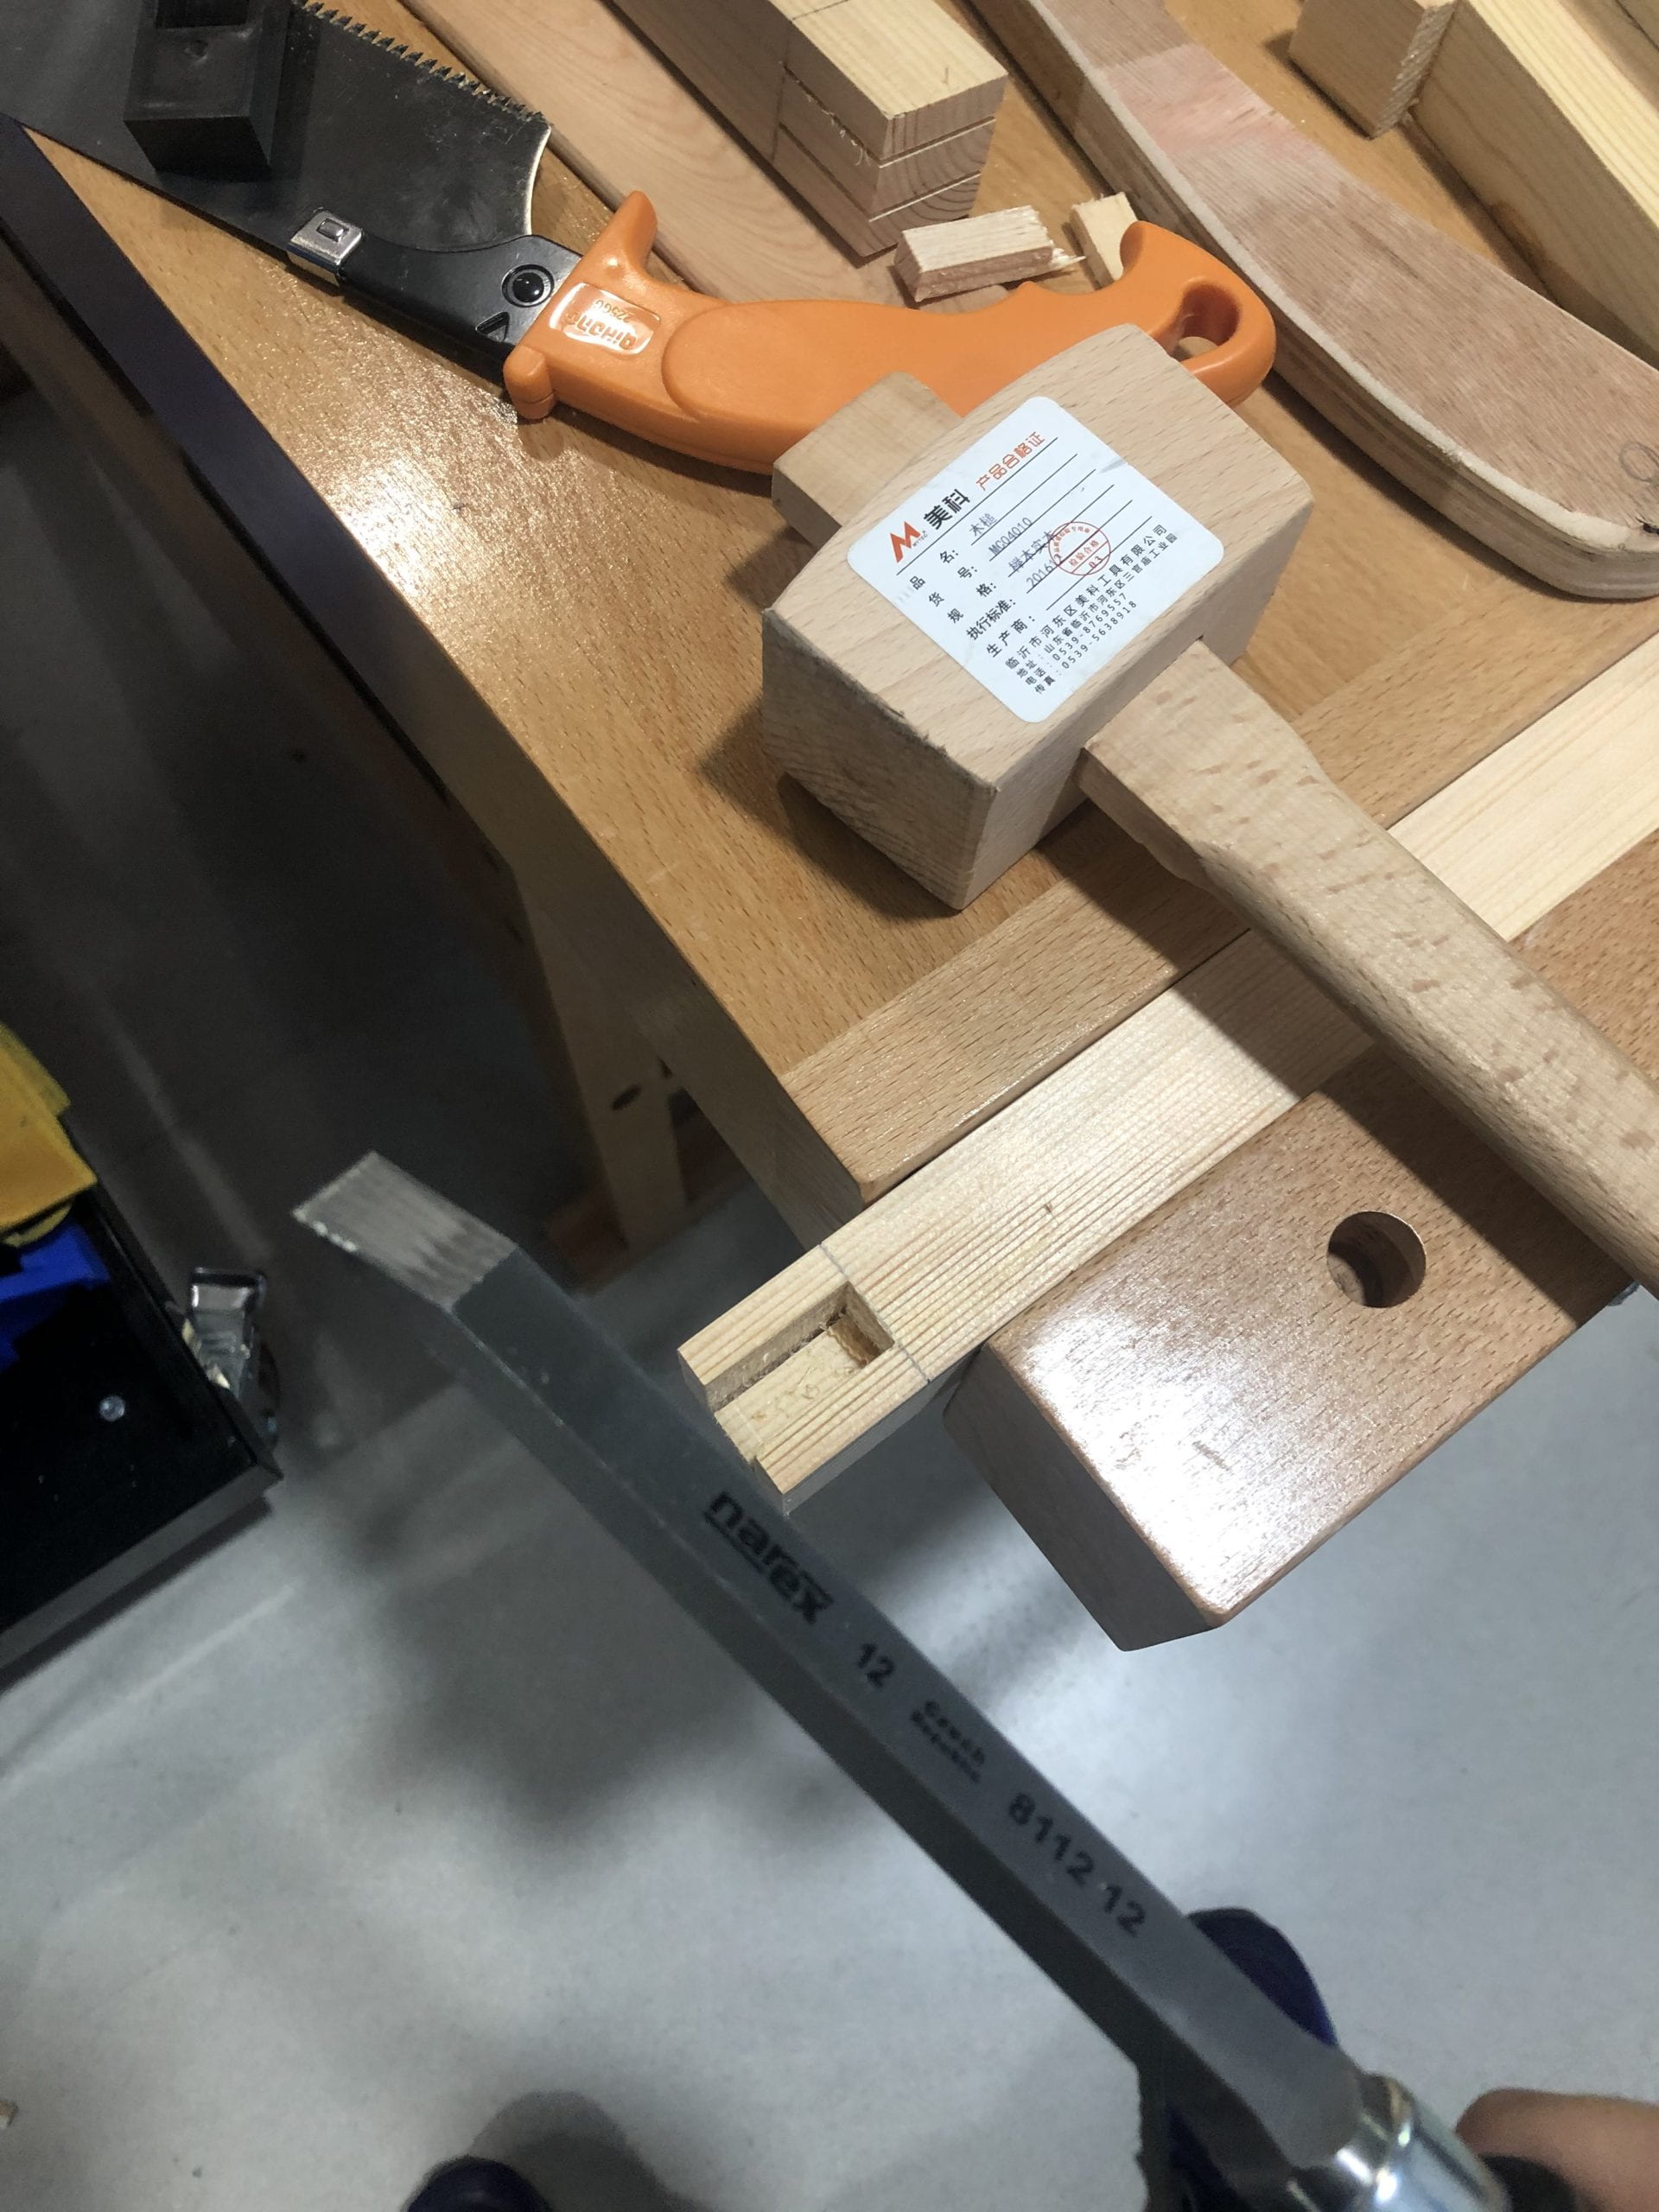
Ban saw + chisels to create the negative side of the joint (almost snapped some pieces because I was hammering too hard……)
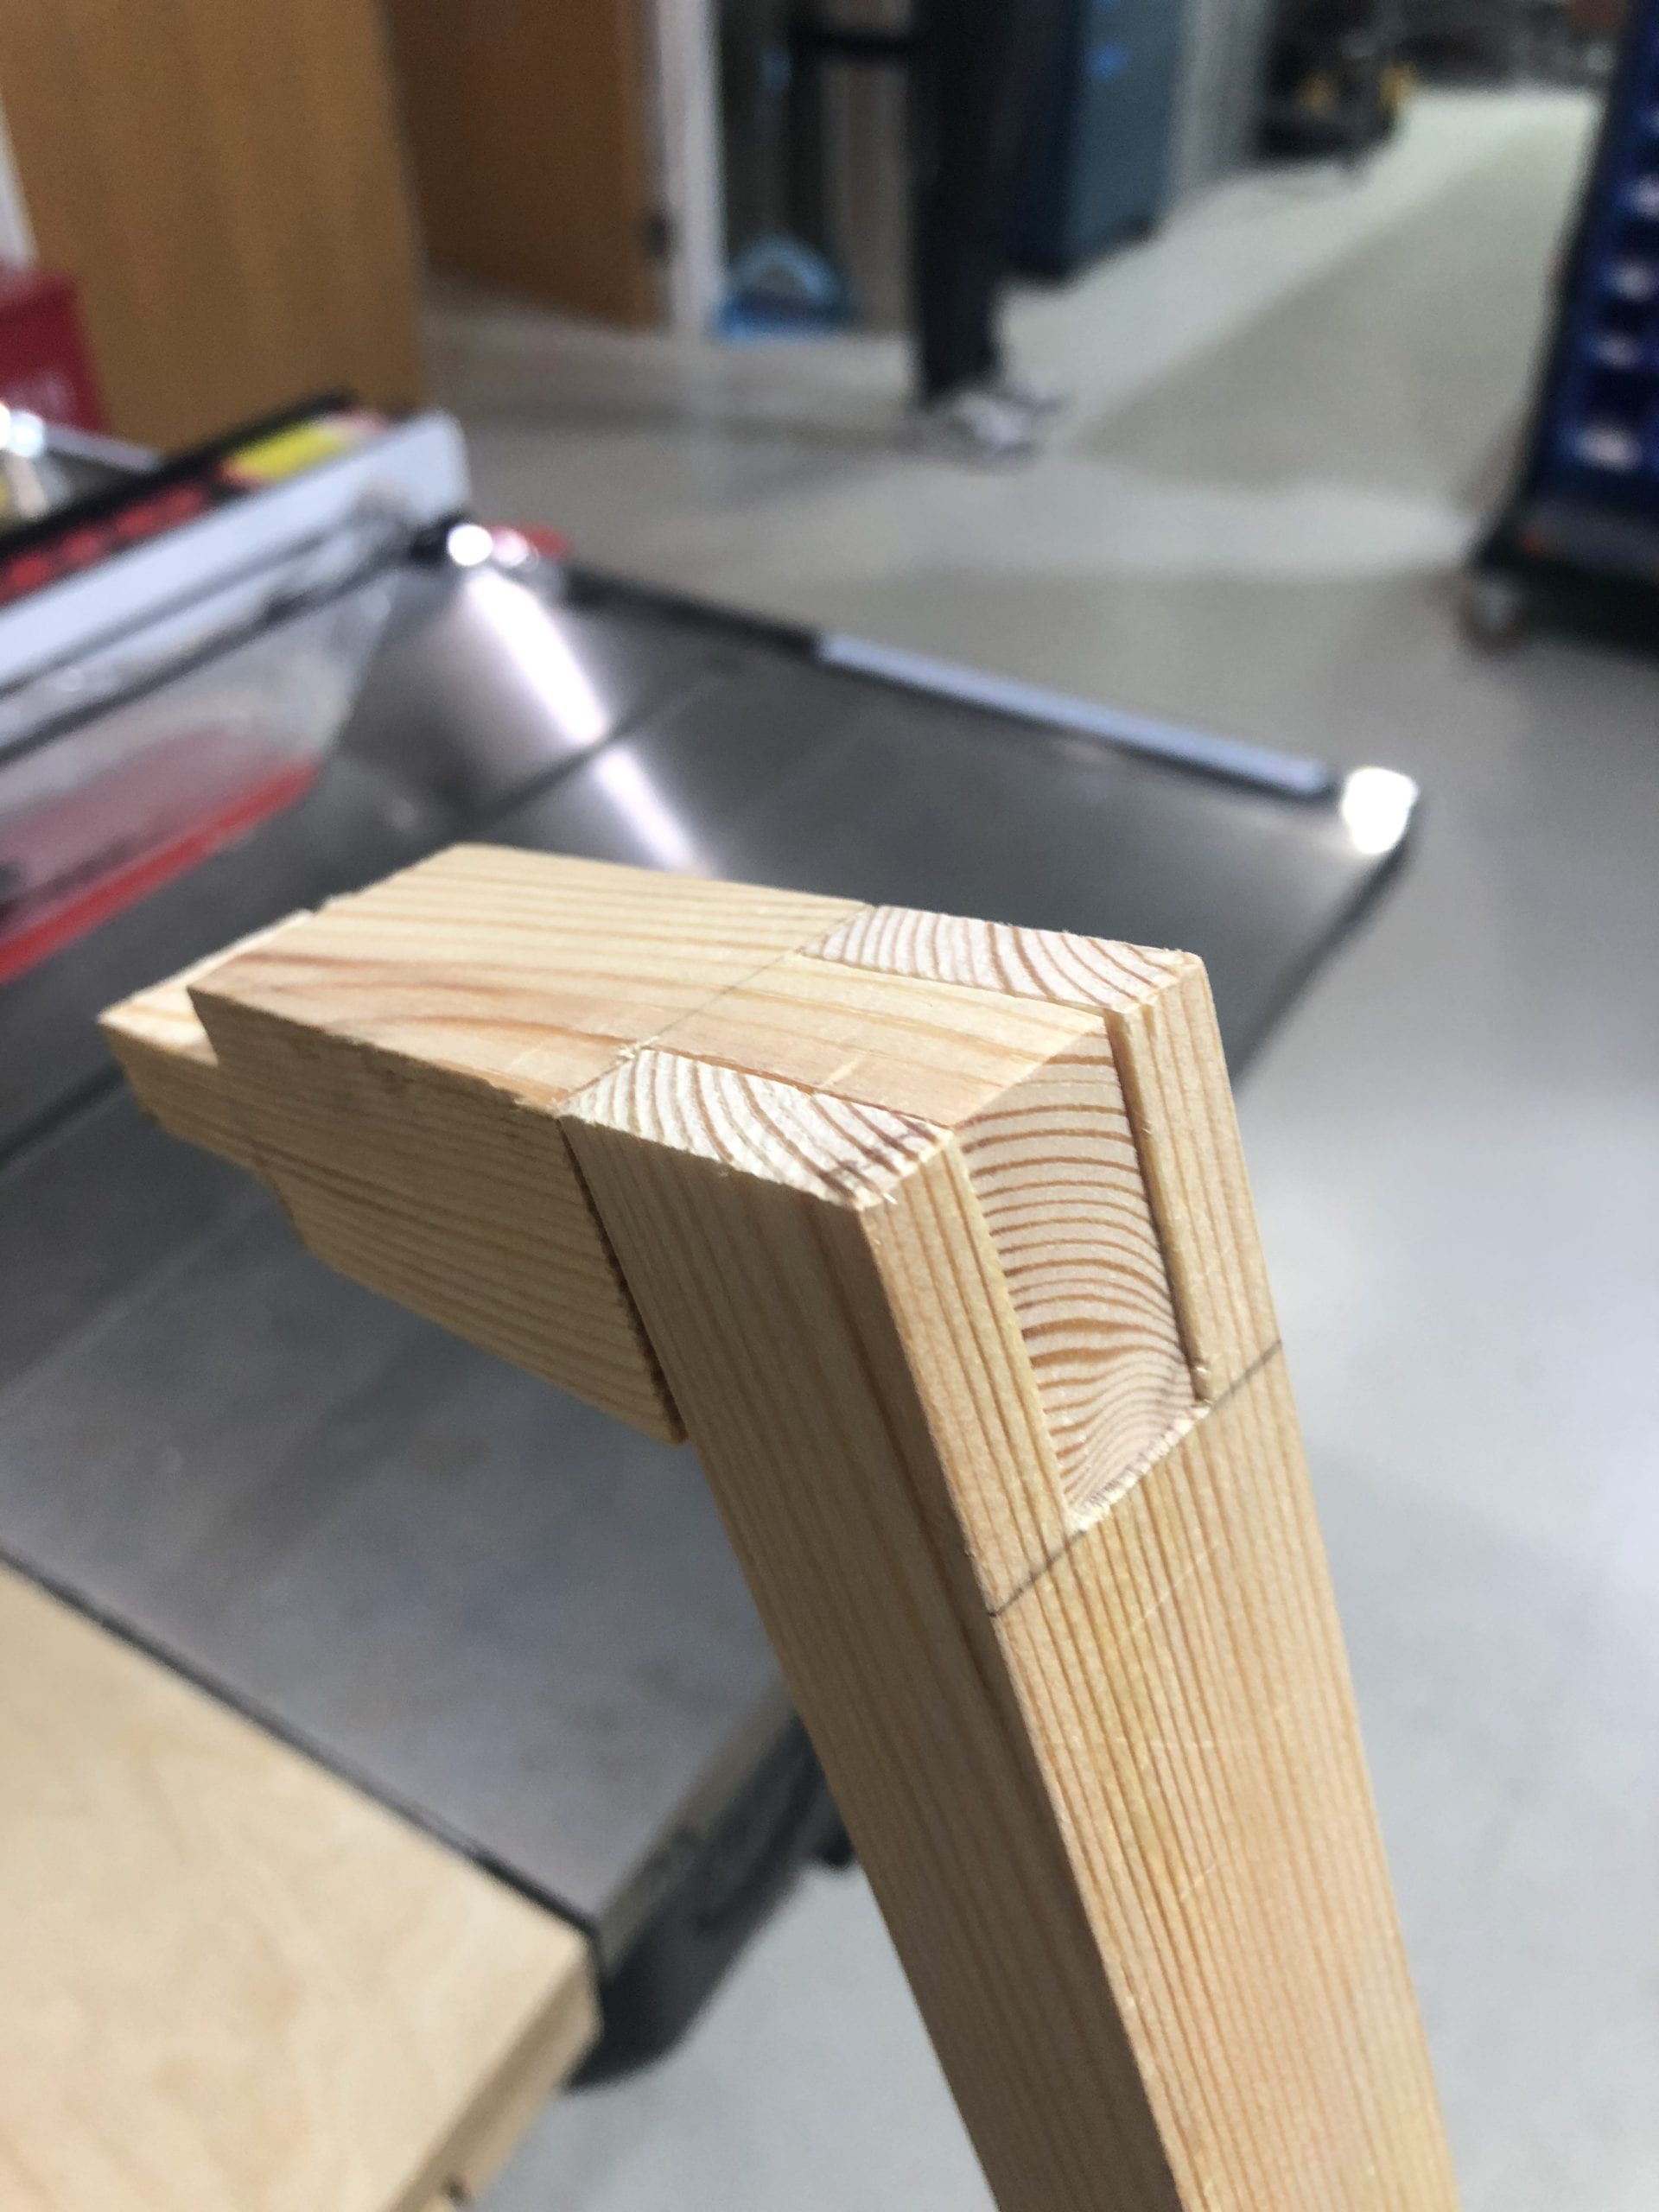
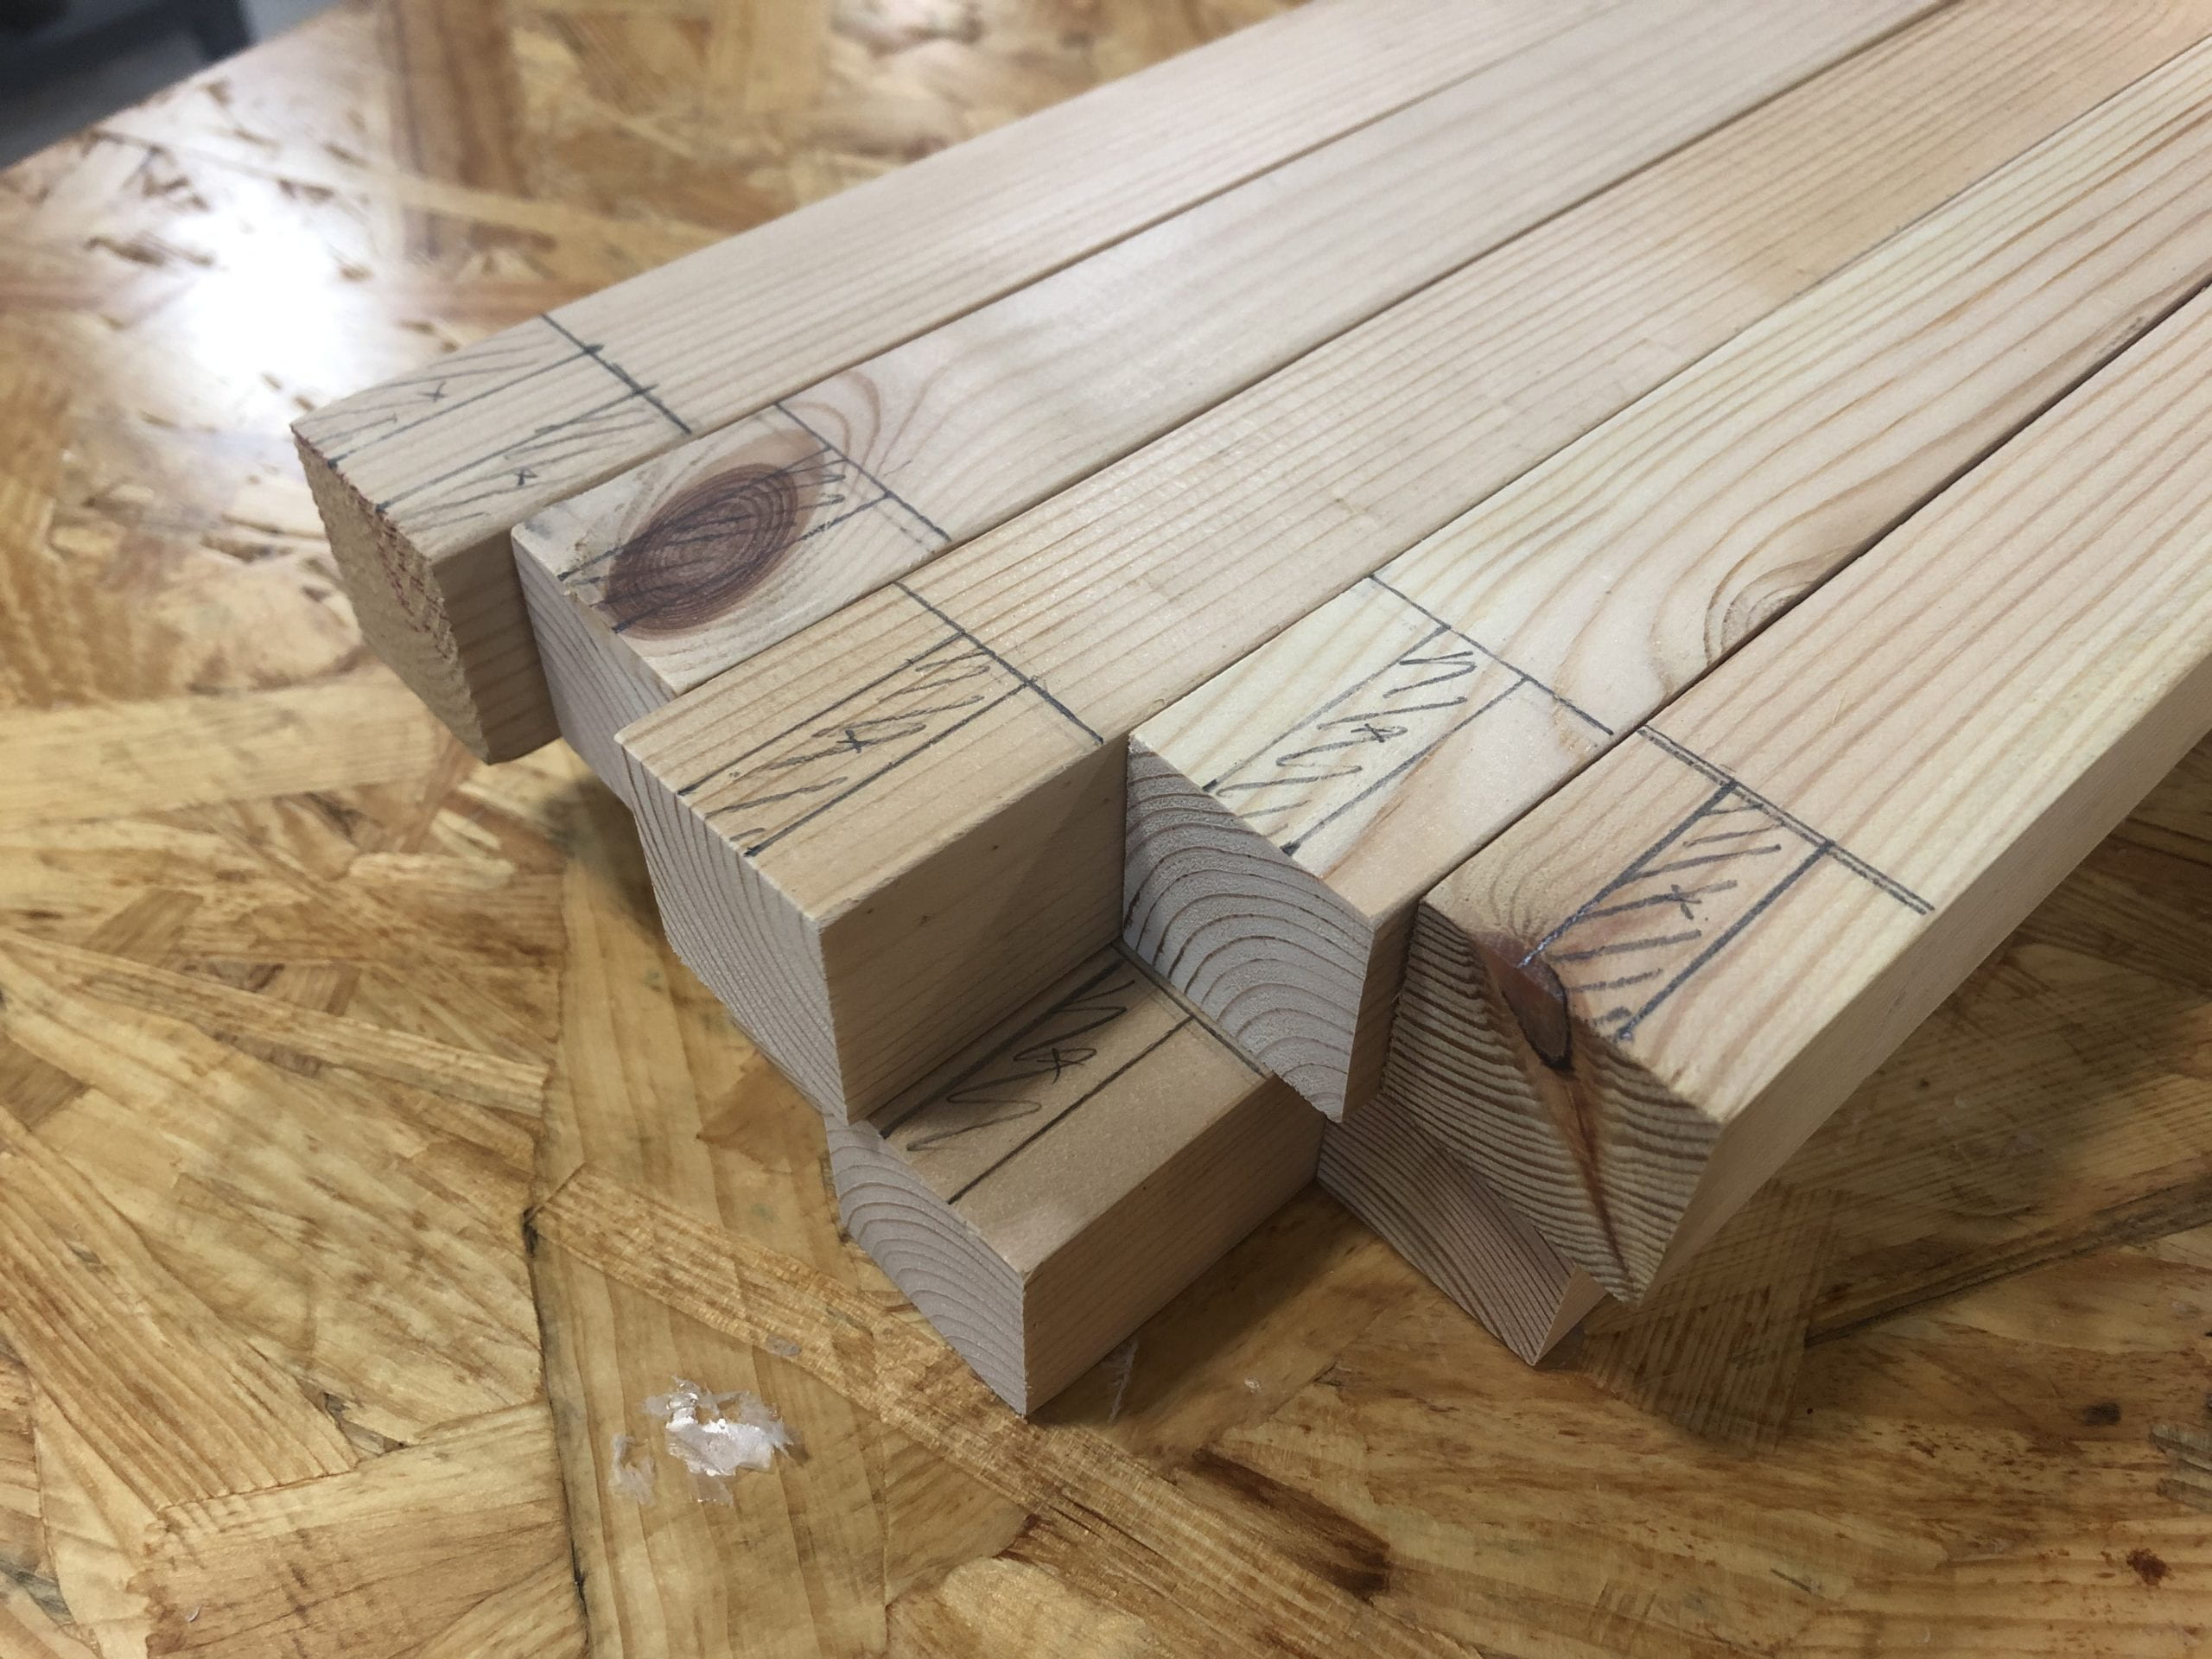
Test assemble one and then switch into mass production mode.
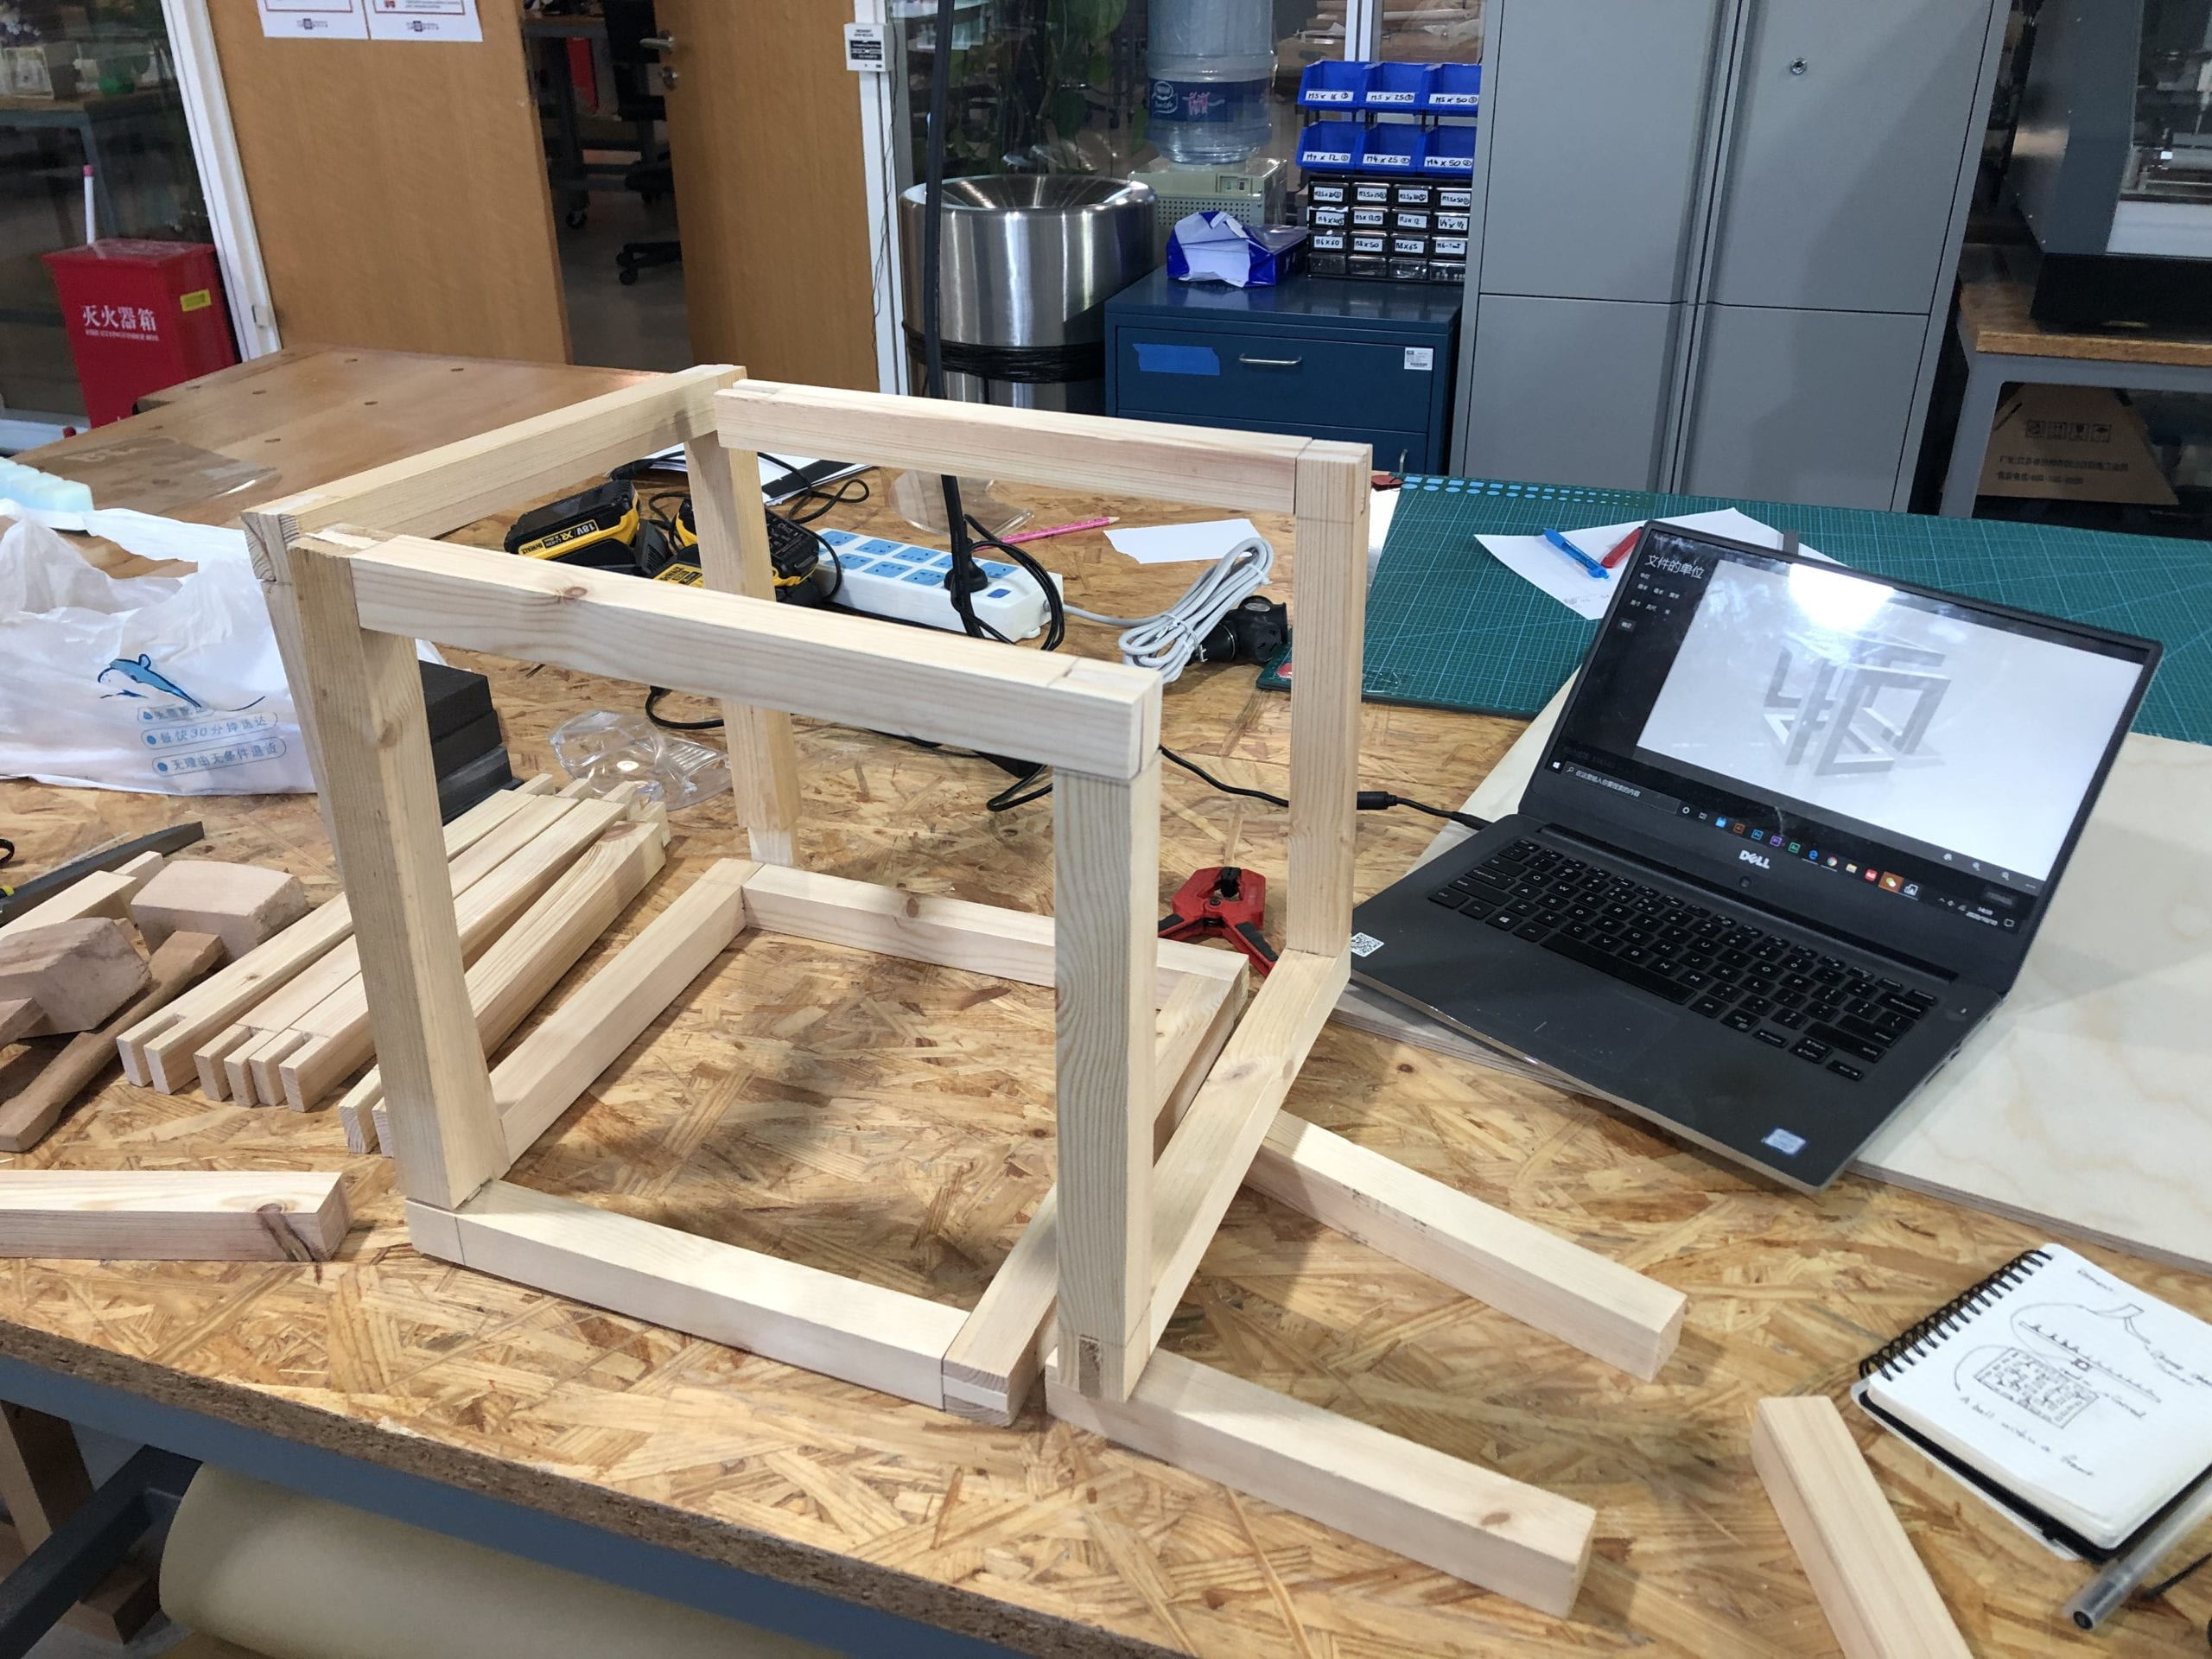
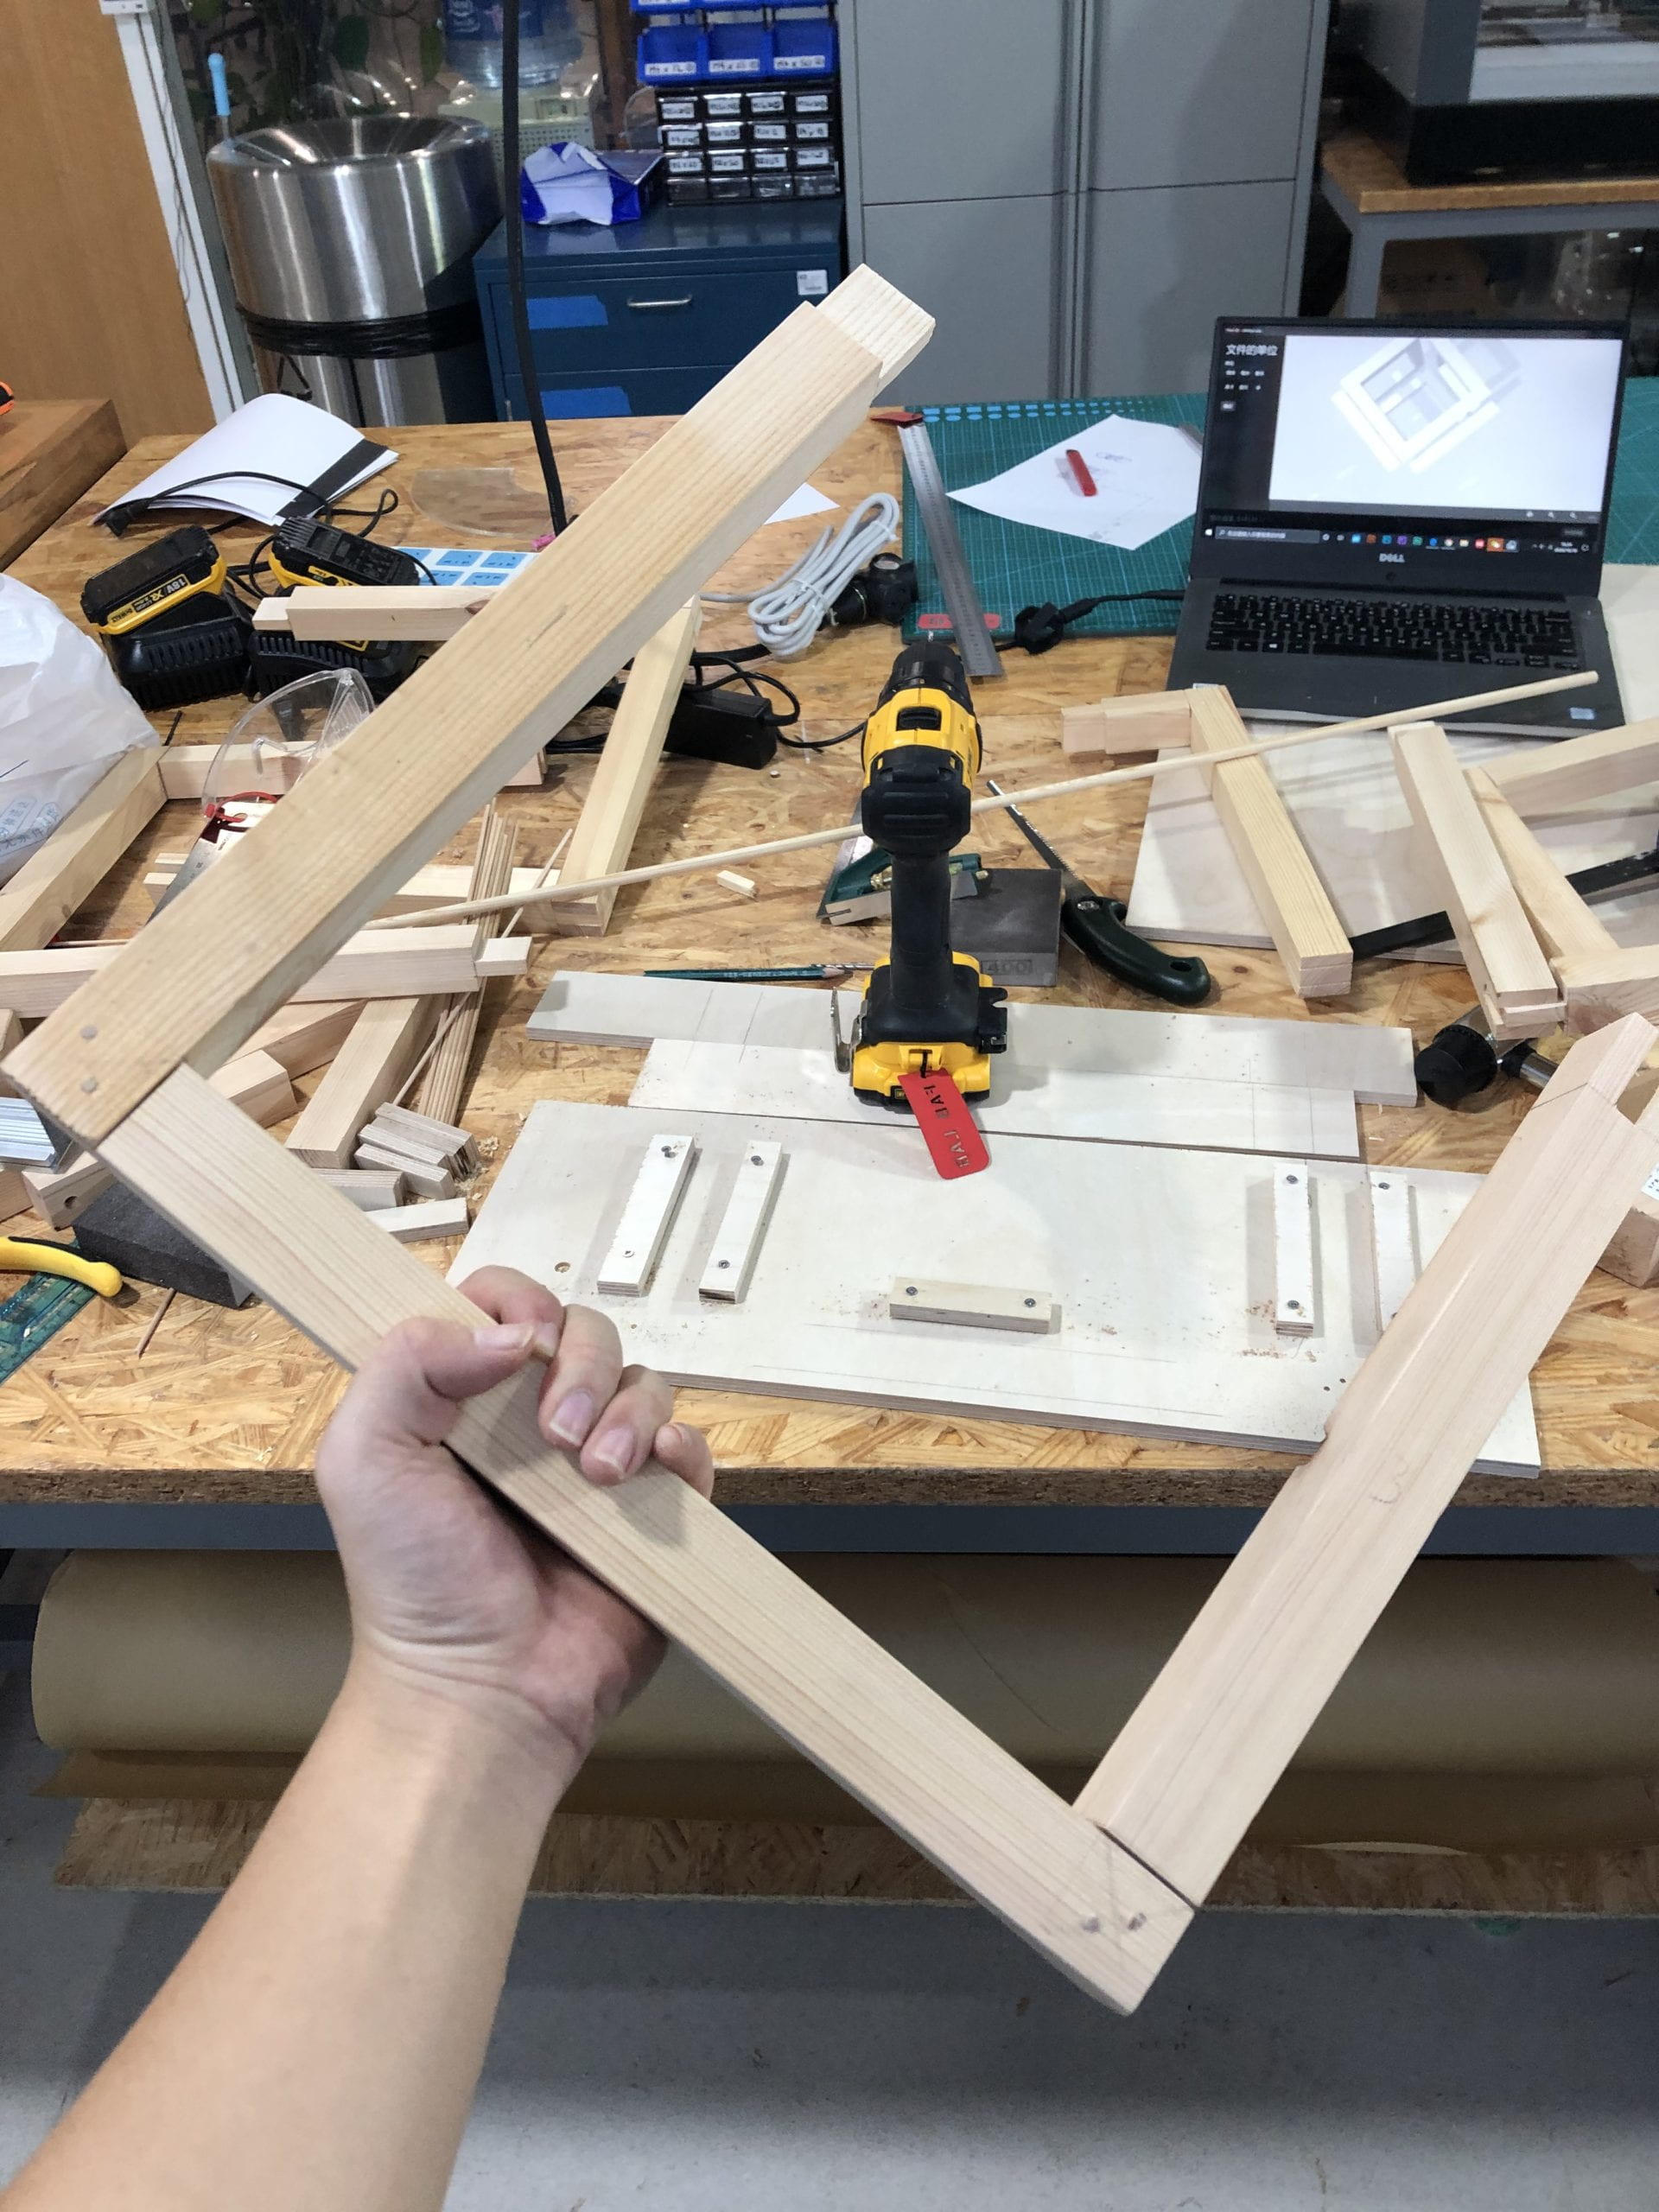
Test assemble 2 and proceeds to secure the joint with wooden skewers.
I worked in groups of three pieces at a time.
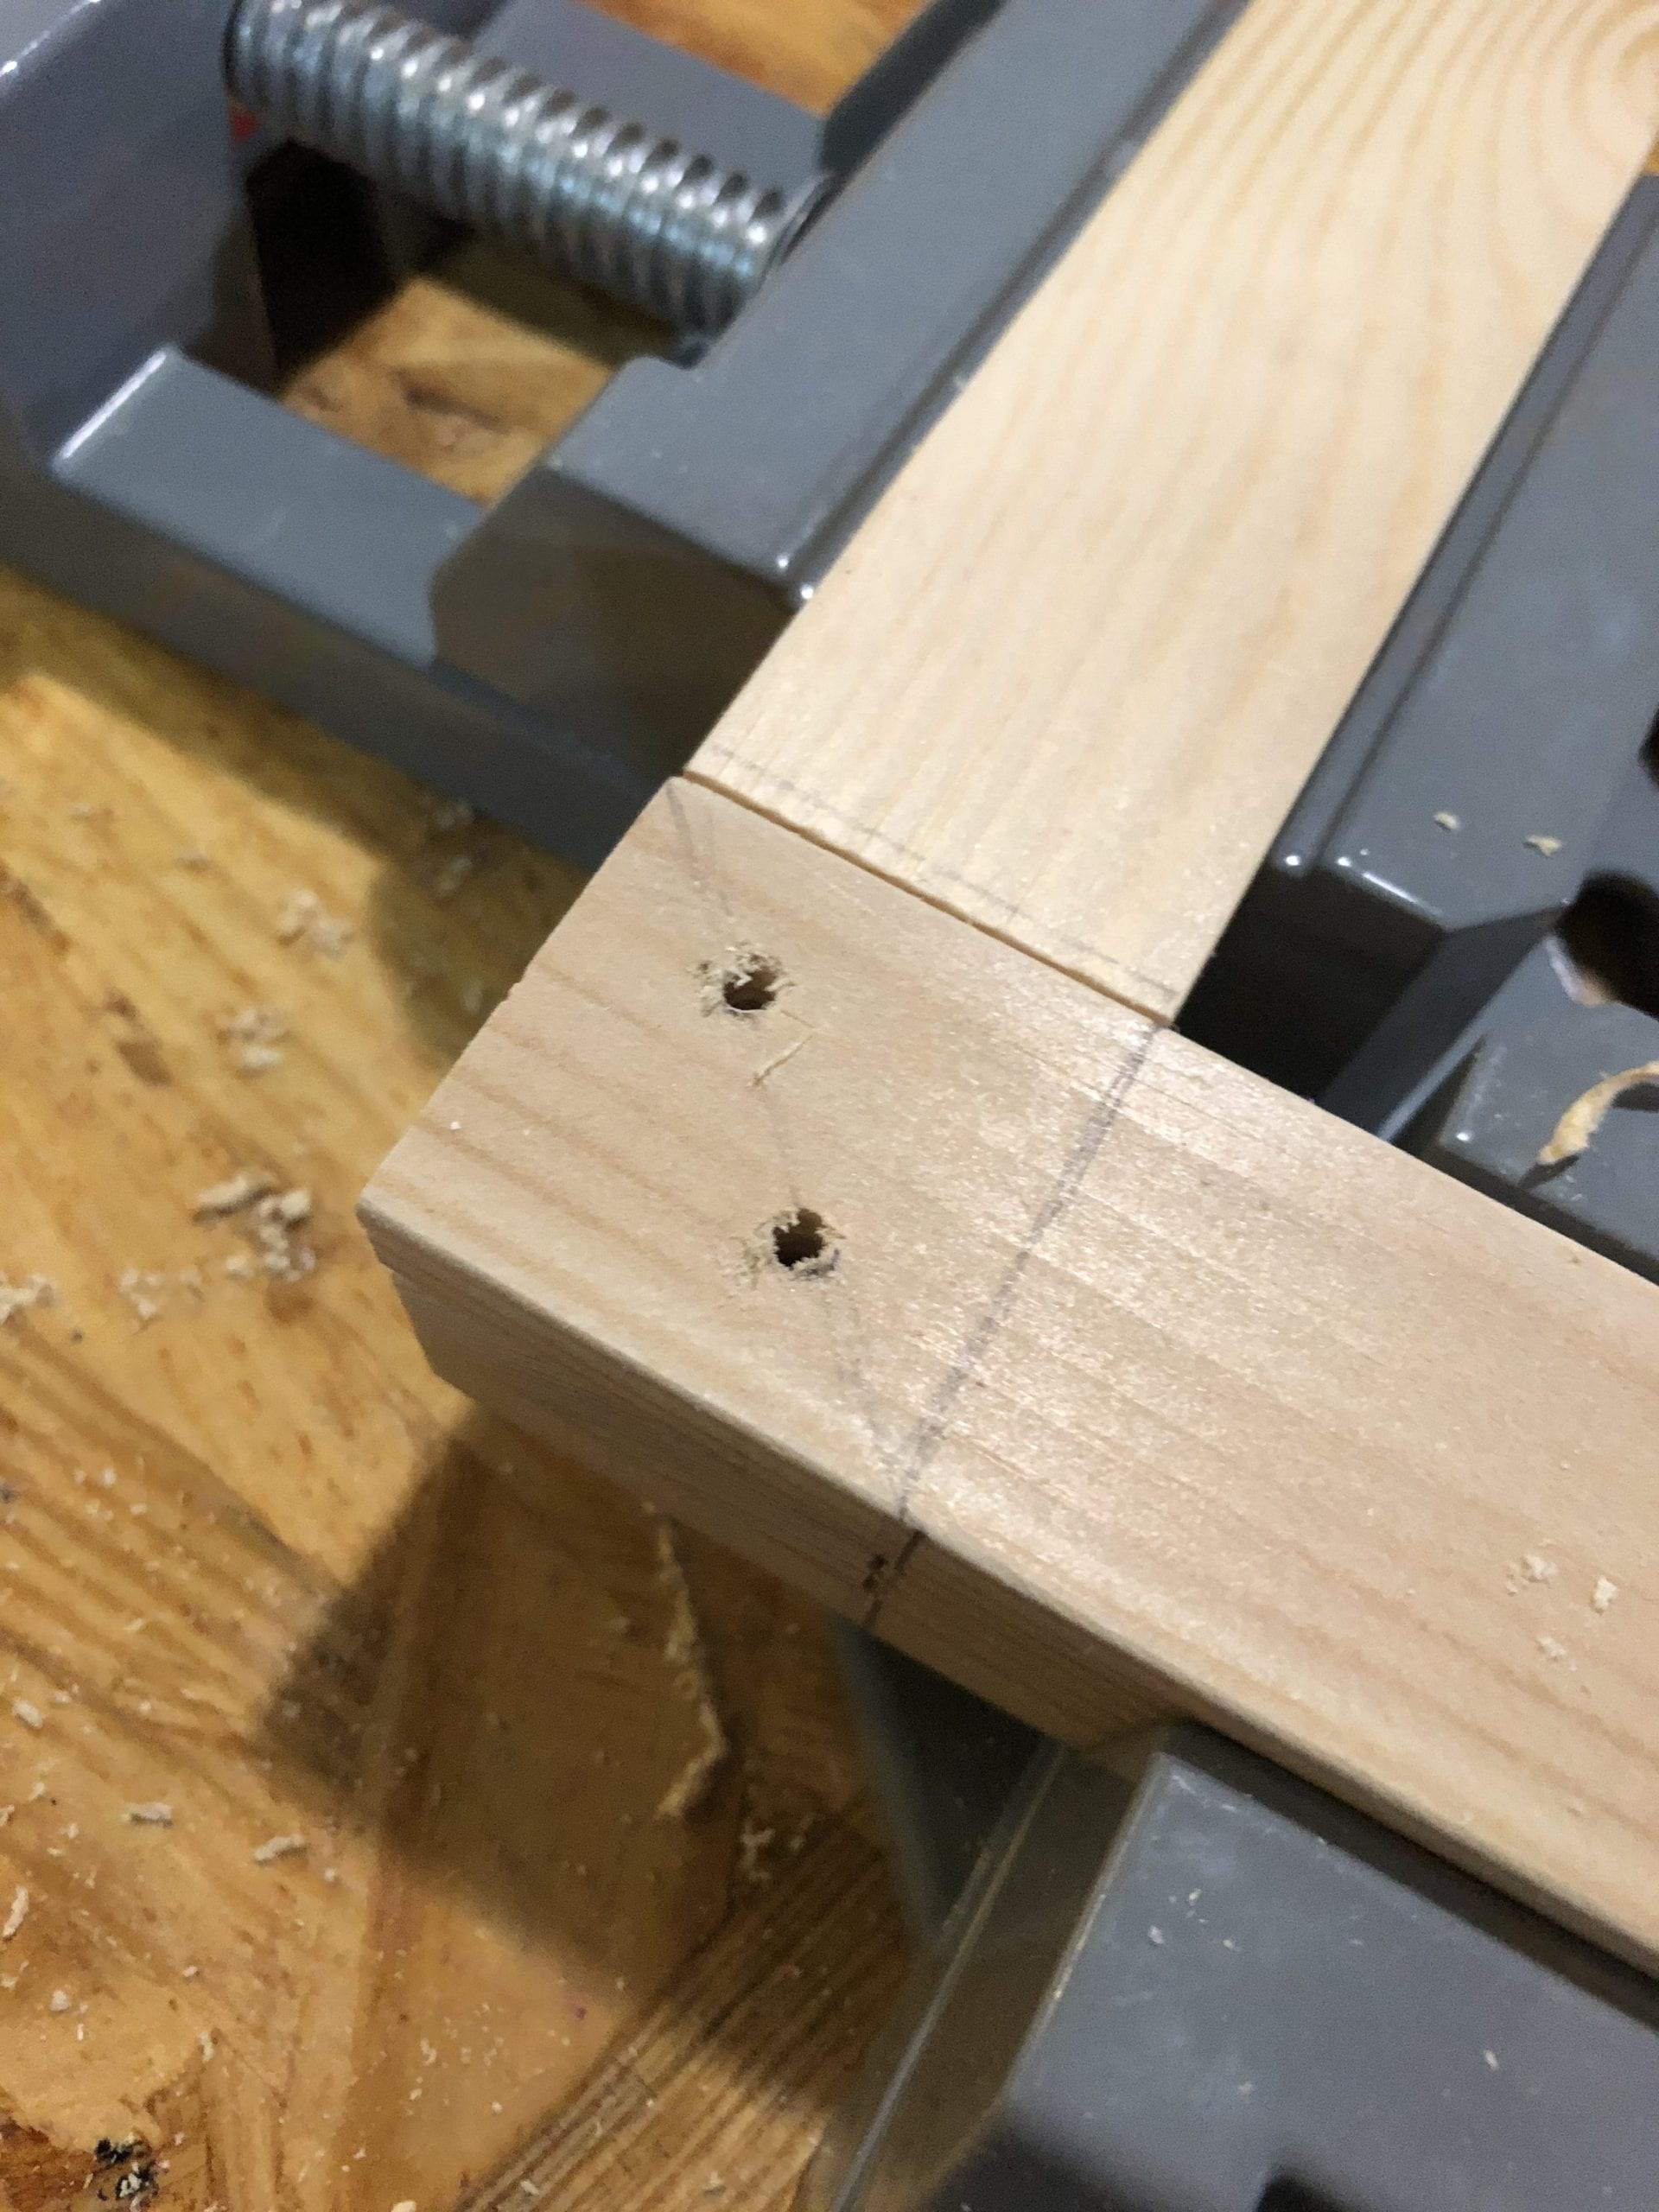
drill the hole and insert the skewer.
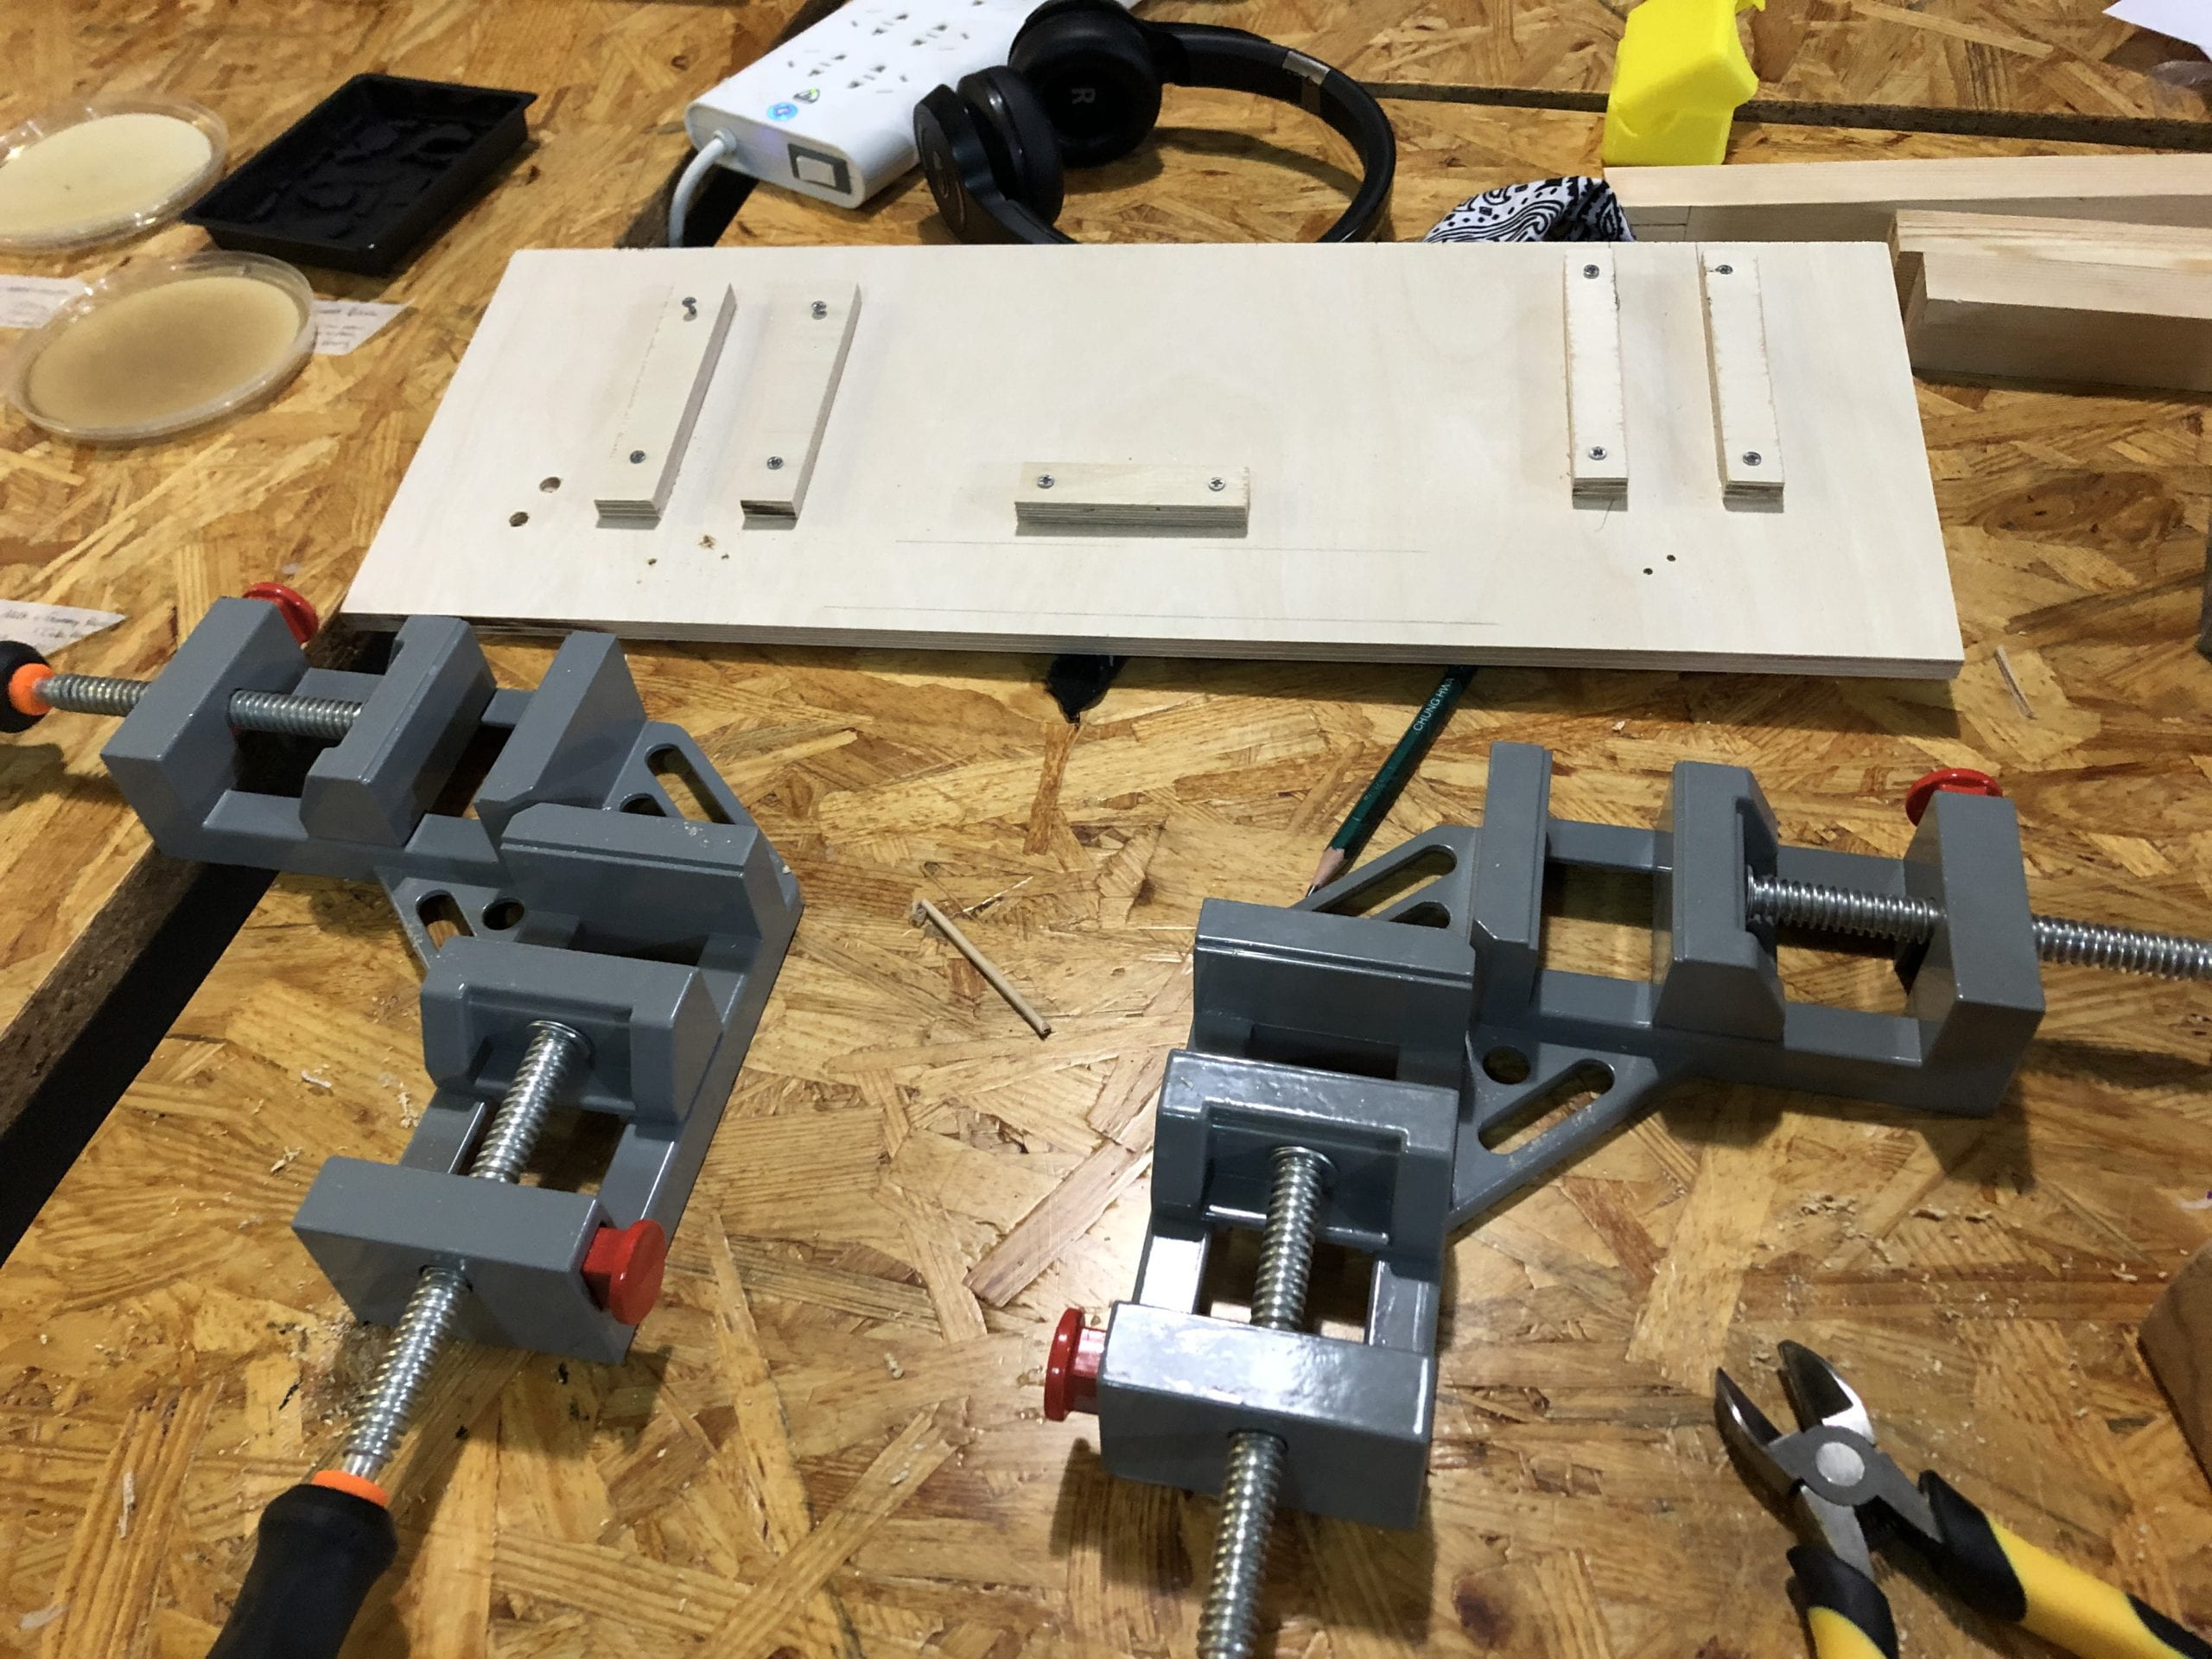 (could have used the clamps a little earlier……)
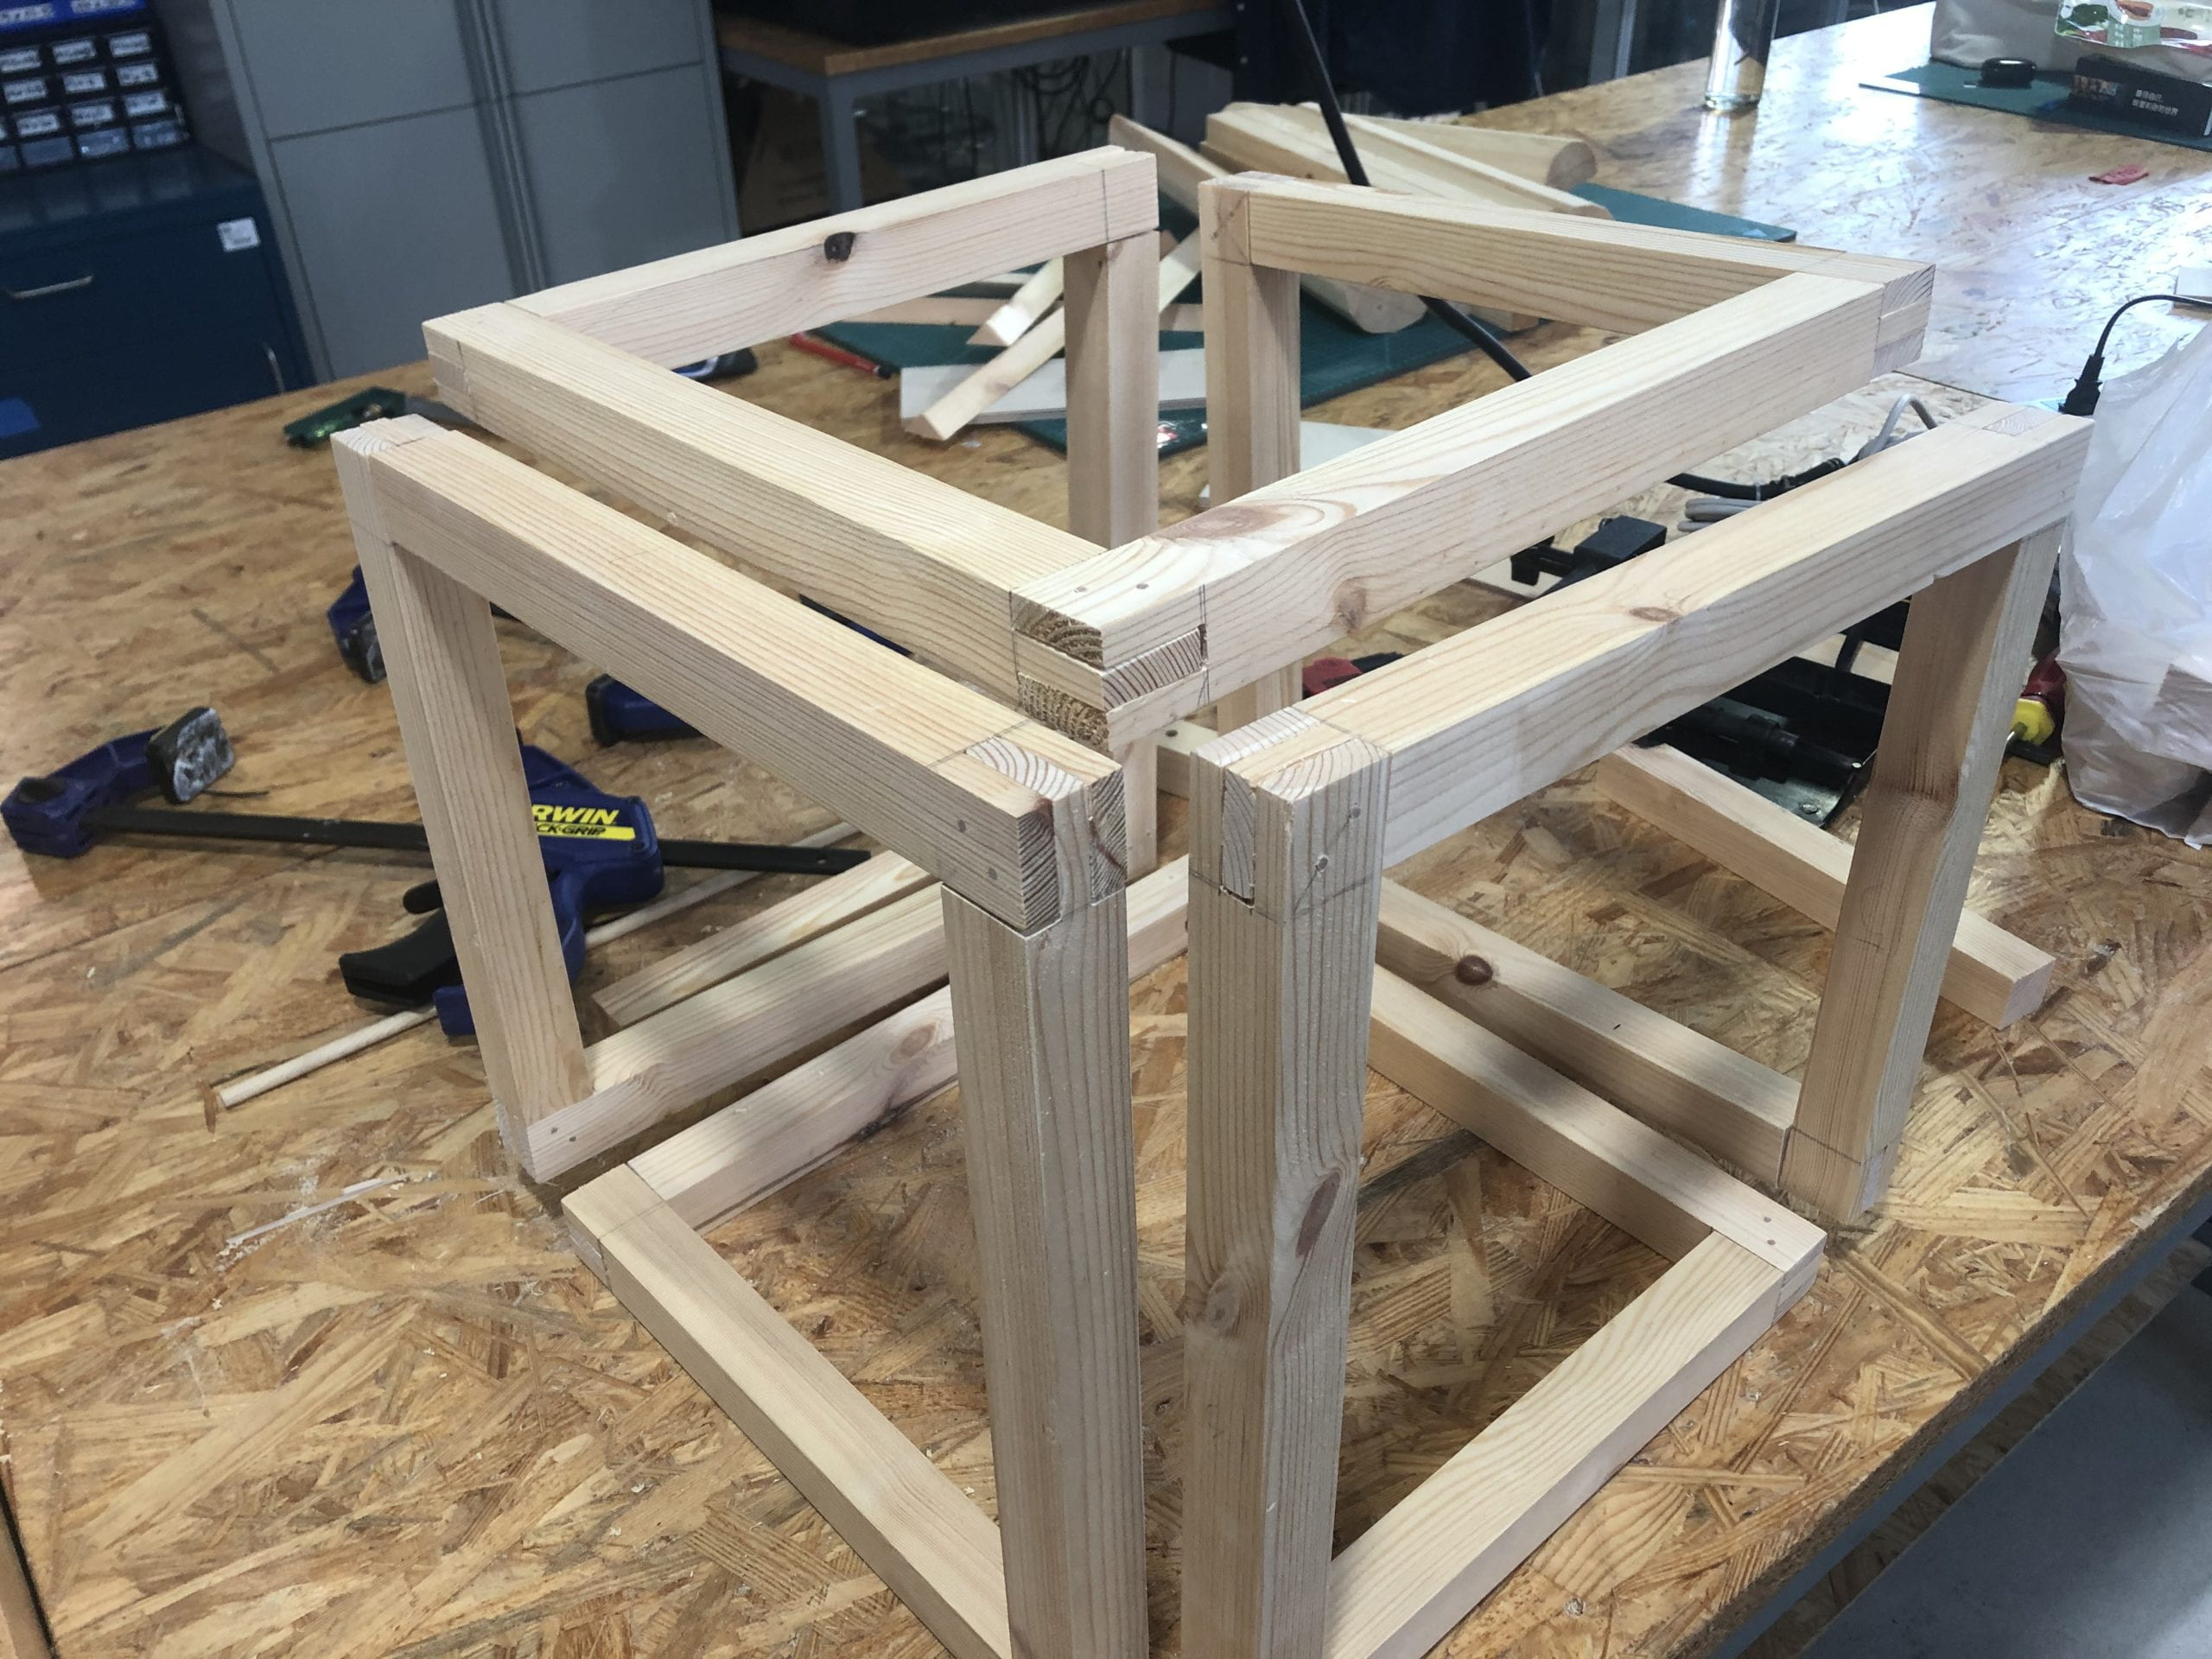
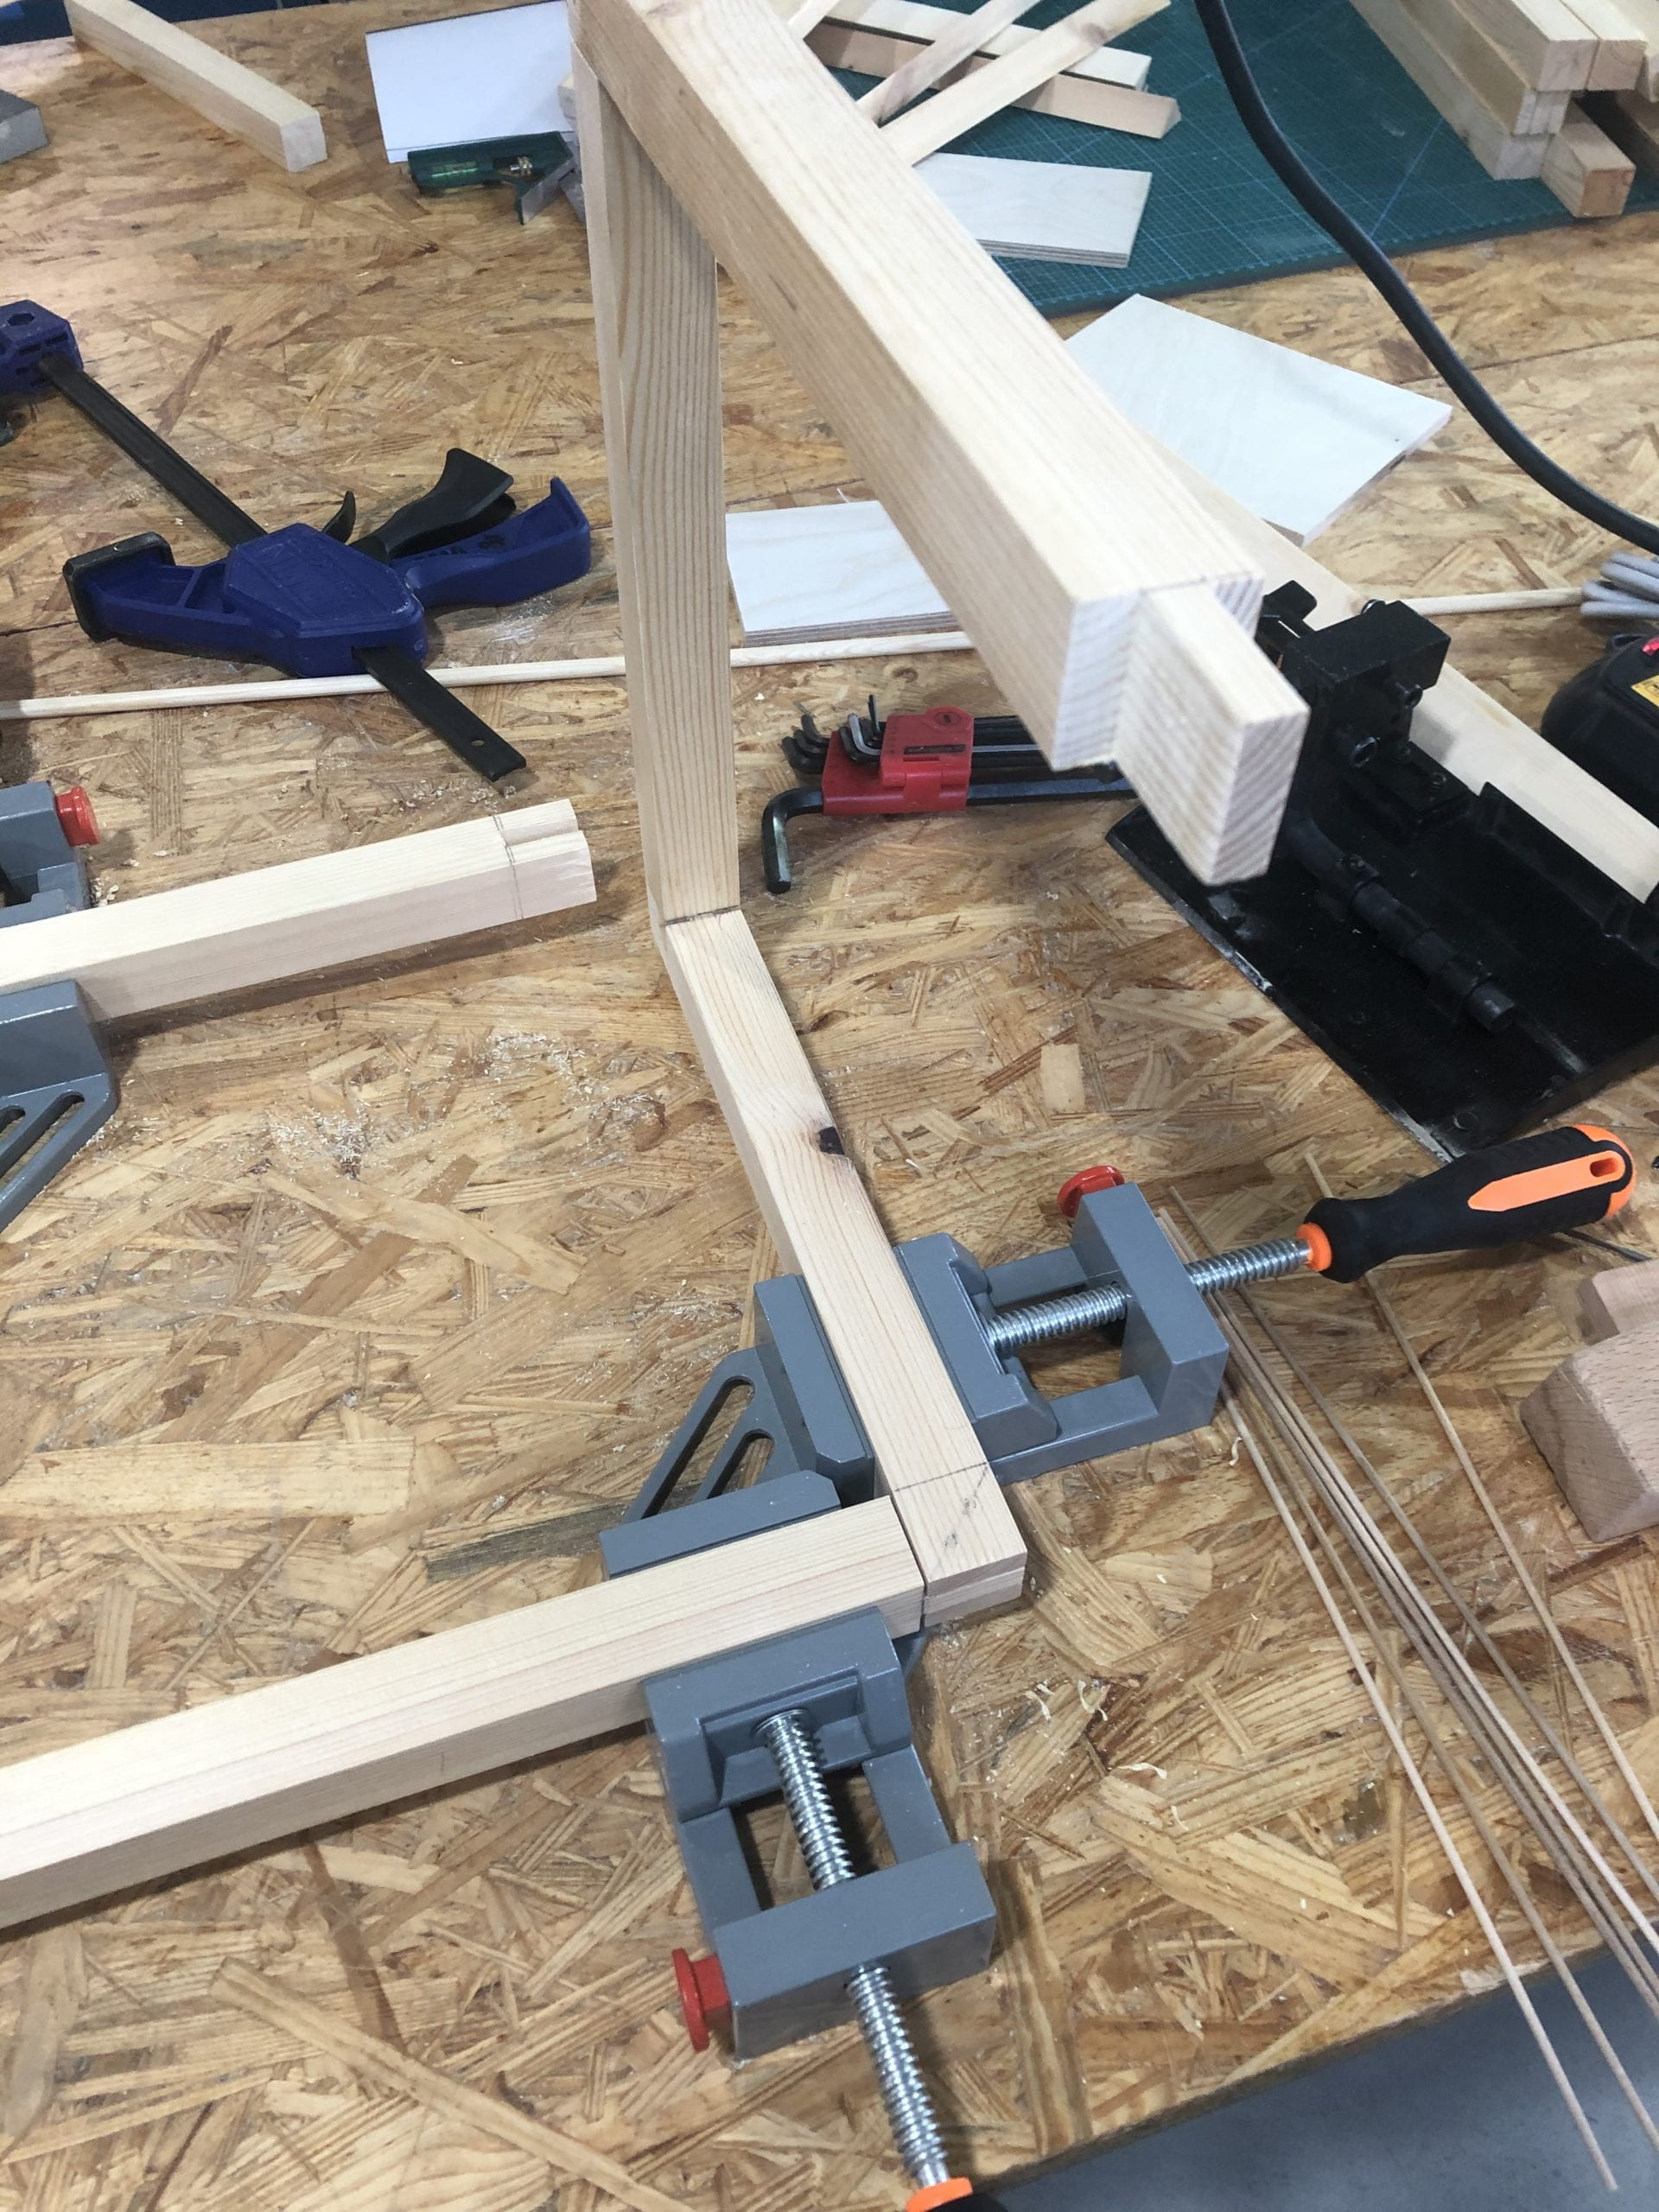
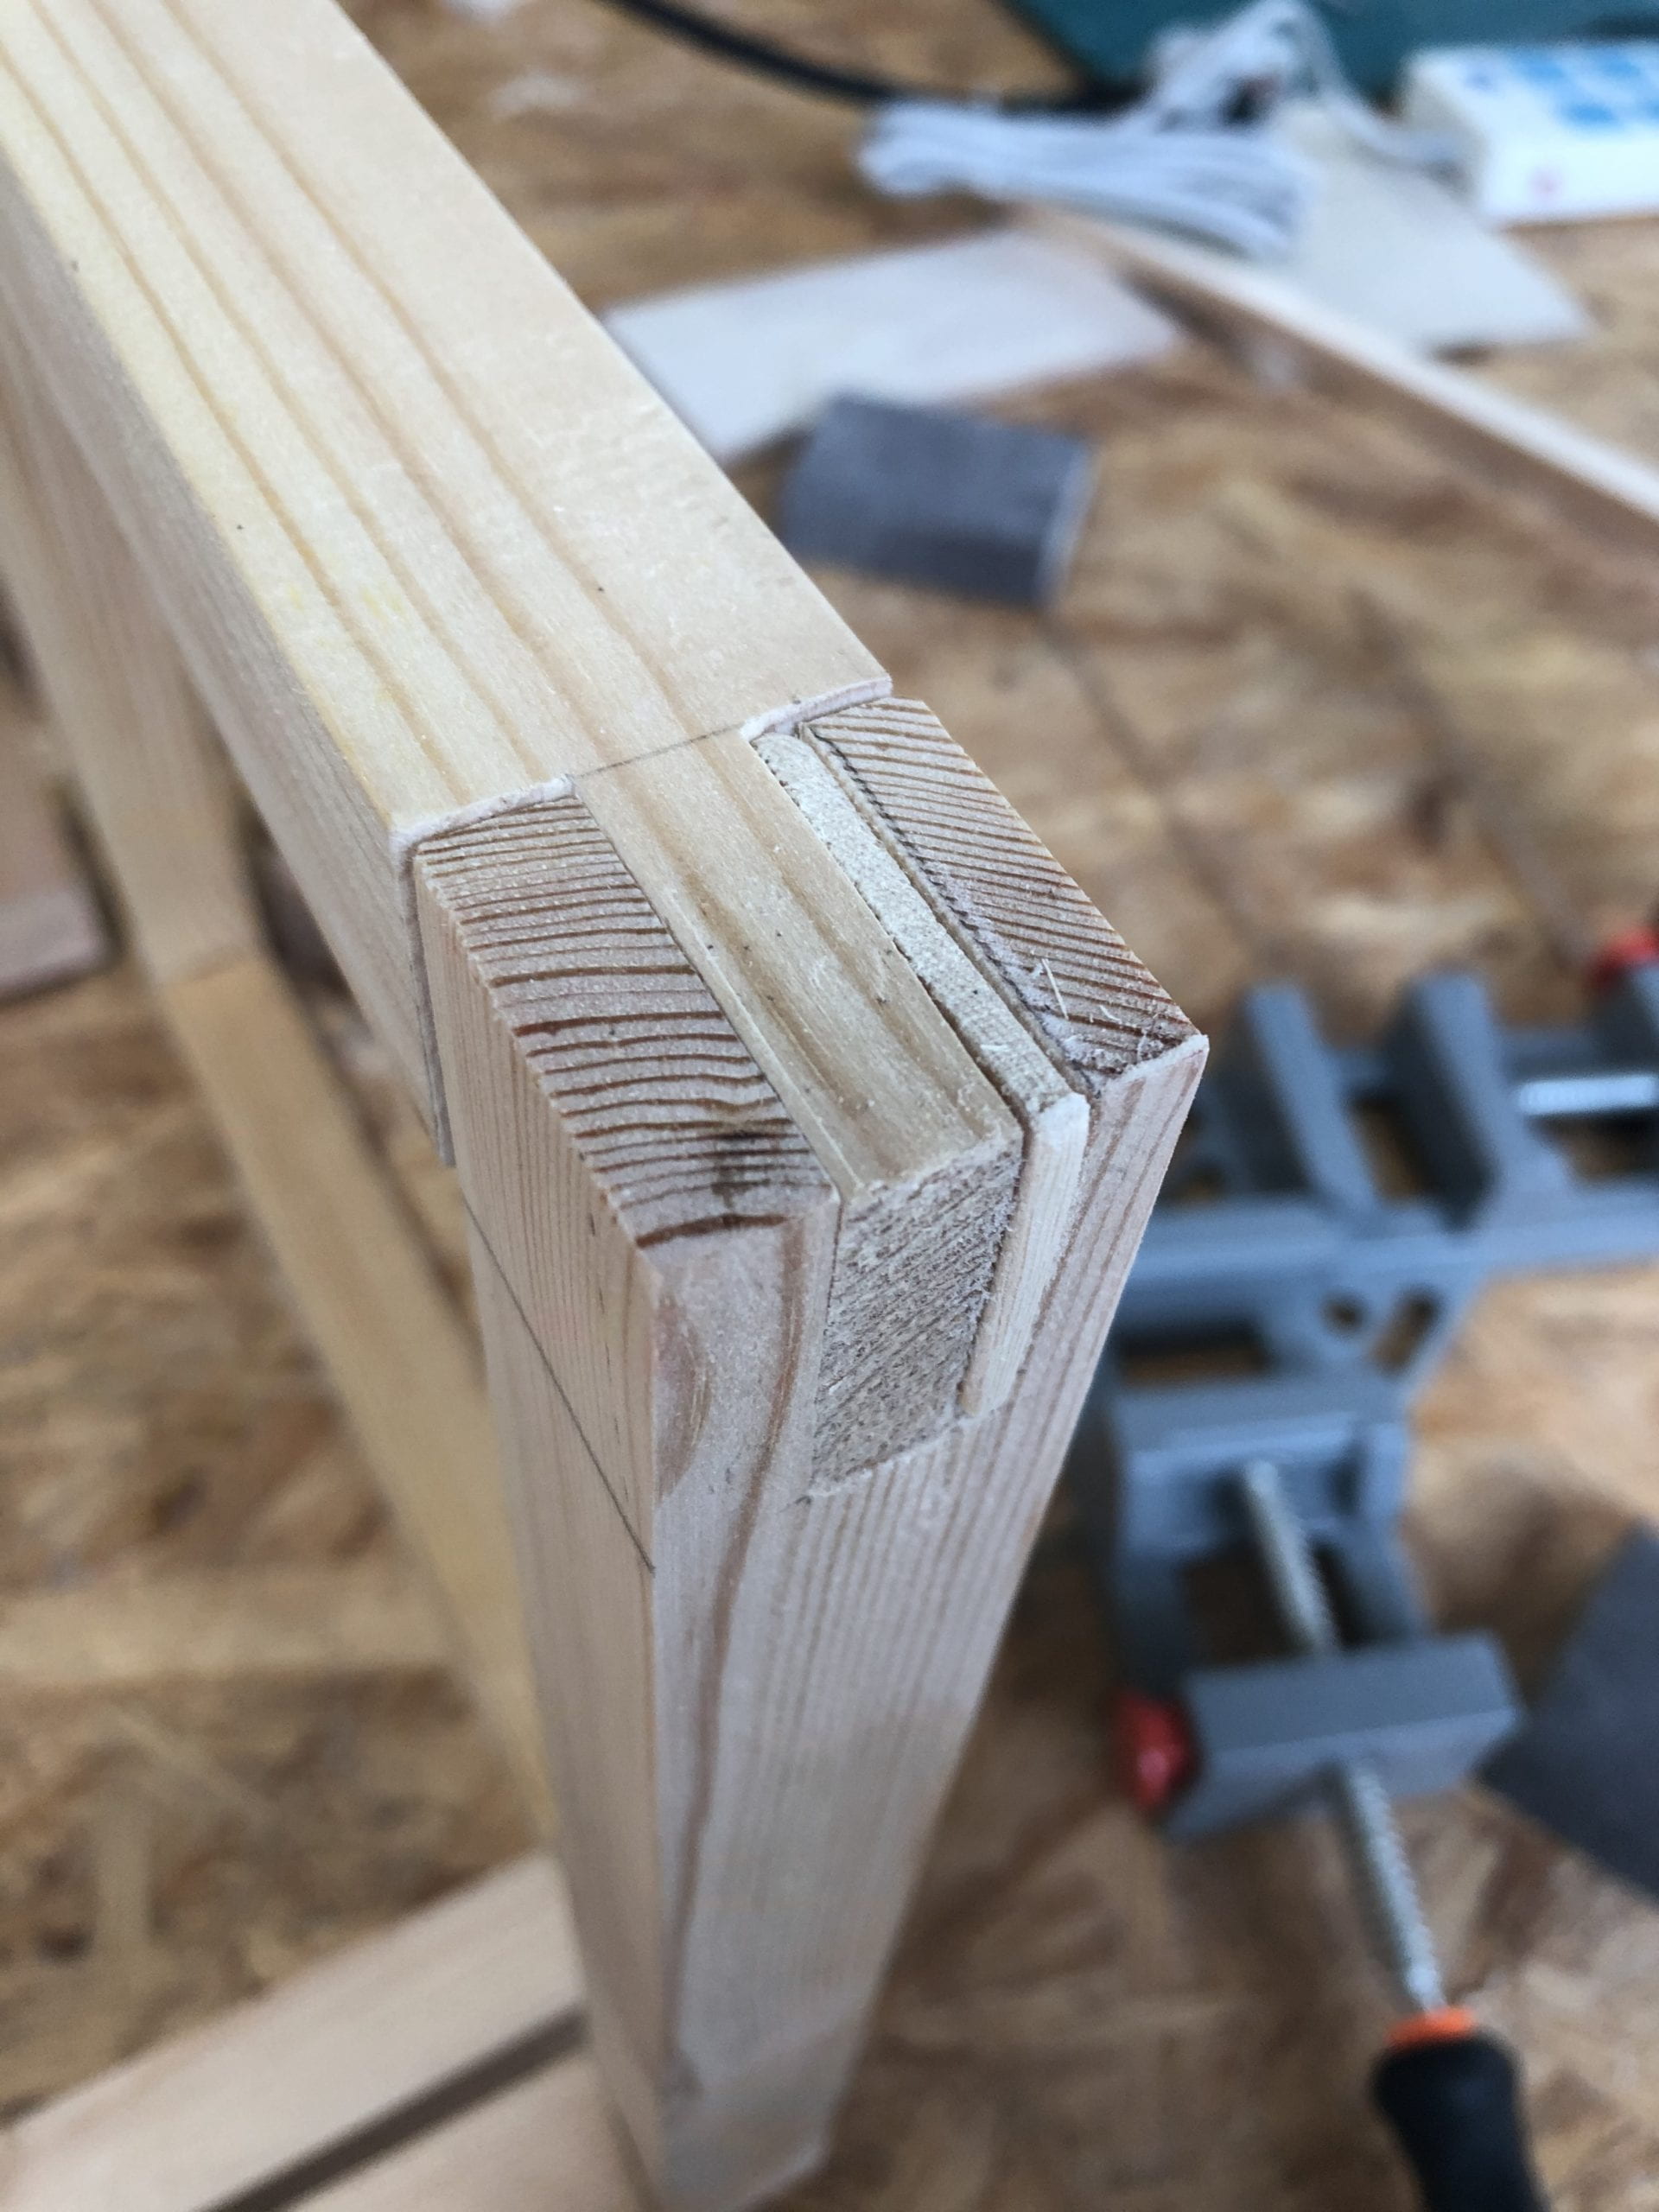
Test assemble 3 and readjustments.
……
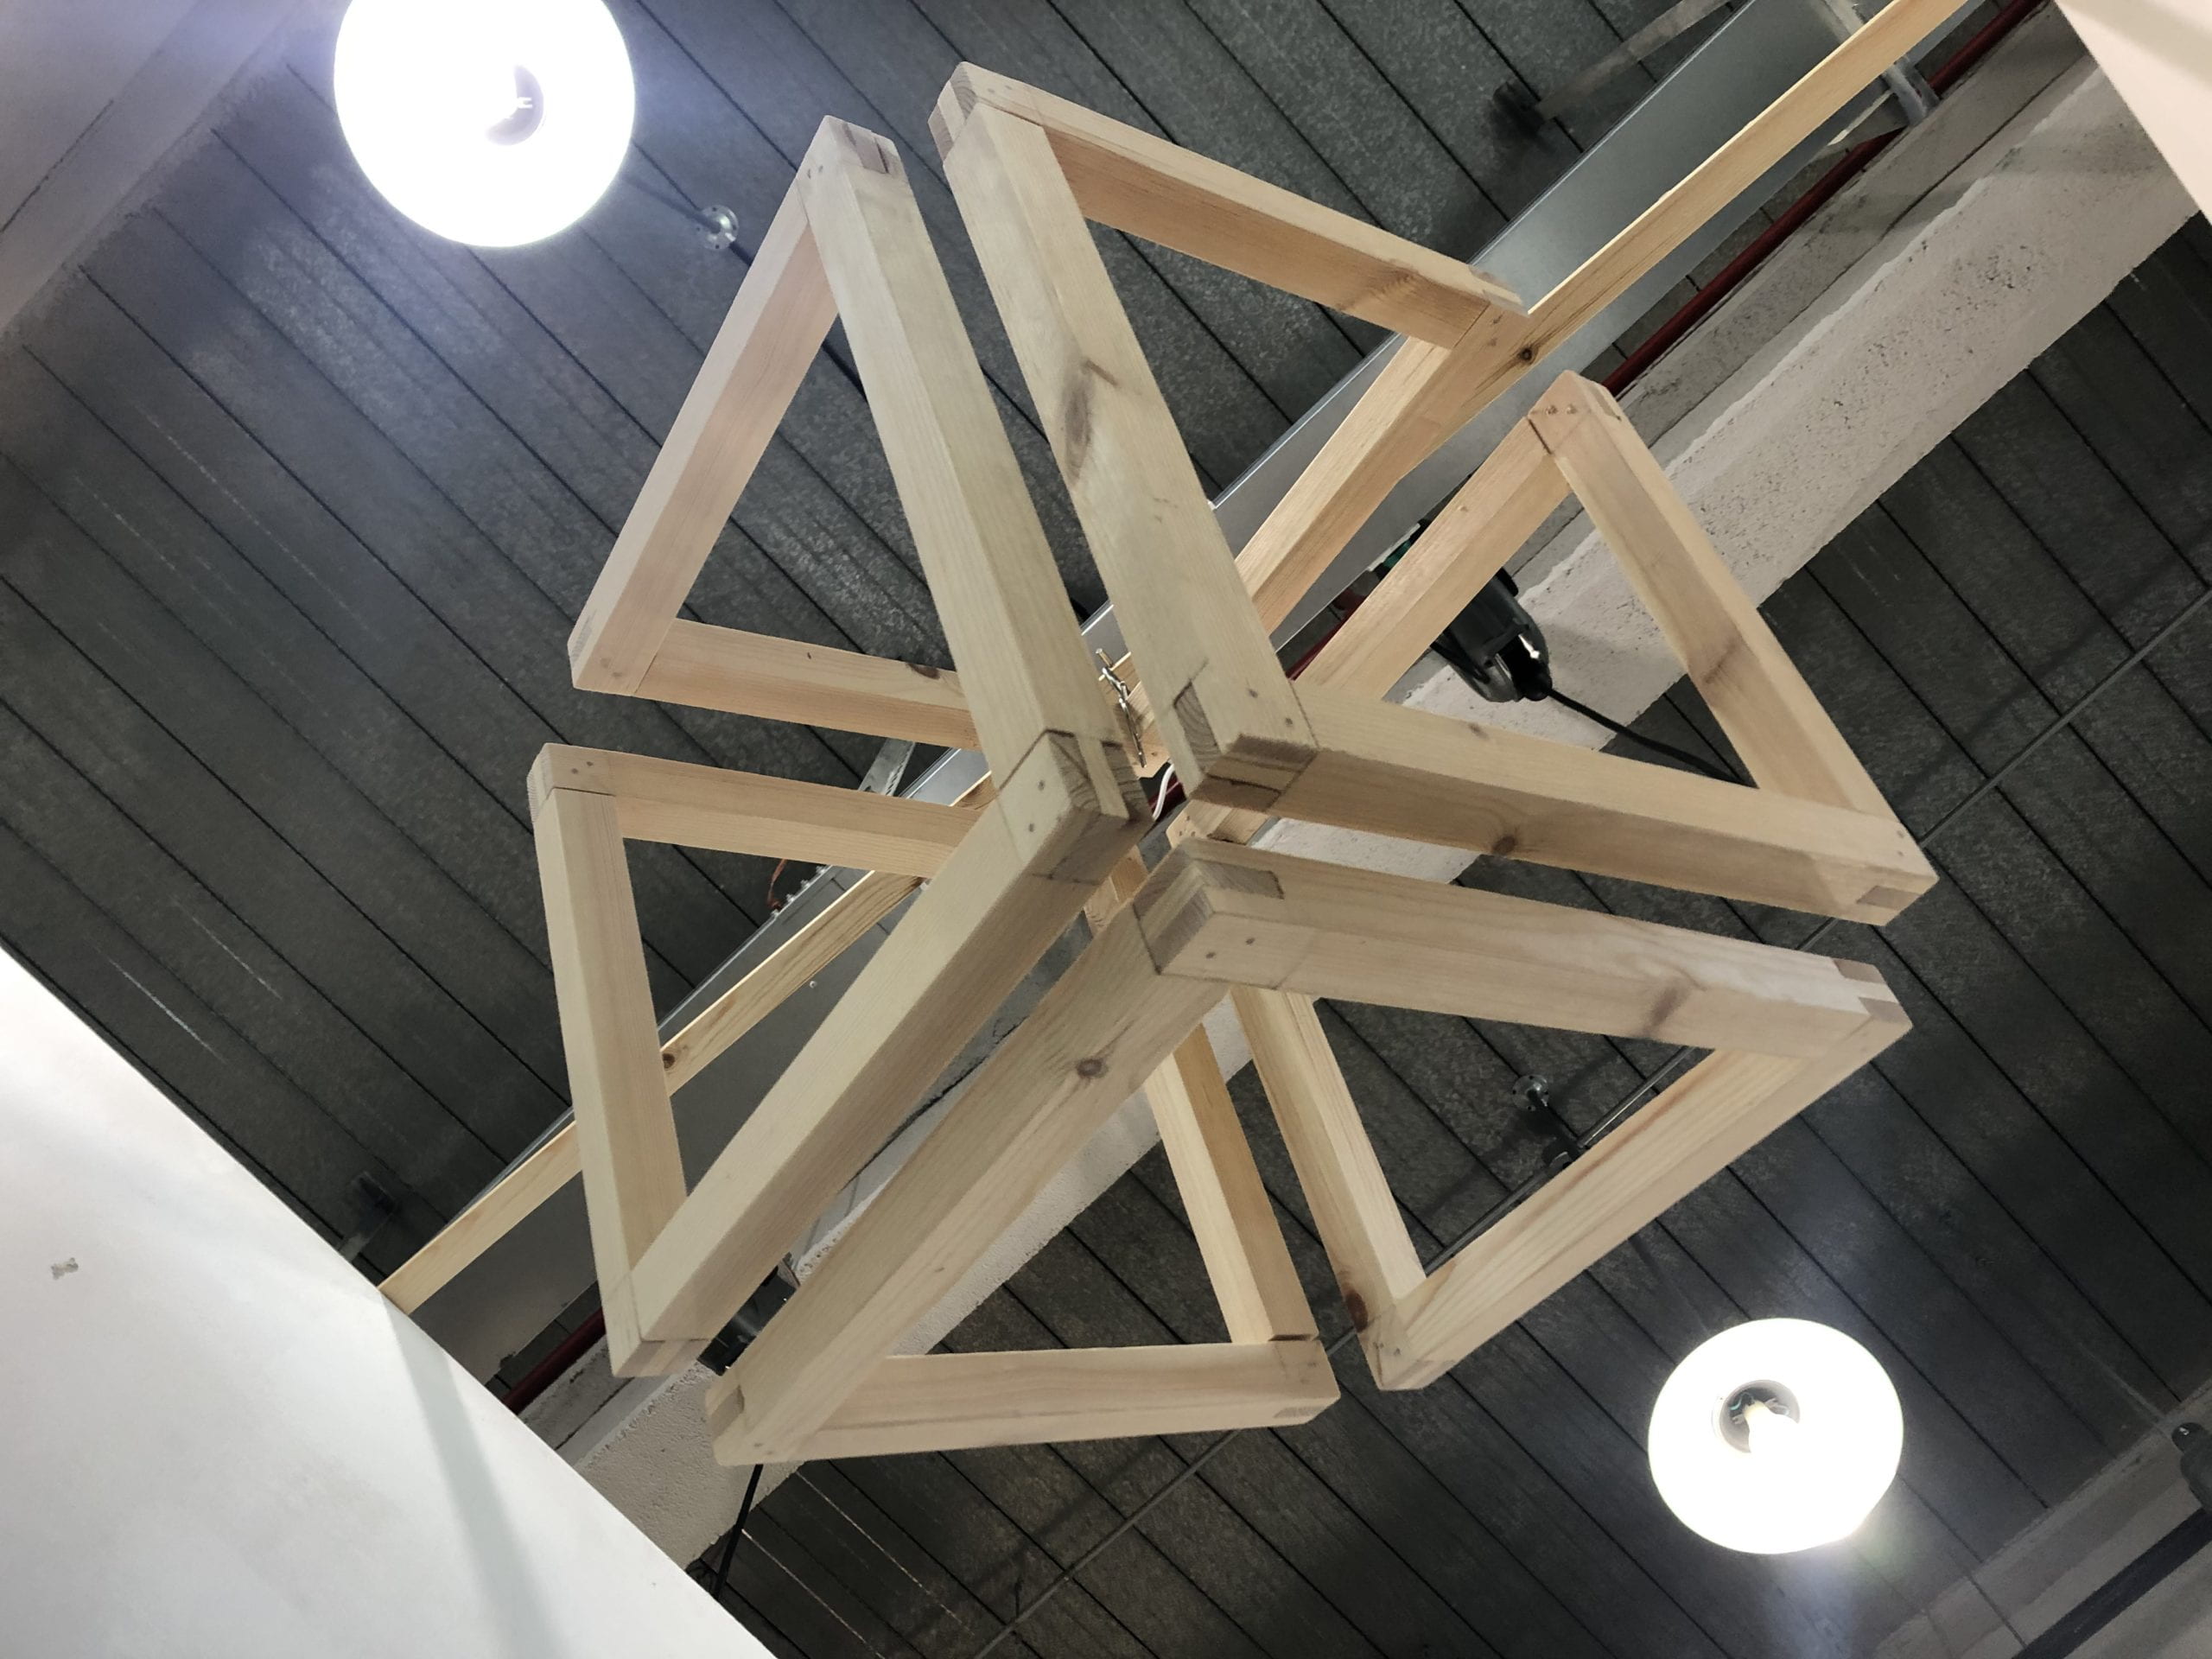
The final project, hanging from a rod with a chain of hooks.
The reflection:
This is my first attempt at precise woodwork and glue-less nail-less working. I definitely could have come up with (or found, to be honest) better joint designs that are stronger and don’t need the skewers, but I wouldn’t have the time nor the skills to make them anyway, so I’m happy with the design I ended up with. Also, the wood I used wasn’t the best in terms of the uniformity of the shapes and dimensions, so there were some more adjustments sometimes than I would prefer, especially when the wood piece I used to draw the guideline won’t match with the other pieces, which ended up in some of the gaps and jiggly-ness in the sculpture. If I had more time I probably would improve the finish a little bit so that around the joints, the color of the wood would match better. Also, as Andy suggests, I should have planned on which corner of the sculpture I wanted to hang it, because then I would make the angle smaller to be a make-up for the force of hanging.
All in all I’m pretty happy with how the sculpture turned out and I definitely have practiced a lot of skills around working with wood and the tools, and also put my ability of spatial analyzation to test. And also lots of just working flows in general, like how you should plan things so it goes smoothly and how you make sure everything is okay before moving forward (–the test assembles! they are the best!). I think I learned a fair bit through this process.
