Project title: Custom-built recycled ABS plastic garbage tongs
For this project, we worked with our community Fuzhu neighborhood committee and built them a custom-designed garbage tong for the volunteers in the community. Also, this project uses recycled ABS plastic as raw material, which provides insight on how to fabricate with this material, as well as highlights the environmental value of recycling. Throughout the semester, we had multiple meetings without community for testing the design, as well as tons of controlled experiments ourselves to figure out the material we are working with.
I will divide this post into three main parts: material testing, design & fabrication, and conclusion.
0. Background
First we met with the committee members, Mr. Hu and Ms. Wang, who informed us about their work each day and led us around the community for inspiration. In the process, we learned that there are volunteers who pick up trash around the neighborhood every morning, and the tools they use are not as effective as they could be: they have three pairs of garbage tongs, one is heavy and too short, one is heavier and too long, the third one is not as long but does not work properly
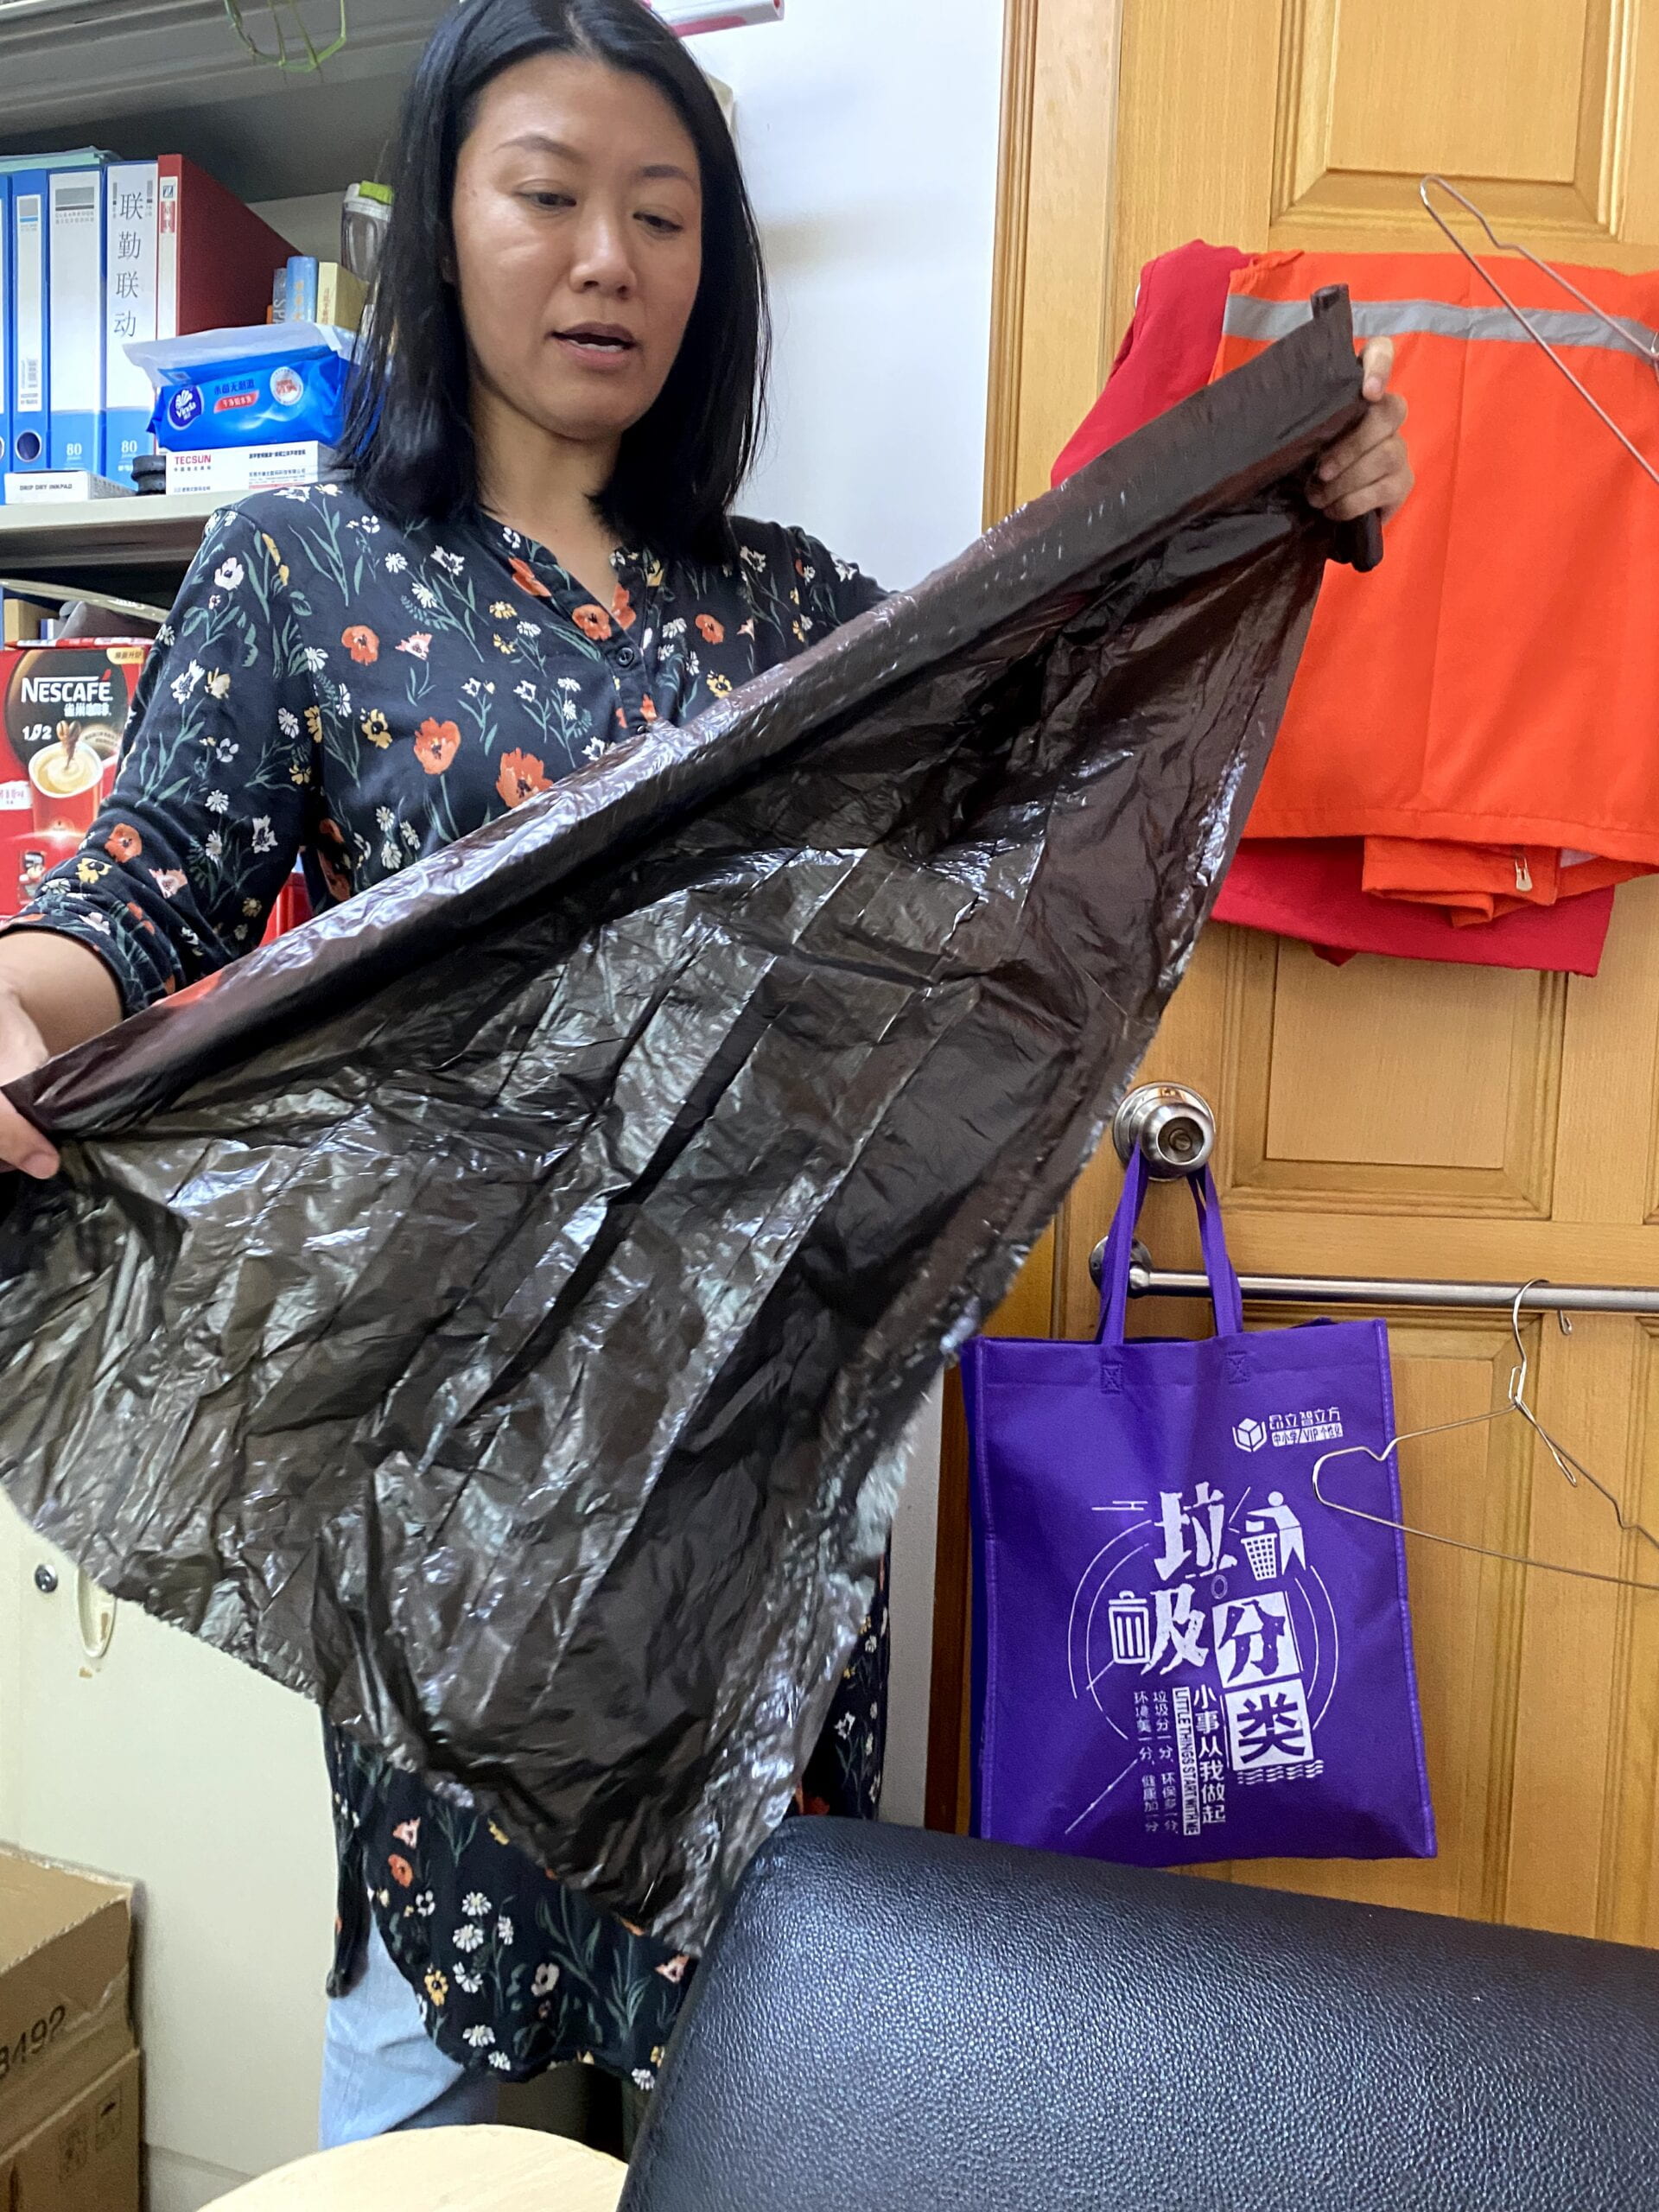
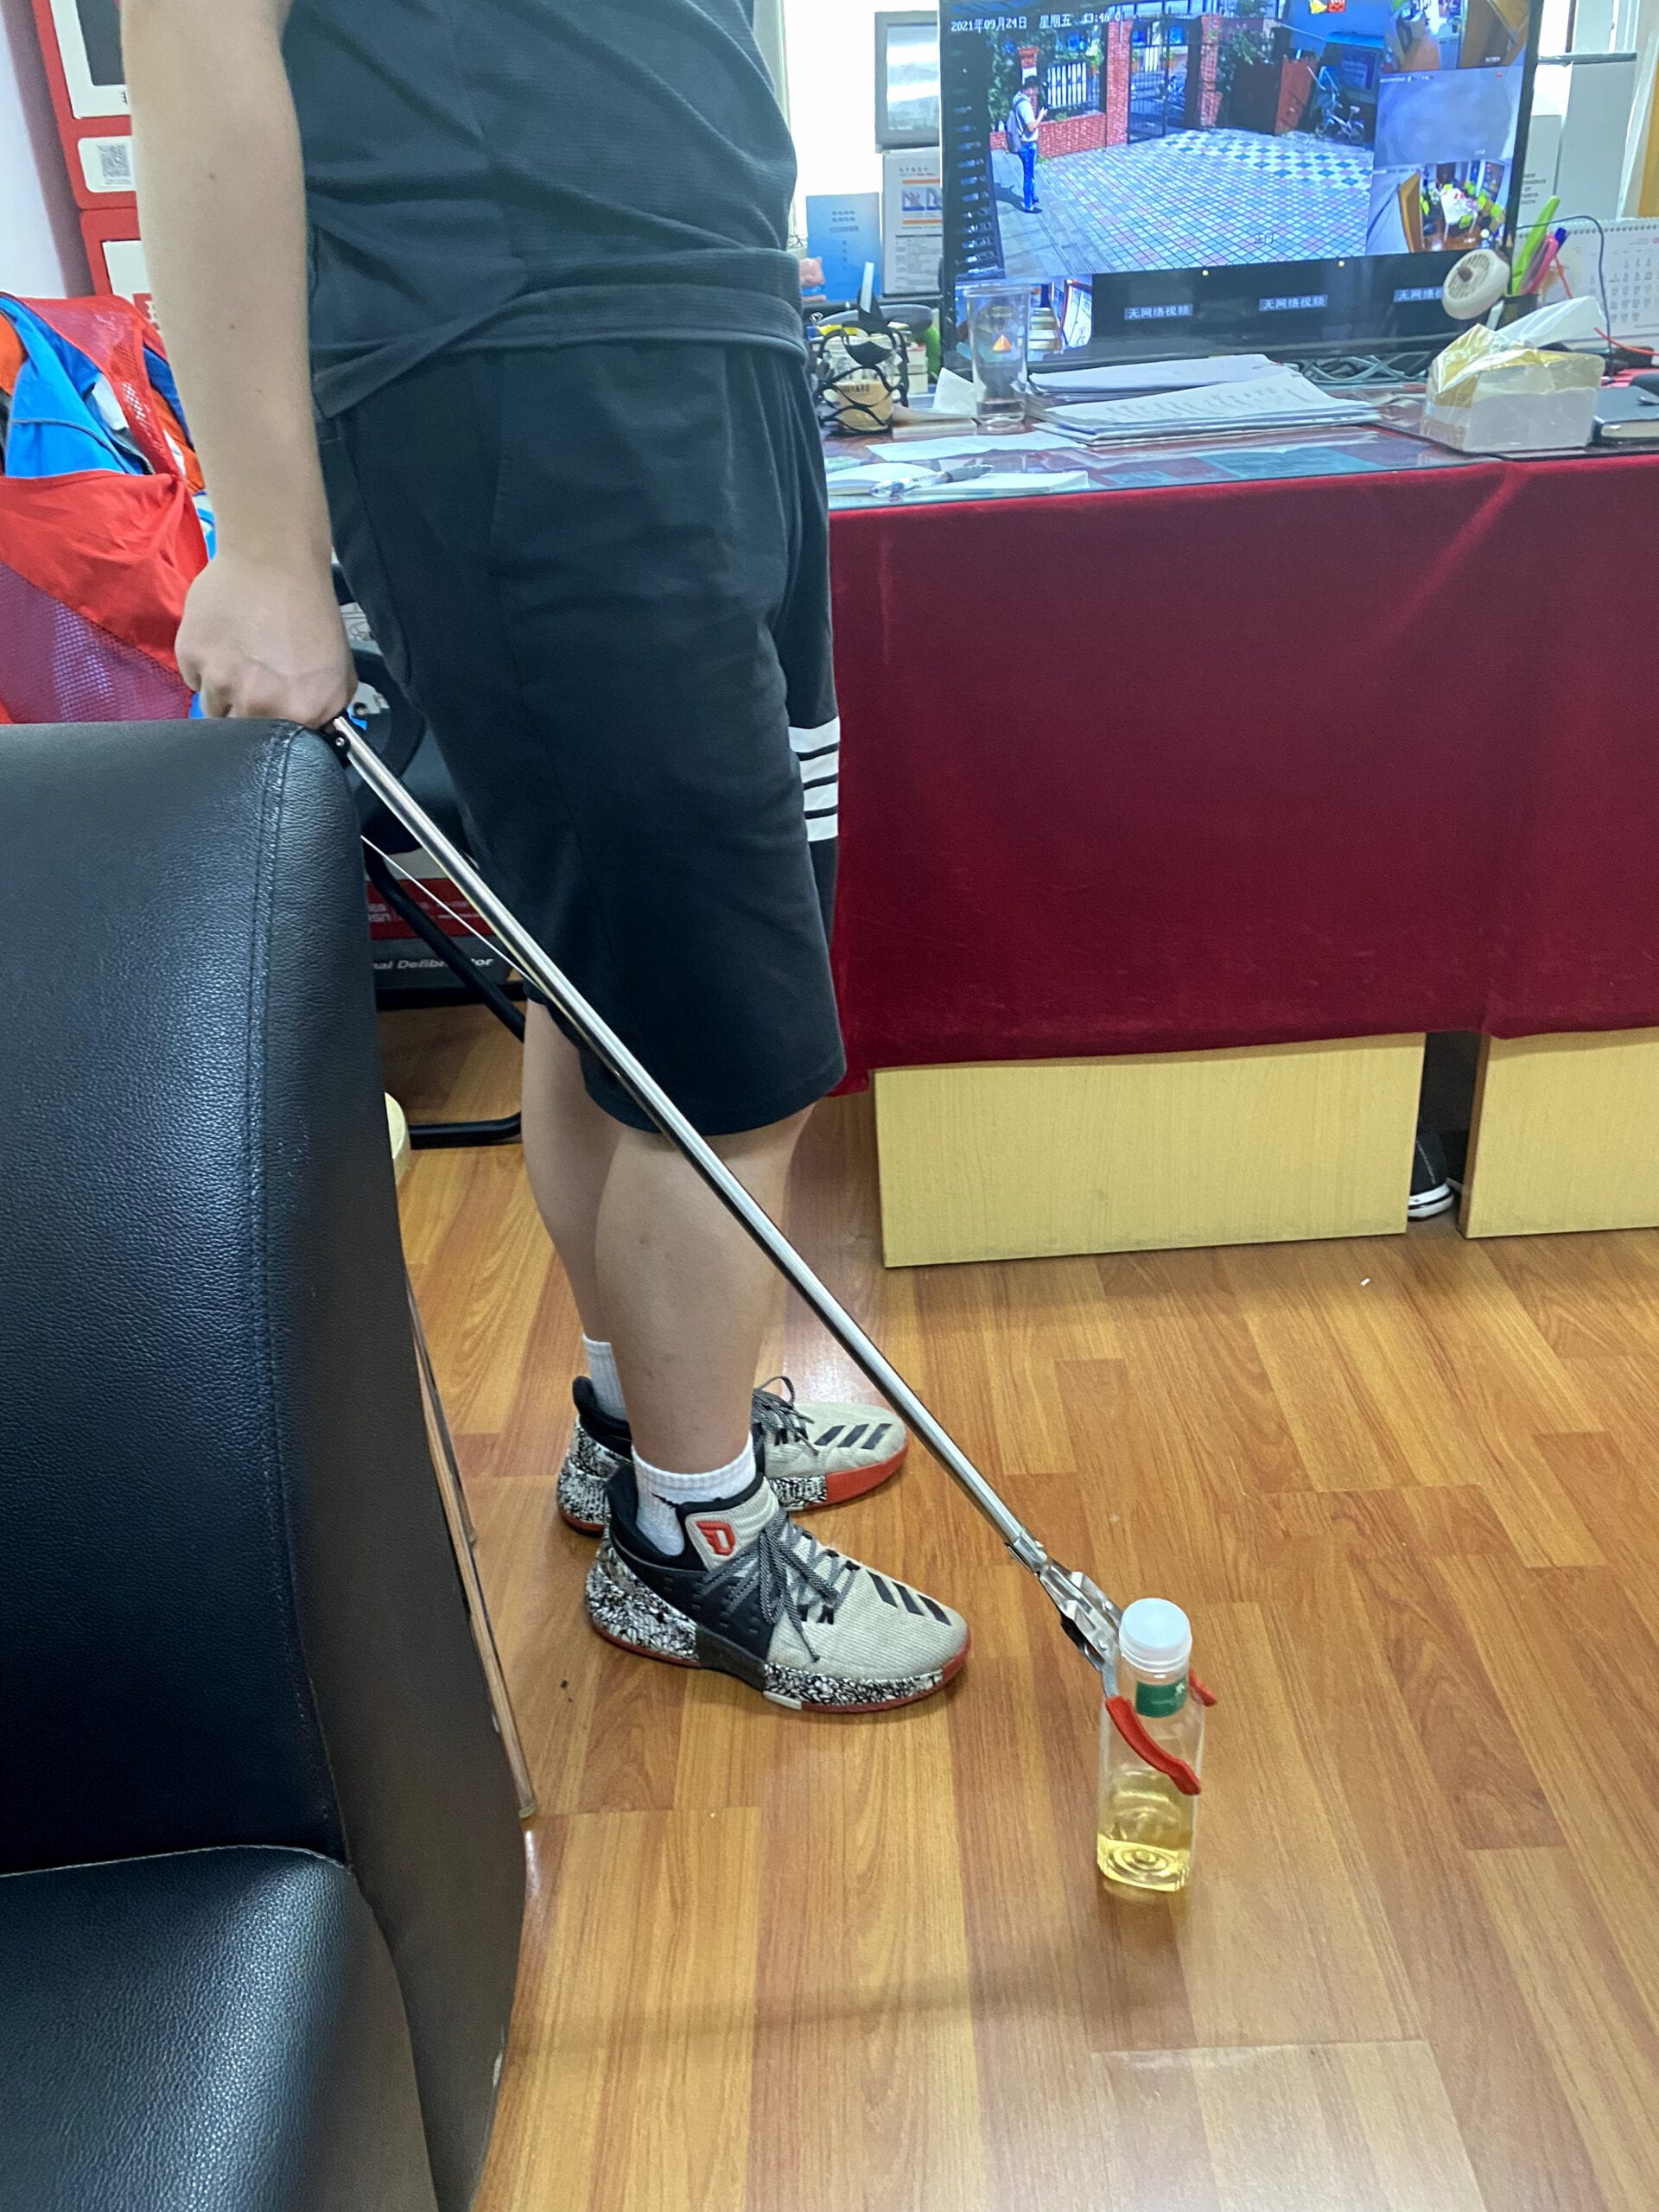
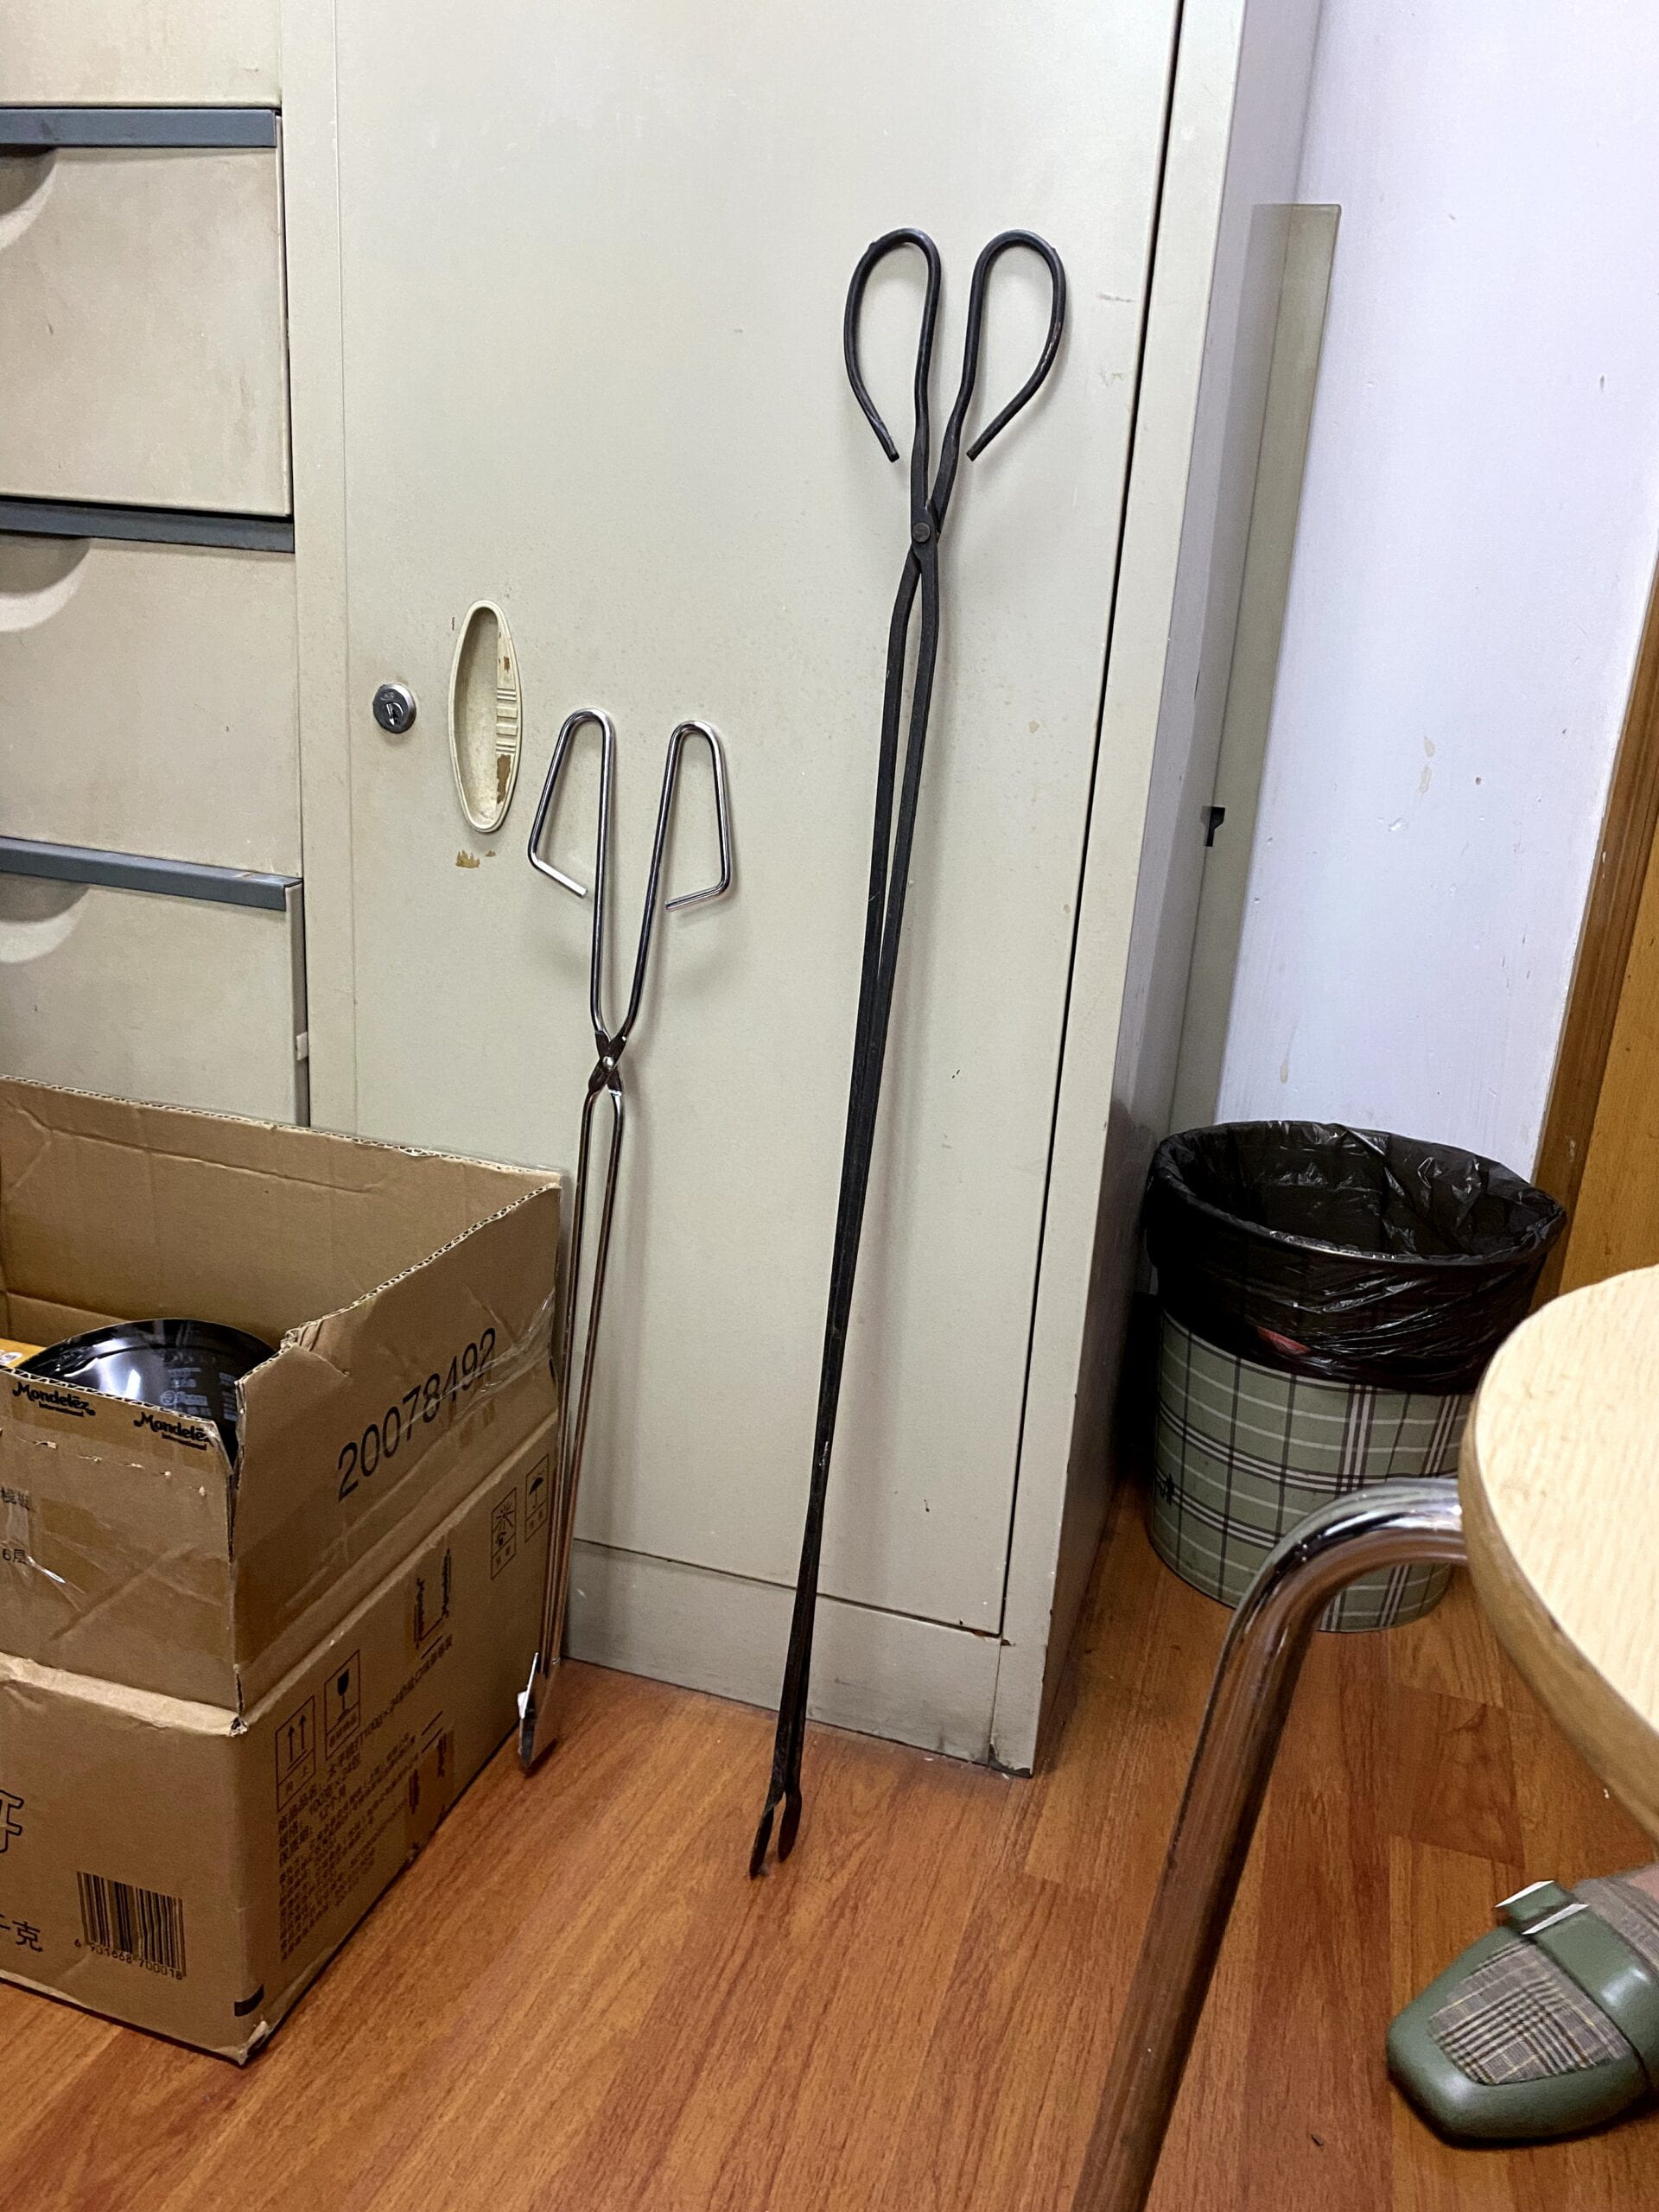
…… So we decided to make them a new pair of custom-built (thumbs up) garbage tongs.
1. Material testing
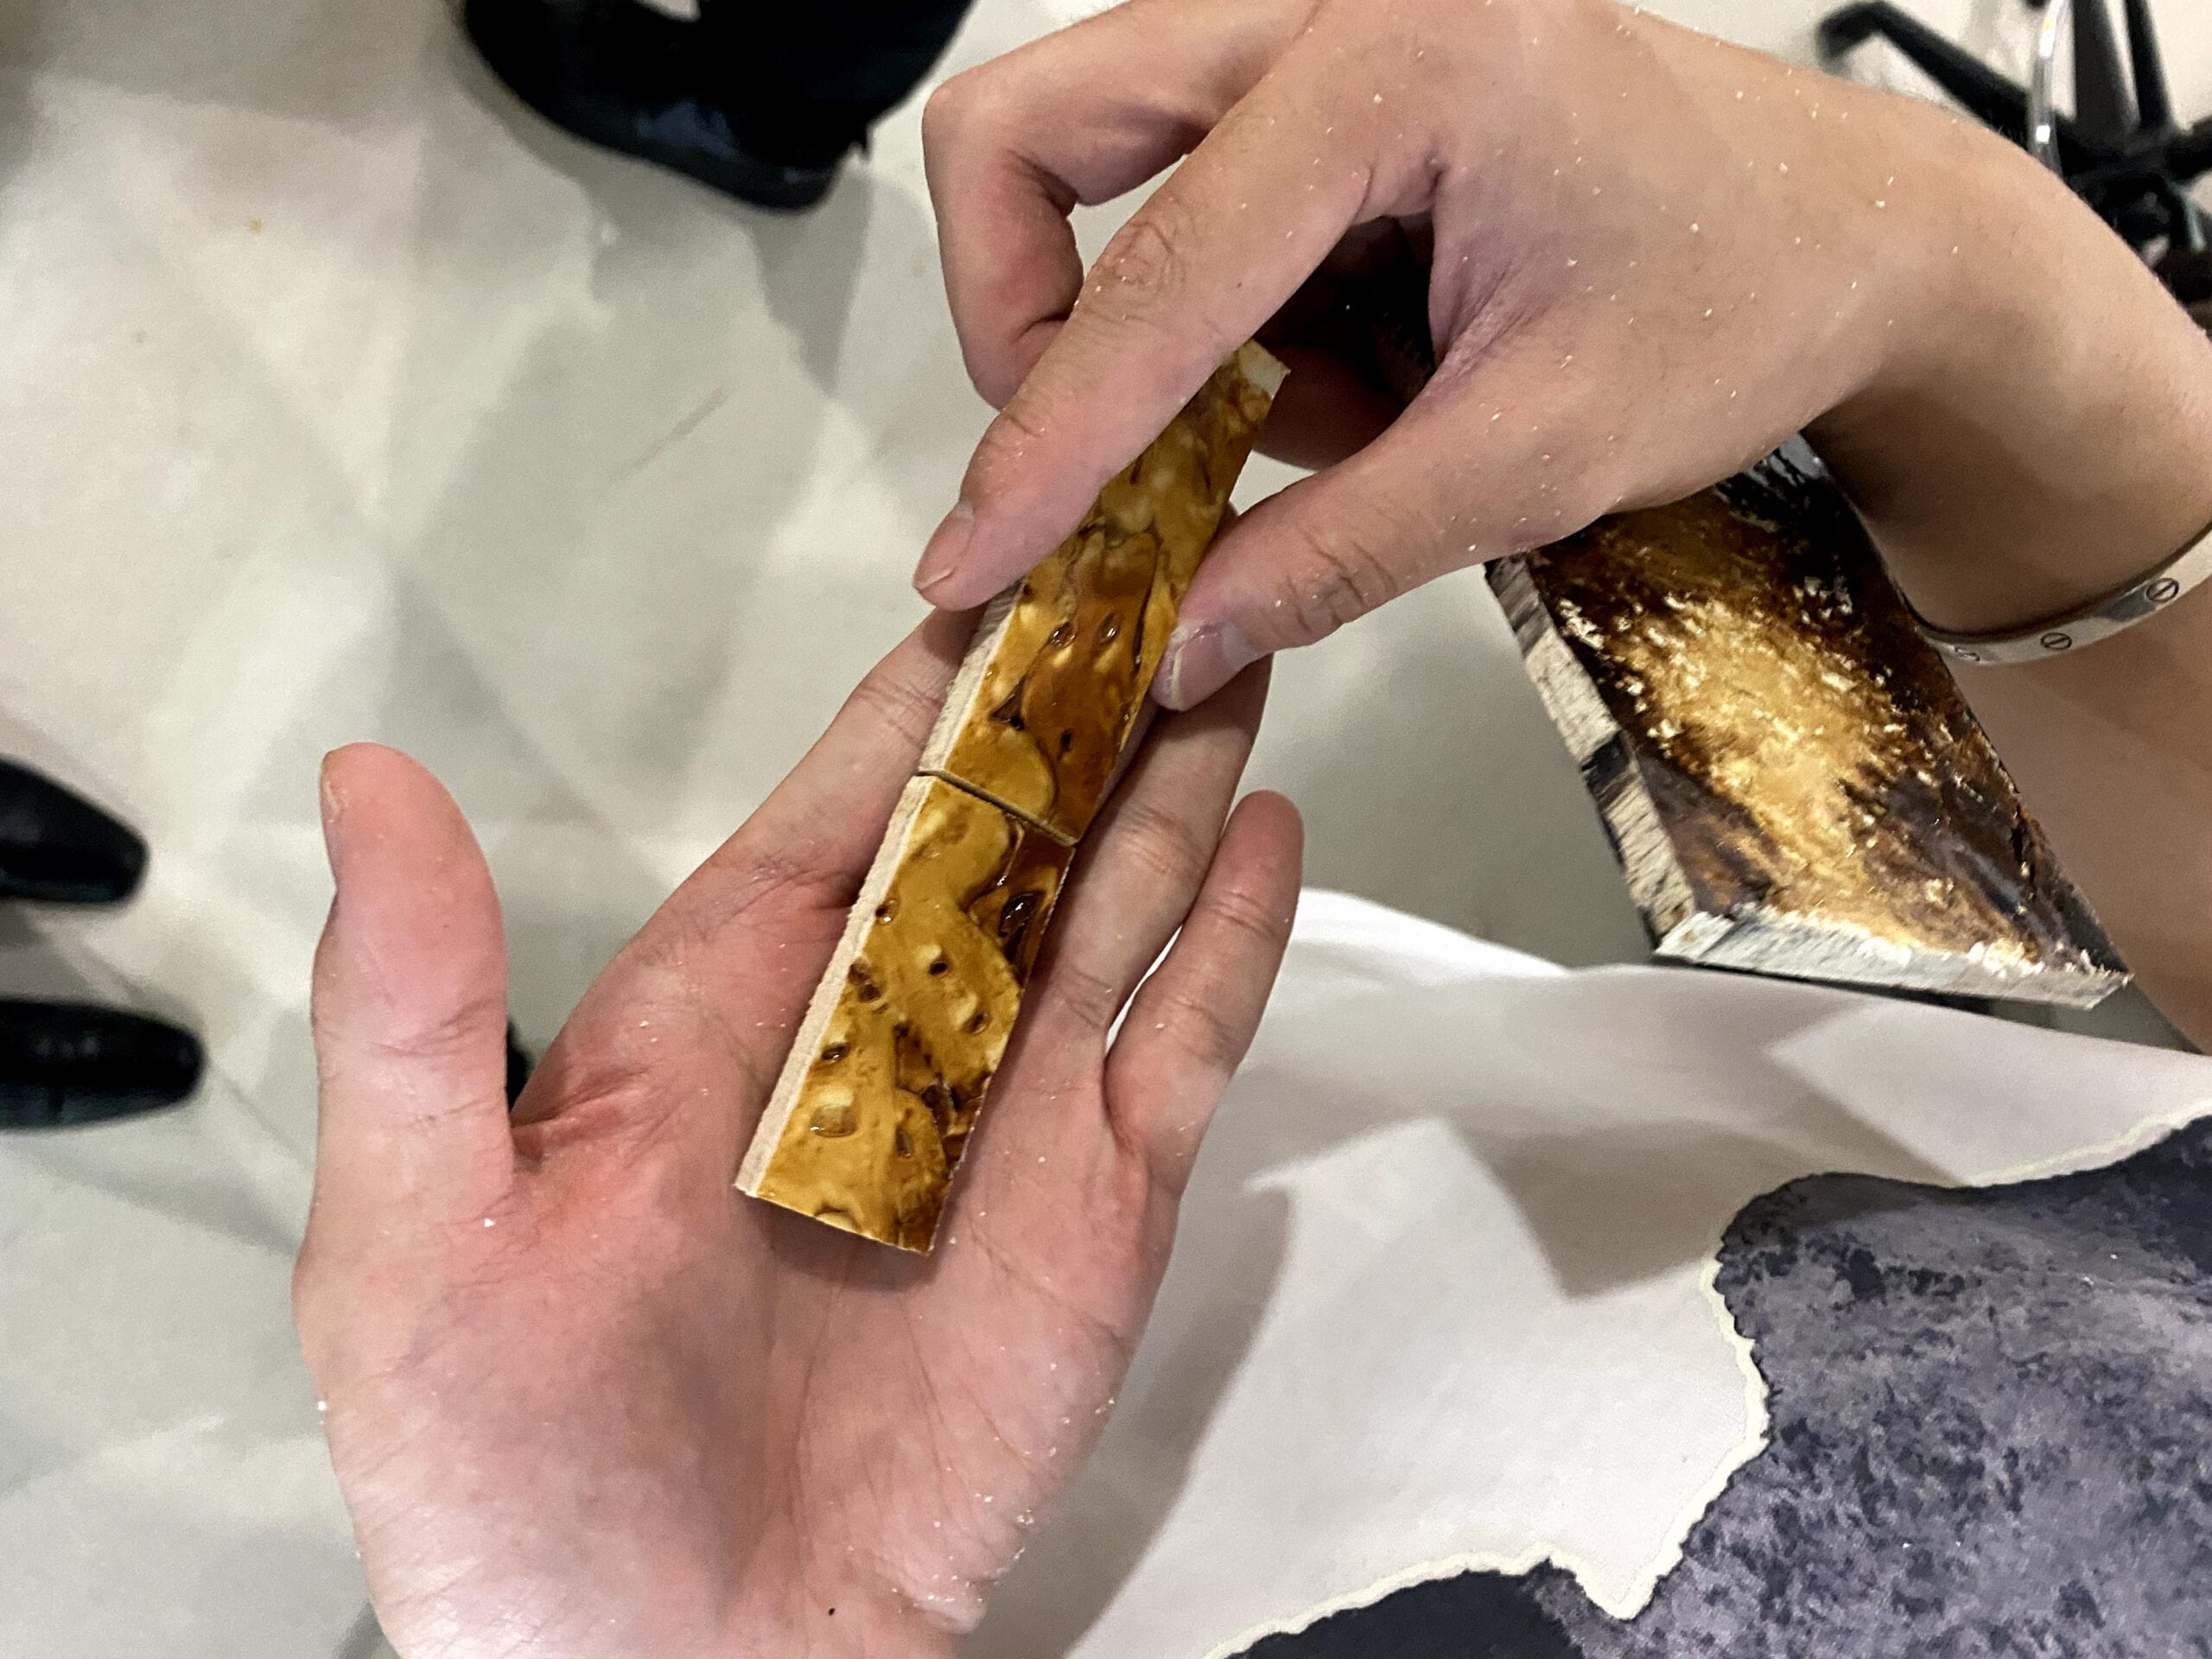
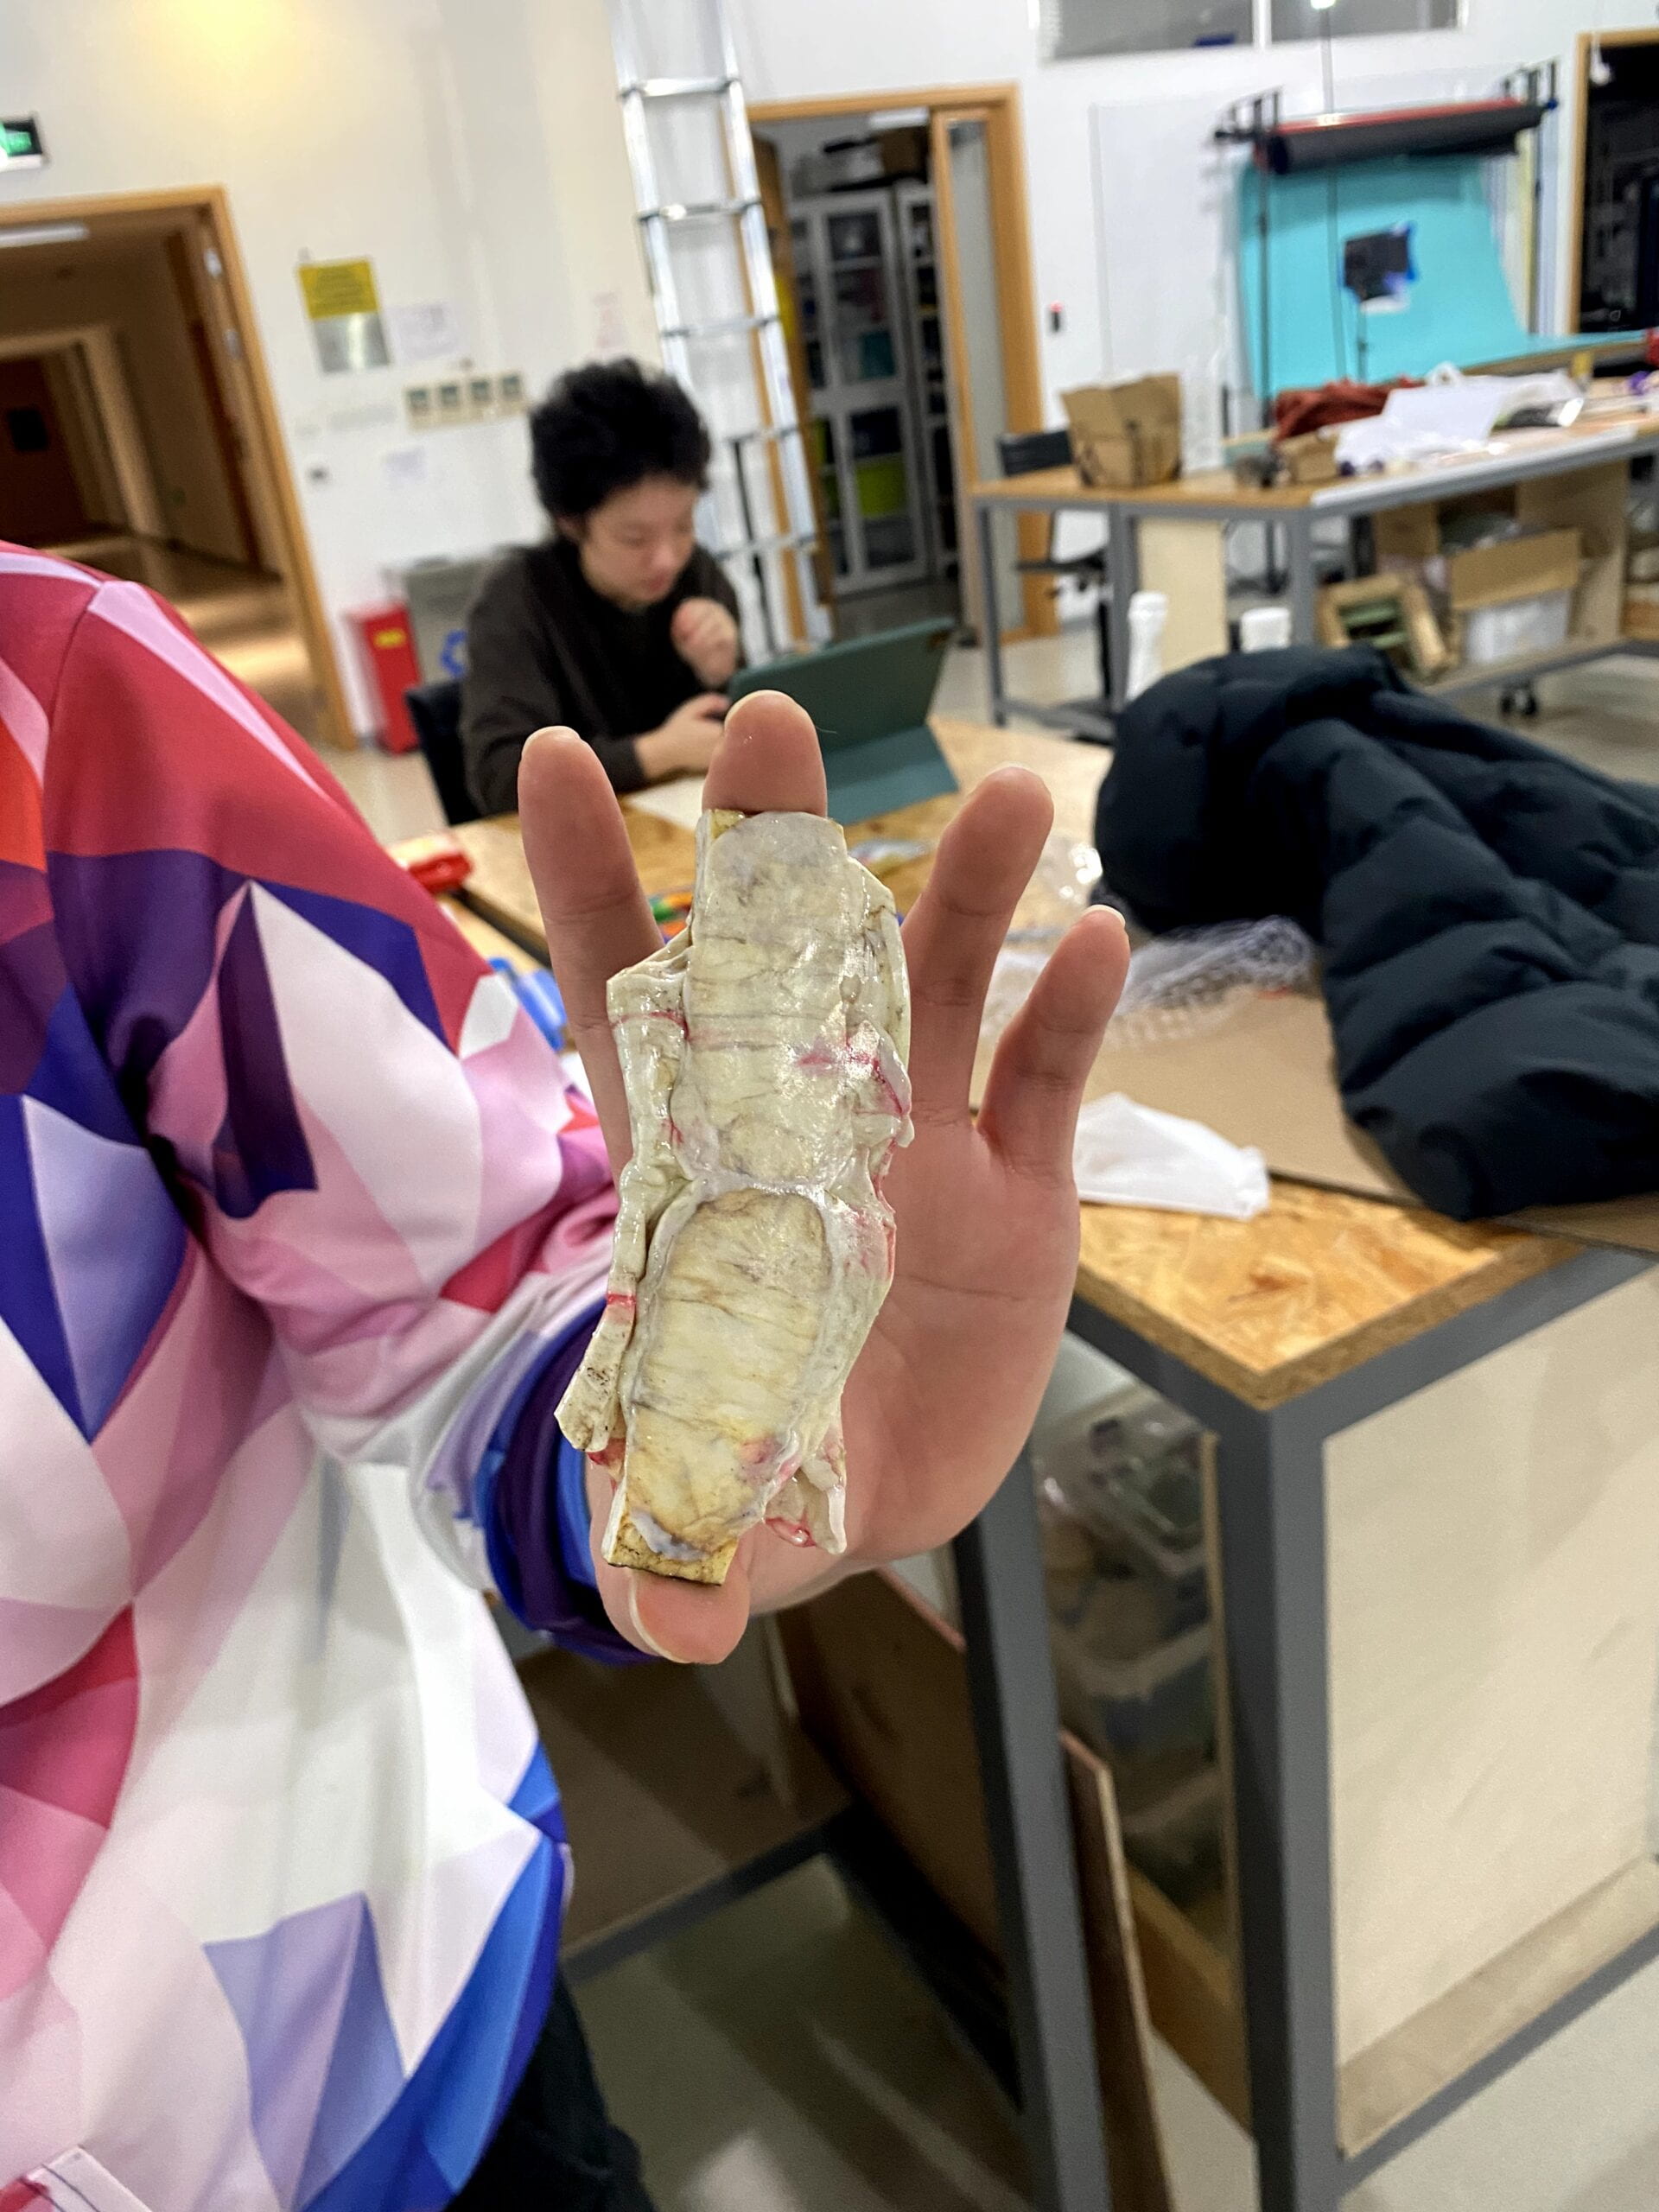
Since this is a tool, we need the material to be extremely durable, and that’s why we chose to use ABS plastic. We started by testing the properties of this material. We first melted it at different temperatures and see how it melts, and pressed it to see if it can be molded together. After burning two pieces pretty badly, we finally got one working board that looks decent and ready to be further processed.
The general process of making our material using ABS is as follows:
- Measure out about 800 g to 1 kilo of the abs raw material. Depending on the need for the appearance, shred or not shred the original material. For a denser, more sturdy board, shredding is recommended.
- Heat the oven to about 220 degrees Celsius, then put the fabric on the press before putting the plastic
- put the plastic shreds on the press, roughly forming a shape of the board. Stacking the pile relatively high doesn’t matter as long as it does not touch the upper ceiling
- heat for about 10-20 minutes, or until the pieces are soft to poking using a stick (please don’t touch them with your hands).
- Place the spacers of the correct thickness onto the corners of the press, and then put another piece of fabric on top, and press
- if the shape of the pressed board is less desirable, feel free to fold the board in to form a more uniform shape, and then press again (with the spacers)
- Also, it normally takes multiple presses for the board to reach the desired thickness, and sometimes the board will go thinner than the spacer, which is an unsolved mystery.
- Finally, after pressing, take the board out along with the fabric underneath, press with two larger wood sheets on both sides and clamp to prevent the board from curling.
- Wait for the board to cool until you can touch it, and take it out of the clamp — you’re done!
1.1 trying to deal with the length problem
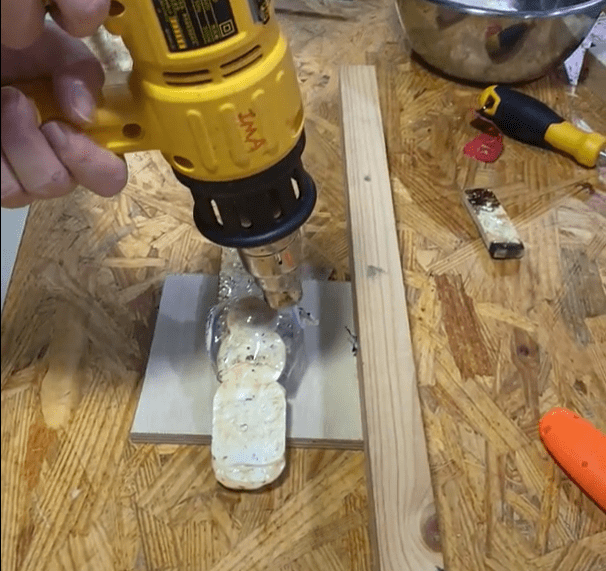
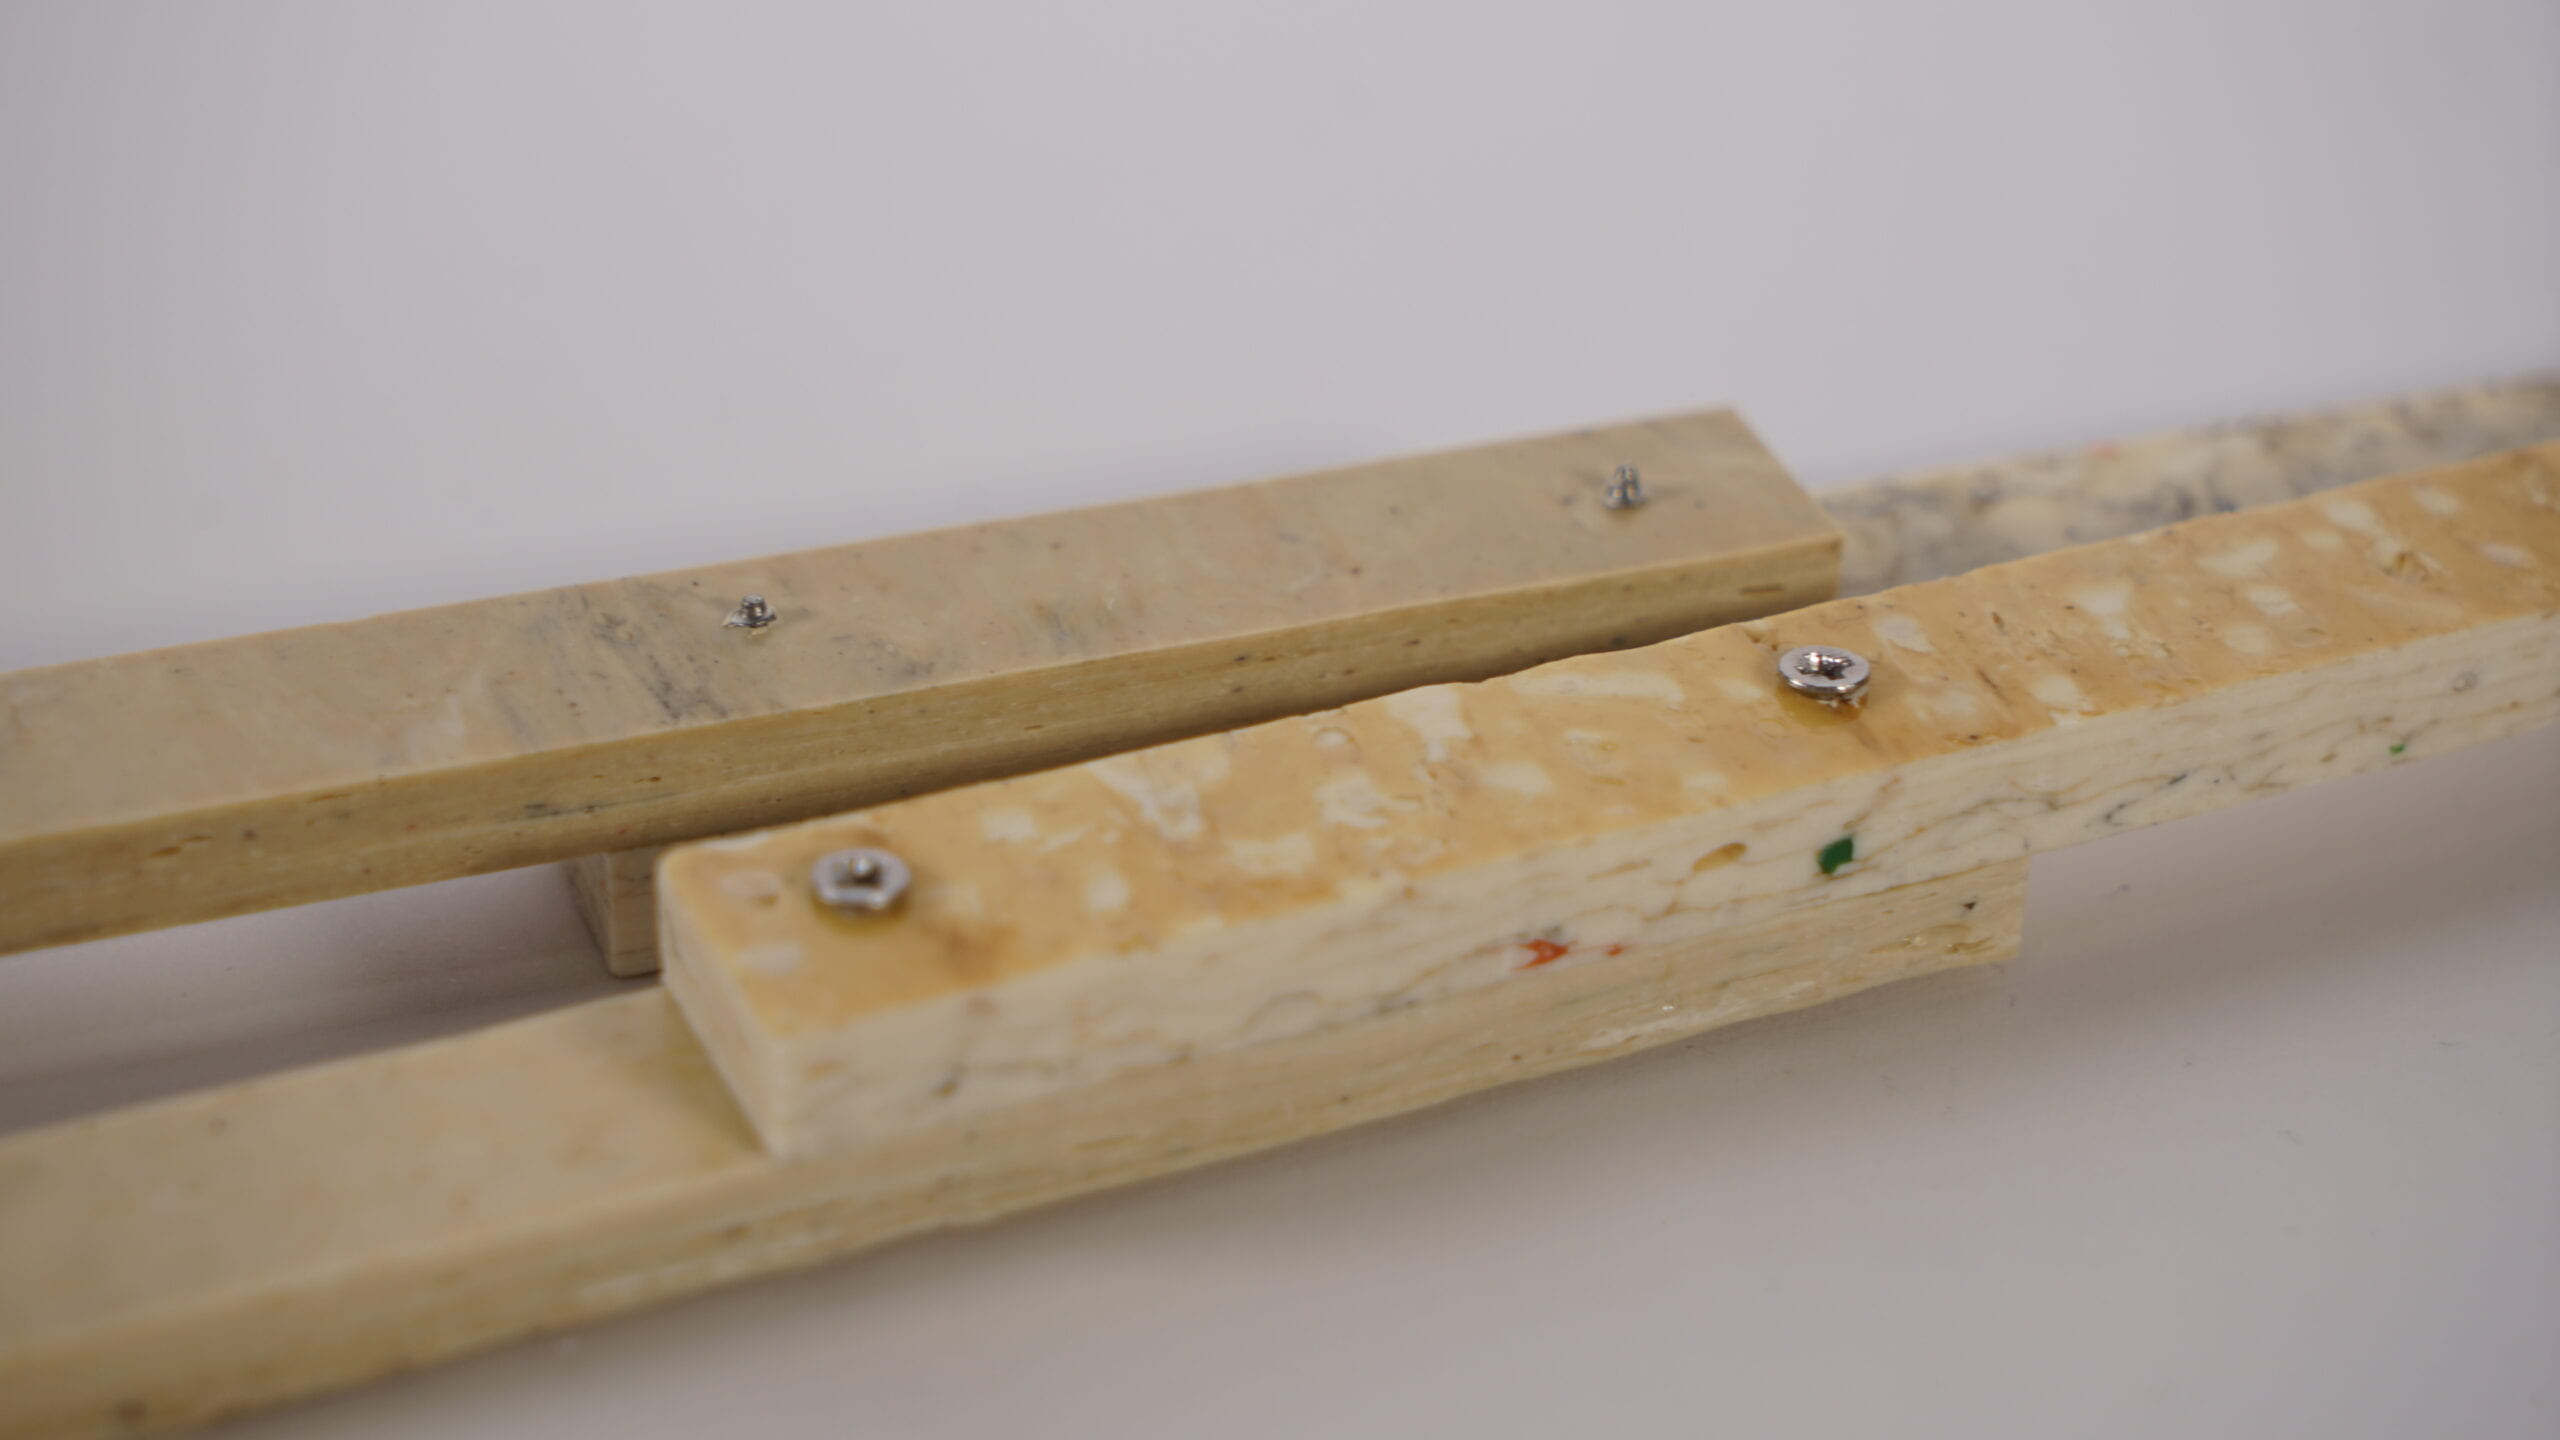
we were afraid that our tongs might be longer than the press that we have, so we brainstormed possible ways of connecting two shorter boards, such as heat shrinking plastic bottles to cover or using one piece of melted plastic as glue in between them. Both methods ended up not as effective and sturdy as we wanted, so we decided to just screw the boards together.
2. Design and iterations
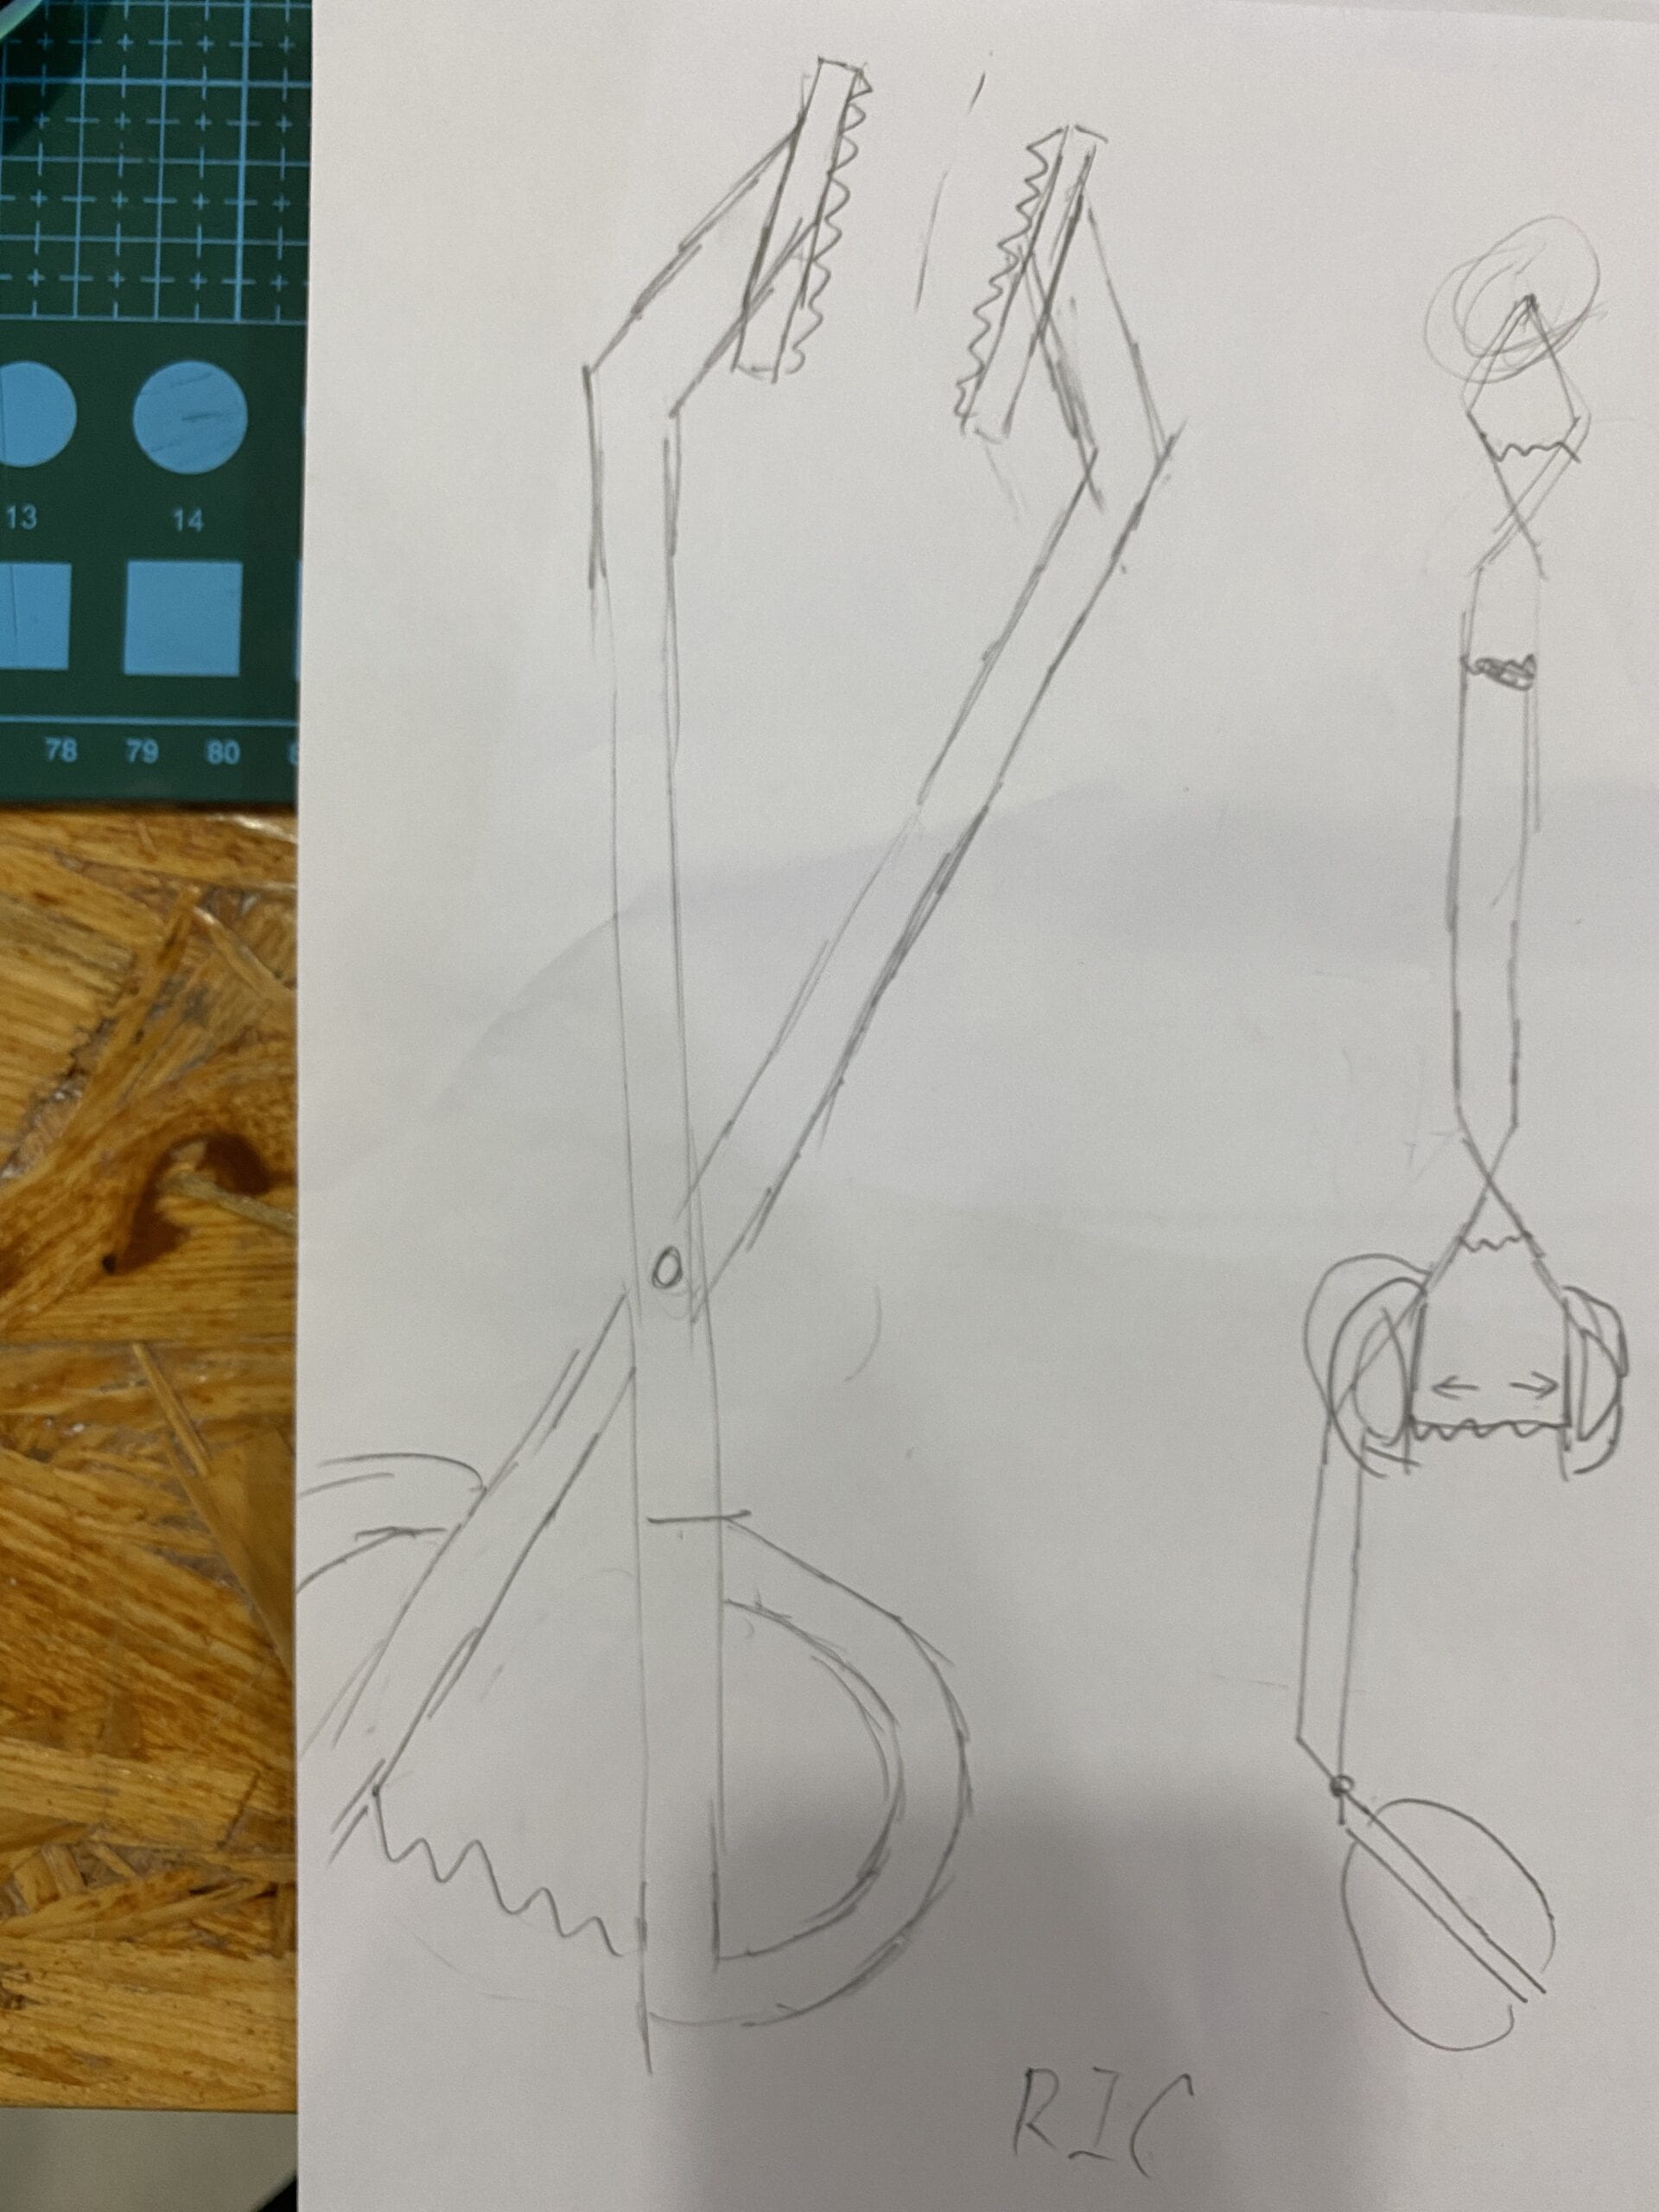
we brainstormed about how the tongs should look like. inspired by some online image searching, we also thought about bending the handle to form a gun shape, or incorporating springs to increase grab force, and so on. Once we finished testing out the first sketch in laser-cut cardboard, we quickly realized that designing the shape ourselves was not the way to go, so we imported an image and traced it in Rhino. We laser cut the pieces out in 5mm plywood, and it ended up way better and actually usable (prototype 2).
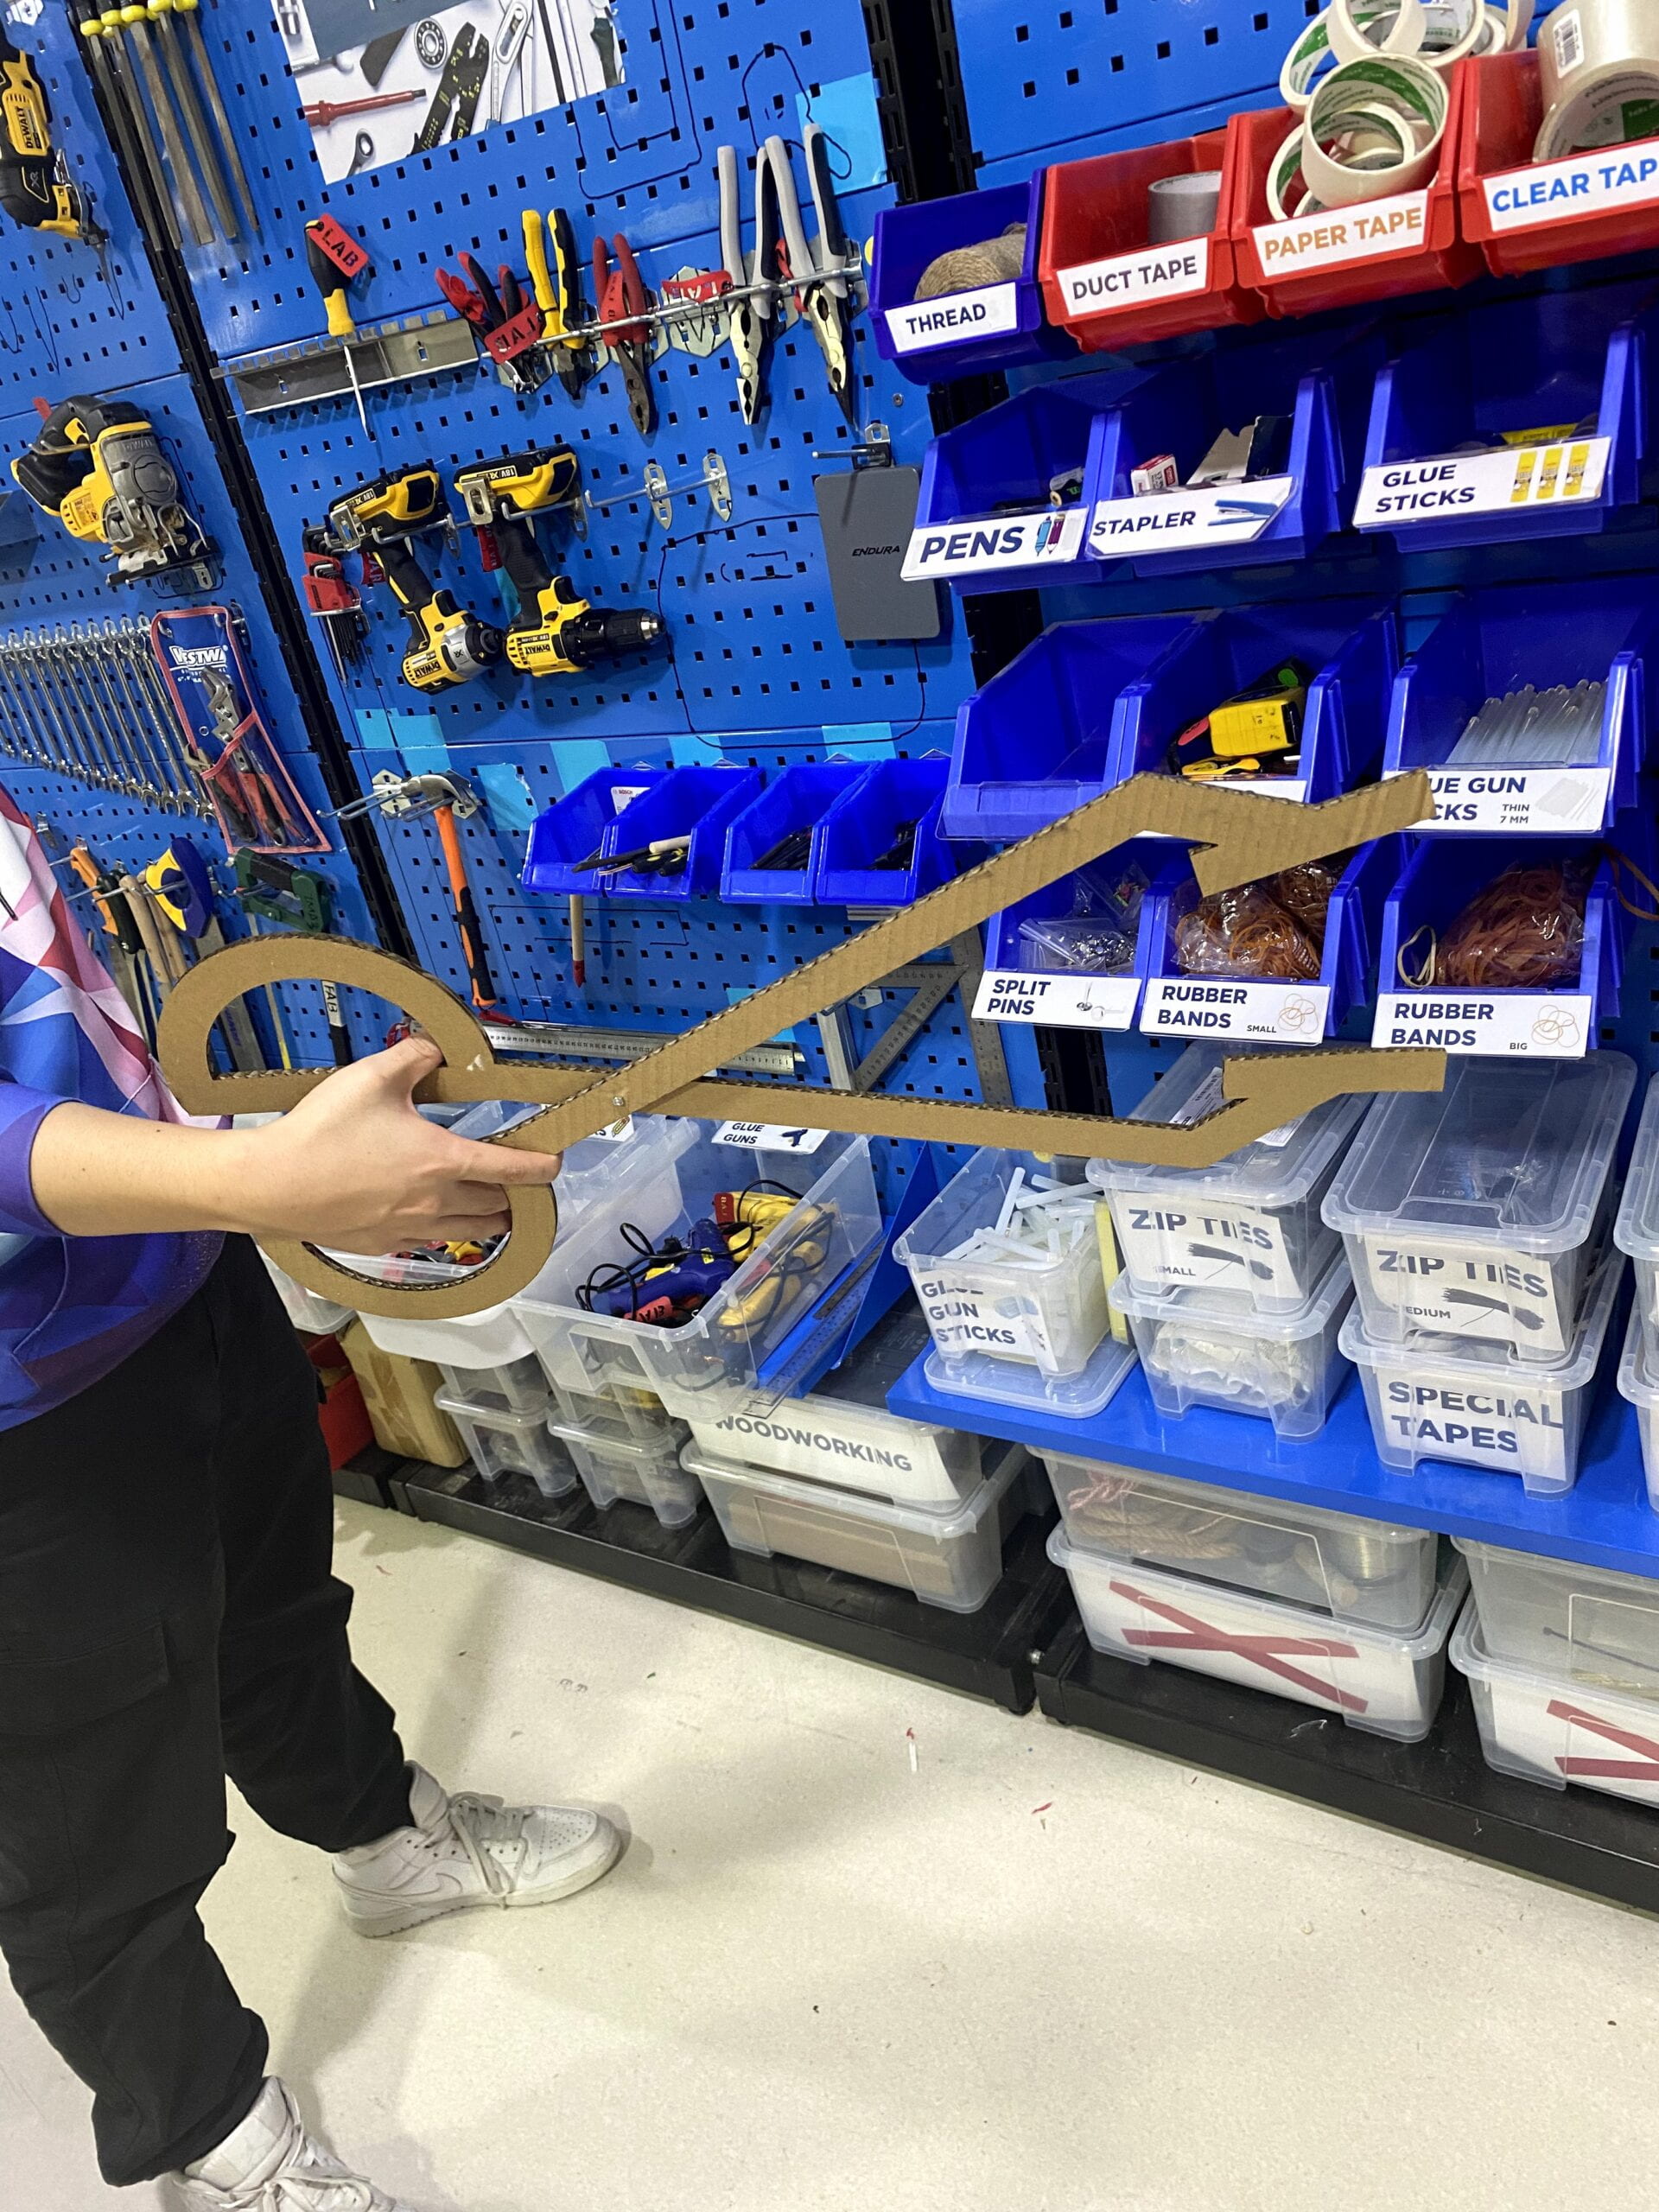

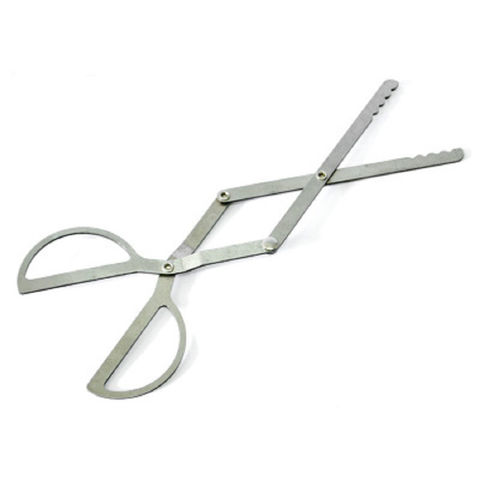
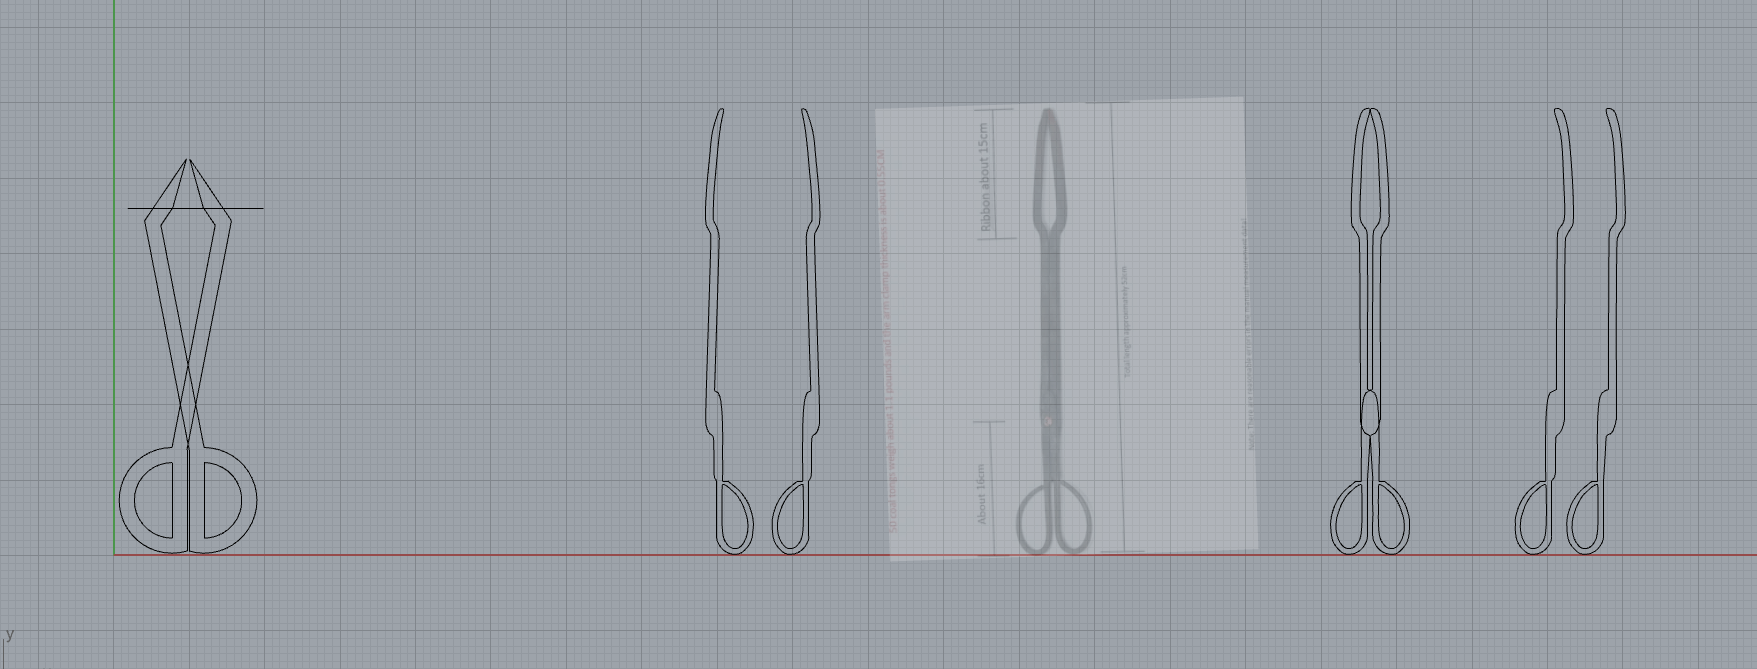
↑ prototype 2
We met our community members the second time, shortly after, and showed them our laser-cut prototype and the board that we pressed. They were pretty happy with the result but told us that it could be just slightly longer. So, we altered the design and made it into four separate pieces that can be screwed together (prototype 3). We quickly moved on to machining the plastic board. Luckily, ABS was very easily machine-able despite its toughness, so we quickly made the same design on the CNC machine (prototype 4).
Here comes one of our most important challenges. Since the plastic is more flexible than plywood, it gets bouncy and wobbly and easily bent when the piece gets long and thin. One solution was to bend in the tips, but after trying it out on wood, we actually found it harder to use as the tips would constantly dislocate themselves. However, we did try a new design on the handle with the thumbhole (prototype 5) and decided to update the community with our progress.
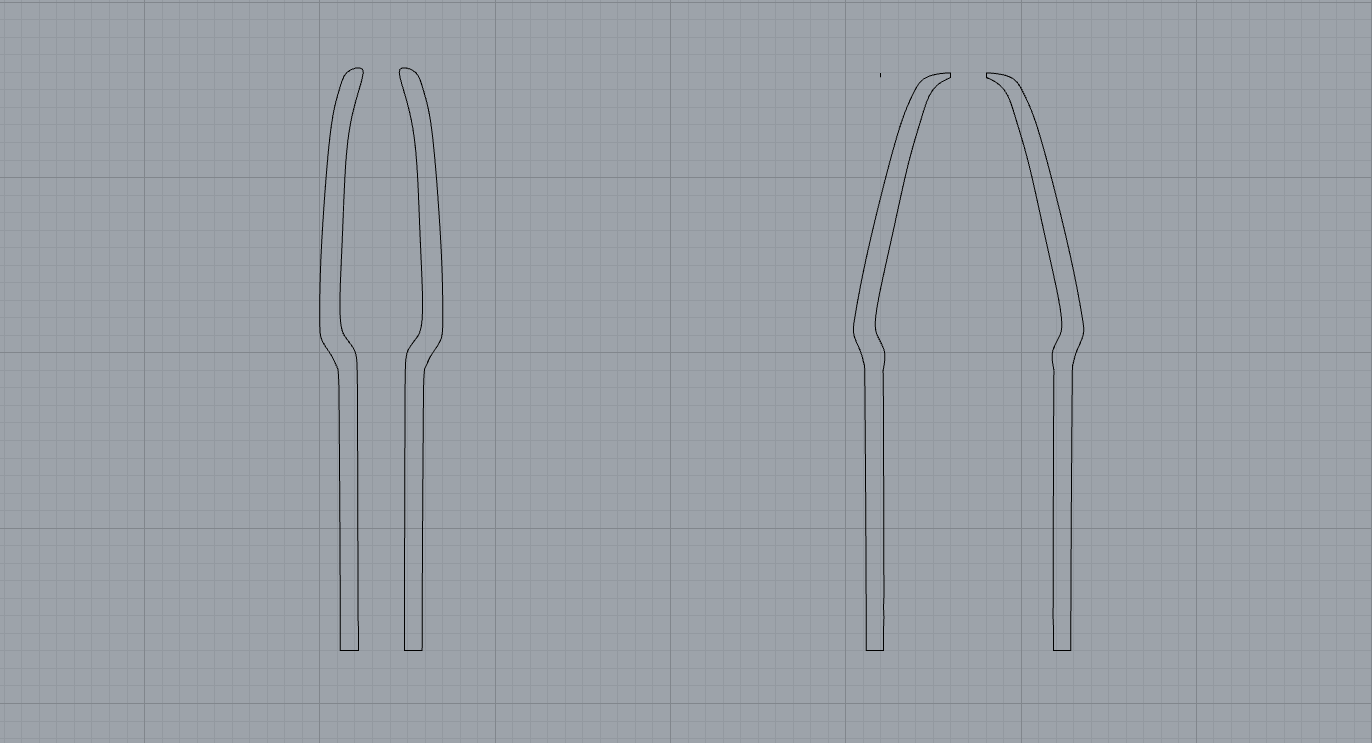
We took the 3, 4, 5 to the community shortly after. To our surprise, they preferred the original handle better, although we did prefer our big-small hole design. Prototype 3 (the wood) was the most well-received, for its comfortable grip and length, as well as its surprisingly effective shape for picking up small objects like cigarette butts. So, after the meeting, we mainly focused on dealing with the “wobble problem” of prototype 4, as well as some UX issues.
Since plywood is less flexible, we tried to make our own ply-plastic, by gluing multiple thinner boards together (prototype 5). But this provided more chance for accidents to happen, and it also needed the board to be extremely flat, or the glue won’t stick well. So we abandoned this idea. Then we tried to press some plywood to the melting plastic to try and form some sort of “dual board”. It straight up didn’t work…… so after all these, we ended up increasing the width of the middle section (prototype 6), which worked but at the same time made it heavier. However, after consulting our community, we decided it was still going to be way lighter than what they already have. So great.
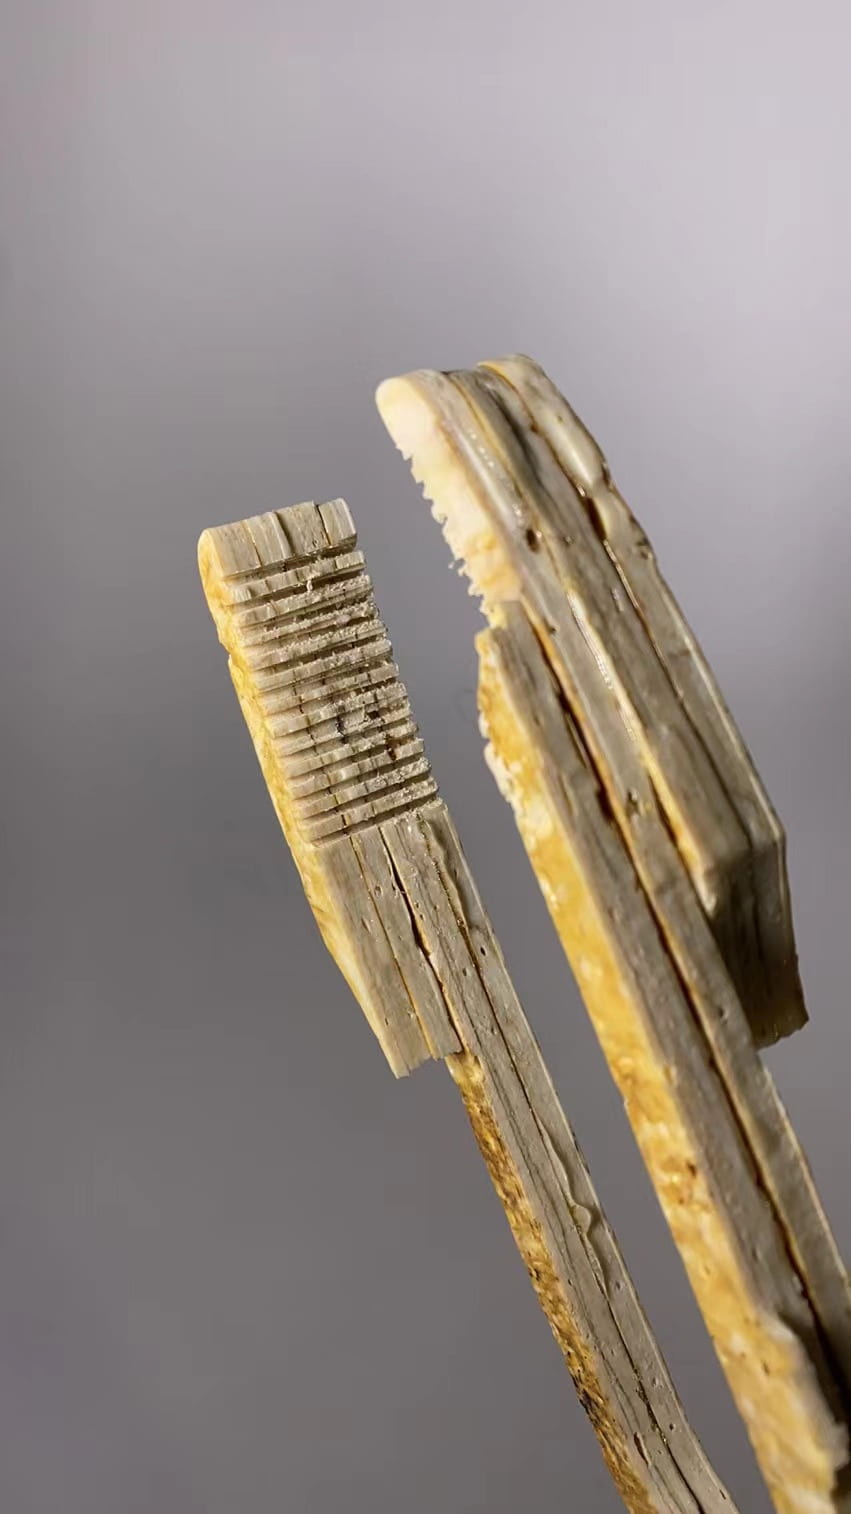
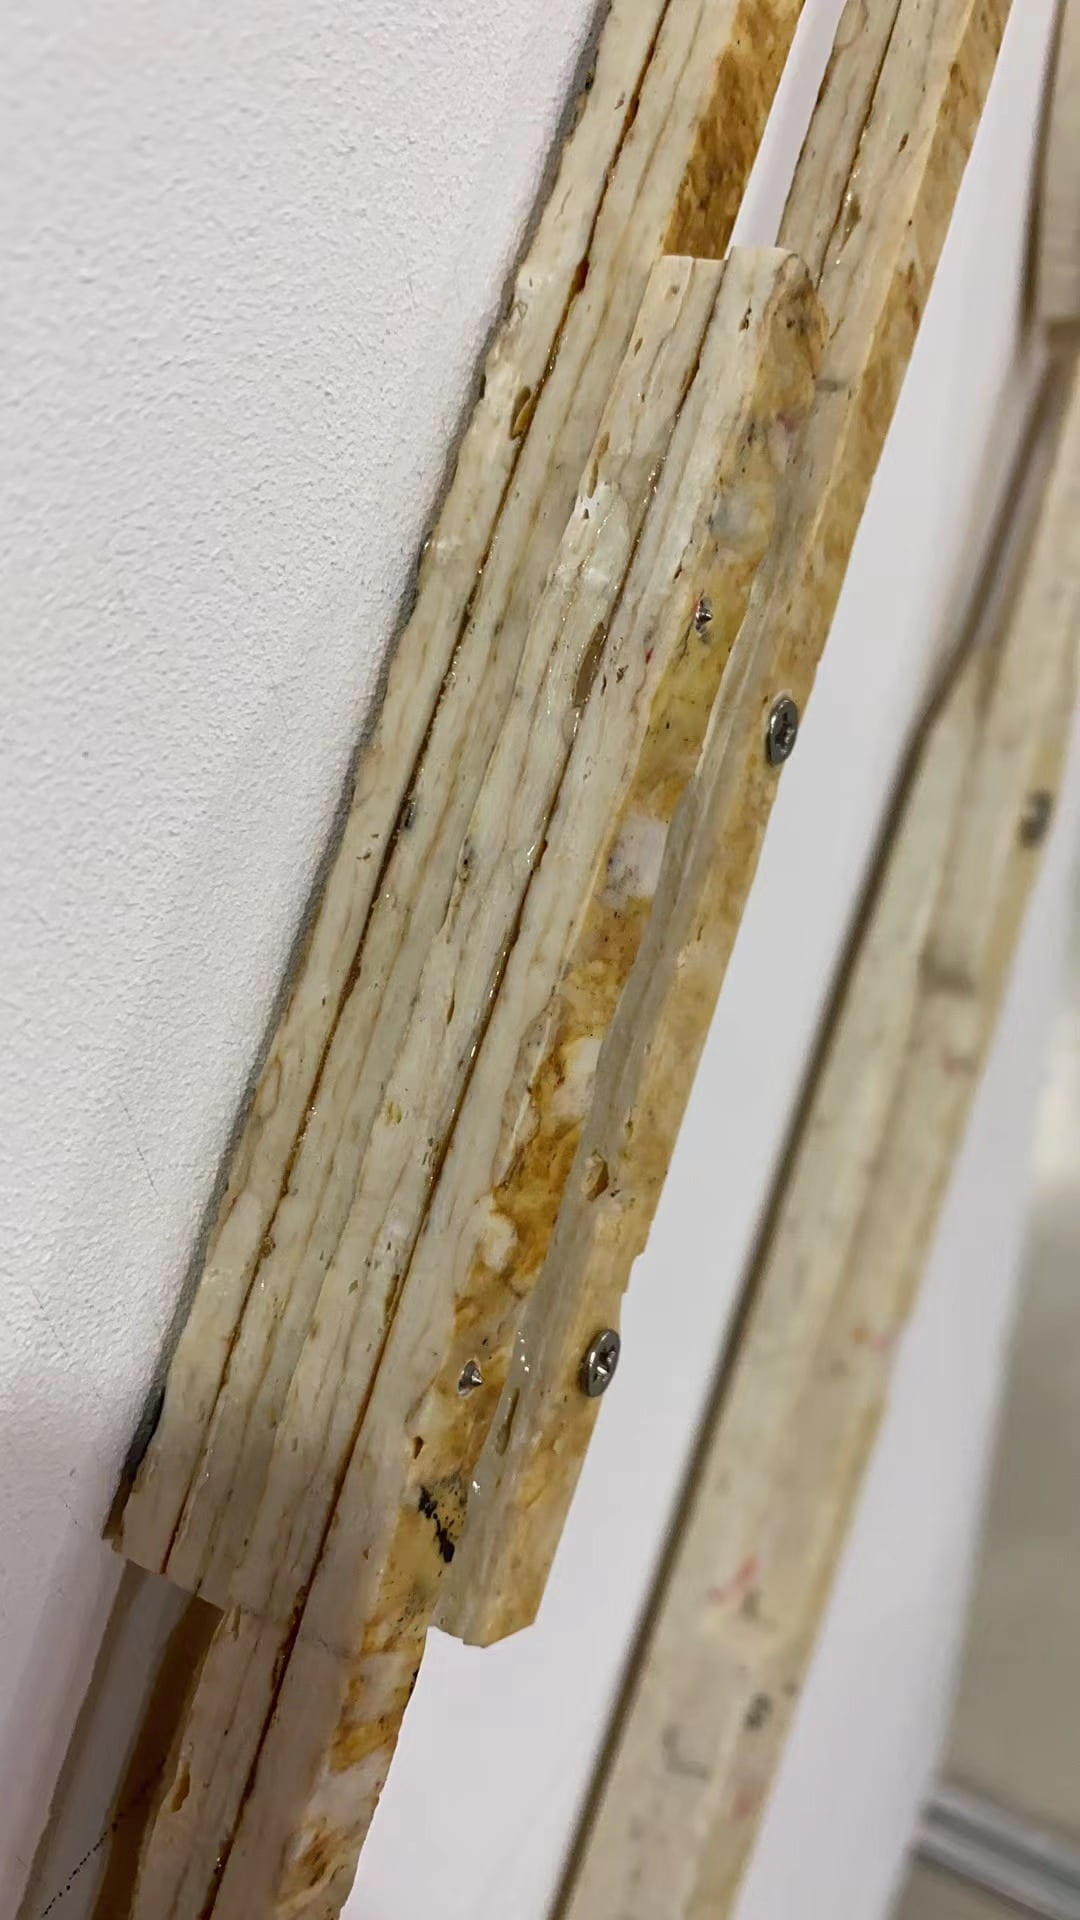
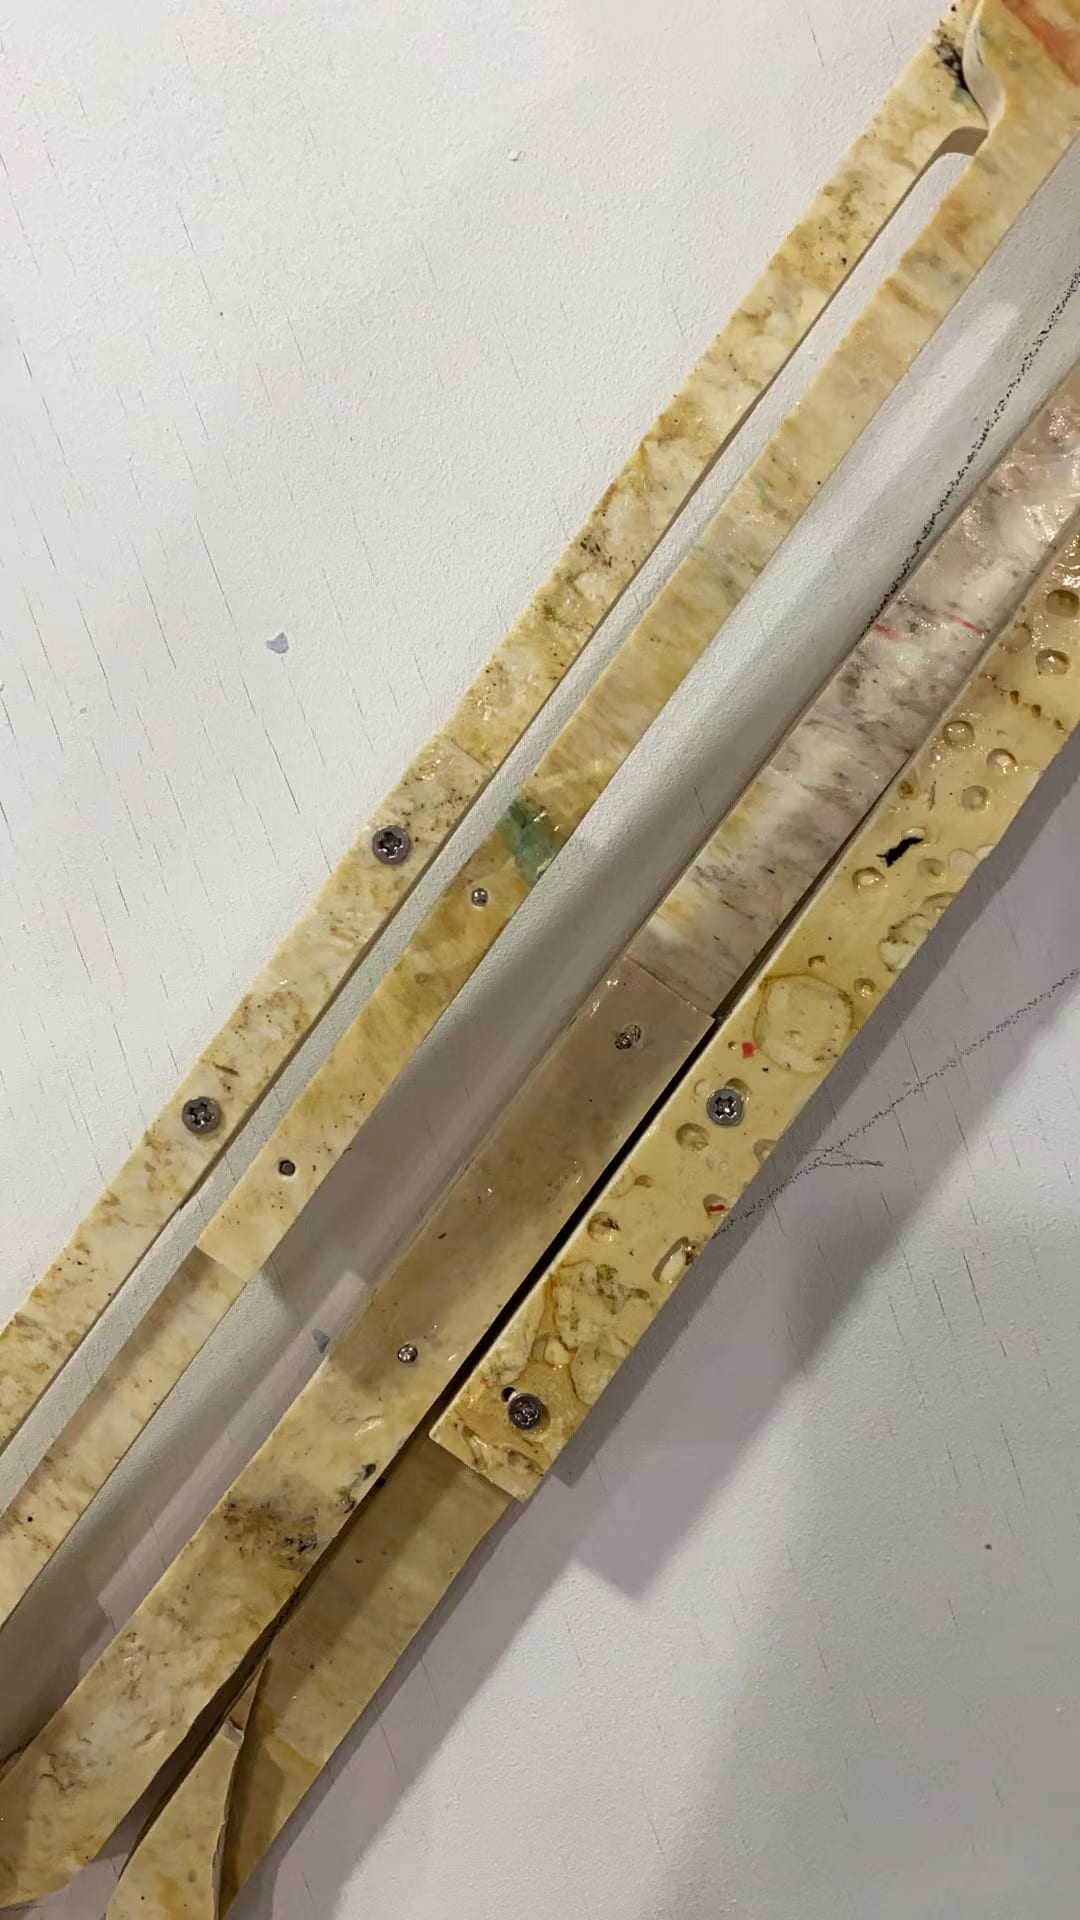
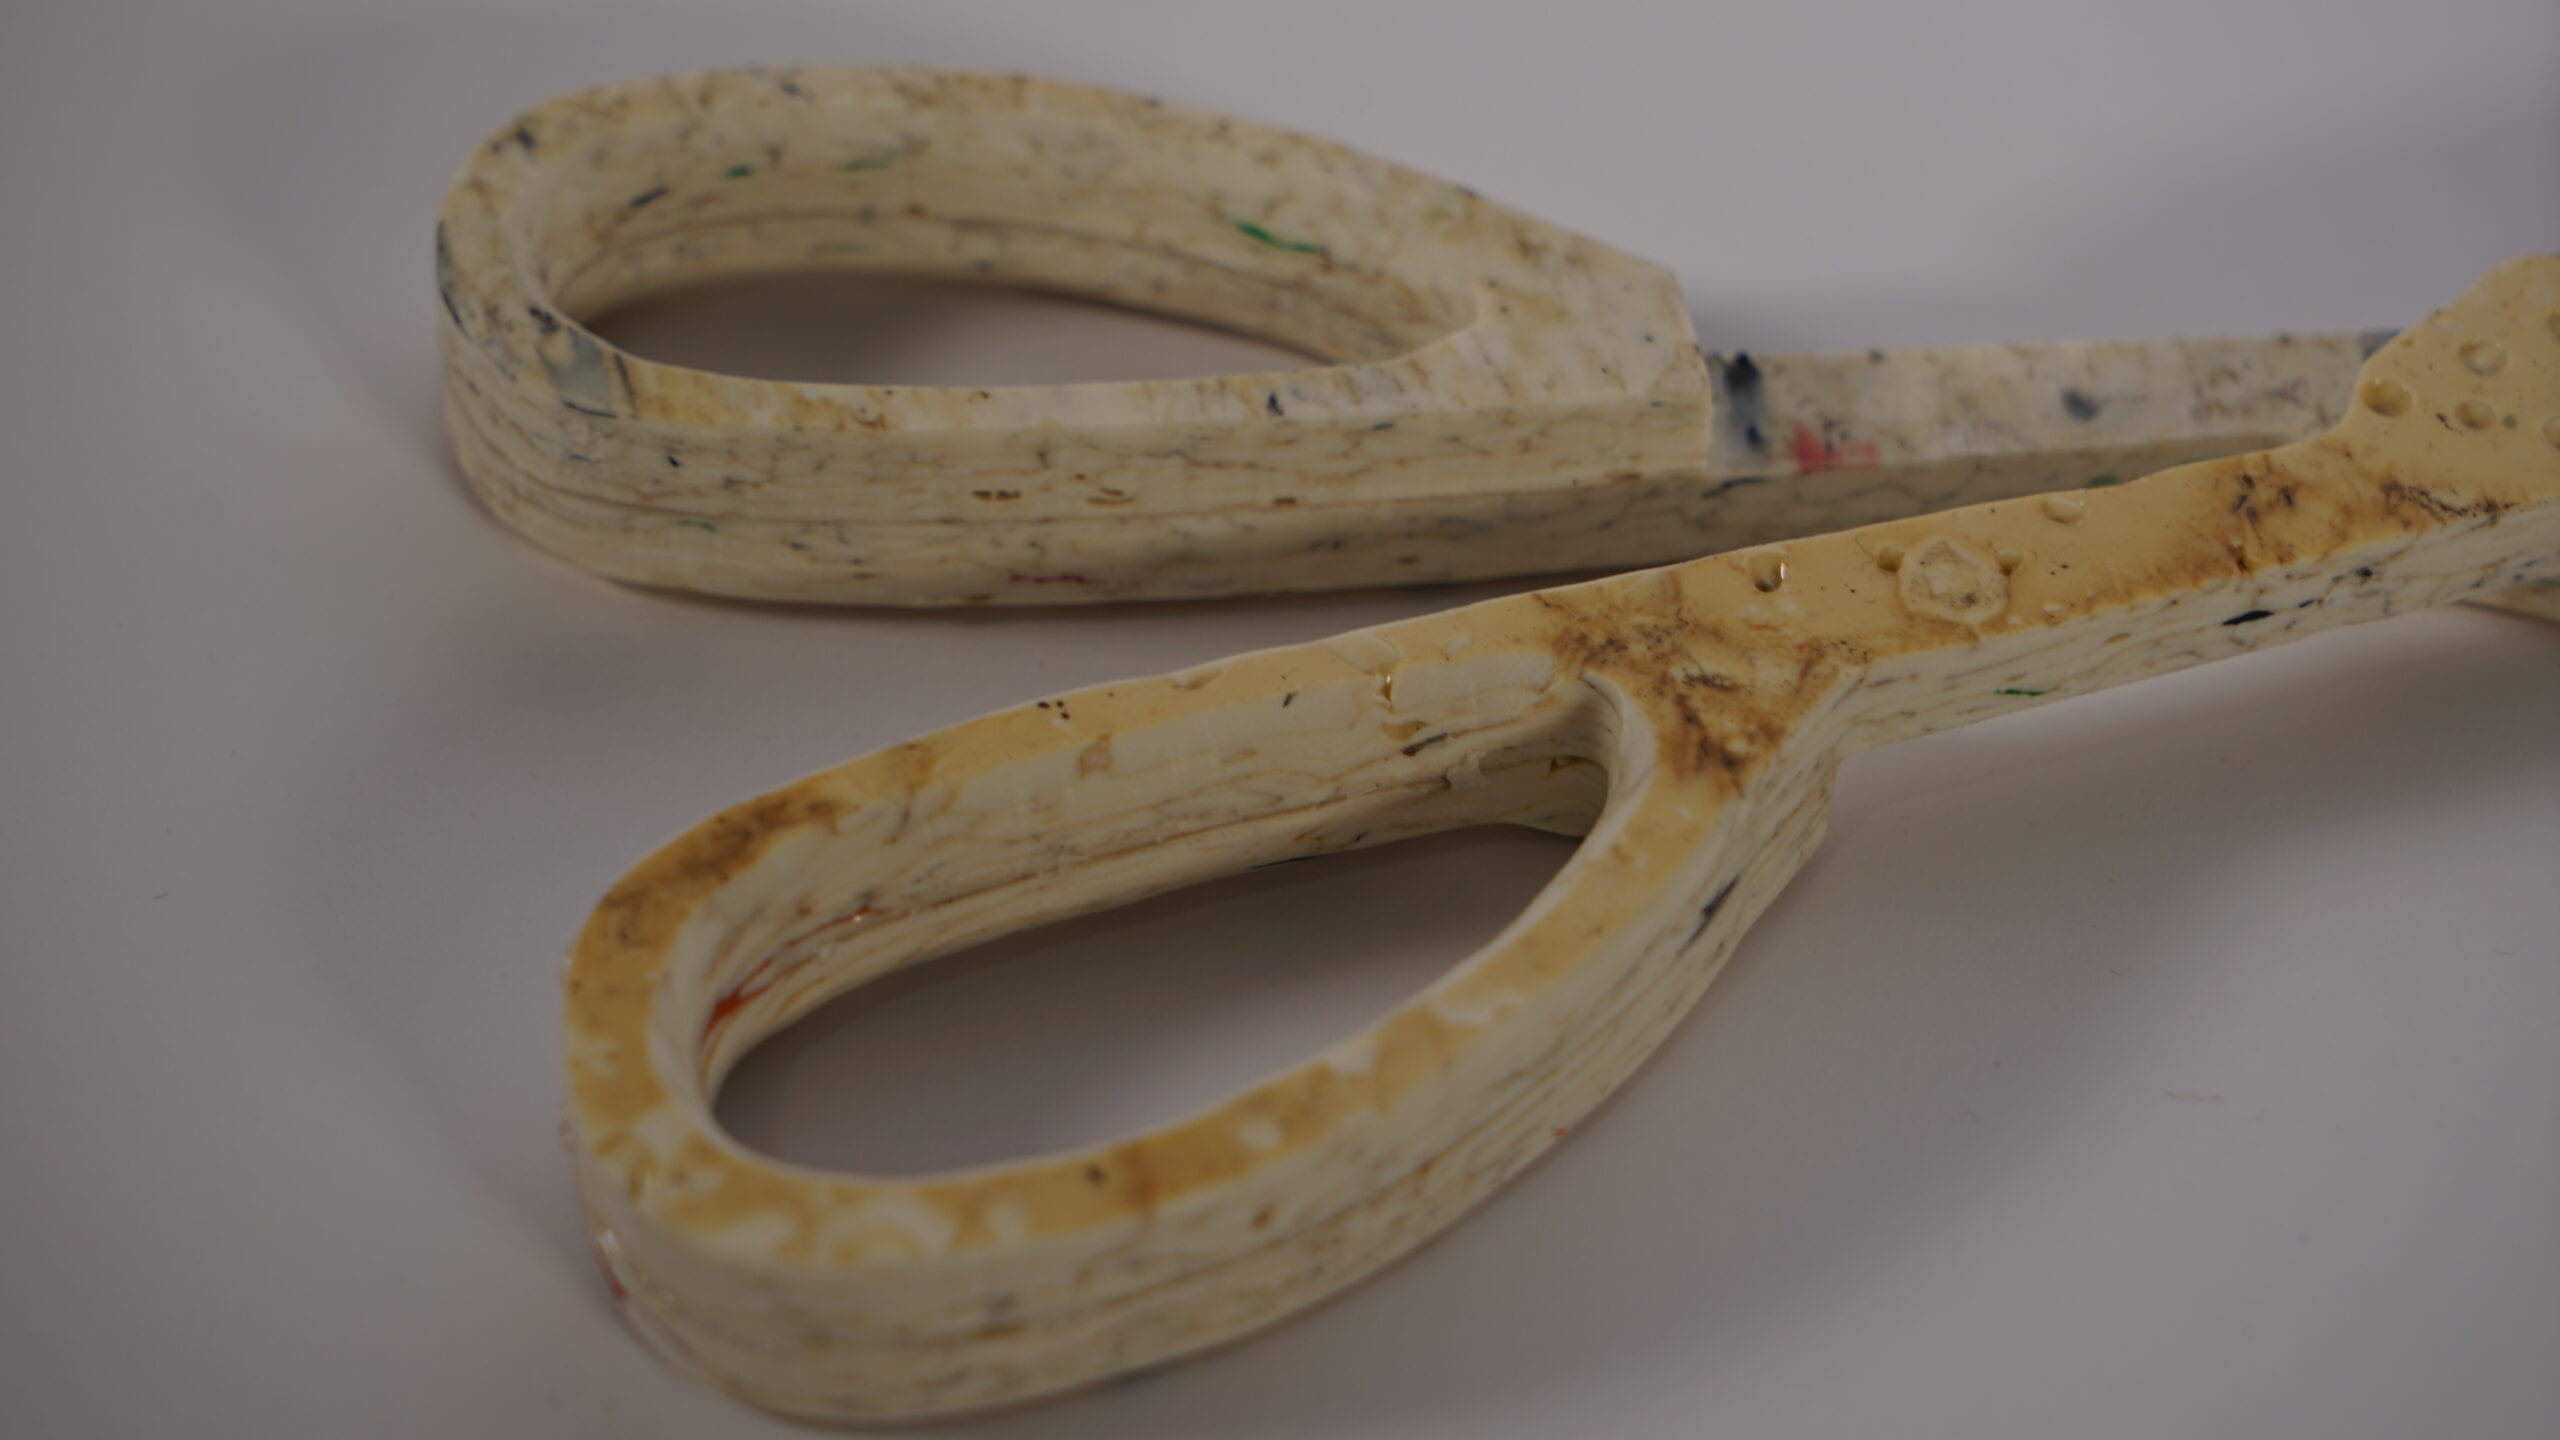
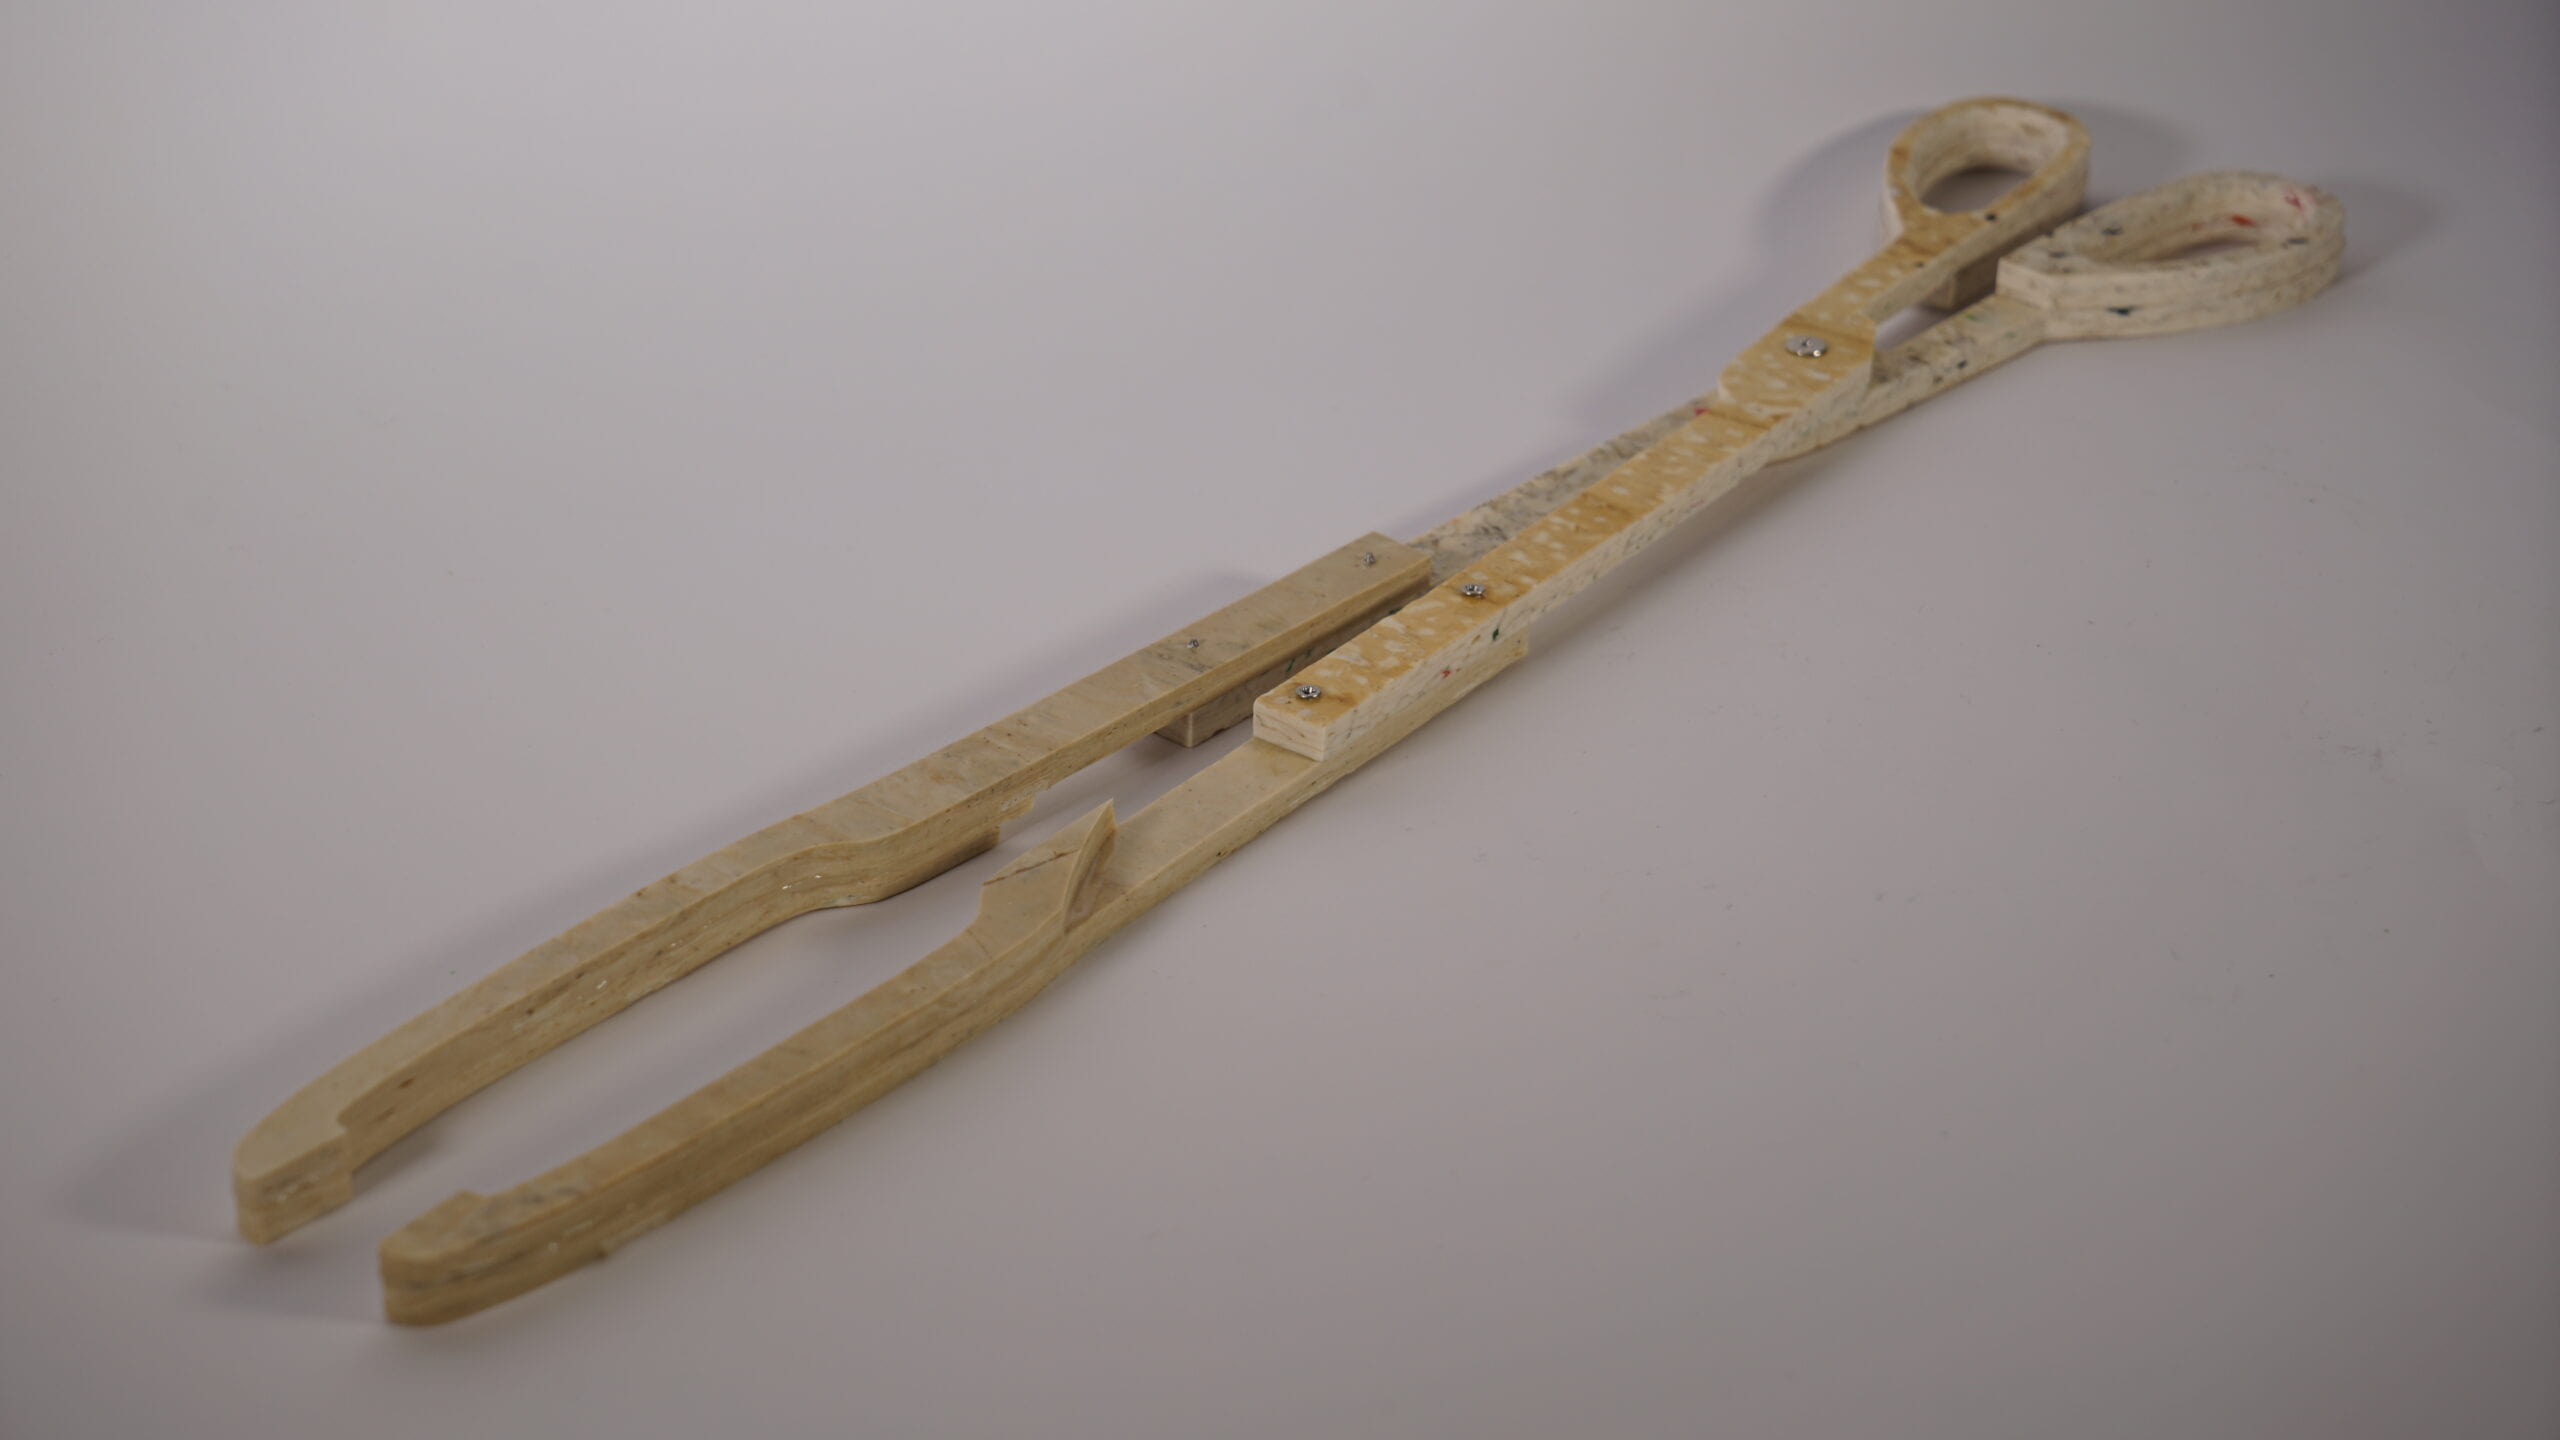
Finally, with the opinion of the community, we ended up with a slightly flattened design on the top (final prototype/product 8).
Team member contribution:
Steve: Mainly in charge of all the CAD design on Rhino and Illustrator as well as fabrication processes, assisted in the documentation processes, partly involved in the whole design thinking and generating ideas for iteration over prototypes, partly involved in engaging with the community.
Scarlet: Mainly in charge of organizing the ideas and keeping clean and complete documentation. Assisted in the fabrication processes, partly involved in the whole design thinking and generating ideas for iteration over prototypes, partly involved in engaging with the community.
Max: Mainly in charge of testing small ideas quickly and helped prune some weird design choices. Assisted in the documentation and fabrication processes, partly involved in the whole design thinking and generating ideas for iteration over prototypes, partly involved in engaging with the community.
3. conclusion
Again, our purpose here is to make a product according to the user’s needs as much as possible using recycled materials. I think we did a relatively good job at realizing and addressing most of the community’s asks, (aside from straight-up asking for a wooden one), and where our technologies and material cannot reach, we did sacrifice some other less vital attributes of the whole product, for example, increasing the weight to solve the “wobble” problem, but at the same time increasing the weight as a whole.
What makes me the proudest of is first, we used an entirely new material that no one has ever tested before and we figured out ways to deal with it and get the best result out of it; secondly, we feel very proud of the entire design process, including all the small things we had to consider and all the iterations we had, it really felt like we are getting to a more perfect product step by step.
In terms of difficulties, as I said, working with new material is challenging, but specifically, one thing that annoys me the most is that how there has to be some kind of CNC accident happening on the plastic every time. Although the material machines really clean, it leaves a trail of melted stuff behind which needs to be removed, other wide when the bit hits those they create crazy vibrations, which is a bad thing on the CNC. Other difficulties include the time needed to finish a CNC cut and how much we needed to babysit it; the inconsistent thickness of the plastic board resulting in inconsistency in the final product and others. Most of them we found a solution for, others we found it not really affecting our product to the point that needs to be addressed, so we chose to leave them there due to the time constraints.
about successes and failures I will quote from my last post:
The biggest thing I have learned was how much thinking we have to go through even when we are designing a product as simple as these garbage tongs. The user persona and what things they actually pick up and things like those are highly site-specific, and also working on new material is hard because time should be spent in understanding the properties of it and careful documentation of those properties is crucial.
For teamwork, I think having three very talkative and action-oriented people is the biggest advantage we have, all of us have ideas and none of us are afraid to just confront each other and be like “hey your idea sucks, and here is how we can improve it”. Of course, we developed this bond and friendship over this semester to even be able to be so straightforward with each other, but in the end, we do feel like a team. We have an idea, we are not sure if it works, but we quickly get to do it and test it out, very little time is spent in discussing and fighting over “could this work?” or “is that what they want” or “is this what Marcela want?” and stuff like this, we do it, we like, and we test it with the community or among ourselves, and we keep moving.
for understanding needs, again we are fortunate to have a community that is very understanding and very direct in terms of their needs and what they expect us to do. so what we had was a bunch of goals we needed to reach, and we are just working towards bringing them to live the best we can one by one.
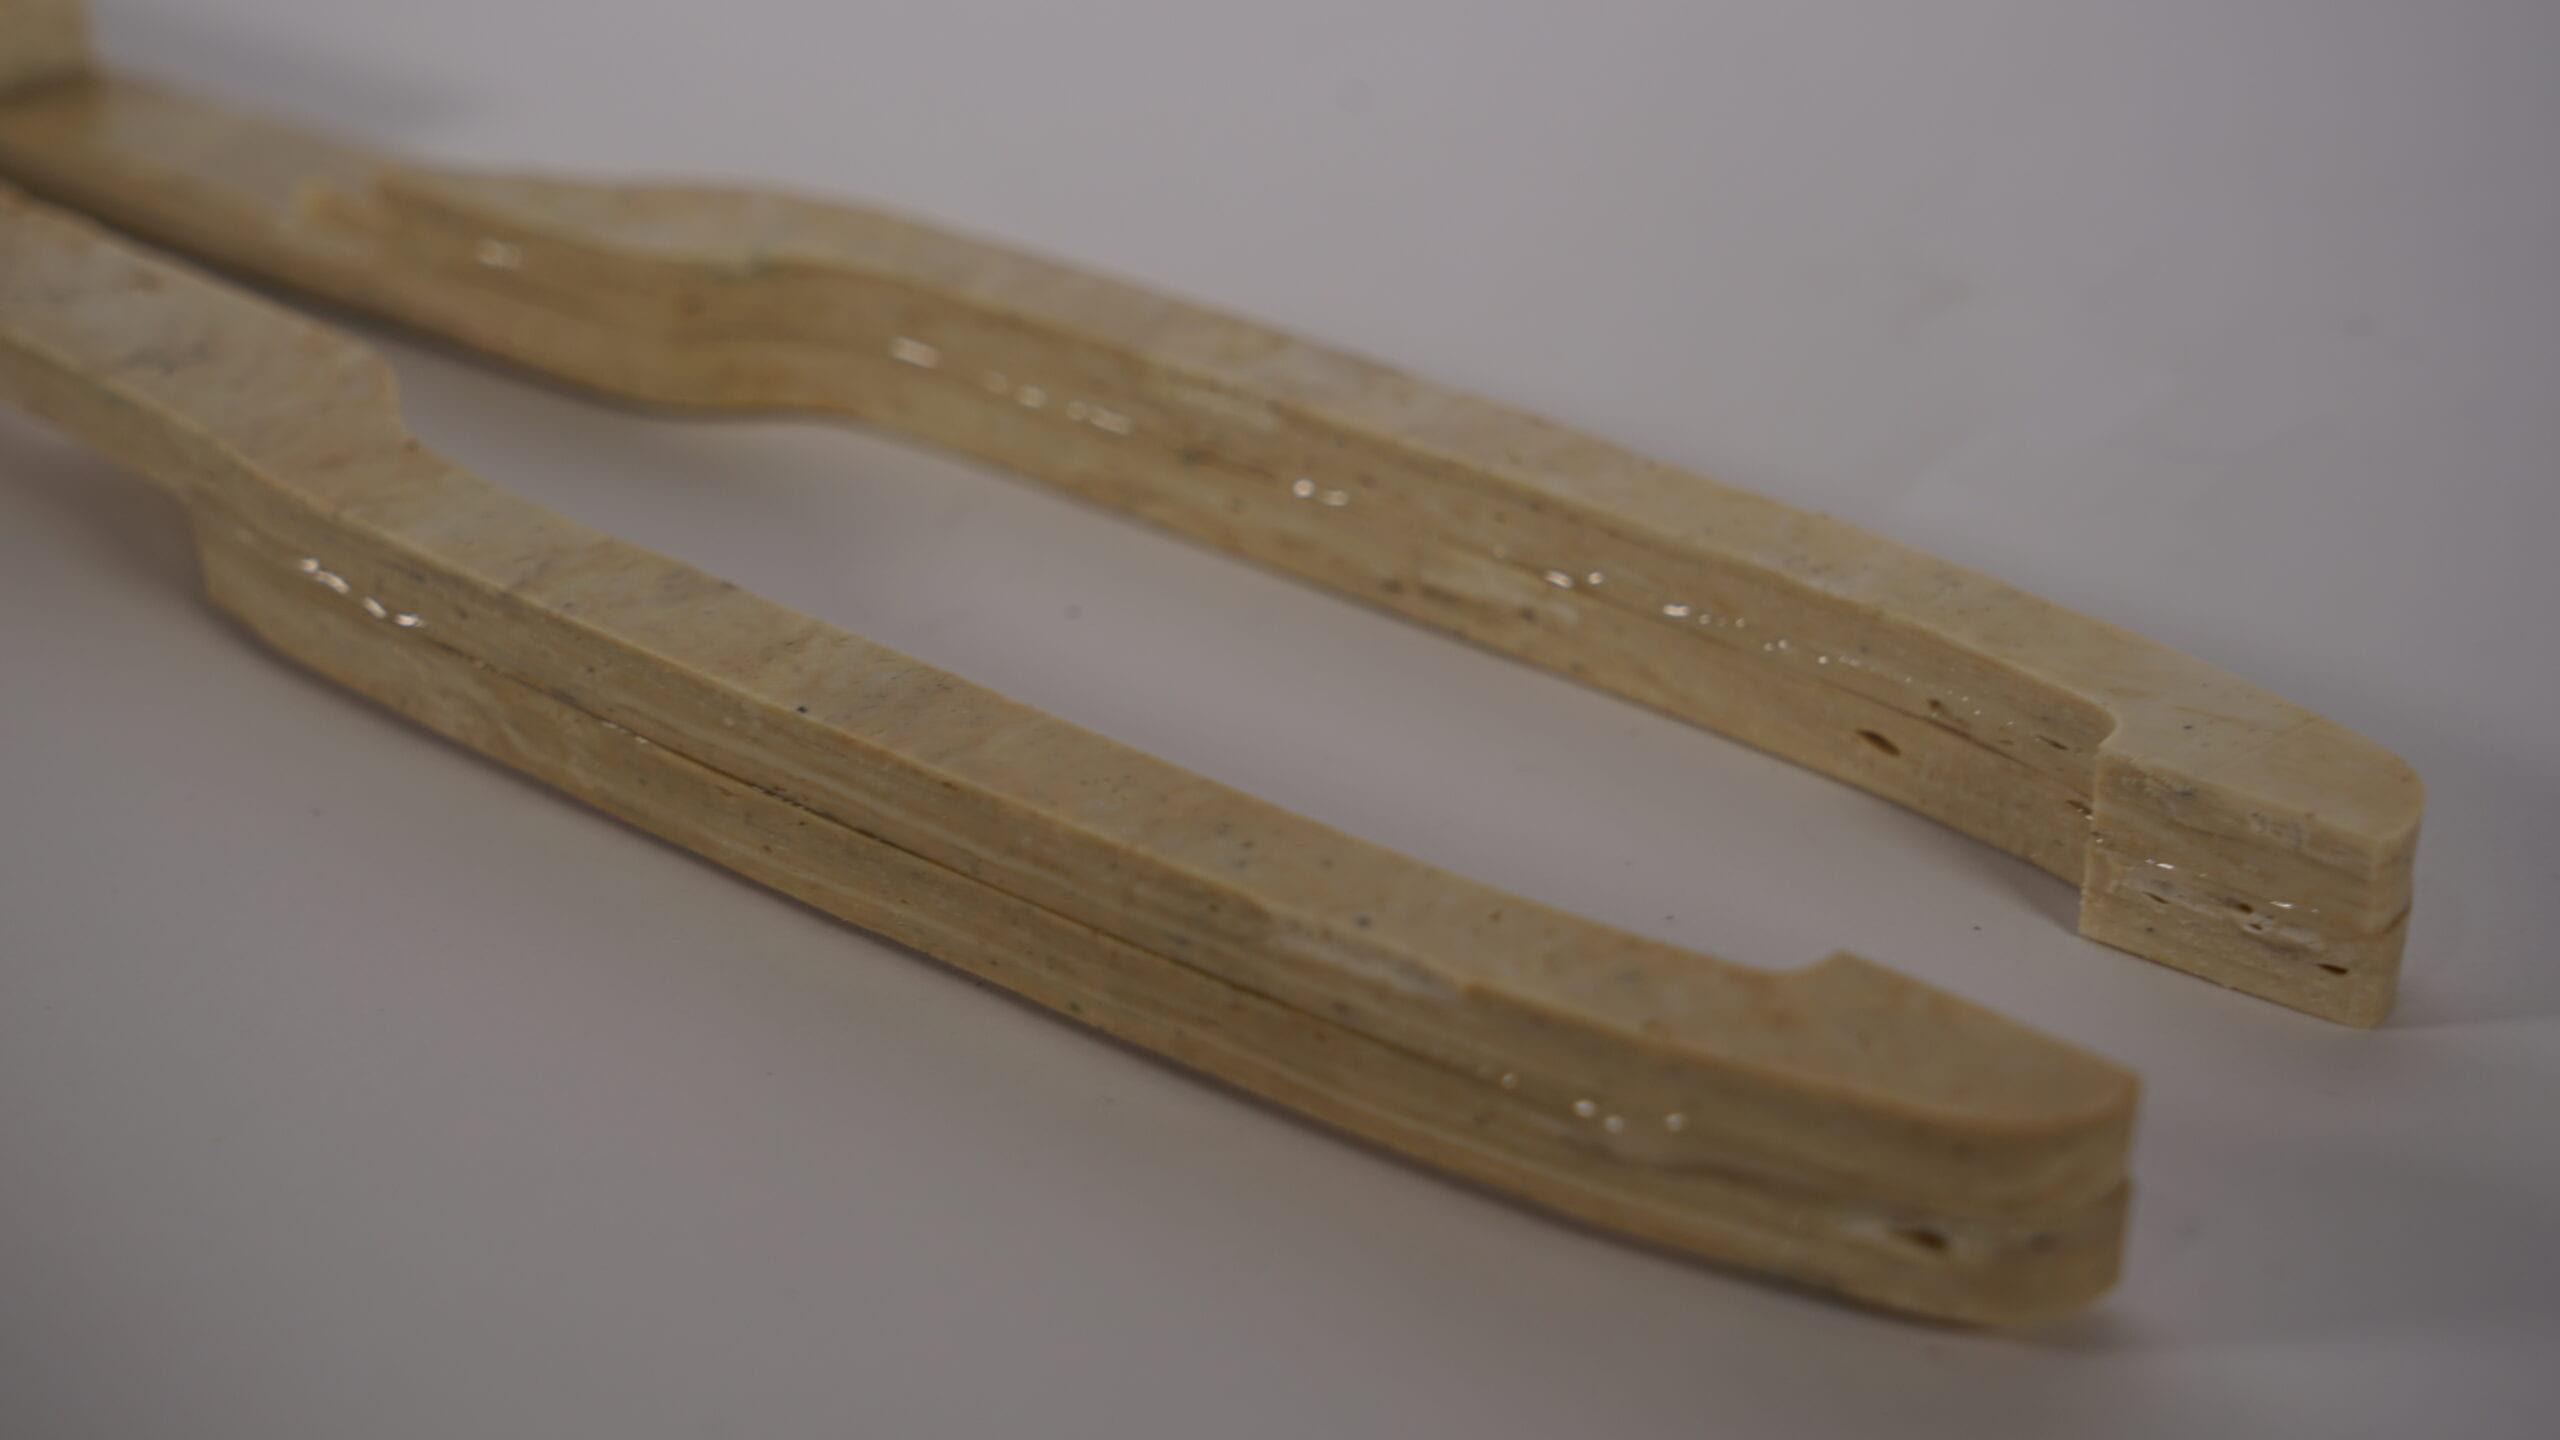
For our final design, there is one more thing that is a bit eye-twitching for me, that is, because the tips and the handles are cut from different boards, the thickness is different, so the tips don’t align together properly. Also, it would be nice if we could actually have the rubber dip. And to put the cherry on top, I wished there was a more effective sanding and polishing method.
For future students, my advice would be don’t overwhelm yourselves with too many thoughts from the beginning. We used to have five ideas and wanted to do all of them, but ended up almost completely disoriented with the development of just one idea. You will always find that once you get into the design thinking, there are always things you can improve upon your existing project.
In the end, I would say our project successfully provided solutions to our community’s problems, while addressing the environmental issue of plastic pollution by using recycled materials. And the biggest takeaway from this project is “iteration”, which is also what we wanted to emphasize with our presentation in the IMA show. By iterating over and over again on the one Idea we really felt like we have reached the full potential of this product or got as close as we ever could be in the time constraints. I guess it is an important thing to have in product design. This knowledge will keep on inspiring me in my future projects.
Finally, here is the link to our final video.