For the final project of this course I chose to make a Cajon drum out of selected material and with a custom design of the pattern.
Inspiration and Design:
The main design element of the cajon box is from the various cutting board designs on the internet, which usually use woods in high contrast in colors to make simple and colorful patterns. Usually one black one pale and one red, sometimes there is yellow but it is kinda rare.

For mine I designed it to be three major stripes of red (African padauk) and black (walnut), with white (maple but then decided beech might be better) thin stripes in the middle. (loosely inspired by my middle school uniform by the way)


I thought it gives a nice color contrast and would finish nicely.
So I directly ordered the wood boards at a rough size from Taobao and got them delivered.
Fabricating:
I trimmed my boards to size according to a relative size with each other on the table saw. Then I glued them all together according to my design. In this step I used a lot of clamps to eliminate as many gaps as I could, because in my research I found that for wood instruments it is important to avoid gaps in the walls of the sound chamber because it will muffle the sound by a lot.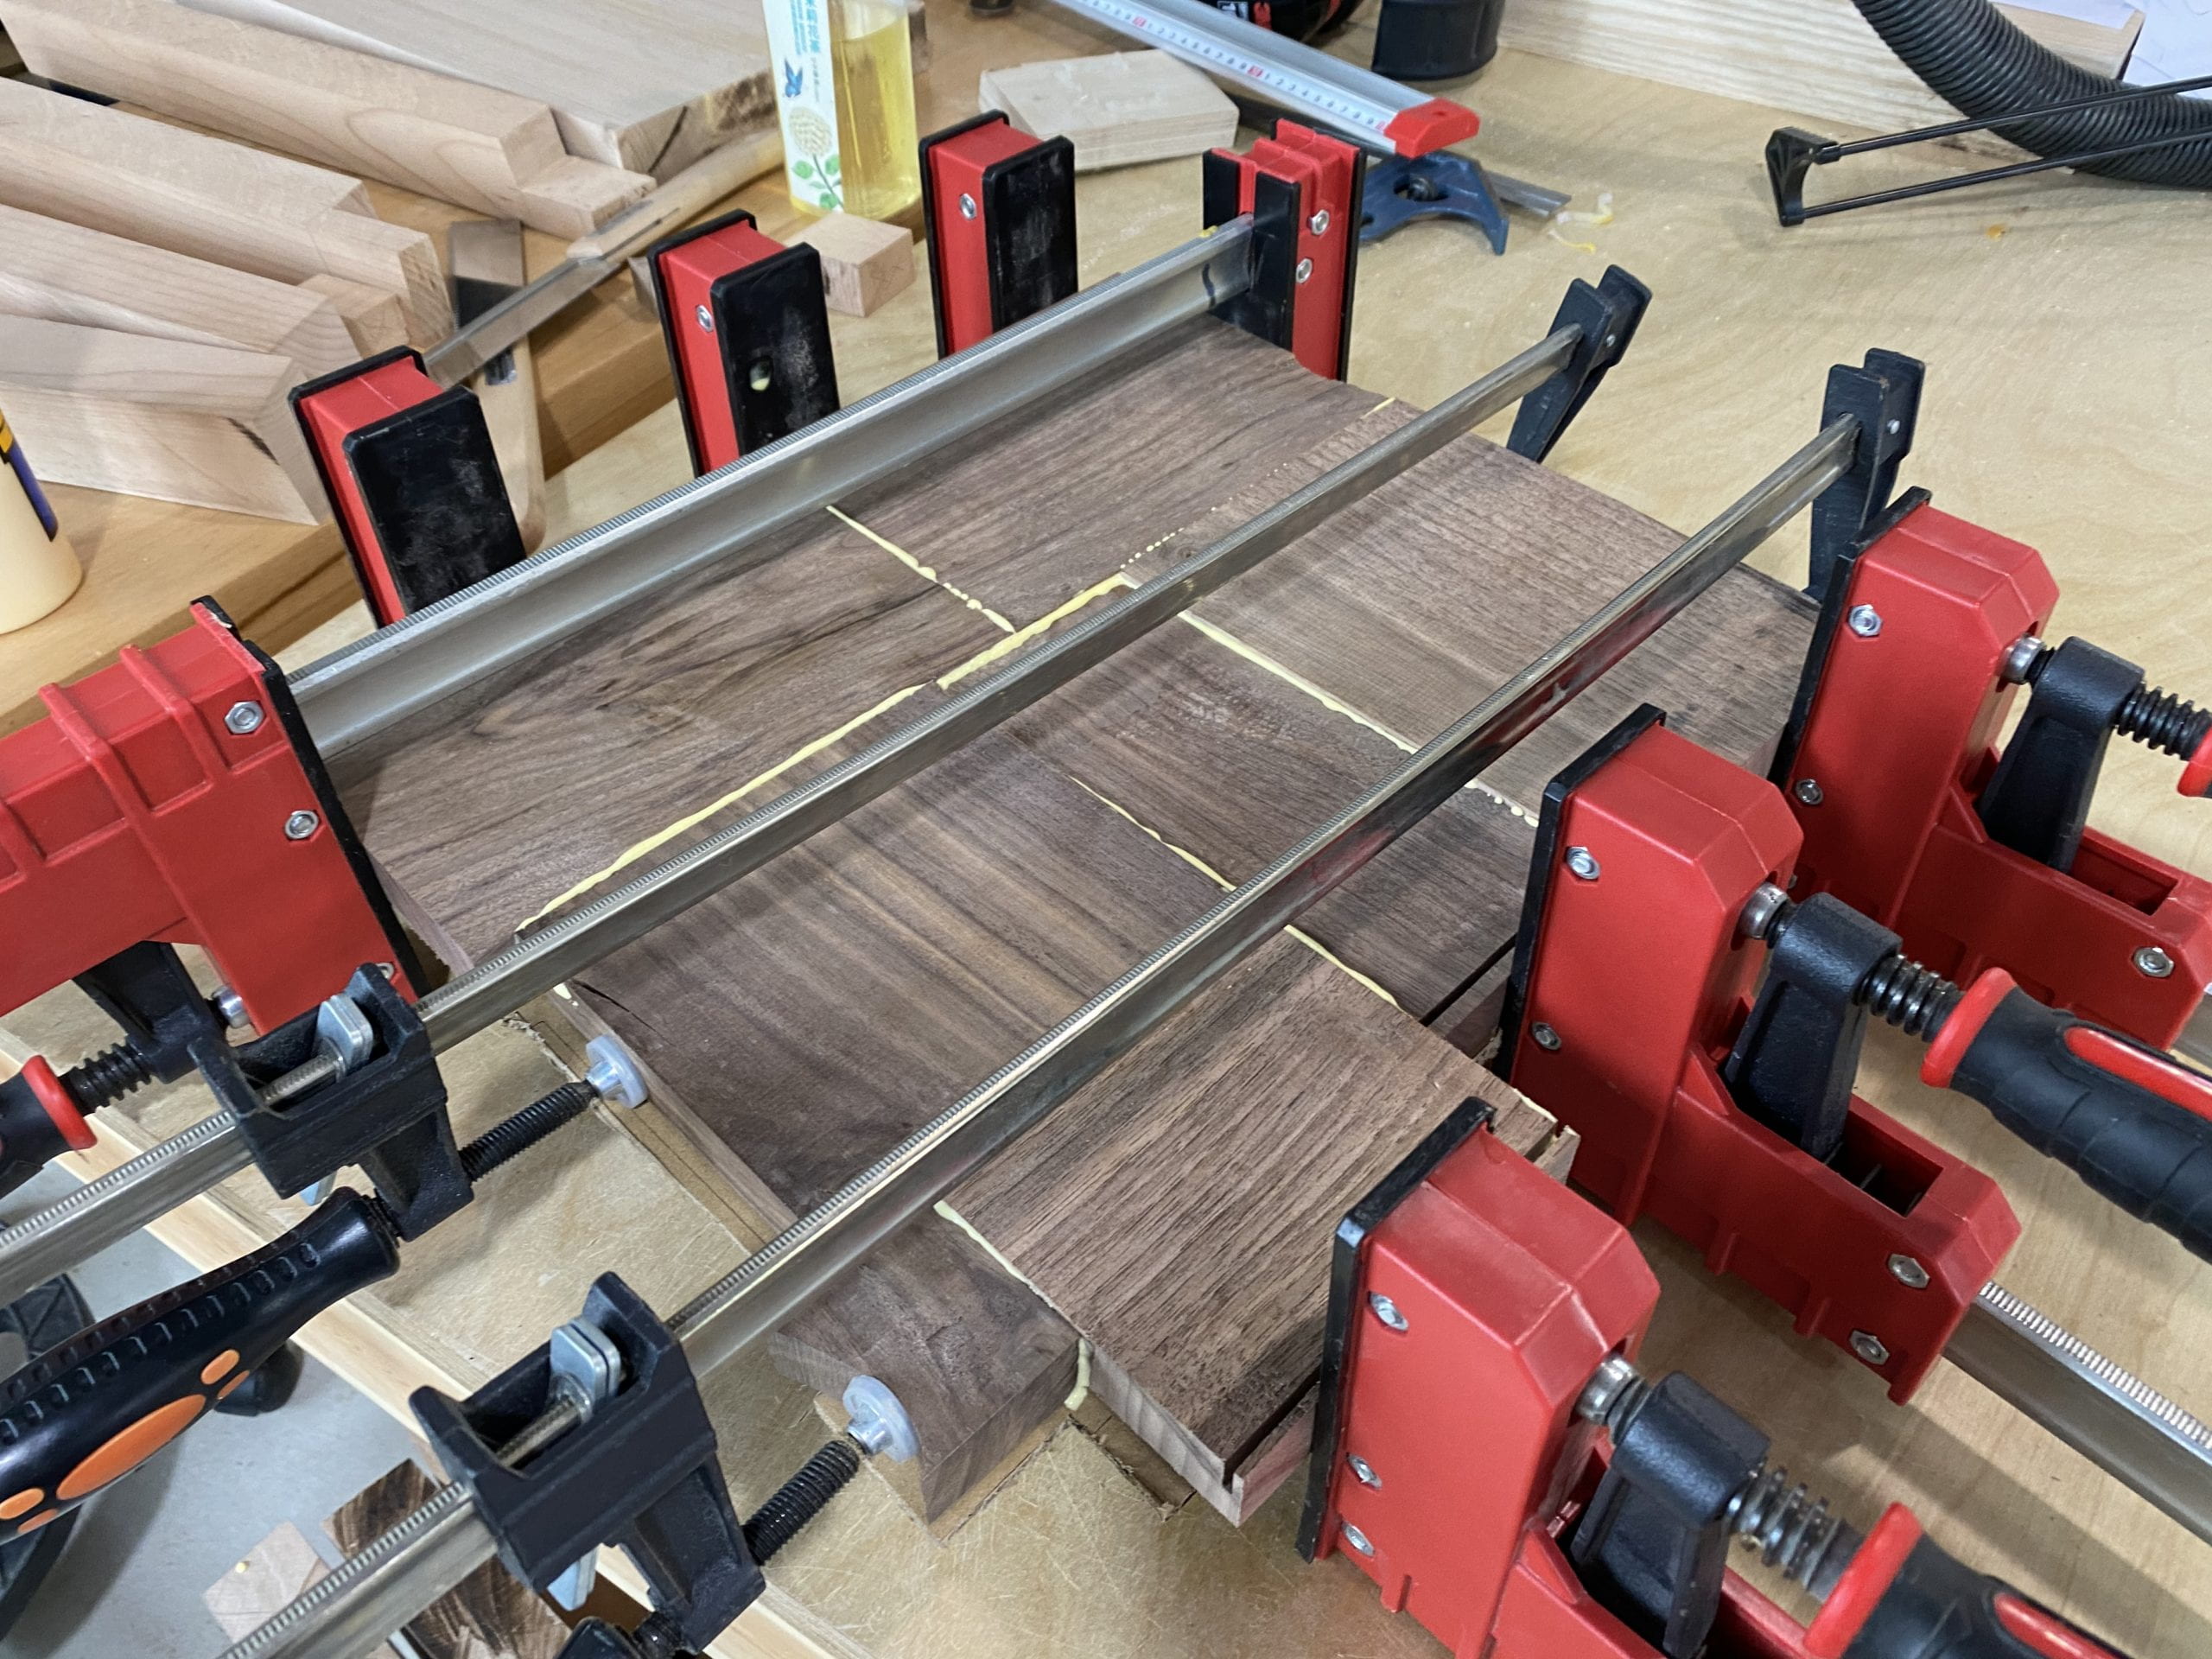
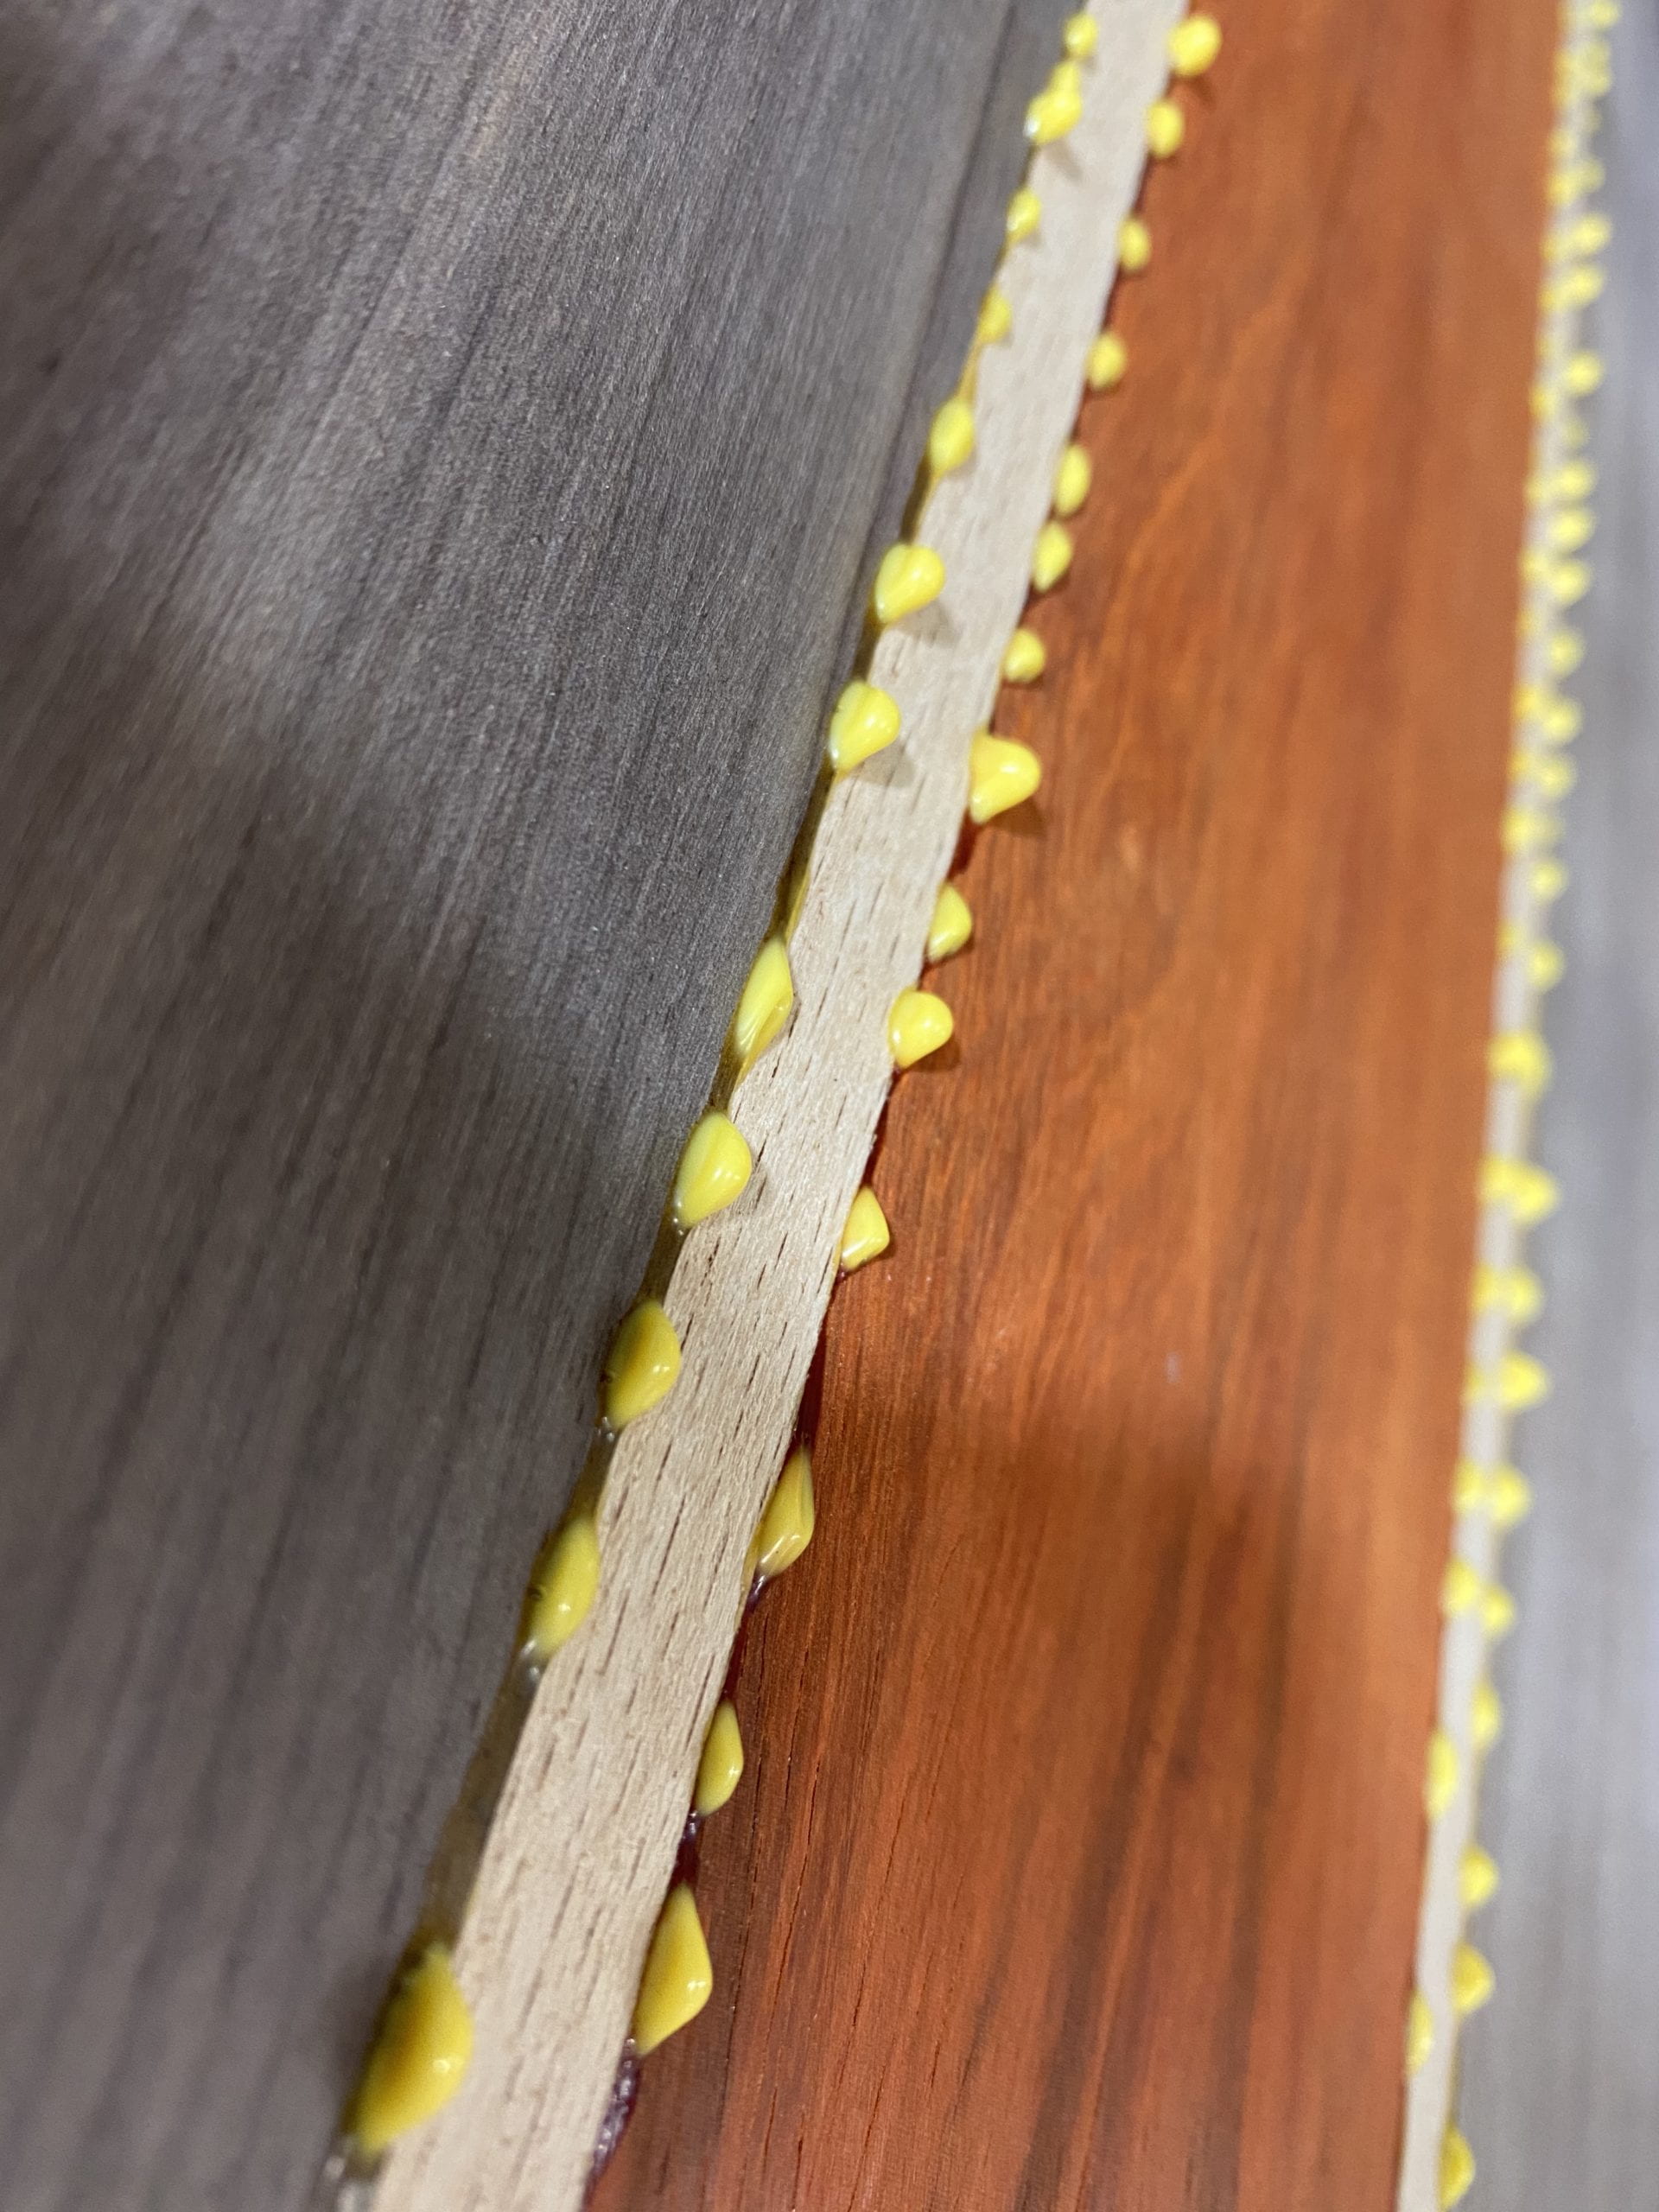
The first picture was for the bottom, I just found a bunch of random walnut pieces and glued them together. I didn’t think it would work but it did, it came out of the planer much cleaner than I thought.
Speaking of the planer, I then proceed to plane all the wood boards i have for the side pieces (after getting rid of most of the glue squeeze-outs). They did not take too long to plane because I already had them pretty much to the sides.
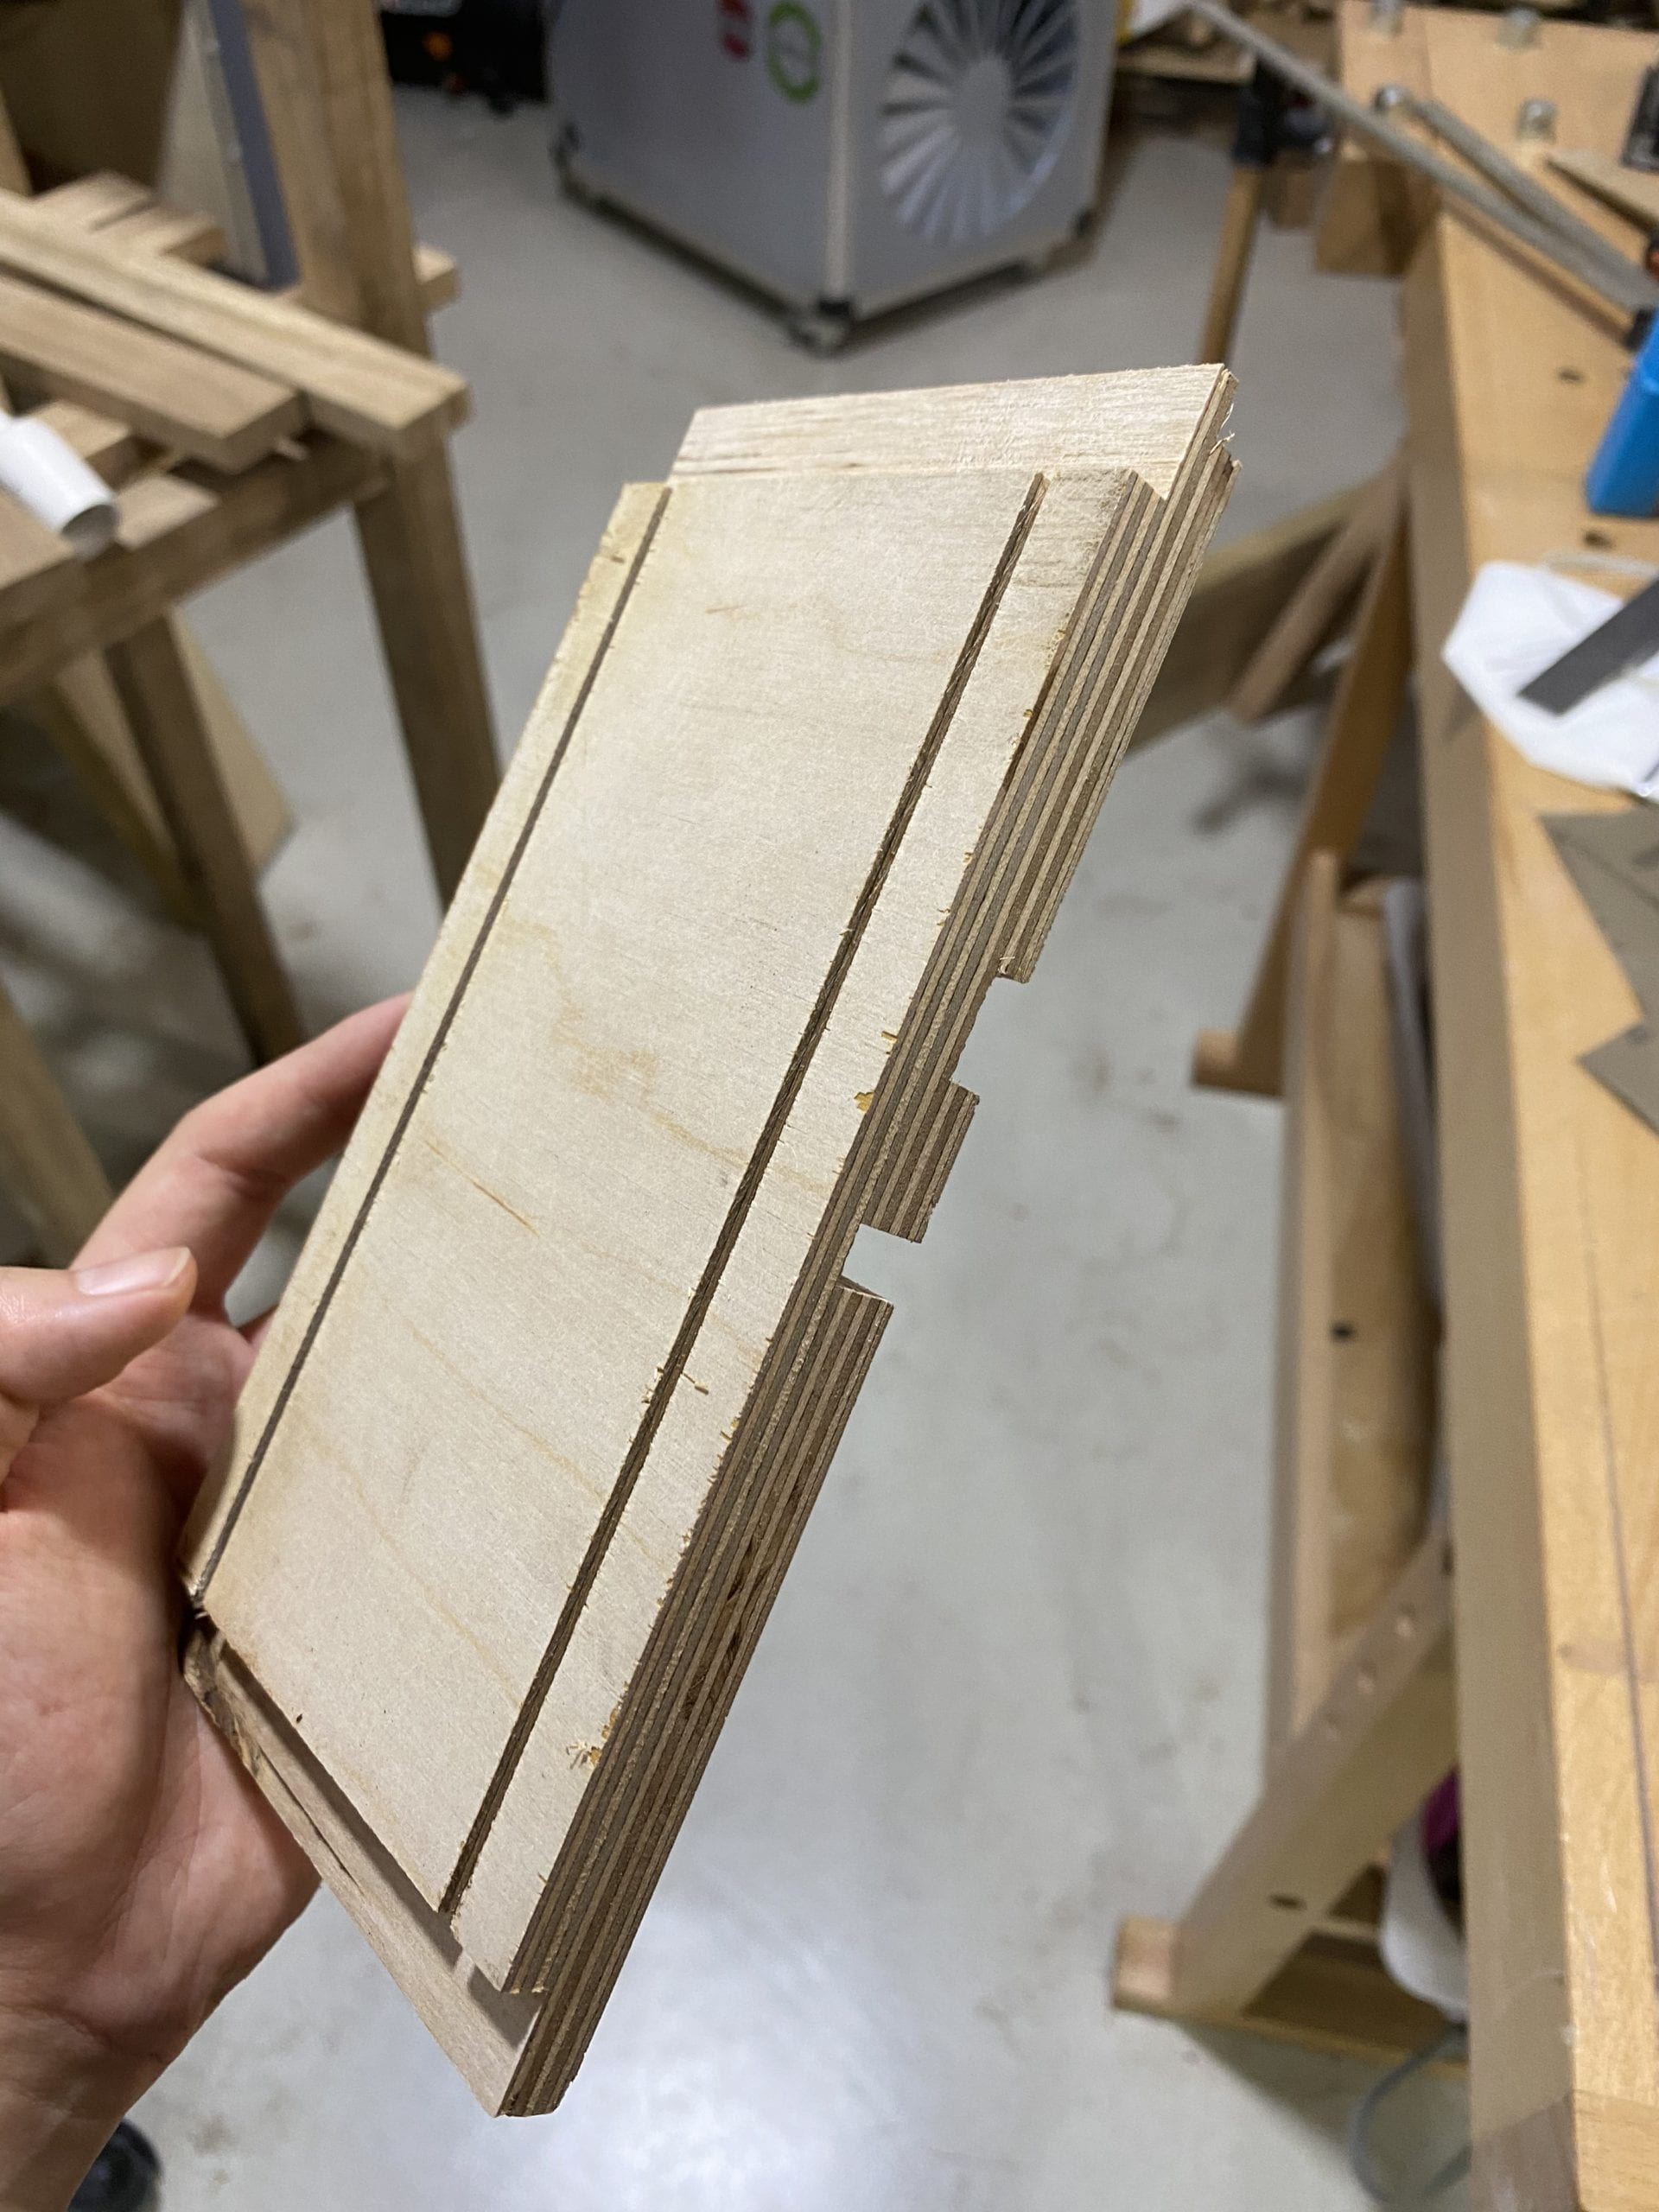
I then went on the table saw to test out the rabbet joint I was gonna use for the box. I used a piece of scrap ply both to test if the joint fits my boards and also the depth into which I cut into the board (I was able to see this on the layers of the plywood).
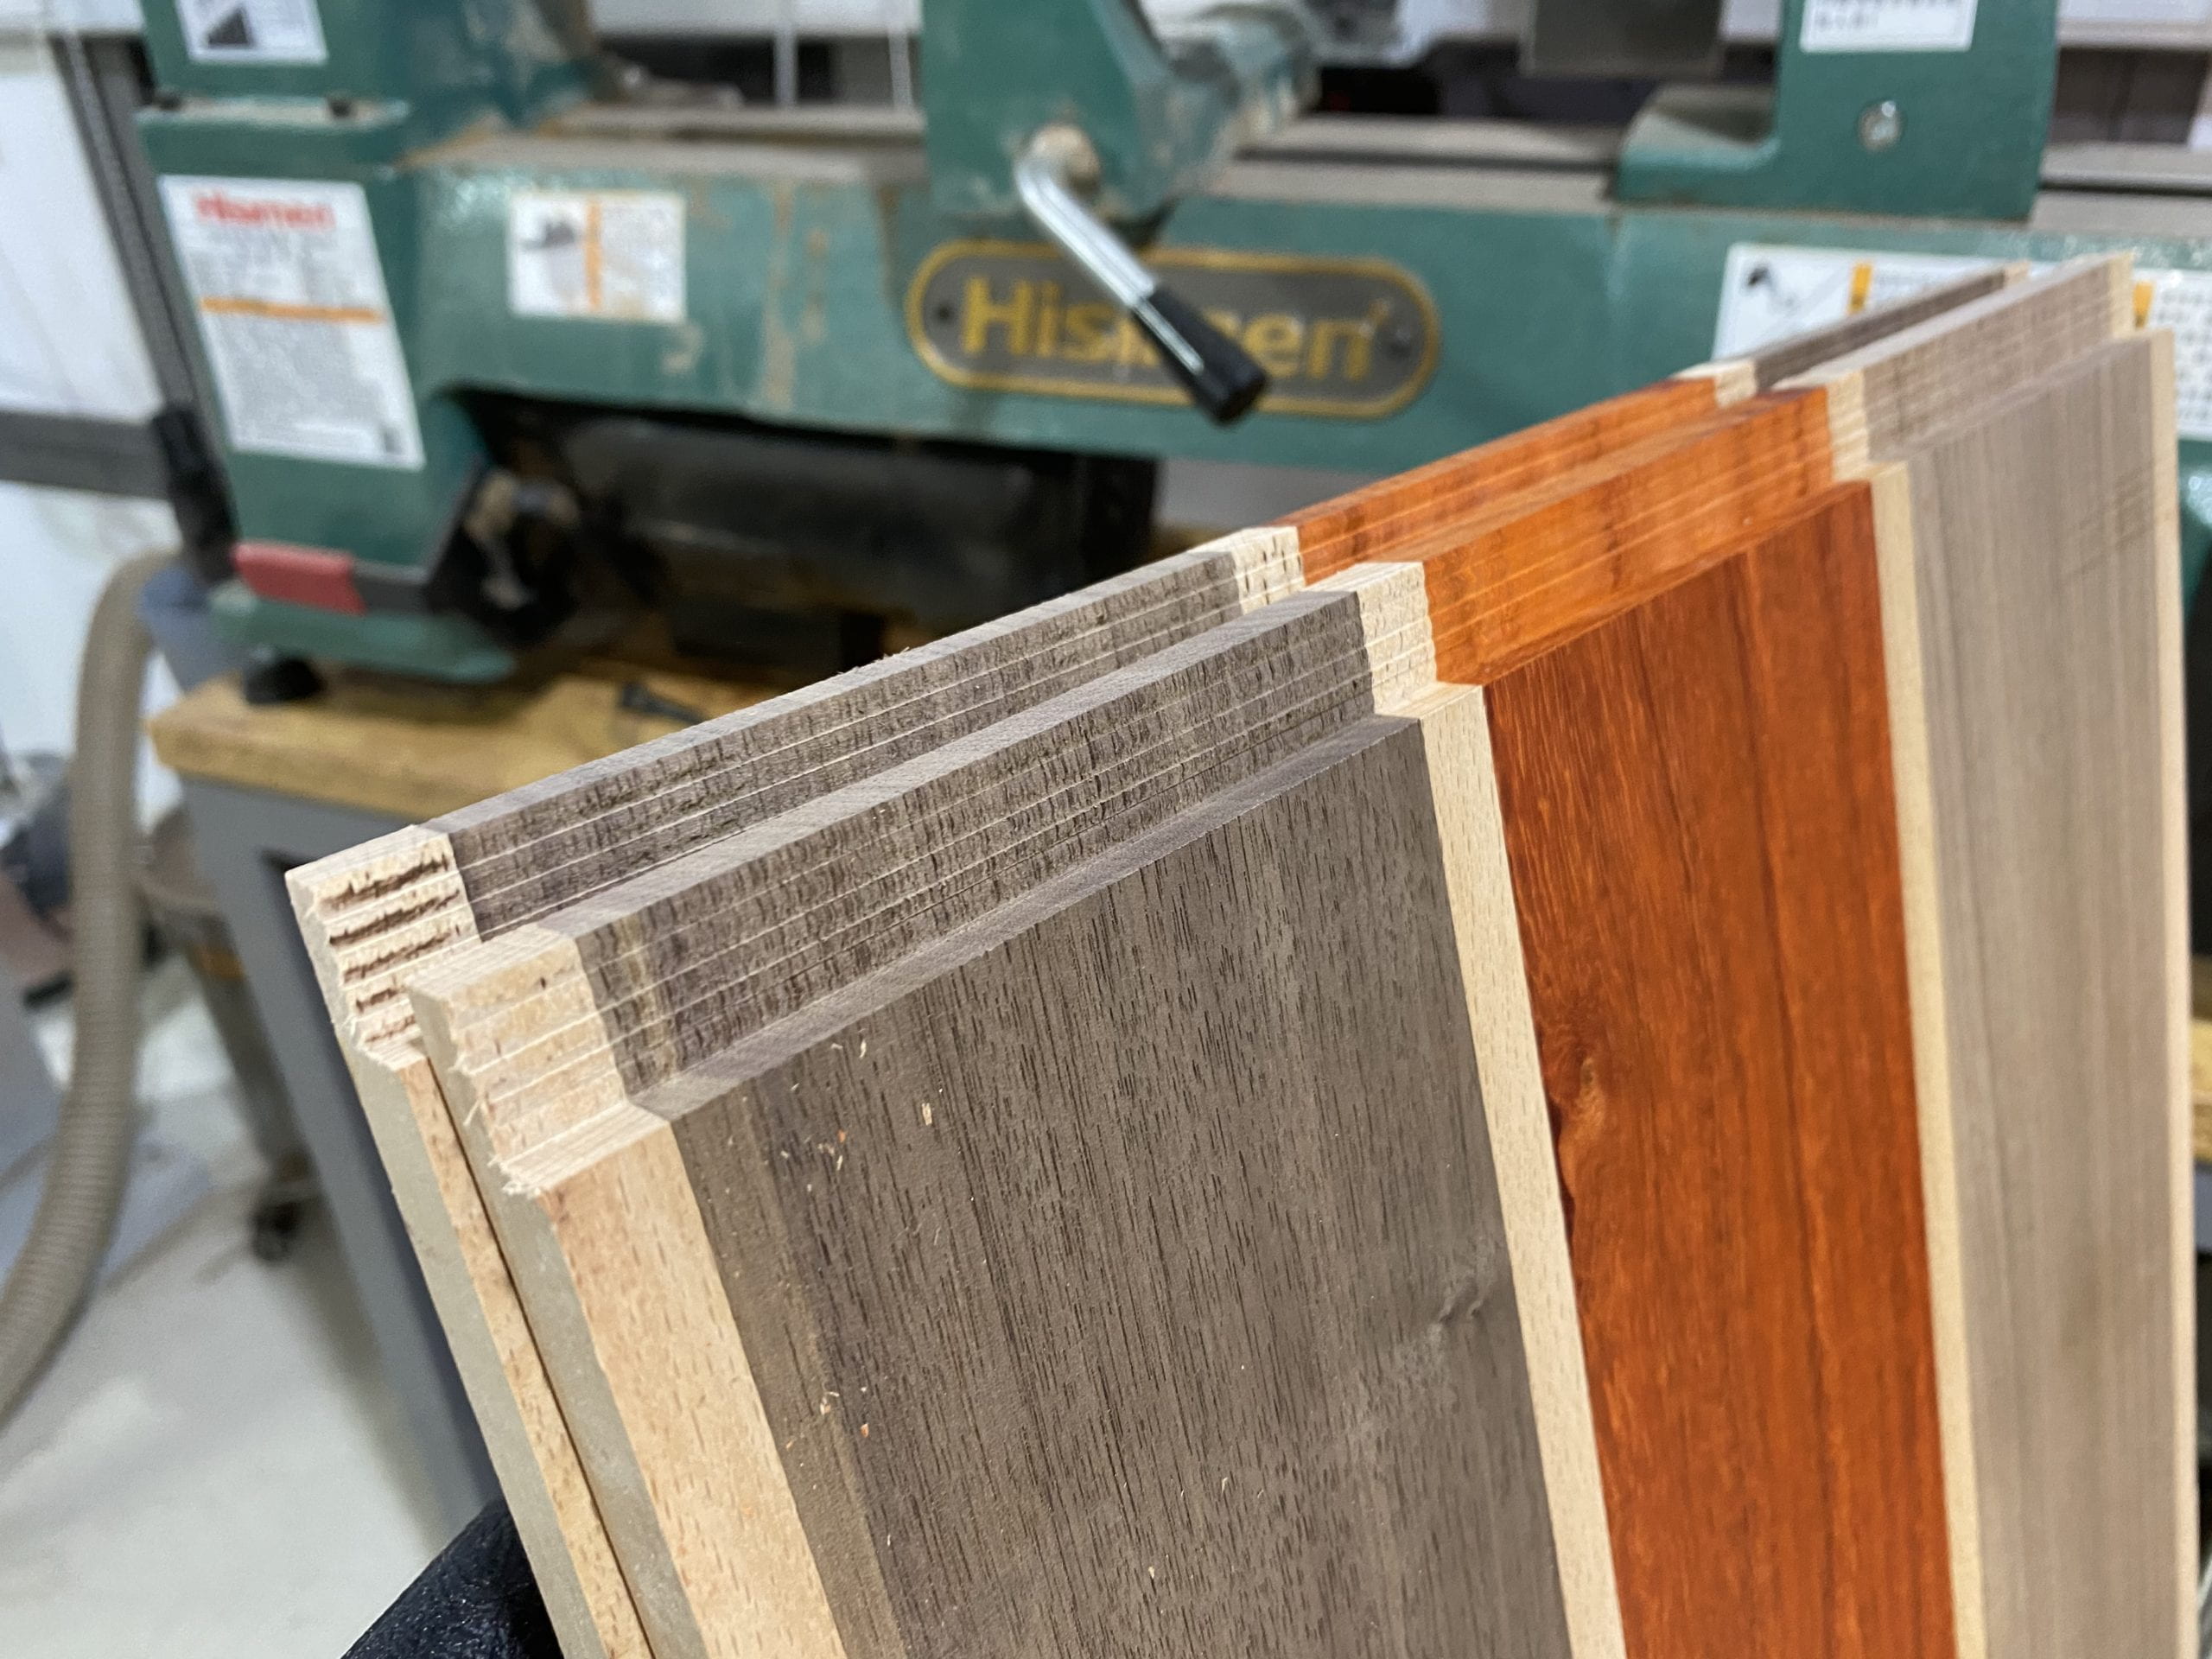
I was not able t0 get the joints perfectly flat and parallel with the sides of the boards because the boards were slightly curved because I left them in the lab for a little too long before doing the joints. This turned out to be somewhat of a problem because I was not able to close the gaps in the sides of the box perfectly when I glued up the frame of the box. It looked kind of obvious but I will live with that.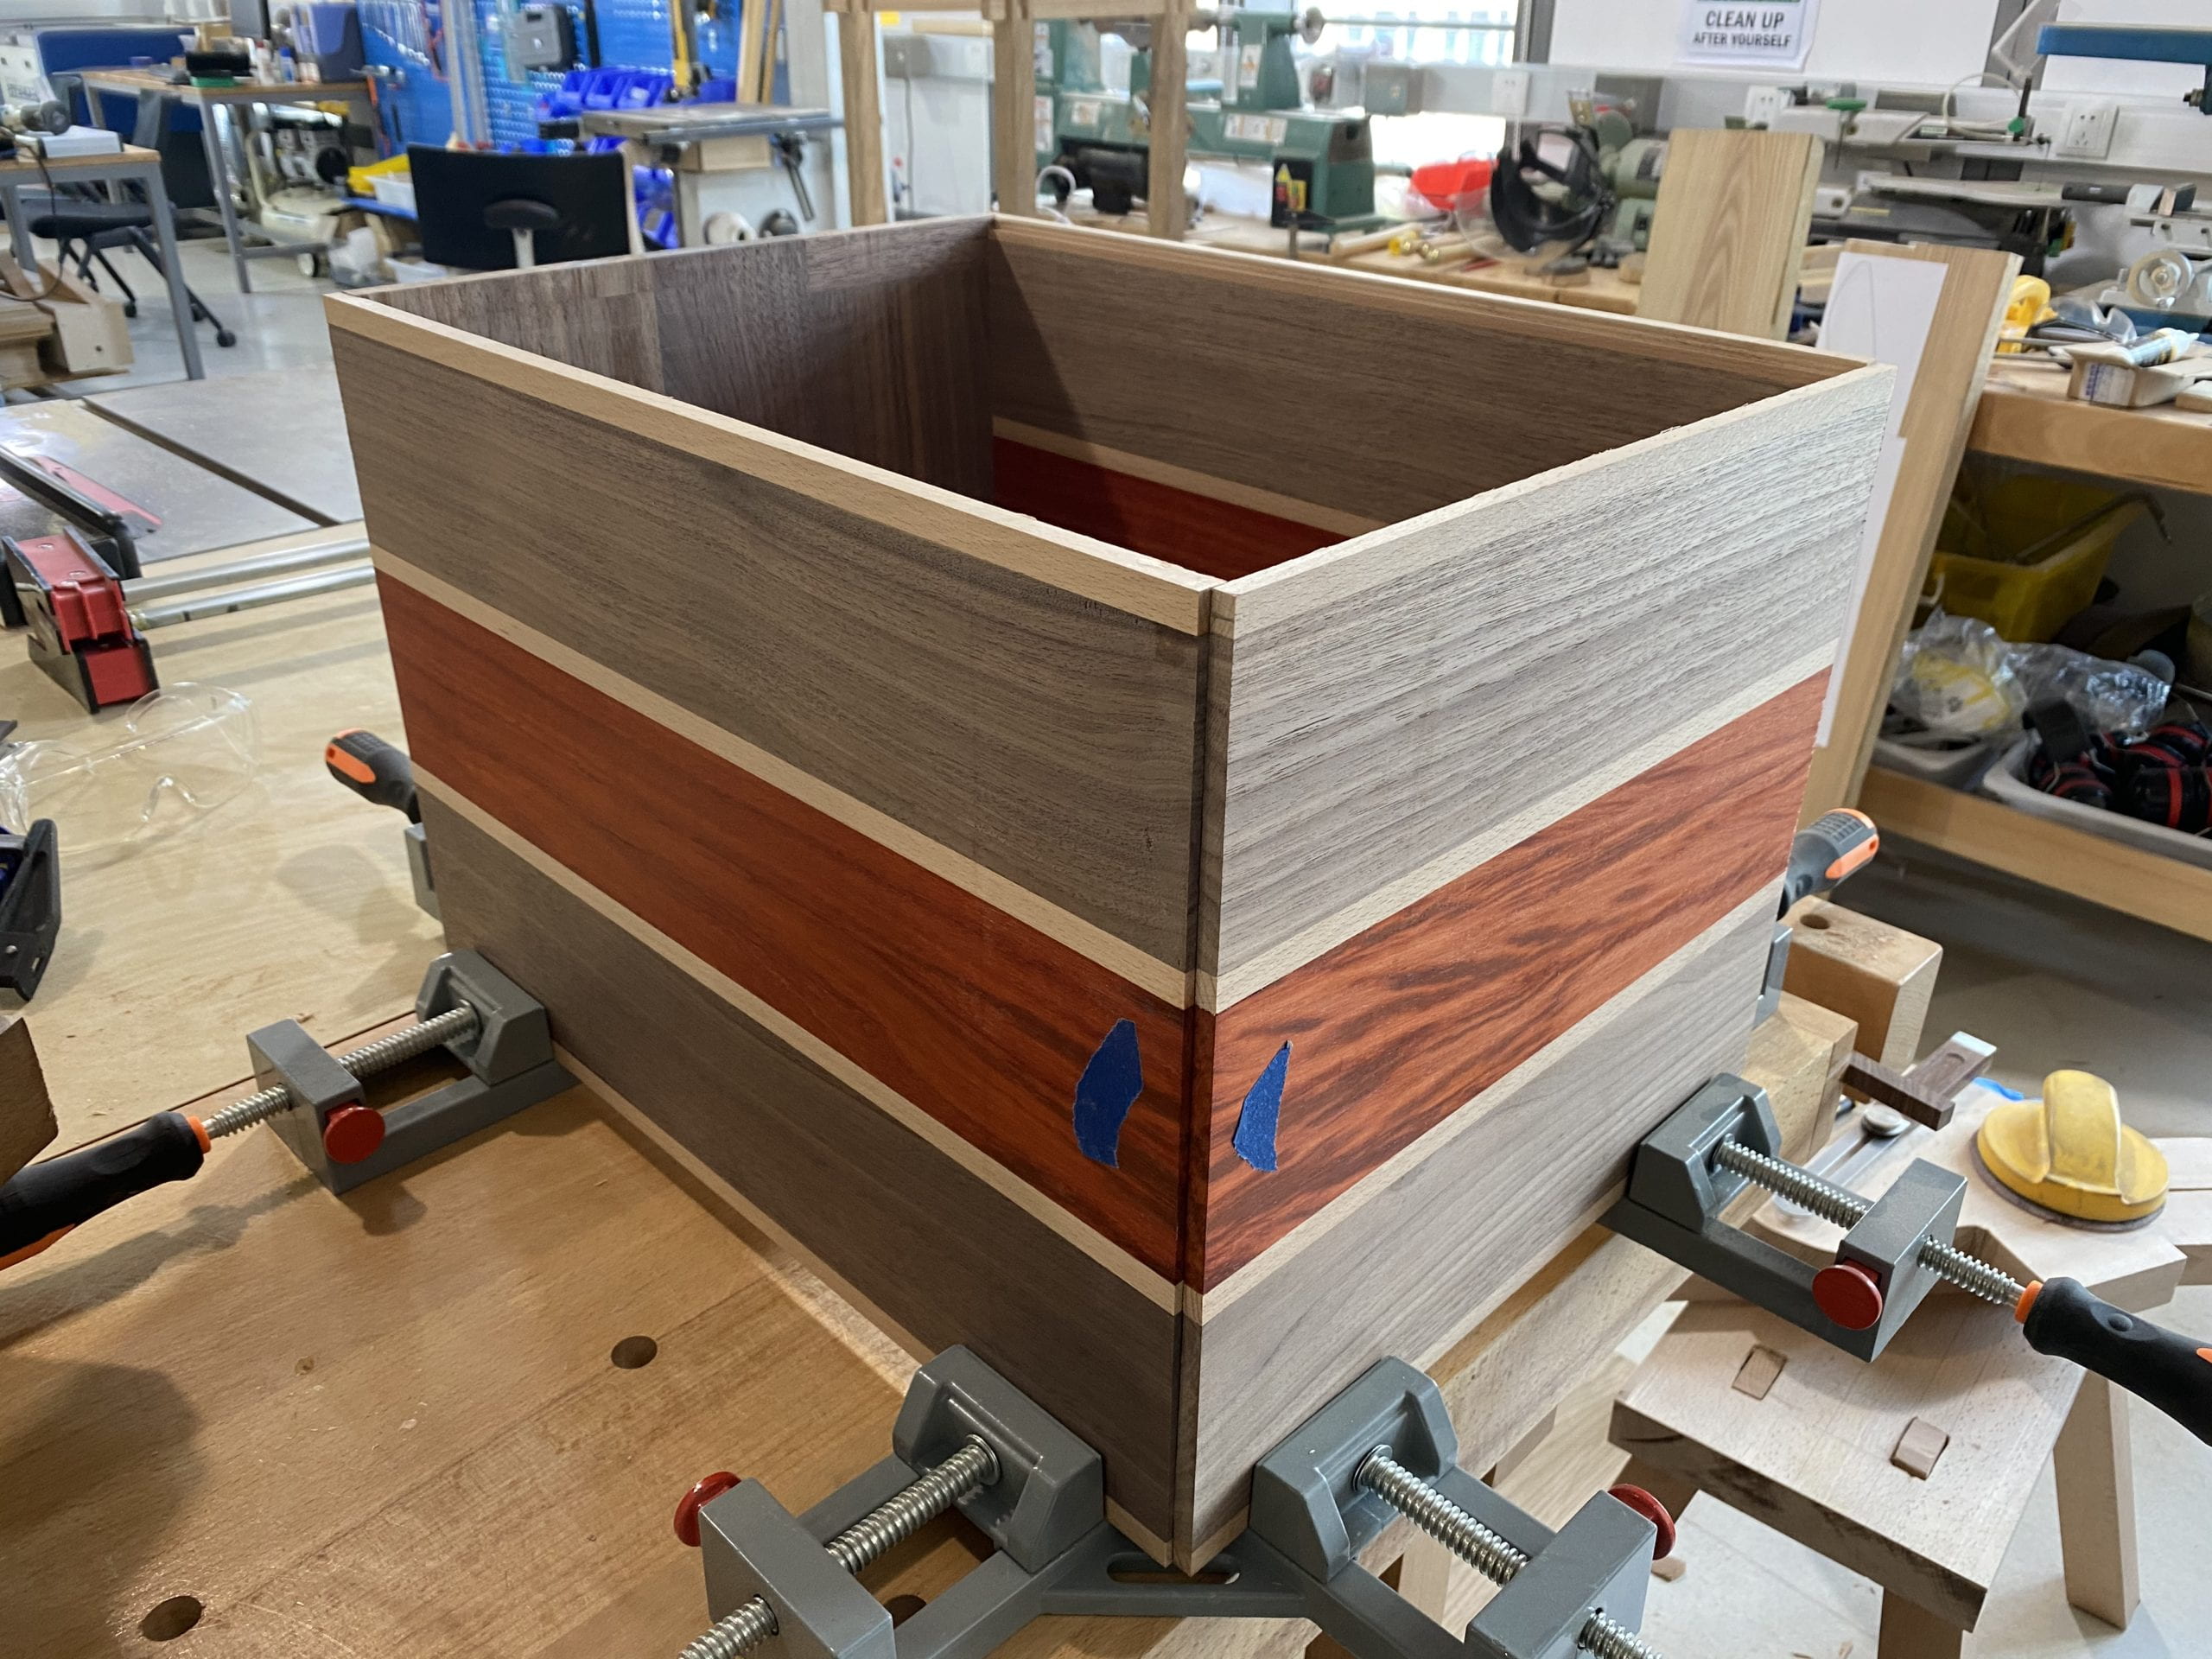
Then using these random right angle clamps I found I was able to stand these boards up and glue them together. I probably did not clamp the perfect way so I ended up with some more gaps (especially in the back with the 5 mm plywood), which I did plan to fix with some epoxy and gold dye, I thought it might look nice when I fill them up, bit like Kintsuki.
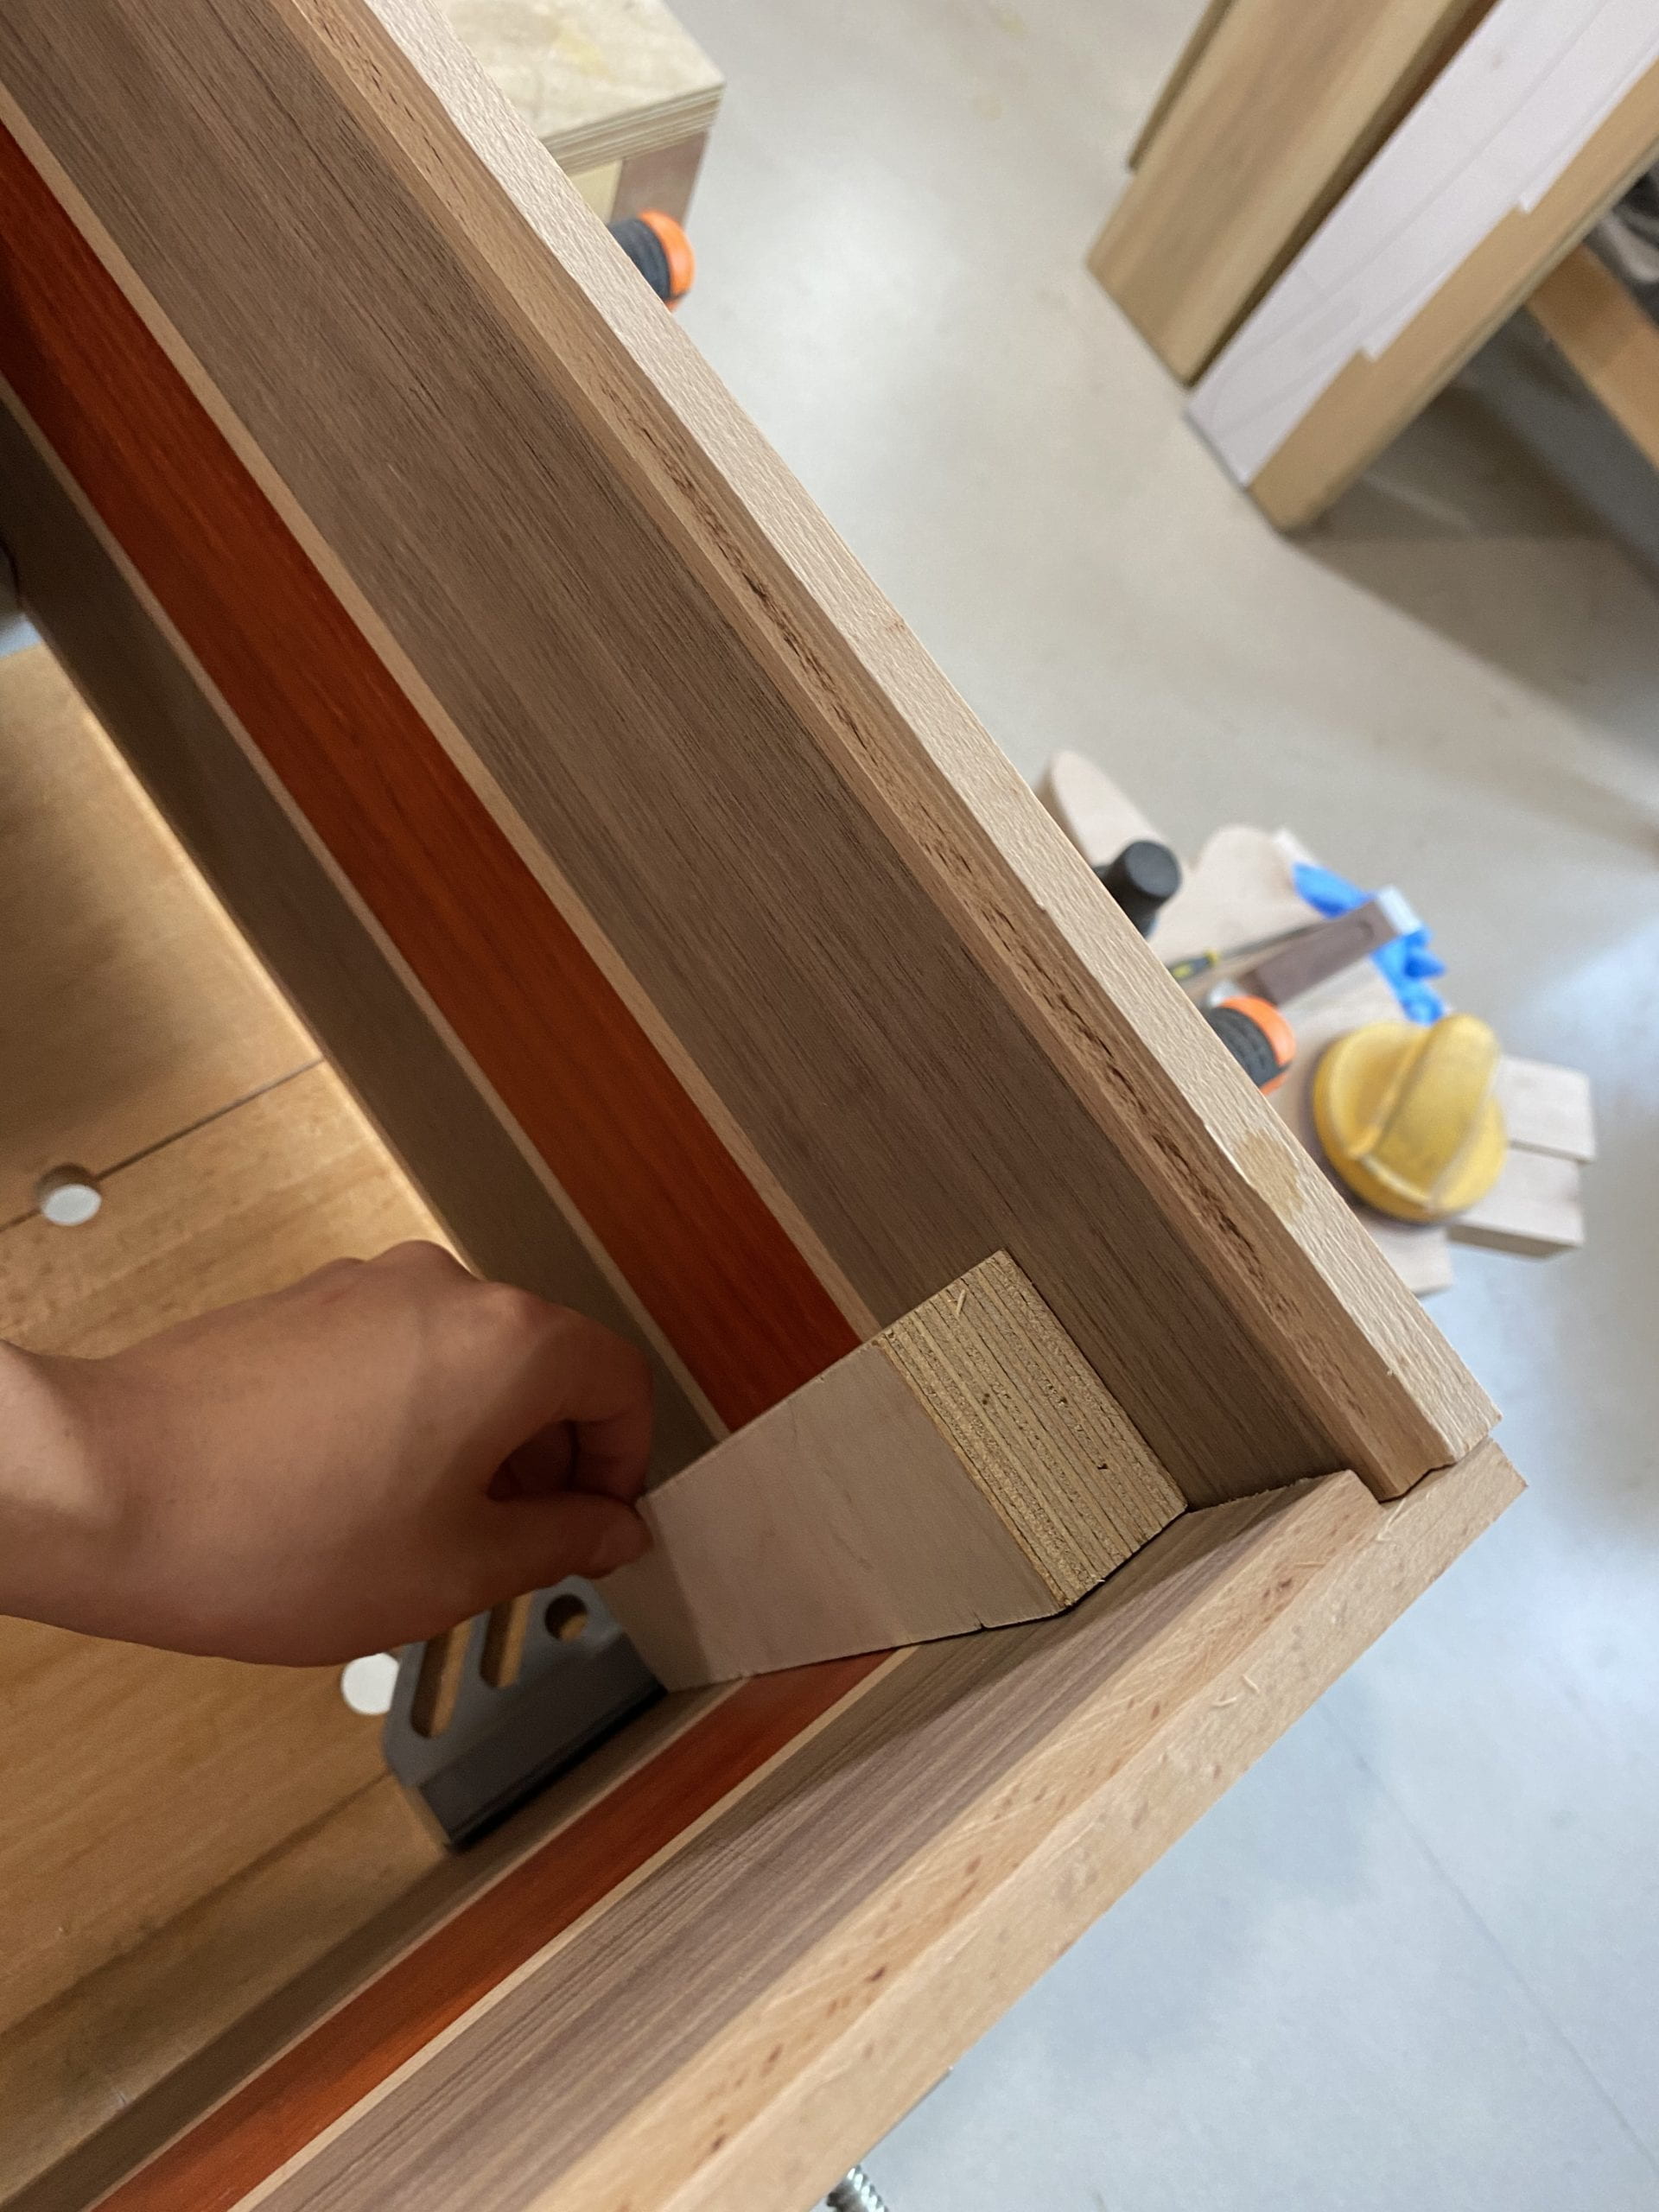
I was planning to add some corner pieces like this to hold it up better but I talked to the professor and we decided it was not necessary.
then I used the router the rounded up the edges after I tested on a scrap wood about the bits. (this was roughly when one of the vacuums broke lol)
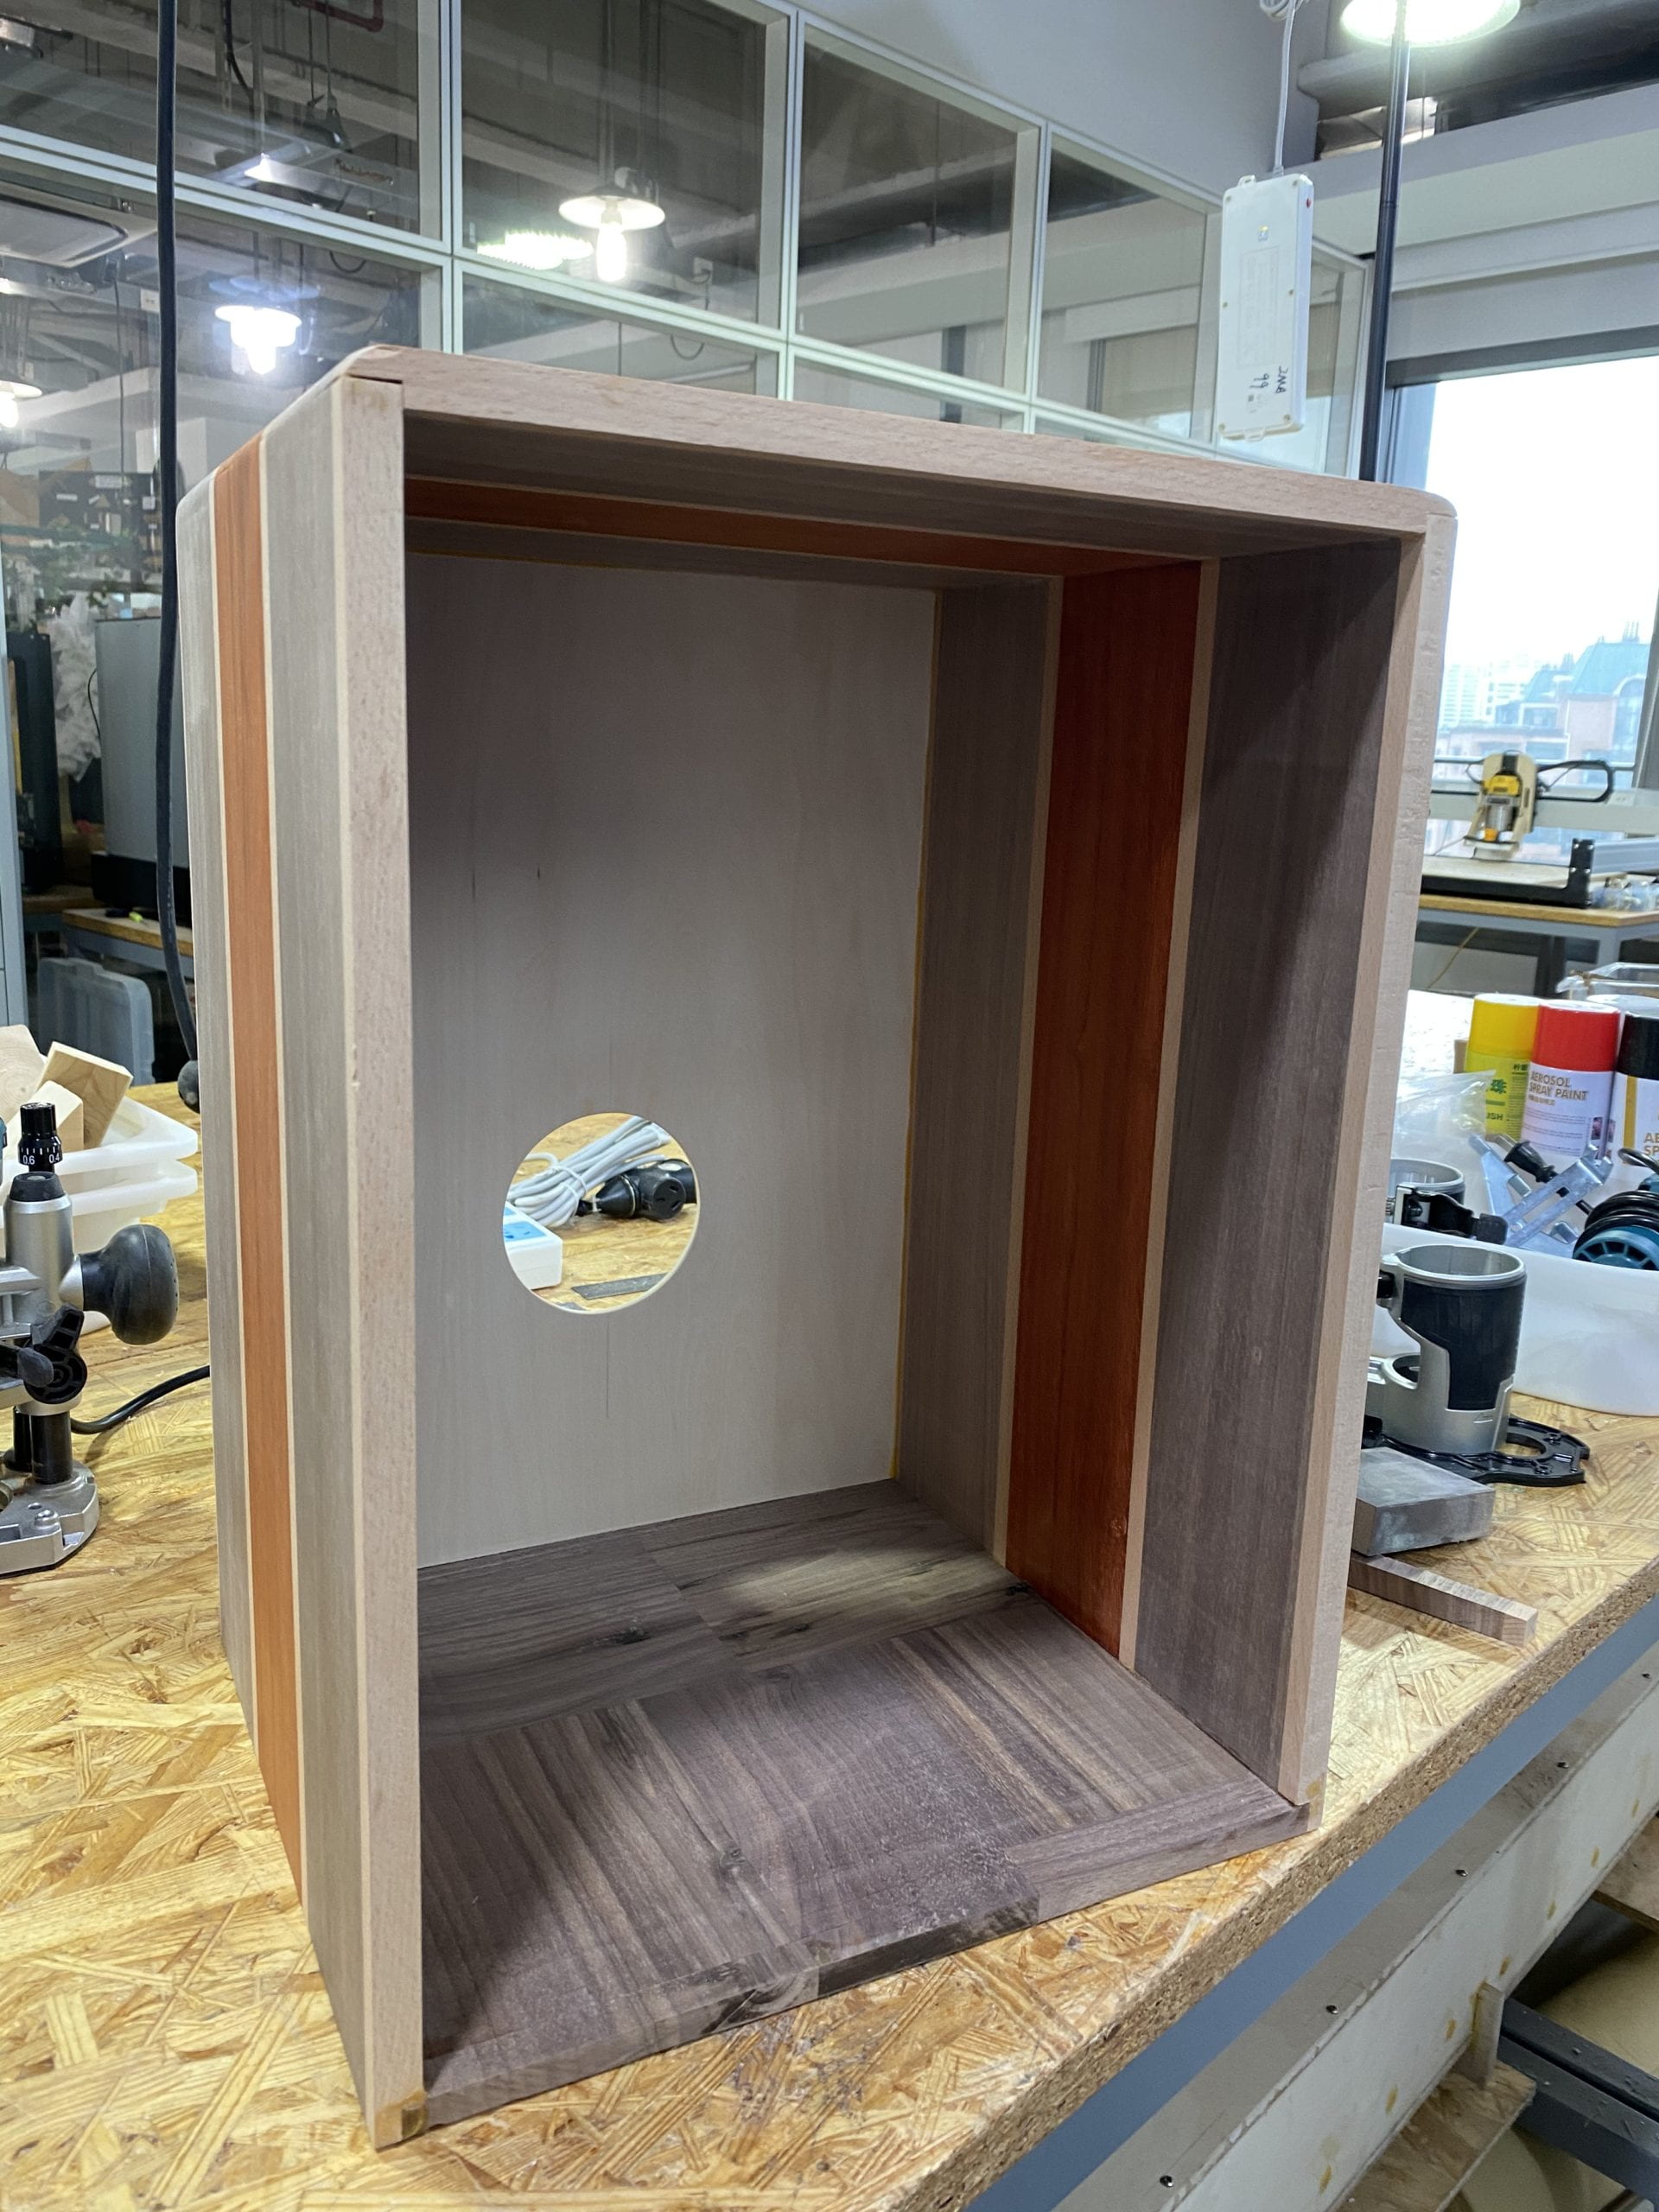
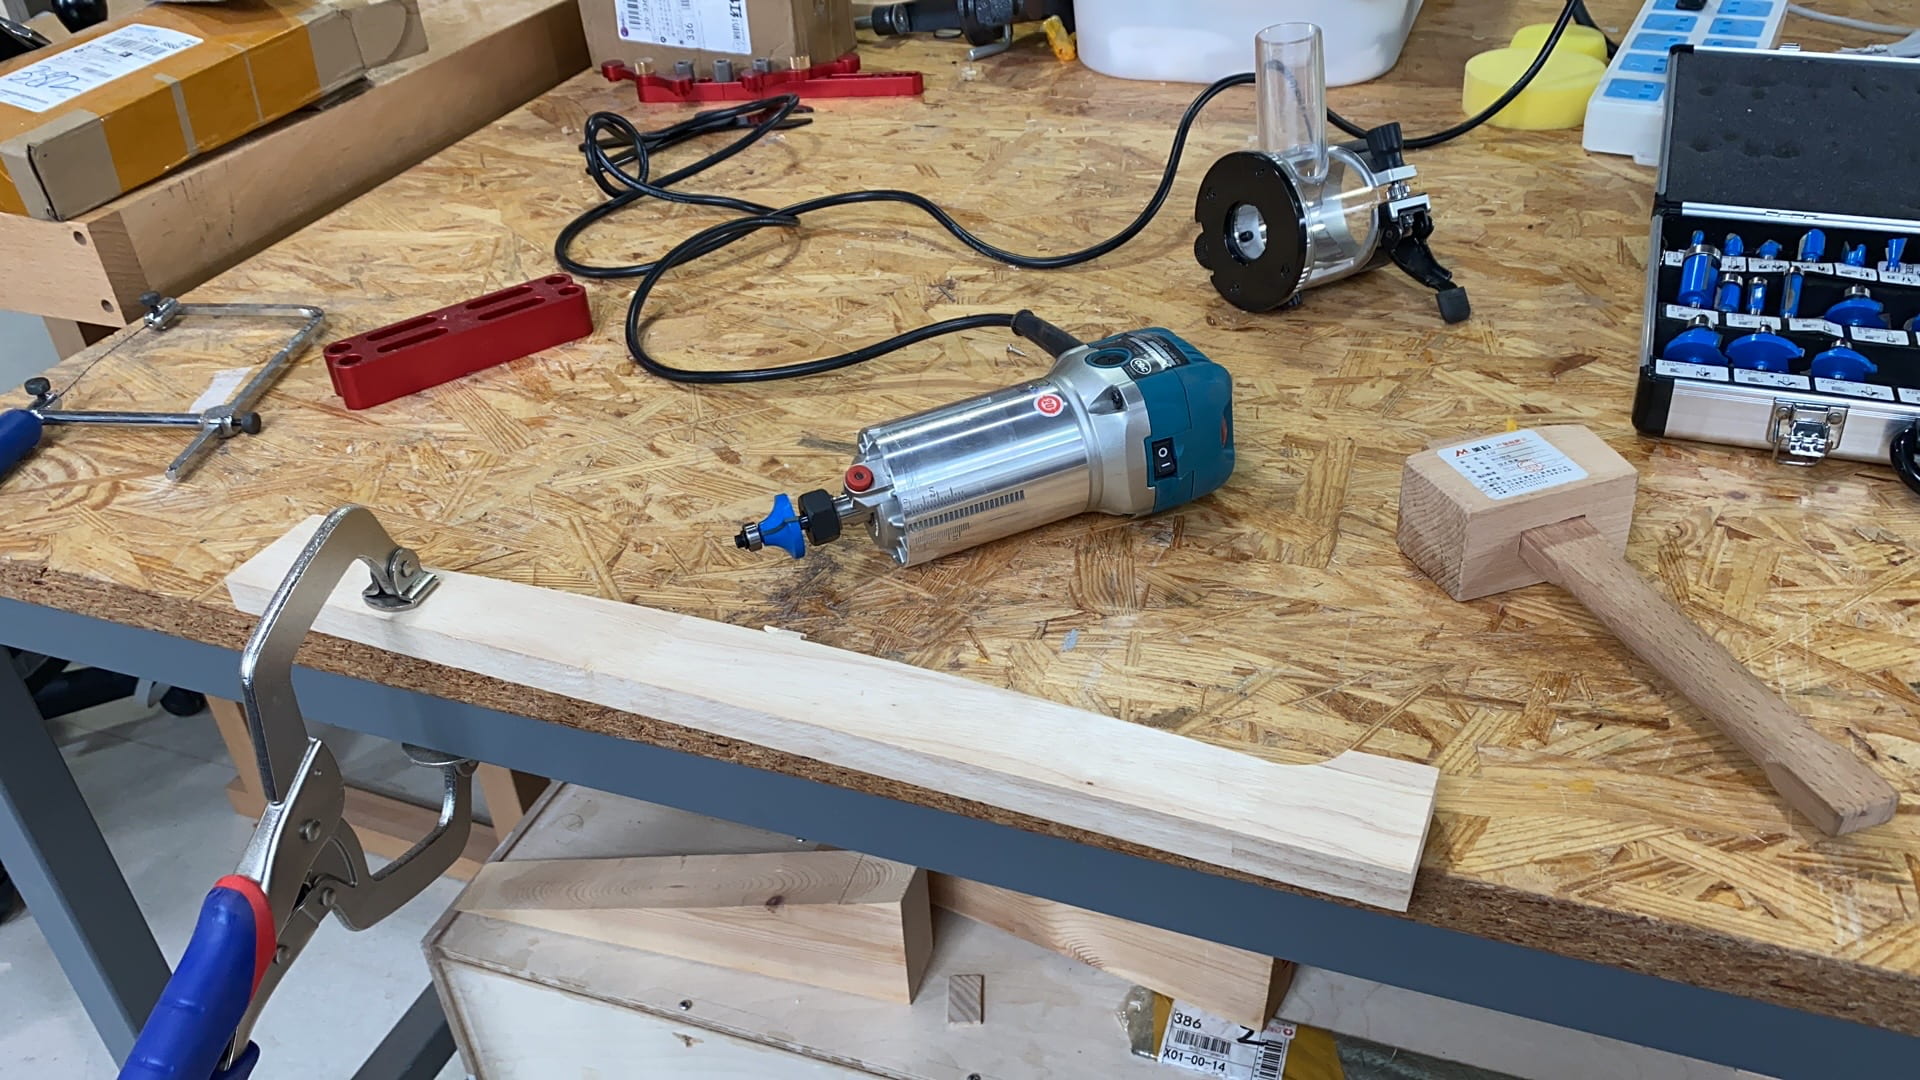
Then I sanded it to 240, applied water and sanded again with the ROS and repeated it until no wood fiber was raised after the water was applied.
The last step was to prepare the front panel. According to the sketch, I was able to decide where the screws go, so I first punched a small dent on the exact point of the screw, then drilled a small hole that was just slightly smaller than the screw size. Then using that drilled board, I was able to drill holes along the walls and installed the front panel. One highlight here was I used a bigger drill bit and drill in the opposite direction to make dents for the screw head to settle in so that the front of the Cajon would be completely flat. 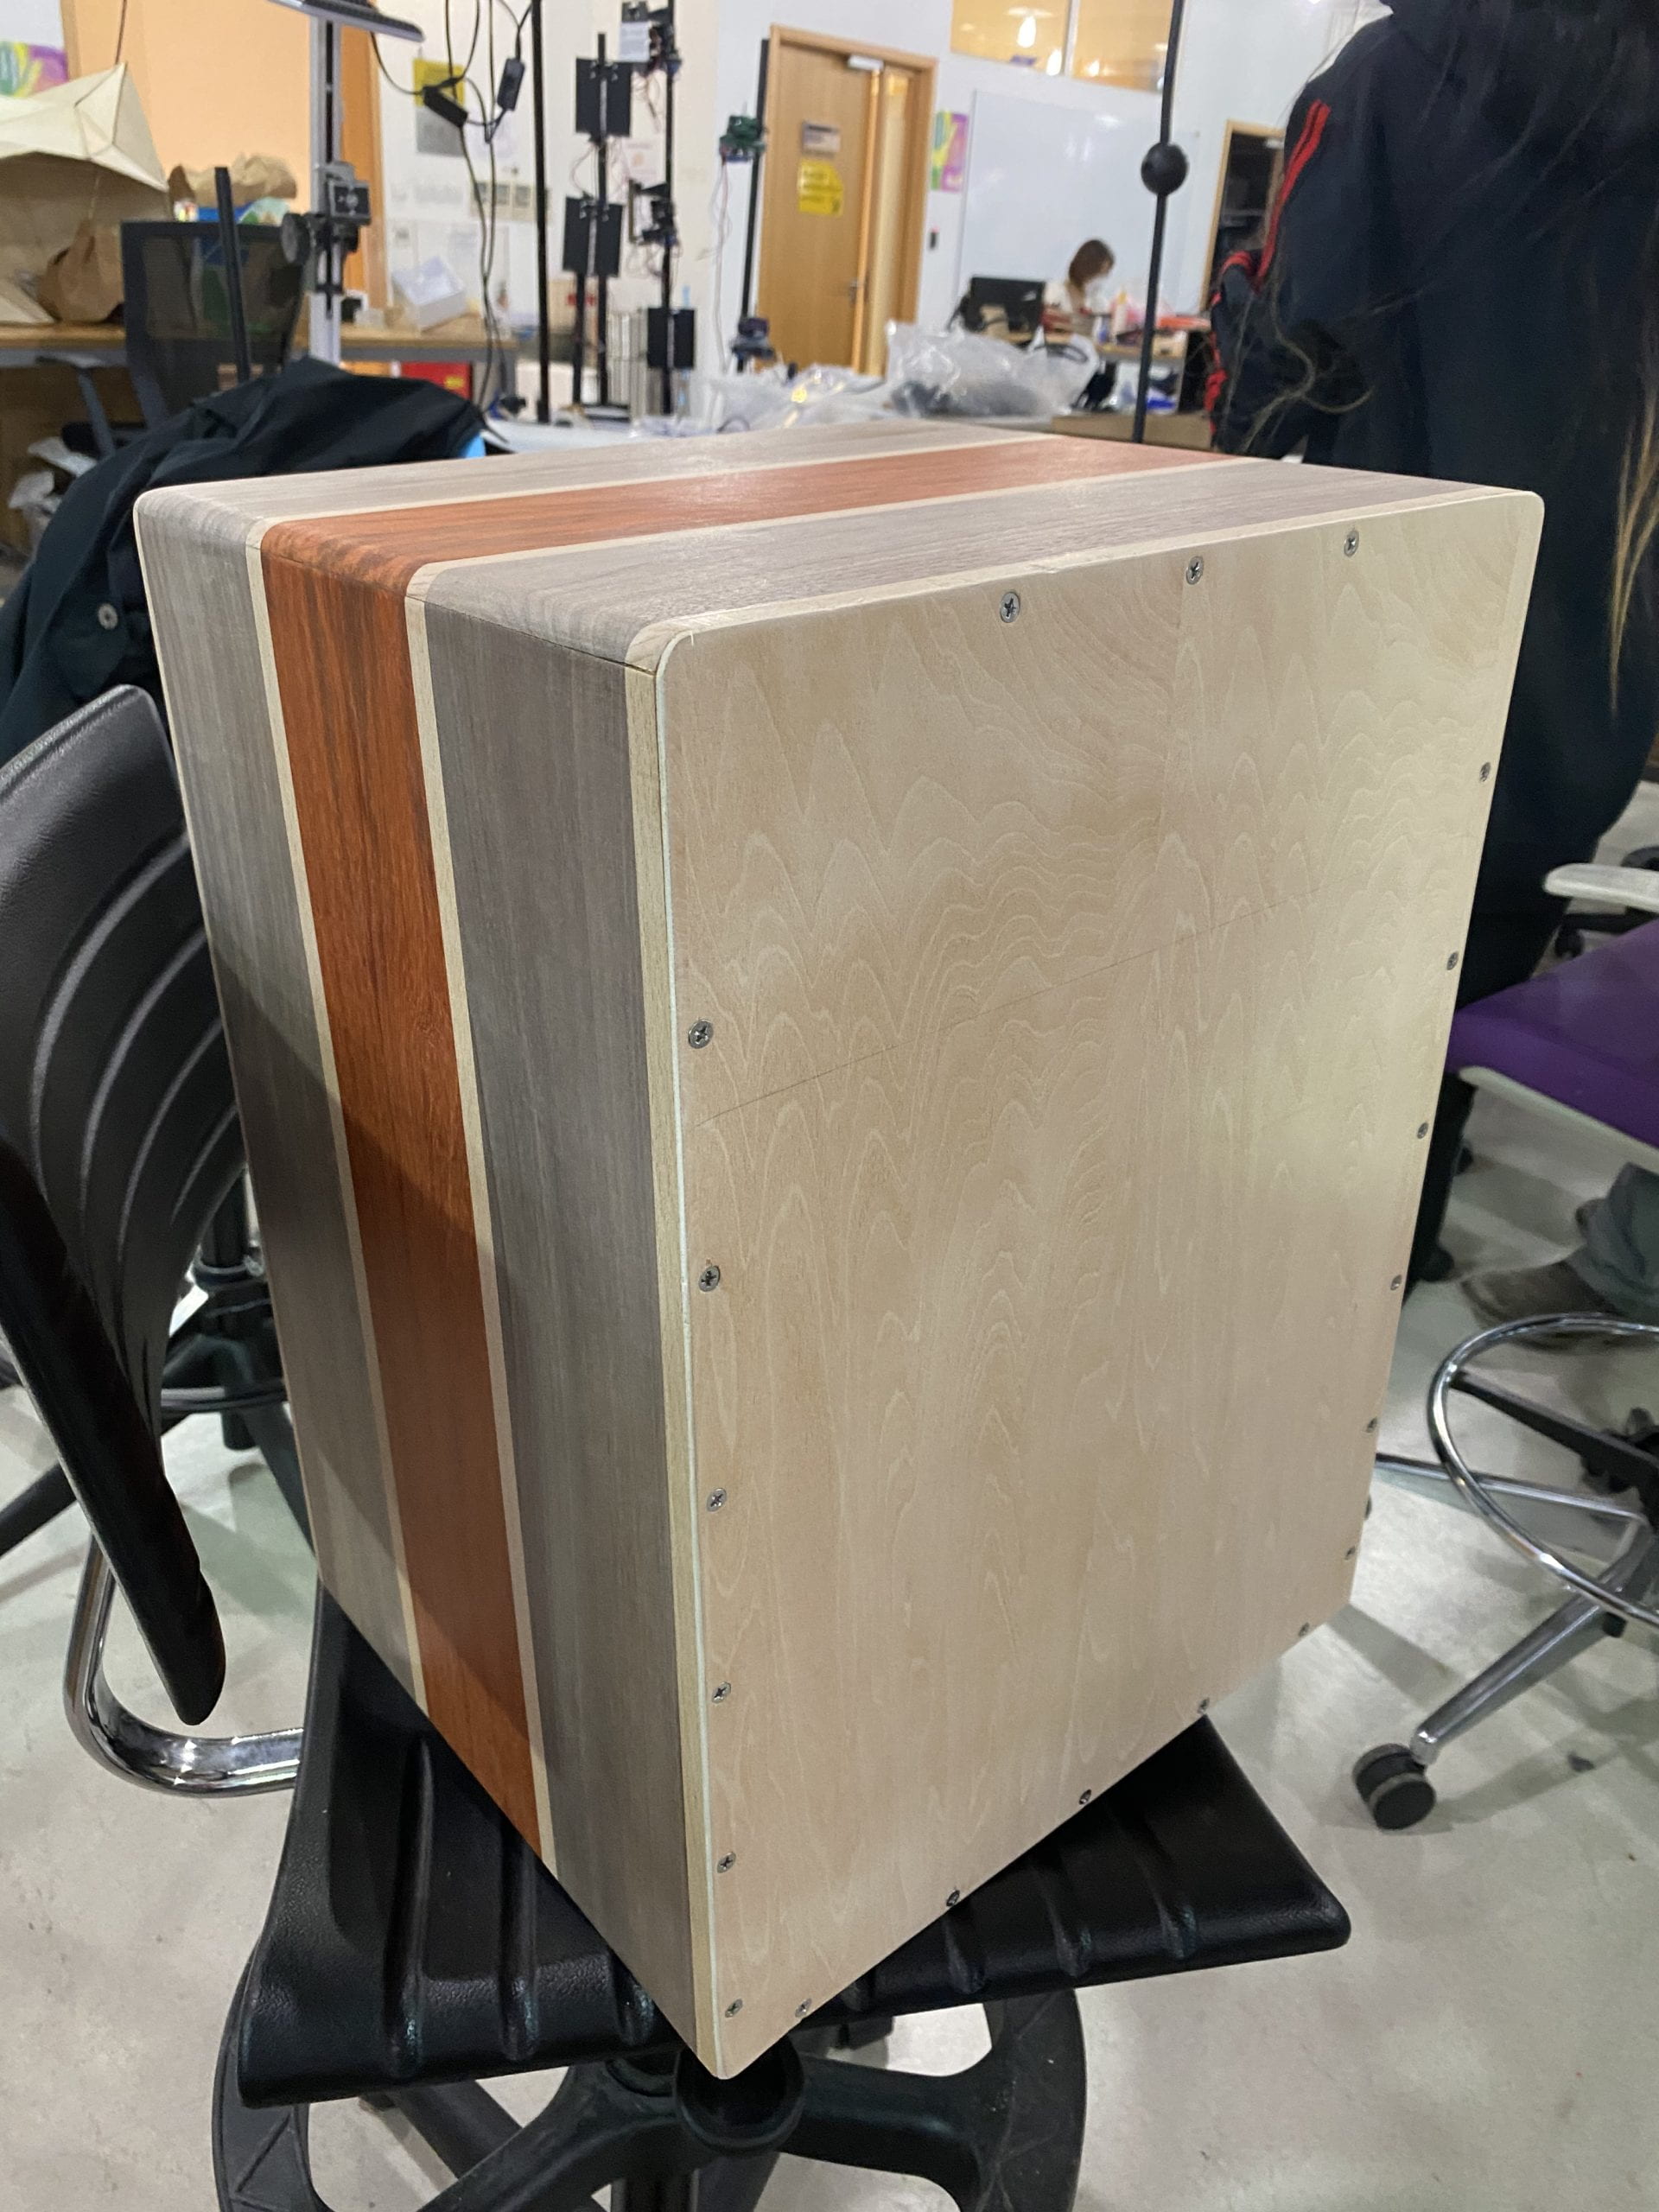
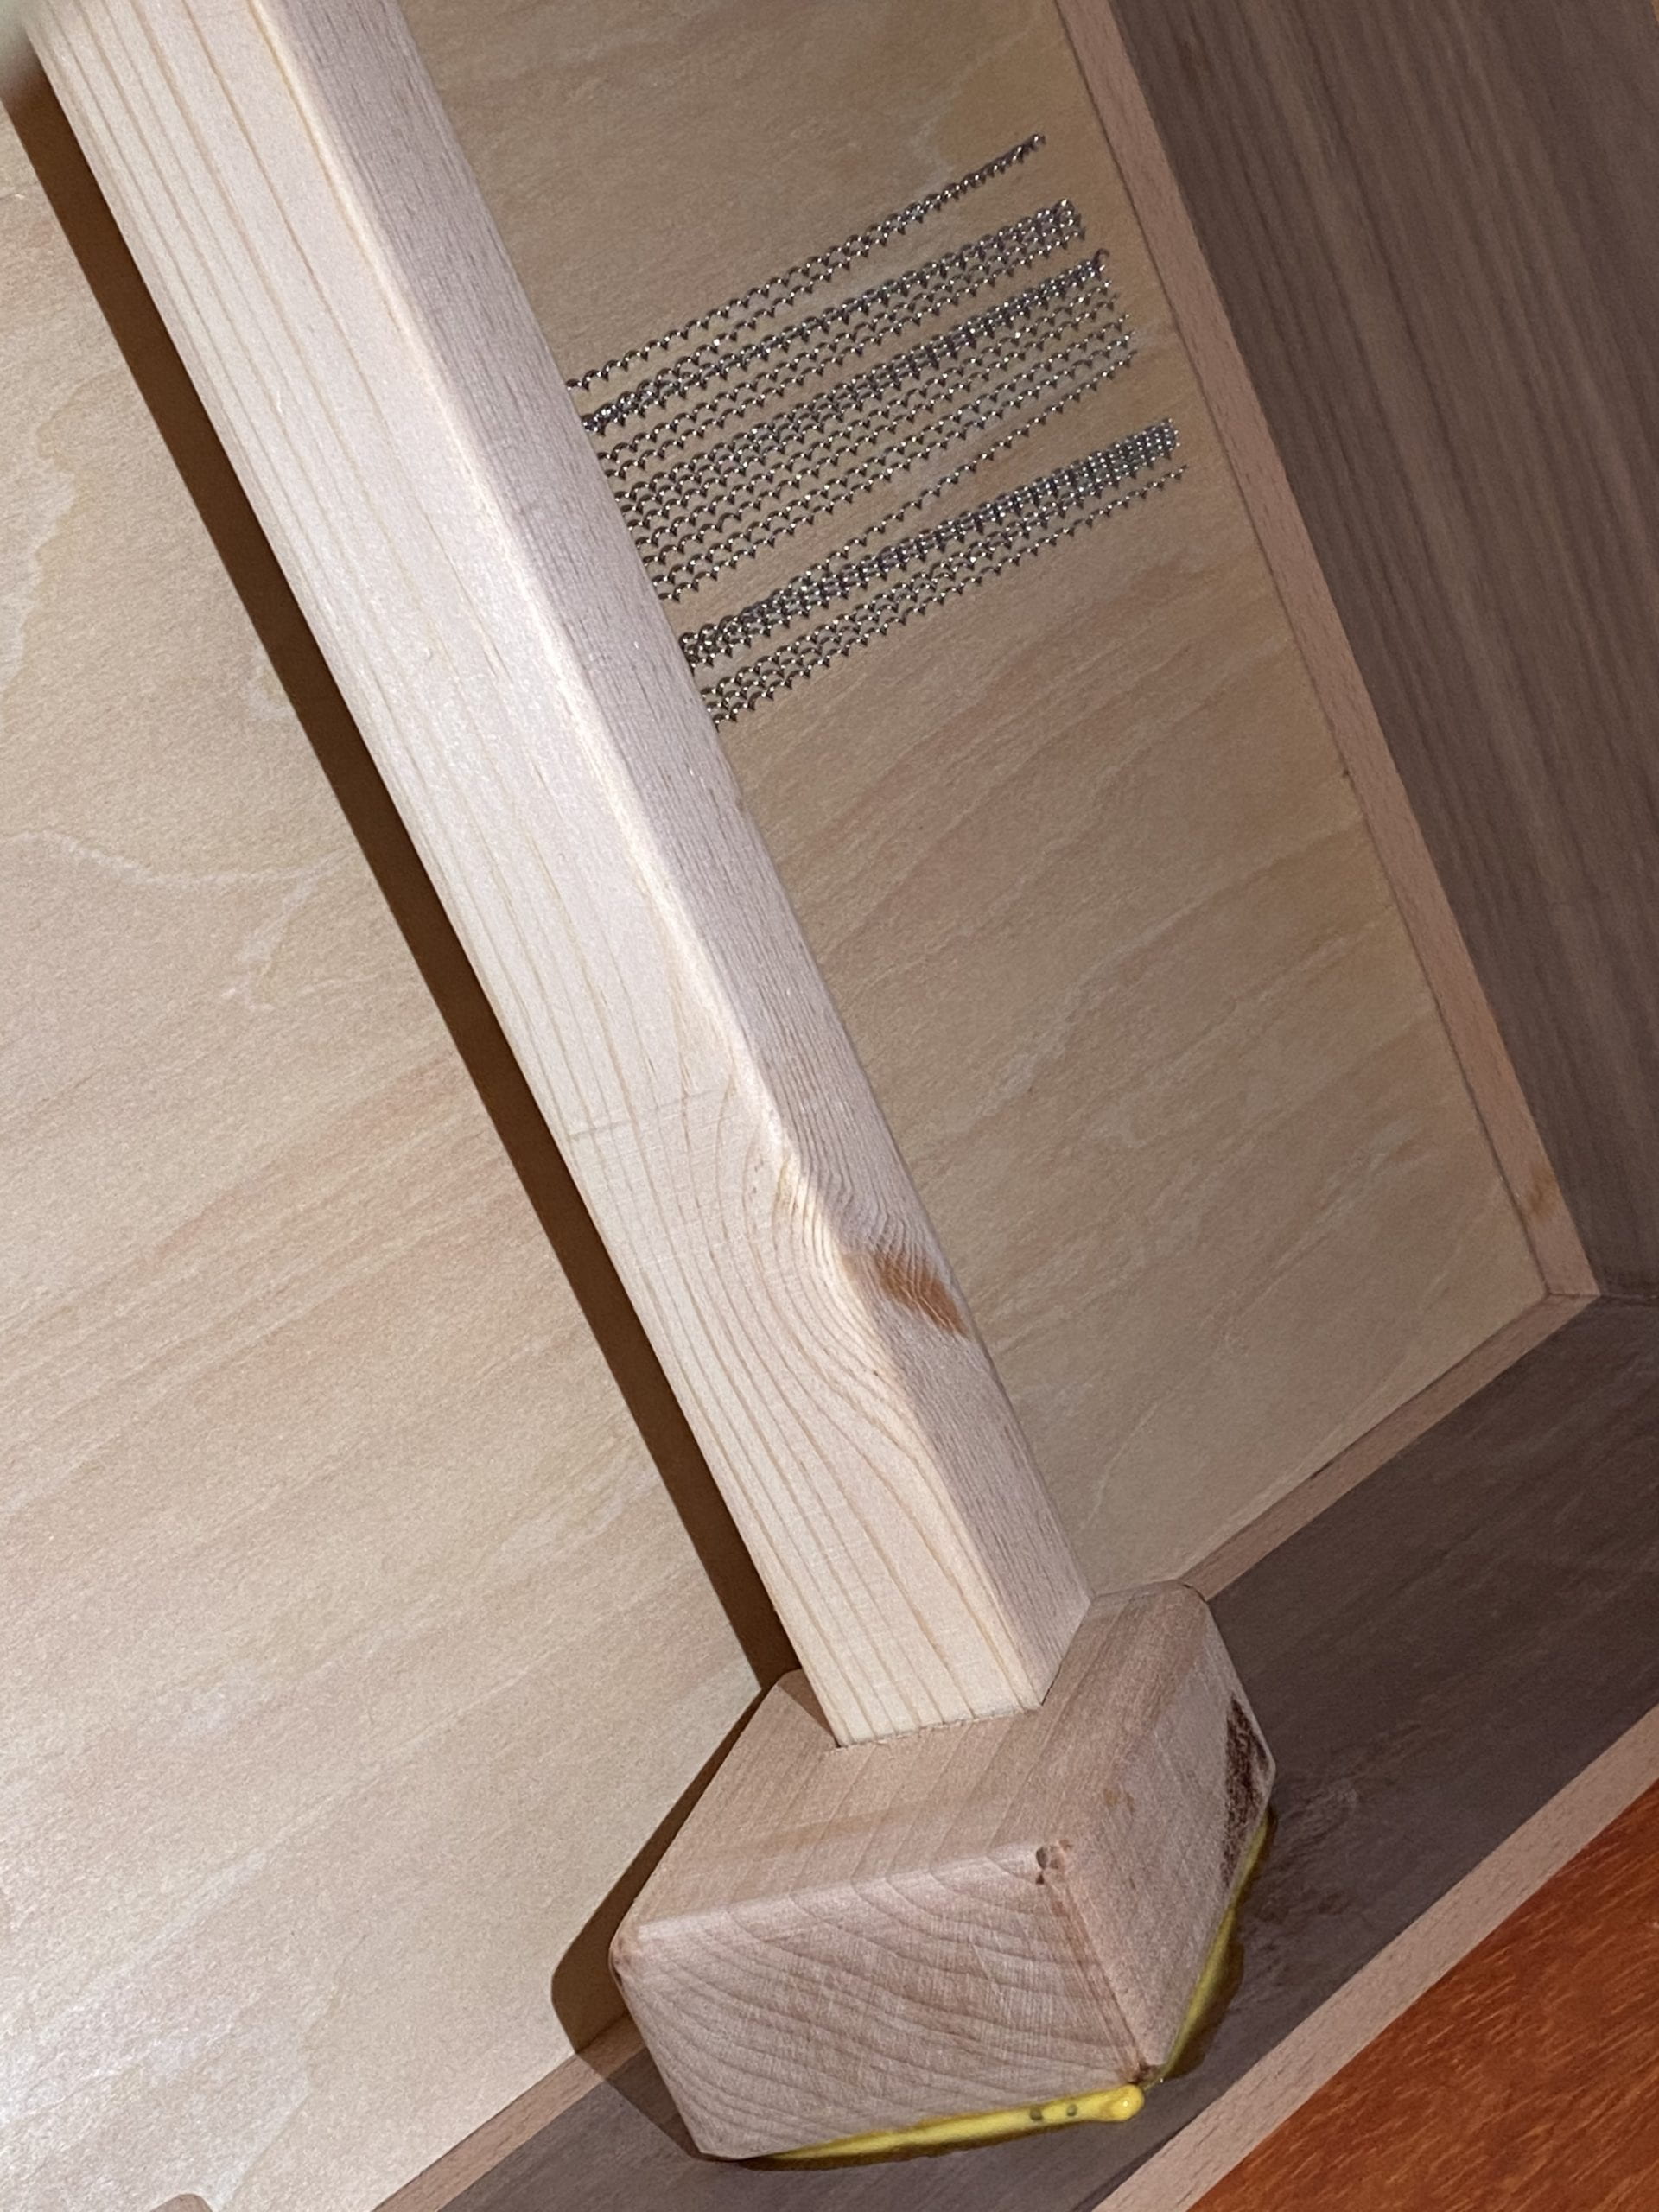
then using table saw I was able to make these little notches for the snare to go in (without glue) so that the snare would be detachable and replaceable.
Then after a bit of final finishing and sanding I will be done by tomorrow.
Discussion and reflection:
the slight curving of the glued board was honestly a little bit surprising, I might better off doing the joint cutting right after I glued up the boards and they have dried. Otherwise, there won’t be much for me to change if I were to do it again. However if I were to improve the project further on I might choose to use nicer plywoods and screws and probably use one solid piece for the bottom.