Step 1: Design
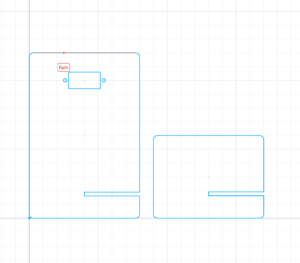
In step 1, we had to design the body of the sculpture we were making. I worked with Jason Li, so he did one part and I did the other. I worked on the larger body of the sculpture. It was quite straightforward and easy to design on cuttle. The only challenge was that the ruler wasn’t super accurate so we made an estimate about the holes while measuring the servo motor.
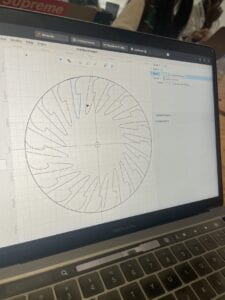
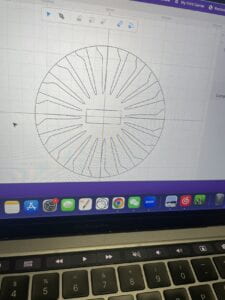
Next, we worked on designing the moving parts of the sculpture. I had a bit of difficulty using the pen tool to create the curves. If I had more time, I would try to mess around with it more. At the end, my design looked kind of like a knife. This is how mine and Jason’s design came out.
Step 2: Laser Cut
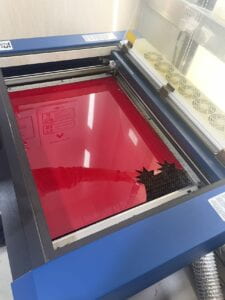
In step 2, we uploaded the design files and we had one of the professors laser cut it on a red plastic. The process was fast and the quality of the cut was also good. This is the laser cutting machine.
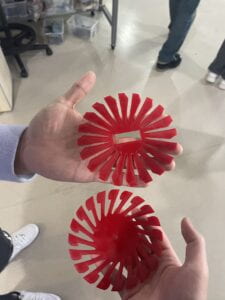
This is how the sculpture came out.
Step 3: Assemble
For Step 3, we connected the servo to the Arduino and ran the example code. We placed the plastic blades on the wooden objects which were used as a stand. Unfortunately, due to error in our calculations, we weren’t able to insert the servo motor properly into the plastic blades. But after trying for some time, we were able to fix it and make it move properly.