Task #1: Test the NeoPixel
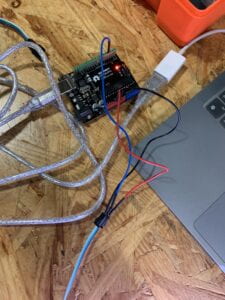
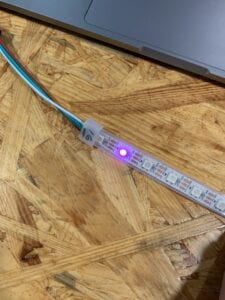
The first task was to connect the NeoPixel to the computer, which was straightforward to do. I didn’t face any challenges in this part. I also downloaded the packages that I needed to install.

Task #2: Use your computer to light up NeoPixels
For the second task, I copied the code from the recitation and ran the code. At the beginning I was a bit confused because nothing happened but I realized that I had to input four variables into the serial monitor, which would light up one pixel.

There was also code that we had to run in Processing. I had a problem with the code because my computer uses the M1 chip. I had to replace a .jar file in Processing and then the code for Processing ran.
Task #3: Add Music!
The third task was the most difficult task. I downloaded the audio file sketch, and replaced it with a song I wanted (I chose True Love by XXXTentacion from SoundCloud). Then I had to merge the sound sketch and the Neopixel sketch in Processing. The way I approached this was that I copied the code inside the draw loop of the Neopixel sketch and pasted it inside the draw loop of the sound sketch. I did the same with the setup loop and the global variables and imports. Then I replaced input of the Neopixel sketch with the the output of the sound (the amplitude of the sound). To customize the colors more, I changed the range of the colors as well.
The way sound and Neopixel works is that when I click while the music is playing, the Neopixel will light up depending on how loud the sound is. If it’s louder, then the end of the Neopixel will turn on but if it’s quieter the part closer to the Arduino will turn on. If I had more time I would have implemented a way to turn off the Neopixel after it turns on.