Circuit 1: Fade
In the first circuit, I connected the breadboard to the Arduino. I looked at the diagram and connected the parts that I was supposed to. It was interesting to see the Arduino controlling the LED. There weren’t any challenges that I encountered.
Circuit 2: toneMelody
The second circuit was similar to the first circuit since there wasn’t anything complicated. The diagram was quite straightforward. It was interesting to see the different tones being created by the speaker because of the Arduino. At first the tone didn’t work, but then I created the tone file and it worked.
Circuit 3: Speed Game

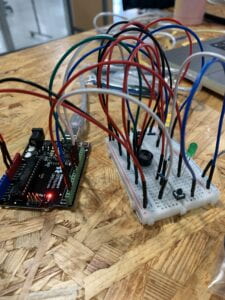
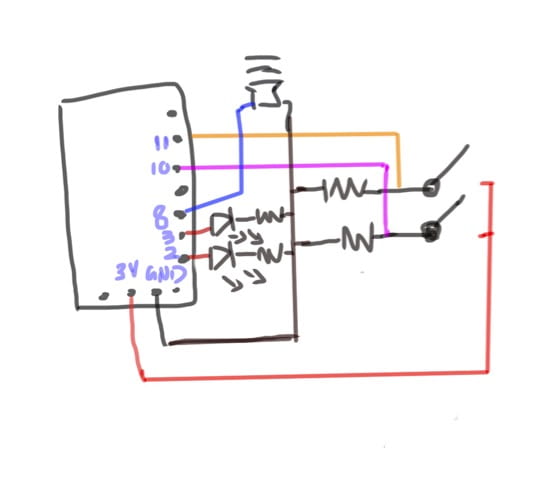
For the third circuit, the diagram of the circuit was much more complicated. I started with the wires with the speaker. Then I placed the wires of the button. I did find it challenging while setting up the 10kOhm resistor since I wasn’t sure of it’s purpose. But after some trial and error I was able to get it to work. I also had a partner who worked with me as well. Lastly, I connected the the LED and the resistor to the circuit and we played the game.

Question 1: Another type of button that could be used is a motion sensor on the ground where the players have to jump 10 times as fast as they can to win. This would make the game more interactive because the players would be using their whole body to interact with the circuit. Usually, the player’s fingers are only active, but with motion sensor their whole body must be active.
Question 2: The 10 kOhm resistor is used as a pull down resistor so that when the button is not pushed the reading is low. If the resistor wasn’t there, a short circuit would occur when the button is pressed since it’s connected to GND.
Question 3: In the book Getting Started with Arduino there is a clear description about the “Arduino Way” in chapter 2. Find a project that you find interesting that can be used as an example for these kind of projects. Cite it in adequate manner, include a picture, and explain the reasons that you chose it.
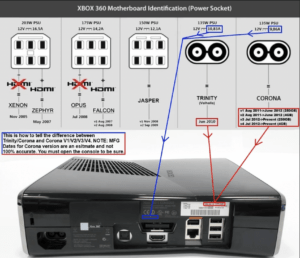
A project that I find interesting that can be used as an example for the “Arduino Way” is exploiting an Xbox 360 game console by RGH (Reset Glitch Hack). This exploit requires soldering the motherboard and other modifications. I’m interested in this project since I had an Xbox 360 and always wanted to use it to play more games. I think it’s also an opportunity to learn more about electronics and tinkering.

References:
https://www.se7ensins.com/forums/threads/jtag-rgh-r-jtag-xbox-360-ultimate-exploit-guide.804054/