- Outline:
- Components checking
- Three task review
- Reflective questions
Components checking

My partner Ziyi and I both learnt some circuits knowledge at our high schools. Since I took the relavant course as one subject for Gaokao, I was no stranger to this work. But in order for a better collabration, we started from studying the breadboard. To better explain it, LA Iris showed us another breadboard with the back exposed(forgot to take a picture). So I drew a picture(as followed) later to record it.

It is worth mentioning that we didn’t check the state of some important components like LEDs. It ended up with confusion on Task 1 Part 2, where we found the second circuit not work and took some time to debug. The reason of it was that the LED was broken 🙁
To add up, when checking the state of LED, remember add a resistor into the circuit to protect the LED. Remember! Remember! Remember! Or follow the same old disastrous road as me, to break a LED with a smell of burning and heat from the fingertips :/
Task 1: Build the circuits
Part 1 :

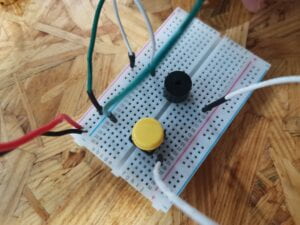
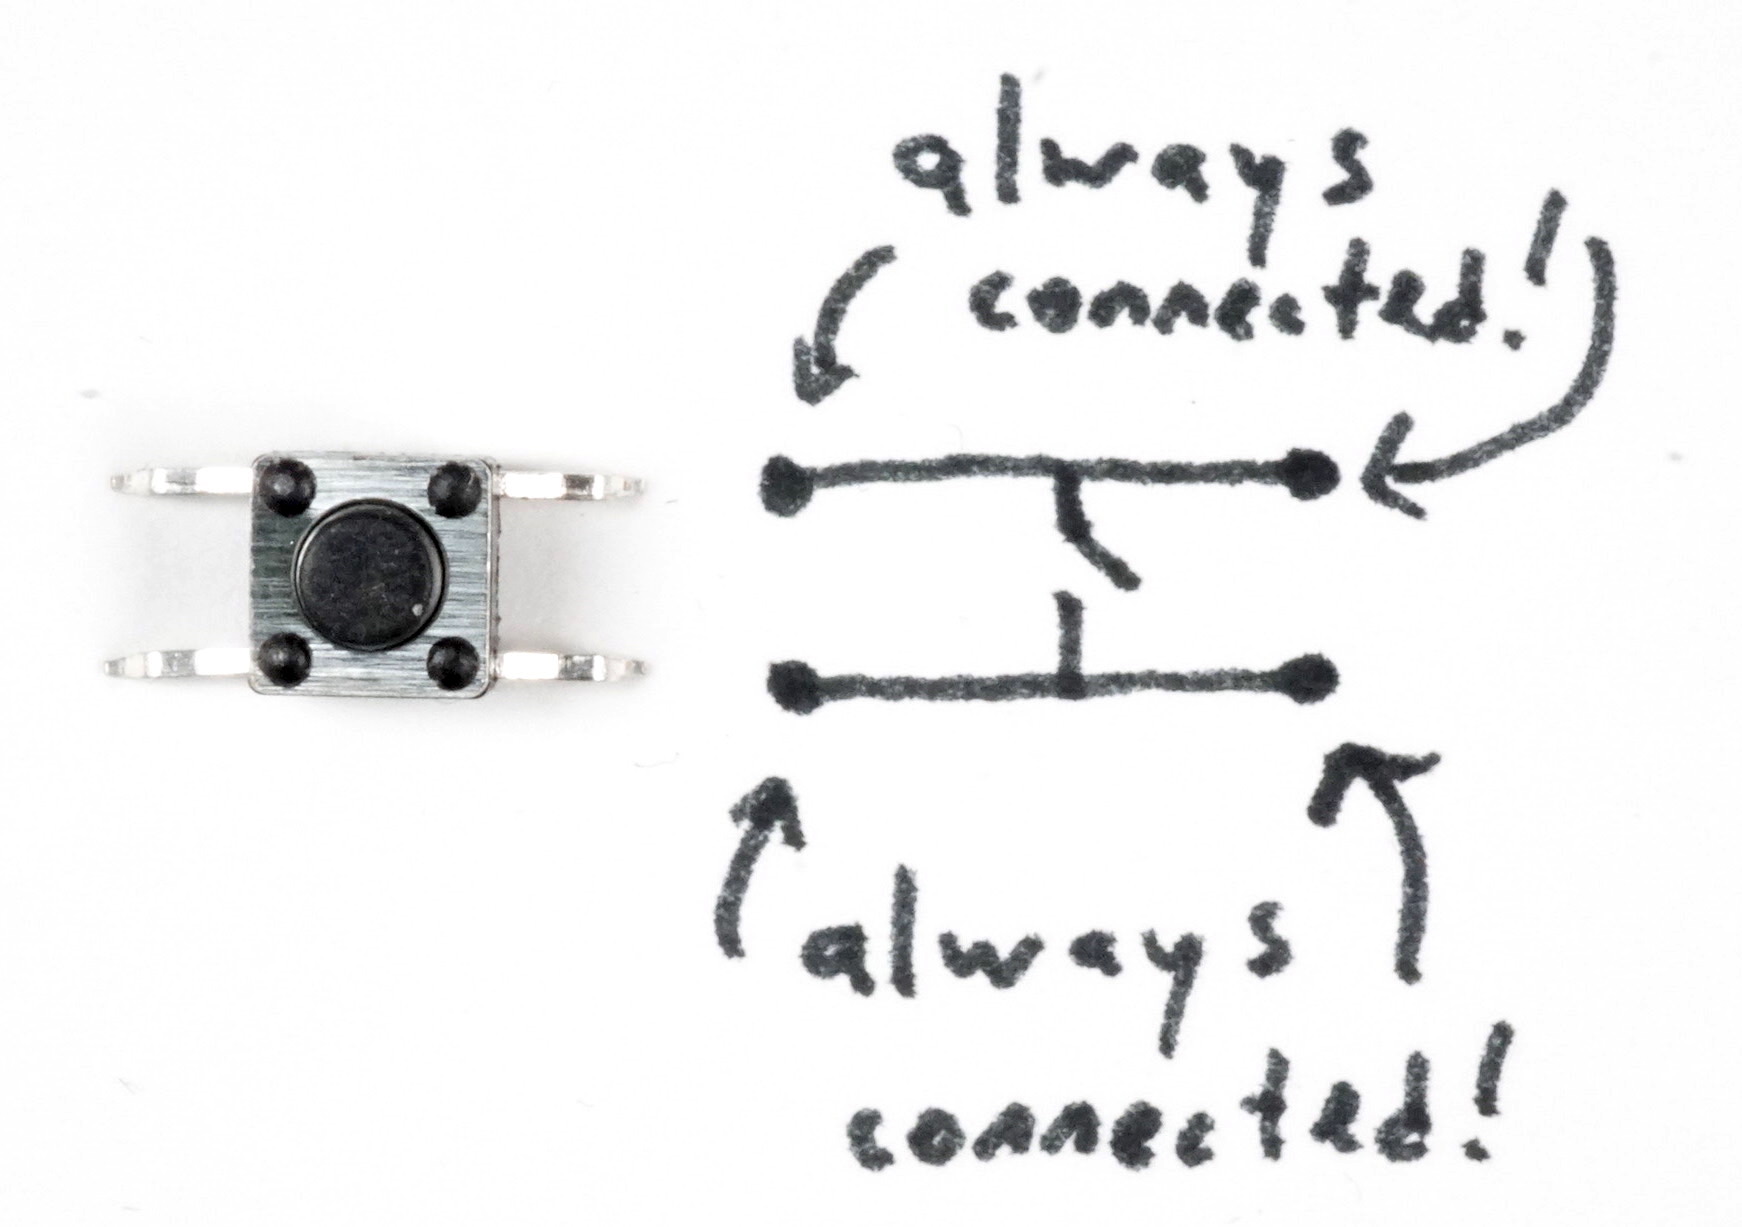
With the background knowledge of physics and circuits, we didn’t have great problem on the process. The thing I want to record most is about the push-switch botton. The two feet on the same long side are connected together. So when connect them into the circuit at the same time, we will see
and this:
Therefore, make the long side crossing over the gap in the middle of the breadboard might be the best for us. Moveover, doing so may be able to simplify the circuit, since the long sides can be considered as two wires:)
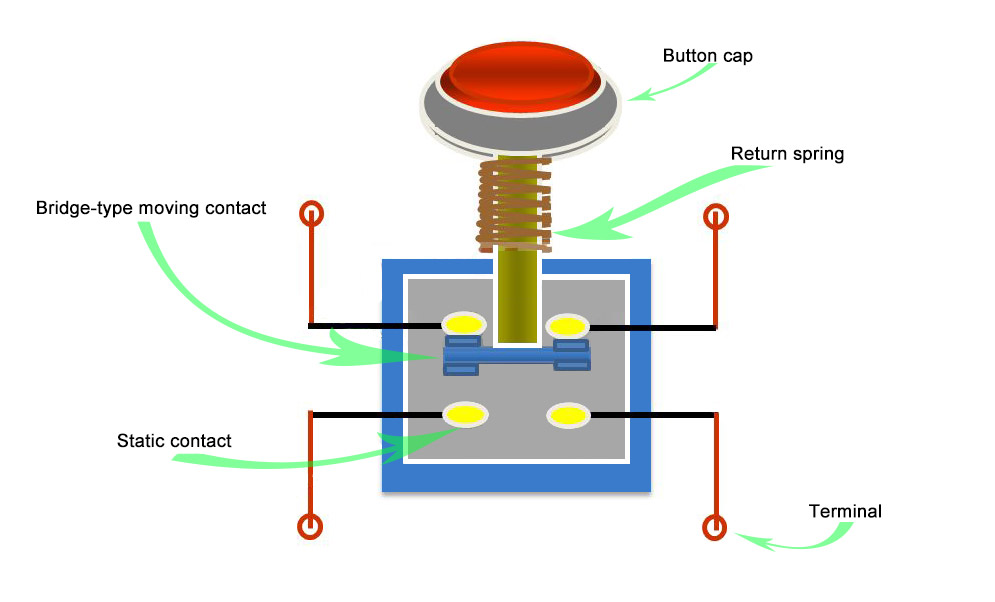
Two pictures I used to help understand the working model of the switch.
Part 2

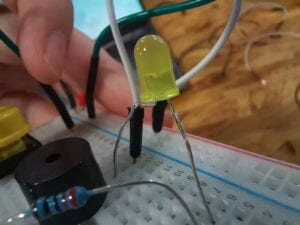
During this process, we forgot to check the polarity of the LED, so we had to take if off and compare the length of two legs. However, based on my previous knowledge, I shared a tricky way with Ziyi to check the polarity without taking the LED off 🙂
It is
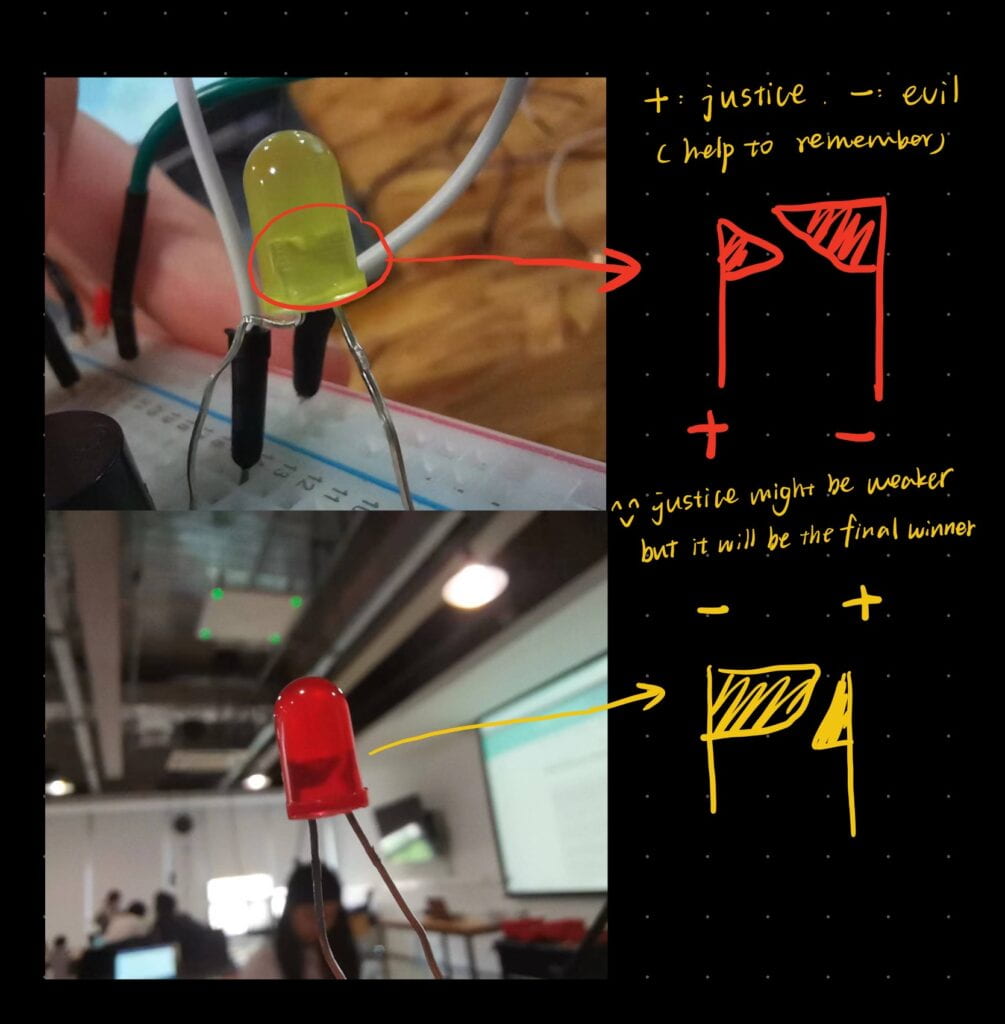
Magic!
Part 3

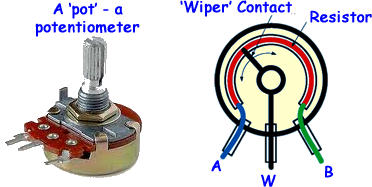
To better understand how the 10k variable resistor words, we again searched the inner structure of it online:
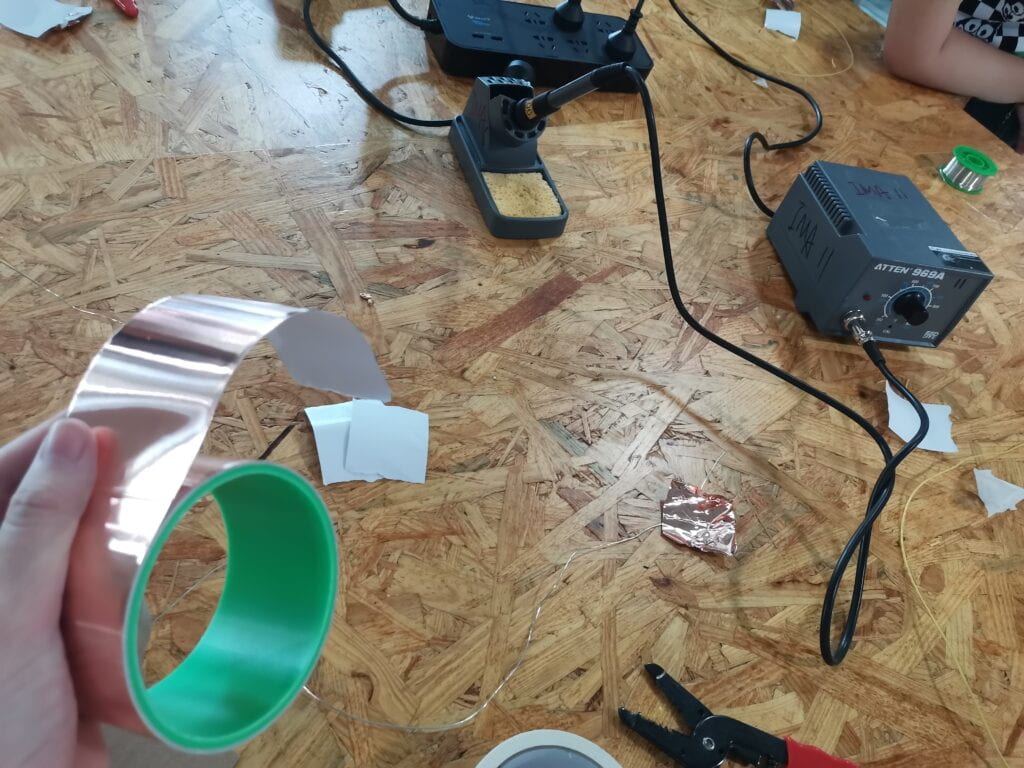
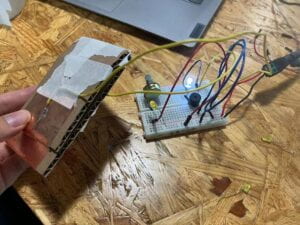
Task 2 & 3: Build a switch & Switch the switches and send a message
Reflective Questions
Question 1: What is the function of the resistor R1? (You can read about the reason why LEDs need resistors here)
It is used to protect the LED by partialing pressure on LED. Typically, the nominal voltage of LED is 1.2-3.6v, lower than 5volt which we usually use during classes. So the R1 here is to move the rest of volt on itself, guaranteeing the LED runing safely.
Question 2: Looking at the following circuit, draw its diagram by yourself.

Question 3: After reading The Art of Interactive Design, in what way do you think that the circuit you built today includes interactivity? Which degree of interactivity does it possess? Please explain your answer.
The interactivity concentrated on the push-button switch(later the hand-made switch in Task 3) and the variable resistor. Based on Crawford’s brief mentioning of interactivity degrees, the interaction between people and such a simple circuit might be assigned into “low” degree, since the circuit doesn’t need to process much the instructions like processing it. Besides, the interaction only preceed in one direction–Human’s movement toward circuit state change.
Question 4: How can Interaction Design and Physical Computing be used to create Interactive Art? You can reference Zack Lieberman’s video or any other artists that you know.
Technology develops fast. There are more and more devices sensitive enough to capture and record parameter of human’s behavior. When devices send information captured from surroundings, Physical Computing proceeds to transform the information into function, class, and instructions to the computer, outputing data instructions to the device physically interact with people.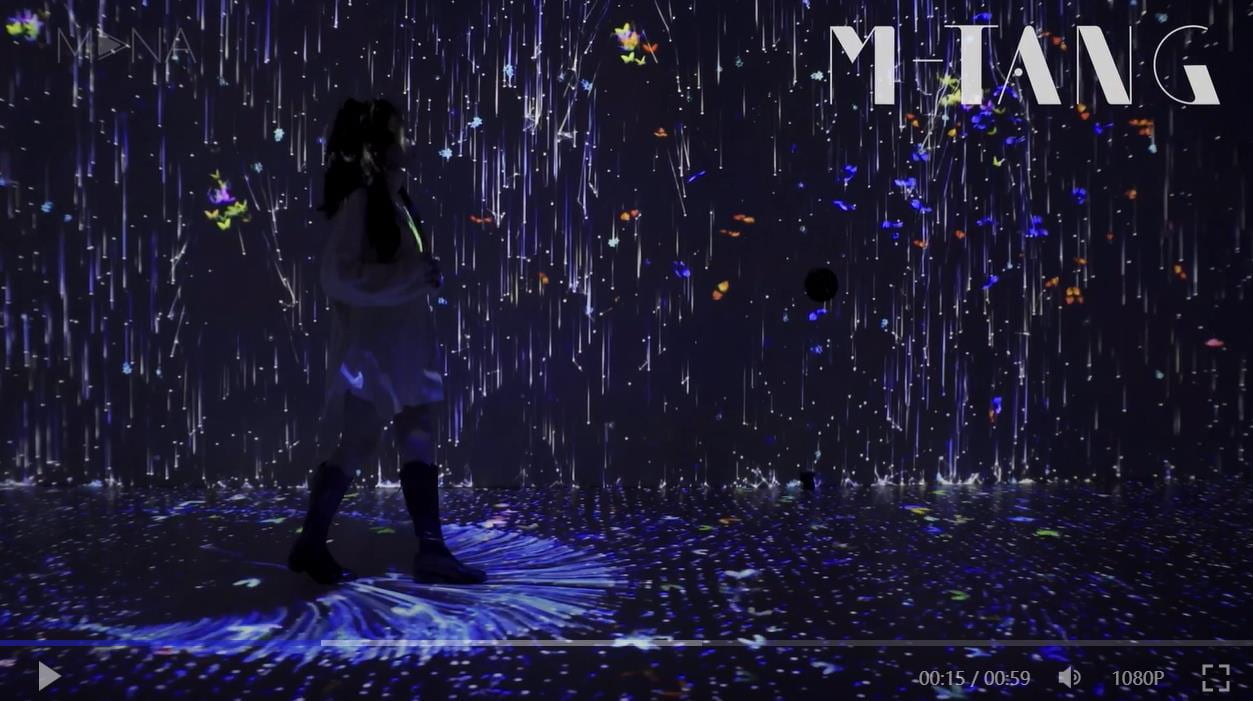
For example, here is one of the new immersive interactive works from M-tang Art Studio — Building a Dream. The screen and projectors are run by physical computing, reaction to people’s changing position. The dynamic graph will keep following visitor’s steps, which seems the visitor is wandering in a real dream sea.

