Step 1: Build the circuit
After deviding the work, the most of the circuit was finished by my partner. But before starting, we together learnt the direction of the IC.
Here is the instructions from the recitation webpage:
/*
Make sure you orient the IC in the correct position; The IC has a front and a back. A semicircle indicates where the front of the IC is. The pin to the left is pin 1, and the diagram beside depicts how the other pins are numbered.
*/
Step 2: Build a cardboard mechanism!
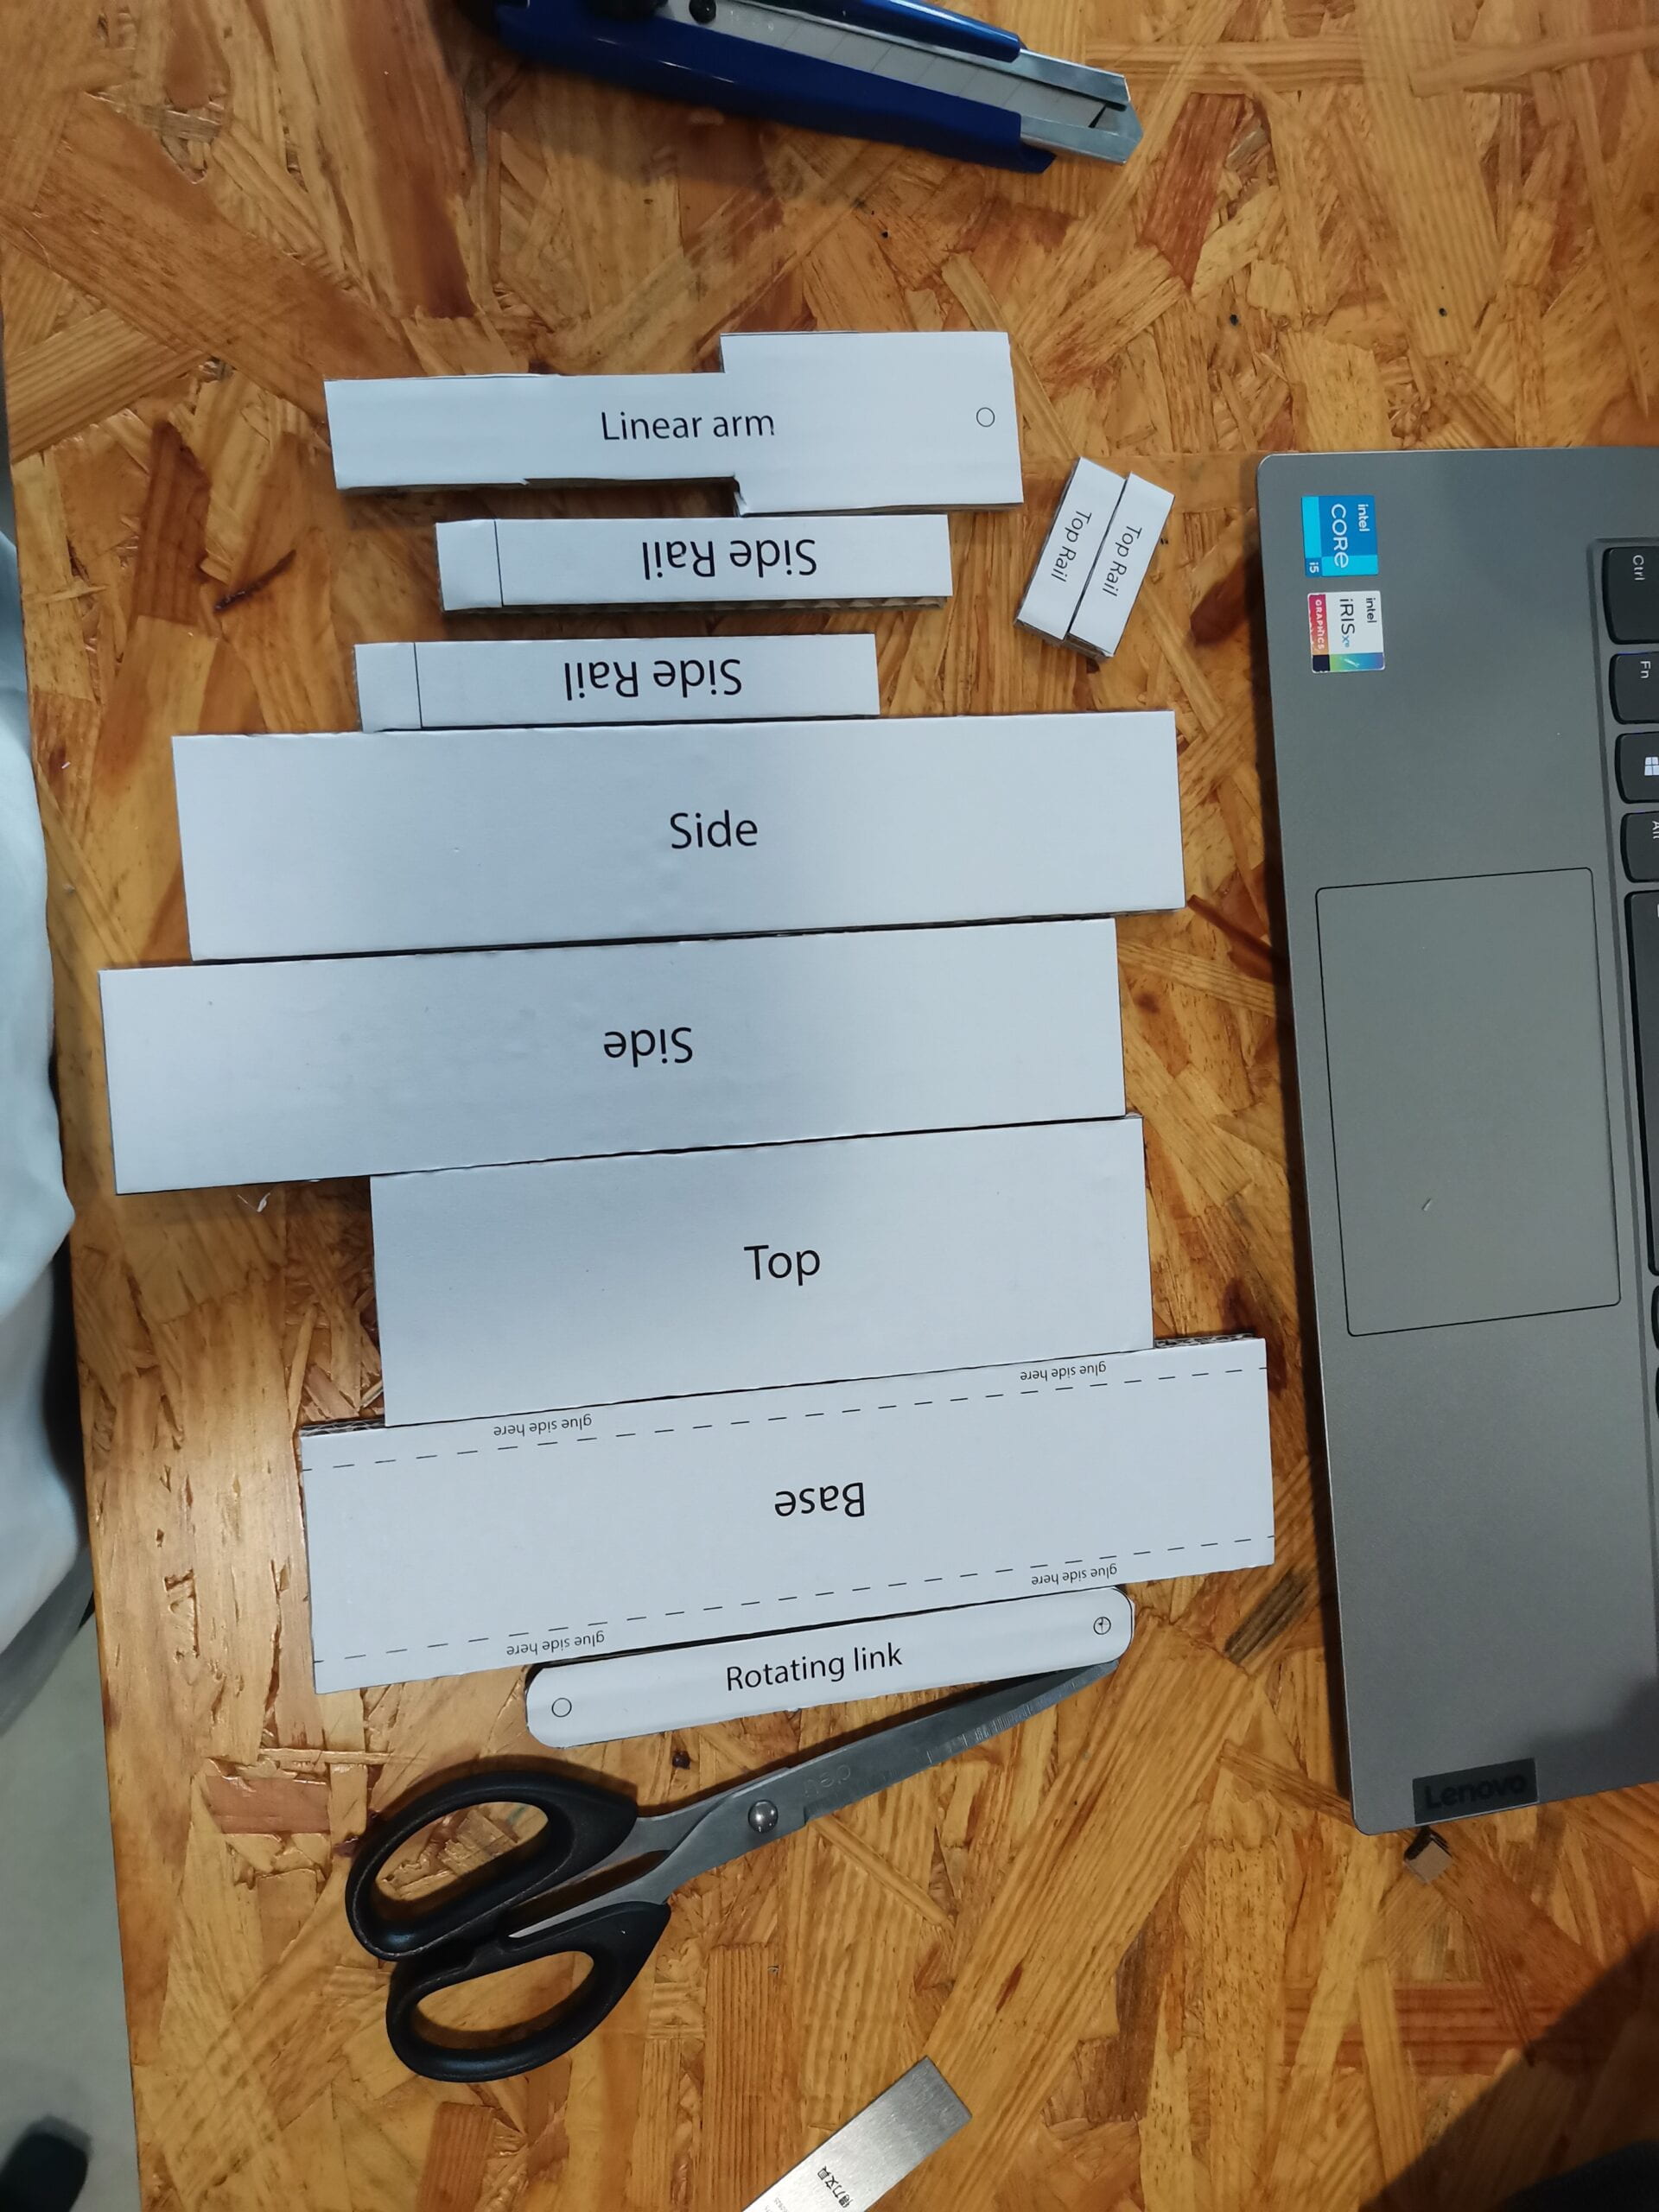
It was hard to cut certain shapes from a thick cardboard. I had to follow the sides of the steel ruler and row the art knife for times, slowly can carefully. One important thing here is to use a cuttingmat; the other is using art knives rather than scissors, especially when cutting thick board.
To shape the curve of some elements, first cut straight lines and later use scissors to close it up.
Step 3: Personalize it
First, my partner wanted to make a star represented the shining by shaking. But I suggested to make a more interesting thing, since there were movable and stable parts on it, by which we can make an image(emoji) variable~
There is something worth recording from recitation04 instructions, about usb and power protection, which I also asked our LA Iris in the recistation:
* (!) Disclaimers:
1. This recitation requires you to work with higher voltages. If the circuit is not built properly in accordance with the provided schematics, there is potential to damage your computer if you are not using USB protection. If you choose to use your computer for this recitation, please notice that you are doing so at your own risk. If you do not feel comfortable using your own computer, you can check out an IMA laptop from the Equipment Room.
2. To prevent your computer from accidental damage, therefore use the provided USB protector, which plugs in between your computer and the Arduino.
3. The components in this recitation (the IC and Stepper Motor) will get hot, so please be mindful and do not touch these components when they are powered. */
Additional Questions
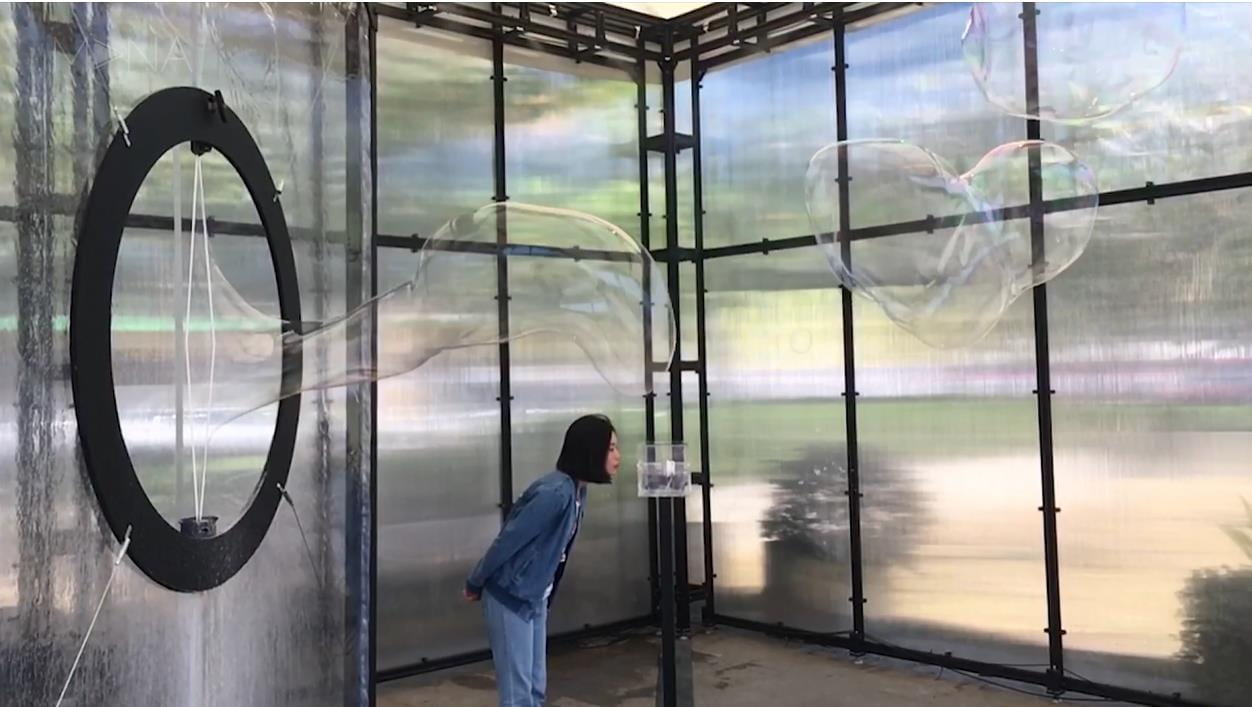
Question 1: Choose an art installation mentioned in the reading ART + Science NOW, Stephen Wilson (Kinetics chapter). Post your thoughts about it and make a comparison with the work you did during this recitation. How do you think that the artist selected those specific actuators for his project?
The art installation:
Time’s Up by Gravitron, 2005


(reference: ART + Science NOW, Stephen Wilson (Kinetics chapter. pp.126)
I used to lear mechanics from machines, and made it with cardboard and arduino on the recitation. But this artiface reminds me of “biomechanics” that human’s body(or creatures’ bodies) are amazing natural mechanics. This installation greatly combine the mechanics and biomechanics to let user aware to their inner biomechanics conctrol!
The part of virtual gravitational forces is pretty cool! It transform the sense of gravitation, that is hard to deliver, into a visualization, which is an imaginative illusion! It reminds me of the interaction between sounds and visualization in an artifact I studied before. What an amazing transformation!
For the actuator design: (generally, based on my previews learning and practicing)
First, the artist should clearify the function finally shown off, and design the positions of the main characters/objects/power/motors. Then draw the motion trails of main characters and related them together with timeline and graphic sketch.
Question 2: What kind of mechanism would you be interested in building for your midterm project? Explain your idea using a sketch (conceptual or technical) with a list of materials that you plan to use. Include details about the ways that you expect the user to embrace in a physical interaction with your project. In particular, explain how would your motor (or motors) with a mechanism will be different than using an animation on a digital screen.
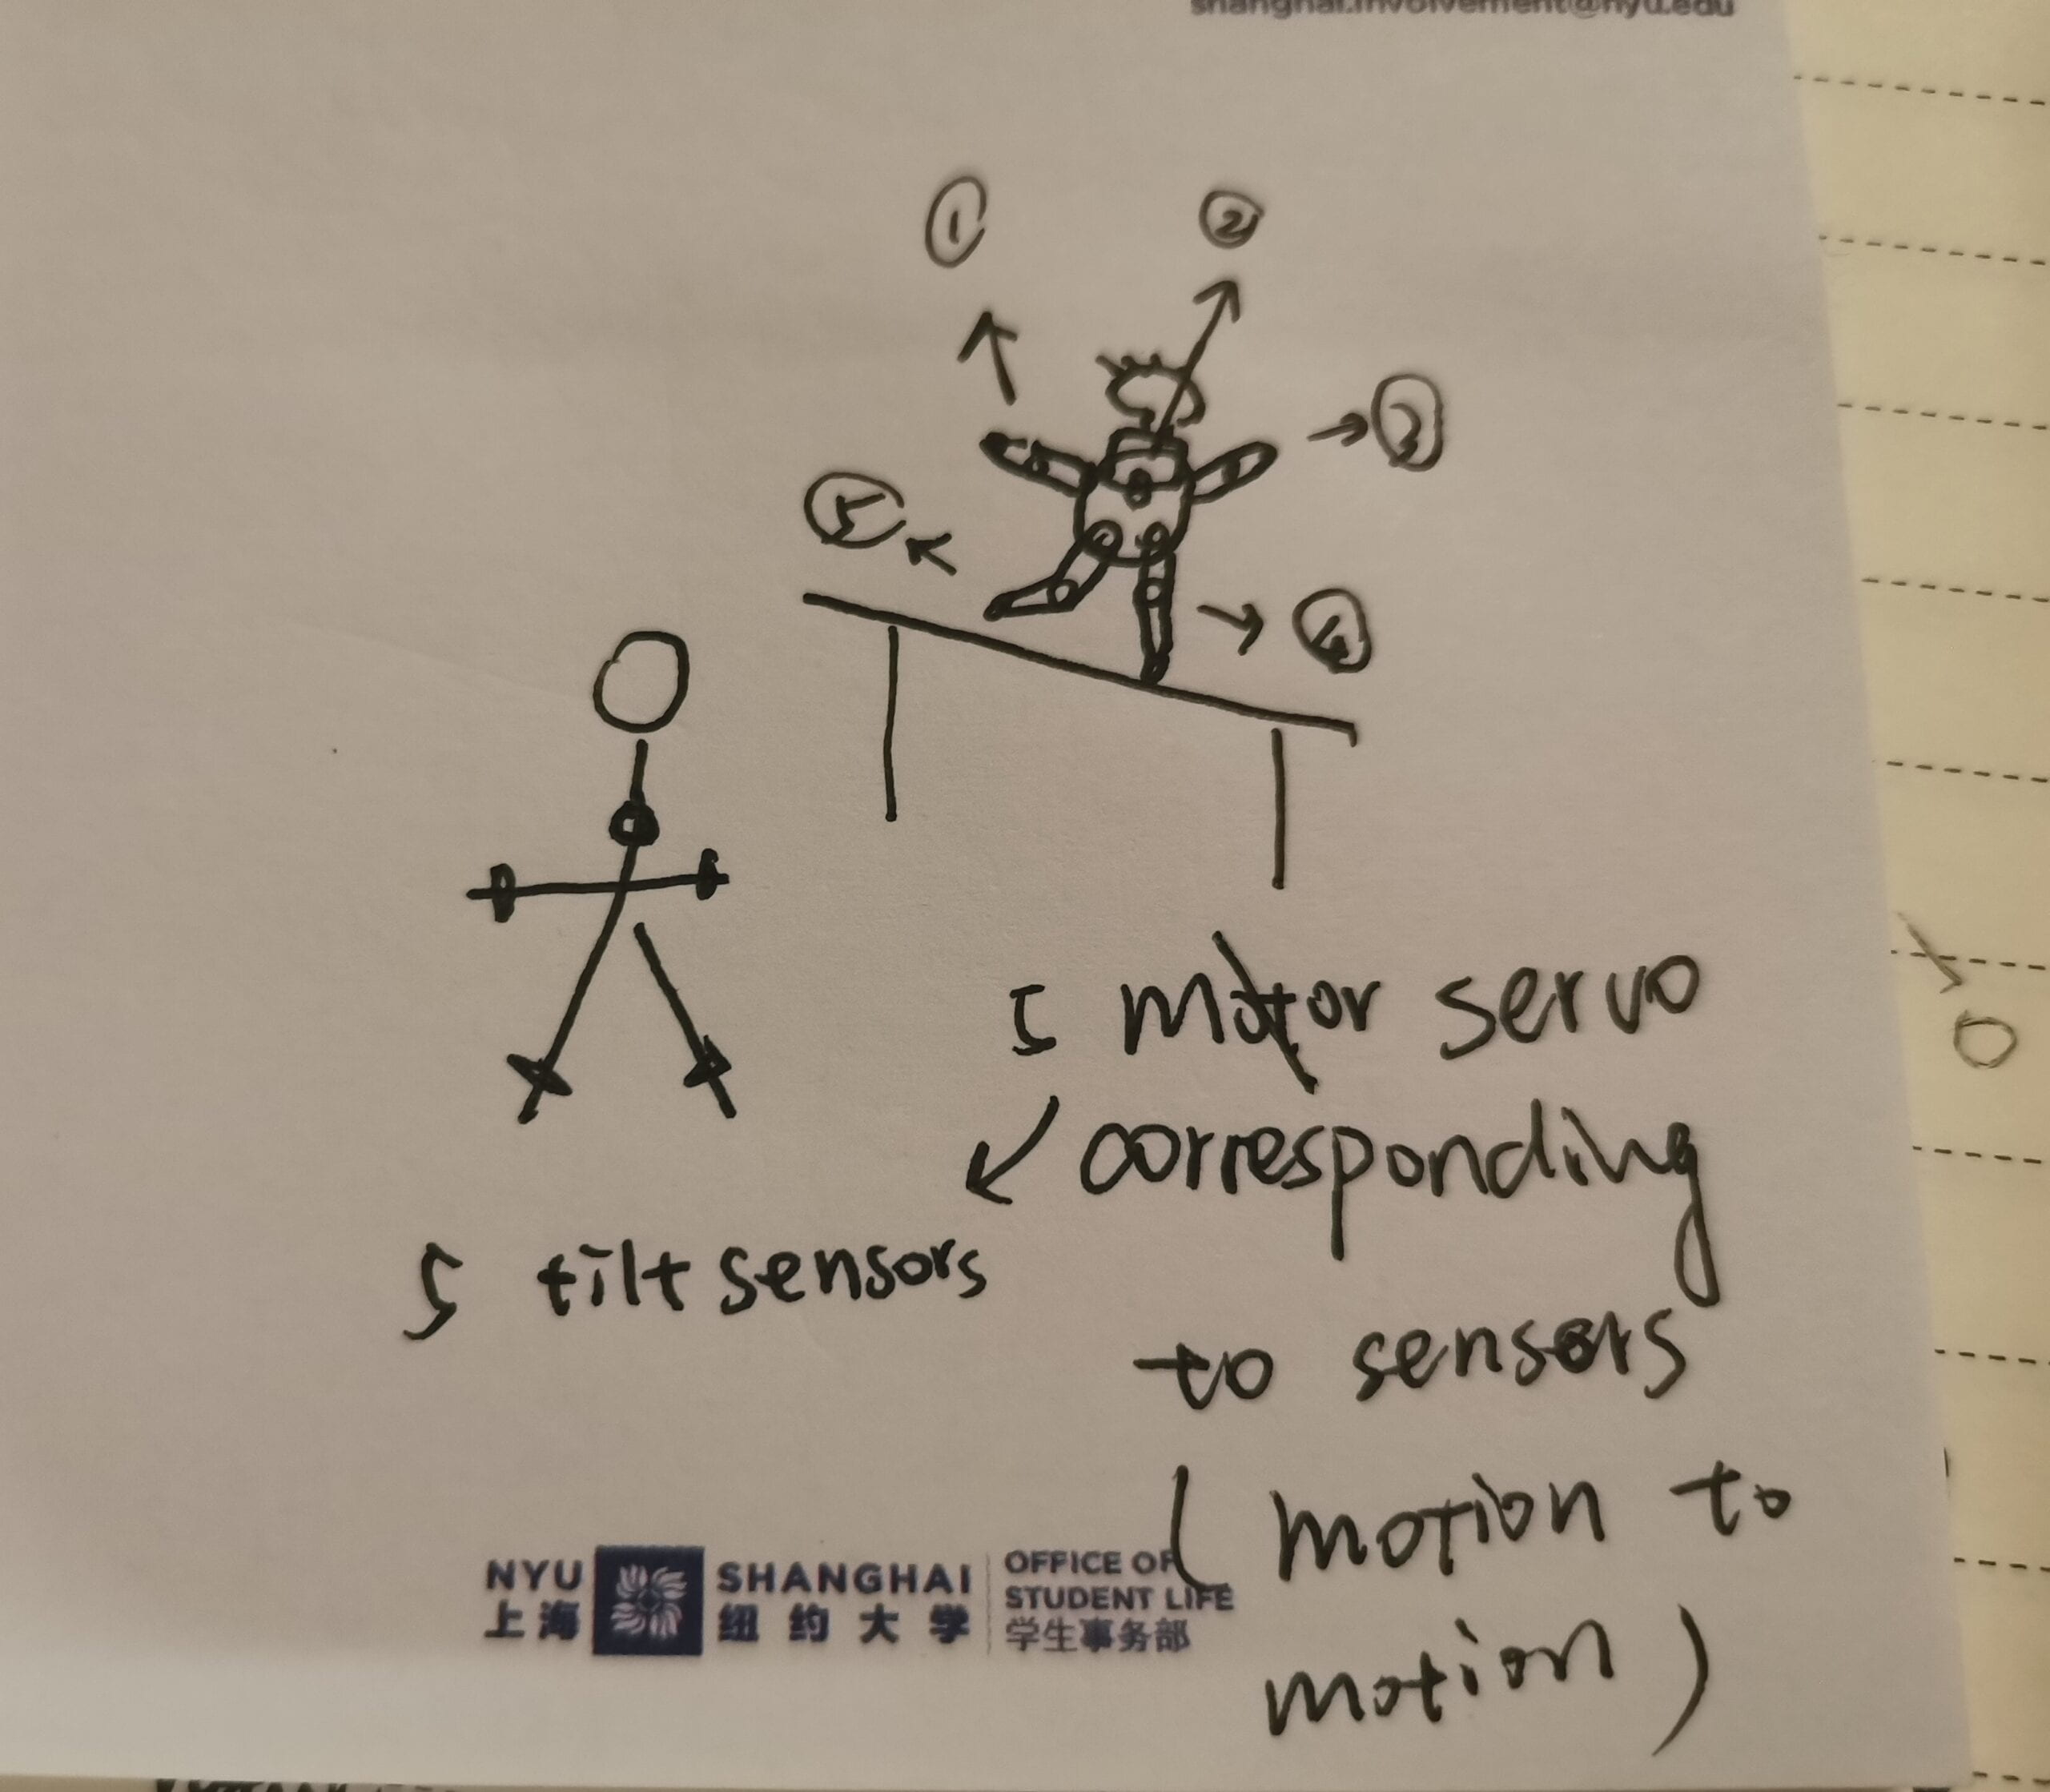
Personally, I really like mechanism. But it’s hard to think about the project based on serveral kinds of mechanism, because my mind is sometimes limited in one or two thoughts randomly come out. Like this moment, I juct thought it would be interesting if I use mechanism to make a dancer (especially a finny one). To develop, it can react to people’s motions by tilt sensors or else more advanced sensors.
It’s a wearable device that has five tilt sensors to collect simple movement of users from body(upper part), two forearms, and two legs. Then Arduino Uno digitalRead() to get input(HIGH or LOW) which is executed by code and OUTPUT as the motion of the little creature(maybe a toy kid, or an animal).
With the project, user can feel the interaction (with large delay set) like looking at a magic mirror.
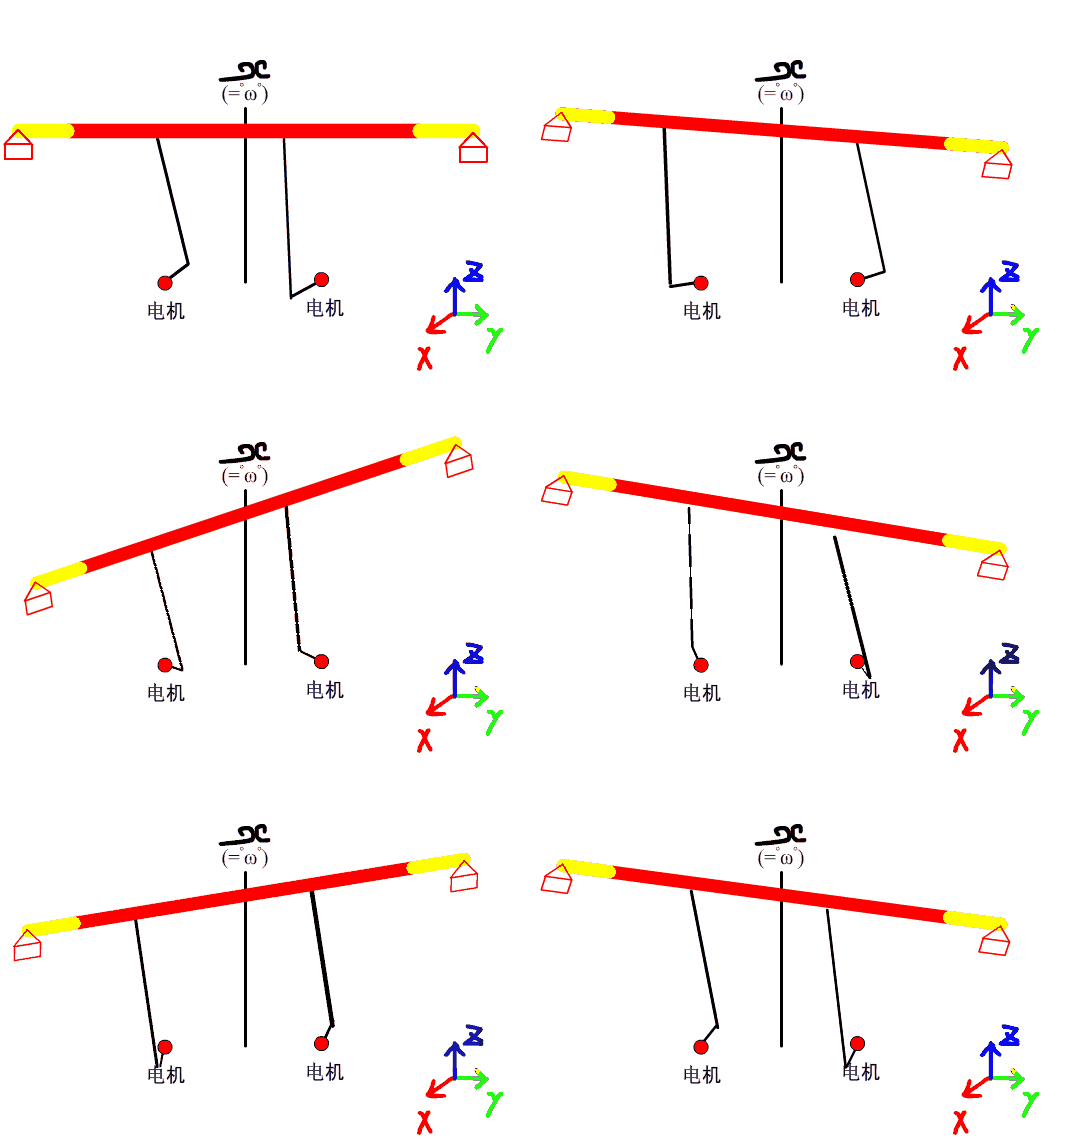
Two actuators from my study folder!
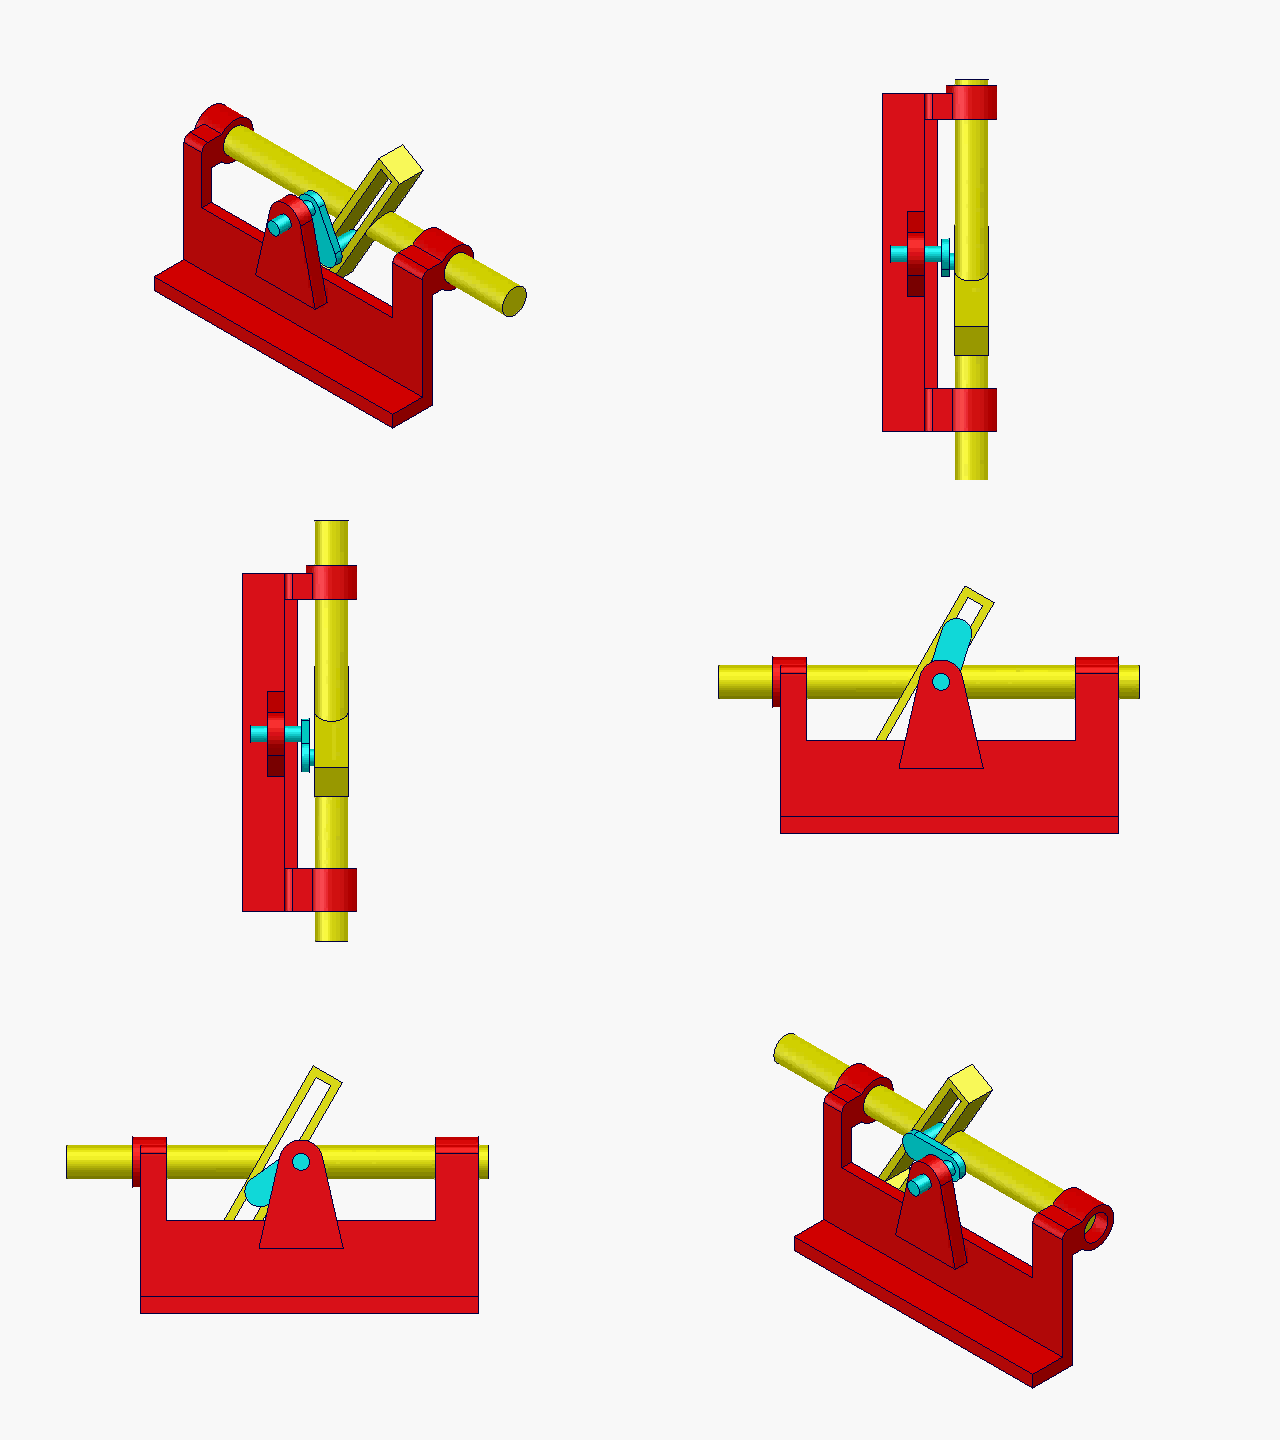
(from https://imgse.com/i/DC6SHK)
(from https://imgse.com/i/DCyzB6)

