Categories
prototyping documentation rapid prototyping

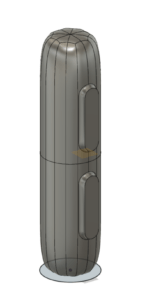
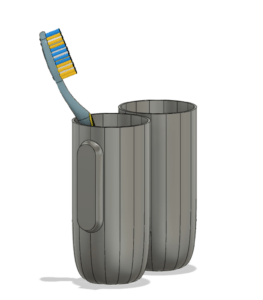
revolutionary travel dental device – final week

this week i have been focusing on composing a great presentation that would allow me to tell a story of my project.

by Wednesday, i was able to show a partially-complete presentation will callouts of the main features of my product that were accompanied by short bits of text and corresponding renders. Given that i have not yet finished creating slides dedicated to my project-story, i received some suggestions from professor regarding this + needed to add some renders that would show off the opening procedure more explicitly.

so, thats what i did:

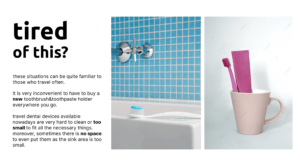
significant slide 1: the story. here, i implemented pictures that show common problems that my device can solve.

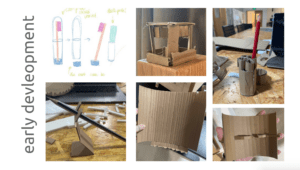
significant slide 2&3: the main objectives of the device and the early development stages pictures.

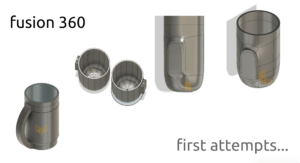
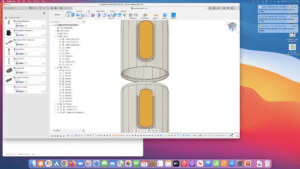
significant slides 4&5: fusion 360 work…. to reflect, i could have added a little bit more on that, but i believe due to my process’ manner it still worked as it was so i am satisfied. 
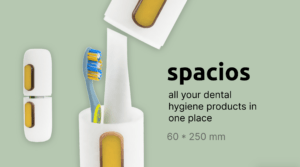
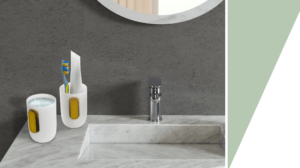
significant slide6:  i am moderately proud of the work ive done here: even though the device does not look super-realistic with the environment, however i did try my best and took advantage of a lot of tools in Figma, including some plugins. this was also the first slide i have created and so the calm green color + grey + white looked quite complementary to my product, so i decided to follow through with it later as well.
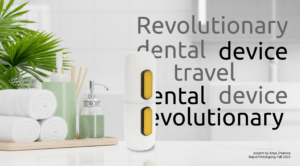
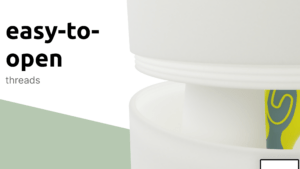
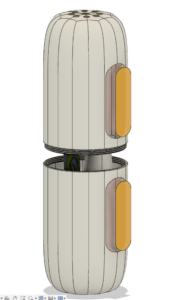
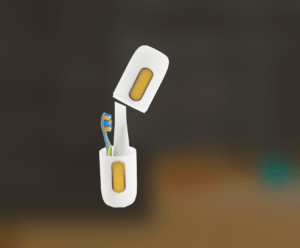
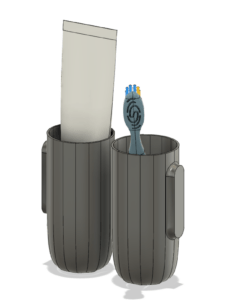
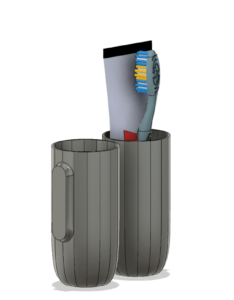
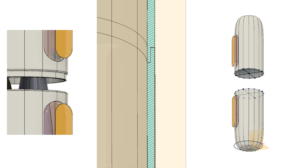
significant slides 7,8,9: call outs on threads (that i have been struggling with for a million years) and showcasing the spaciousness of the device (showing the water in the bottom part and the fact that both toothbrush and toothpaste fit in it + the size)

also i am quite proud of how the green shapes align visually throughout the slides.

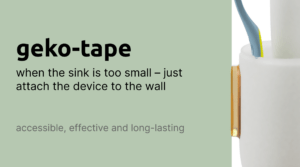
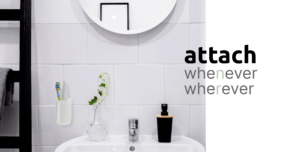
significant slides 10,11: callouts on the geko-tape and an environment render to showcase this feature (looking back, i could’ve placed the second part in the environment as well, but it is not a big deal in my opinion)

some key words to further showcase the coolness of the device.

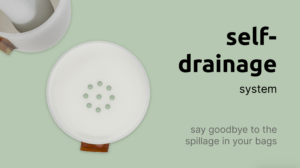
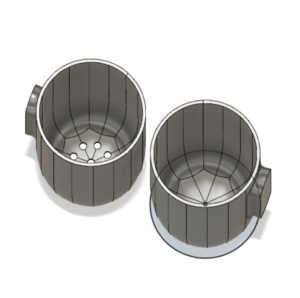
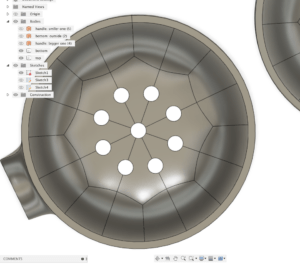
significant slides 12: callout on the self-drainage feature + corresponding render. very proud of that one.

overall reflection:

they say there is no limit to greatness, and i agree. of course, there are a lot of things that could be further improved and changed, however i am quite satisfied with what my product and presentation turned out to be. 

i really enjoyed the process of working on this course’s assignment throughout this semester and i believe i acquired some invaluable experiences that will benefit me in future (prototyping process, fusion 360 skills, etc.)
Categories
prototyping documentation rapid prototyping

travel dental device: development – weeks 12&13

Throughout weeks 12 and 13 i have been working on finishing some details:

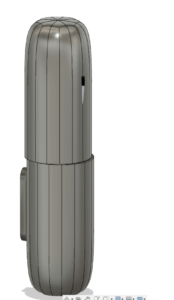
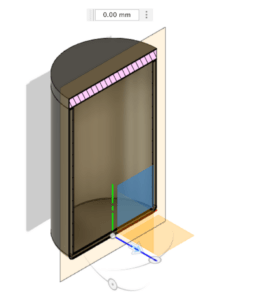
  • creating a thread that would allow the device to close and open without any issues

I wouldn’t say it wasn’t easy, but i really noticed how I have been understanding what to do myself (I didn’t even have to rewatch any of the lectures at that point!) That was very cool to notice how I suddenly got much more familiar with Fusion!
  • continue working on renders: as shown in the previous blogpost, renders in 3D environments i have found look rather awful, so i decided to go with another way of creating renders using 2D picture and then just “photoshopping” the device’s render with a transparent background onto the picture. 

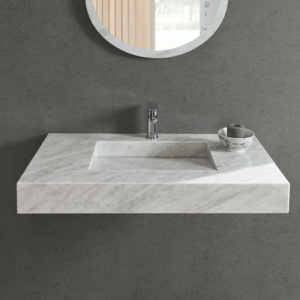
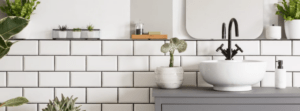
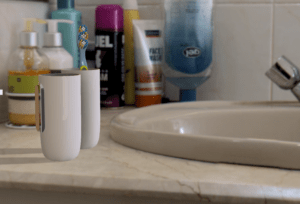
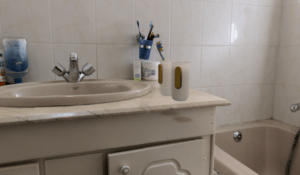
Here are some photographs that I have chosen as potential environments (for some:

  • starting to work on my presentation

these weeks i was mostly working on finishing the model and working on my first renders, so i did not have much time left on actually implementing the transparent-background renders yet.

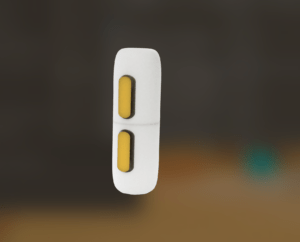
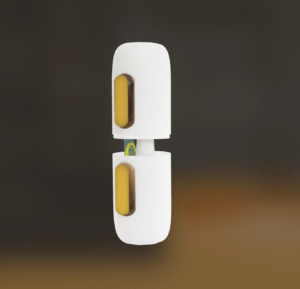
but here are some of the transparent-background renders i created:

as it can be seen, i have been experimenting with shades, exposure and light at that point, trying to find the perfect balance between all of them.

Categories
prototyping documentation rapid prototyping

Portable Toothbrush Holder: Fusion 360 Development

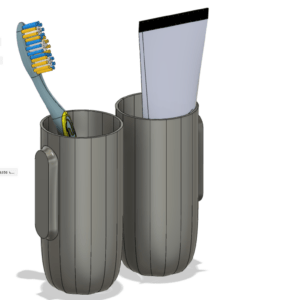
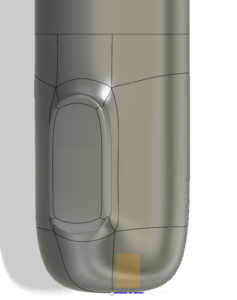
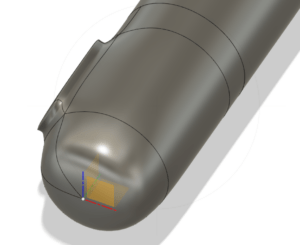
For the past couple of weeks, I have exclusively worked on my project. Here are some development screenshots:

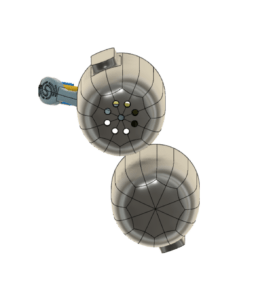
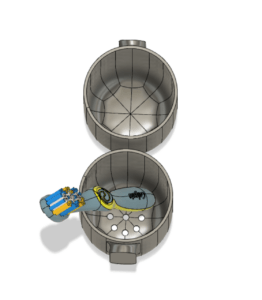
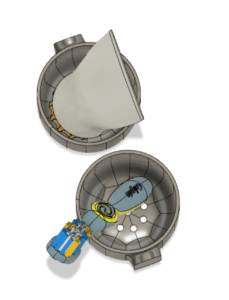
here you can see my failed attempt to fit both toothpaste and toothbrush inside. Probably will have to change the size of the product!

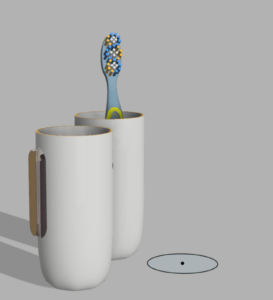
and then I added the material and rendered in a very weird bathroom environment:

my reflections:

  • spent waaaay too much time figuring out the “loft” and how to add water 
  • need to take a deep dive into the internet and find a good bathroom environment where I can display the attachment to the wall as well
  • to work on animation? 
  • figure out how to increase the diameter of both figures. Just increase the size maybe? Can I even do that? 
  • also, figure out the things are going to attach to each other 

I am fairly content with how stuff is turning out so far. But I need to work a lot on rendering and animation now!

Categories
prototyping documentation rapid prototyping

Fusion 360 experiments

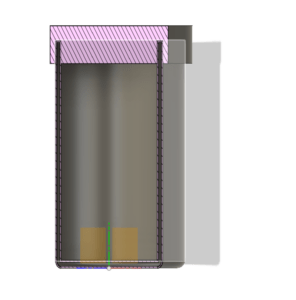
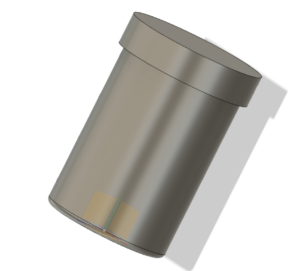
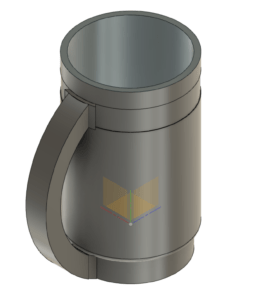
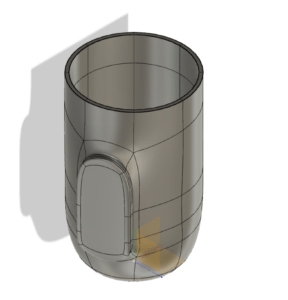
Throughout this week we have been going through people’s projects and experimenting with Fusion 360. During a couple of lessons, I did not have access to CAD, however, if that was the case, I have been rewatching some parts later and implementing the stuff discussed. I will upload some pictures of my results/problems here.

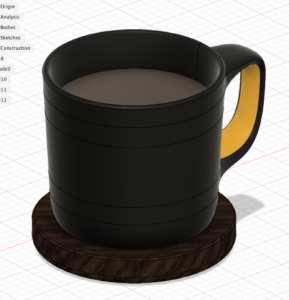
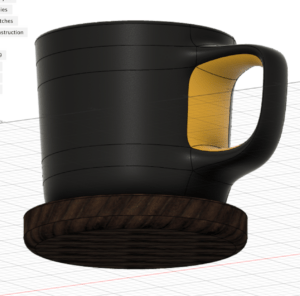
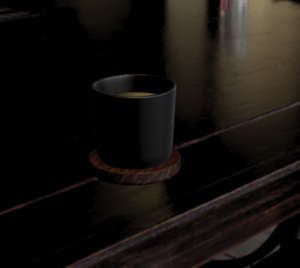
  1. the first week’s mug: 

Then,  I was truly amazed by the almost infinite possibilities of textures, colors, and shapes! No negative emotions were experienced.

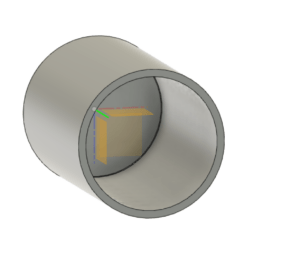
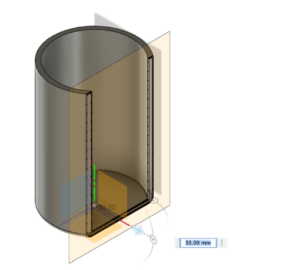
2. The next one I have done is Billie’s project. I have repeated everything our professor did during the lesson! (god bless zoom recordings!)

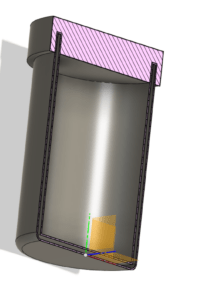
3. The lesson where we looked at mine:

This is just extrusion experimentation. 

Categories
prototyping documentation rapid prototyping

week8: My problem, My solution

Throughout the past week an a half I have produced numerous iterations of my idea. (Just a reminder that I decided to stick with the carry-on toothbrush holder idea as I mentioned last week). 

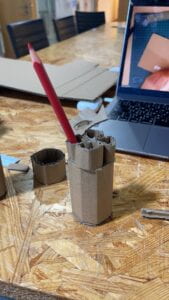
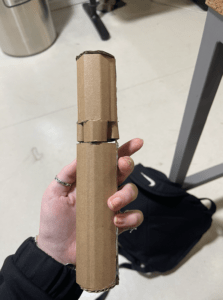
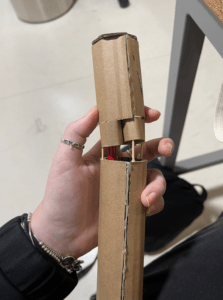
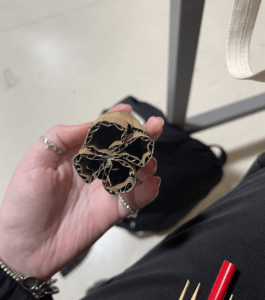
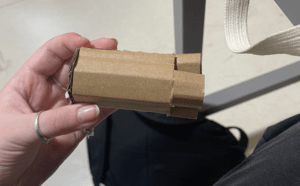
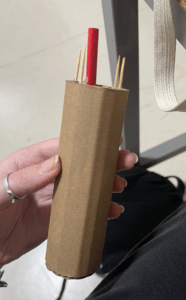
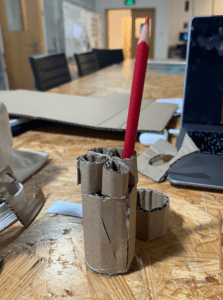
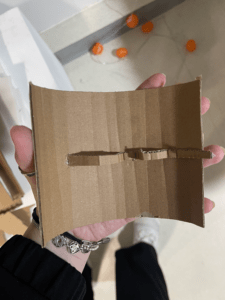
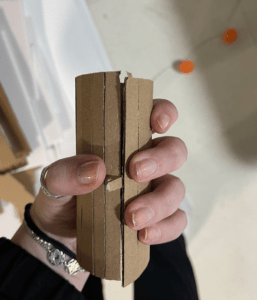
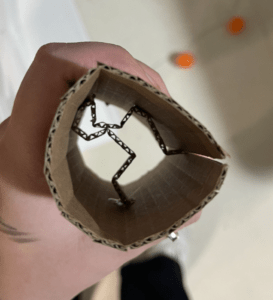
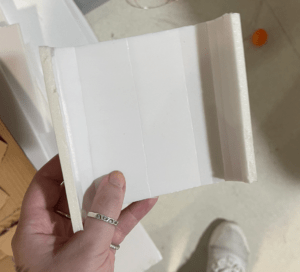
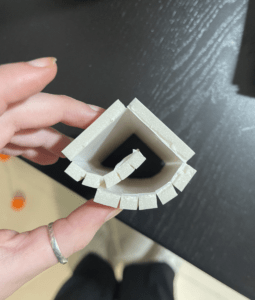
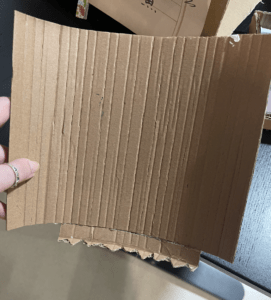
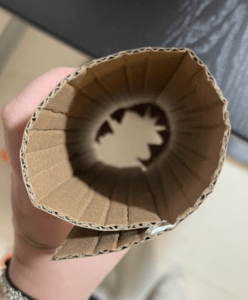
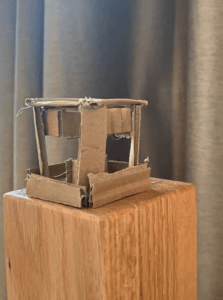
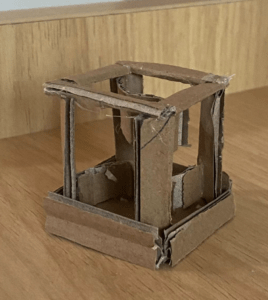
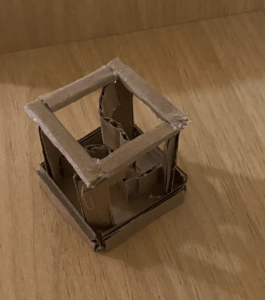
Here are the prototypes I have produced since: 

  1. This one is interesting however bad in terms of cleaning.
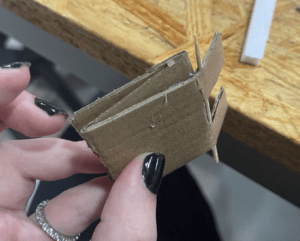
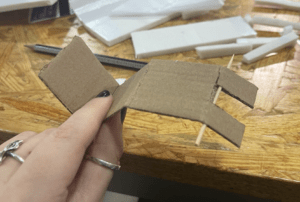
  2. This one is another idea of a folding one using cardboard.
  3. This one is like the previous one but with foam
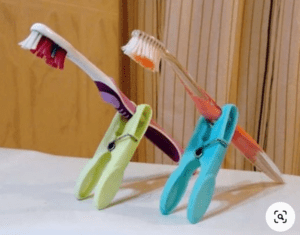
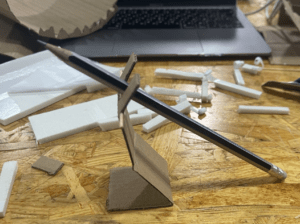
  4. With this one I was trying to find ways to achieve stability in vertical unfolded position

5.This one is the square very compact iteration.

6.Another one of my ideas.Inspired by this:

Still have some stuff to figure out! Such as:

  • how are the objects are actually going to be held (if I continue with the folding-surface idea. things that are usually used in pencil cases?  + how will the toothbrush be held in vertical position?
  • how to make the 1st option easier to clean? cause it looks the most compact.