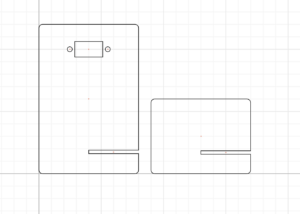
step 1.1: stand design
I was the partner “A” and it took me about 15-20 minutes to get all the parameters right. I did not encounter any particular issues as the instruction was fairly clear. The most confusing thing were the little circles that were meant to later hold the servo inside (like the distance from the rectangle). At first, I didn’t realize that the GIF in the instructions showed how to do it, so it took me a little longer.
My parter got her part done even faster:) so we decided to merge the design and.. well, it went good.
 I was very confused why the gaps on the left down side of the parts were not on the same y-axis and checked the measurements like a 100 times. I sought for help and one of the fellows reassured me that it is alright. It indeed turned out to be alright (as I later saw how this benefited the stand). But yeah, this part went fairly quick.
step 1.2
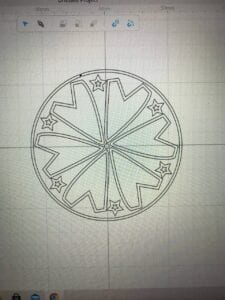
as we started to create our pattern design, in about 5 minutes, the first group of people were invited to go to FabLab. So, we decided to finish up really quick and go. I didn’t get a chance to look at my partner’s design because of that. unfortunately, she somewhat misunderstood the way the laser cutting works and created the design that would basically fall apart in a lot of pieces straightaway.
It looked like this:

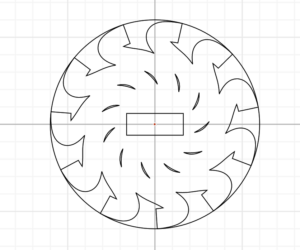
so when we went to FabLab we were unable to laser cut it from this, hence we came back and we quickly changed the design by deleting some outlines and thickening the others.
My design looked like this:

step 2: Laser cut
when we returned, everything worked great! absolutely no issues occurred here!
step 3: assemble
here as well, we assembled the thing pretty quickly, making it in time by the end of the recitation! we did not need the screws to make it work. you can see it running on the sweep example down below:
it was definitely a great experience and the fact that we were able to create something this cool so fast is fascinating!