THE STORY OF A BUTTERFLY
THE STORY OF A BUTTERFLY BY CHANIKAN POLTANAWASIT
Do you guys ever wonder about the story behind the beauty of a butterfly? well here is the secret of butterflies that no one knows
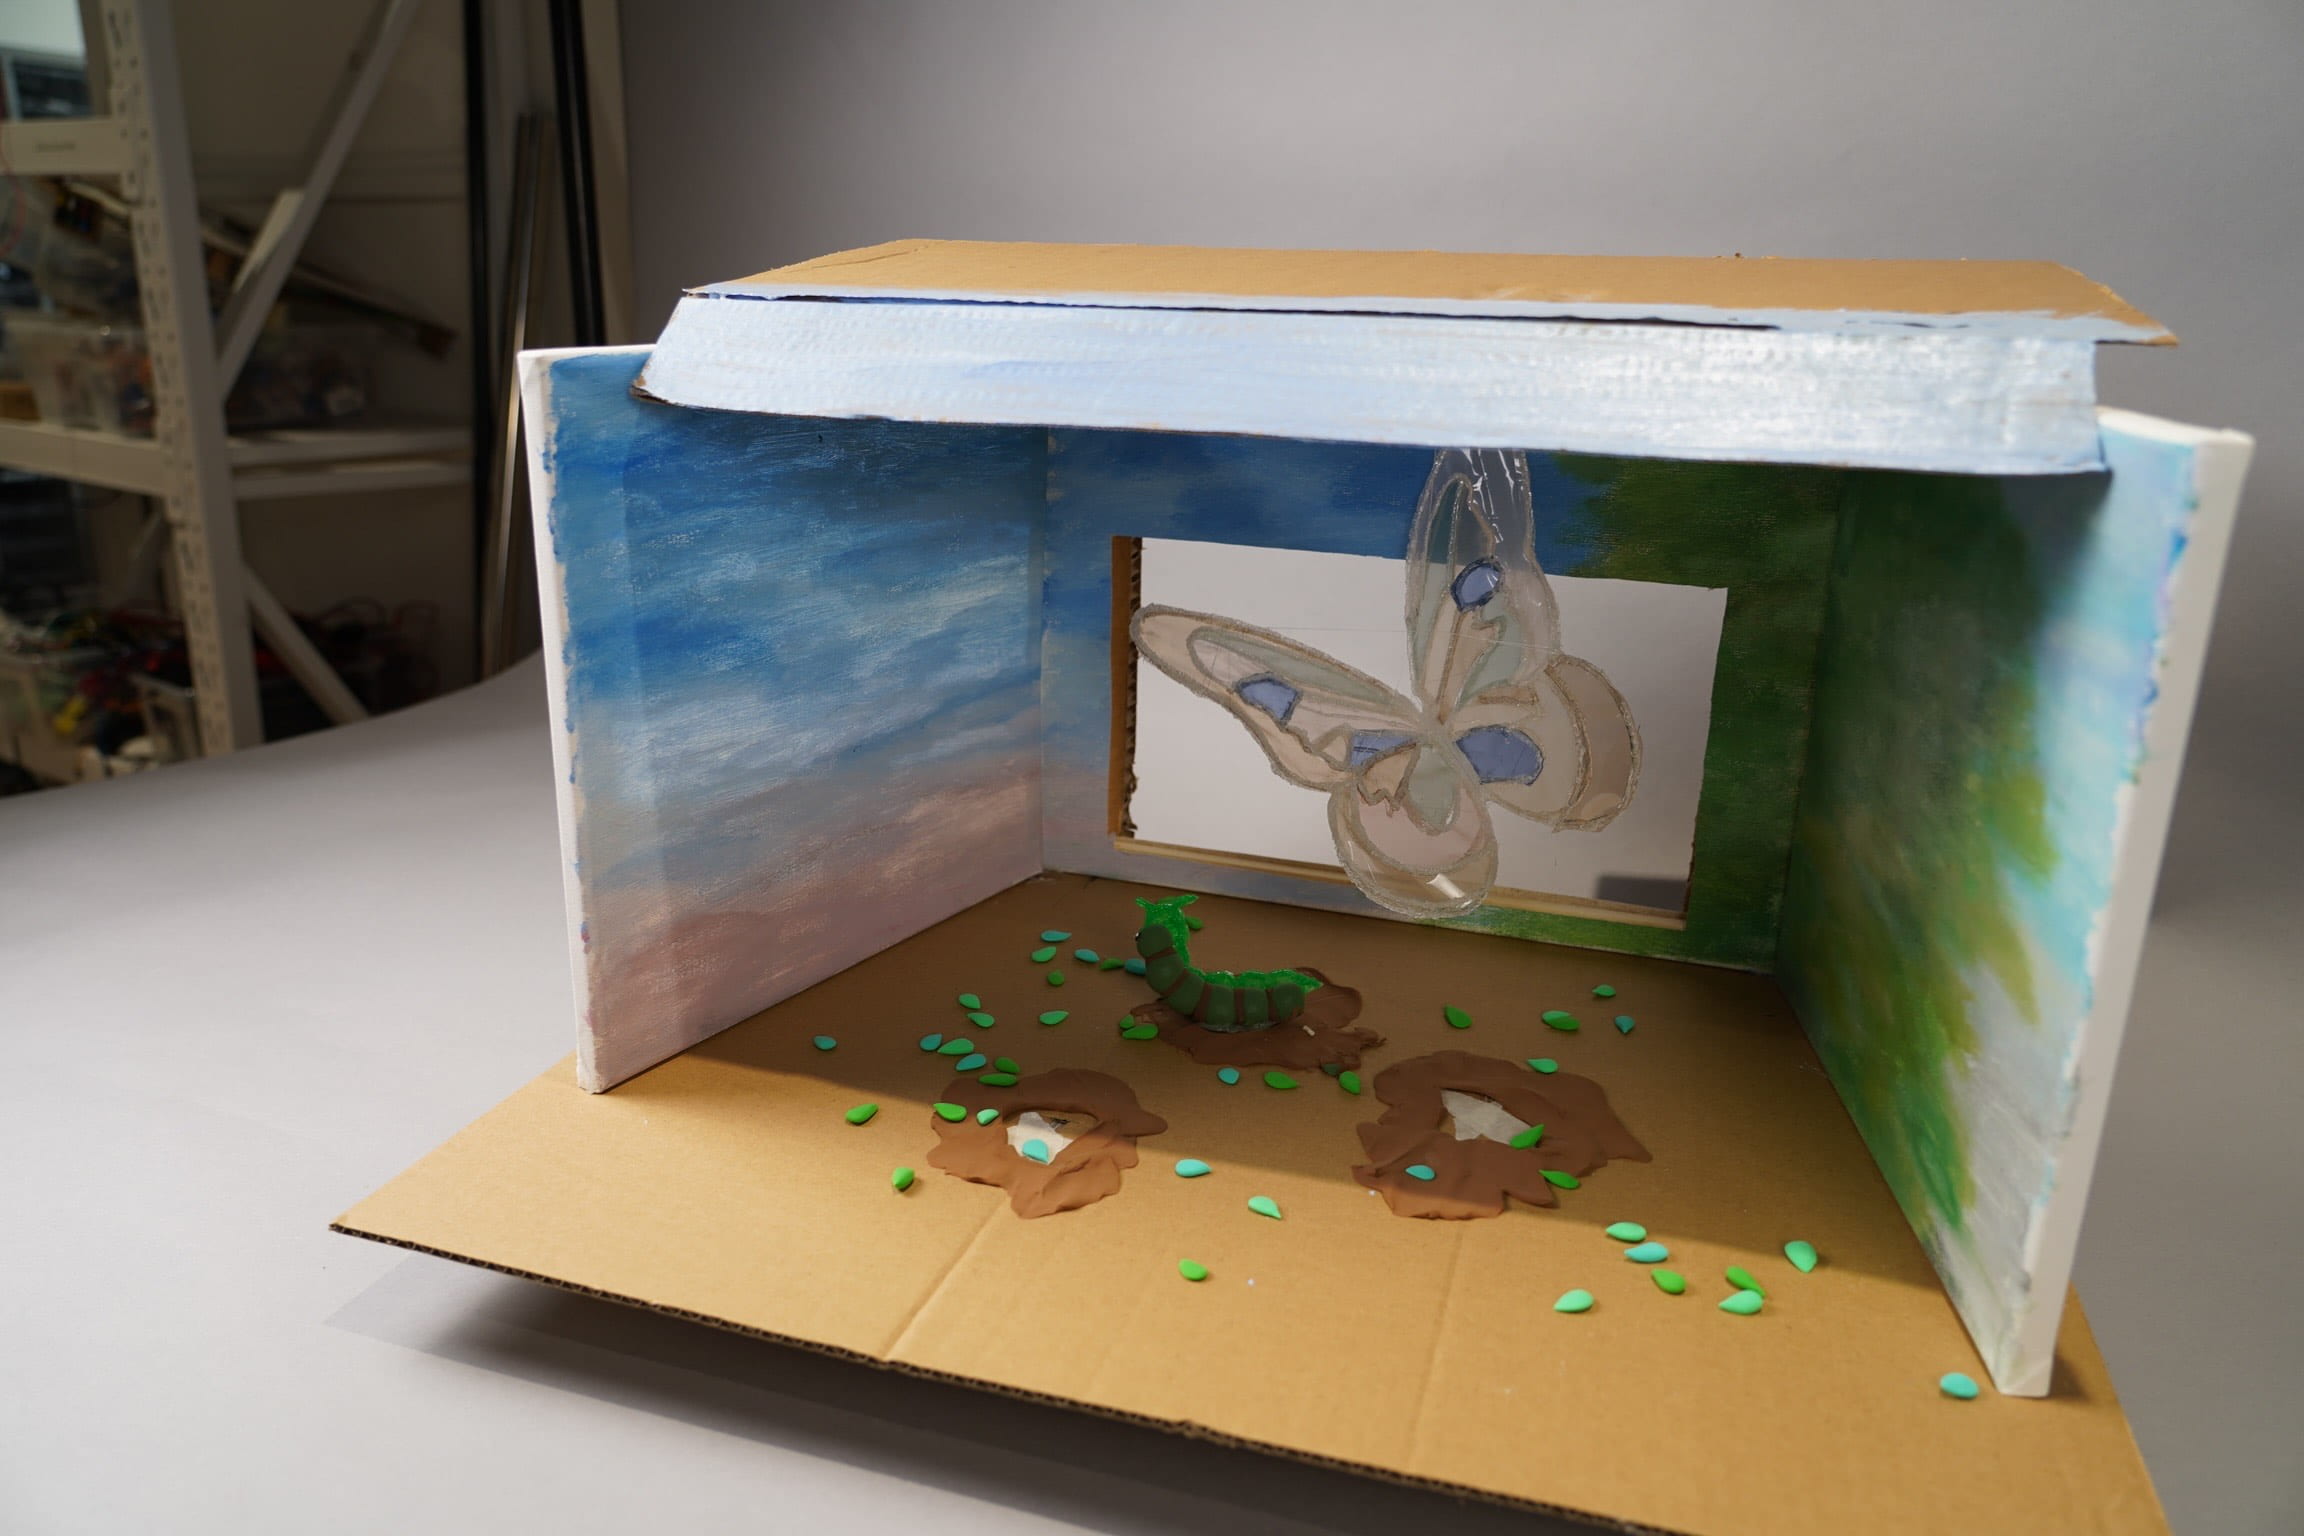
Our project is designed to be a storyteller of the life of the butterfly. We got our inspirations to accomplish this project because of a korean drama where a butterfly was the main character. In the movie, we can see the beauty of butterflies and we realized that sometimes people look over the beautiful creature that has its story. The interaction part of the project is the pressure sensor, where users can experience it by pressing the button then it will lead them to interaction on the screen which will lead it to the butterfly dropping down and spinning with the motor sensor. During the user testing session, we started off by using the mouse as the interaction part, which is not as interactive as it should be. Many people have suggested that we should find a more creative way to accomplish the goal of interaction between humans and our creative innovation. We changed our interaction part to a sensor pressure where users get to interact with the innovation more. I believe that it was creative because people will get to be involved with the project. Personally, I believe that there are more ways we could put in the project to be more interactive if we were given more time. This project is signigficant and I believe it interacts with people because me and my partner also got to do creative artwork, this shows that I got to interact with the project during the time when I was doing this. This is very meaningful to me because not only my audience get to interact with this project, I also got to interact with the project during the process of it.
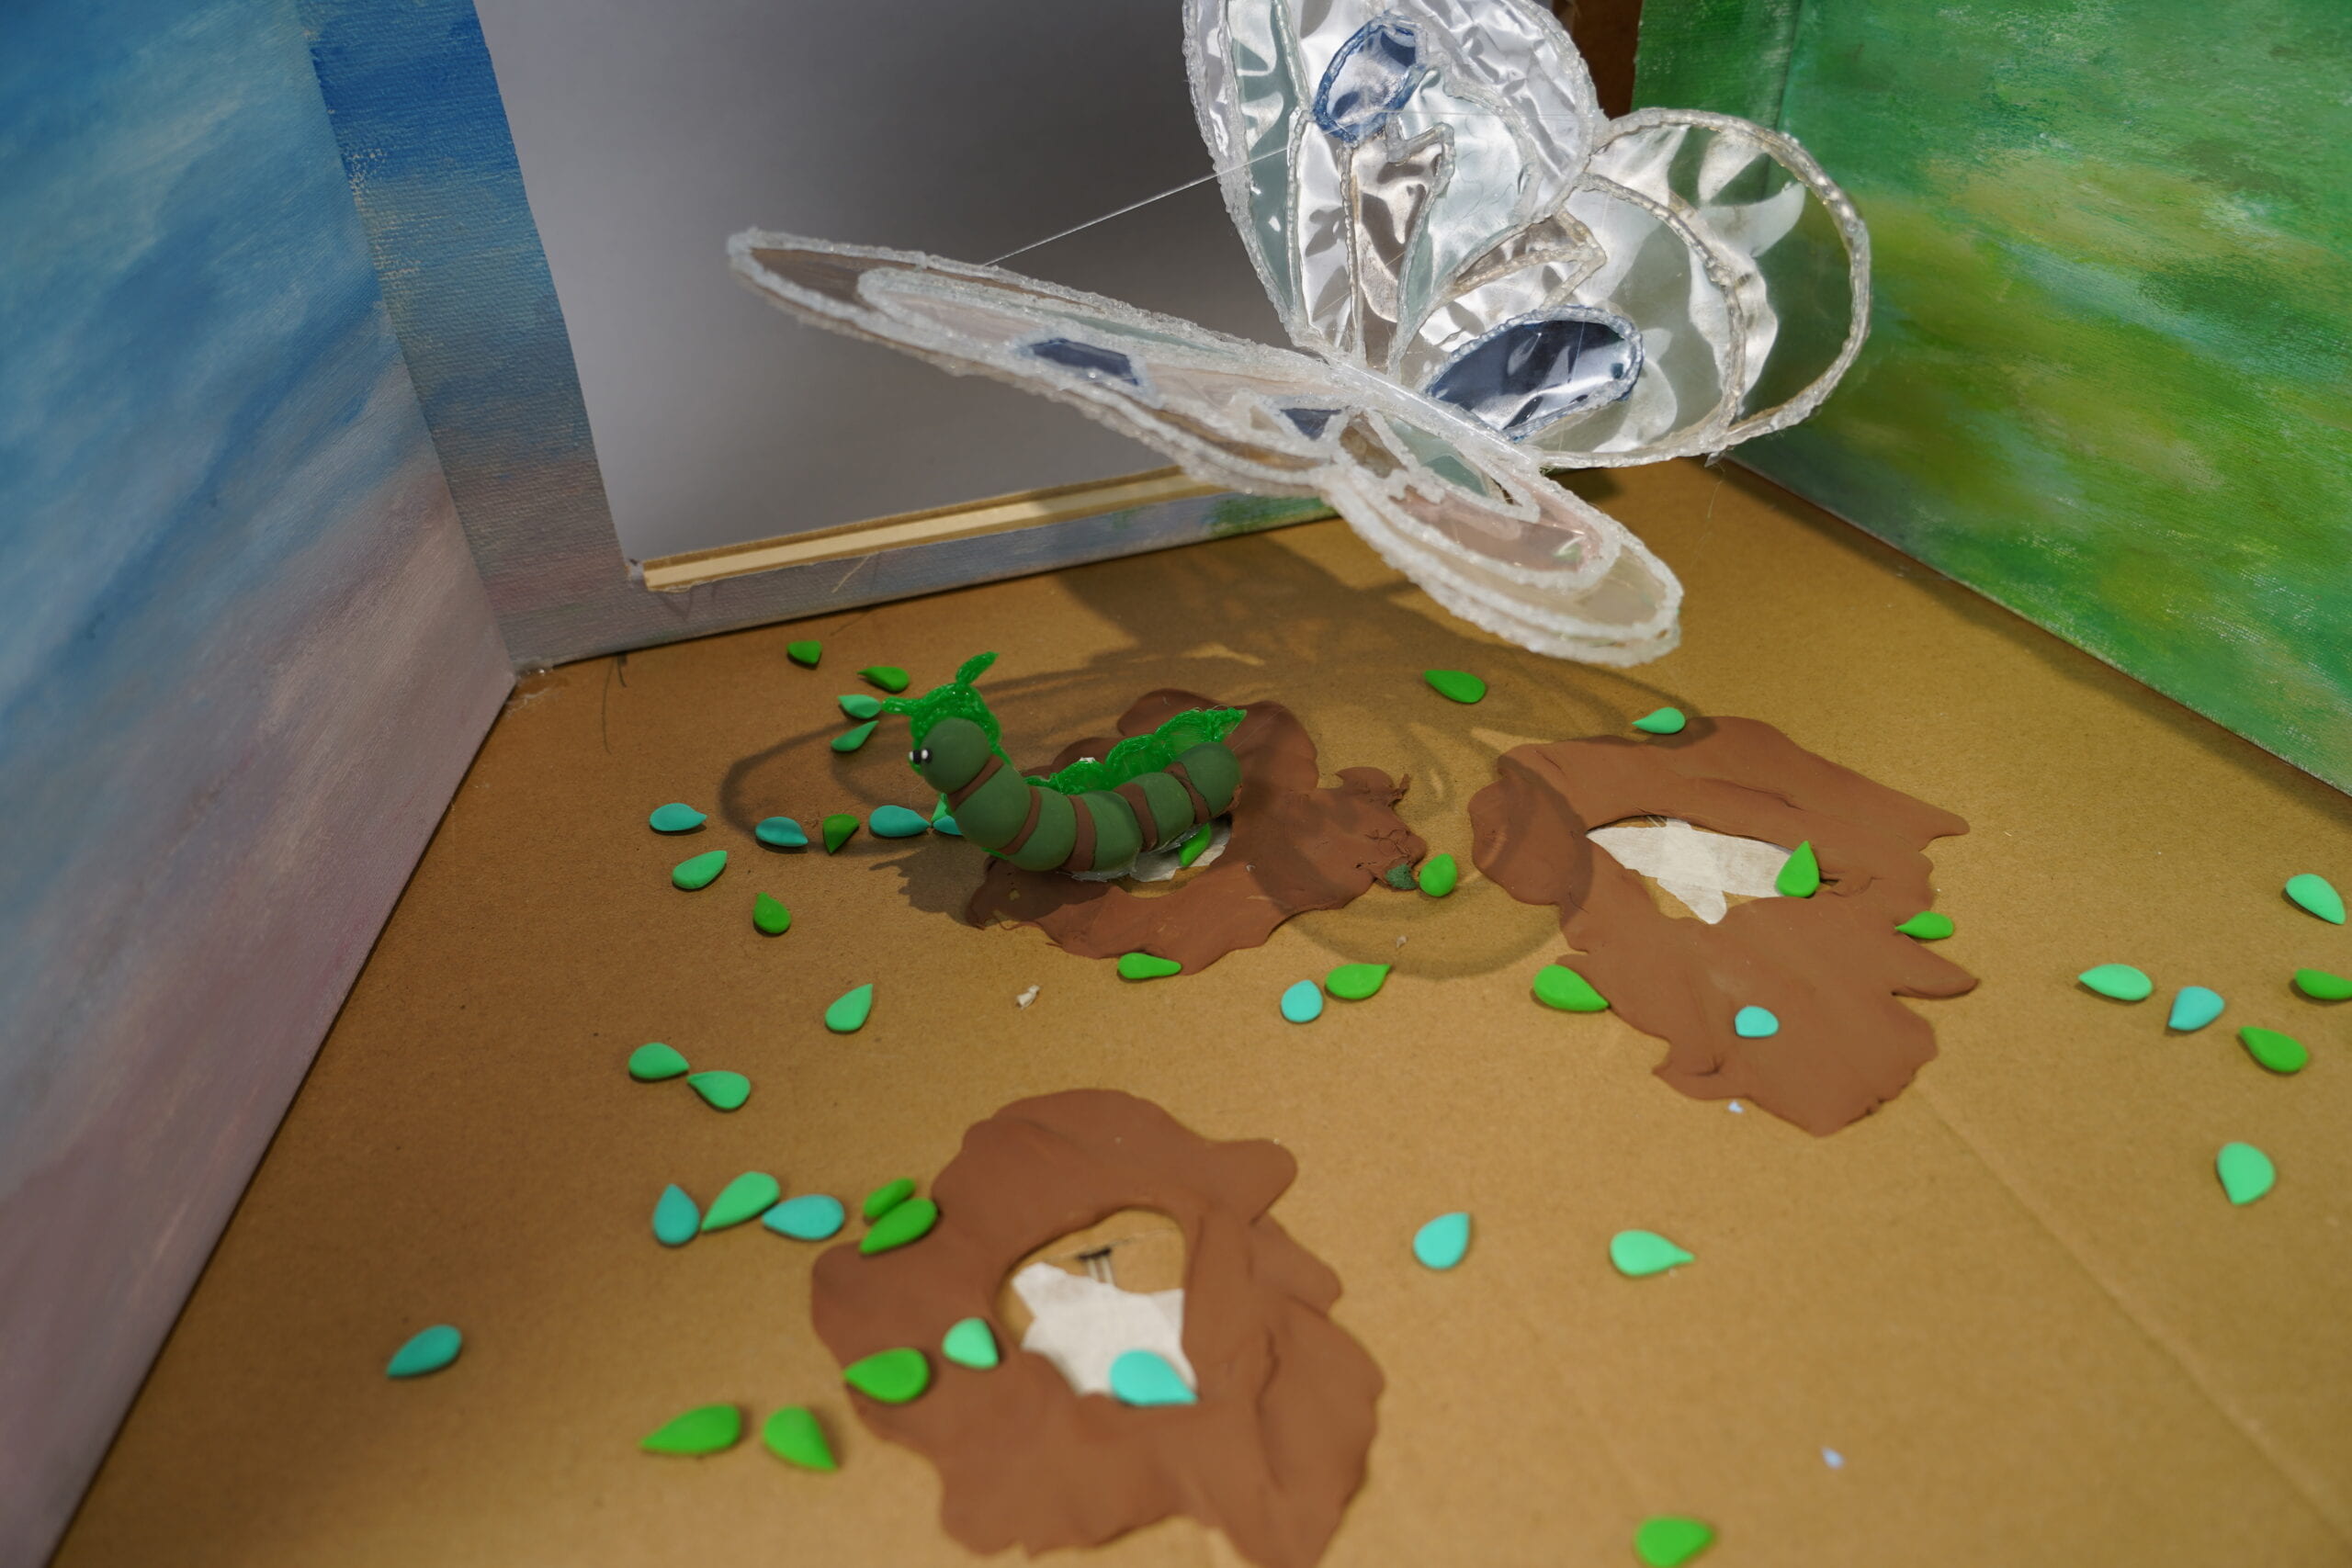
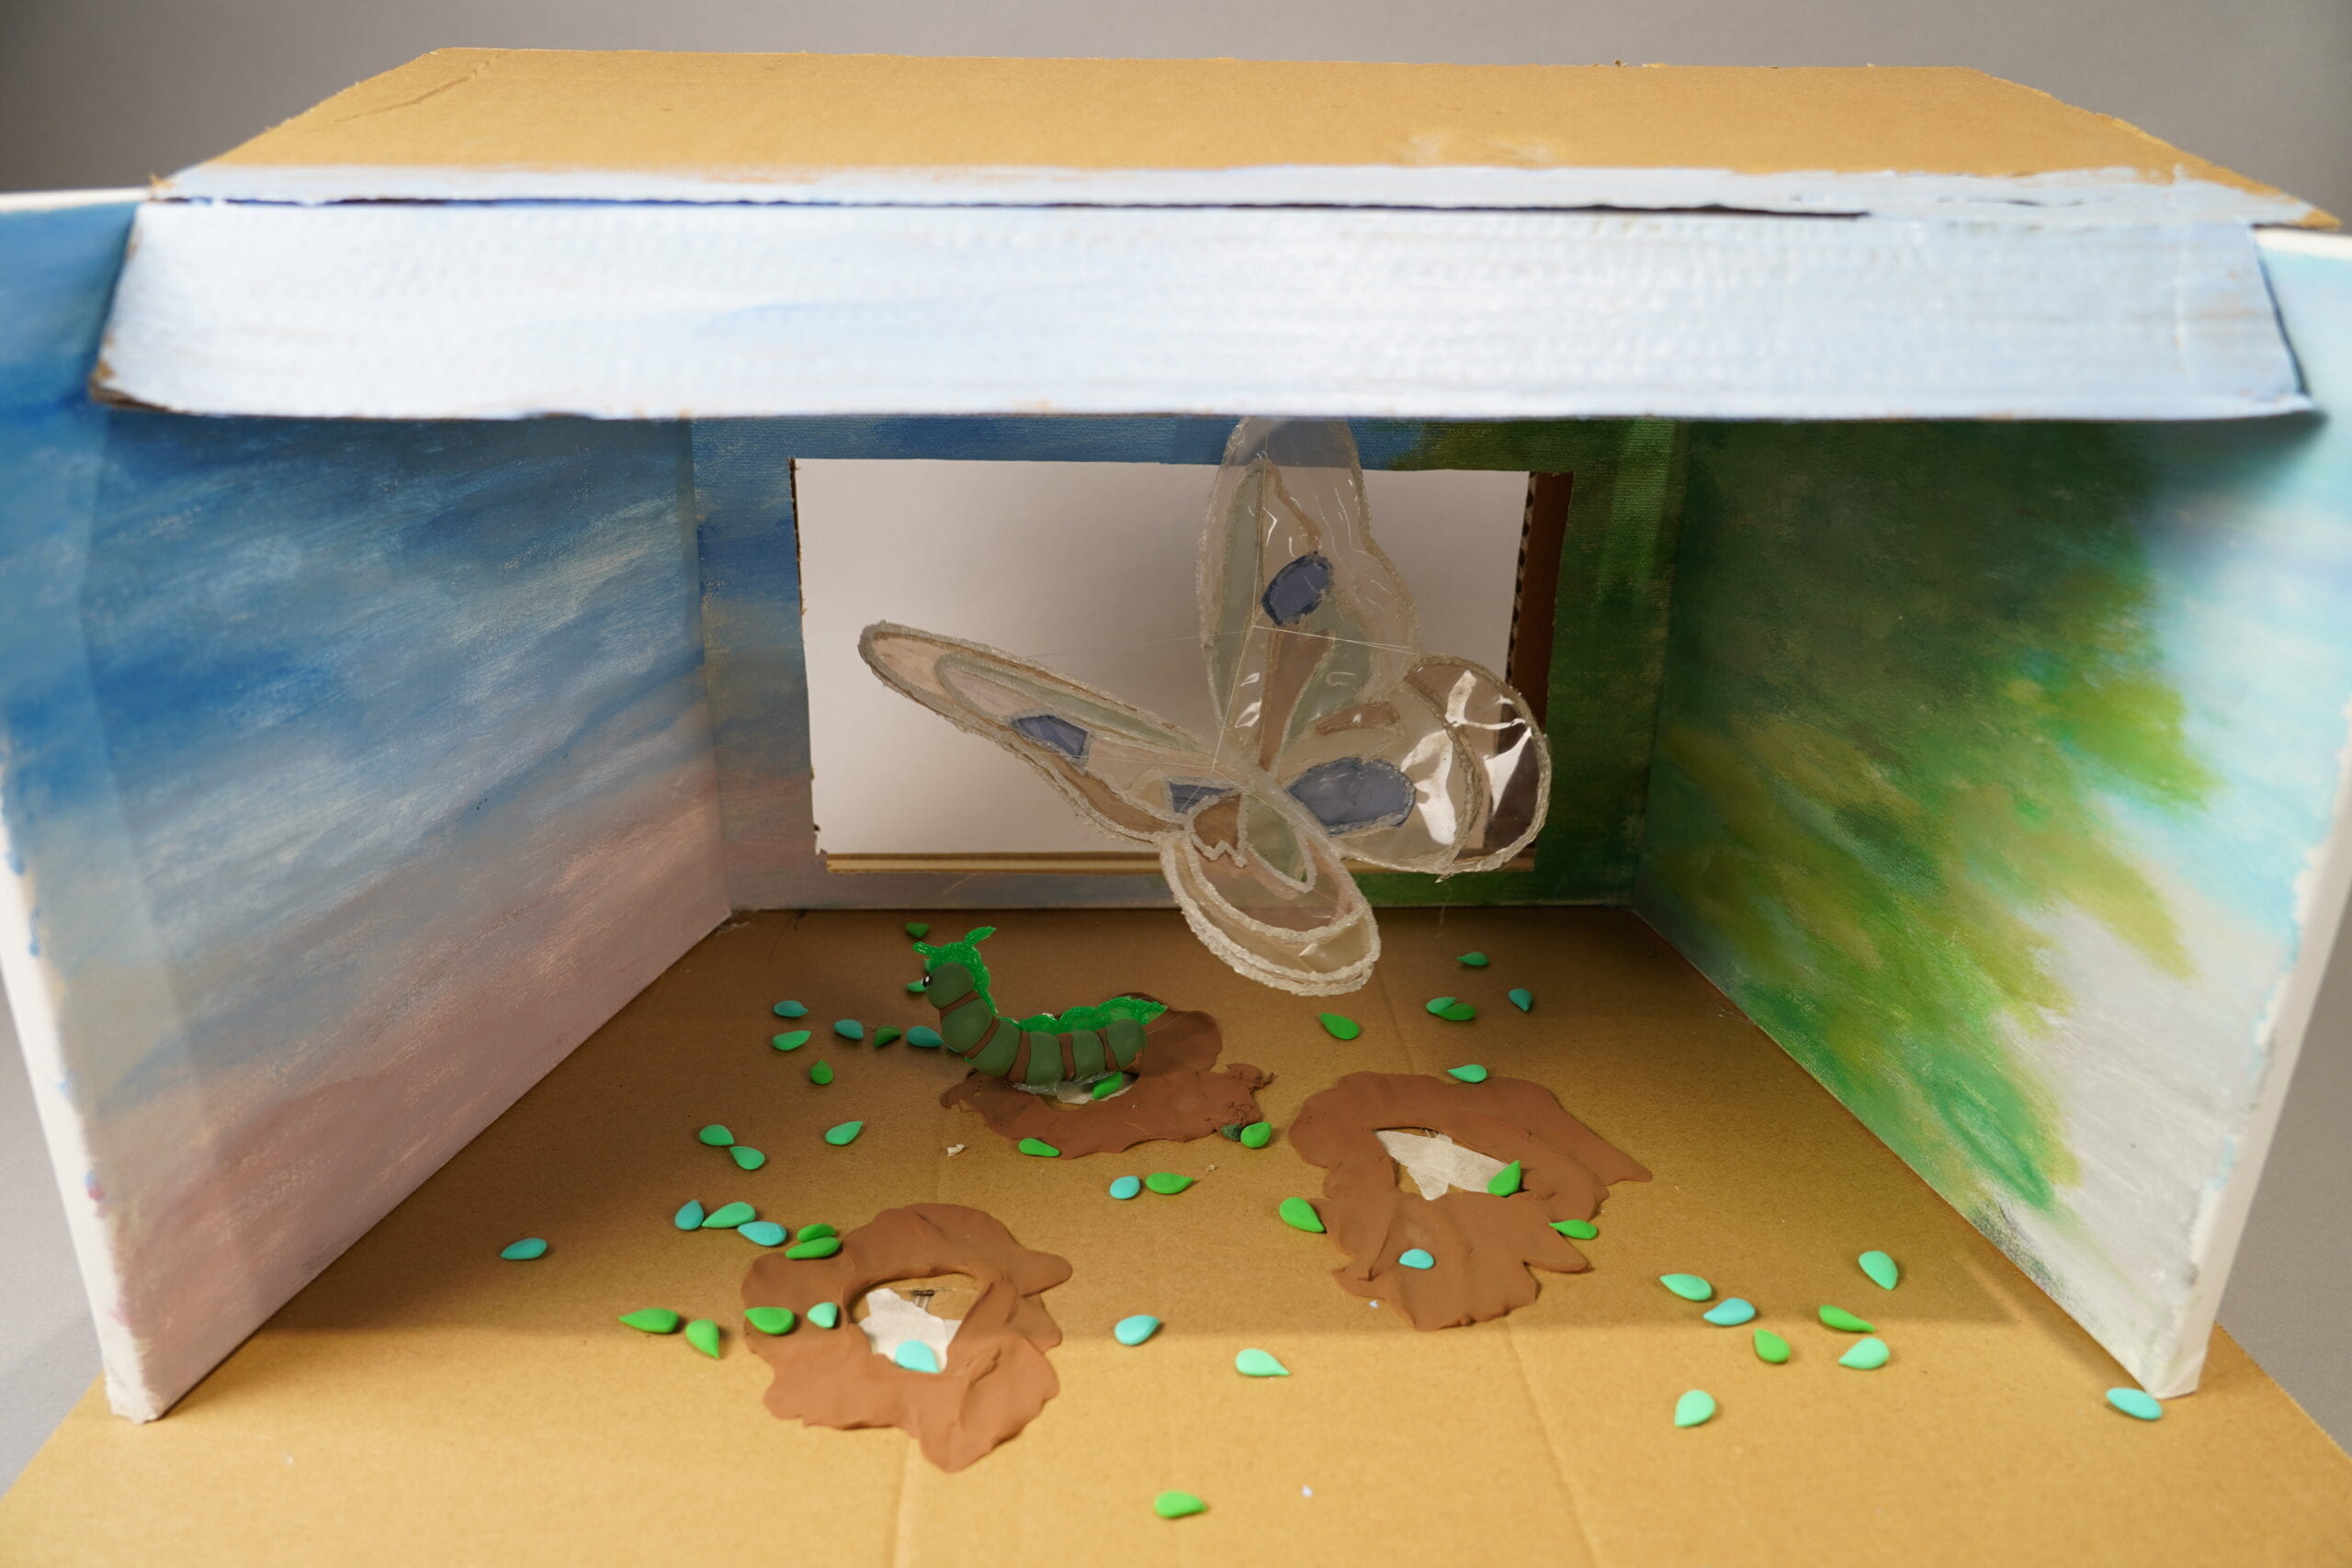
The most significant part of the production process is the production of the butterfly. We used 3D pencils to create our own butterfly as the main probe of the project. The reason that we choose to go with 3D butterfly is because it gives the user a more in depth view of what a 3D project is and to understand the beauty of it. We also used the motor sensor as the main component to make it spin around as soon as the user started pressing the button. We chose this motor because it could show people the process of how we can make things spin around and we can control them.The other main component is the pressure sensor that is used to show the story of butterflies. At the beginning, we were planning on using the motor sensor as the one to spin the butterfly around. However, the motor was too big to be part of the project because it would make the whole project too heavy. As for the code, we used the processing of transferring from Arduino to processing for both the story of the butterfly and the 3D model of the butterfly.

In conclusion of this project, our goal for the project is to show the story of the butterfly where people mostly look over. As for the achievement of this project, I believe that there are many things that we could improve in this project. Based on my audience’s response, I believe that there could be more things to be done. For example, my audience suggested that I can add more interaction parts into the project. Where I could get more interaction parts for my audience to do. I believe that my project is aligned with my own definition of interaction because I believe that interaction means people involving innovation to get the response that we set the goal for it to be. If I were to be given more time, I would change the interaction part to something more involving. I would add more sensors such as pressure sensors or the distance sensor to make the project more interesting and interactive. I learned from this project that we should focus more about time managing and priority. I learned that with the help from people around us, we would be able to accomplish things more efficiently. I would say that I accomplished the teamwork concept because me and my partner did an amazing job splitting the work and getting our works done. I believe that the most important thing about this project is the collaboration of ideas that me and my partner have brainstormed. The work of combining all that we have learned in the semester into the project. Overall, I believe that the ideas that me and my partner have collaborated on is work that we can bring out to change many things in the world. There are many aspects of this project that could be done more in order for my project to succeed so that people will get to interact with this amazing innovative. In the future, If I were given another opportunities to work on this project again, I would seek for help from available sources and make sure that I accomplish my goals.


import processing.serial.*;
Serial serialPort;
int NUM_OF_VALUES_FROM_PROCESSING = 1; /* CHANGE THIS ACCORDING TO YOUR PROJECT */
/* This array stores values you might want to send to Arduino */
int processing_values[] = new int[NUM_OF_VALUES_FROM_PROCESSING];
int x1;
int y1;
int NUM_OF_VALUES_FROM_ARDUINO = 4; /* CHANGE THIS ACCORDING TO YOUR PROJECT */
/* This array stores values from Arduino */
int arduino_values[] = new int[NUM_OF_VALUES_FROM_ARDUINO];
boolean moveToTarget = false; // 控制img3是否移动
int shakeCount = 0; // 晃动计数器
int shakeDirection = 1; // 晃动方向
//light
int img5Brightness = 255; // 初始亮度设置为最大值 255
///images
PImage img1, img2, img3, img4, img5, img6;
float img3X = 300; // 初始 X 位置
float img3Y = 535; // 初始 Y 位置
float speed = 2;
boolean canMoveImg3 = false; // 是否可以移动 img3
float targetX = 940; // 目标 X 坐标
float targetY = 330; // 目标 Y 坐标
float tolerance = 100; // 容忍度,例如 10
boolean draggingImg3 = false;
void setup() {
size(1300, 780);
///p to a
printArray(Serial.list());
// put the name of the serial port your Arduino is connected
// to in the line below – this should be the same as you’re
// using in the “Port” menu in the Arduino IDE
serialPort = new Serial(this, “/dev/cu.usbmodem101”, 9600);
///
img1 = loadImage(“first page.jpg”);
img2 = loadImage(“background.jpg”);
img3 = loadImage(“O1.png”);
img4 = loadImage(“O2.pndg”);
img5 = loadImage(“second page.jpg”);
img6 = loadImage(“last page.jpg”);
}
int currentImage = 1;
void draw() {
if (currentImage == 1) {
image(img1, 0, 0, width, height);
processing_values[0] = 1; ///0 is for strips
} else if (currentImage == 2) {
image(img2, 0,0, width, height);
processing_values[0] = 2;
//add text “welcome to the world 。。。”
} else if (currentImage == 3) {
image(img2, 0,0, width, height);
image(img3, 300, 535, 250, 200);
//add tsxt for introduction
processing_values[0] = 3;
} else if (currentImage == 4) {
// 在映射的坐标上绘制图像
image(img2, 0,0, width, height);
image(img3, img3X, img3X, 250, 200); // 绘制 img3 在可移动的位置
image(img4, 0, 0, width, height);
processing_values[0] = 4;
// not sure part
if (arduino_values[0] > 400 && !moveToTarget) {
moveToTarget = true;
}
// img3移动到目标位置
if (moveToTarget && currentImage == 4) {
float dx = targetX – img3X;
float dy = targetY – img3Y;
// 根据速度和距离来更新图像位置
if (abs(dx) > 1) {
img3X += dx * speed / sqrt(sq(dx) + sq(dy));
}
if (abs(dy) > 1) {
img3Y += dy * speed / sqrt(sq(dx) + sq(dy));
}
}
if (abs(img3X – targetX) < tolerance && abs(img3Y – targetY) < tolerance) {
currentImage = 5; // 切换到 img5
moveToTarget = false;
}
}
if (currentImage == 5) {
if (arduino_values[0] == 1) {
img5Brightness = 0; // 当value4等于1时,将亮度设置为0
} else {
// 逐渐减少亮度,直到达到某个最小值
img5Brightness = max(img5Brightness – 1, 0); // 每次减少1,但不低于0
}
tint(255, img5Brightness); // 应用亮度调整
image(img5, 0, 0, width, height); // 显示图像
processing_values[0] = 5;
// 重置tint以影响其他图像
tint(255, 255);
delay(250); //let the screen be black for a while
} else if (currentImage == 6) {
image(img6, 0, 0, width, height);
processing_values[0] = 6;
}
// send the values to Arduino
sendSerialData();
}
void mousePressed() {
if (currentImage < 6) {
currentImage++;
} else {
currentImage = 1;
}
}
/// send to a
void sendSerialData() {
String data = “”;
for (int i=0; i<processing_values.length; i++) {
data += processing_values[i];
// if i is less than the index number of the last element in the values array
if (i < processing_values.length-1) {
data += “,”; // add splitter character “,” between each values element
}
// if it is the last element in the values array
else {
data += “\n”; // add the end of data character linefeed “\n”
}
}
// write to Arduino
serialPort.write(data);
print(“To Arduino: ” + data); // this prints to the console the values going to arduino
while (serialPort.available() > 0) {
String in = serialPort.readStringUntil( 10 ); // 10 = ‘\n’ Linefeed in ASCII
if (in != null) {
print(“From Arduino: ” + in);
String[] serialInArray = split(trim(in), “,”);
if (serialInArray.length == NUM_OF_VALUES_FROM_ARDUINO) {
for (int i=0; i<serialInArray.length; i++) {
arduino_values[i] = int(serialInArray[i]);
}
}
}
}
}
********This is code example from Processing to Arduino
