In this recitation, my partner and I combined cardboard with a cycling shaft adaptor to make a cardboard piece move! The steps in sequential order follow: building the circuit, building a cardboard mechanism, & personalizing it! While the steps don’t seem too complicated, it was more time-taking & challenging than it looked.
Step 1: Building the Circuit
To begin, we first borrowed some equipment and supplies from the front table. These included the stepper motor, H-bridge, power jack, 12 VDC power supply, & a USB protector (higher voltages require this so there is no potential computer damage). Also, we received a cutting mat so the beautiful wooden table isn’t scratched and a cutout of our eventual cardboard mechanism. Now, we officially began working on this recitation piece!
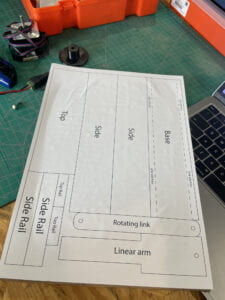
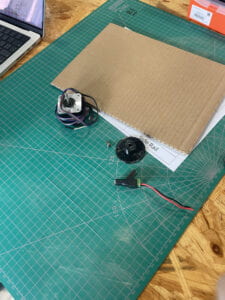
Looking at the Arduino schematic, my newly-met partner (Ricci!) and I started to slowly construct the circuit. First, we oriented the H-Bridge into the correct position, with pin 1 to the left side. Then, we closely followed the schematic to make sure that the wiring was accurate. Slowly but surely, we connected each of the critical wires to its respective positions. This included the power jack (black wire on the left, red wire on right) & the heavy stepper motor (four distinct wires connecting back to the breadboard). This collective process took around half an hour, as the schematic was very intricate and attention-based. Anxiously testing the sample code, we were delighted when the motor started its circular dance! We had messed with the code to alter the spinning speed, which was extremely intuitive. Finally, the complicated circuit was finished, which simply left the cardboard mechanism & design aspect.
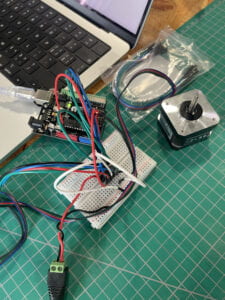
Code Used:
/*
Stepper Motor Control - one revolution
This program drives a unipolar or bipolar stepper motor.
The motor is attached to digital pins 8 - 11 of the Arduino.
The motor should revolve one revolution in one direction, then
one revolution in the other direction.
Created 11 Mar. 2007
Modified 30 Nov. 2009
by Tom Igoe
*/
#include <Stepper.h>
const int stepsPerRevolution = 200; // change this to fit the number of steps per revolution
// for your motor
// initialize the stepper library on pins 8 through 11:
Stepper myStepper(stepsPerRevolution, 8, 9, 10, 11);
void setup() {
// set the speed at 60 rpm:
myStepper.setSpeed(60);
// initialize the serial port:
Serial.begin(9600);
}
void loop() {
// step one revolution in one direction:
Serial.println("clockwise");
myStepper.step(stepsPerRevolution);
delay(500);
// step one revolution in the other direction:
Serial.println("counterclockwise");
myStepper.step(-stepsPerRevolution);
delay(500);
}
Step 2: Building the Cardboard Mechanism
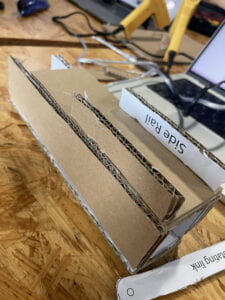
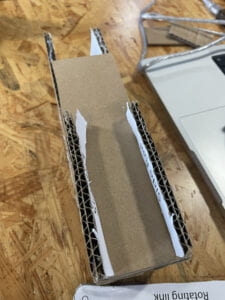
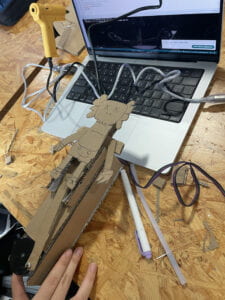
Now, we move on to assembling the cardboard together! While this required less thinking than the previous wiring, it put our motor & hand-eye coordination skills to the test. For this, the additional materials received were two rivets, the shaft adaptor, & hot glue gun/box cutter. We proceeded to use an assembly-line style movement, with me cutting the cardboard (placed on the cutting mat) and Ricci diligently gluing the gathered pieces together. In a matter of a couple of long minutes, our new mechanism was completed. We pressed the shaft adaptor into the previously coded stepper motor, & placed it at the end of the cardboard. Eventually, this motion would allow our cardboard mechanism to be pushed.
Step 3: Personalizing Our Design
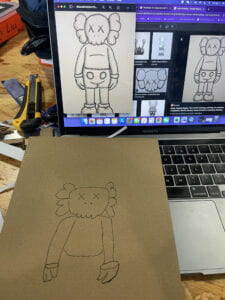
With the circuit & cardboard mechanism being successfully built, the only objective left was to create our own cardboard piece to attach. We thought of several cute & creative ideas, such as drawing kittens (=^ ◡ ^=), puppies, and other animals. However, I was feeling extra inspired by Professor Rudi’s shirt, which was Kaws. Using this idea, I attempted to draw and recreate the Kaws design to the best of my abilities. Little to no one’s surprise, my drawing did not nearly resemble the original work. To fuse the last component, we punched a small hole (with a screwdriver) through the two connected cardboard. The rivets then stabilized and held the rotating link part in place.
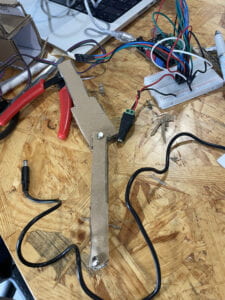
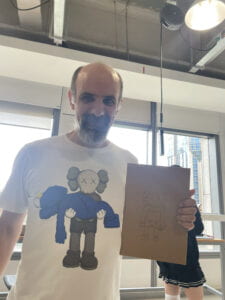
Finally, we cut the Kaws outline out and placed it on top of our cardboard mechanism. As we considered adding appendages to Kaws, we decided to detach its arms! But, this was when we encountered our only minor flaw. It seems that the limb placement was wrong, making the Kaws motion seem bizarre. Nonetheless, the separate arm still waved by itself. This made it seem like Kaws was shrugging, which was hilarious. Overall, this recitation was extremely crucial and important to learn. As the midterms are coming up, I plan to use what I learned today and incorporate it into my midterm project. It was also very interesting & fun to walk around and observe other’s creations. Some made cute animals, movie characters, etc. The stepping motor, when combined with the shaft adaptor, certainly creates a handy tool that is able to shift based on our own personal preferences.
Additional Questions
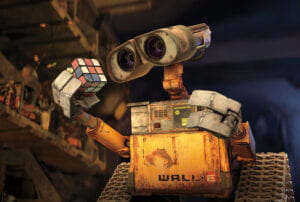
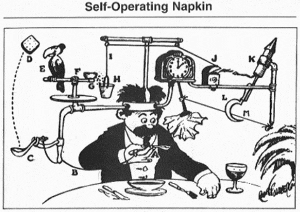
1. In the reading, ART + Science NOW, Stephen Wilson (Kinetics chapter), there is a device called the ‘Steam Walker’ created by I-Wei Huang in 2006. This mini-robot, resembling Wall-E, has wheels on its own that enable it to move. It is similar to our work in this recitation because the ‘Steam Walker’ has plenty of its own motors. For example, I would imagine that there are similar if not identical stepper motors that allow the ‘Steam Walker’ to run & spin its train-like features. Without the motor pushing and constantly spinning, there would be no energy. Henceforth, motors are crucial to robots such as these. Also, there must be rotating links that connect each of the motors together. They work similarly to a Rube Goldberg concept, with one motor spinning the following ones. I think that Huang selected these kinds of motors to allow simplified movement in the robot and go for his ‘Victorian’ aesthetics. Overall, the stepping motor & any motors, in general, are extremely crucial in the interactive environment. Without them, many of today’s robots and small gadgets would not be able to run itself.
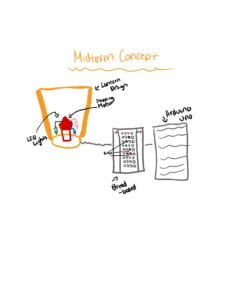
2. For my midterm project, I would be interested in a piece that is equally interactive & creative. If I could incorporate every single concept we’ve learned so far (LED, buzzer, button, stepper motor, wires, h-board, etc.), I would count the project as successful. In fact, we already have a set idea in mind and plan to prototype it soon. My idea involves some sort of device with a spinning motor, which could have LED lights attached to it! For the interaction part, I am trying to implement buttons with my partner. In other words, when the user presses a button, this will light up the LED lights and simultaneously move the stepper motor. Our project would be different than an animation on a green screen because there will be no display. In fact, it’s a visual arts project mixed with a hint of gaming. By doing this, both of the best worlds can be combined. In the end, this would resemble a Chinese New-Year lantern, with a pretty exterior and simple interior. Below, I will provide a very very simple sketch!
Leave a Reply