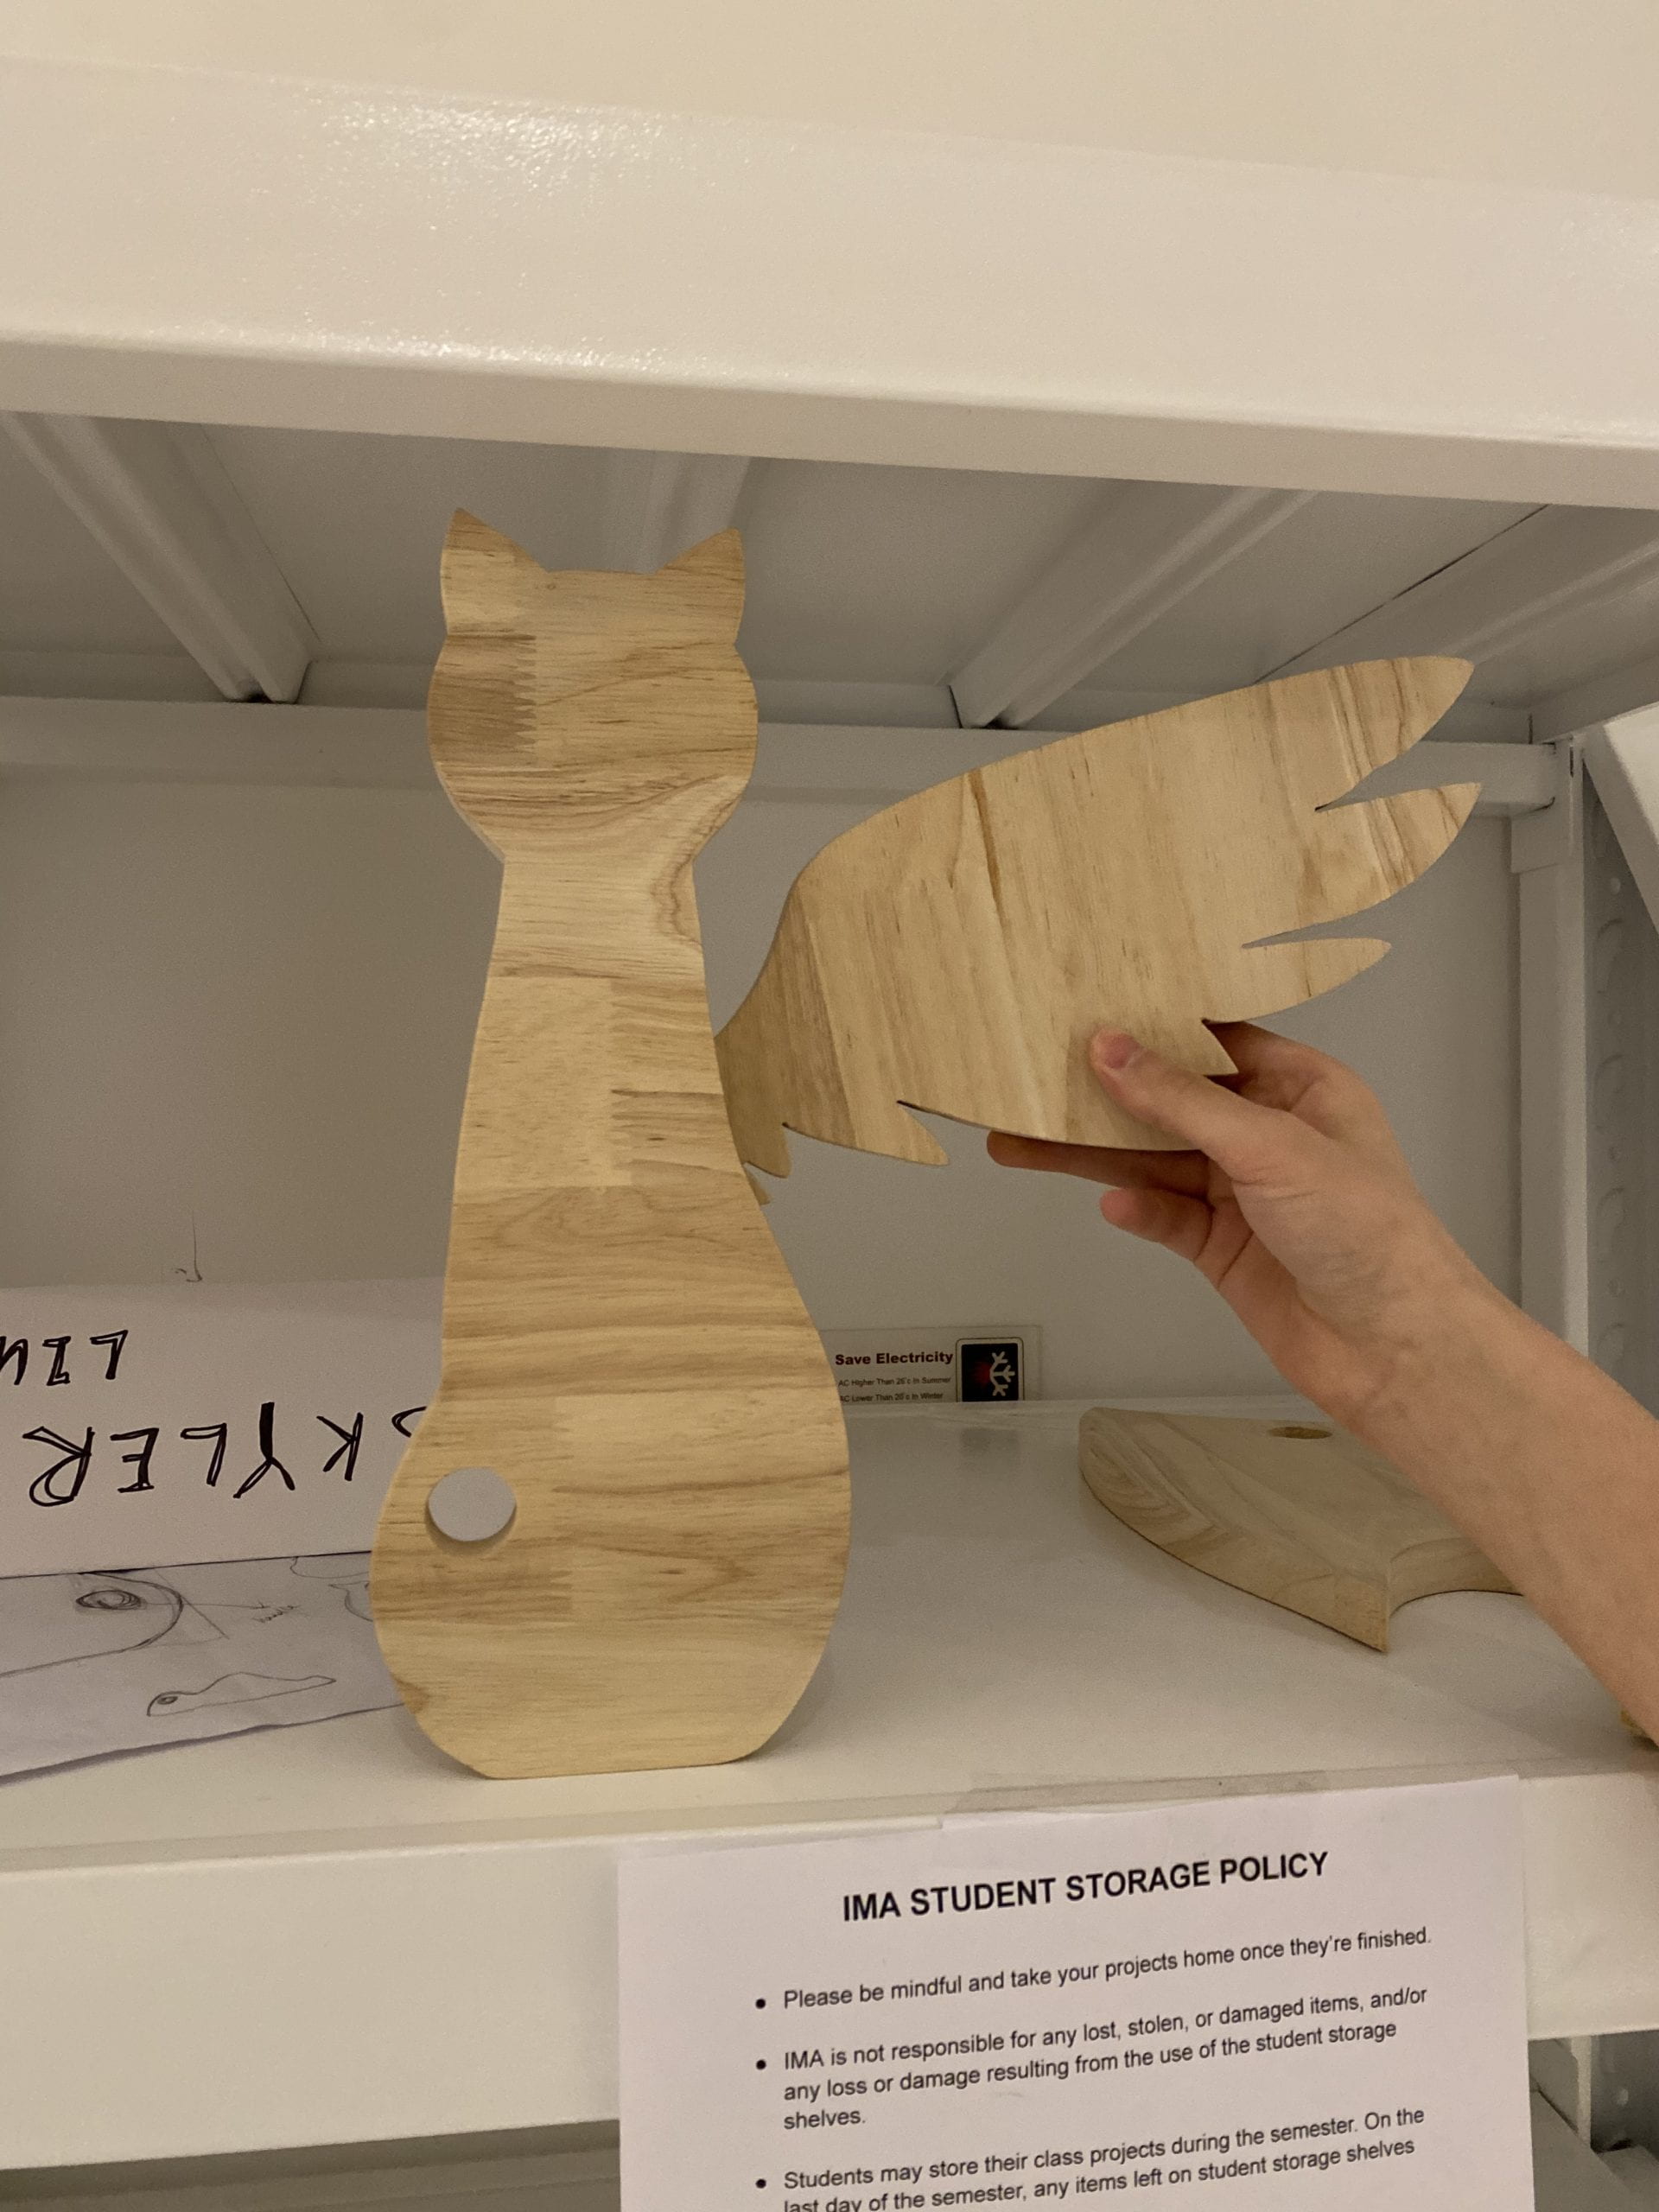
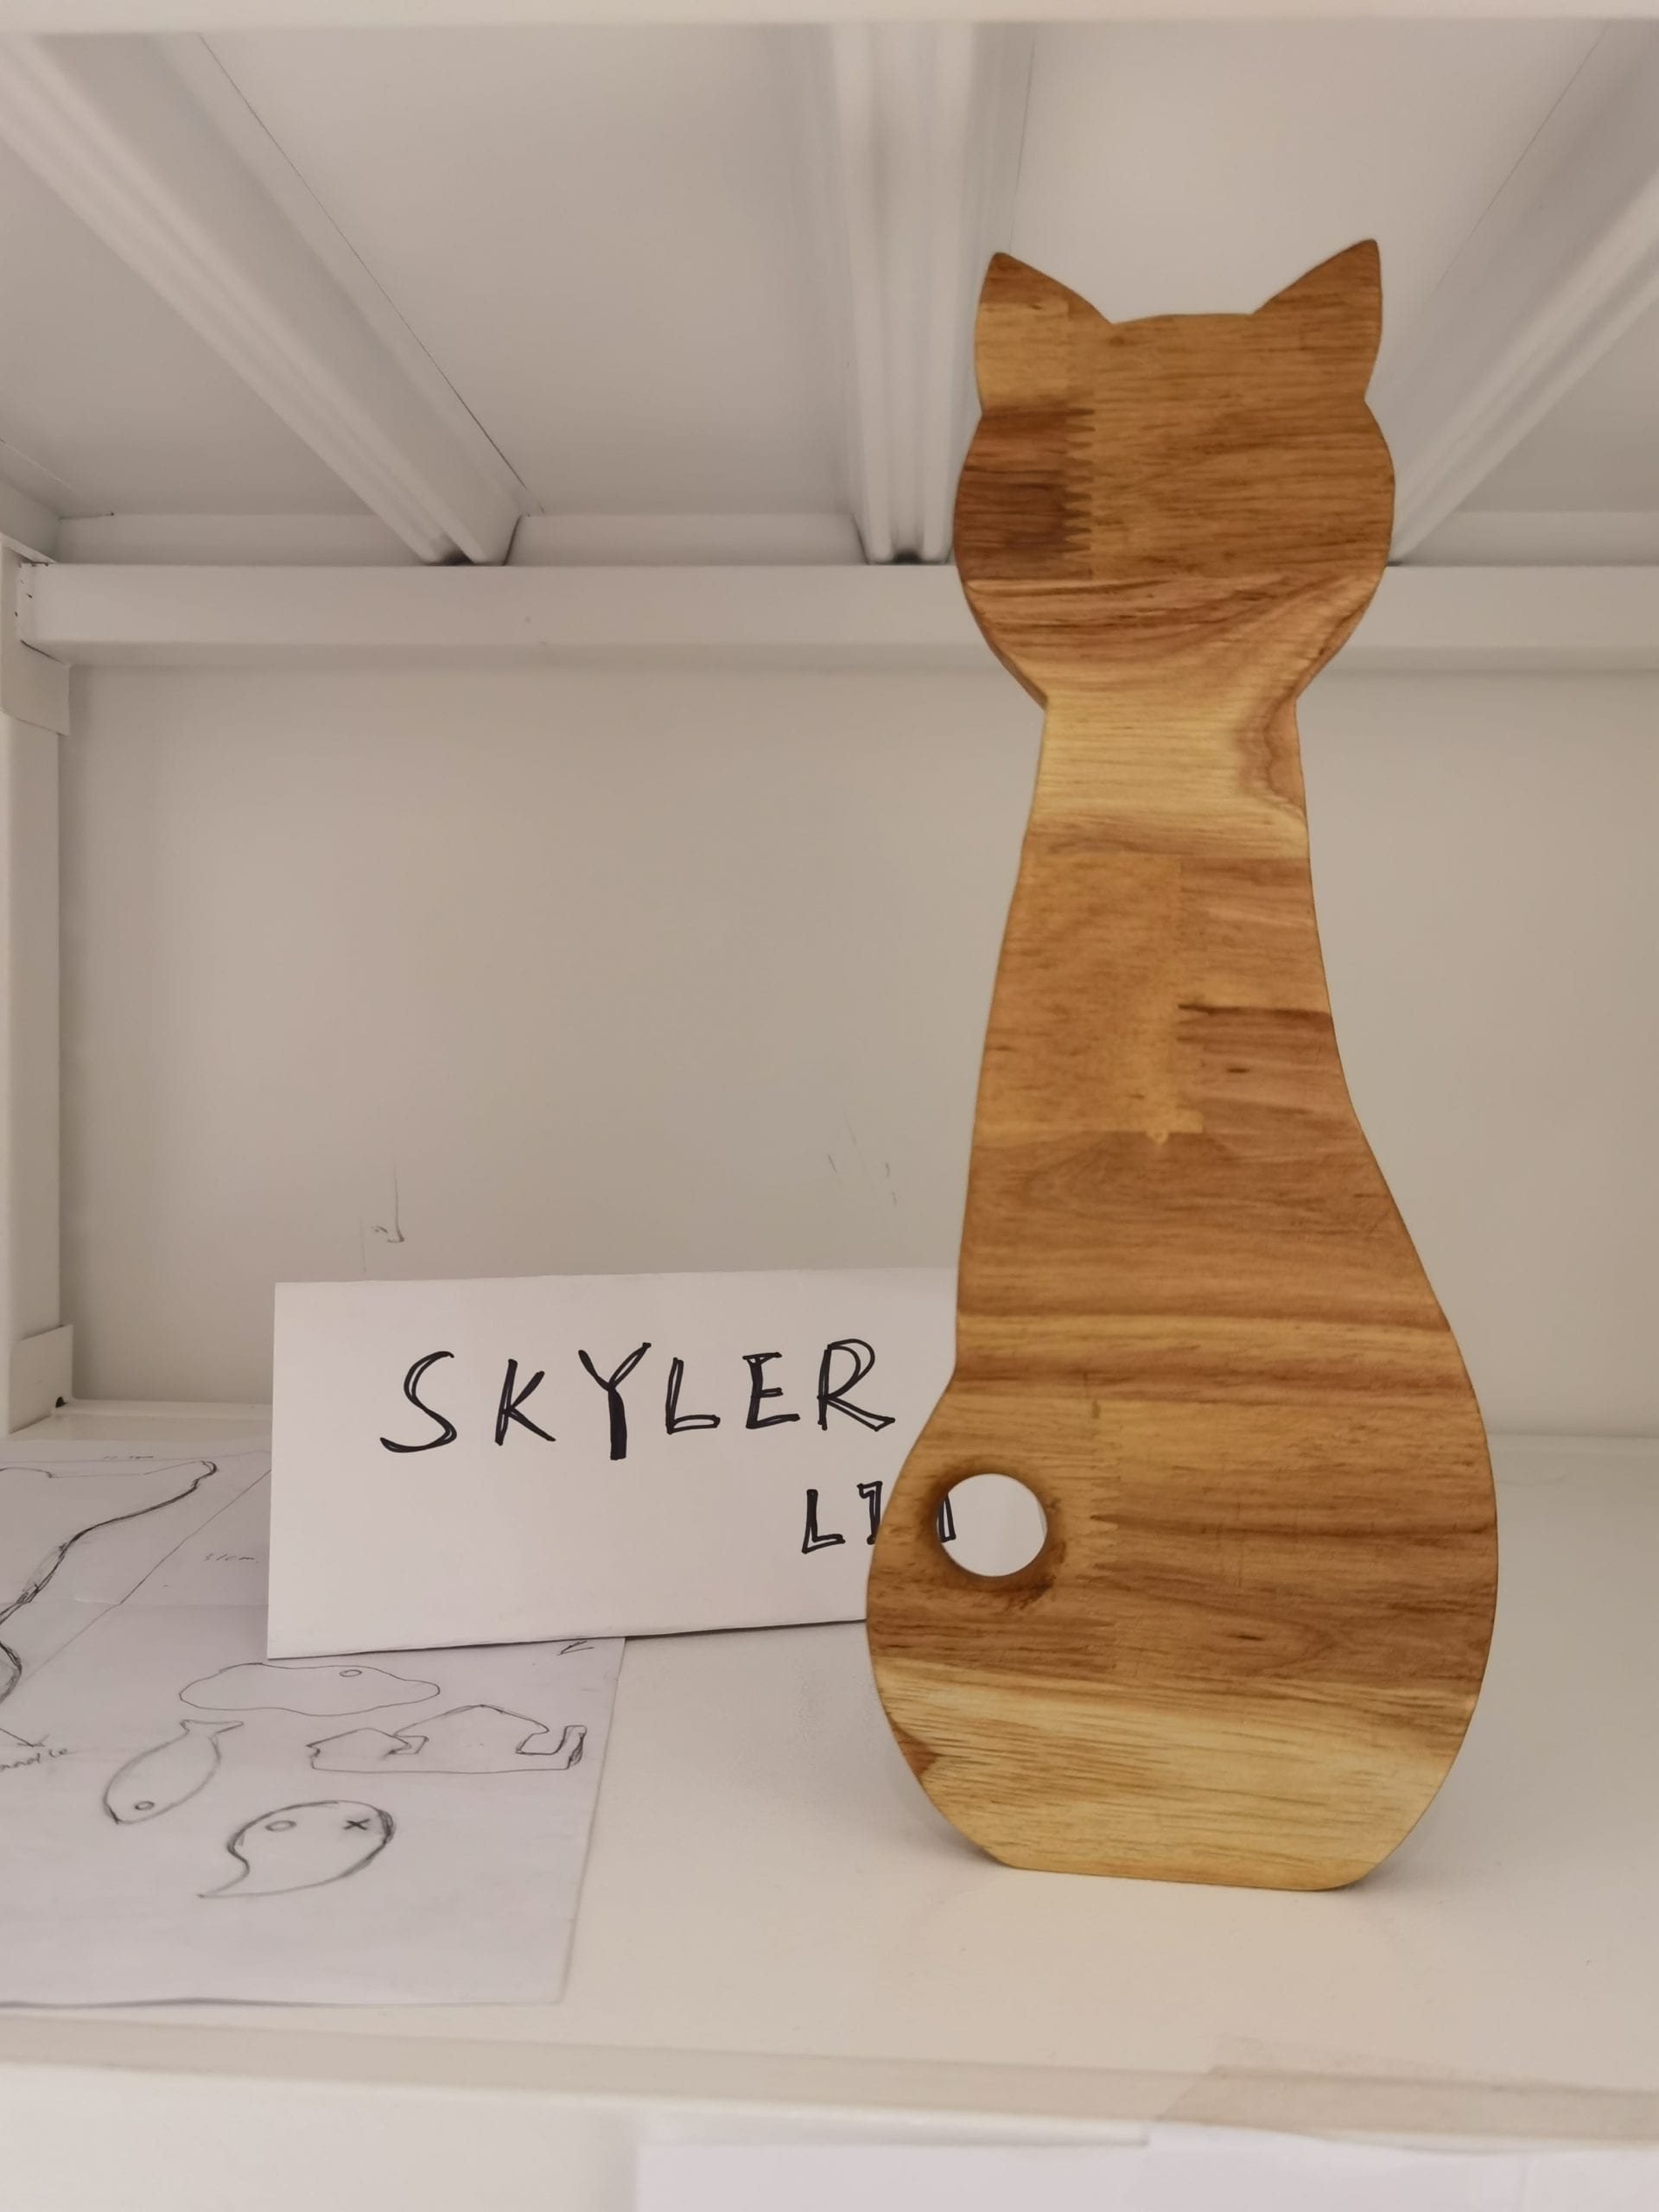
The Design: I sketched several small designs and decided among them. I finally chose the cat figure because it could make the best use of the size of the given board which was kind of small and thin. This is my original design inspired by my love and familiarity with cats. 🙂 I designed a hole to be the handle of the food tray, which also cleverly shaped the cat’s body and tail. The cat’s neck is also designed for hand-held ease. After I designed the design, I draw a full-size sketch on paper then printed it on the wood.

BS: I forgot to take photos for several beginning steps because my classmates around me were all busy with their own works when I started my work.
BS is for cutting the basic shape from the original board. I was kind of afraid to operate the BS in the beginning. But thanks to Steve’s help, I made it at last. The most difficult process was cutting the cat’s ear and neck, cause they had a lot of curves near 90 degrees which were hard for a beginner operator like me. I learned from Steve that every time instead of trying to continually cut following the sketch, we need to pull back the saw a little bit before cutting the curves; it helps avoid reaching the edge of the curve too much or even cutting into the edge.
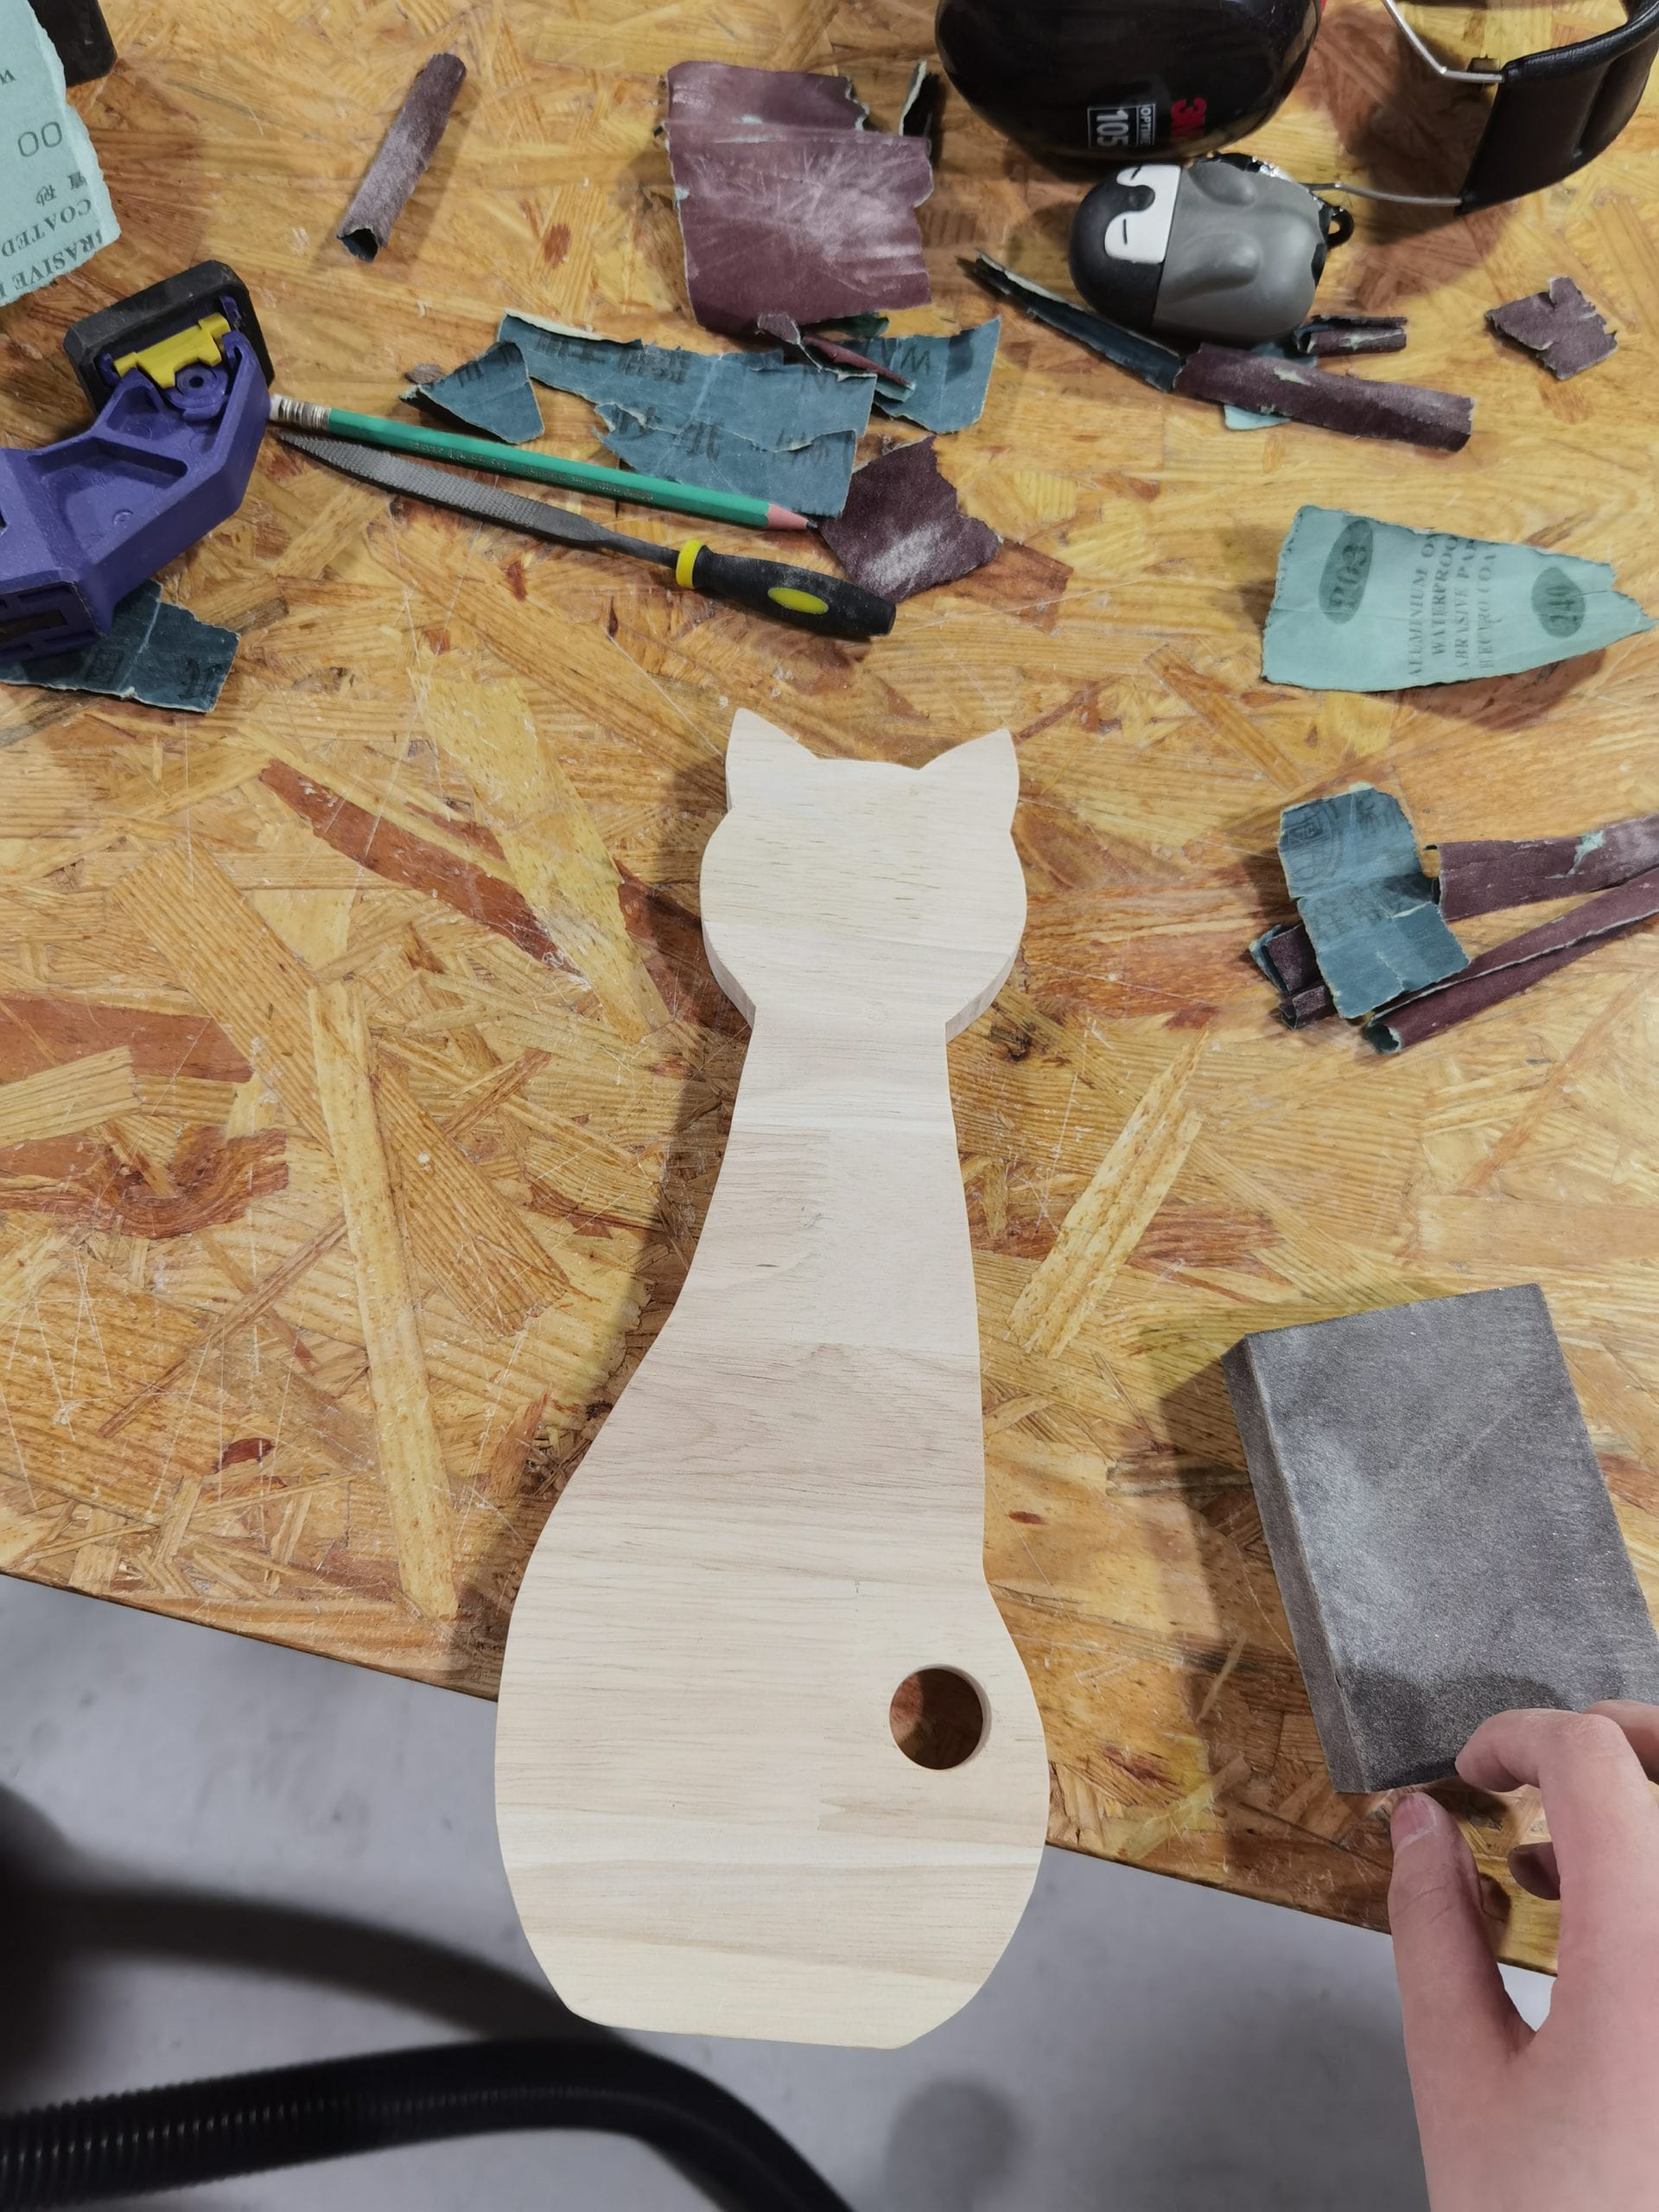
DP: DP is for drill the handle hole on the board. I chose the 2.1cm diameter drill to drill the cat’s tail as I designed. I was too cautious while pulling down the DP, so the speed was kind of slow and made my wood get a small burn mark (I didn’t realize until I smelt the burning). I had to sand it after.
OSS: OSS is for doing some subtle sanding. For the curves near 90 degrees around the cat’s ears and head, I used the OSS with the 120g and 150g sandpaper rolls to get them smoother. I noticed if you pressed your work onto it with too much strength and didn’t pay attention to when to move to another part, it might sand a corner too much and might ruin the shape. I got a tiny over-sanded corner on the cat’s ear, though I fixed it after to make it look natural, it really scared me and made me more cautious.
Belt Sander: The belt sander is for doing some efficient sanding. I used the belt sander to sand the big sharp curves (the cat’s body) that the BS didn’t cut smoothly. I paid attention to the position of my work on it (holding it against the sander’s left side) in case of the sander pulling my hand on it. And I felt the belt sander was way more efficient than the OSS, and I needed to really pay attention to stop in good time, or it might sand too much.
First hand-sanding: Hand-sanding is for the overall surface sanding and more subtle small corners’ sanding. I sanded the cat’s overall surface to make it smoother with different sandpaper. First I used a piece of 180g sandpaper, then 400g, in the end, I even used the 800g block. I spent a really long time on sanding (about 3 hours), its look after this step already made me kind of satisfied because it looked and touched well for me already.
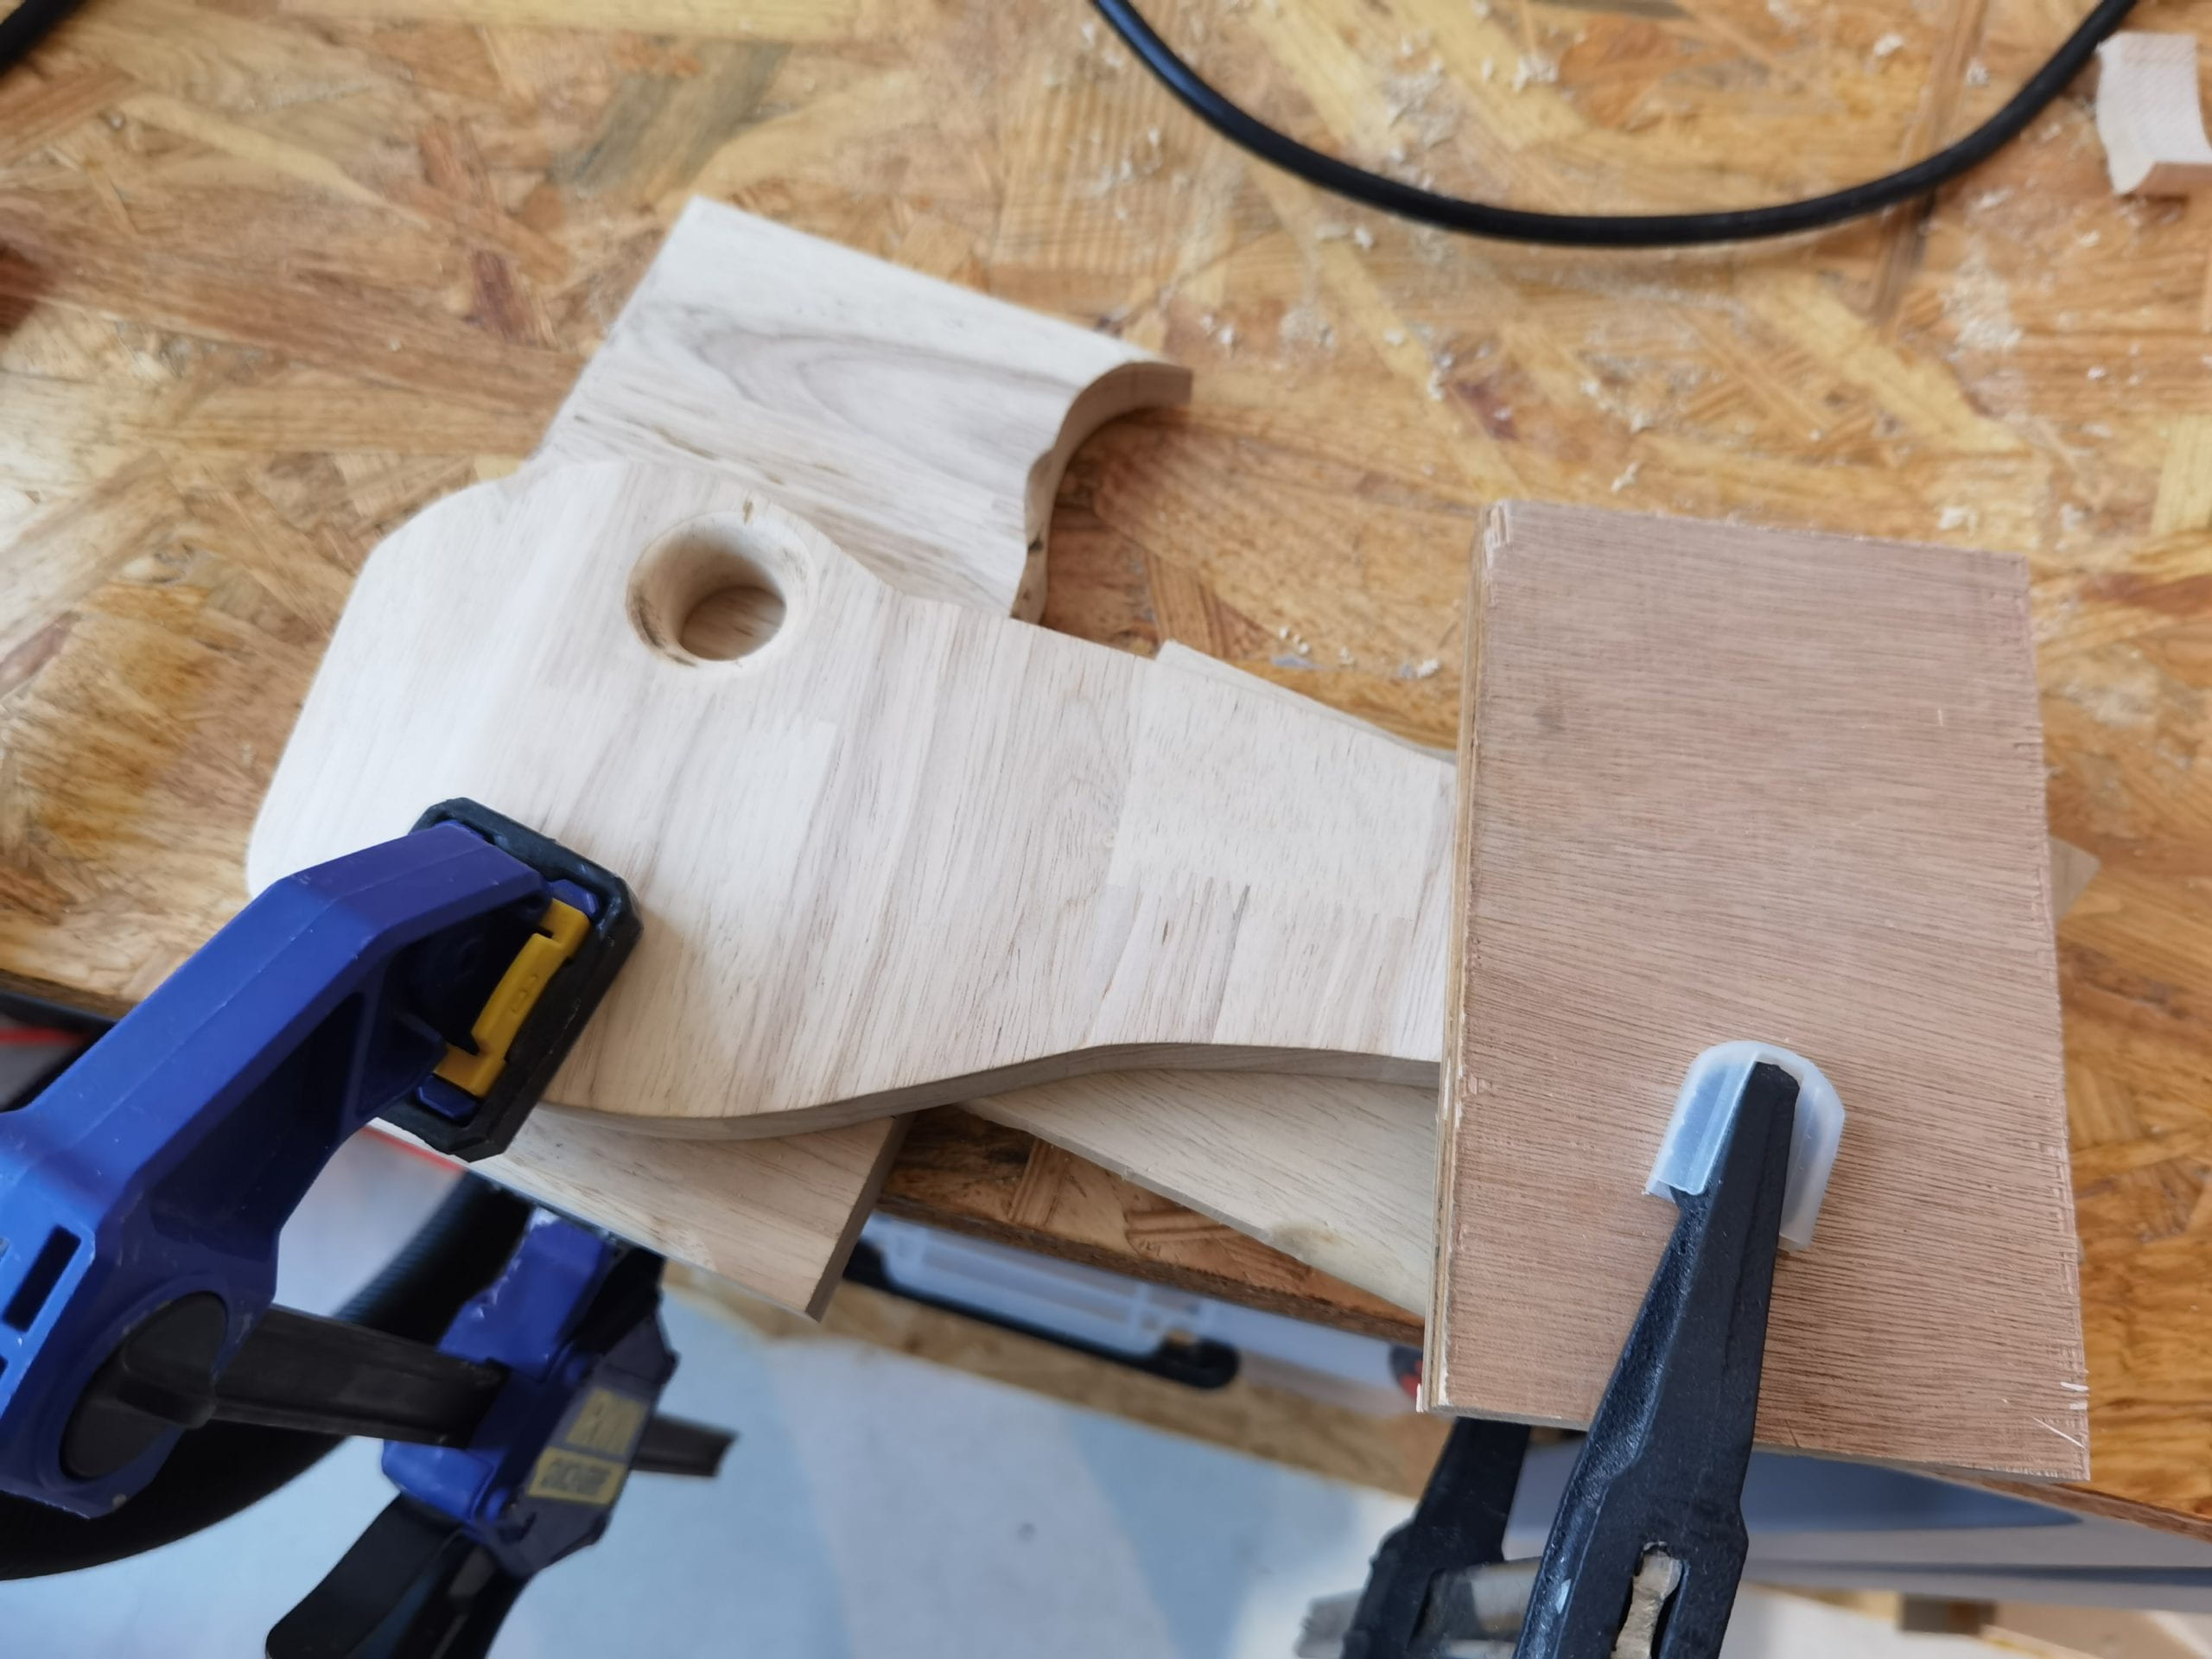
Routing: The router is for shape a round edge for the inside or outside edges of the work. I found it harder to use than I thought. Because my cat’s design is thin, I didn’t route the outside edge of its figure, I decided to route the handle hole. I hesitated because I didn’t think it clear which direction should be counterclockwise before I started the router. It got my work two burn marks and I had to sand them off after.

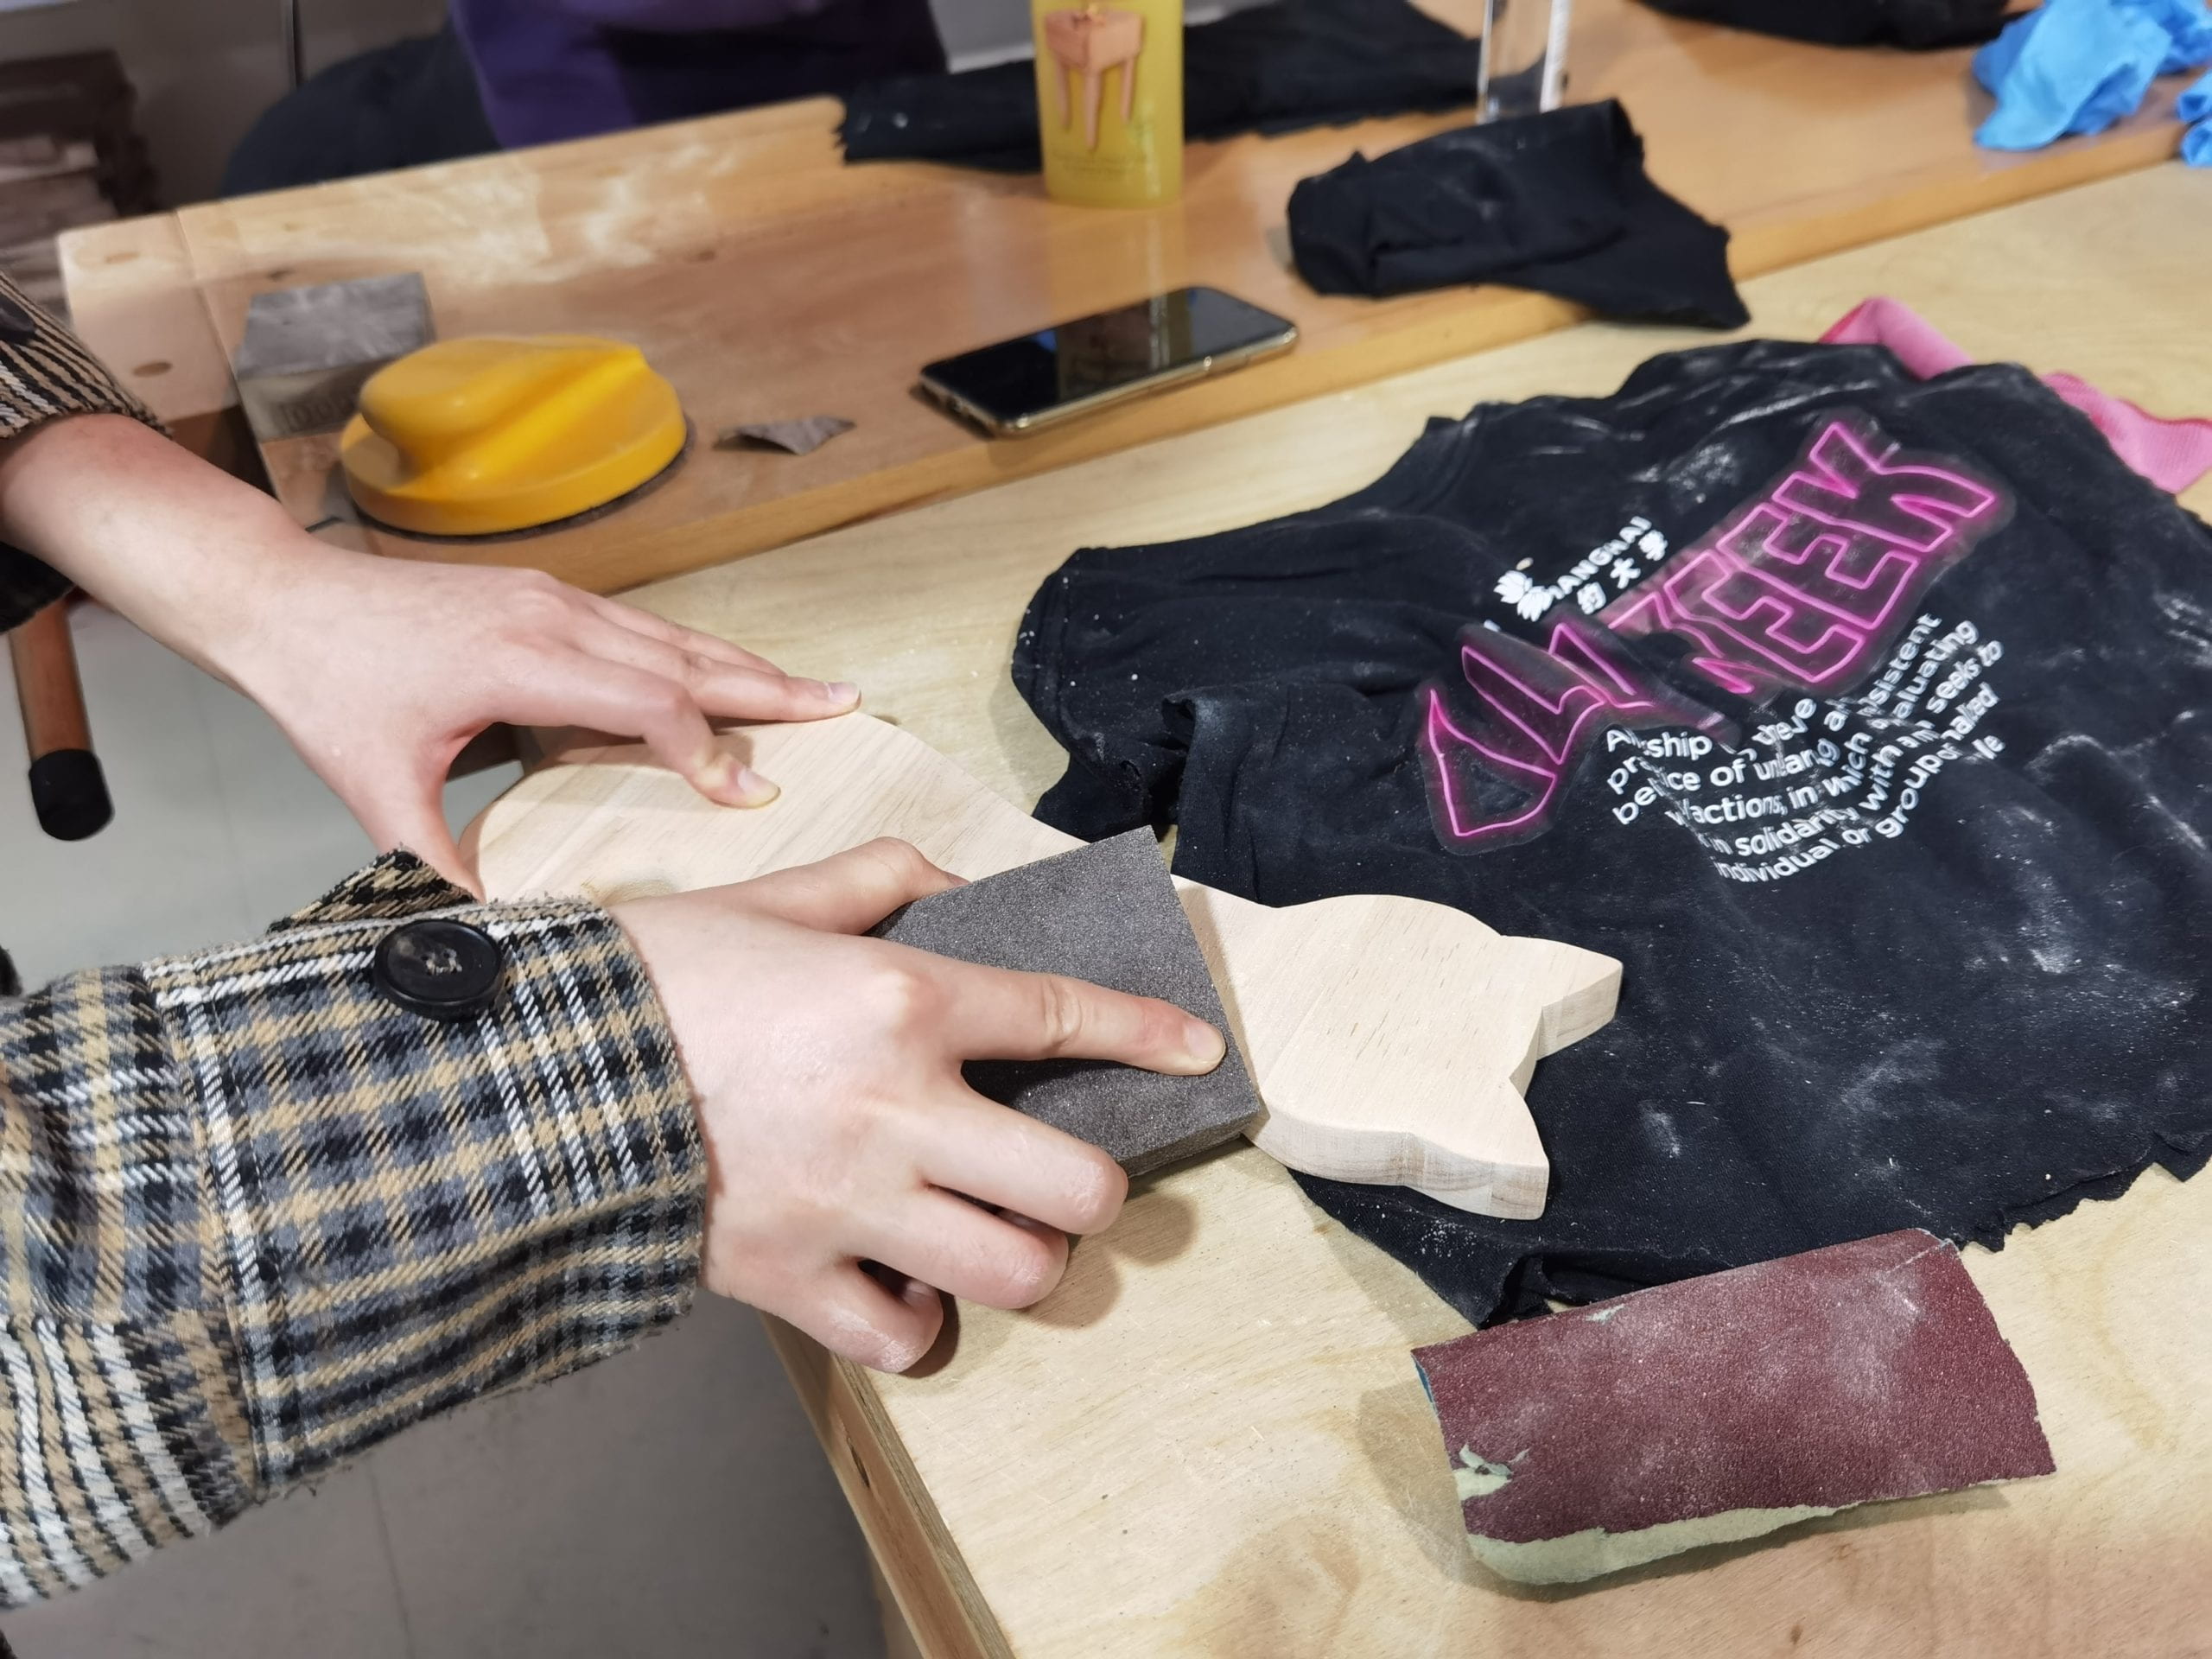
Second hand-sanding: I repeated the first hand-sanding step I did for part 1. It took me a long time to sand again because though I didn’t want to use the router for its entire edge, I still wanted its outside edge to be smooth and slightly round. So I sanded the edge for about 2 hours, the final look made me satisfied.
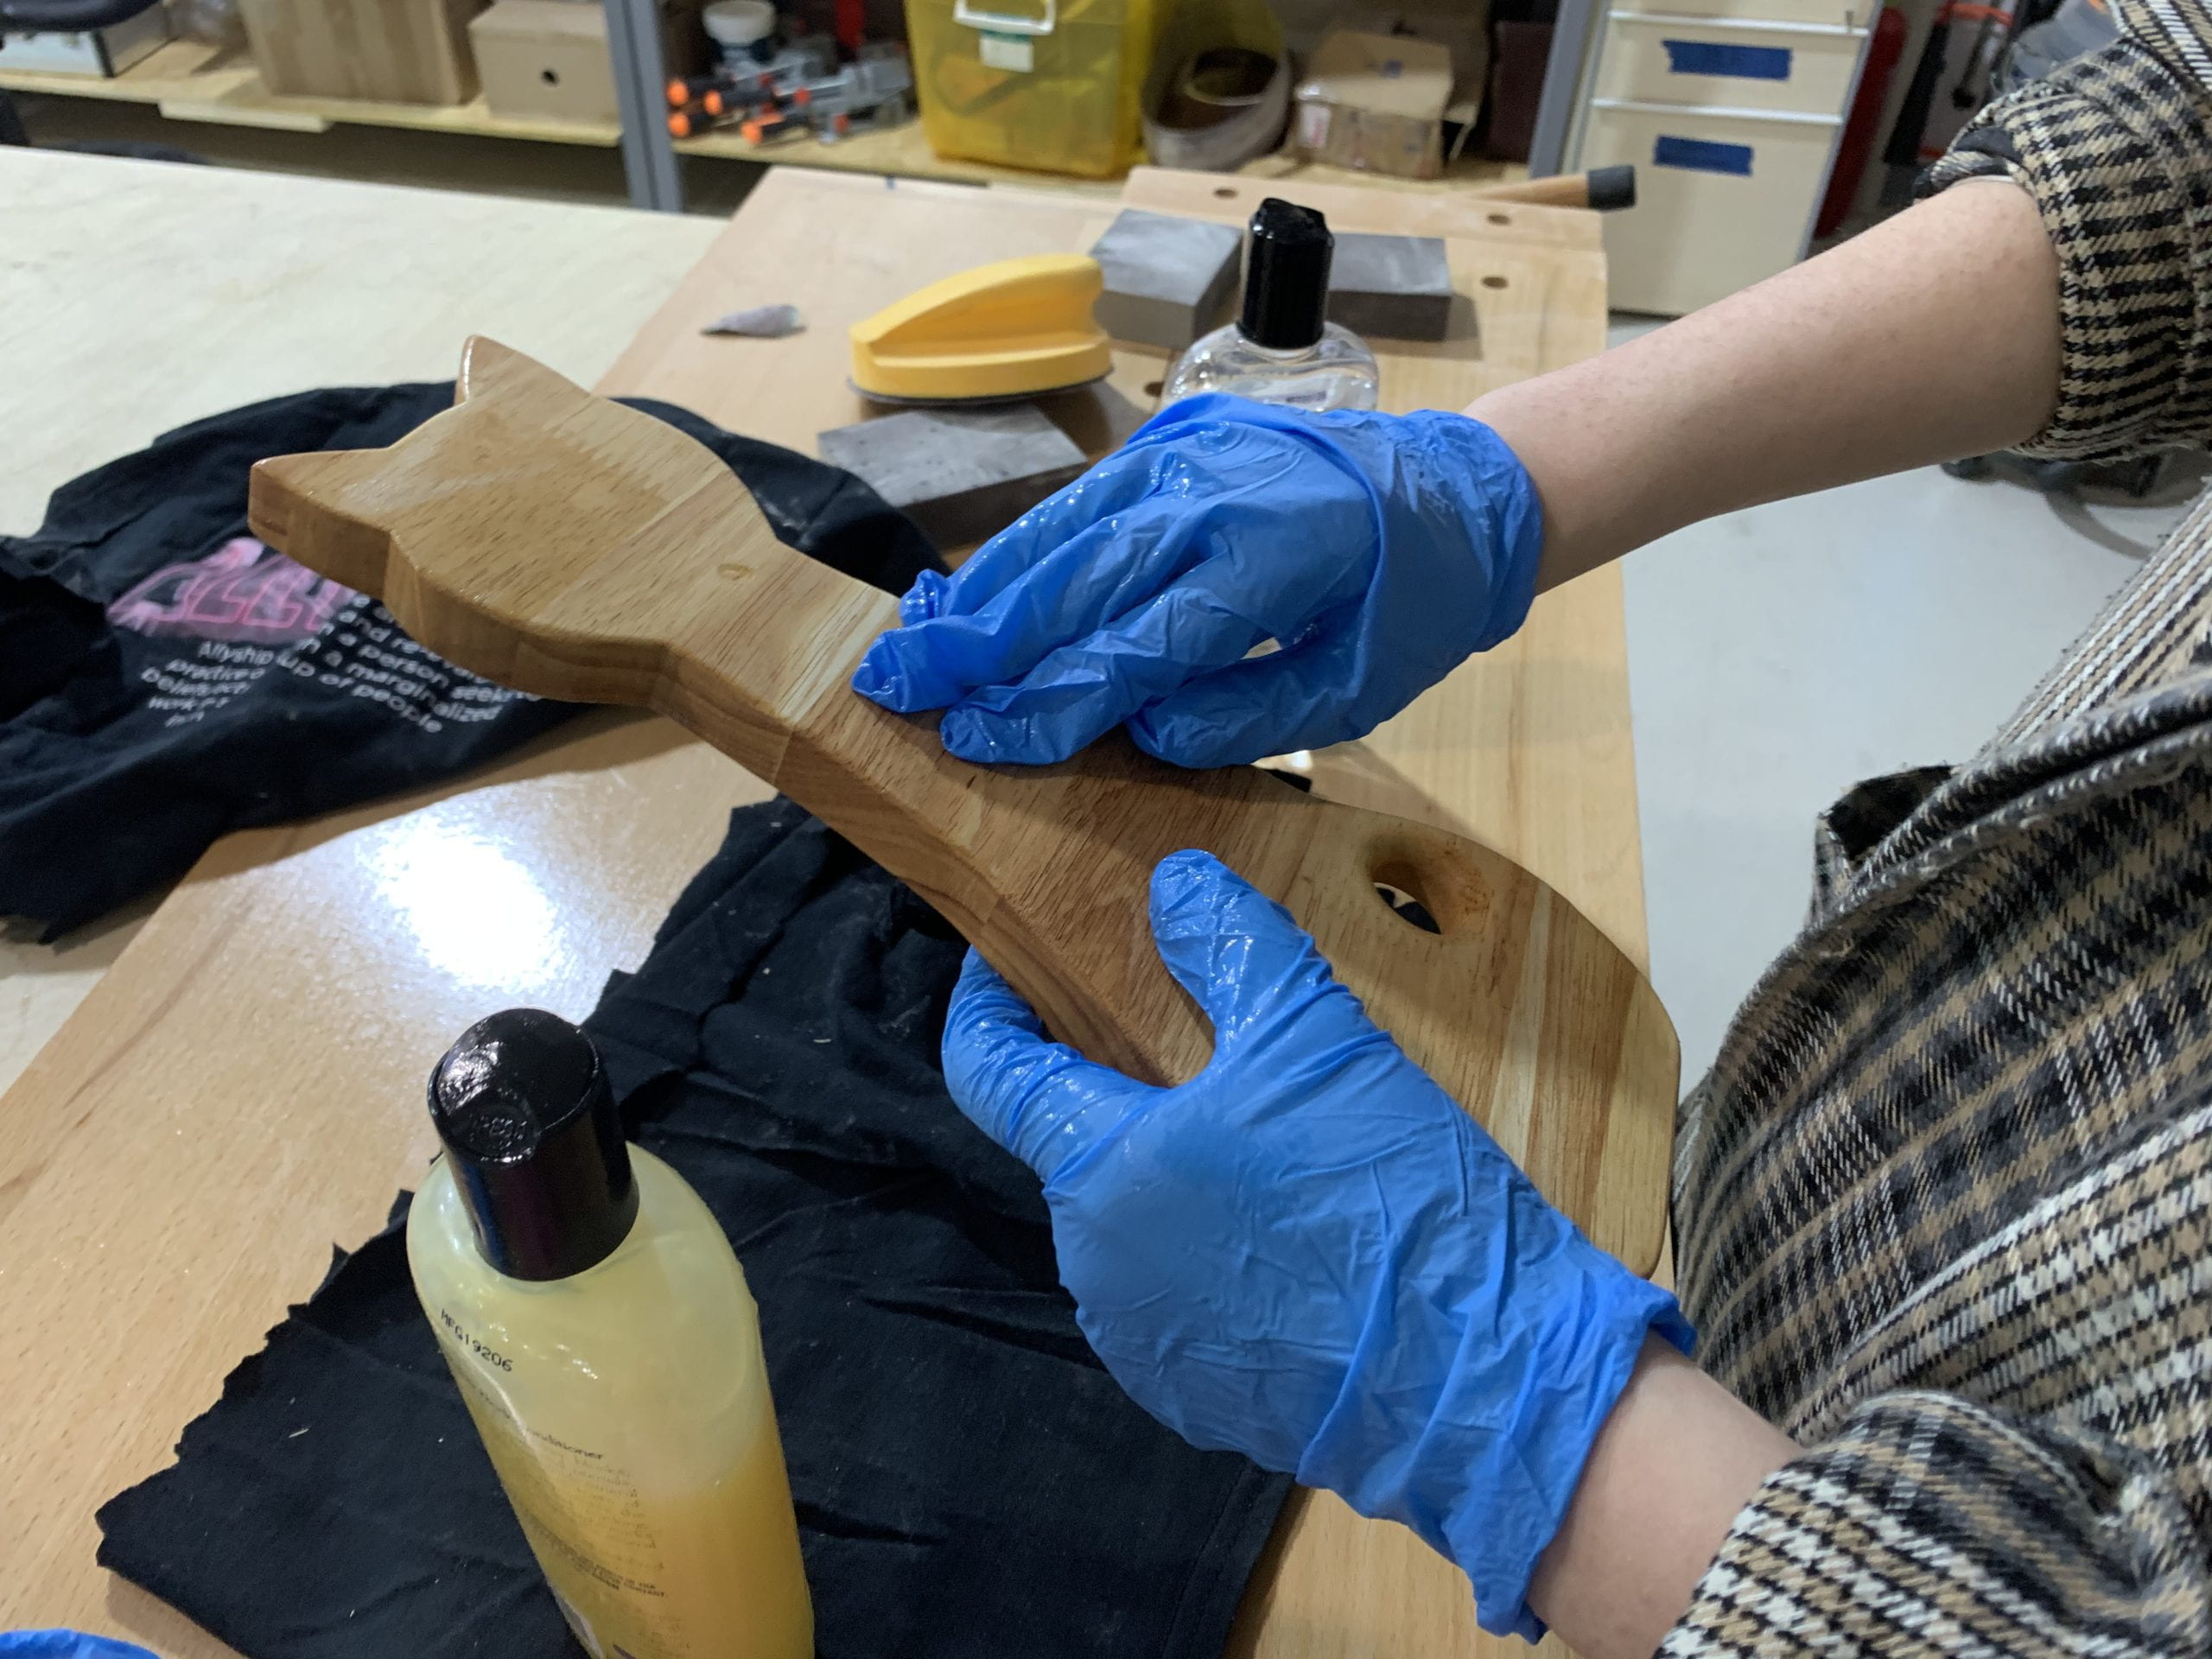
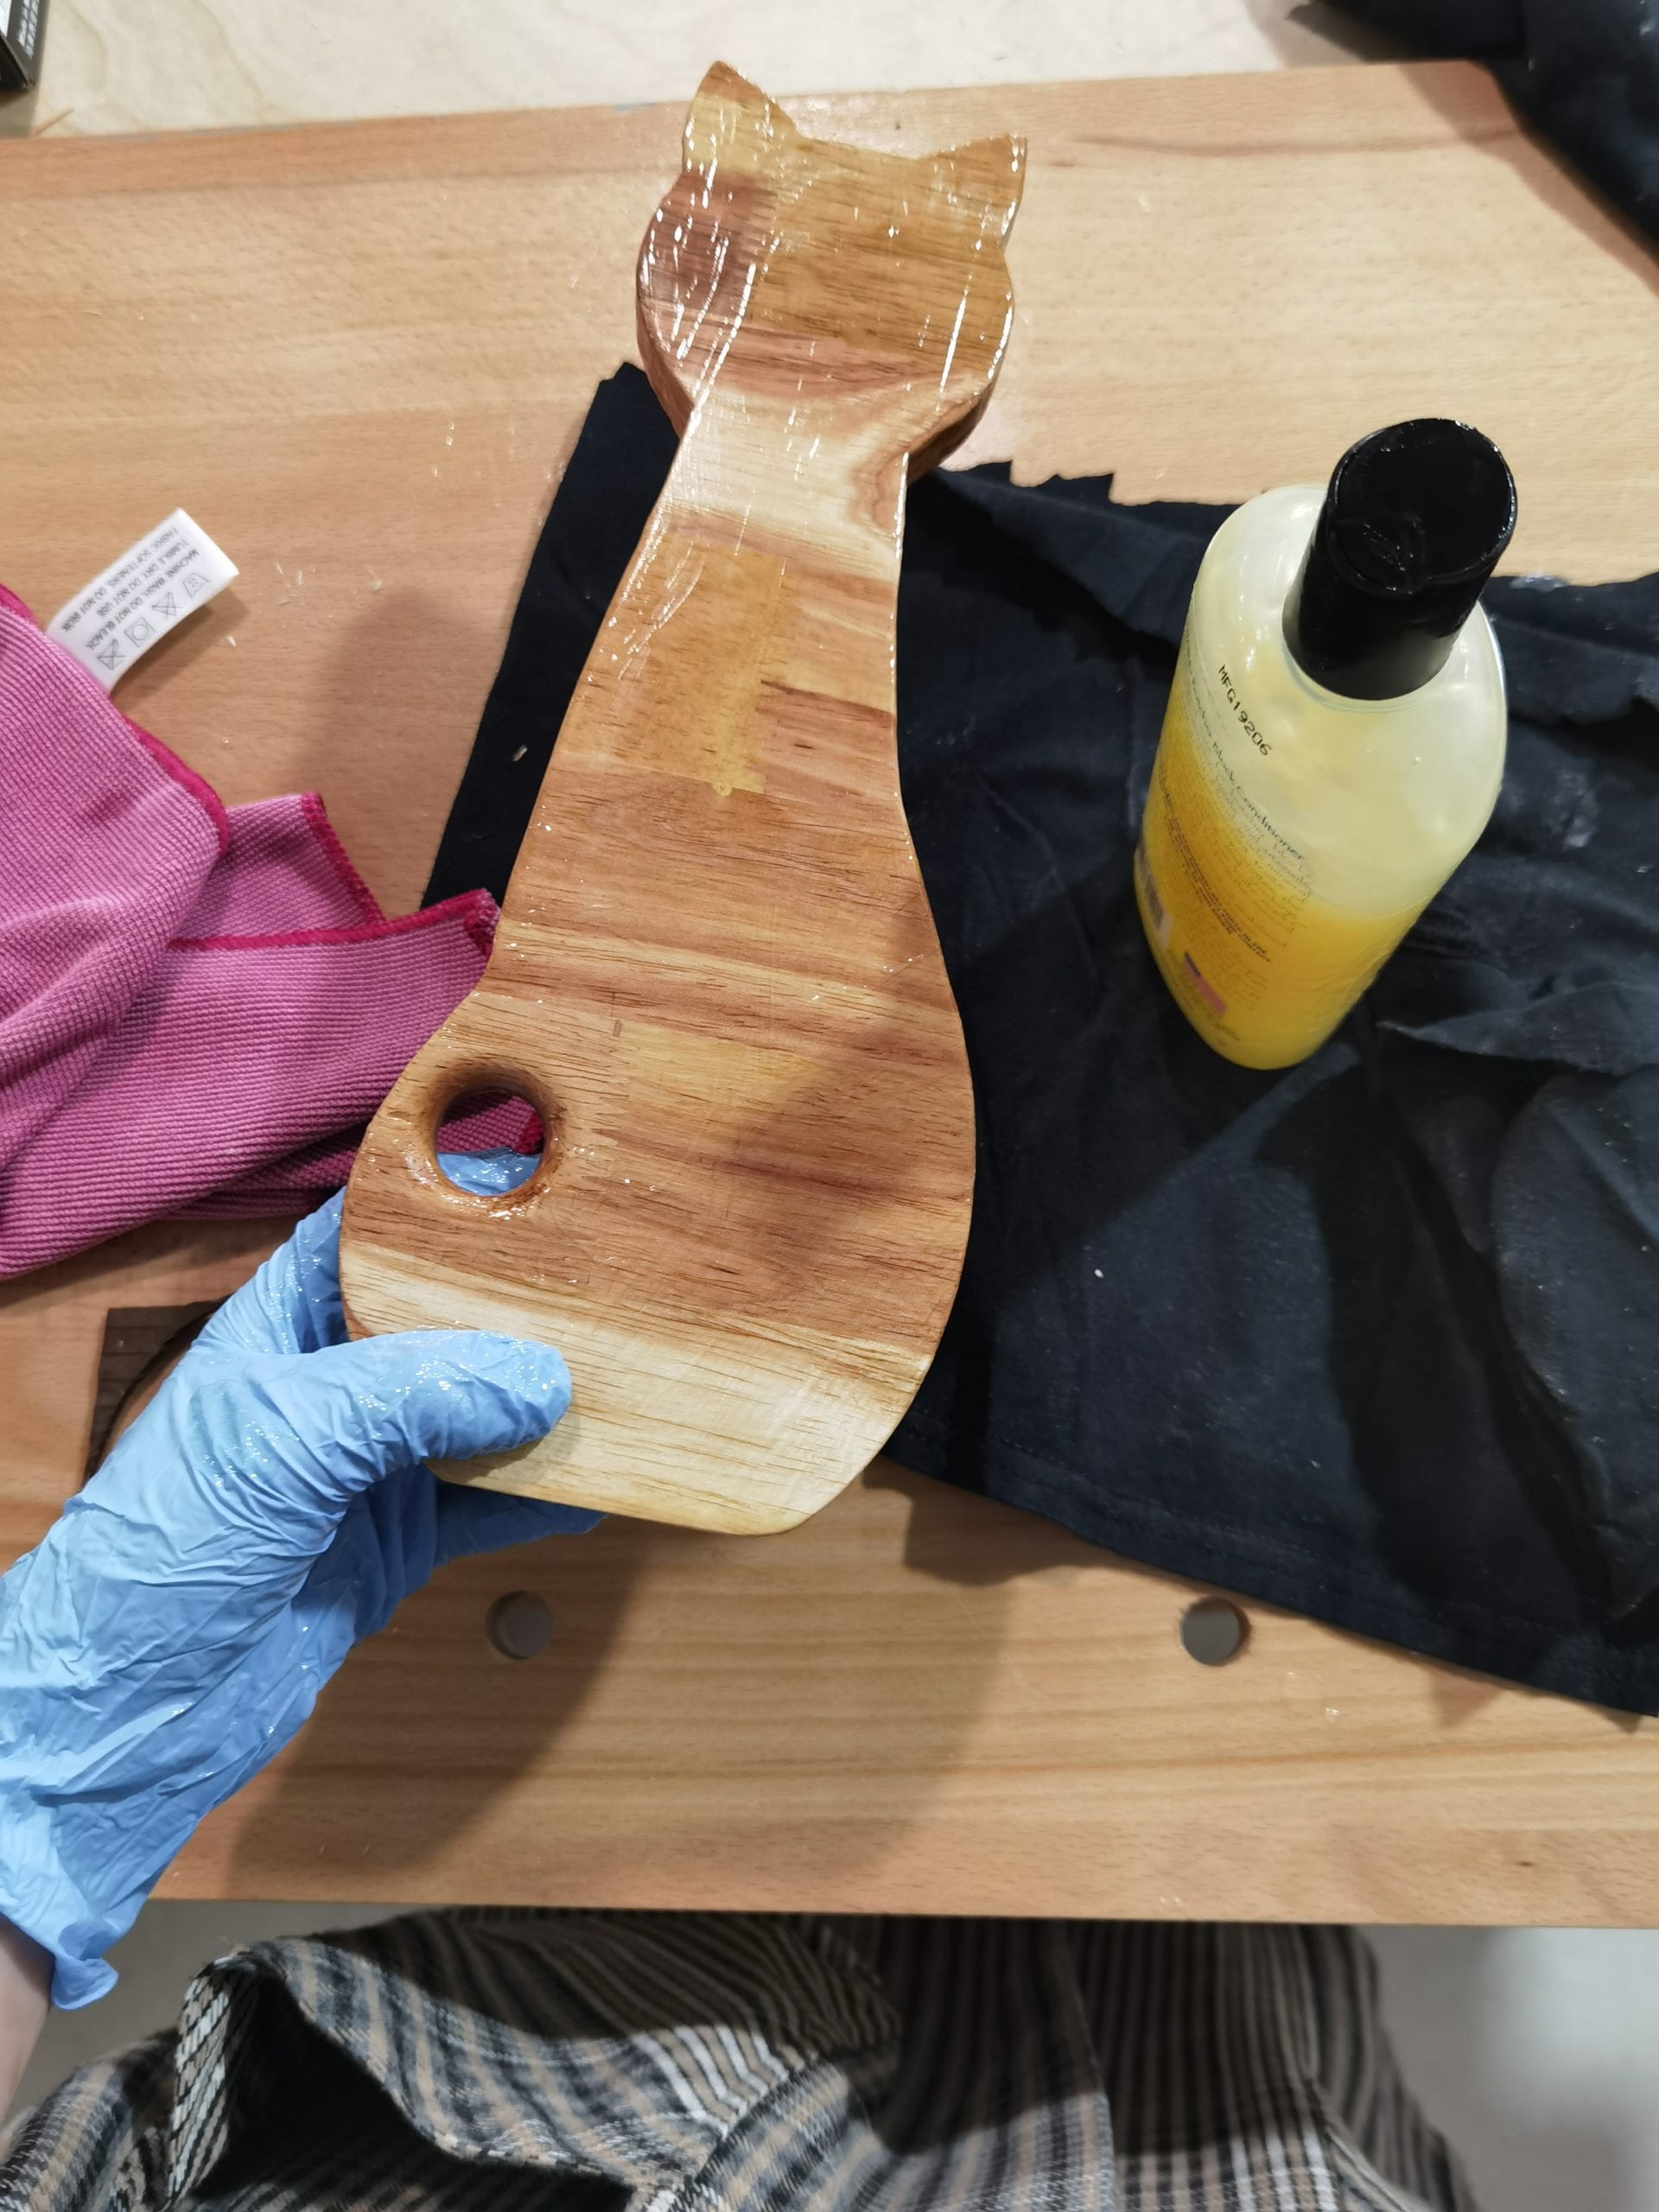
Finishing: In the end, I oiled and waxed my work to make it smooth and shining. It was work about patience because it ran about 30 min long in total. After oiling and waxing, the wood’s color became darker (which looks much better than I expected) and its surface got very smooth. After I cleaned the wax, my final work actually surprised me. I never imagine I could make such successful work before I started and I really like my outcome.

Knowing what I know now, if I were to start over again, I wouldn’t change my design because my final product really made me satisfied, though I think I could definitely do the work better. I would tell my former self don’t be too nervous and hesitated, it might make your work harder; just work with patience and carefulness, the outcome will amaze you.
If I were to build a similar project, I would keep the same carefulness and patience with me. But I think I would challenge myself more, such as doing a more complicated design because my skills improved after this project. I would make a larger design so I could add more details to it. I think it’s more convenient if the food tray has a larger scale for the user to put things on.
