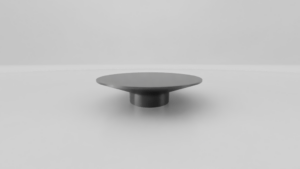
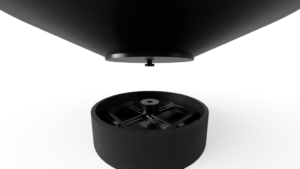
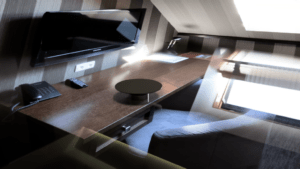
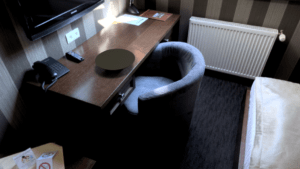
During Week 3, I managed to get a kind of finished prototype that I felt didn’t need much additional changes. Starting on the rending process at first felt fairly simple. I changed the material of my plate and the base, and inserted a white background. The issues came however once I started on the rendering in a natural environment. I managed to find a free HDR that I could use to create the environment after a bit of searching. I had some issues in trying to move my model to the desired location and getting the model to look how I desired. I changed the material a couple of times and adjusted the zoom. When I was finally content with the image on the screen, I rendered it. It turned out slightly warped and my computer did not seem to respond well to it. I was unable to close the viewing window and I think this may have been a result of me rending in canvas at the same time. However, upon opening the software the next day, the way to navigate and edit the render changed. Previously, I had an issue with not being able to view the software’s provided backgrounds, but now, the backgrounds had appeared and my way of editing the canvas had changed. Previous I could the invention periodically and with a bit of trouble to the desired area. I could then adjust the zoom of the product, mean as perspective would get closer to that area of the HDR. The next time I had tried it, I was no longer able to do so and instead would be adjusting the size of the invention, which while confusing and difficult at first, came to be much easier than it was previously. The new renderings however would take a more time to develop. To get a quick idea, I also did the in-canvas rendering and save the image to my computer. Overall, the experience was challenging but I was able to try something new.
