Category Archives: Nature of Code

Project B – Swimming Blue Fireflies


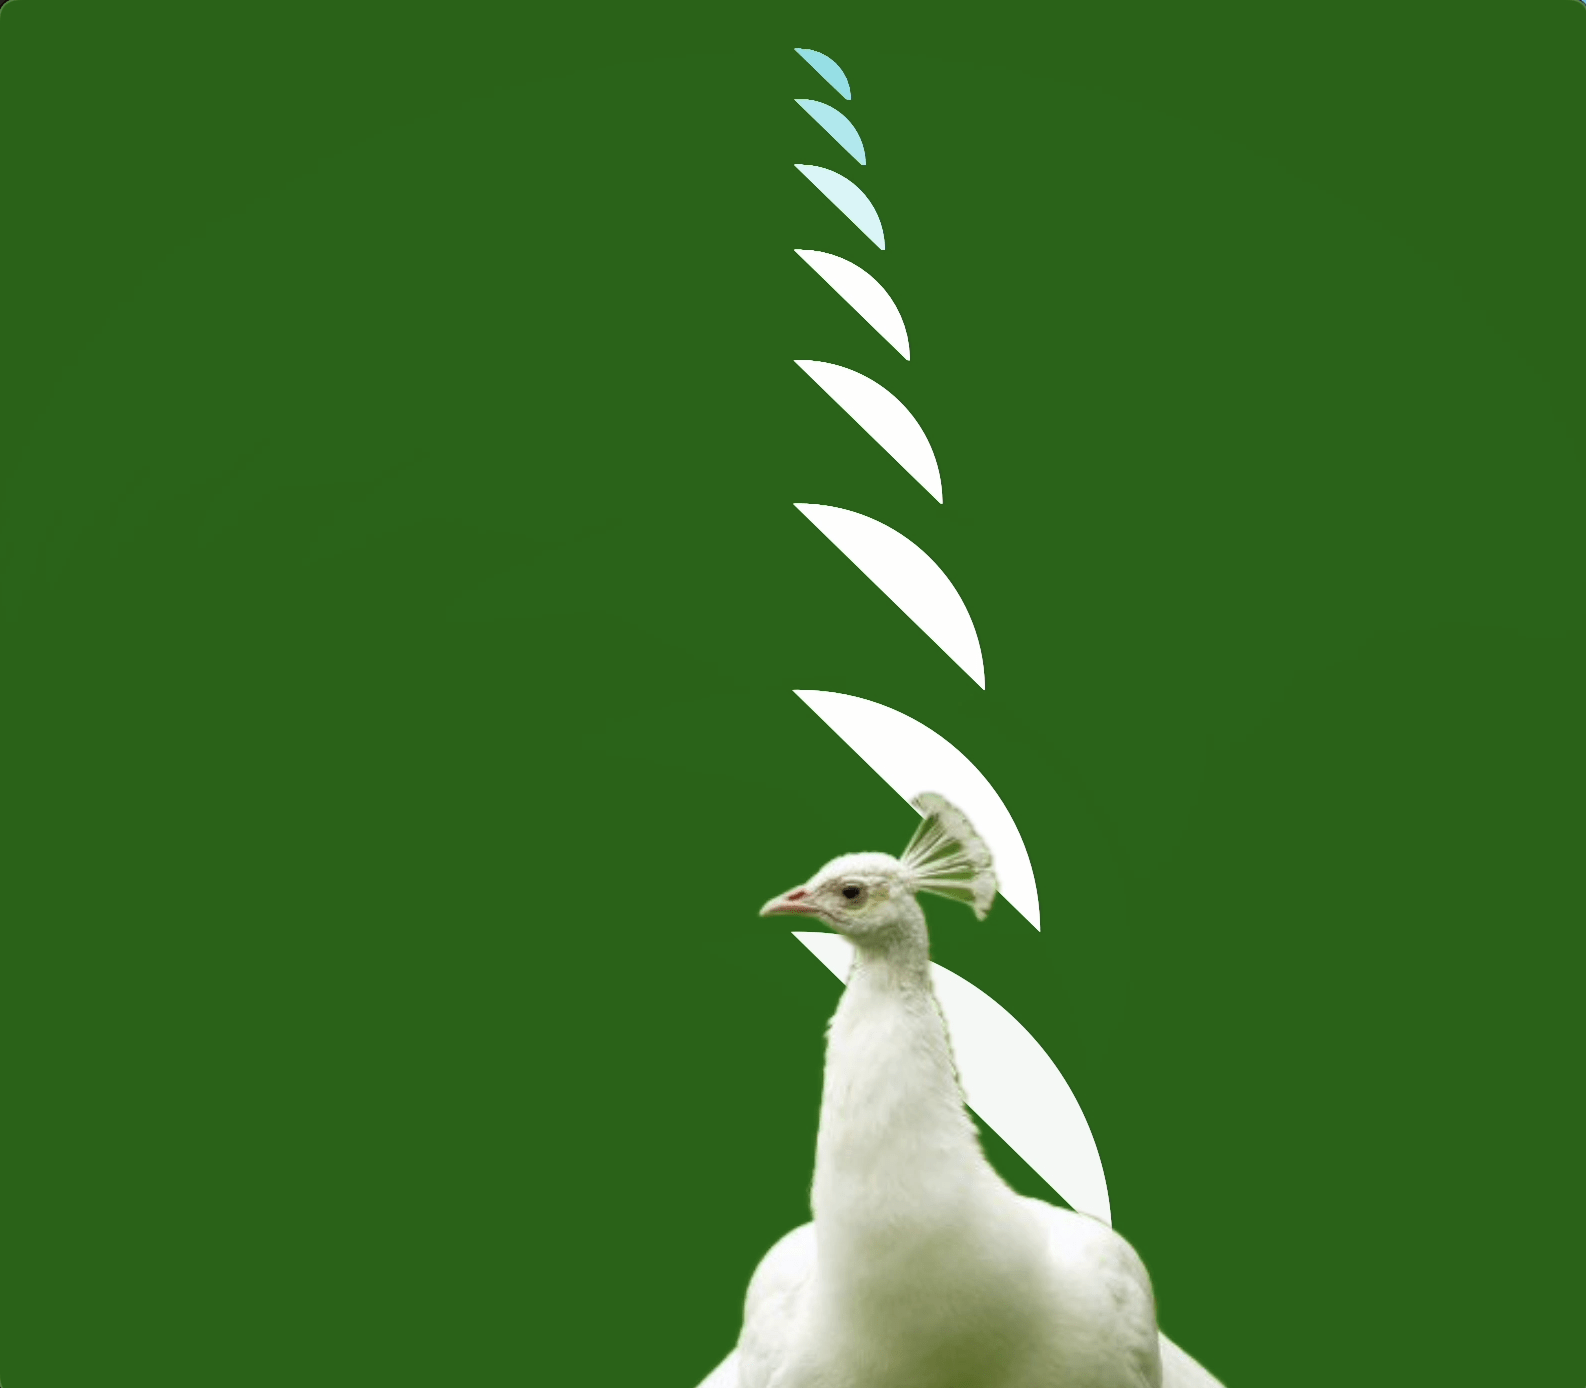
This was a very straightforward project inspired by a type of blue firefly from New Zealand and Australia. In real life nature, this type of firefly live in damp and dark environments, and they are usually fond in wet caves or cracks beneath wet rocks. What I did in this project was drawing glowing, swimming fireflies that can be interacted with by using body tracking. The creatures will be follow one point of the body as the person moves, and circle around it when relatively still.

Drawing the fireflies

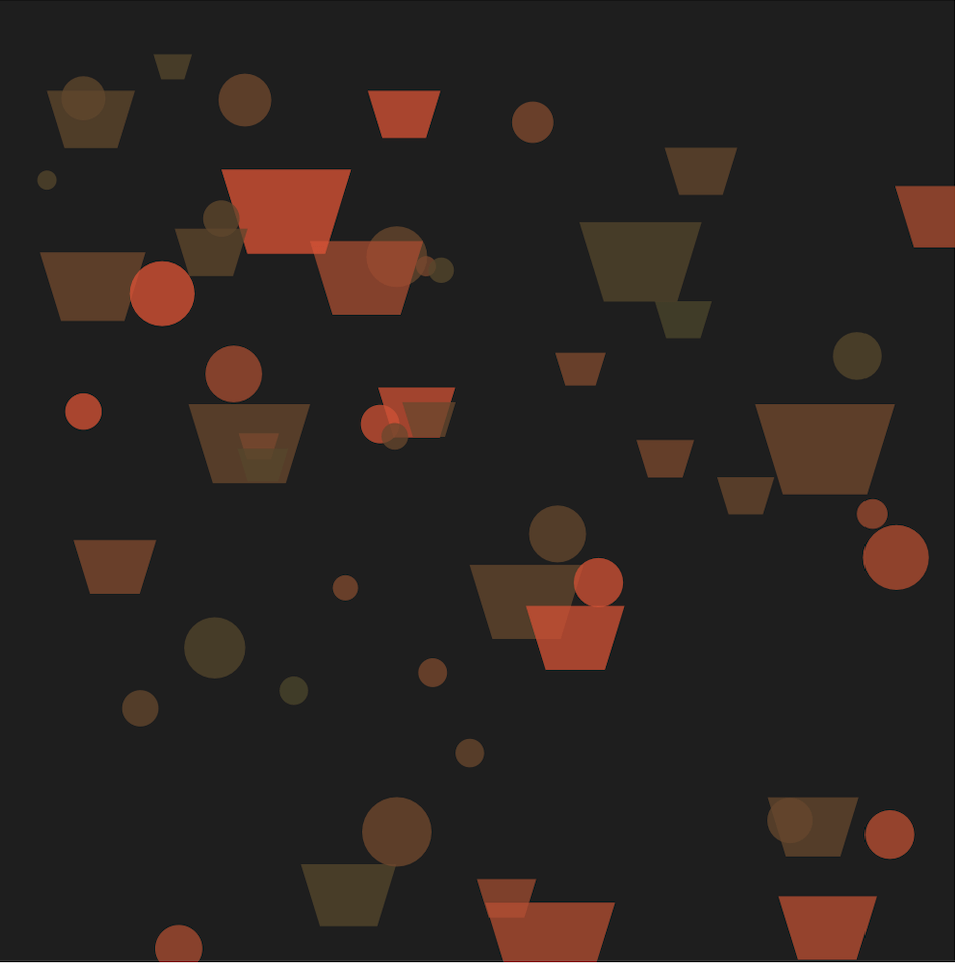
My first step was to draw the creatures the way I wanted them to look like. I had three parts of this in my mind: wings, tails, and glow. Wings are to indicate that they are flying creatures; the tails are inspired by the video of the firefly’s strings of web they produce that hang from the ceilings of the caves as shown in the video above; the glow is to make them look more like fireflies, and also more visually pleasing.

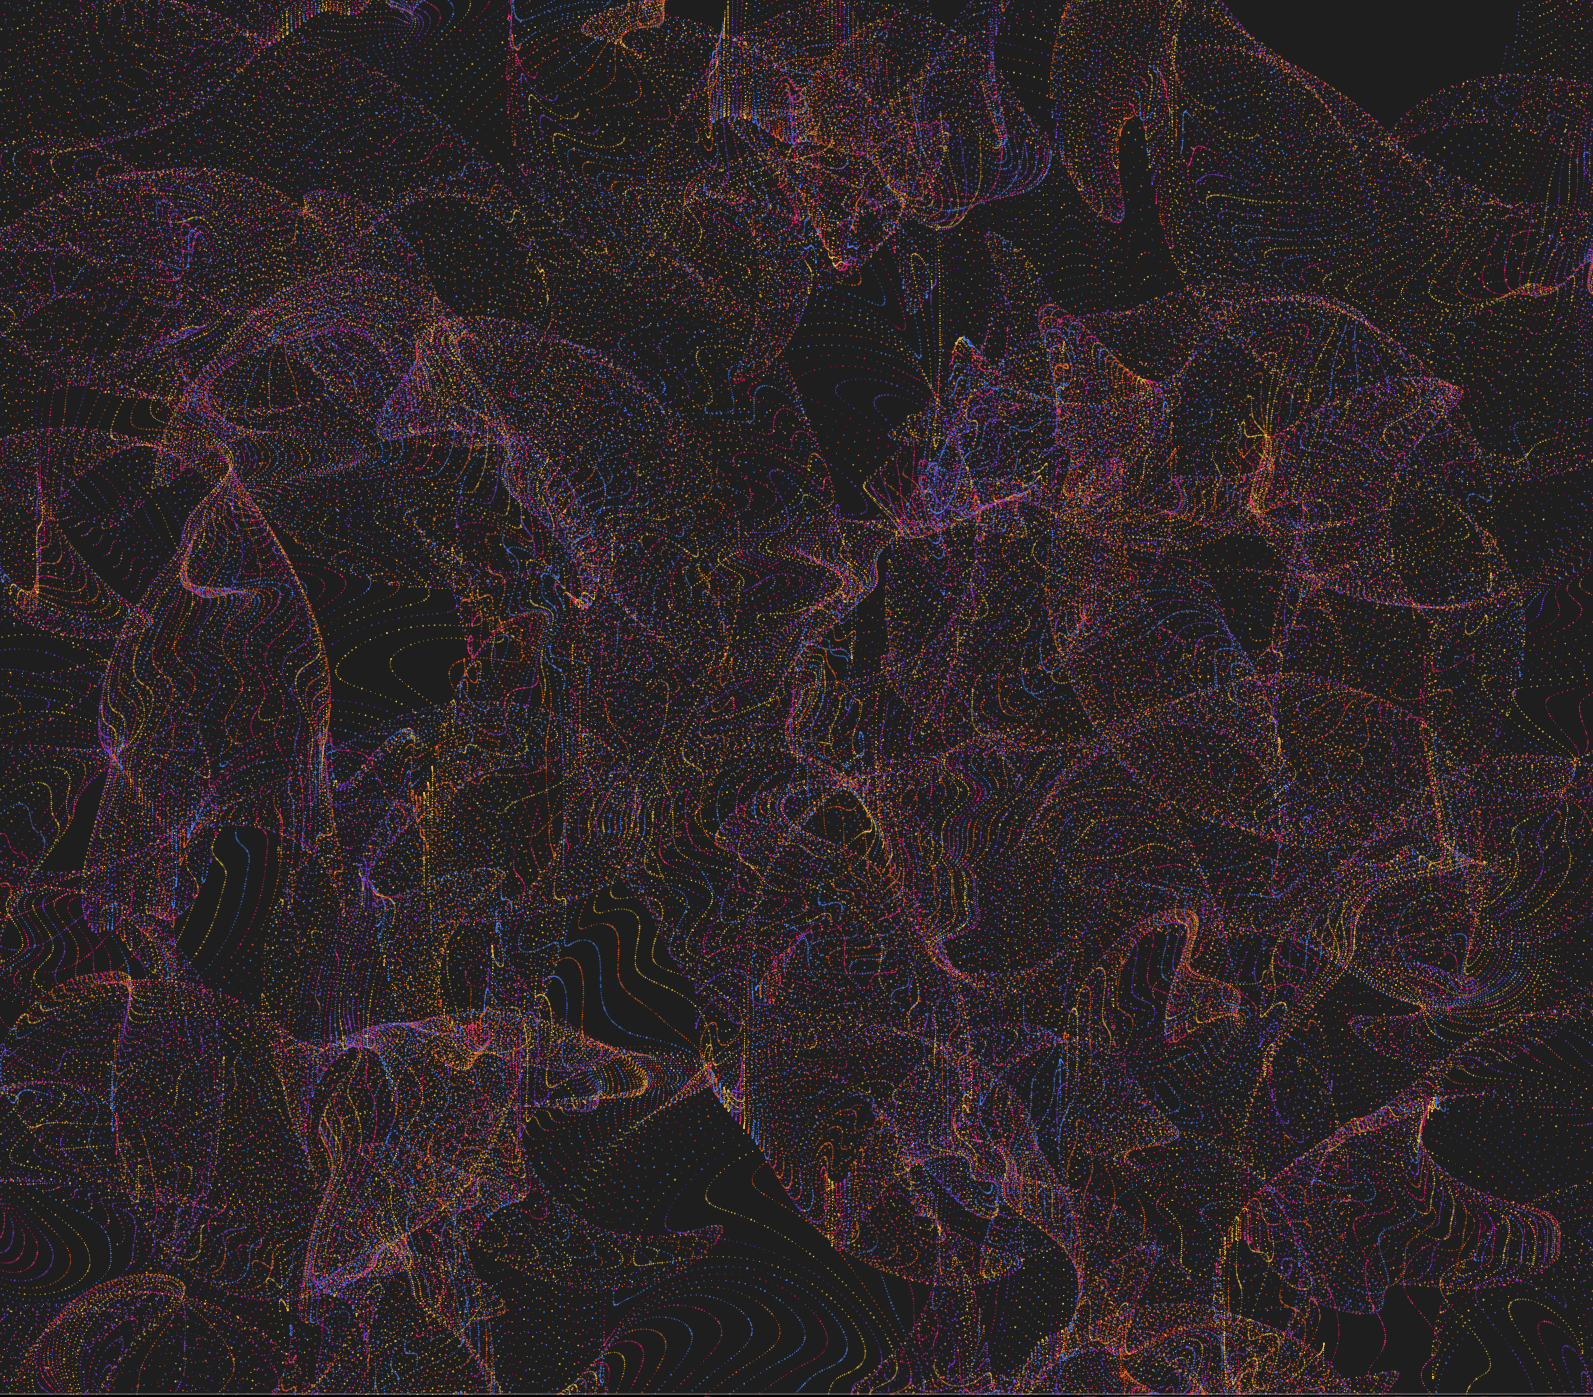
Though in real life this specific specie does not fly, I wanted to create moving creatures that has resemblance to it in appearance. So I started with the example code from the class of autonomous agents. Here’s how it looks like when running.


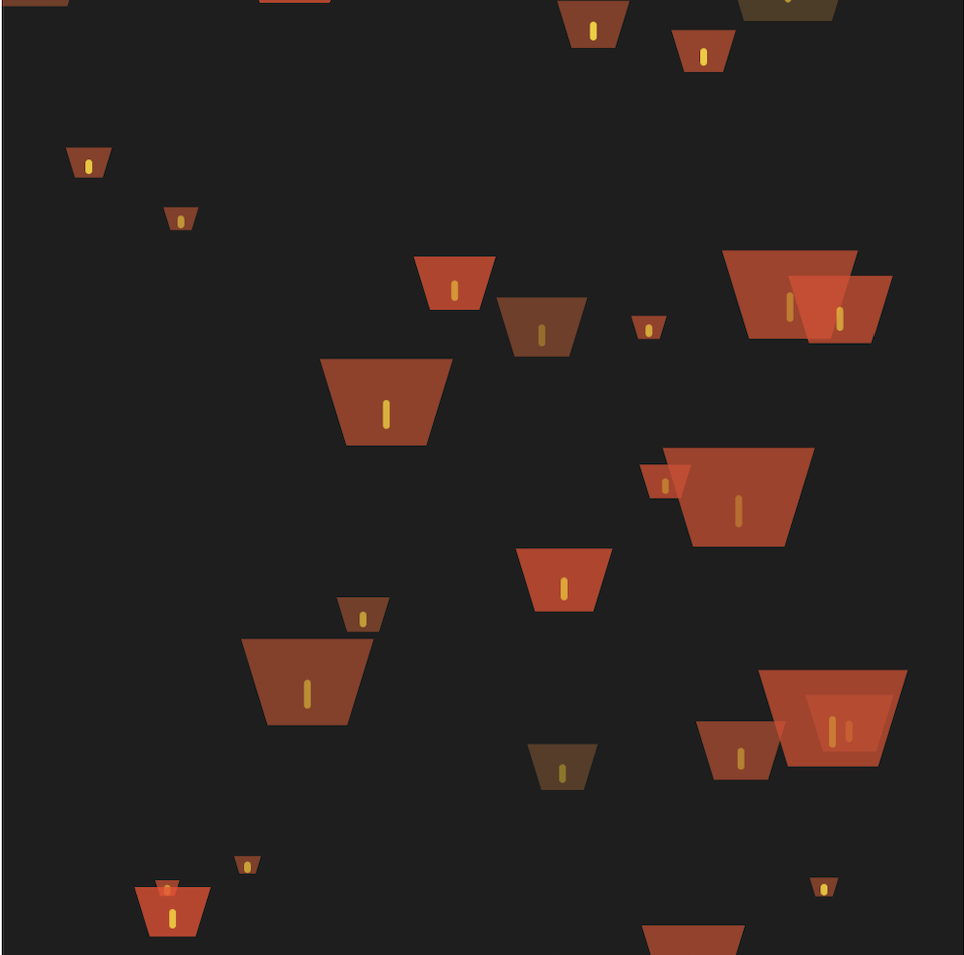
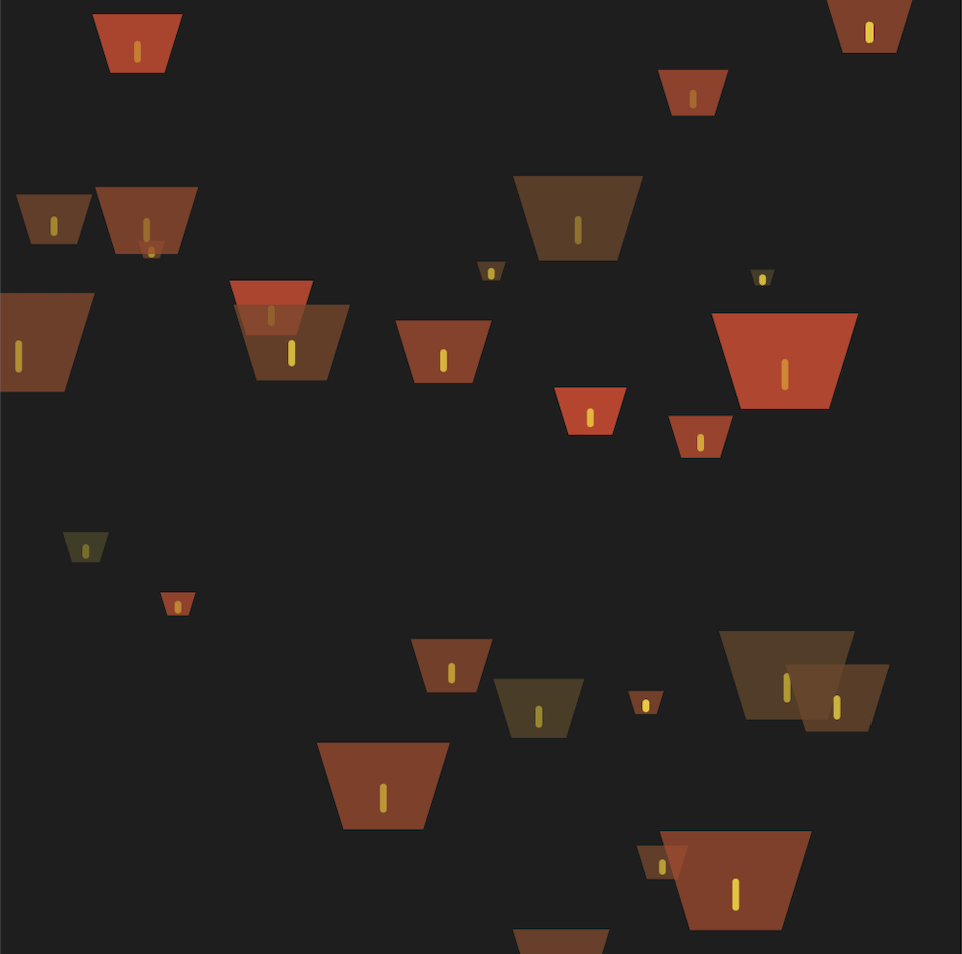
And I then referenced Daniel Shiffman’s Youtube tutorial on drawing object trails for the tails. And this is the tail I created.


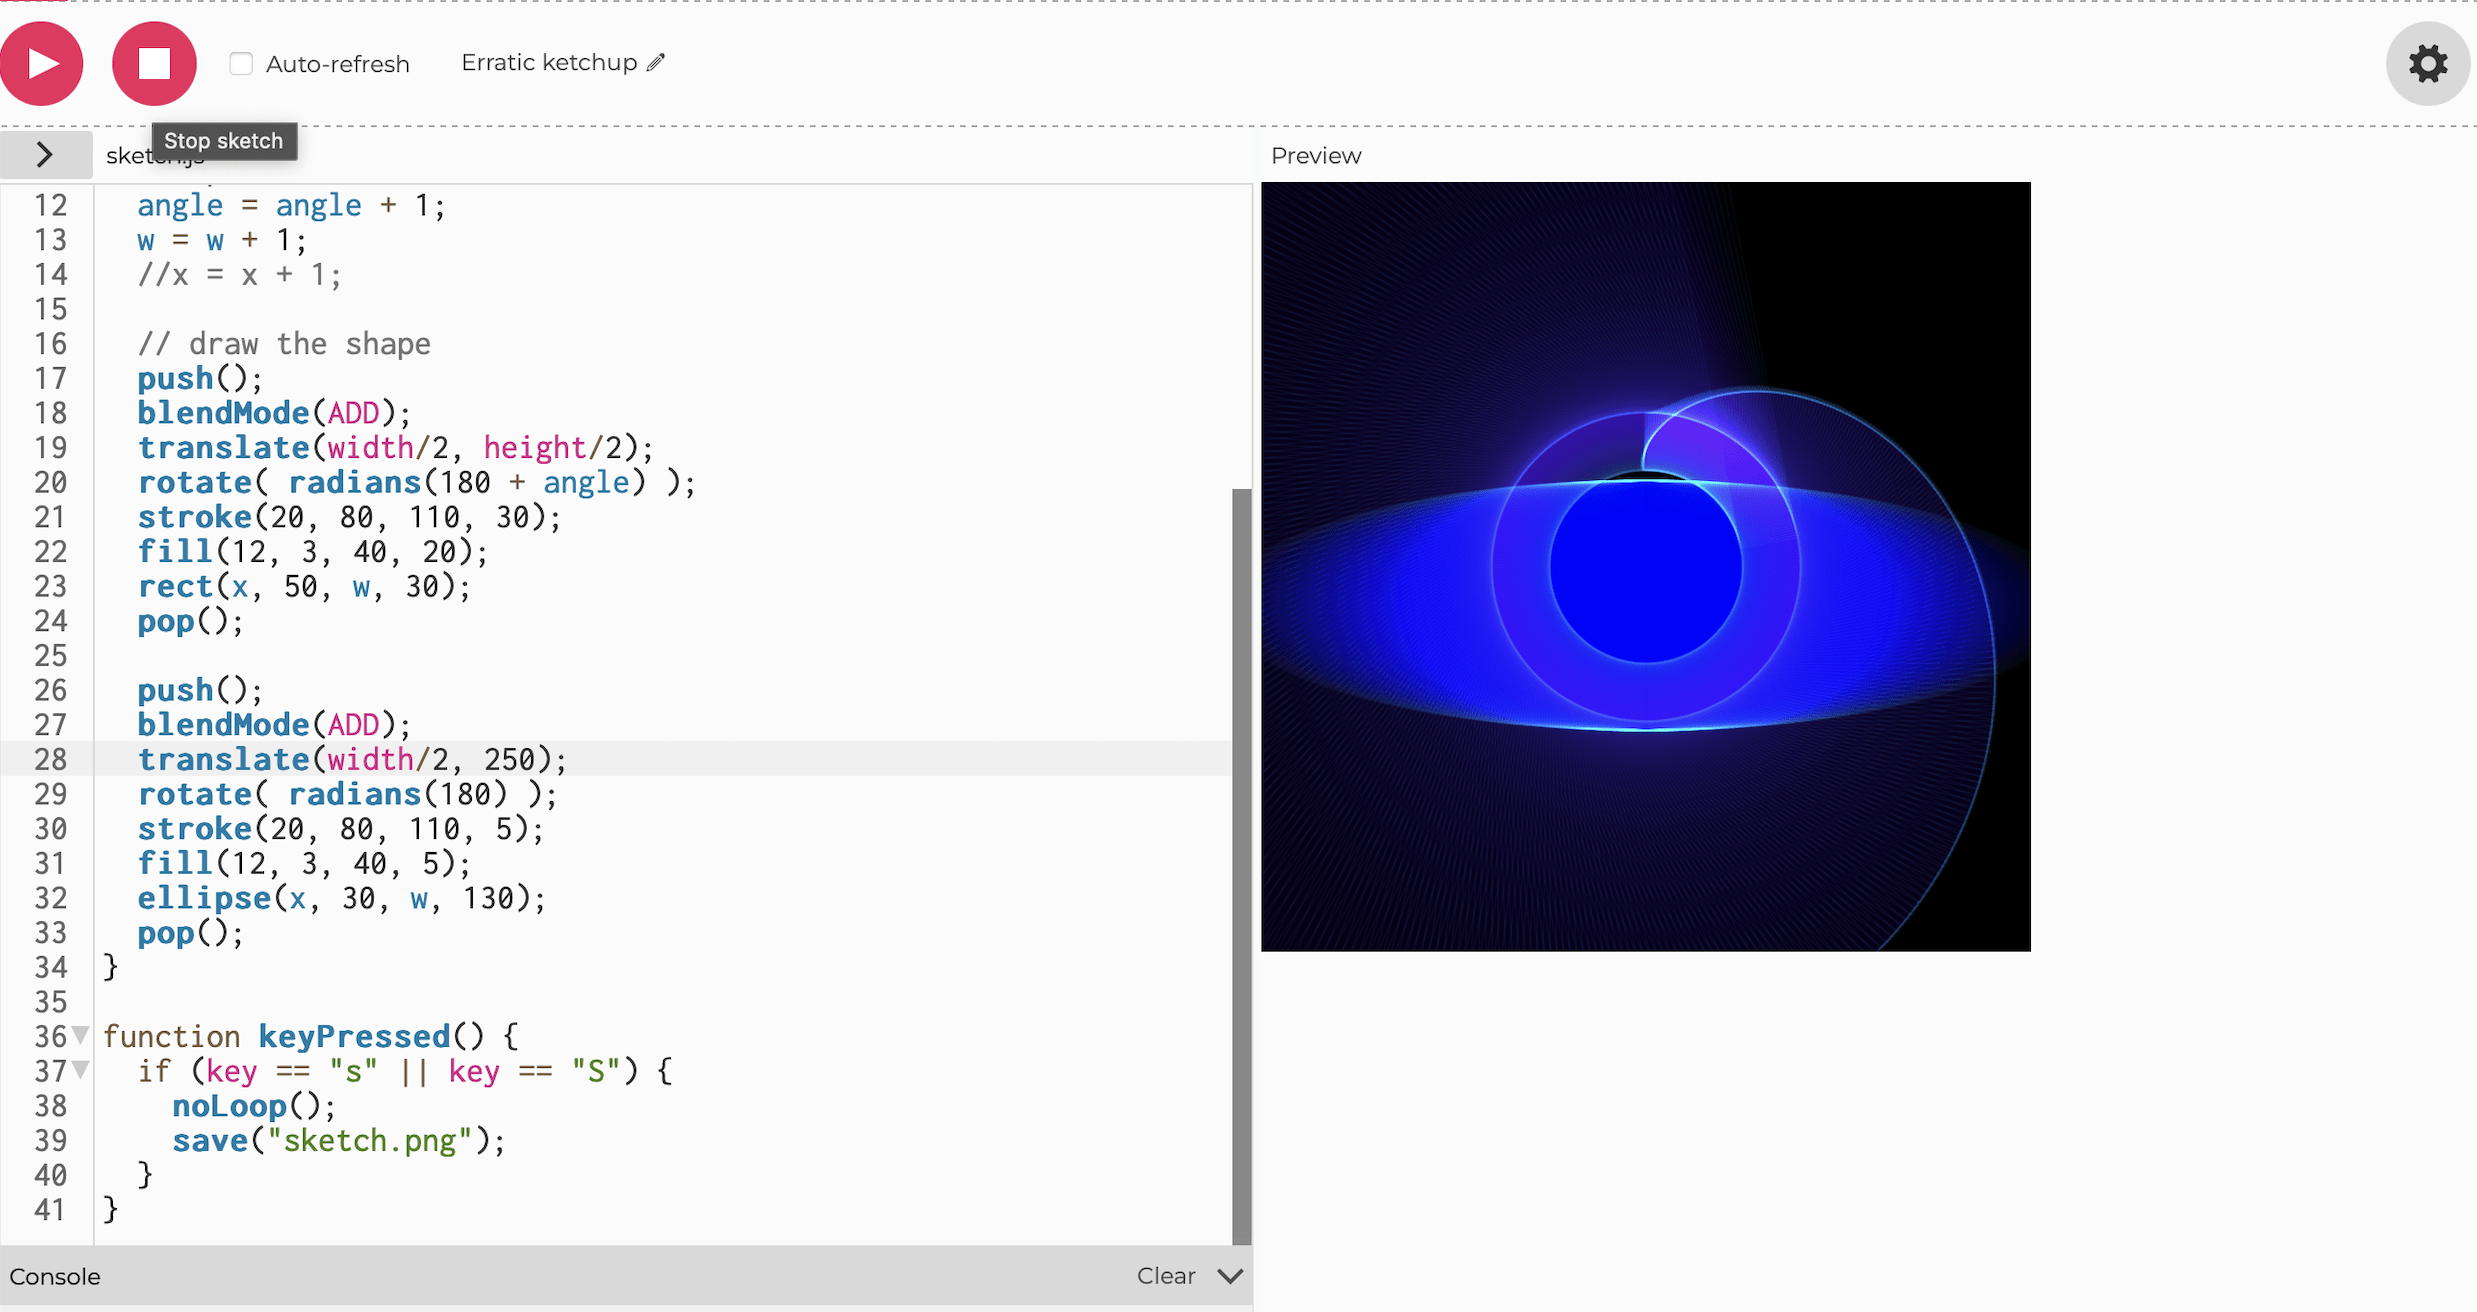
So far the creatures look fine with the wing shaped body and tails. But when I tried to add a glowing effect to the creatures using colorshodaw and colorblur there seems to be too much computation and the frame rate was significantly dropped as showing the screen recording here.


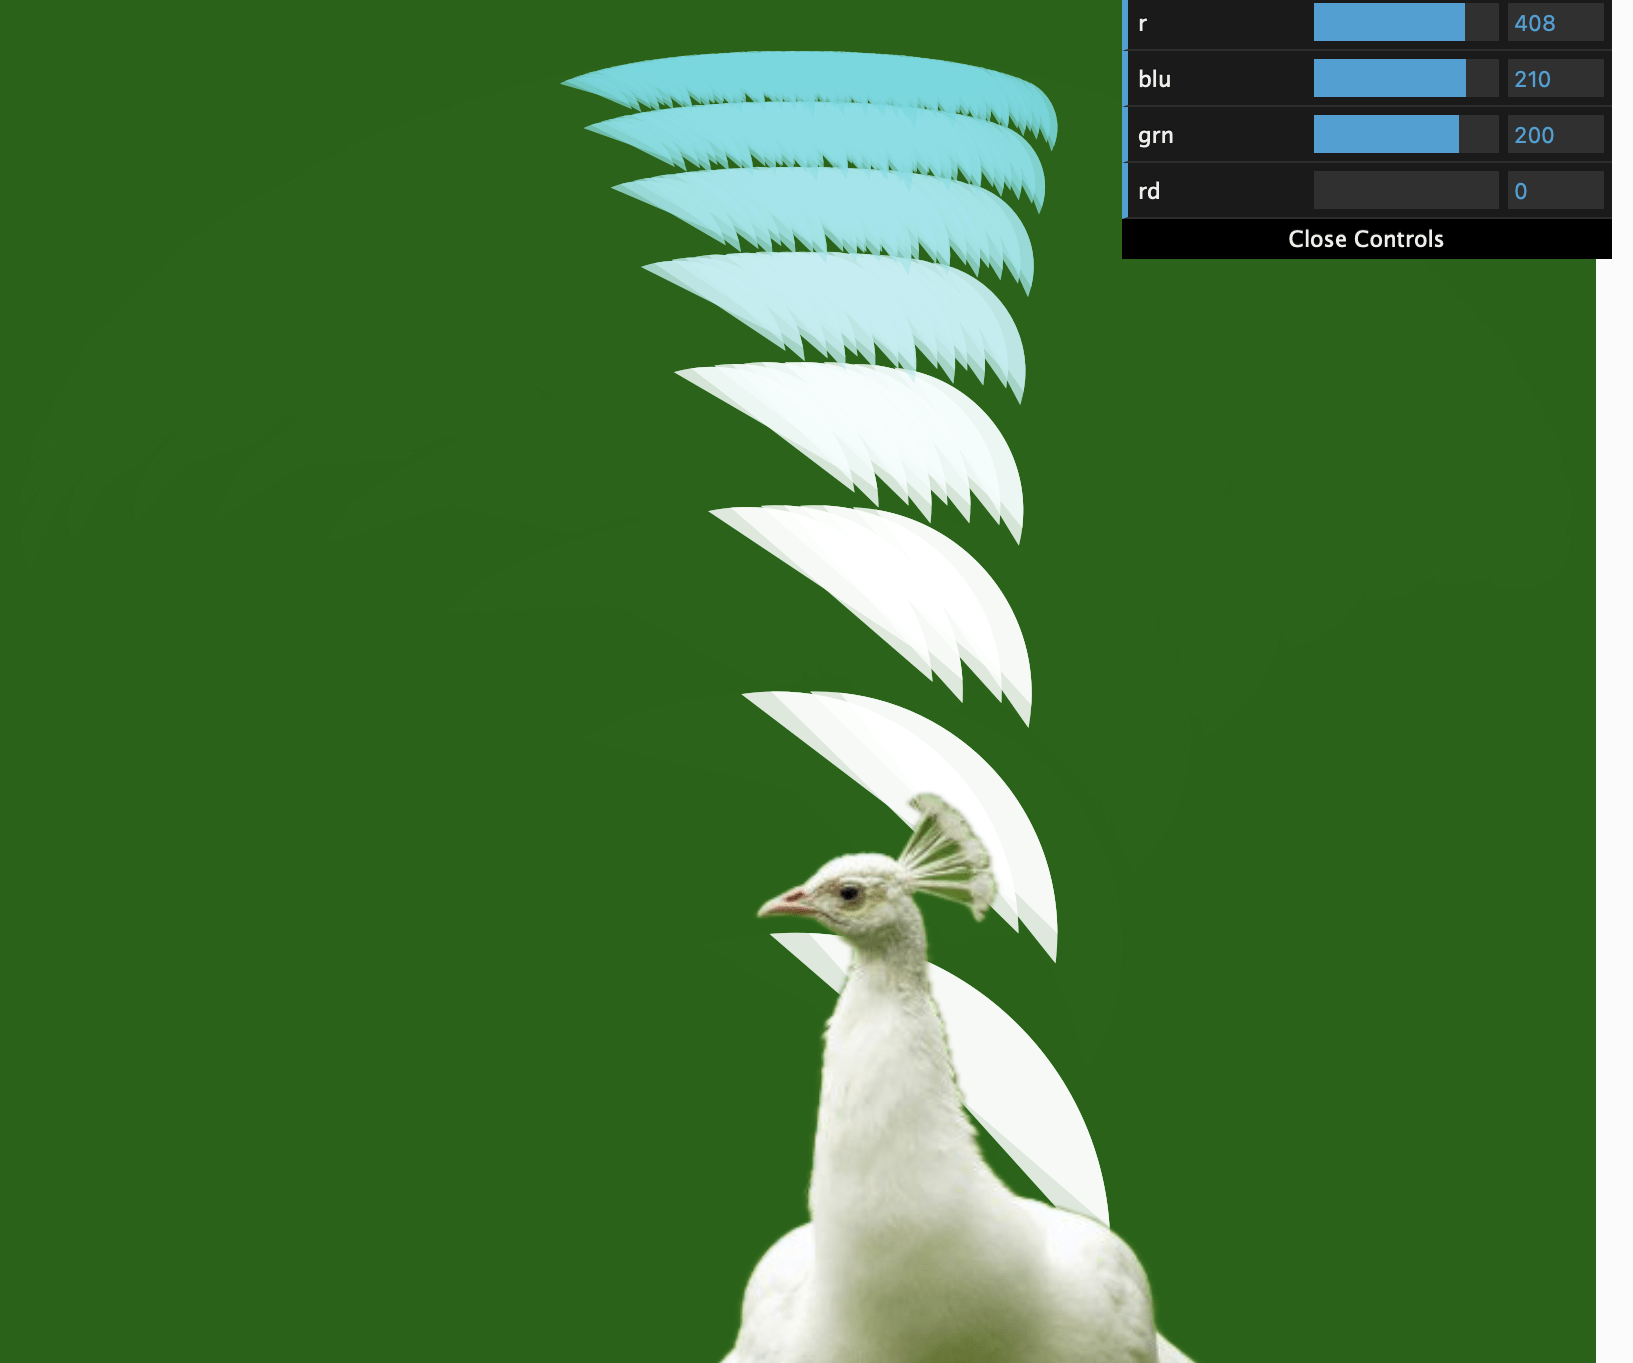
After consulting my professor, I substituted the functions with Blendmode and adding transparency to the background. Here’s a video of the running code after the adjustment. 


Movement of the fireflies 


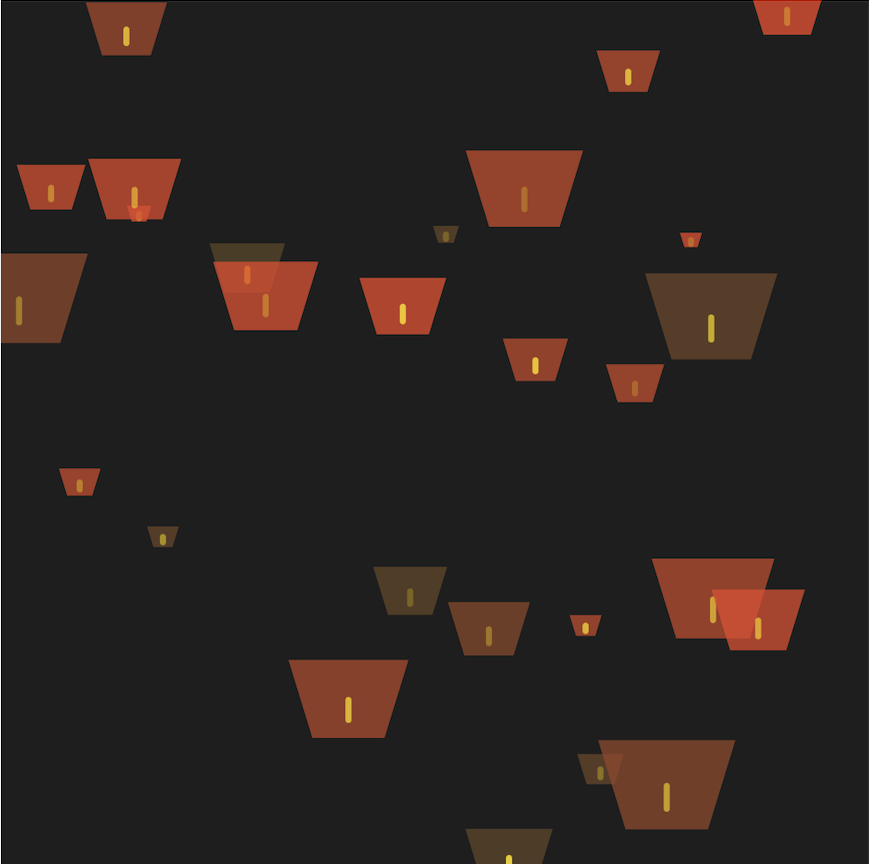
The initial variables set for the speed and steer force of the creatures are quite slow as shown in the video above, so the trajectory of their movements are relatively straight lines. In augmenting the creatures movement with my professor, we tried with with higher speed and bigger force, and this resulted faster spins when pivoting, and the trace drawn by the tails in this way contains more curves which gives a sense of gracefulness to it.

There was also a version of it that the creatures’ wings are flapping which looks more like actual fireflies, but I personally find the former motion that looks a bit like swimming more satisfying, so I eventually kept it that way.

Interaction with the fireflies 


Initially I wanted to use color tracking (referencing Daniel Shiffman’s Youtube tutoria) for implementing some interactive elements to the project when presenting, but my instructor suggested me to substitute the interaction with other methods, and I later opted body tracking. Essentially I replaced the target position of mouse to the position of one point of the body position being tracked. During the process of merging the code for body tracking with my existing code, I noticed the area of valid tracking could only be within 640×480 size frame despite enlarging the canvas in its original proportion. I later went to my professor and he told me that the target position needs to be mapped with the canvas size, and suggested including lerp to the target position.

When testing the tracking I used the position of the wrist, and my professor told me it would be very different between tracking the hand and other body parts, since hand tracking would appear as if we are controlling the creature. I found the conversation very enlightening and took some more consideration into my concept of the project and the idea of the course.  The inspiration was also originally derived out of the awe in the beauty of the nature, and I figured the course is also meant to capture the essence of nature’s wander in with a contemporary interpretation. Considering I’ll likely be standing closely in front of the table where I put my laptop to do the presentation, mainly my above-shoulder parts will be in the camera, so I made the tracking position left-ear during the in-class presentation. But during IMA show the laptop could be situated further away from the visitors, so used the position of the left shoulder on the show. 

Presentation 

Really appreciate the effort my professor took to help me set up and present for the IMA show! It was interesting to see people’s reaction when they had no idea what the class nor the projects are about. From my observation from the show, people would first notice their image is projected onto the screen when walked by, and when they start staring at it to figure out what was going on they would then notice the glowing creatures swimming towards them. Then they would move around in front the screen to see if the creatures would still follow their movements. 

I also saw some people trying to wave their arms or jump to trigger more movement  of the fireflies, but eventually did not see anything different happening on screen. Actually when I was using mouse position as target I added avoiding target when mouse is pressed, after incorporating body tracking I tried to make them avoid target when its position is shifting very fast, but I find it a bit too hard to achieve and gave up on this feature. During the in-class presentation and also after class with my classmate, I received suggestions that it would be fun make the creatures disappear when reaching one ear and reappear on the other side. I also think it’s a great idea but that would probably take more than just body points tracking. If given more time, I would definitely explore more motions and movements and pairing them with different  interaction triggers.

And I also expand the canvas last minute before the presentation and the show, but did not do the same with the size of the creature, which made the movements of the objects a lot less obvious and memorable. Something to keep in mind for future projects.

W10 – Hide ‘n Weed

For this project I created some sea like creature family, where the mother/father is seeking food (mouse) and the younger babies are forming a line behind her, each following the creature in front of it.

I first combined the wonderer example code with one of my midterm’s code together, so the triangle is replaced with a wiggly purple shape moving towards the mouse. (As in the video below)


I wanted to have more than one moving object, so I added another triangle based on the example codes in class, but the second one’s target would be the first one’s position instead of the mouse. (As in the video below)


Then I wanted to have the triangle to stop upon reaching its target, so I referenced Daniel Shiffman’s Youtube tutorial for Arrive Steering Behavior and had the two both stop gradually instead of constantly moving. (As in the video below)


But then I realized this looks a bit too boring, and the movement of one object following another looks like how a cub would follow the older parent in nature, so I made the arrive steering behavior only apply to the first triangle following the mouse, and the other would be constantly moving and steering. This also fits well with the concept because the younger ones always have more energy and are more dynamic. (As in the video below)

During the making of this sketch I also tried with the avoid each other sketch, but didn’t quite like what I did with it and did not continue to work on it. I wanted to make something like a spinning flower but they look a bit messy when moving. (As in the video below)

Next I added three more wiggly purple creatures, all five of them in there different sizes, and I added small black eyes on them to make the direction they are moving towards more obvious. (As in the video below)


When the mouse is till, it is visible that the biggest one remains in the same position while the rest of the smaller ones are all steering. (As in the video below)


Lastly I added background and GUI. I wanted to make the size of the creatures a parameter as well, but I realized all the size of the five creatures would be the same, and the relationship between the creatures would be less obvious and it would look less interesting overall. (As in the video below) So I eventually did not incorporate the size in the GUI parameters.


Here’s video of the final sketch:


NOC W09 – White Peacock

For this project I recreated the movement of the peacock tail when on display. ( And as for why specifically a white peacock is simply that it’s easier to make colorwise.) 

I Started off with the example code of the fracture beaches. I wanted to use arc instead, and created this inconsistent tree of arcs. 


I then adjusted the maximum angle to a natural degree for peacock tails. But the stem of the tree looks way too thin compared to the fan-like shape of the edge, so I moved the starting point of the tree a lot lower so it’s not visable.

I later filled the ellipse with color and added transparency so that the overlapped parts of the ellipses would have a denser color which is similar to slightly see though feathers in real life. After I added the photo to the front of the tail, I realized I need to make the background green to mach the shadow and the tails mostly white to match the body. So to keep the colors, I used lerpColor() to create a gradient, so that the tails starts off white from the body and then gradually colored towards the edge. 


Here I noticed when mouse is on the left most position all the ellipses would overlap precisely on one another and create this unnatural “tail” that looks like they hovering behind the peacock. So I later made the smallest angle PI/60 to look more natural.

When adding gui, besides the rgb values I also included the variable that controls the size and position of the tail (as well as the position of the image). The result was a bit hilarious but it also made it look like the peacock is walking towards you when spreading its tail. 

Here’s a video of the final code.


When drawing the tail I thought about adding lines to the ellipses to make them appear more like connected feathers growing out of a tail, but then I realized the line would not be consistent straight line and would make it look like a tree again. maybe if I make another layer of straight line with array it would look more realistic.

NOC W08 – Project A

For this project I was inspired by the aesthetic styles of Alice in wonderland and attract art. I’m very fond of the usage of vibrant colors and patterns (as shown in the example pictures here), and intended to explore recreating this type of art style in p5. 


I first wanted to create some wonderland like shapes or landscape, especially floral like patterns like the pictures below. To make the flowers in a landscape distribute evenly but also make the stems of the flowers in different heights in a natural way, the x positions of the stems are based on width divided by a constant and the height of the stems are randomized, and drawn using the line() function. With this, the positions flowers could be settled as well using translation. For drawing the flowers, I thought geometric functions like ellipse() and circle() would be suitable because they keep the shapes simple. 

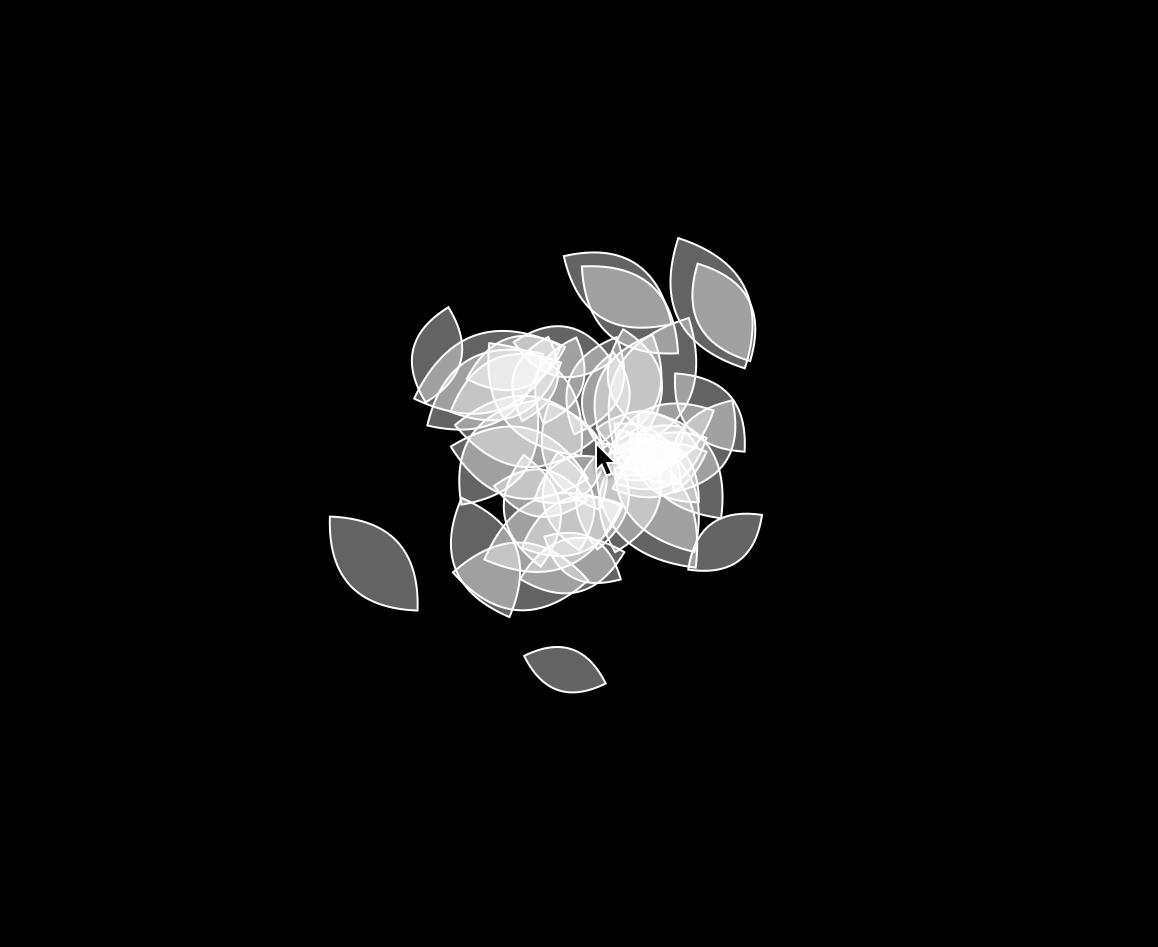
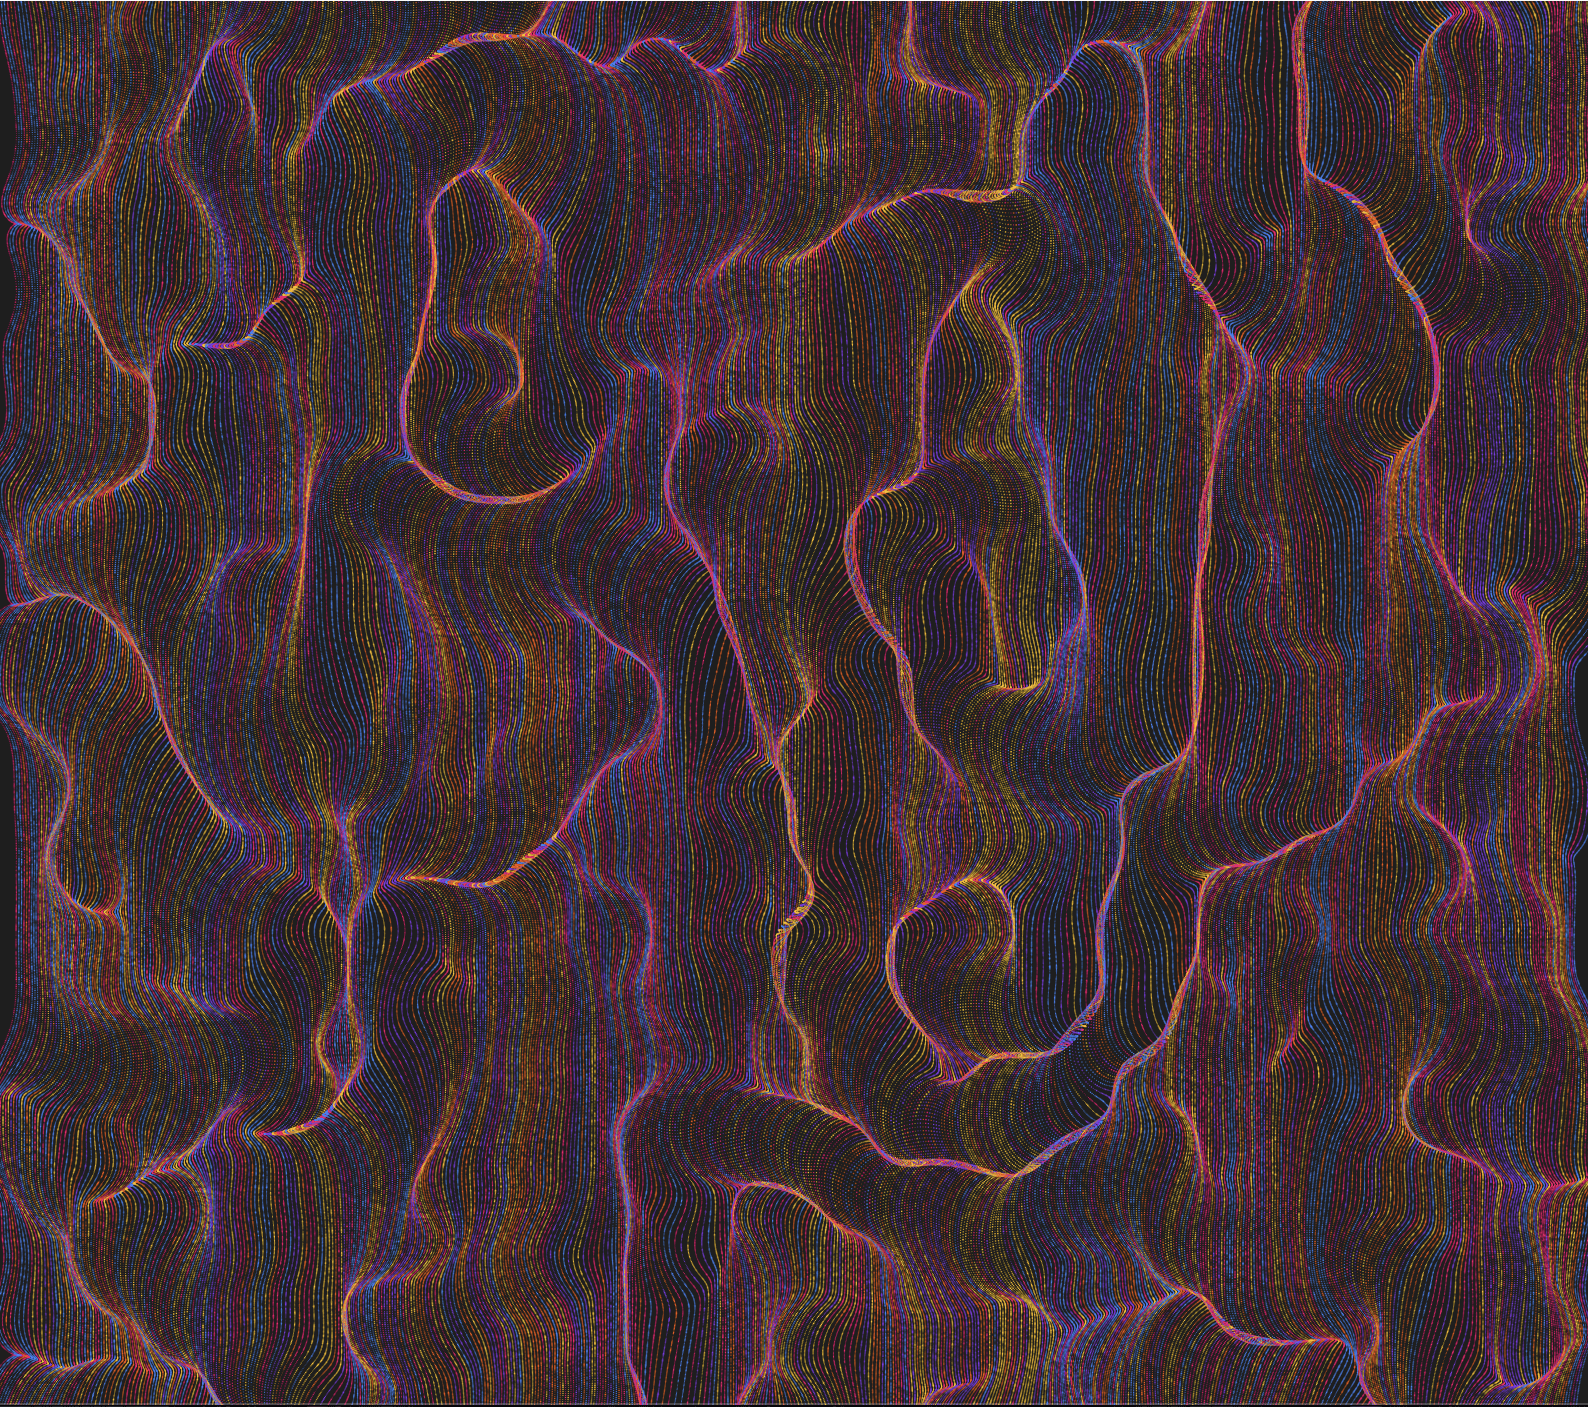
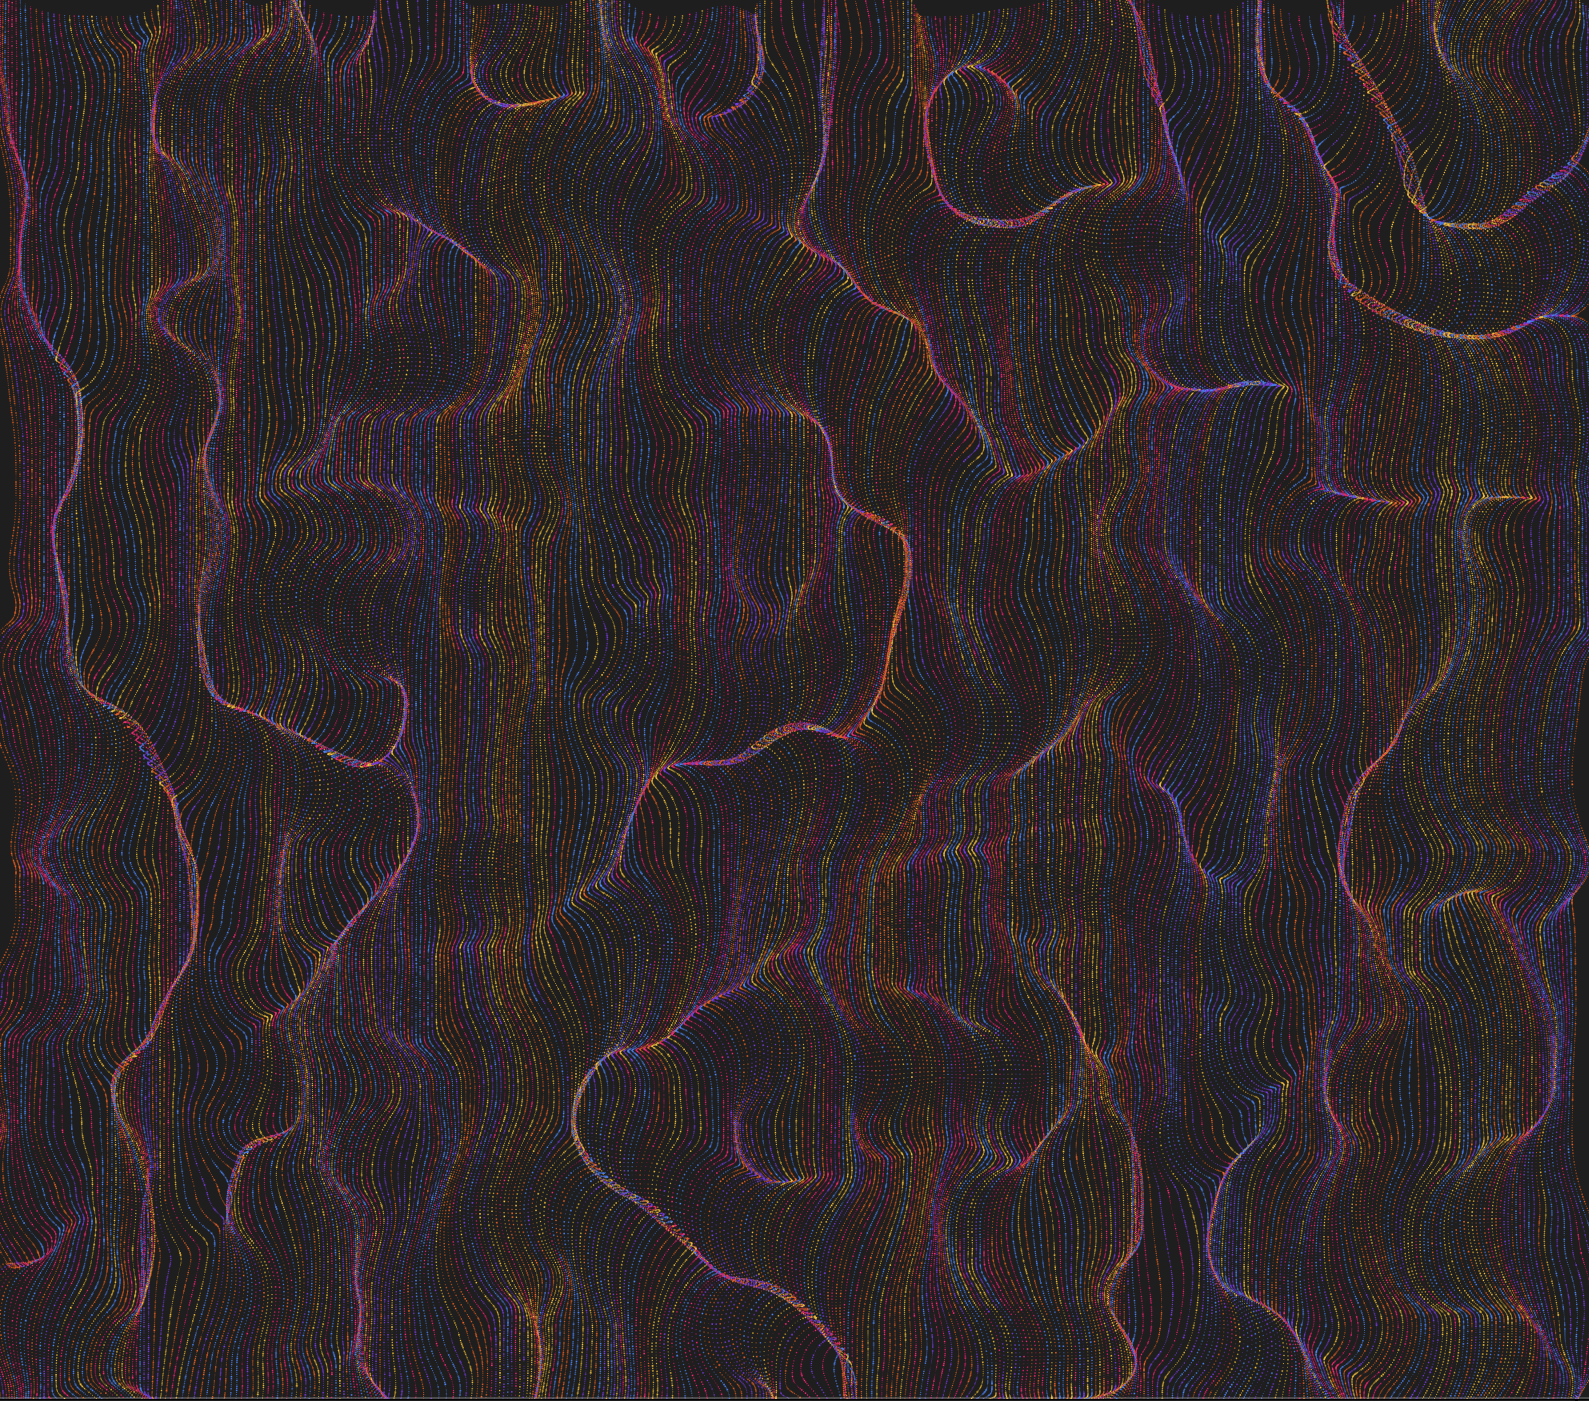
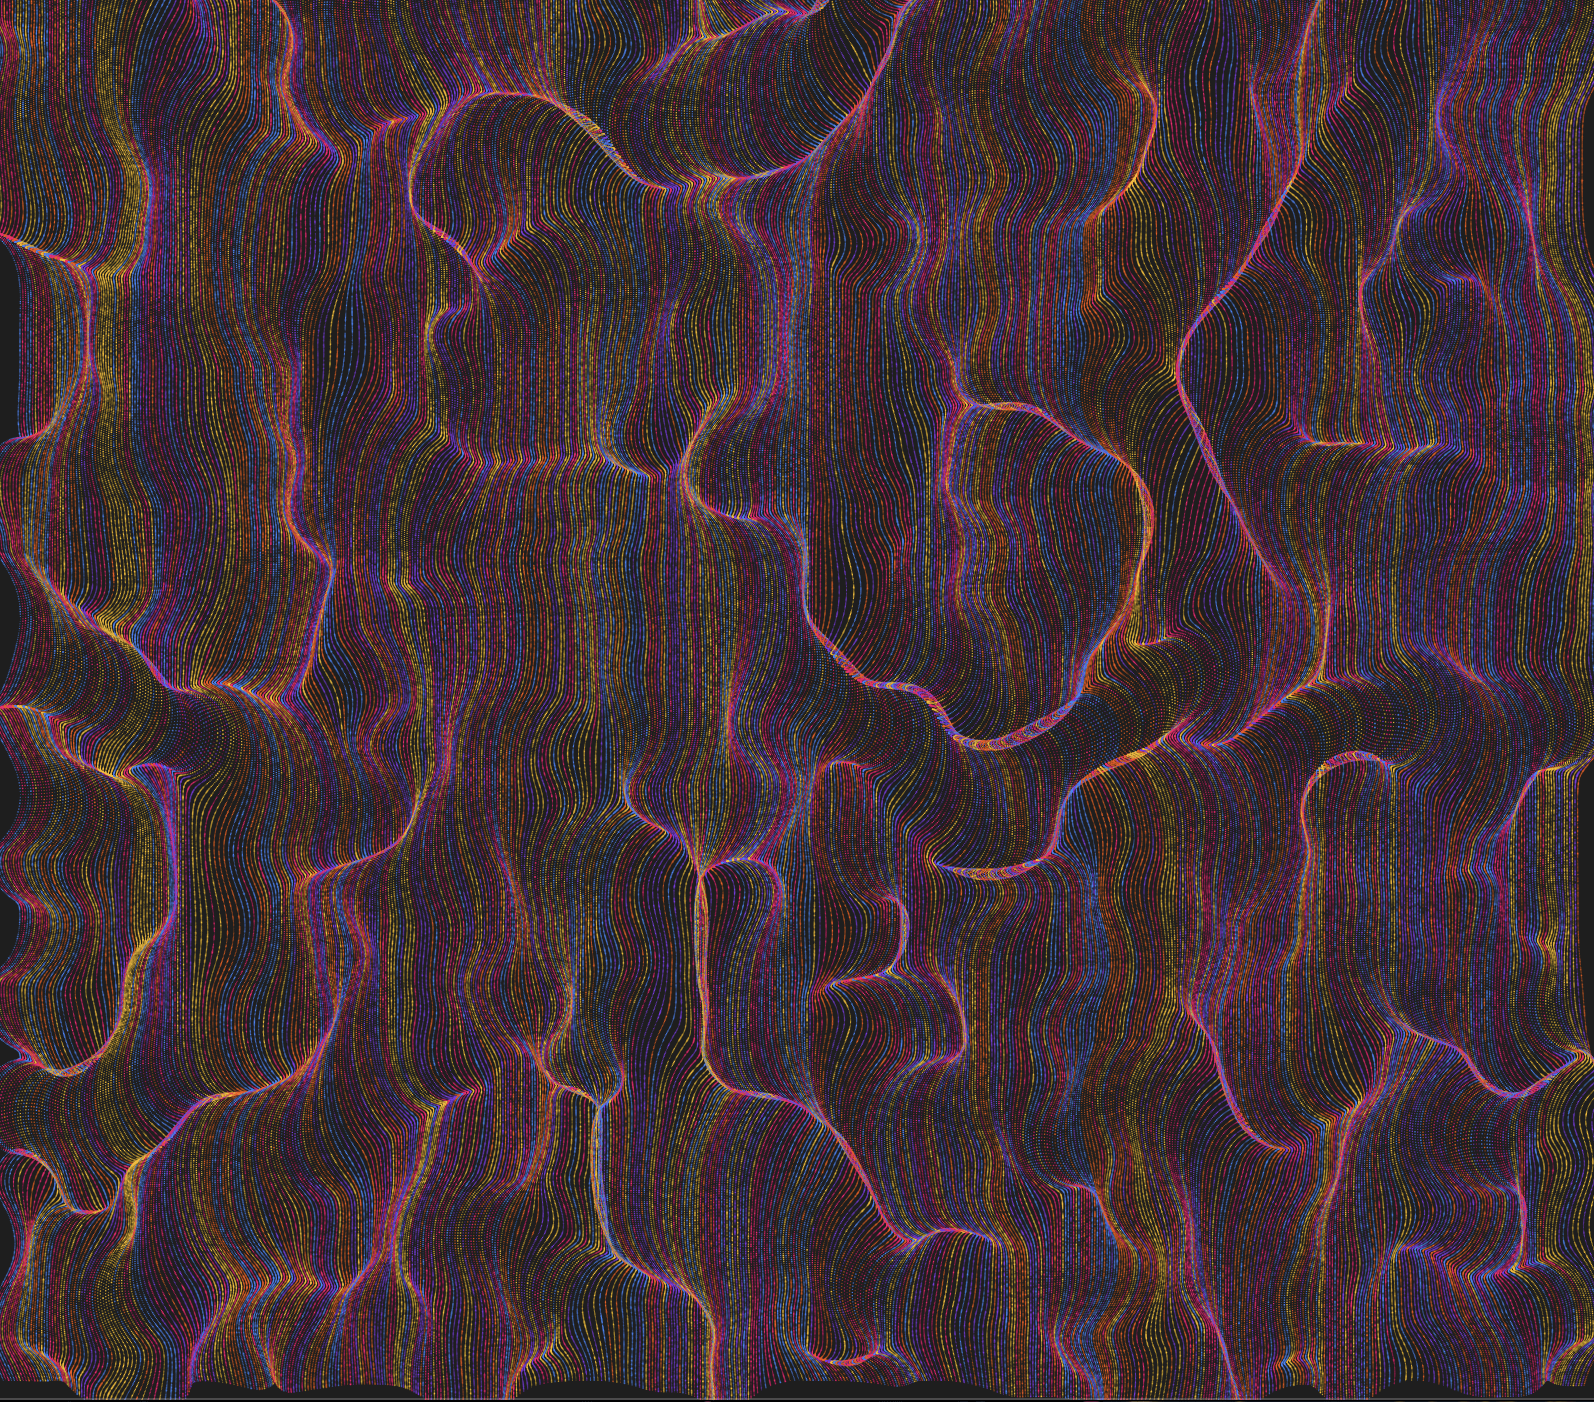
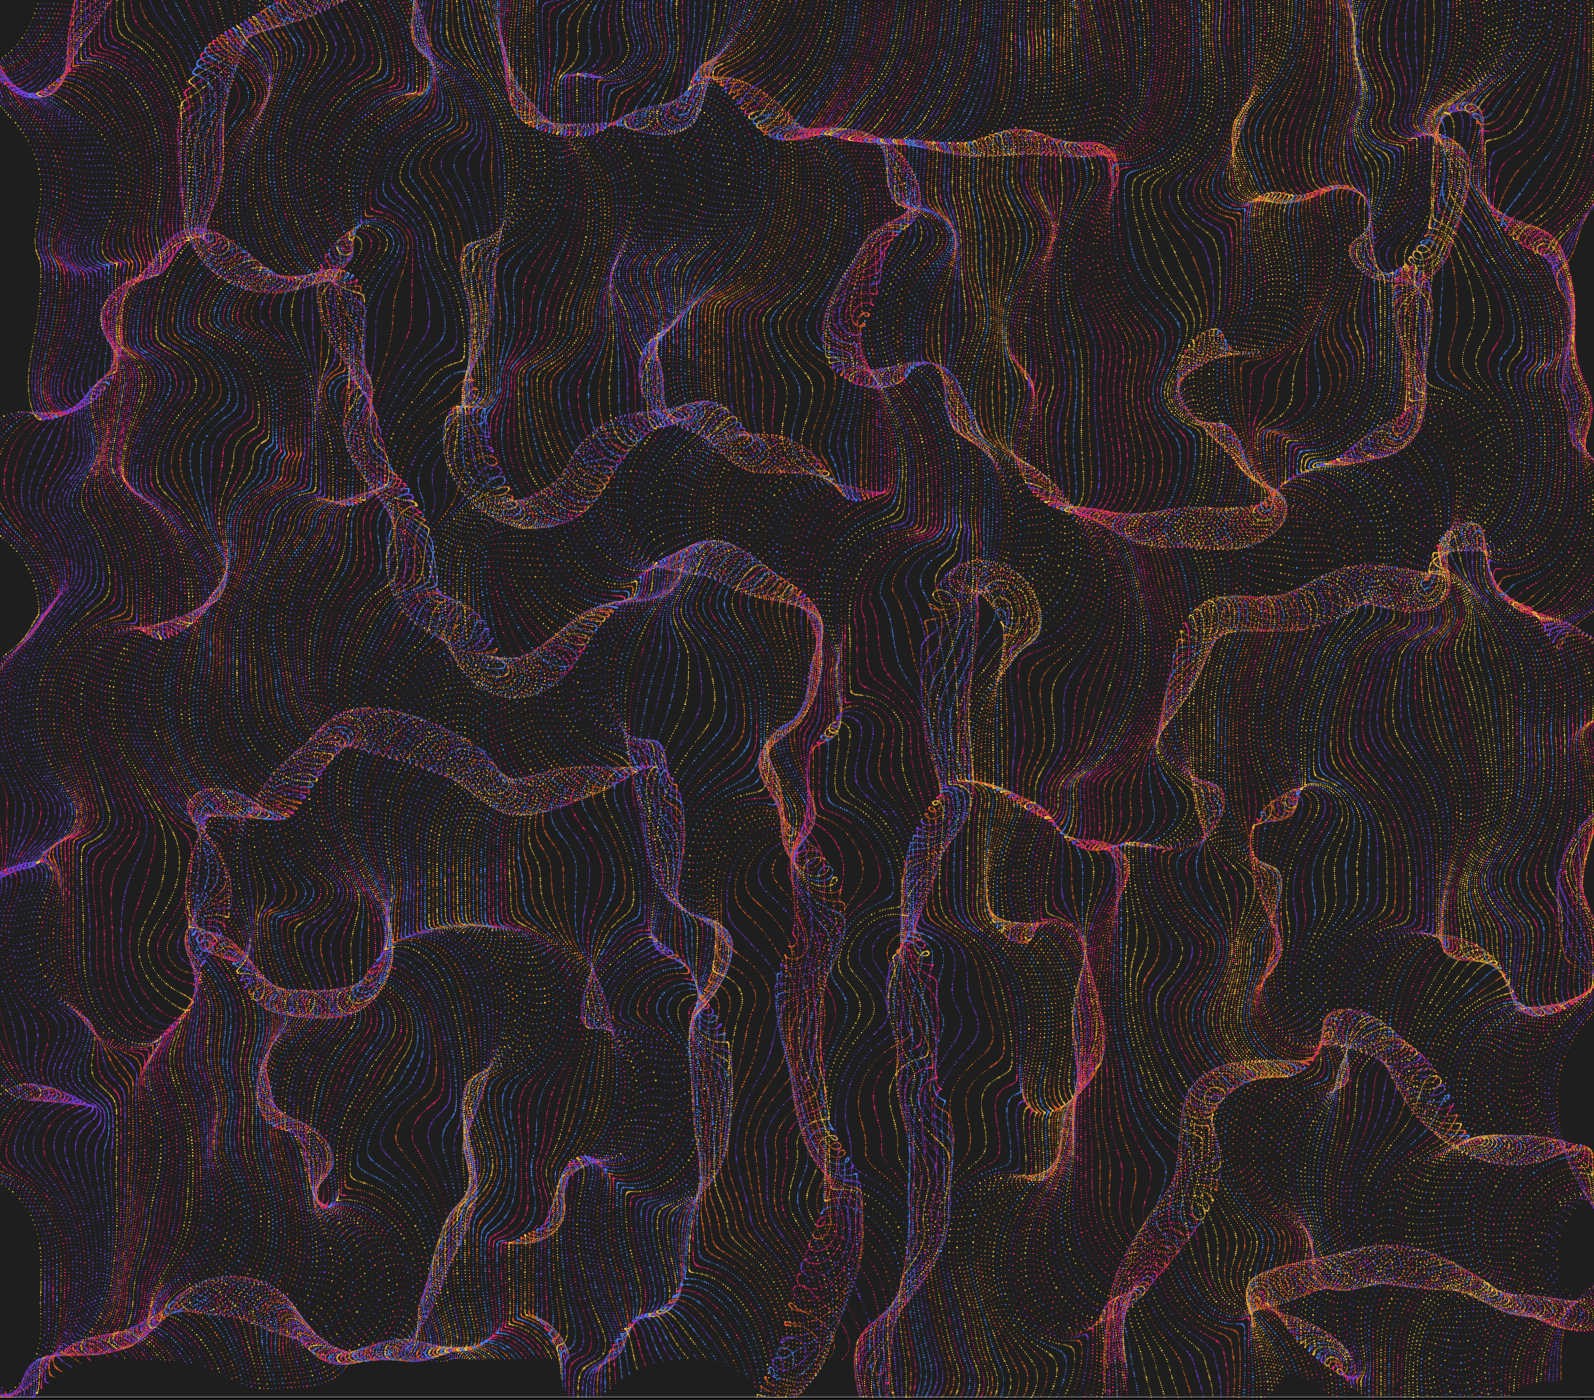
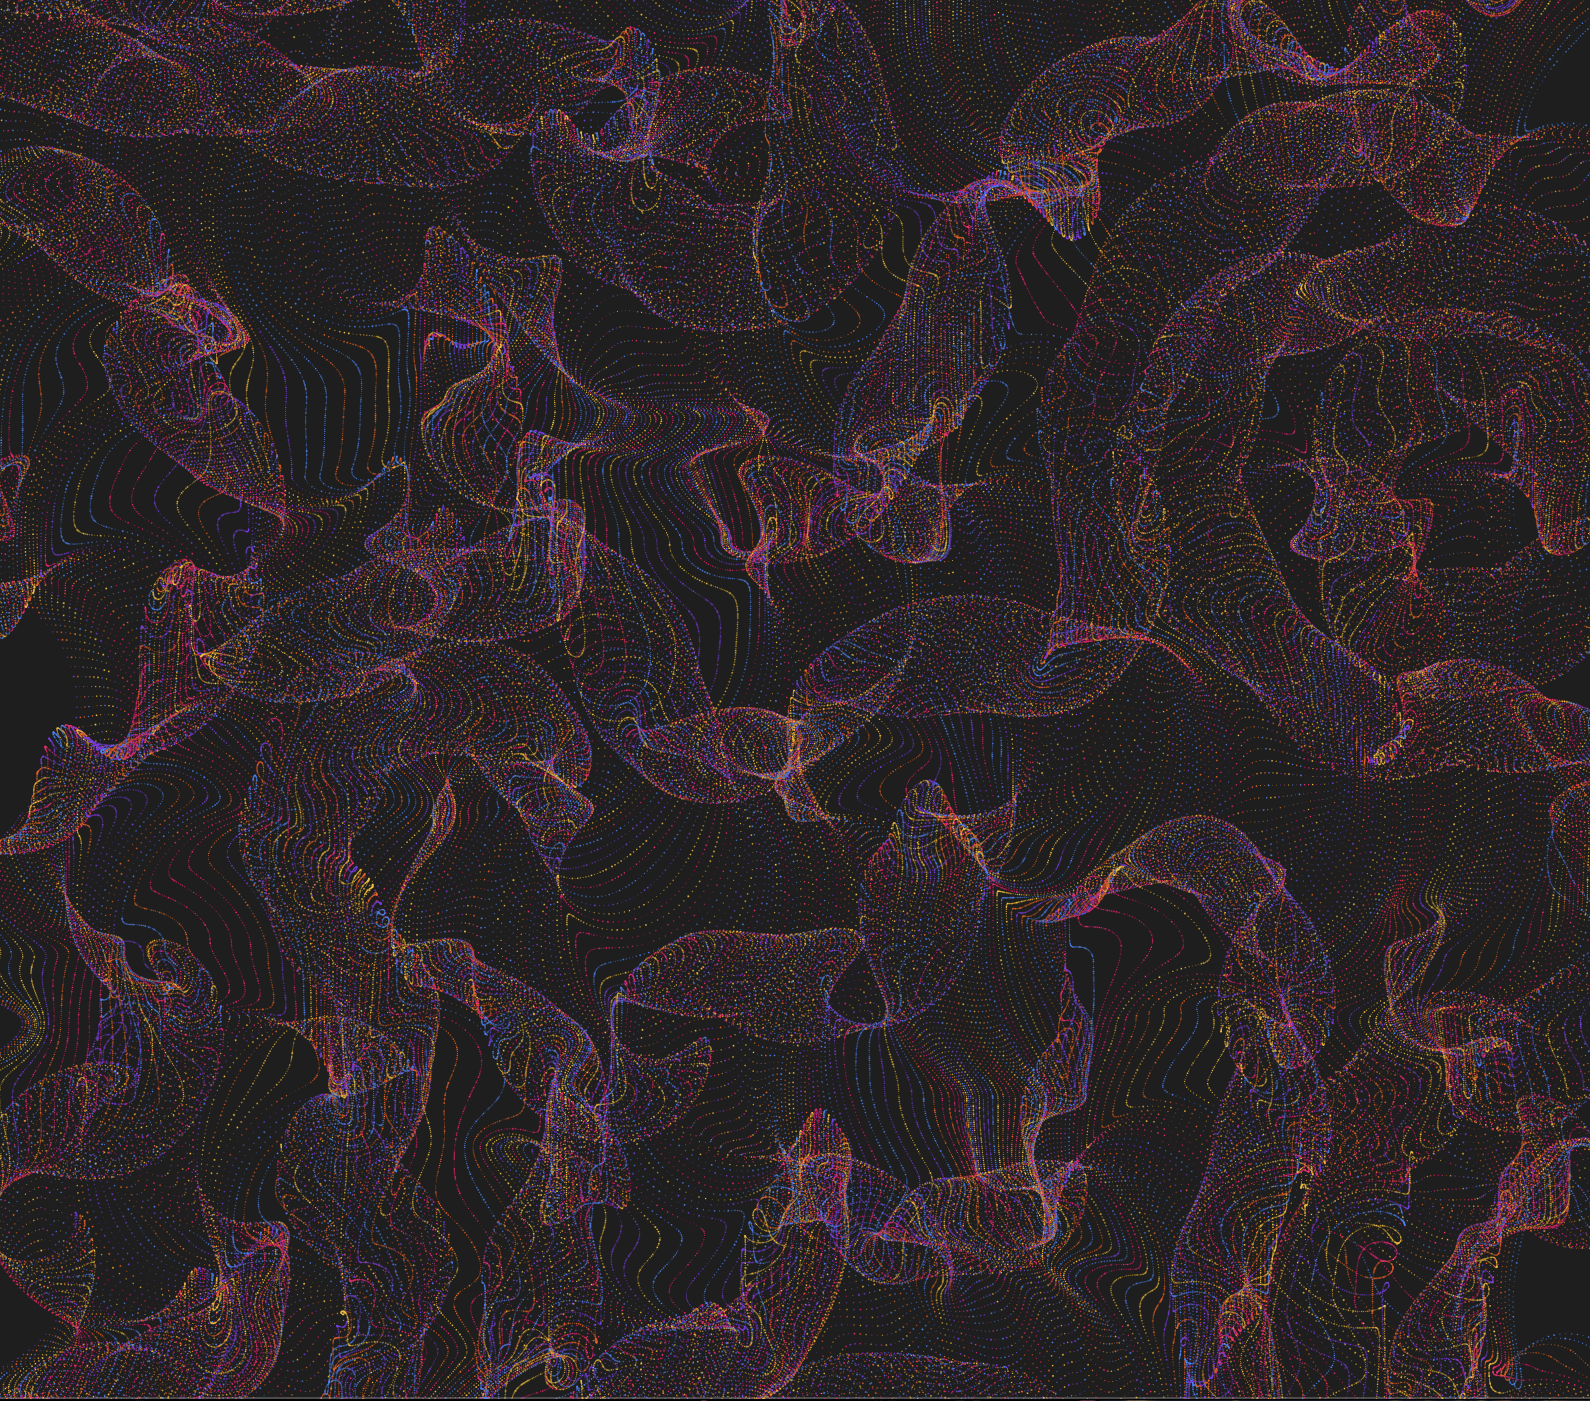
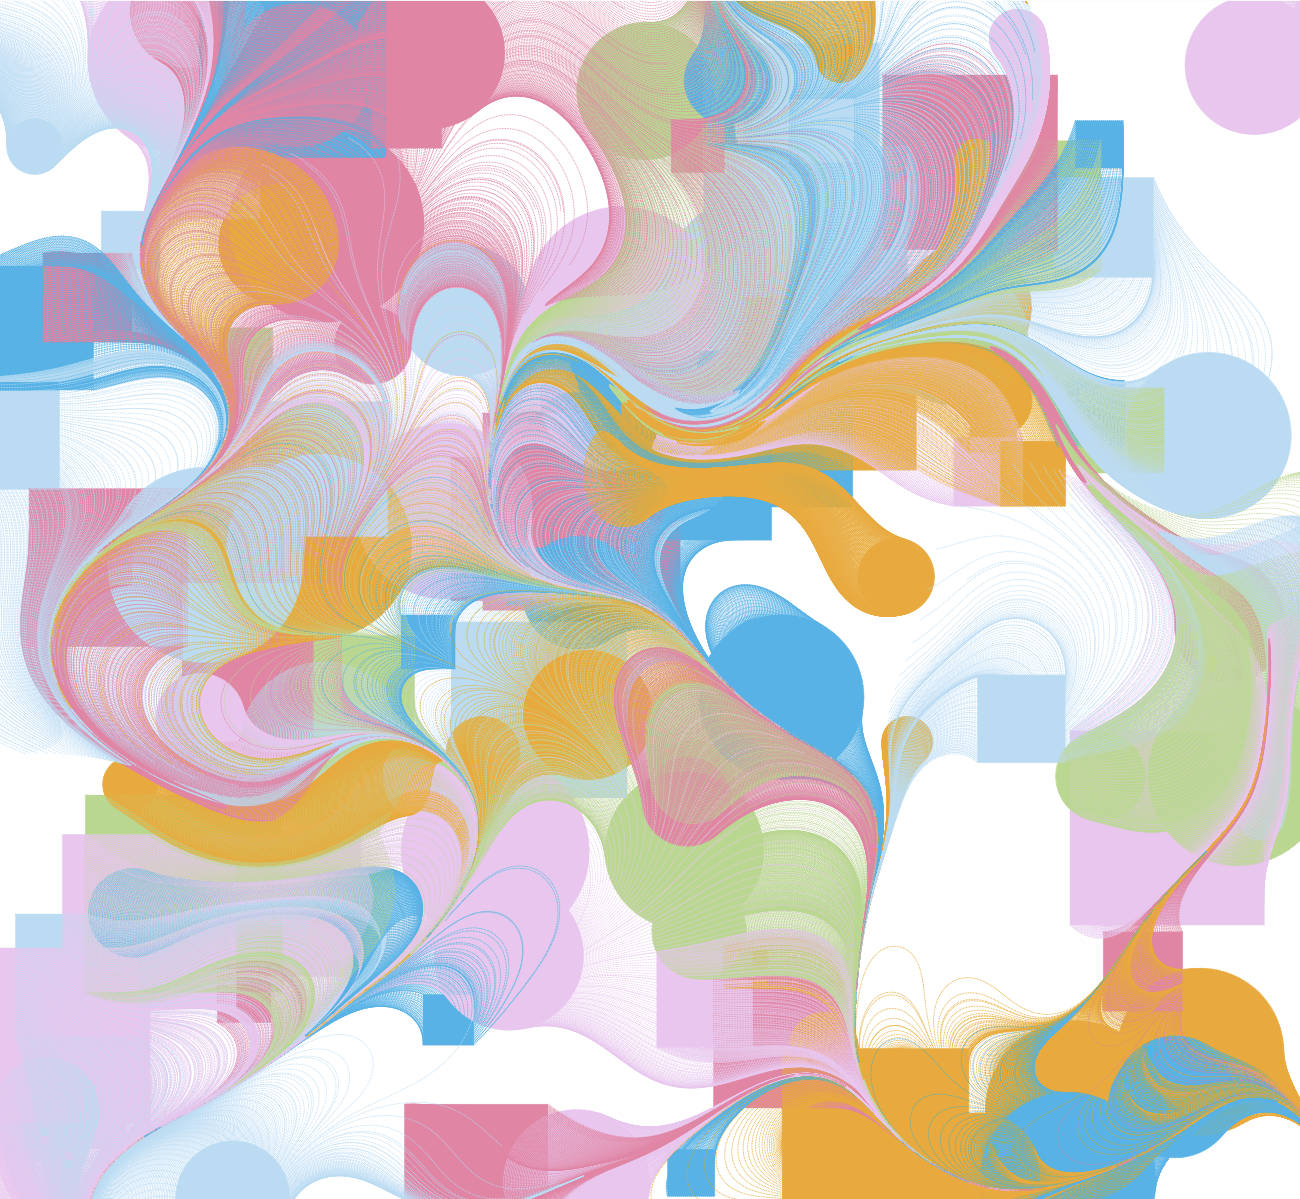
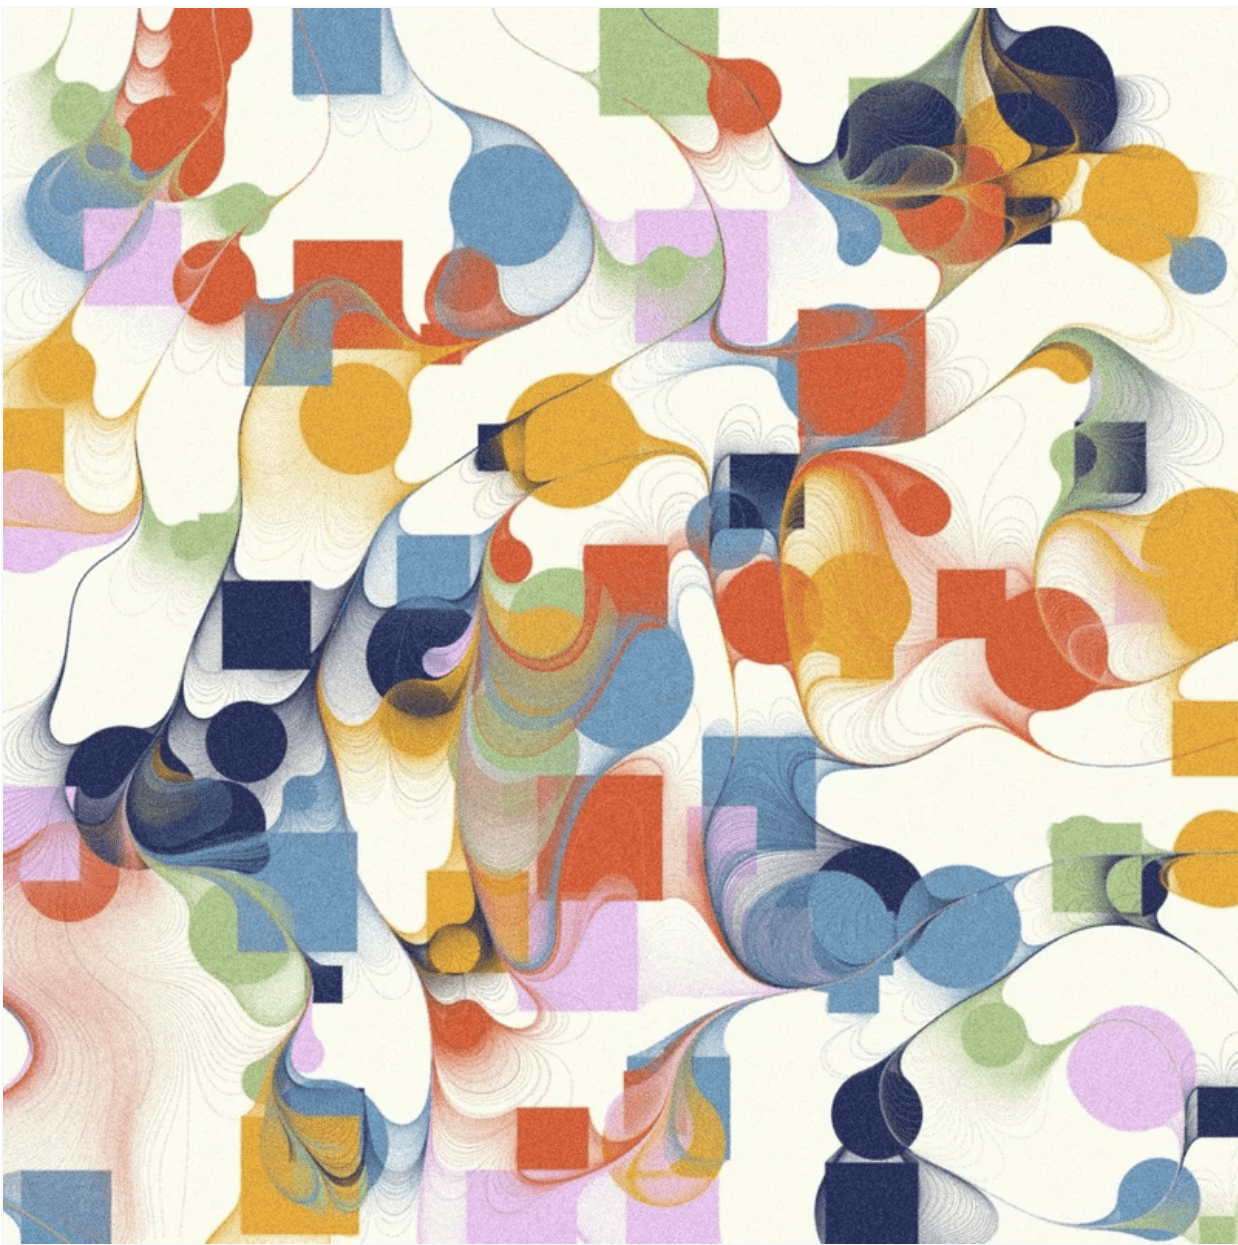
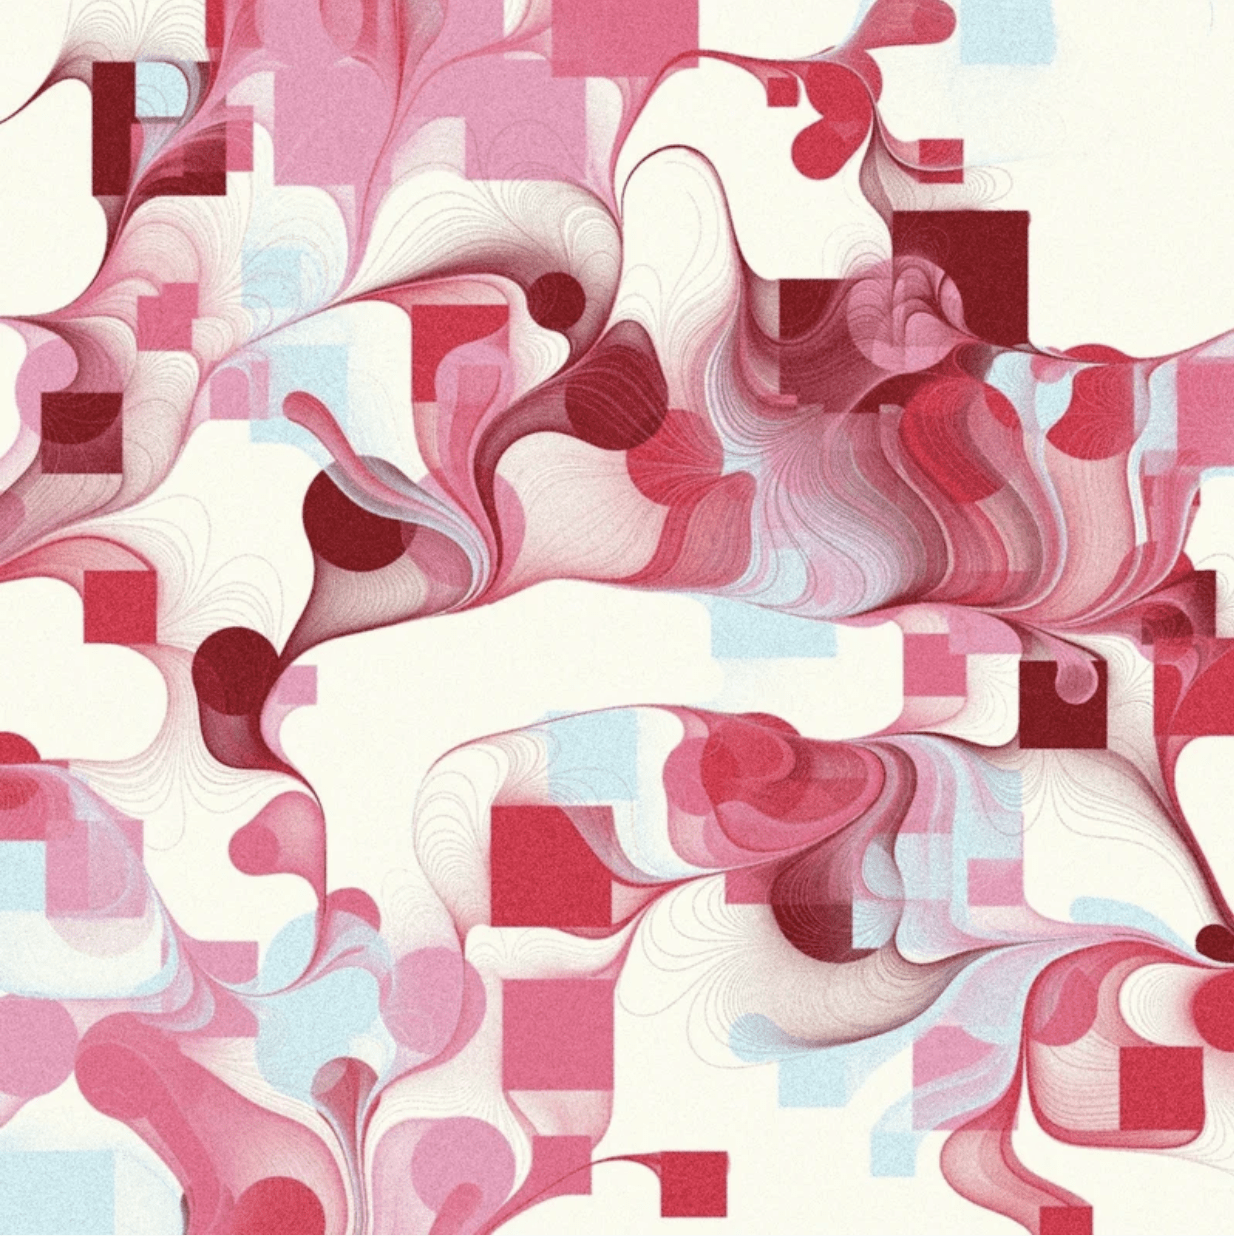
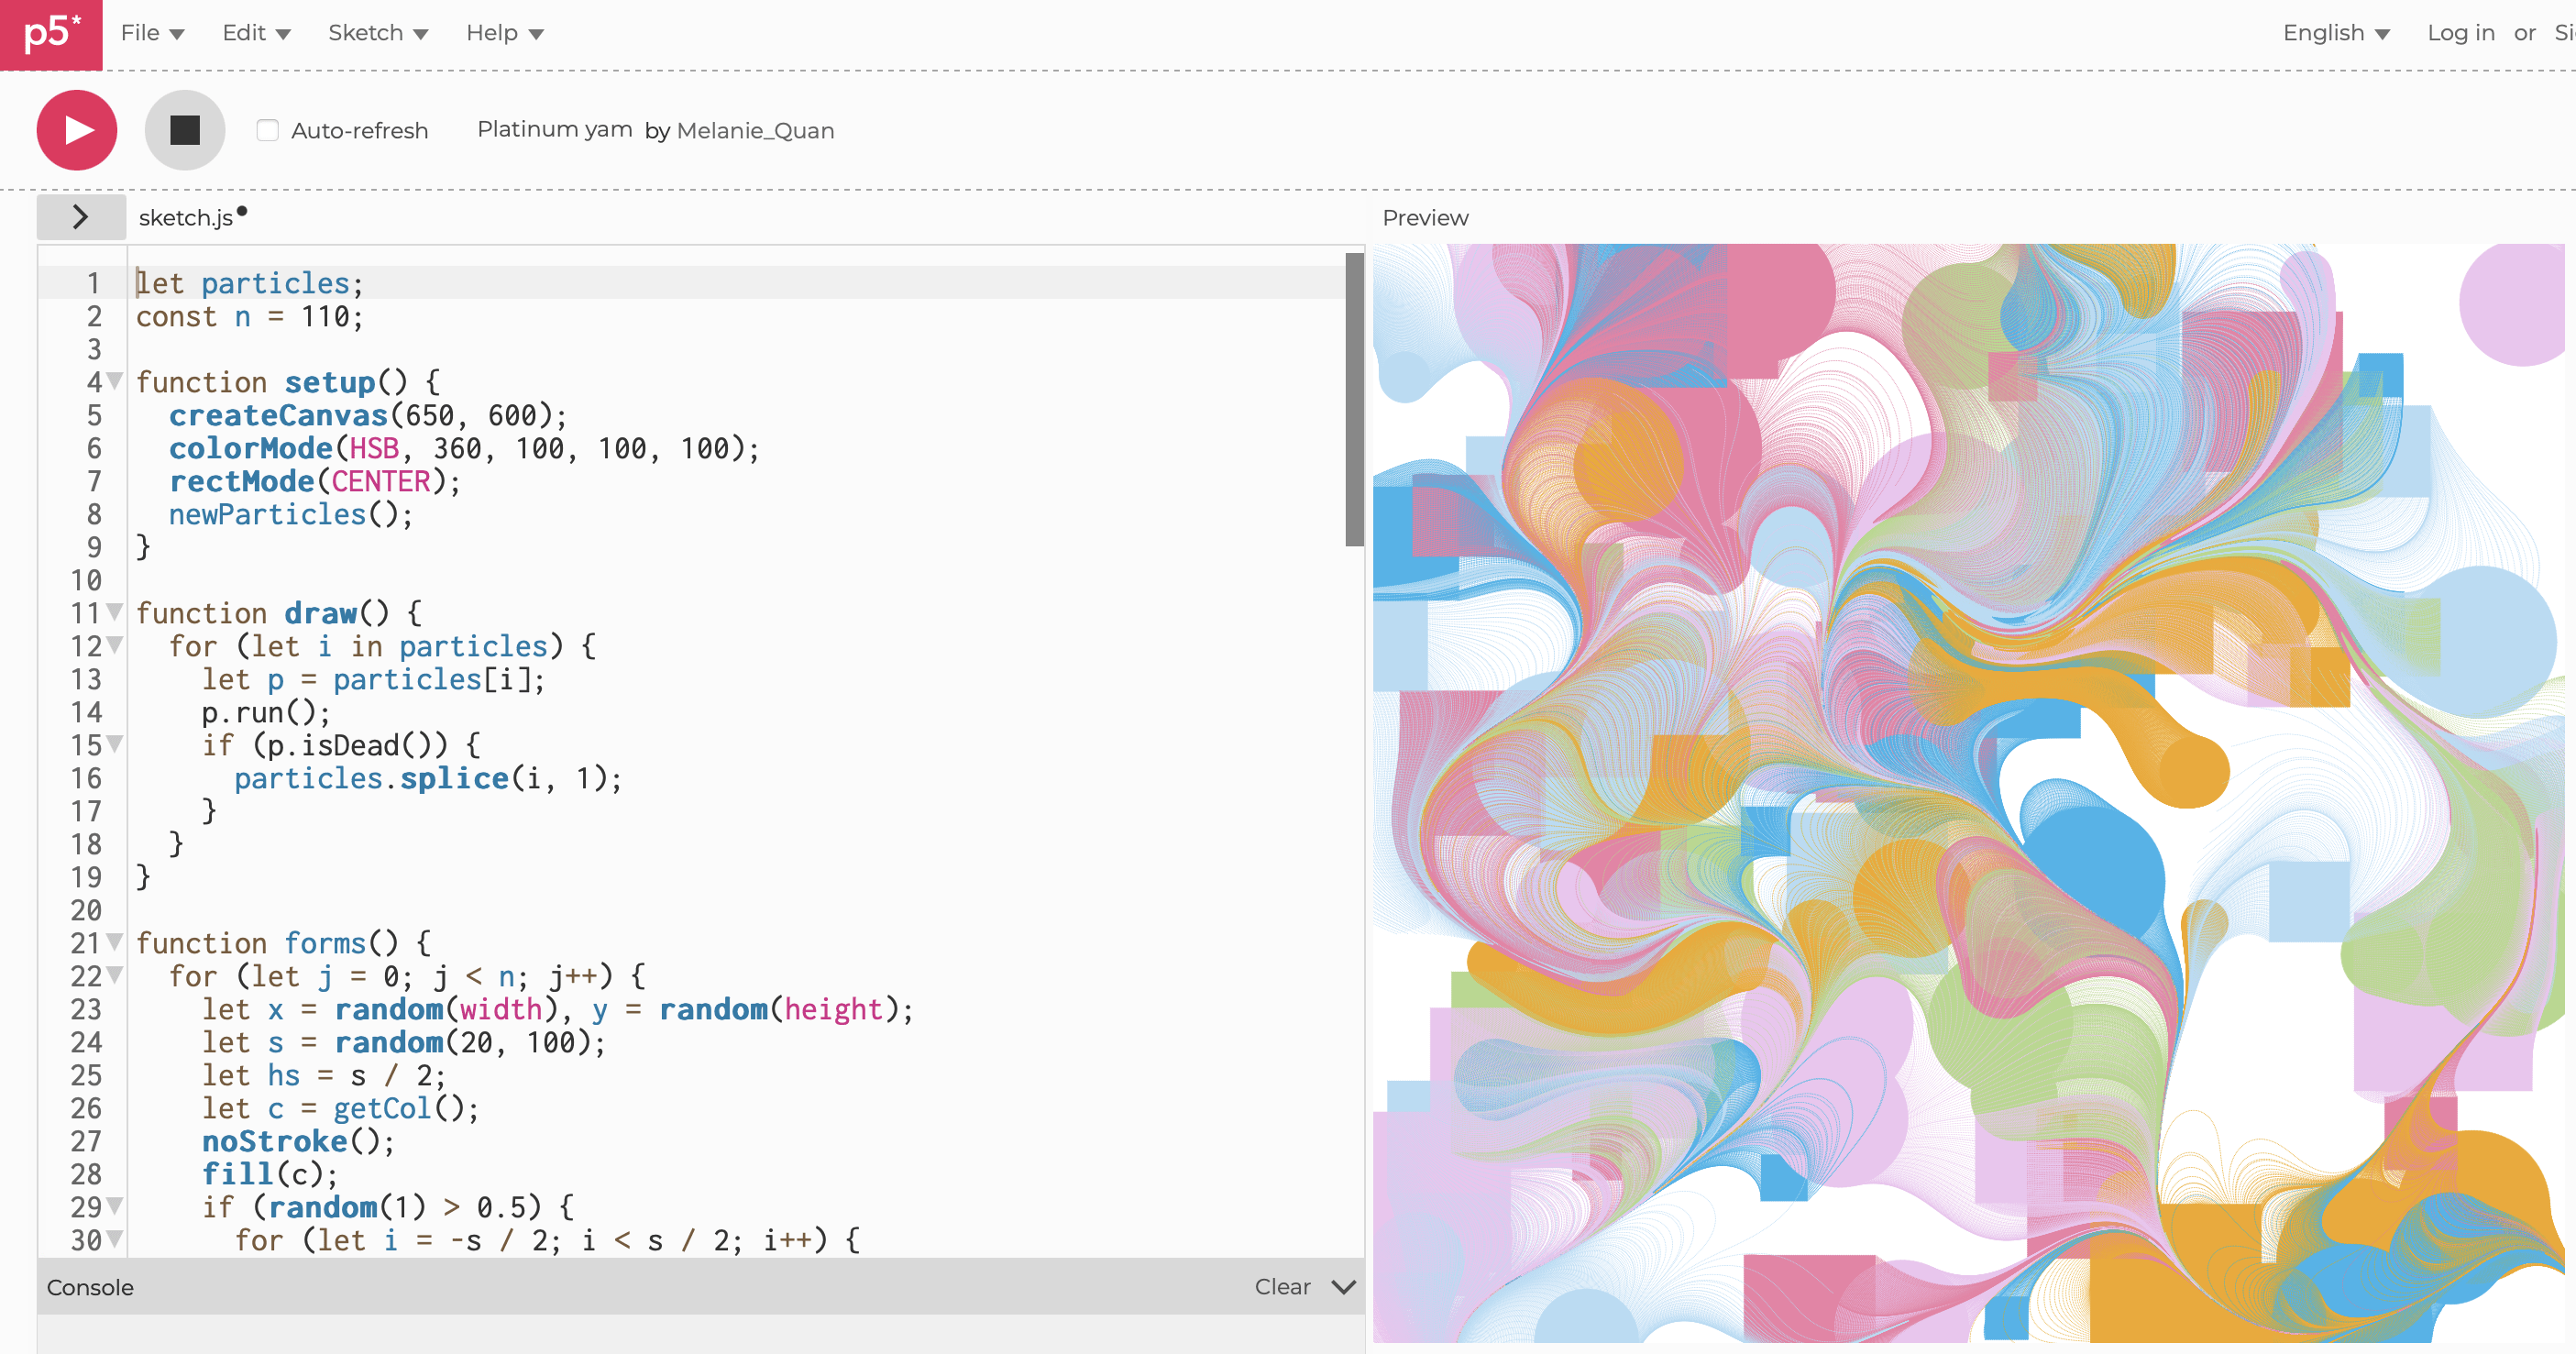
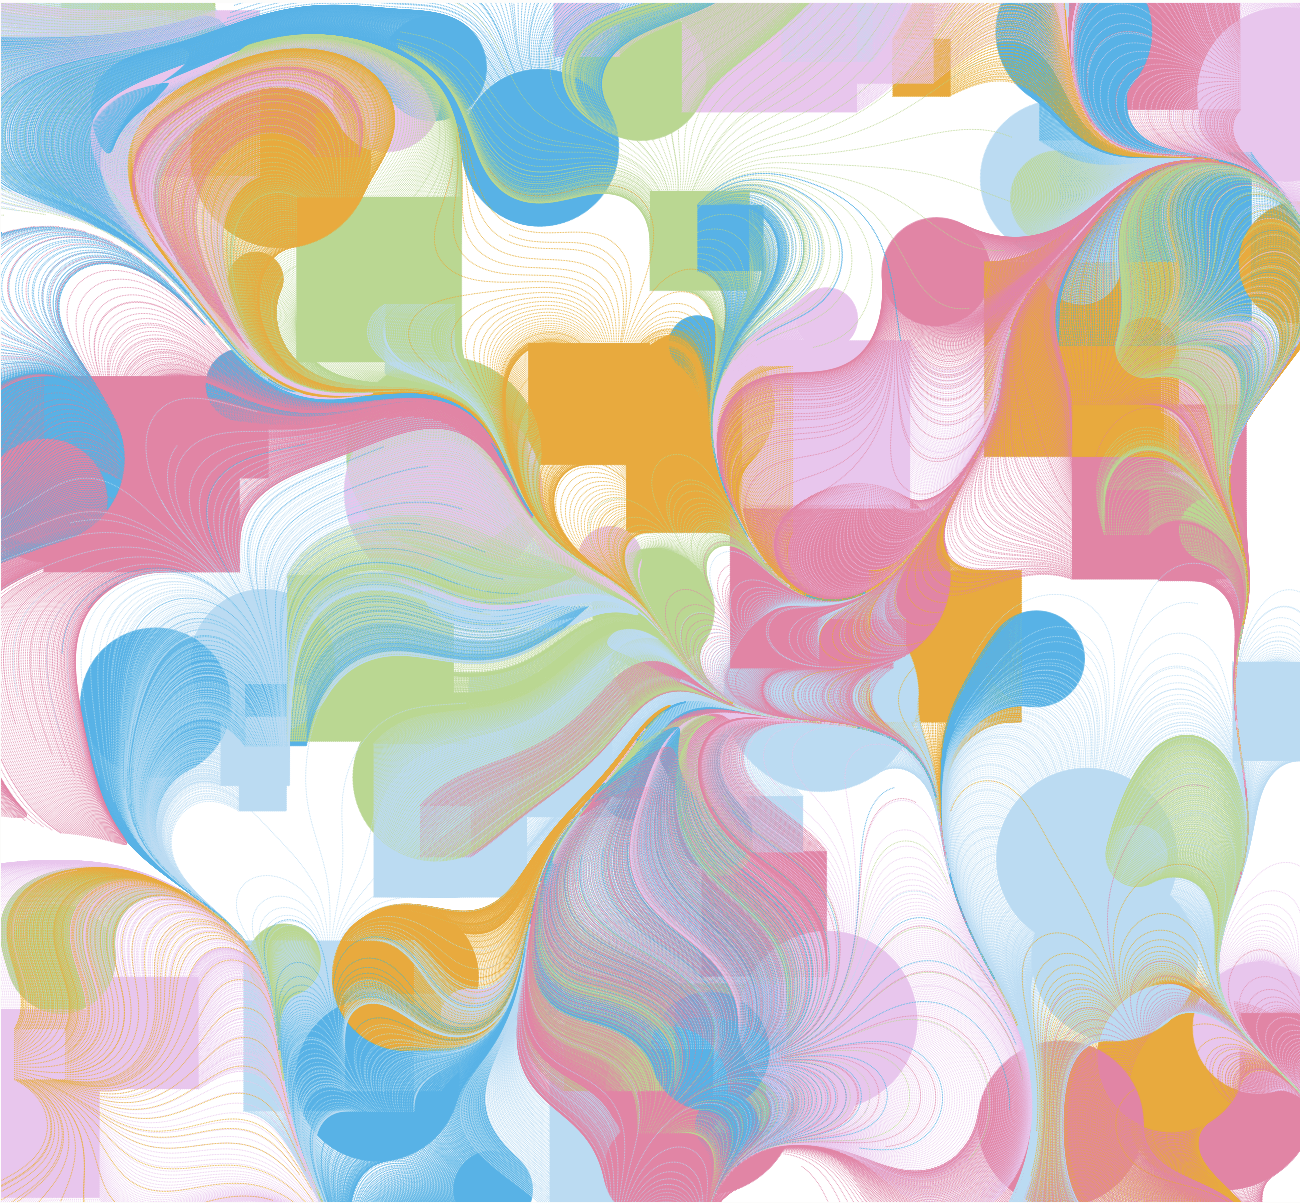
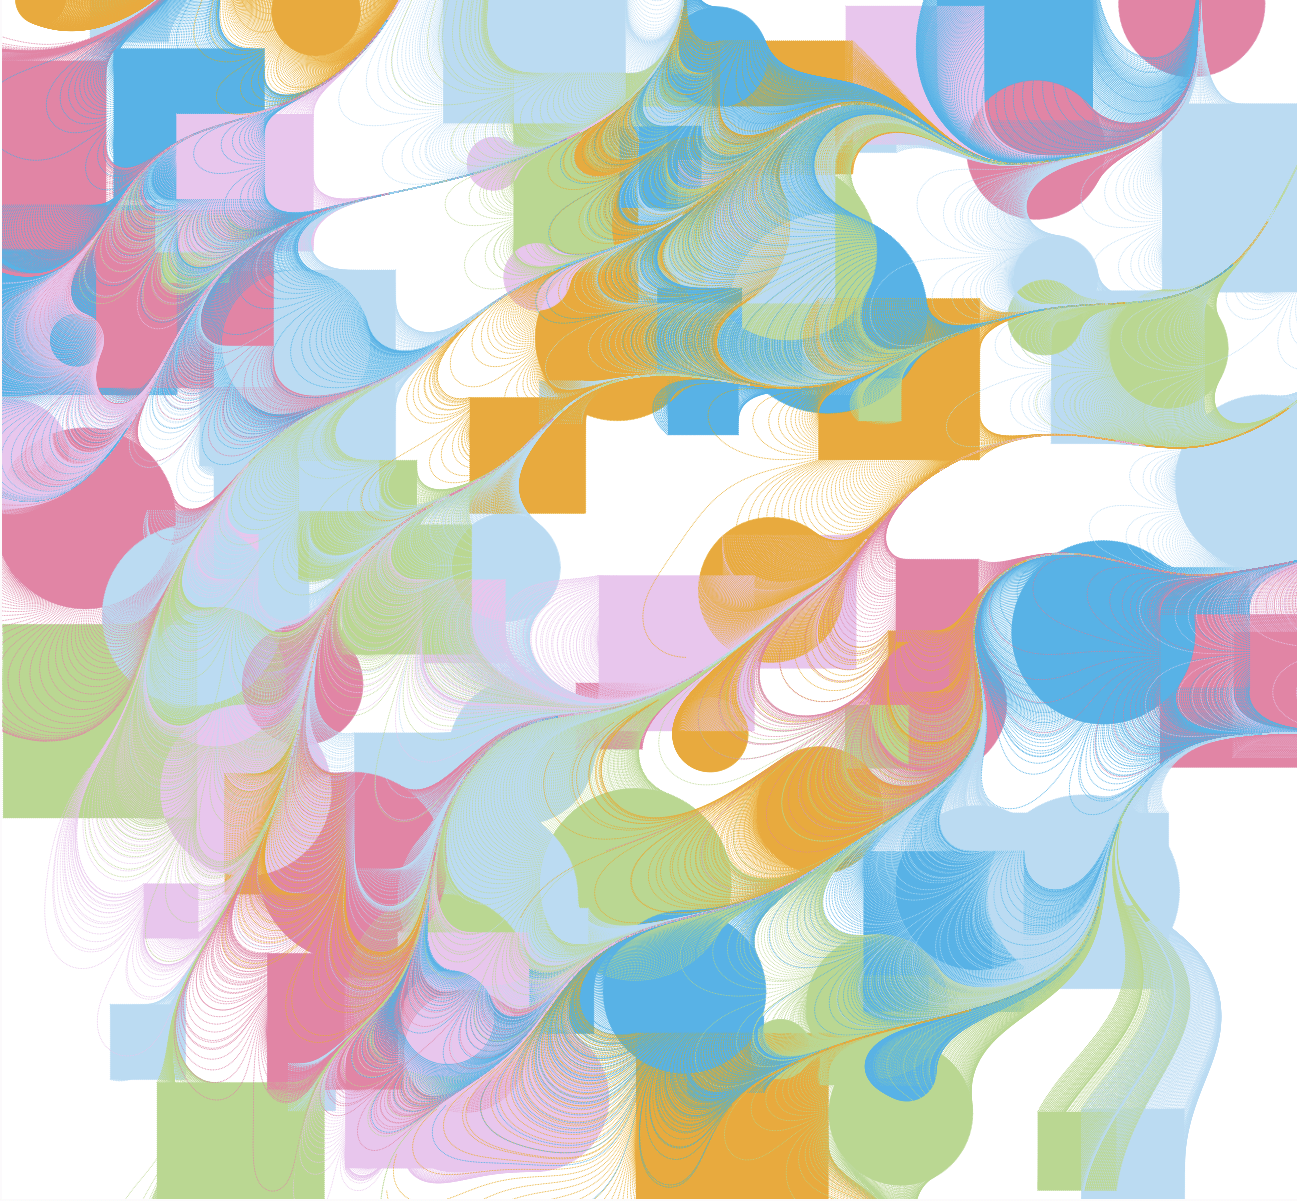
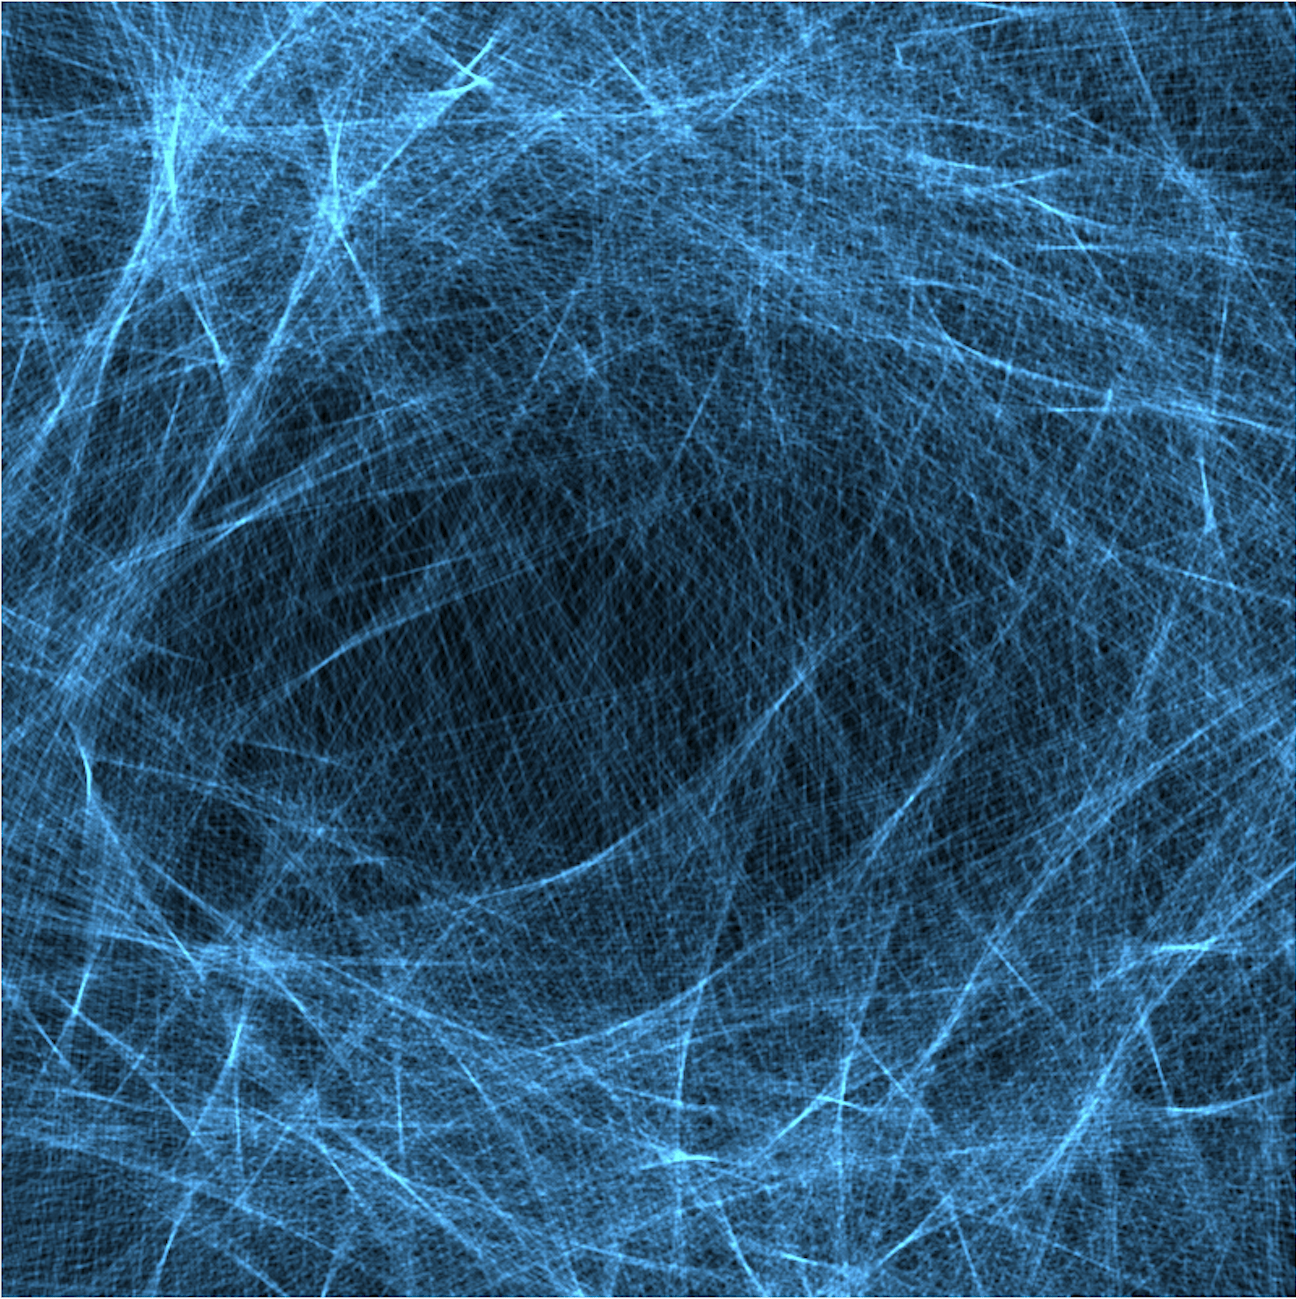
I thought of using rotate for the repetition of the petals, but had no clue how to make them having a bit of variation without being exactly identical with each other nor distinctly different. I also didn’t know how to draw the leaves. So I went to p5’s reference page. But instead of finding the examples I needed, I came across the example of curveVertex and thought it would be interesting to write another sketch based on it because it seems that it could be used to recreate something similar to this picture here below that was used in my slides for the concept presentation. 

I wanted to add some motion to it, so for the angle of the vectors I incorporated the noise function and sine and cosine waves, which created a movement almost creature like which I find visually entertaining. After this, I also wanted to create some shadow beneath it to add more dimension, and found the function drawingContext with shadowColor and shadowBlur, which made it look like the shape is almost hovering on the canvas. I later went back to the flower sketch and tried to find examples that creates floral patterns that would help with drawing the leaves and different flowers, and this sketch was very close to what I had in mind with the evenly spaced flowers and referenced it in my code. 

Here’s a video of the moving ink-like shape sketch running:


However, the random wiggly shape doesn’t seem to have ant obvious relationship with the wonderland theme, and I had to make something more. I went back to the course’s example codes and found that the blobby would be a good inspiration because the layered shapes and the fading trace of movements gives it a smoke/ghost like vibe and it goes well with the character of the Cheshire Cat from the story. I found an image online, tried the background and inserted it in the code of blobby and positioned it at the center of the ball ( this step accomplished mostly with the help of my kind and amazing professor). My instructor suggested me to add more characters in and consider incorporating more effects on the image such as rotate and flip. 

I thought these were really good ideas to further develop this sketch and started to look for images of more characters online. In terms of adding characters, I add another photo of the white rabbit that appeared in the beginning of the story. Since the picture I used for Cheshire Cat was its face, I looked for a picture that only has the head of the rabbit as well. I then used an if and a distant function to calculate the distance between the mouse and the image, and if the mouse is close enough to the image to will disappear. I then experimented with the rotating effect. Different from the disappearing, I had this one to not show the image but only the blobby in the beginning. And when the mouse hovers on the bloody the image will appear, spin, and then disappear with the blobby altogether, and then the imageless blobby reappears on another random position on canvas. 

Here’s the video of the disappearing effect:


Here’s a video of rotating effect:


This was also an interesting effect, but considering the concept I had with the characters, I eventually opt for the first one, because I thought it would make more sense since Alice could’t catch the rabbit and the cat is always disappearing mysteriously. And actually, when I was looking for pictures of different characters, there were also the card soldiers, the talking flowers, the caterpillars, but the rabbit and the Cheshire Cat fit better to the story if they were to float around on the canvas so I had just the two characters.

My professor also suggested me to utilize the flower sketch as a background for the rabbit and the cat, but when I was trying to combine the two sketches, when the part of the sketch that is supposed to draw flowers was put in the draw function it will start flashing the flowers like madness. And despite adding a void loop function, it doesn’t seem to work together with push and pop.

Here’s a video of the flashing flower background:


So after multiple attempts and failing I decided to insert the background as a picture. I first thought there was something with the code after I inserted the code because the blobby seemed to have disappeared, but I later figured out it was the picture covered it up a bit and adjusted the transparency of the blobby ball to make it visible again.

Lastly, by referencing the GUI code from last week, I add the GUI for the x, y position and the x, y speed for the images. Though it appeared to be an easy task but it still took me quite a while to get everything in place.

Here’s a video of the final sketch with GUI:


Through this project I also further familiarized with some of the functions and examples from class and learned with some interesting new functions. Looking back, I think I could’ve had different effects for the two characters, for example, the rabbit disappearing when the mouse is on the image and the cat appearing, spin, and then disappear. And during the presentation, my classmates and my instructor also gave me really good advices such as making the characters interact with each other, or have the characters hide-and-seeking within the flowers, and explore some crazier visual effects since the theme is Alice in Wonderland. 

NOC – W06 Spring Waves


For this project I wanted to use spring to create the waves by having many points in one line and mimic the motion of waves on a sea/water surface. I was also inspired by the ocean in the Disney movie Moana and referenced this code which helped me realize the project.

To make the surface of the water smooth, the number of spring points are set as one third of the canvas, and for the waves it’s done using two arrays with an initial length equal to the length of the spring points. Then there’s a function calculating the difference in height (diff) between the current spring and its adjacent spring(s), then multiply this with a factor smaller then 1 (which I set to 0.99 because the effect is most satisfying to me) to determine the amount of wave propagation.

In the final version of the project the code of drawing the springs is commented out but here’s a screenshot of the points being drawn.

Finally I adjusted the color to a green-blue gradient that matches the one in the movie. I wanted to draw some clouds in the background and maybe play with the transparency of the water but ran out of time. I also thought about making two sets of surfaces to create a sense of depth to the image, which is something that could be explored later on.

Here’s a video of the waves with the points drawn and a smoother animation.


NOC – W05 Cortex Wrinkles

For this project I was inspired by this generative art piece and used it as a reference. 

The lines are created using ellipse and they are rotated around random x, y positions within the frame by applying noise in the rotate angle. I tried out different values of the angle to get different effects and the value I used in the final version is the one I think that is closest to the idea of waves. The size of the ellipse will also be controlled by the nose, but I later find that round circles looks better than actual ellipses so I made their width and height the same value.

Here are some more variation of the code in the process of experiment, basically the lager the angle the more dispersed the lines will be.


Here’s a video of the running code:


NOC W03 – Kong Ming Lantern

This project is inspired by the recent Spring Festival Vacation, and Kong Ming Lantern is something I always relate to as festive and celebratory. I referenced the codingtrain example code of balloons when writing the code.

I first had the circles into random size and I made the RGB’s red random to create a blinking effect to mimic the glow of natural flame inside a real lantern. 

I then increased the amount of “lanterns” on the canvas, changed the background into a dark grey to mimic the night sky, and used both vectors and force to make the lantern hover and when mouse is pressed they will hover quicker and wobble a bit more, as if there is a stronger current underneath to lift them higher faster.

But at this point, they look more like bubbles than lanterns, so I used vertex to draw a trapezoid.

Too small, and I made them bigger. 

But they still look odd. The beauty of setting lanterns is that it is always done with a group of people in a very open space, and the difference in distance makes them visually vary in size. But with the shape turned into trapezoid, the random radius no longer works and all the lanterns look the same.

I tried to reincorporate the circles to keep it visually interesting but they just look too messy and weird together.


I then made the random radius a constant and then drew the trapezoids by multiplying the radius. This worked to get the varying sizes. And I then added a “glowing candle” in each of the lamp using the similar method to recreate the flame inside. And I also added a flickering effect to the yellow flame to match the lamp’s glitching color.

I later adjusted the shape of the lantern and the velocity of the vectors again to make them look more visually pleasing. Though the shift in movement of the lanterns in the finished work doesn’t look super obvious, and this is also a problem I struggled on, but I settled on the final version because if the movement is too fast when the mouse is pressed then it won’t resemble a Kong Ming Lantern anymore.

Here’s a video of the running code:


Here is the p5 website to the code.

NOC W02 – Candy Shop

Here’s a video of the running code:


This project is inspired by the Japanese artist おかず‘s generative artwork.

The work this artist created was intended for Processing, and based on the code the artist provided in the website, I edited it into JavaScript and made some changes of my own.

I first changed the colors into a more pastel combination, and I played around with the number of particles and the size of the particles. Because I’m working on a smaller canvas so I made total number of the shapes smaller. And when I tried to make the fluid particles smaller, the effect looks almost like small tentacles stretching out of the shapes which appears less pleasing to me, so I went with the effect of bigger fluidity of particles.

I also made the lifeSpan a lot shorter because towards the end the remaining movements are very small and hard to detect, so I thought it would more computer-friendly by cutting the lifeSpan.

Here are some of the screenshots of the images it created:

NOC W01 – Glacier

This is inspired by the in-class activity’s code (NOC Exercise 1.2 Transformations by MOQN). After modifying the value of the angle turned each time and the position of the center of the rotation, I tried making the angle change only one degree at a time and the center the position of the mouse. This way, I was able to “draw” images with the spinning rectangle and create spontaneous images with it. 

Here is a video of the running code:

Design wise , I tried to use fill() for the rectangle, adding other shapes and experimenting with different colors as shown in the pictures below, but they all turn out to be more rigid and less aesthetically pleasing, and I eventually returned to where I had started and used a cool blue, as I find it complements the patterns it creates and has a resemblance to the texture of glaciers.

Here is the link to the code: https://editor.p5js.org/Melanie_Quan/sketches/MdAohxKdw