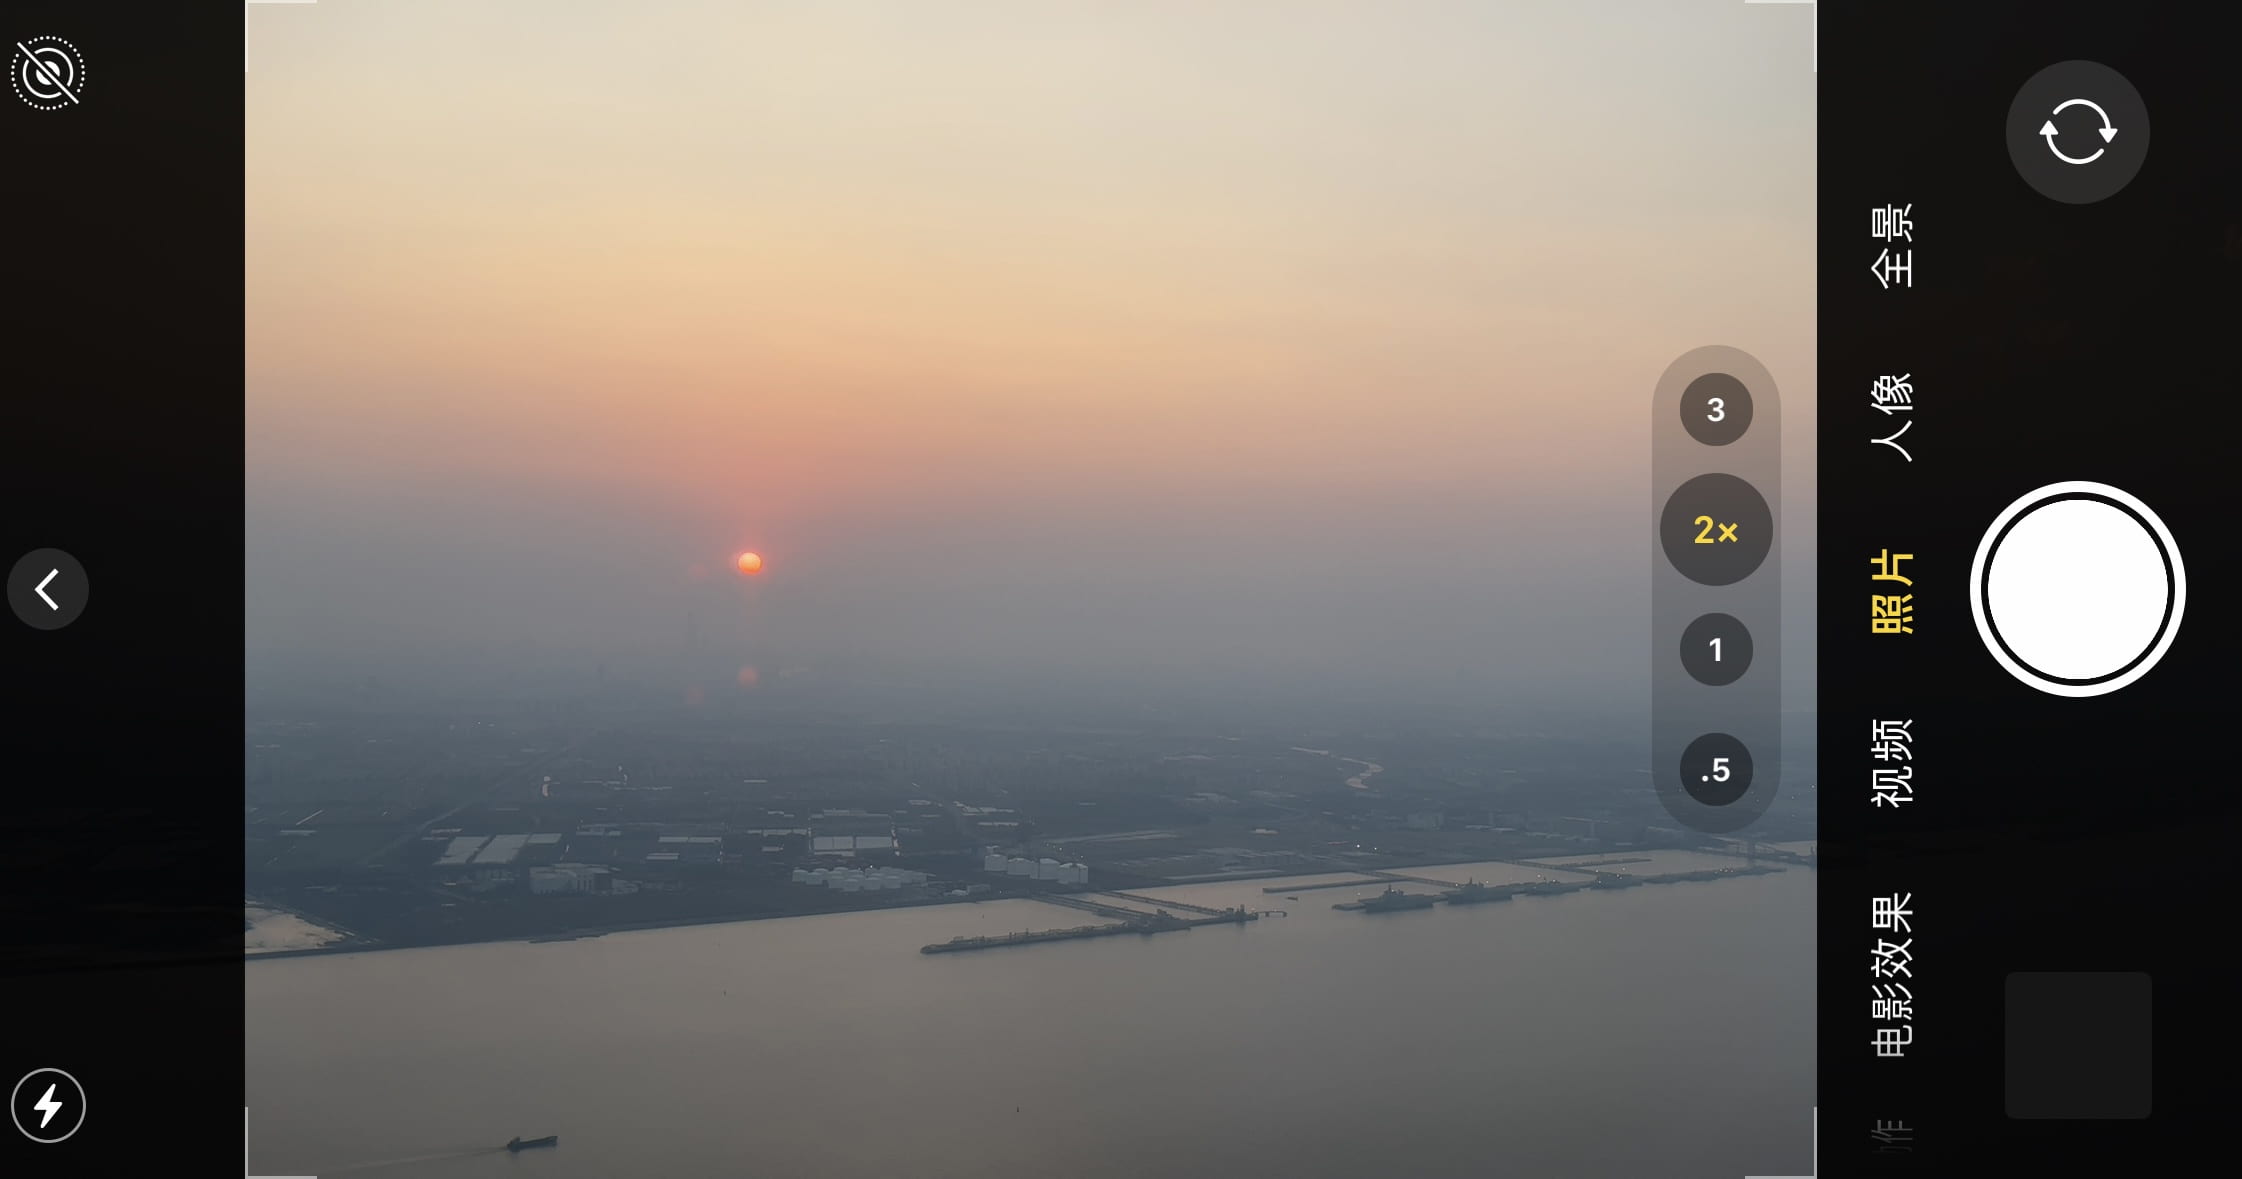
I got the inspiration for this project in the Spring Festival break on the flight back from my hometown. It was around five o’clock and I was able to see the entire sunset in the sky from beginning to end. My partner was keen on using music at first to represent the “beginning and middle and end” but after I’ve introduced this idea of mimicking a sunrise or a sunset we were quickly on board with the theme.
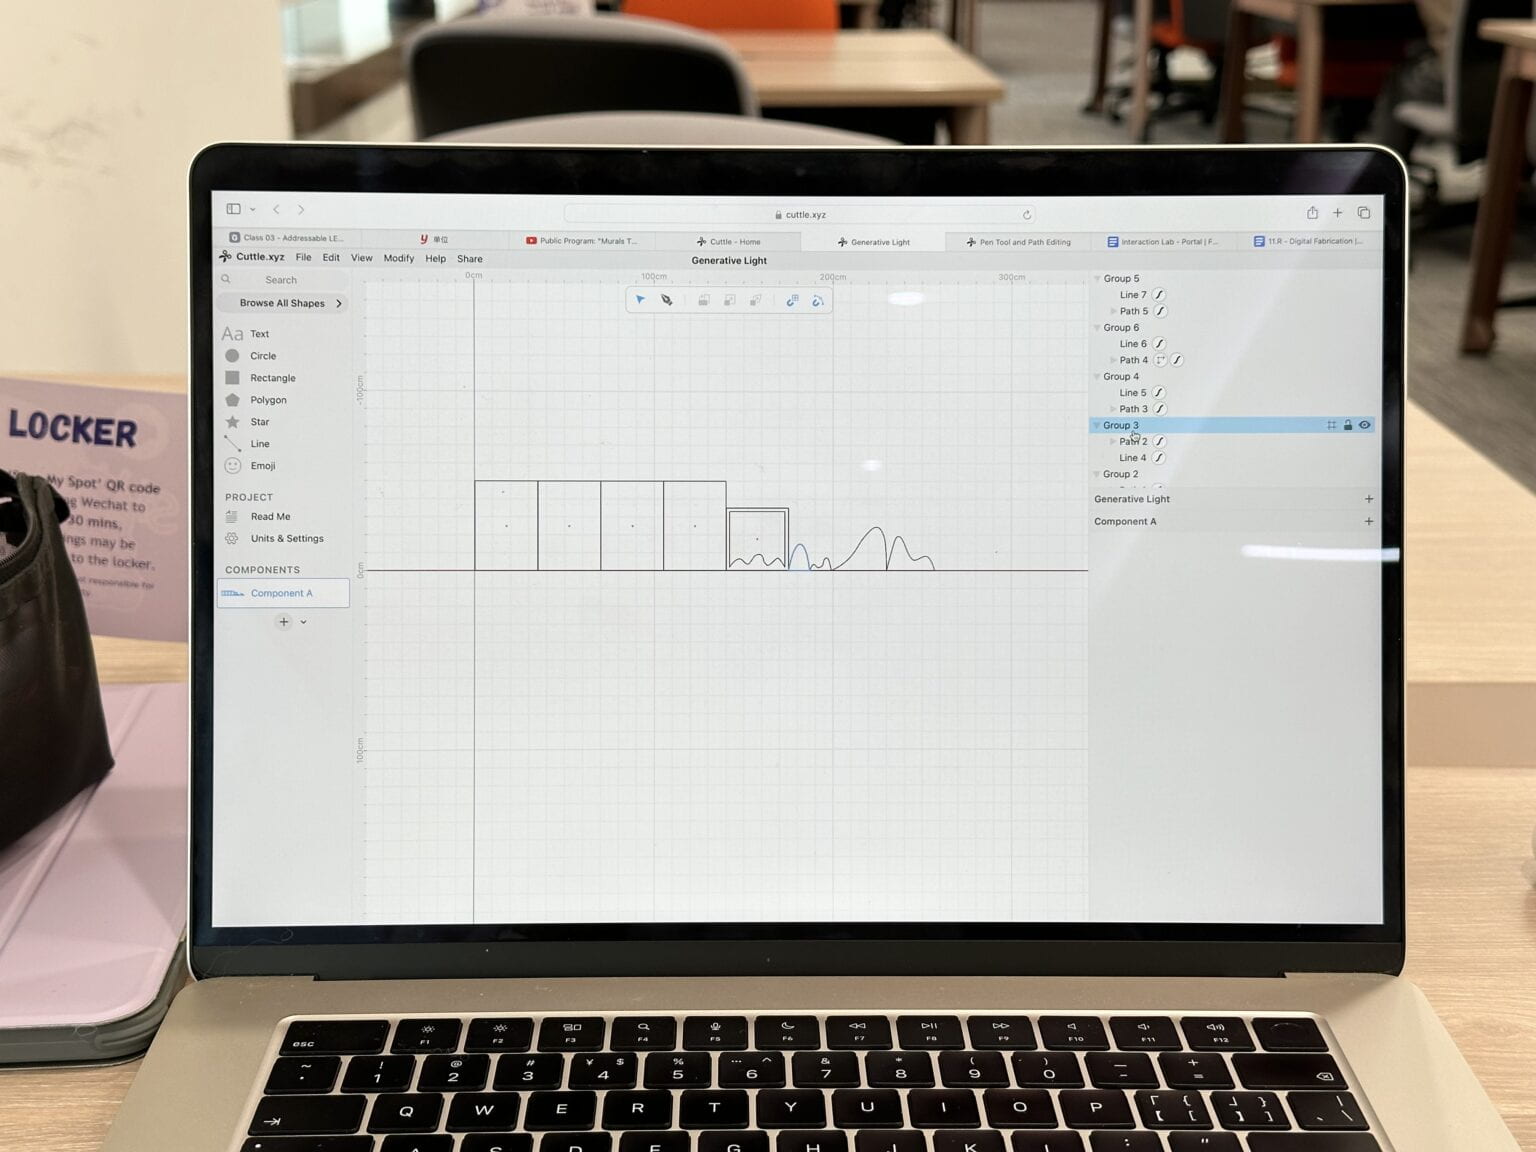
We had many versions of ideation on how to present the process. I first suggested making a half transparent cube where we would put the lights inside and maybe have some paper cuttings stick to the upward side of the cube to indicate the context of it recreating a natural phenomenon. My partner later came up with a better idea of making a 3-dimensional landscape that beings more depth to the visual effect, which we eventually adapted for our project.
Before laser cutting we had a long discussion on what material we should be using. We thought about transparent or dark acrylic, but in the end settled in simply plywood because I believe using transparent material for the entire body of the project would just “get light all over the place and not be able to keep them in the frame where we want to focus”.
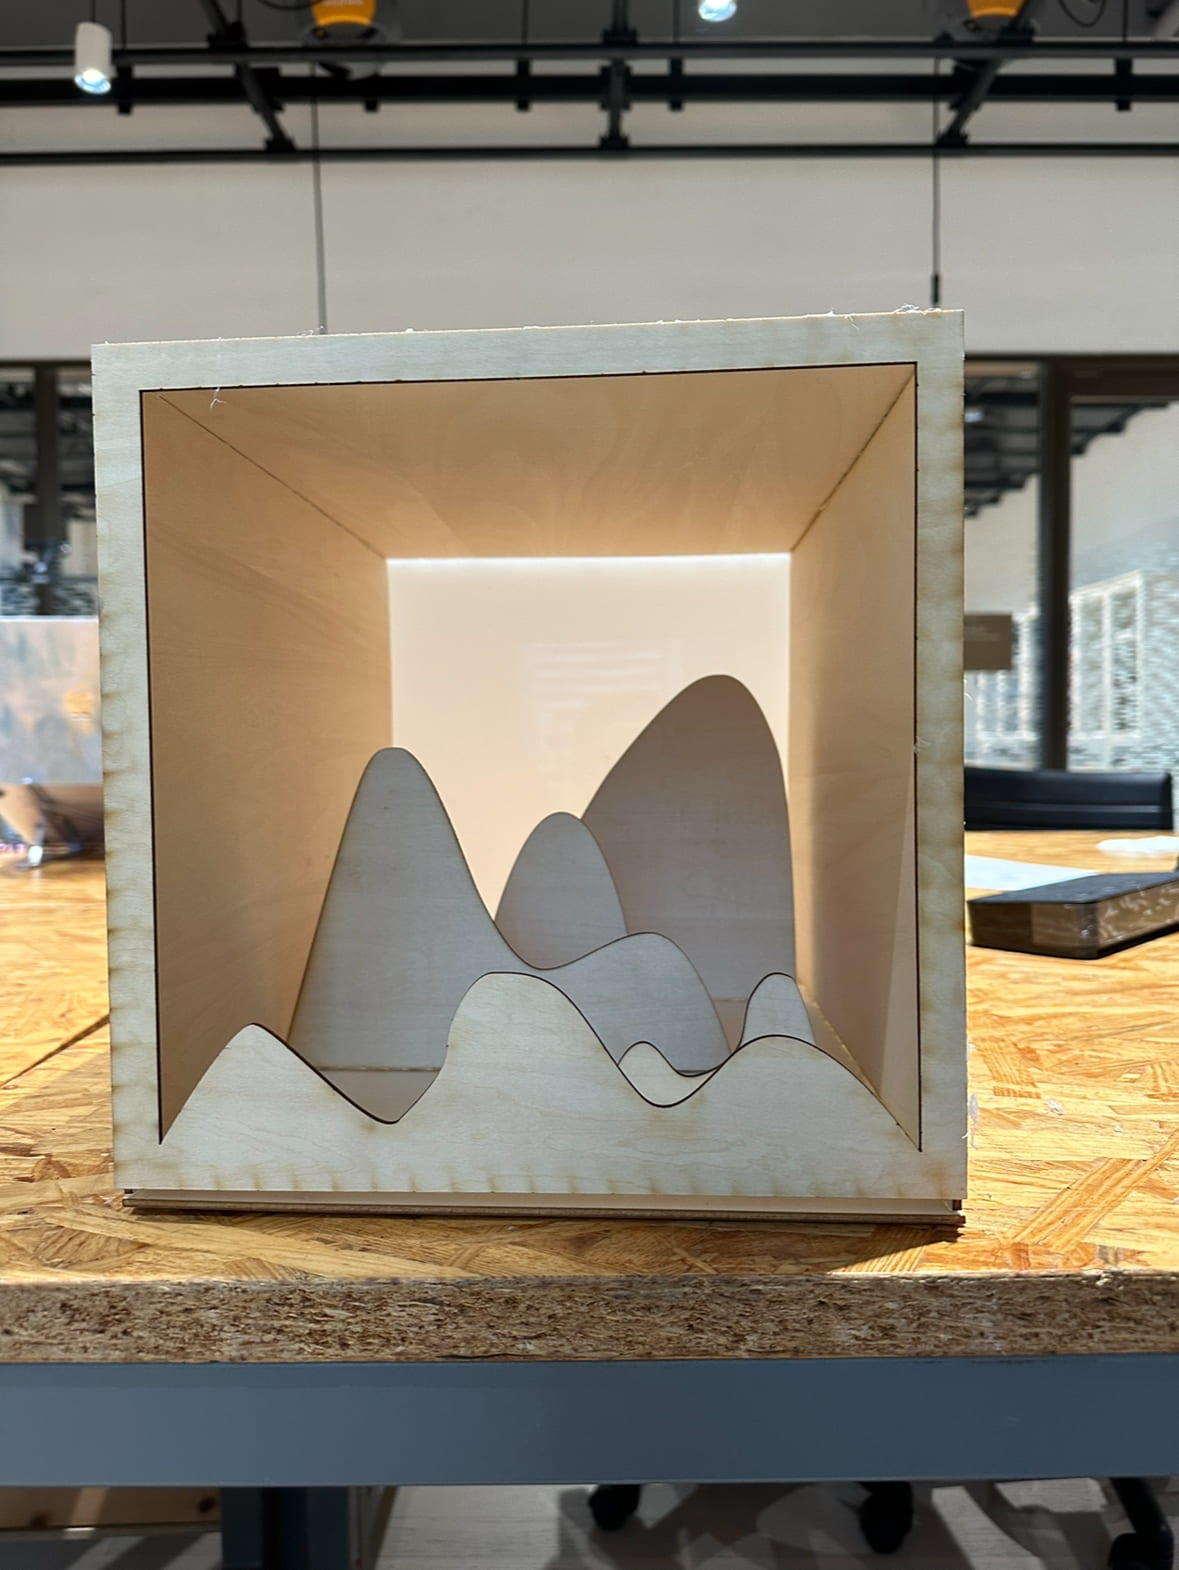
On the day of our appointment in the fab lab I had to build the box (picture below) alone because my partner had another project she to rush and get done. She made a beautiful graph for the hills but sadly the length of the rectangle pieces don’t fit together very well, so when I was sticking the outer square frame I stuck them together in a way that the crack is at the bottom was at the bottom so it wasn’t very obvious (and it even looks a bit like a river at the foot of the hills). And I added the white acrylic last minute to defuse the matrix’s light, and it worked very well.
For the code we referenced this code. We first tried many example codes including “fire” and “pacific”, but they weren’t suitable enough to be edited to achieve the effects we wanted. For instance, I managed to get the “pacific” code into a gradient pink but couldn’t make it shift between red and orange. We then turned to our browser and found this very smooth red – orange – light blue gradient. Based on the reference code, we made the time span shorter, cutting it down from 30 min to 2 min. There was also one problem we spend a ton of time of was the timing of color shifting. Though the transition is very smooth, about more than 50% of the time it stays in Red. We experimented with numerous way of either changing the function or the numbers in the functions, but it’s either the same or finish the transition form red to blue in less than 2 seconds. I tried to make the number as specific as possible, so that it falls in the perfect spot, and I eventually discovered I had to use two decimal digits to make the timing suitable. This was the most time consuming and challenging part because it also takes a long time for every try and we had to look at the lights directly for a long time.
If we had more time on the project, we would make the box longer do the lights could be hidden inside the project instead of just hanging on the computer behind the box. But overall really like the shadows and the subtle reflections the hills created, and we realized our idea in a relatively satisfied way.
Here’s the code we used:
#include "FastLED.h"

#define NUM_LEDS 64

#define DATA_PIN 3
#define CLOCK_PIN 13

CRGB leds[NUM_LEDS];

void setup() {
  // Uncomment/edit one of the following lines for your leds arrangement.
  //FastLED.addLeds<TM1803, DATA_PIN, RGB>(leds, NUM_LEDS);
  //FastLED.addLeds<TM1804, DATA_PIN, RGB>(leds, NUM_LEDS);
  //FastLED.addLeds<TM1809, DATA_PIN, RGB>(leds, NUM_LEDS);
  //FastLED.addLeds<WS2811, DATA_PIN, RGB>(leds, NUM_LEDS);
  //FastLED.addLeds<WS2812, DATA_PIN, RGB>(leds, NUM_LEDS);
  //FastLED.addLeds<WS2812B, DATA_PIN, RGB>(leds, NUM_LEDS);
  FastLED.addLeds<NEOPIXEL, DATA_PIN>(leds, NUM_LEDS);
  //FastLED.addLeds<APA104, DATA_PIN, RGB>(leds, NUM_LEDS);
  //FastLED.addLeds<UCS1903, DATA_PIN, RGB>(leds, NUM_LEDS);
  // FastLED.addLeds<UCS1903B, DATA_PIN, RGB>(leds, NUM_LEDS);
  // FastLED.addLeds<GW6205, DATA_PIN, RGB>(leds, NUM_LEDS);
  // FastLED.addLeds<GW6205_400, DATA_PIN, RGB>(leds, NUM_LEDS);

  FastLED.addLeds<WS2801, RGB>(leds, NUM_LEDS);
  FastLED.addLeds<SM16716, RGB>(leds, NUM_LEDS);
  // FastLED.addLeds<LPD8806, RGB>(leds, NUM_LEDS);
  // FastLED.addLeds<P9813, RGB>(leds, NUM_LEDS);
  // FastLED.addLeds<APA102, RGB>(leds, NUM_LEDS);
  FastLED.addLeds<DOTSTAR, RGB>(leds, NUM_LEDS);

  // FastLED.addLeds<WS2801, DATA_PIN, CLOCK_PIN, RGB>(leds, NUM_LEDS);
  // FastLED.addLeds<SM16716, DATA_PIN, CLOCK_PIN, RGB>(leds, NUM_LEDS);
  // FastLED.addLeds<LPD8806, DATA_PIN, CLOCK_PIN, RGB>(leds, NUM_LEDS);
  // FastLED.addLeds<P9813, DATA_PIN, CLOCK_PIN, RGB>(leds, NUM_LEDS);
  // FastLED.addLeds<APA102, DATA_PIN, CLOCK_PIN, RGB>(leds, NUM_LEDS);
  //FastLED.addLeds<DOTSTAR, DATA_PIN, CLOCK_PIN, RGB>(leds, NUM_LEDS);
}

void loop() {
  sunrise();

  FastLED.show();
}

void sunrise() {

  static const uint8_t sunriseLength = 30;

  static const float interval = ((sunriseLength * 6.0) / 270) * 1000;

  static uint8_t heatIndex = 0;

  CRGB color = ColorFromPalette(HeatColors_p, heatIndex);

  fill_solid(leds, NUM_LEDS, color);

  EVERY_N_MILLISECONDS(interval) {
    if (heatIndex < 255) {
      heatIndex++;
    }
  }
}