Project Description
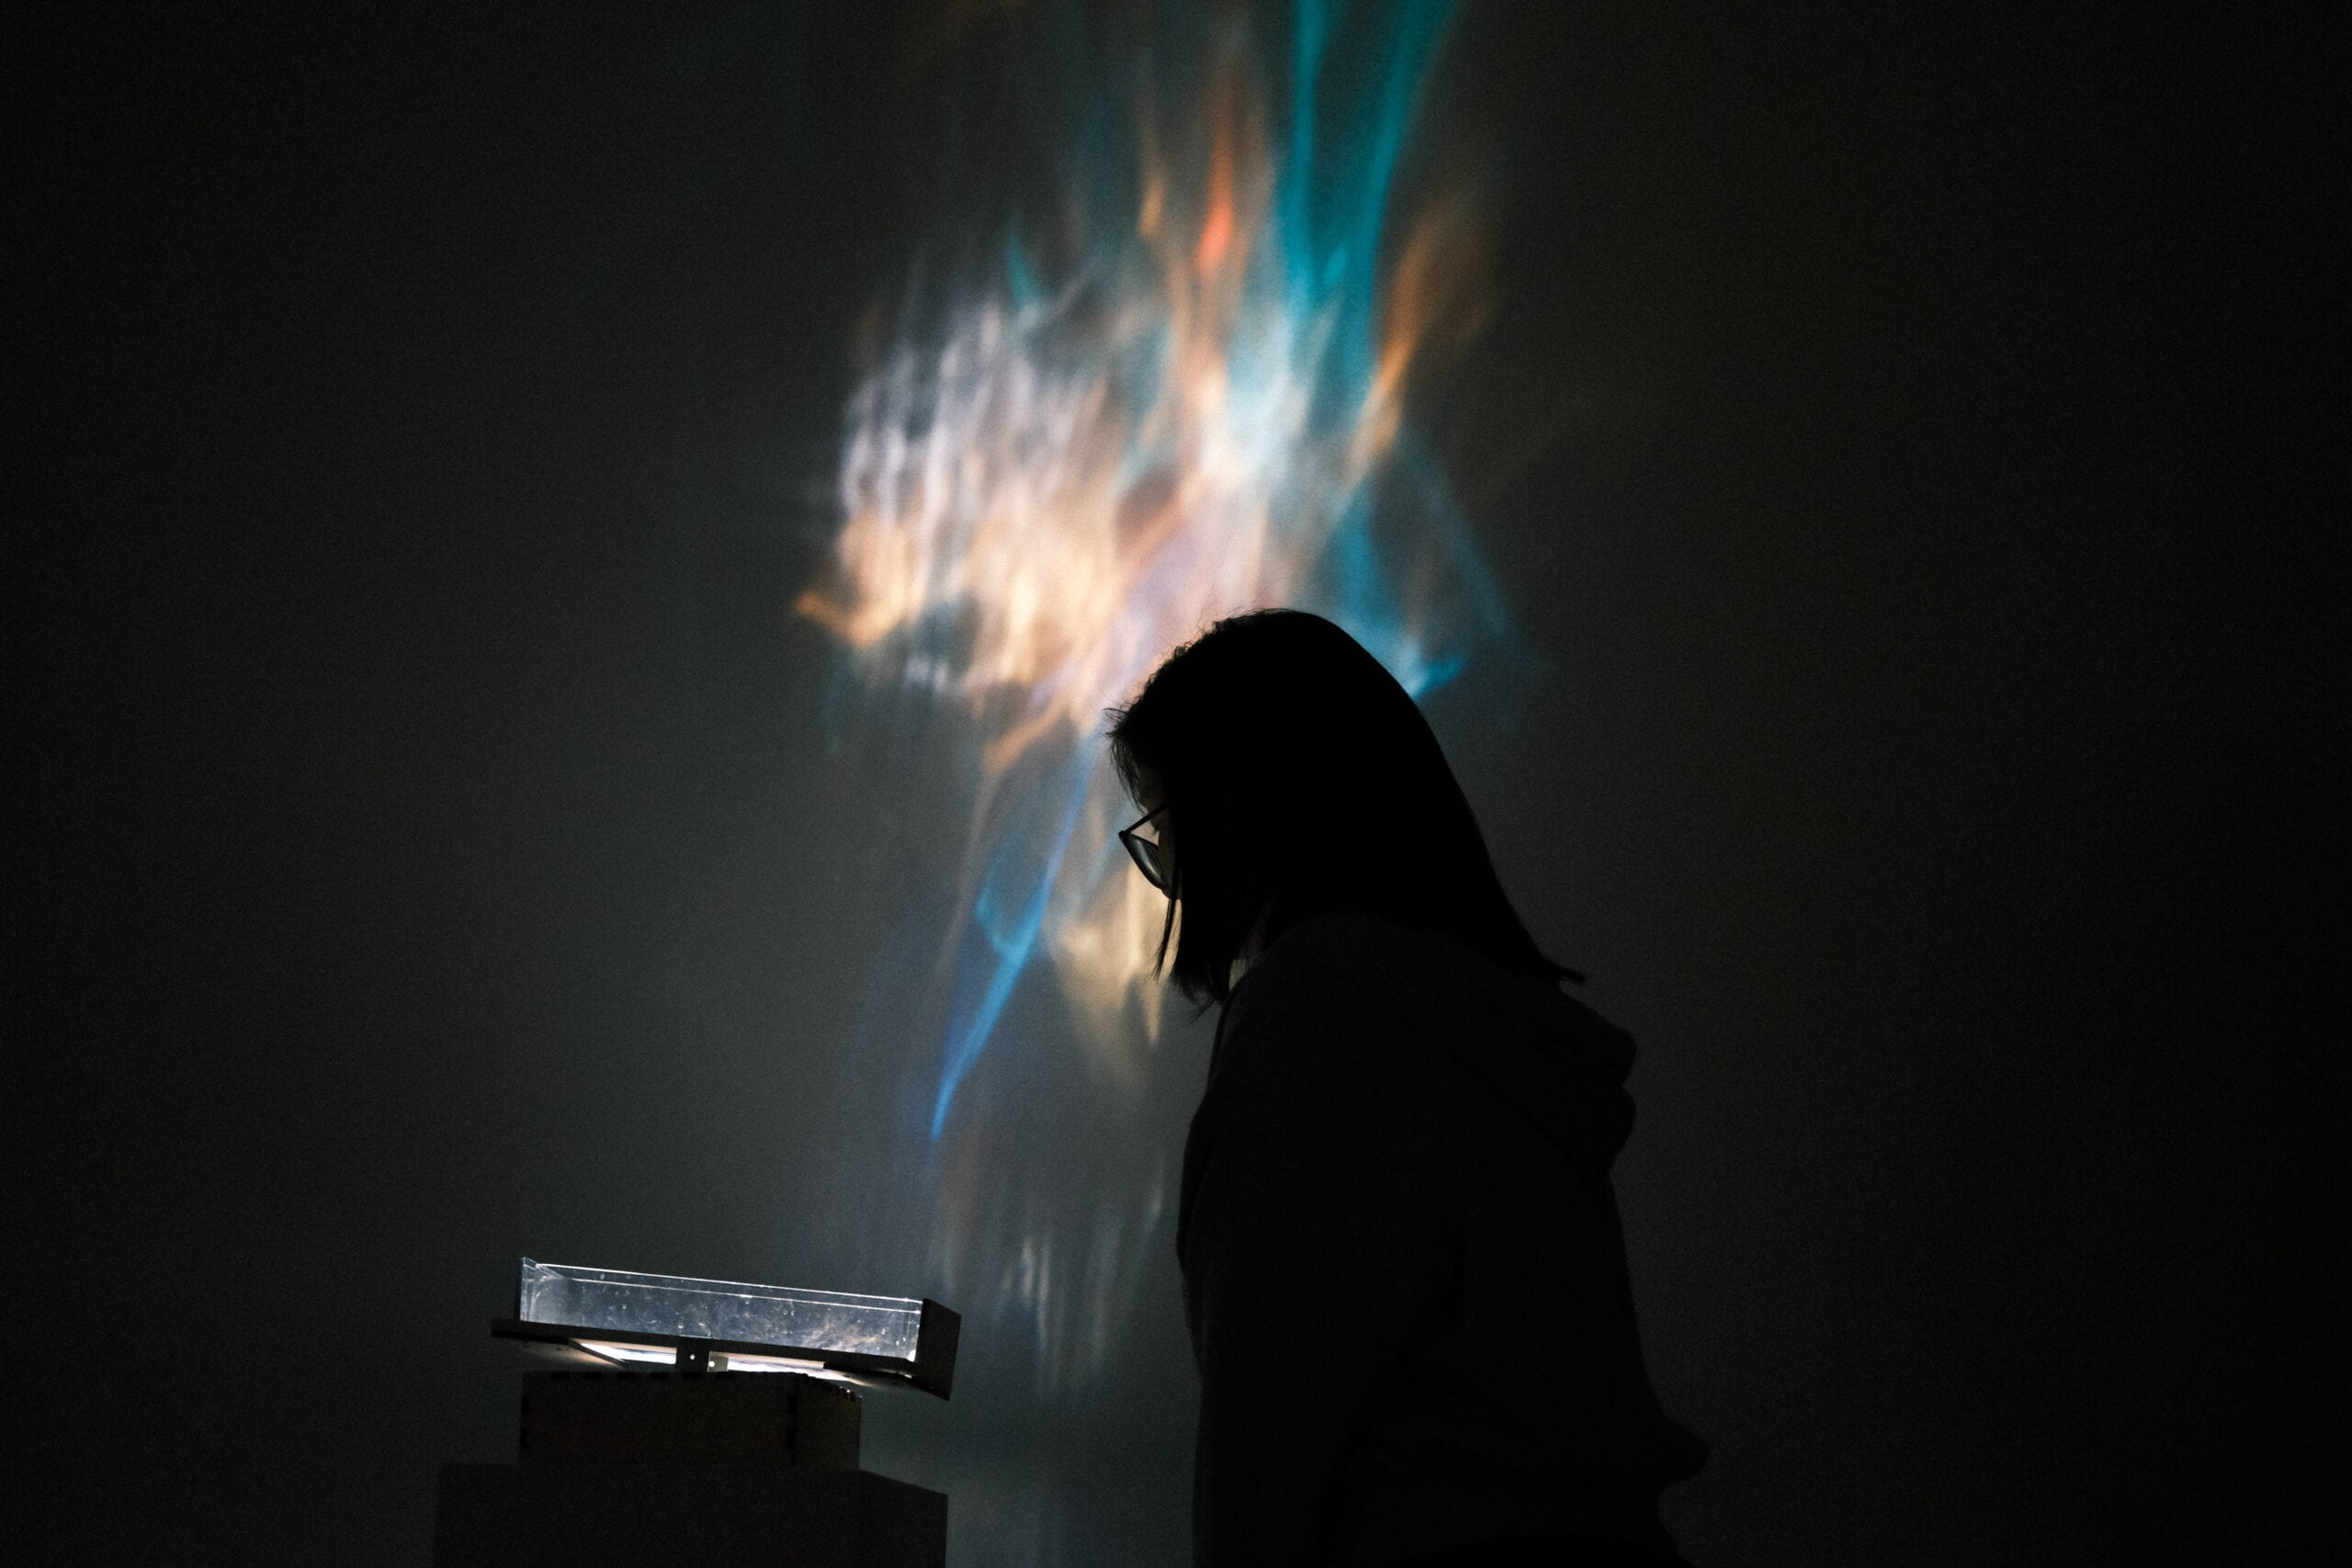
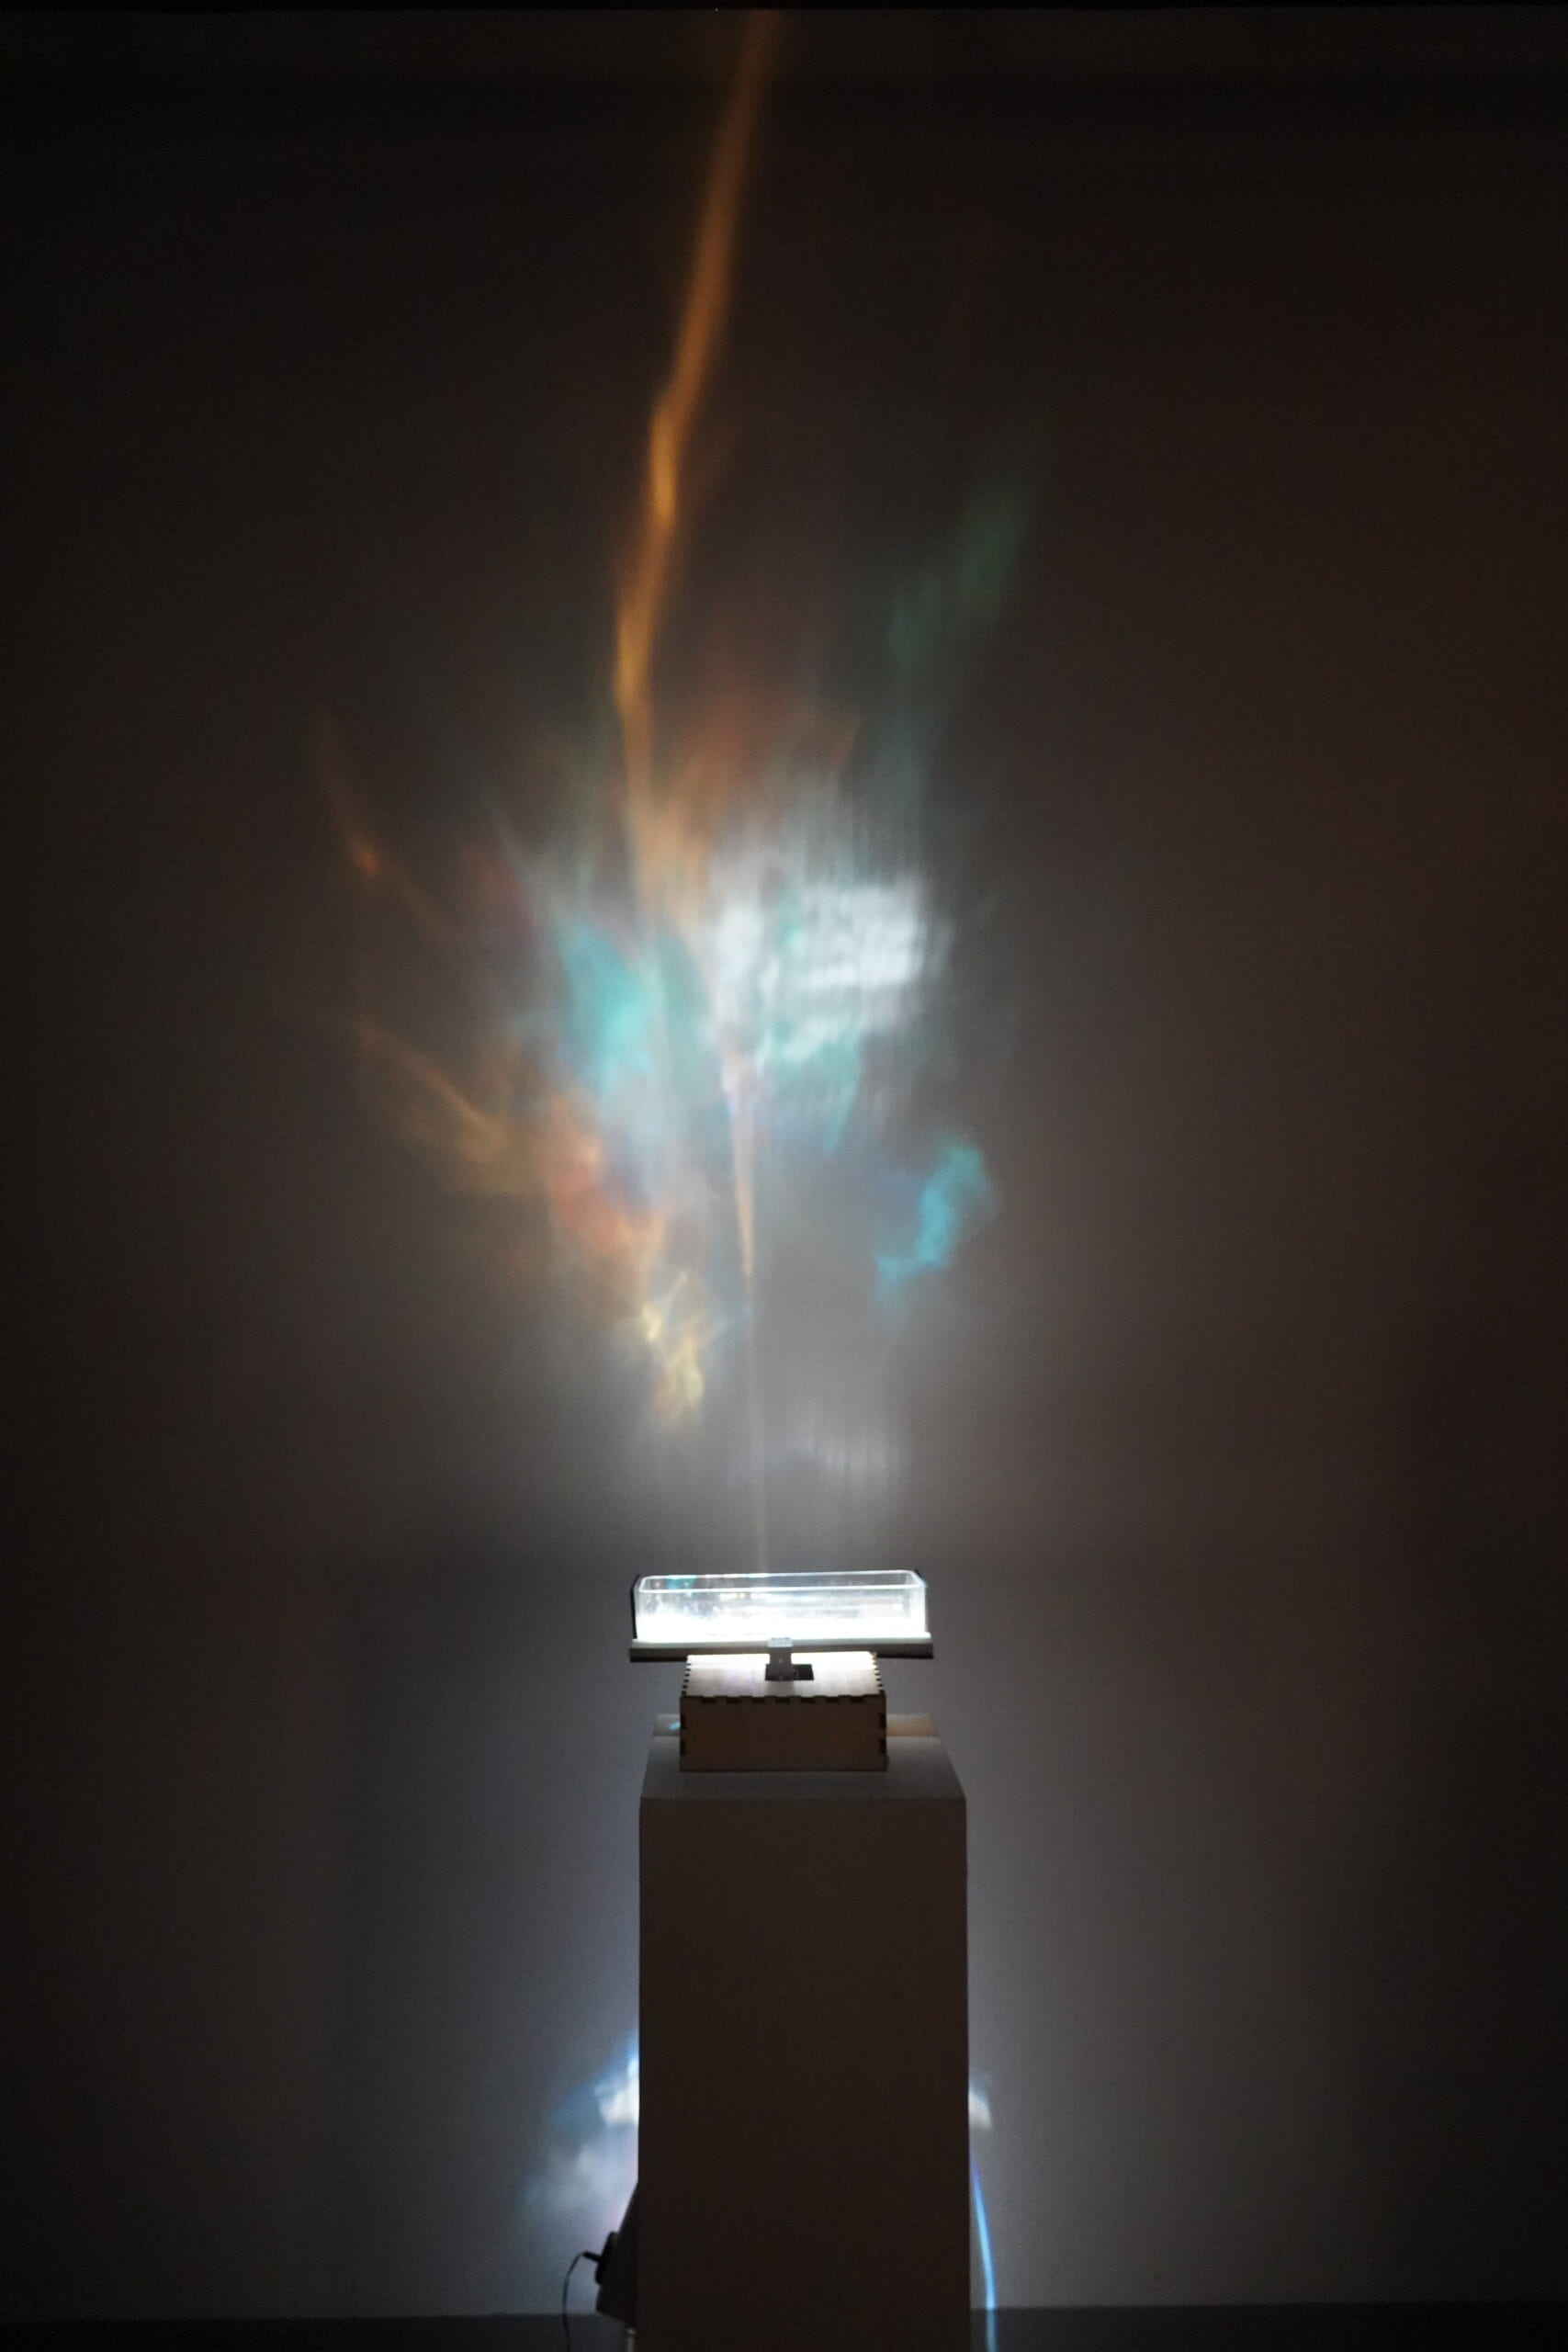
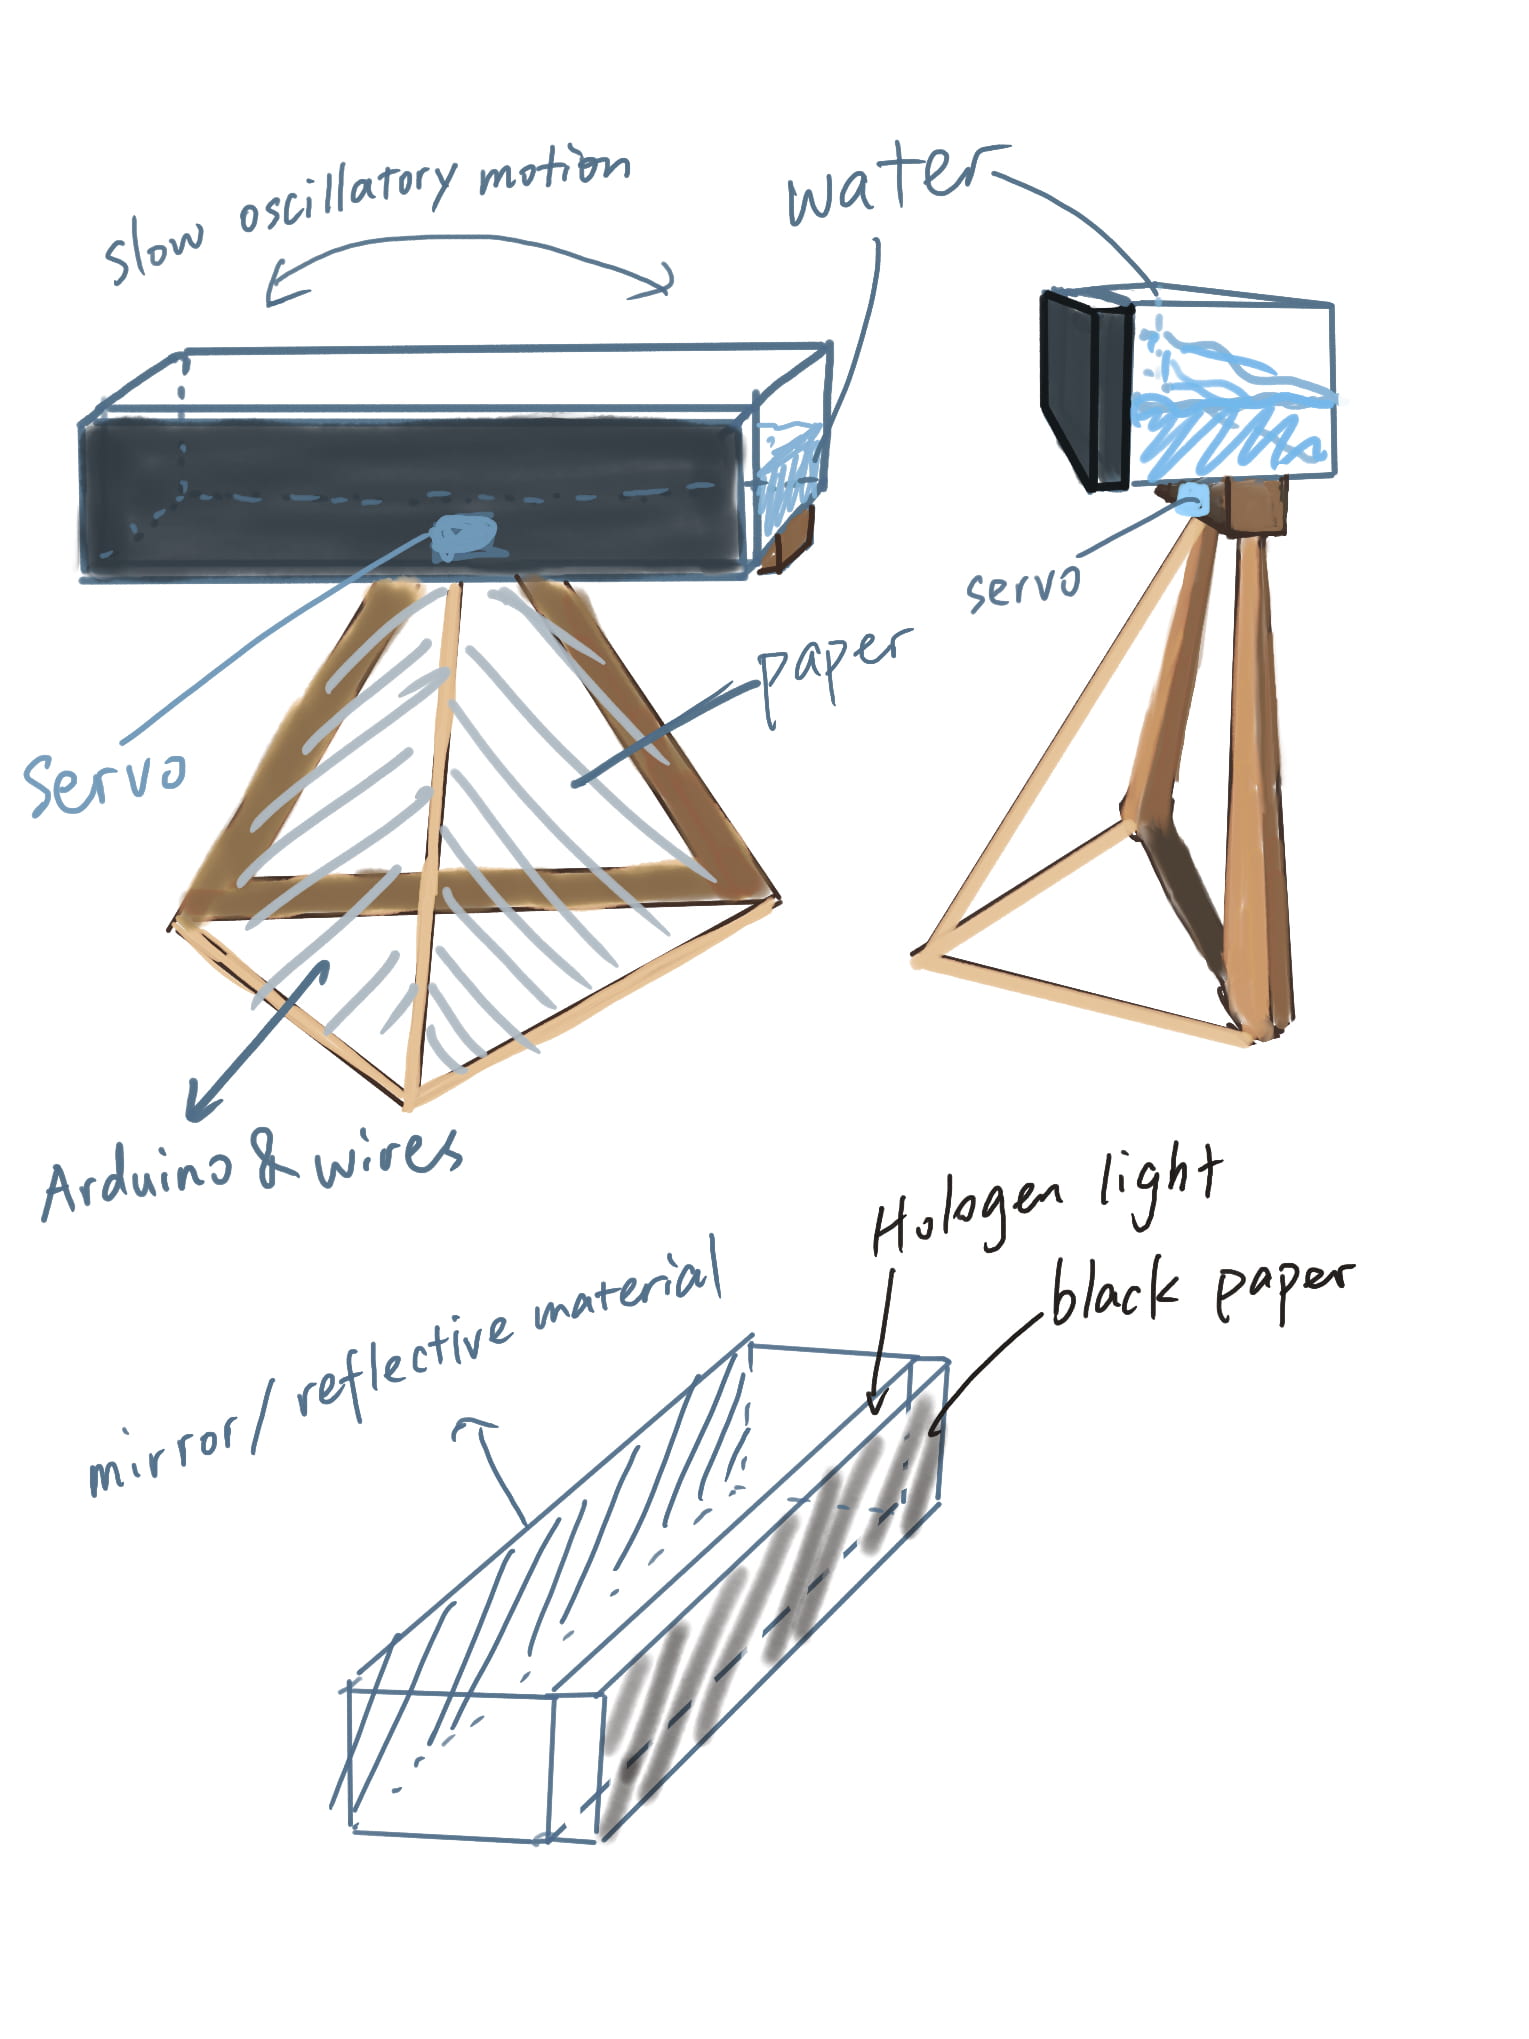
This project is kinetic light sculpture that projects dynamic light on the wall by using servos, water and refractive plastic.
I got the inspiration for this piece during midterm while I was trying to reorganize my saved videos folders on bilibili, and I came across this video (which I’ve long forgotten about) that showcased some art installations related to light. And the piece really struck me as gorgeous. But I did not continue to develop on this in midterm because I did not know how to make the floating material wobble in the container like in the video. And after covering mechanisms and motors in the second half of the semester, I feel like I could give the idea a try.
Here’s a video of the final version of the project:
Perspective and Context
 What I really love about this project is that it creates something that takes up quite some space with very little physical fabrication, and the rest of it all depends on the light. And with a repetitive motion with two servos underneath it, there’s also a sense of industrial/mechanical vibe to it, that in some way contrasts with the refraction that was projected onto the wall because despite the whole thing being “manufactured” intentionally, the shapes and movement of the animate light looks very soft, blurred, random, as if created naturally. The repetitive motion also gives it a sense of calmness to it, because the degree it was tilting back and forth is relatively small and constrained in speed, especially combined with the elegant refractions, so the whole piece looks like an innocent creature of an mechanical world that minding its own business, doing its own thing, while unconsciously radiating charm. I was also very happy with the amount of the motion it has, that it is moving enough so people would be sure to notice, but that it won’t distract too much attention that anyone would miss what’s happening on the wall behind it.
Development & Technical Implementation
Container & refractive plastic
I really wanted to figure out how the magnificent reflection on the wall was achieved, so I started to look for materials that might be or close to what is shown in the video
I had a hard time figuring out how the magnificent reflection on the wall was achieved in the video and looking for materials that are suitable for creating something similar to it.
First was the material that creates the refraction. At first I thought those were really thin layers of prism glass, but after searching online, I realized it is impossible to have a prism be shaped like a thin layer of glass and it is impossible to have it float on water. So I substituted the material with some colored refractive plastic and tried it out. Though the effect was very different from that in the video, still they looked very pretty, so I kept it for the project.
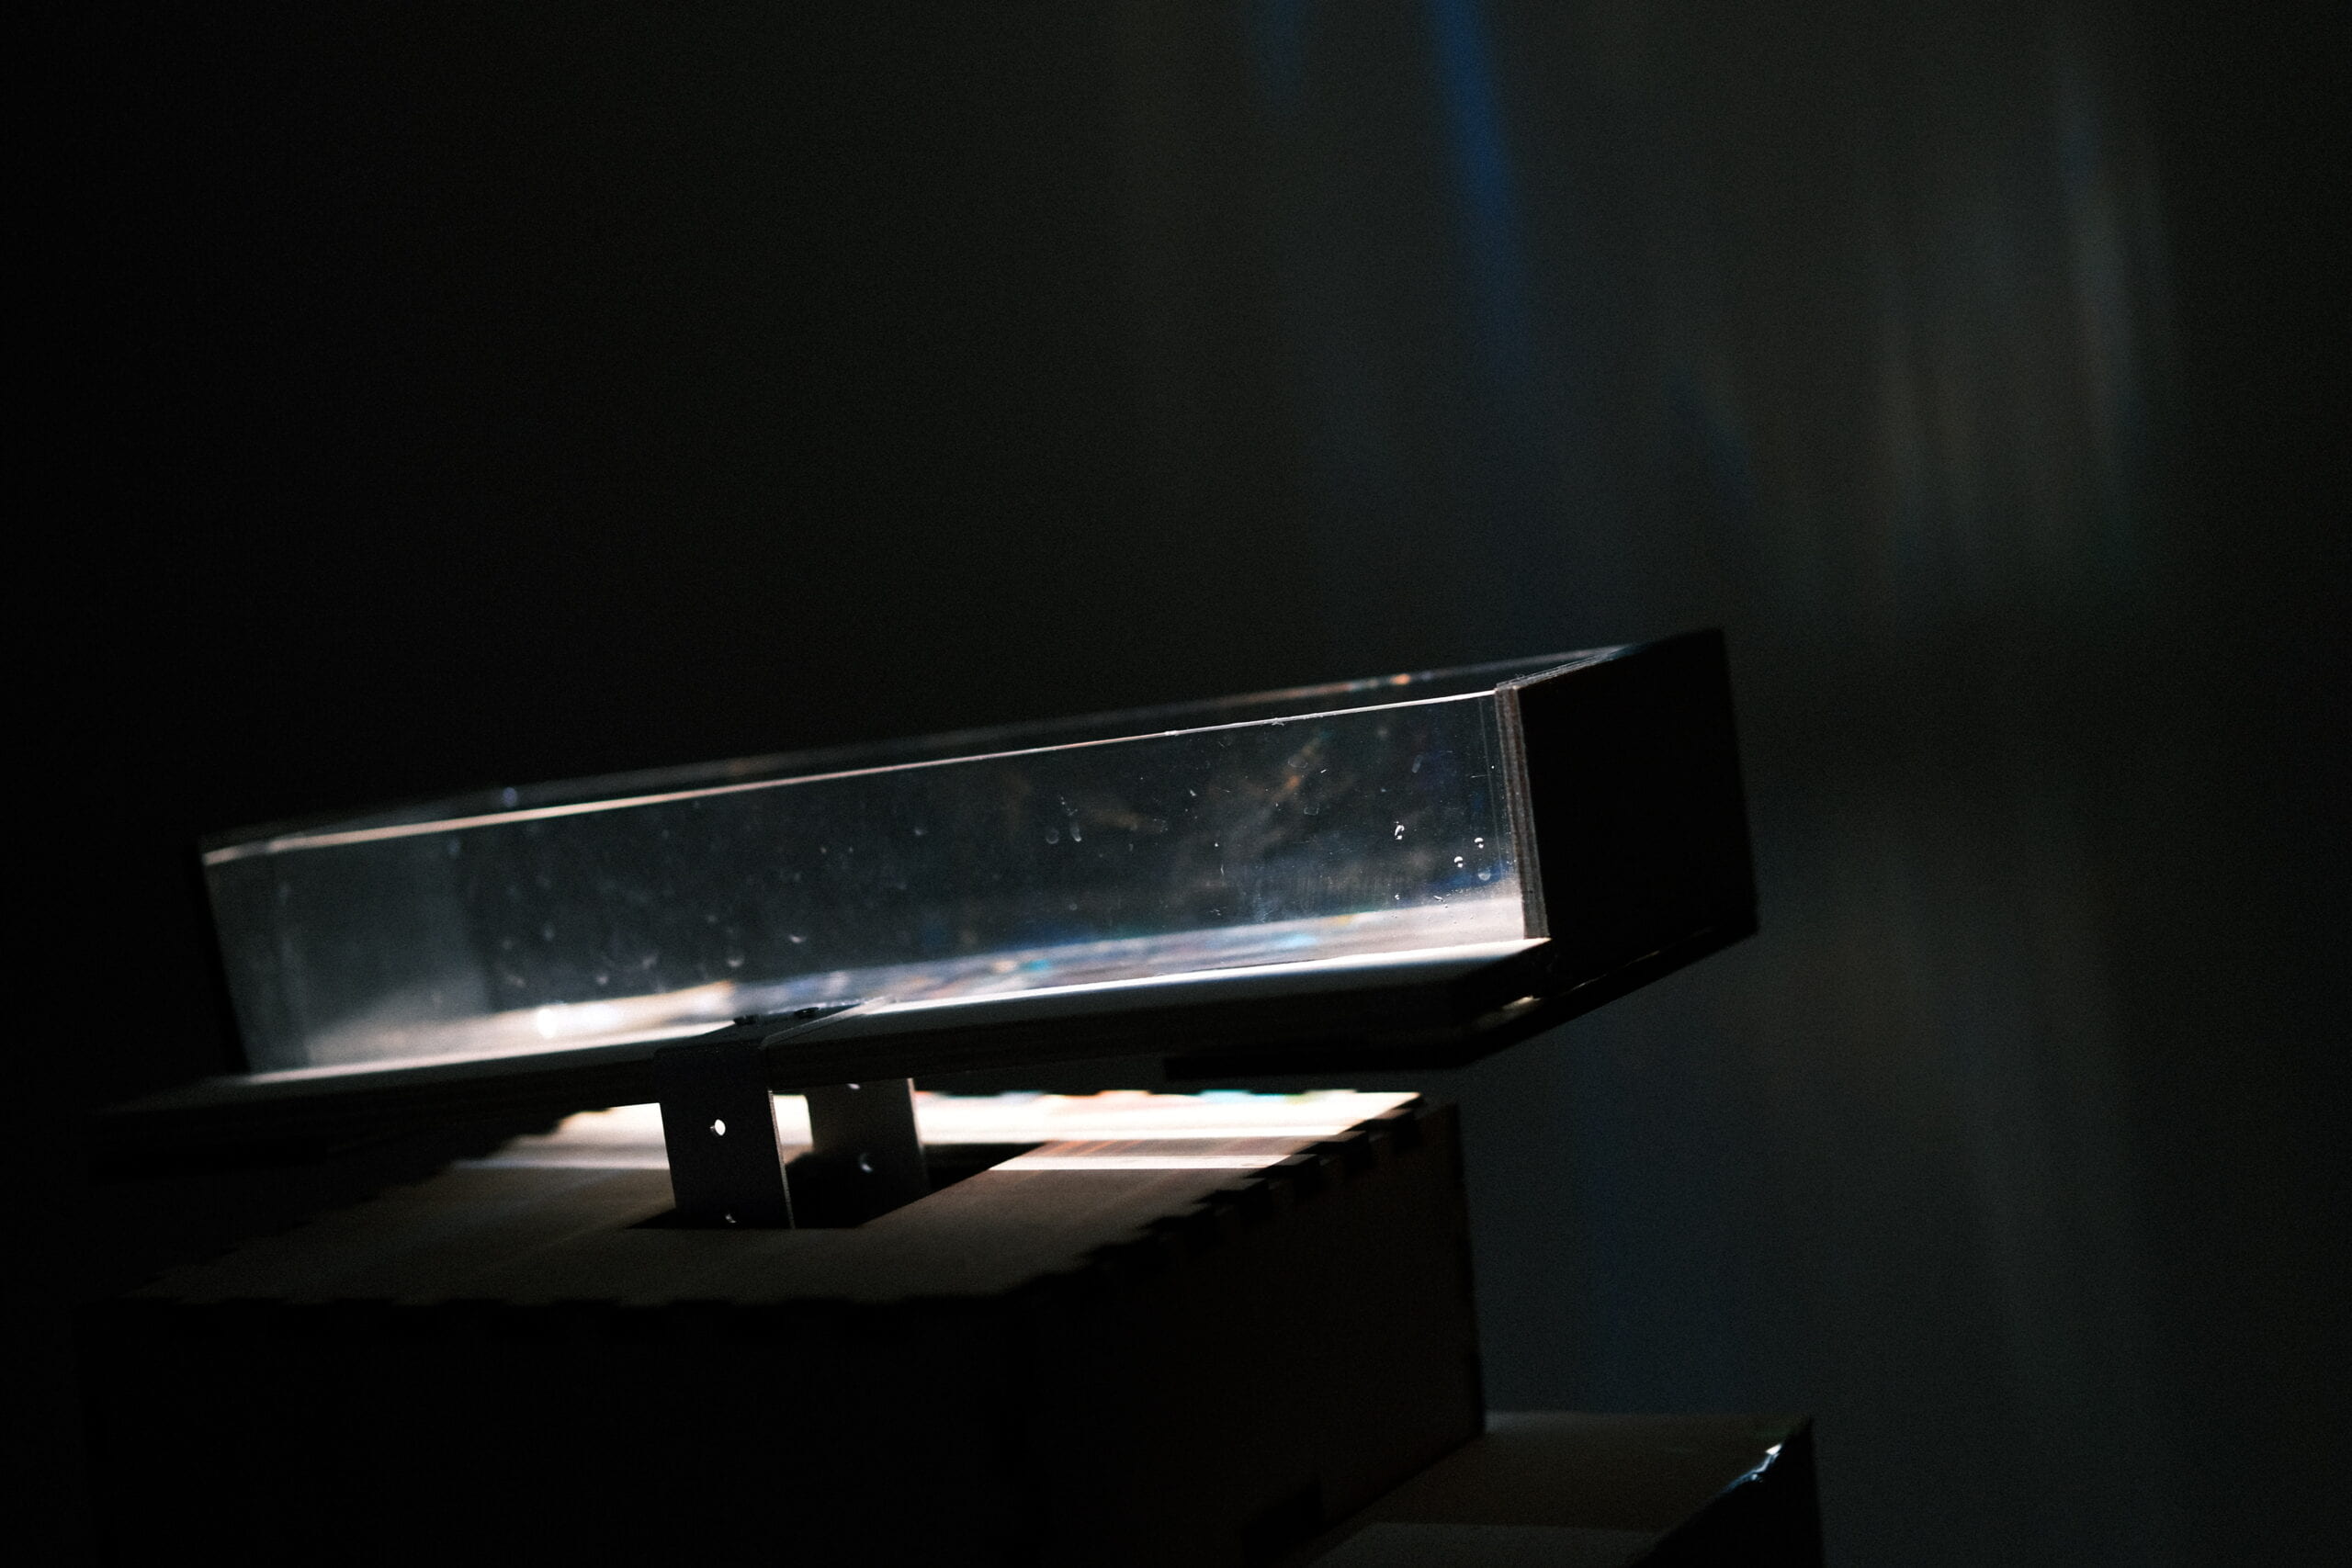
Then, I needed to get a watertight but lightweight, have depth but not too deep, long in length but short in width, see-through container. How hard could it be? These acrylic boxes are see-through, but it’s too thick if it’s watertight, and hence too heavy; This box is long enough in length, but too long for width; this box’s length and width are perfect, but way too big in depth, and that one’s too shallow that the water will definitely spill; this one this great, but why does it have holes on the sides… You might ask: why don’t you just laser cut your own box that meets your needs? Well, from what I learned from my midterm, it is almost impossible to hand-stick a watertight box no matter how much glue you use. Just when I was about to give up, I saw this storage tray that its sides are connected with cambered surfaces, which means it’s almost a plastic bucket that looks like a box, and it has the size and shape catering to my needs, and it’s very cheap. (Had I seen this coming I would’ve searched “plastic storage tray” instead of “acrylic box”.)
 Servo & servo mount
Like I said, I had no idea how the servo would support the container, but after I’ve realized that I need two servos to do the work (thank you Eric for the suggestion), making the servos move synchronously based on how they are installed became the more difficult issue. It was very confusing, because to figure out how the servos would move, I needed to know how they are situated relative to each other. To figure out how they should be situated, I need to mount them on servos mounts (thank you Eric again for the suggestion). But when someone who knows nothing about them sees pictures of various mounts, the ability to picture them installed together with the servos moving was near zero. So I looked through the pictures of people’s finished work using the mounters posted in the comments and tried my best to figure out which type of mount I should buy.
The first round of purchase, I got what is suitable for installing the servos themselves so that they are stable enough to support weight while working. I initially intended to just drill the two onto each side of a wooden stick, but then quickly realized that the premise of doing so is that the positions on both sides are exactly the same, and the starting and ending positions of the two also need to be the same. The slightest difference would prevent it from working. So I then had to look for a way that connects the two servos (thank you Eric again for the suggestion).
But isn’t that basically the same as drilling a hole on two sides of a stick? It took me probably an hour to think of a solution: buy another servo mount. I know it sounds stupid but the mounts do look very different as I recalled that there was a U-shaped mount that might do the job, and did a second round of purchase. Luckily, it worked very well with the small piece of wooden board I snatched from the wood fabrication room, and all that I needed to do next is to drill the board onto the U-shaped mount. What could go wrong?
 Base & support
As you could tell from the sketch I drew for the proposal the base does not look like an actual finished piece. When I was still in my “daydream” stage, I figured it would be nice to have the base also act like a pedestal, so the projection would be ideally around or slightly above eye level. But after I’ve settled with how the servos should be installed (which is basically built for putting on a flat surface), making a box around the servos became a much more reasonable and easier option.
I made a lidless box, cut a square hole on the bottom and flipped it upside down. The tricky thing about this is the measures of the box. It needs to be high enough to cover up the servos, but not too high that it prevents the wooden board that supports the container from moving side to side. Same issue with the size of the box, but it also needs to be big enough that it fits the Arduino and the breadboard. After a series of careful measurements, it still ended up being a bit too deep, so I attached another 9mm thick wooden board underneath the two servos, and changed the U-shaped mount to a longer one.
Because I wanted the container to be as close to the wall as possible, having it right on top of the piece of wood that is above the center of the base box would then let the box underneath get in the way. So I drilled two more boards on each side sticking out in the same direction to support the container, and glue gunned another two pieces of wood horizontally to prevent the container from slipping off while rocking from side to side.
Servo & Code
I thought if I situate the two opposite servos in a certain way they will be moving in the same direction while running on the same code. Turns out they can’t. So for the other servo I changed it to 340 minus the other’s agree and worked. (For some reason it only works when it’s 340 instead of 360.) At this point I’ve had the servos moving like a small seesaw. But I noticed that the speed of the tilting left and tilting right are not equal, with always slowing tilting to one side and quickly to the other. I couldn’t figure out why it was behaving like that. I tried to do some adjustments, but very unfortunately burned my Arduino when reconnecting the wires. I then tried other types of Arduinos and eventually the same ones but they all make the servos behave very differently despite running on the same code, and it is impossible to make them turn in opposite directions.
Because I was testing with a code that previously worked, I had no idea how to modify it. So I dived into this cycle of changing all the possible variables in different combinations and see how the servos reacted. Maybe I got lucky, because the day before the IMA show, with the Arduino that Eric borrowed me (thank you Eric!), I got the movement I wanted.
Light
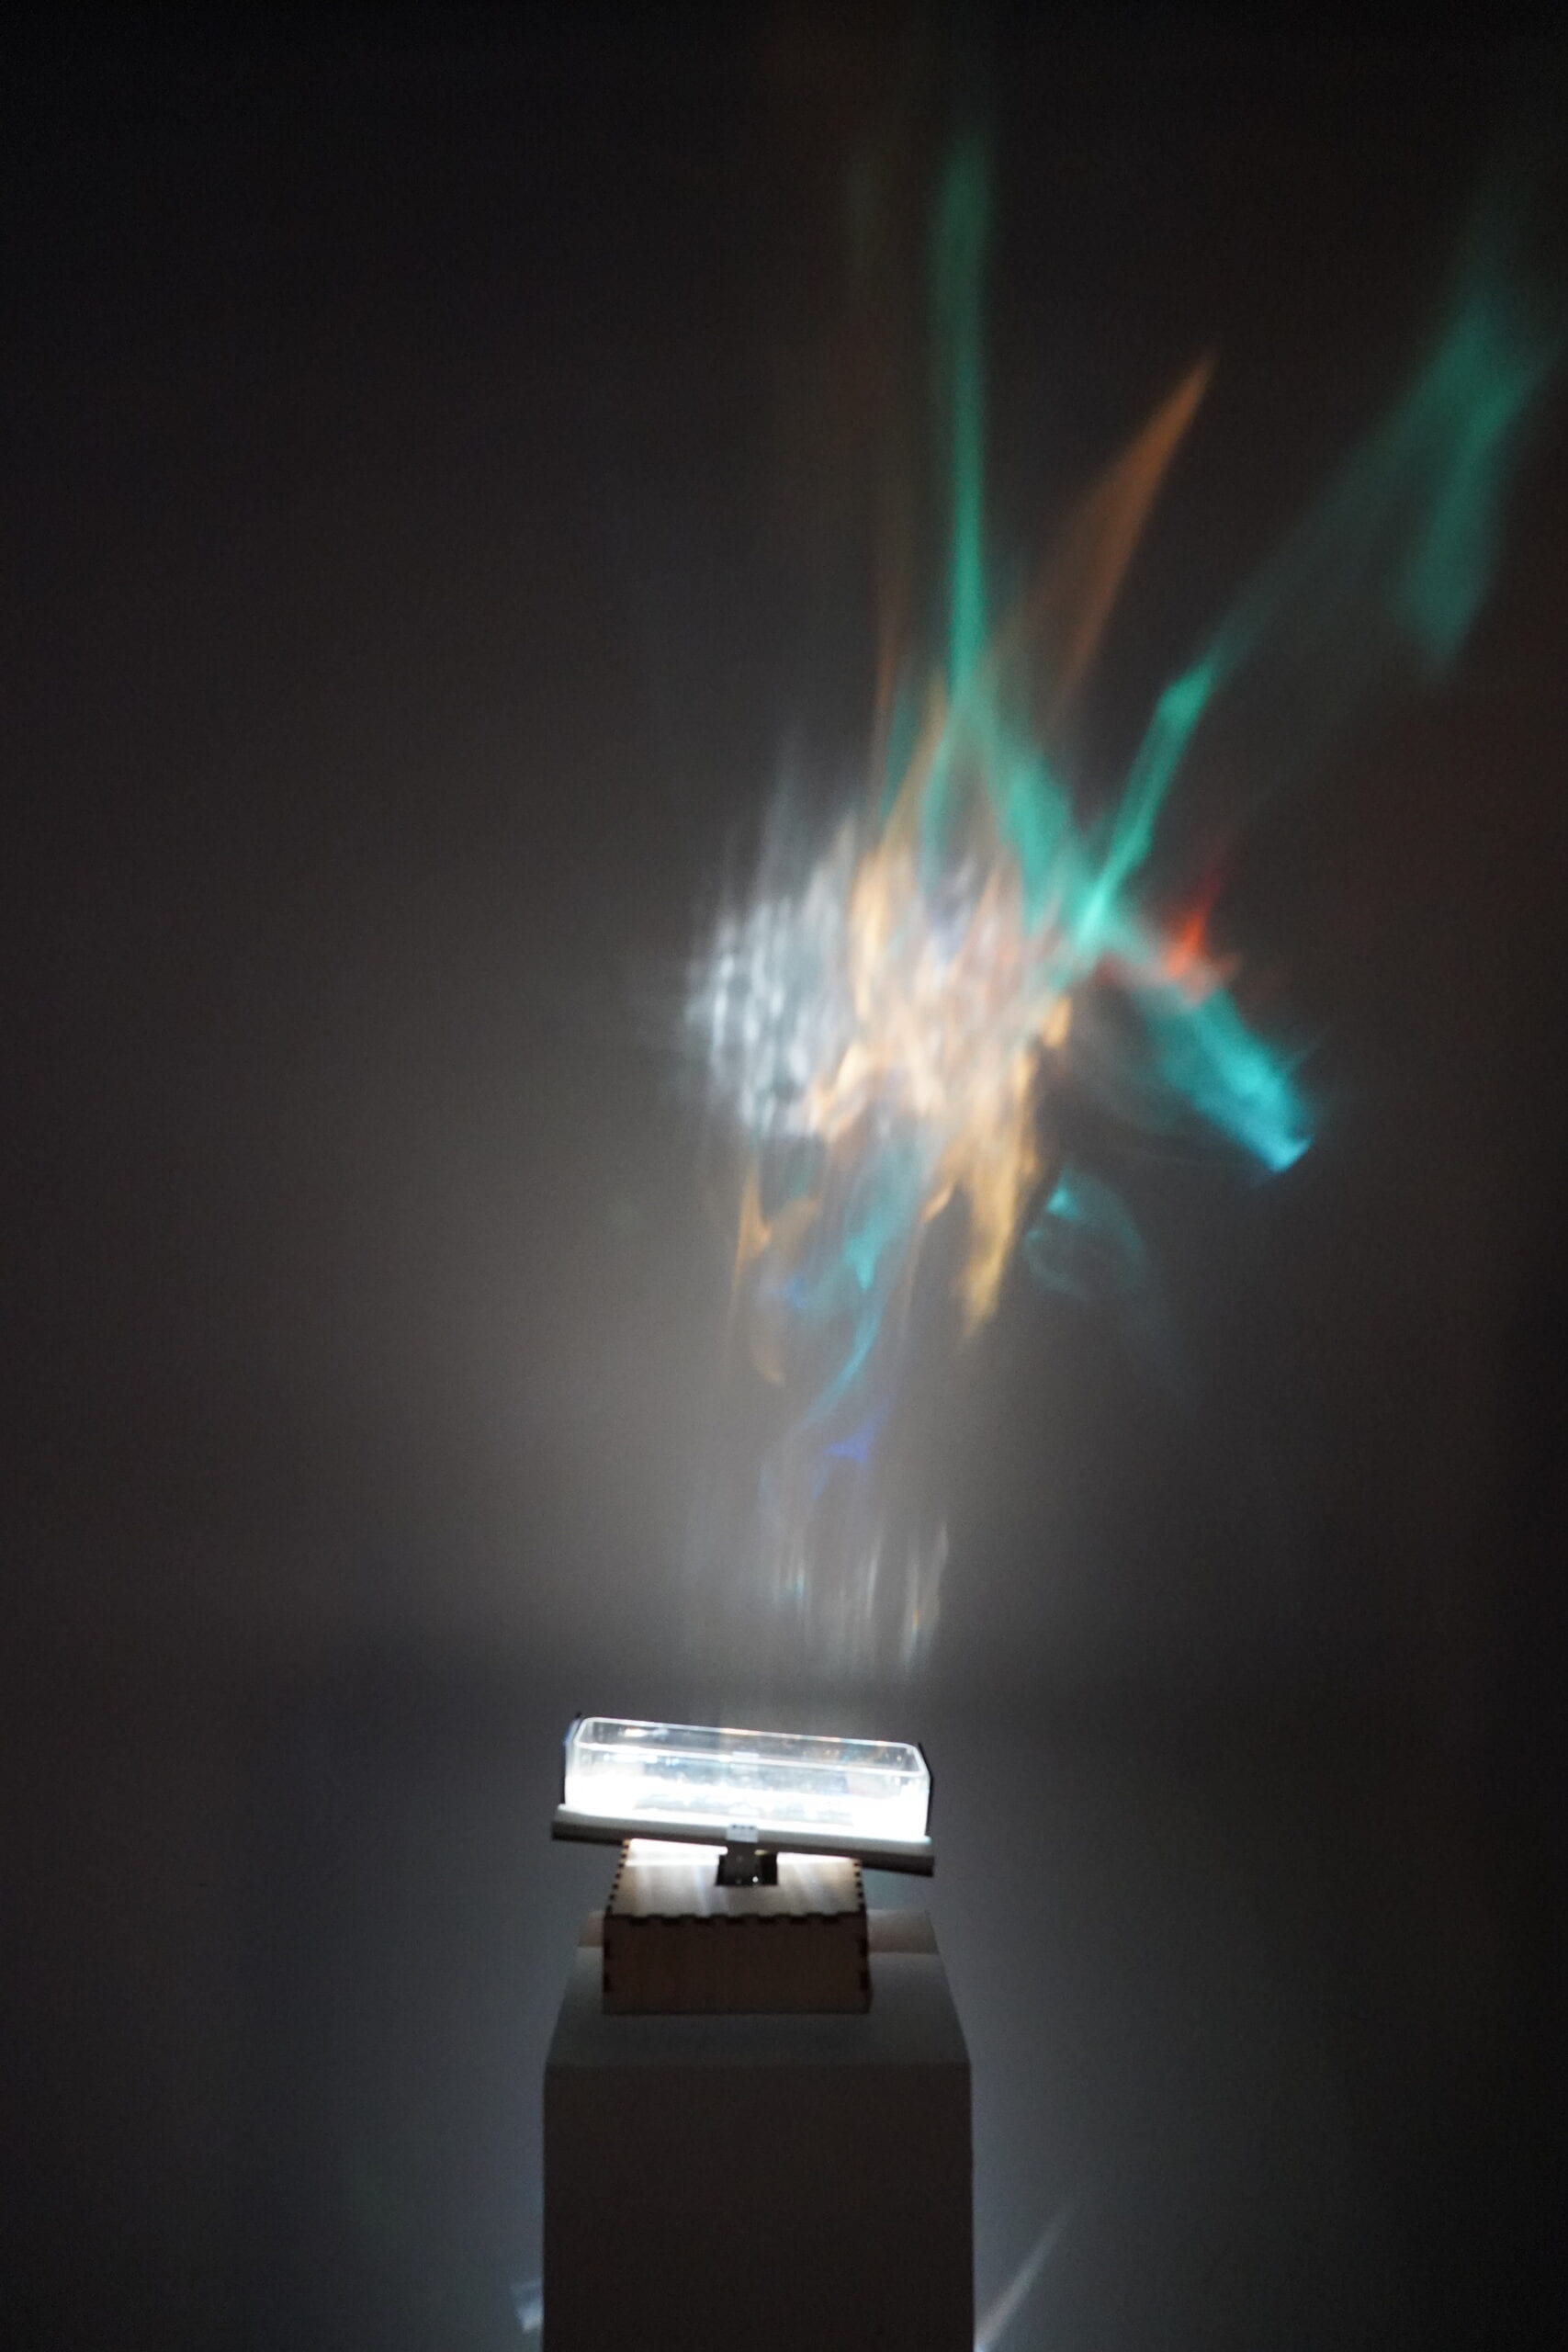
As seen in my sketchy testing video above, the light source needed to be emitted from above the container rather than below or anywhere close to it in general. But because I was having my focus on the servos, I did not take a lot of consideration into the light and assume that having a halogen light sticking out from the bottom of the container, similar to how I envisioned in the sketch for the proposal, would work.
I bought some hard black cardboards and mirror paper in hopes to concentrate all the lights, seal them inside the container, and block the bright light of the halogen bulb from the viewer.
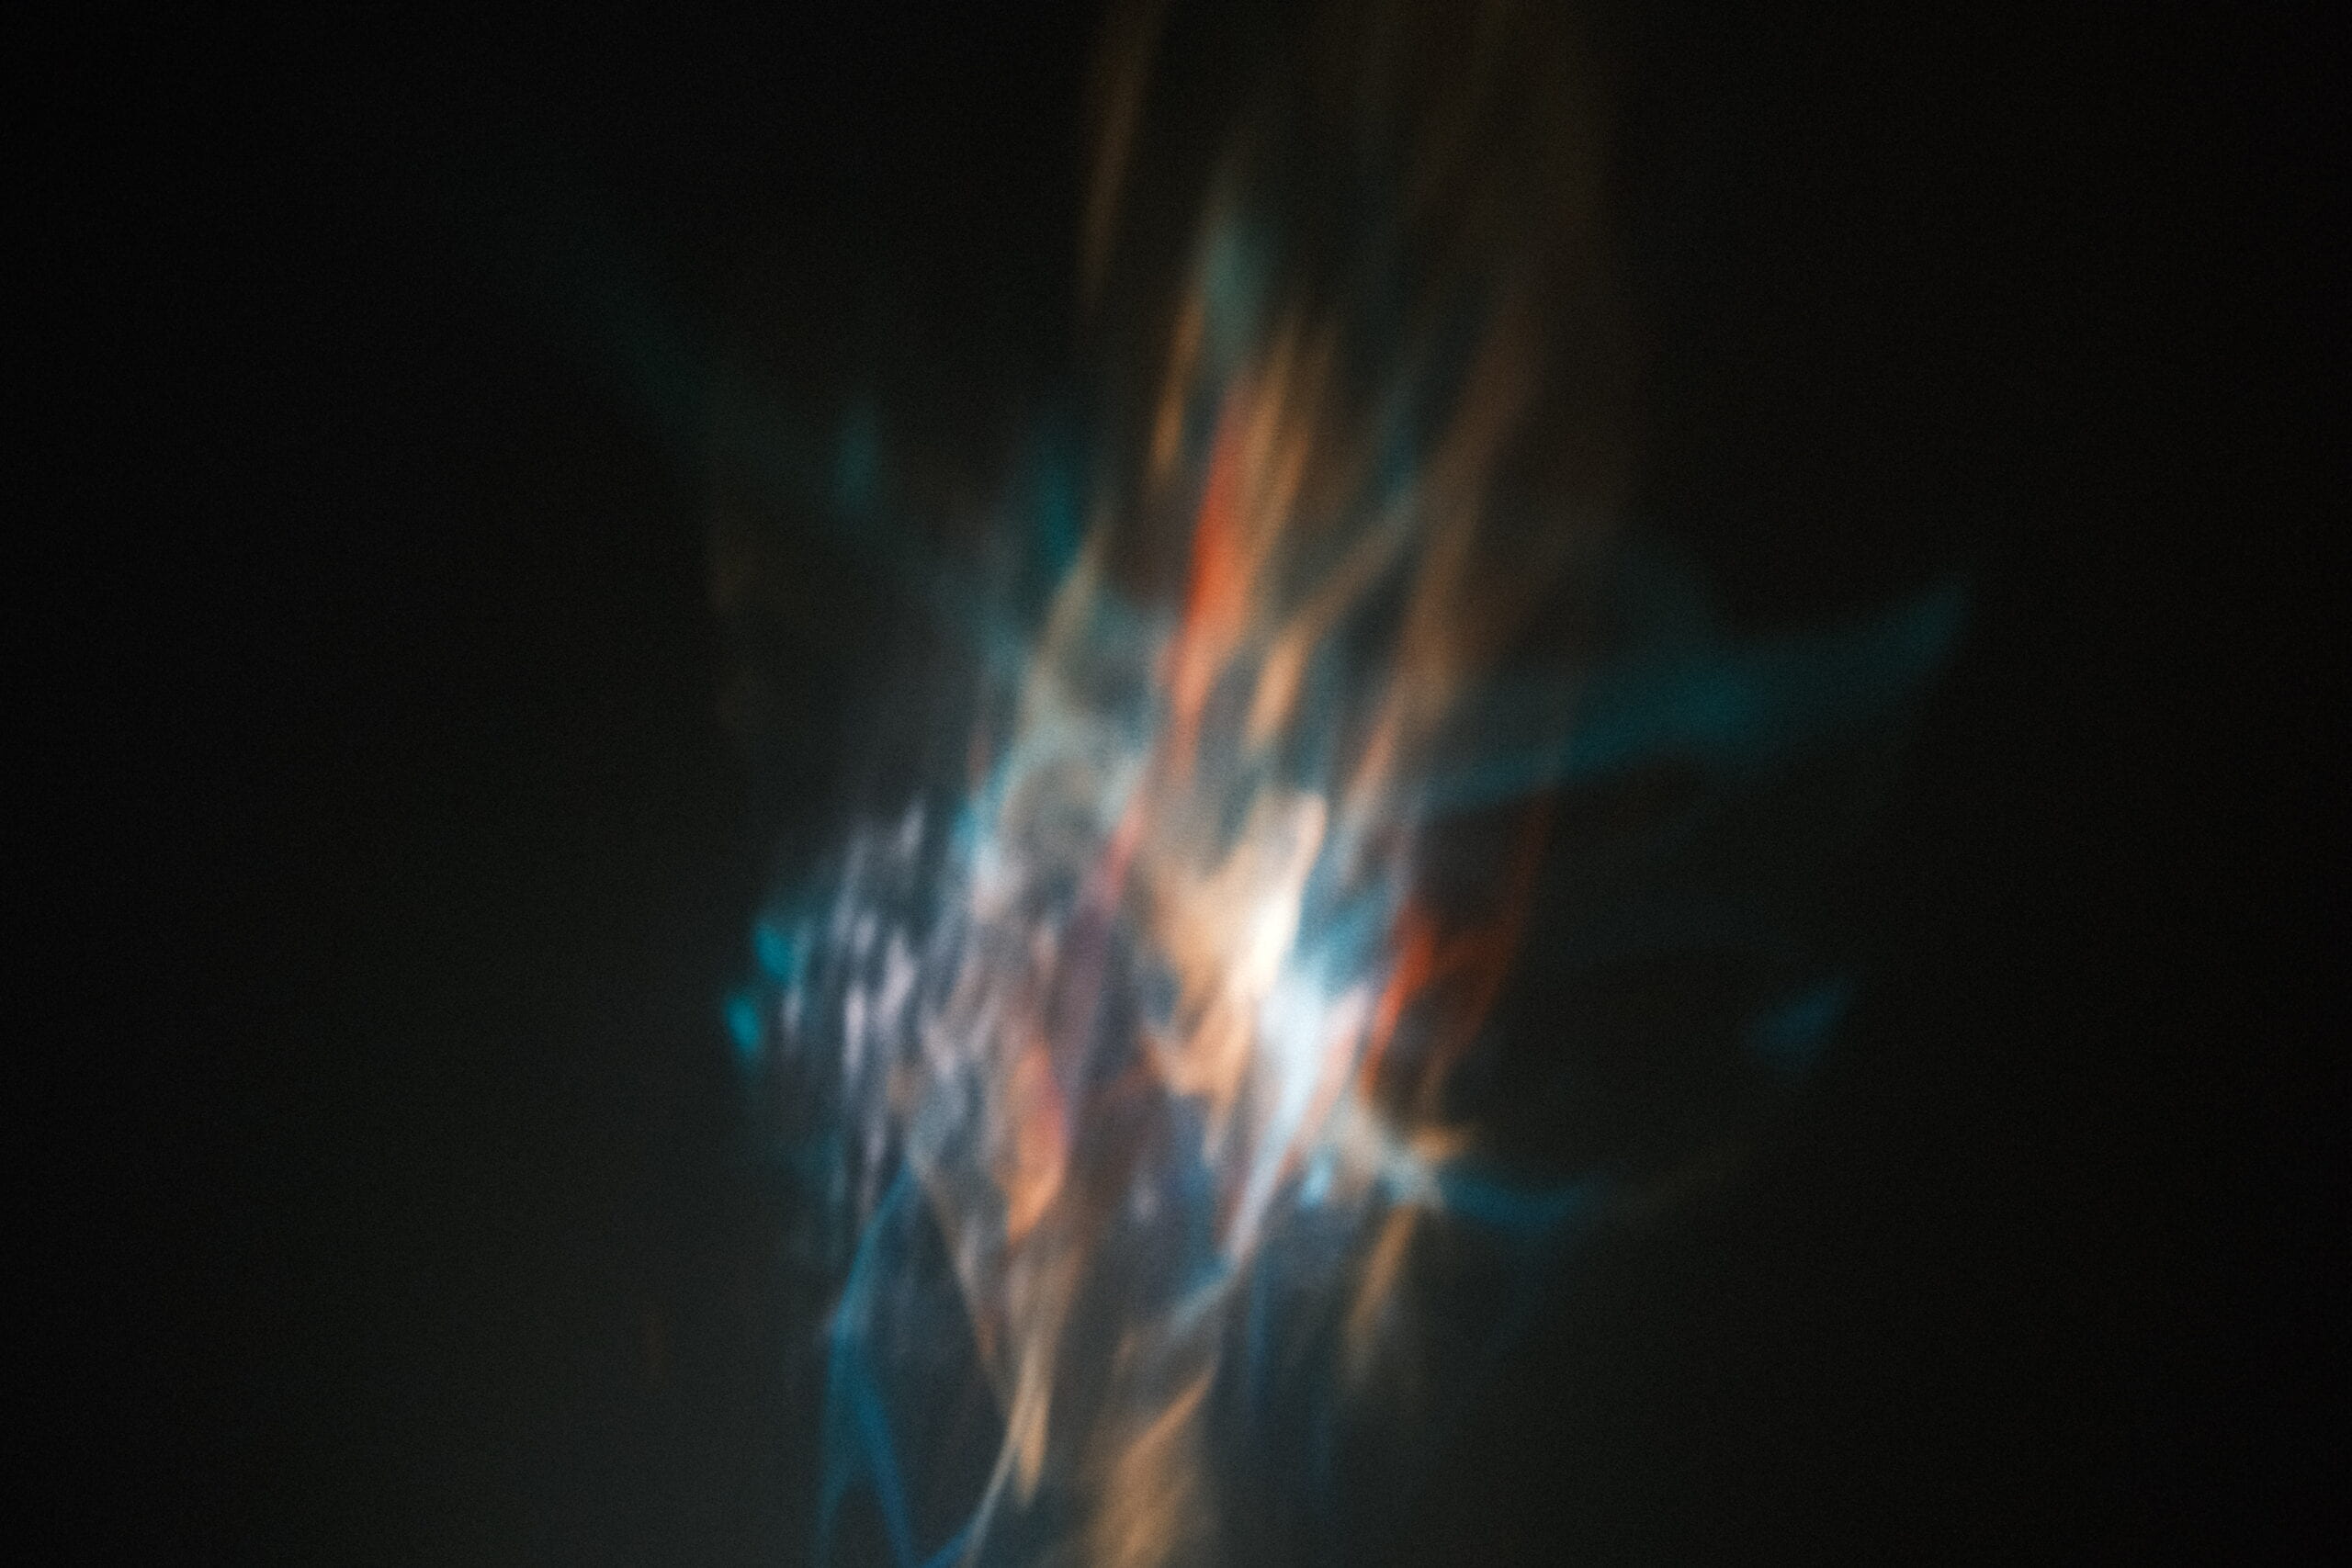
It was not until a day or two before the presentation that I tested the light (which I regret doing that late), and the effect was not very satisfying. The projection on the wall was a lot smaller than I had anticipated and the colors of the refractive plastic are heavily covered by the yellowish glow of the halogen light. I realized there’s barely any refraction of the colored plastic inside the container as it was drowned by the strong glow.
I changed the power supply from 12v to 5v and took out the mirror paper in front and below the container. (And having the mirror paper before the halogen light can easily burn it.) It looked better (and safer), but still not very ideal. The light is still way too yellow and there’s a hoop-shaped shadow for the glass bulb.
here’s a video of how it looks like with a halogen light:
Then Eric came to the rescue with a spot light that had just arrived the day before. I was very lucky, because the spot light made all the difference: the color was cool enough, it beams down from above, it perfectly covers the area of the water surface, and it’s very unnoticeable. Thank you Eric.
Presentation
It was really interesting to see people’s reactions with them not knowing it is my project while I’m standing next to them. I was very glad that despite some people’s attention would be first directed to the wiggling container, they would all eventually direct their view upward to the projection on the wall. And all the comments I’ve overheard are positive haha. It was very sweet to hear one professor saying that mine was her favorite piece, and that it was “very calming among the chaos”.
There was a little problem with the colored plastic inside, that after some time a few pieces would get stuck on the wall on one side. I guess it must’ve been uncomfortable to watch when people take a step closer to look at the container. I sometimes would quickly go and scratch them off when no one’s looking but they always end up sticking back on.
Conclusion
I personally really liked the project, but it was a bit frustrating during its process of making because it looks so small and shabby without light that I find it a bit humiliating when people know this is actually my final project. It looks so simple and small that it shouldn’t take more than an hour to make, and I feel very unaccomplished when I see this is all I have after working on it for so long.
I was thrilled to see that it worked very well in the end, but that is also because I got very lucky, that I had a working light at the very last minute. I guess I should think every step thoroughly in an early stage of the project, and do testing of all the components as early as possible because you never know what’s gonna happen or what it might actually turn out to look like.

Code
#include

Servo servo1;
Servo servo2;

int pos1 = 0;

void setup() {
  servo1.attach(3);
  servo2.attach(4);
}

void loop() {
  for (pos1 = 160; pos1 <= 180; pos1 += 1) {
   servo1.write(pos1);
   servo2.write(180 + pos1); delay(50); }
for (pos1 = 180; pos1 >= 160; pos1 -= 1) {
   servo1.write(pos1);
   servo2.write(180 - pos1);
   delay(50);
  }
}