Title: Blow, Glow, Grow
Project Description
I was inspired by assignment 3 where me and my partner experimented with combining water and light, and initially we intended to add detergent or soap water to bring more dynamics to the food coloring in the water, but later did not incorporate the idea due to time constraint. And when I was writing the proposal for this project, I thought it would be better to also create some smoke-like effects if I’m creating lights and bubbles, because with smoke it would make things more concrete and accentuate the volume of the projects instead of just hollow bubbles. In other words, besides seeing the colorful surfaces of bubbles under the reflection of light, smoke would also make them look like they are glowing themselves.
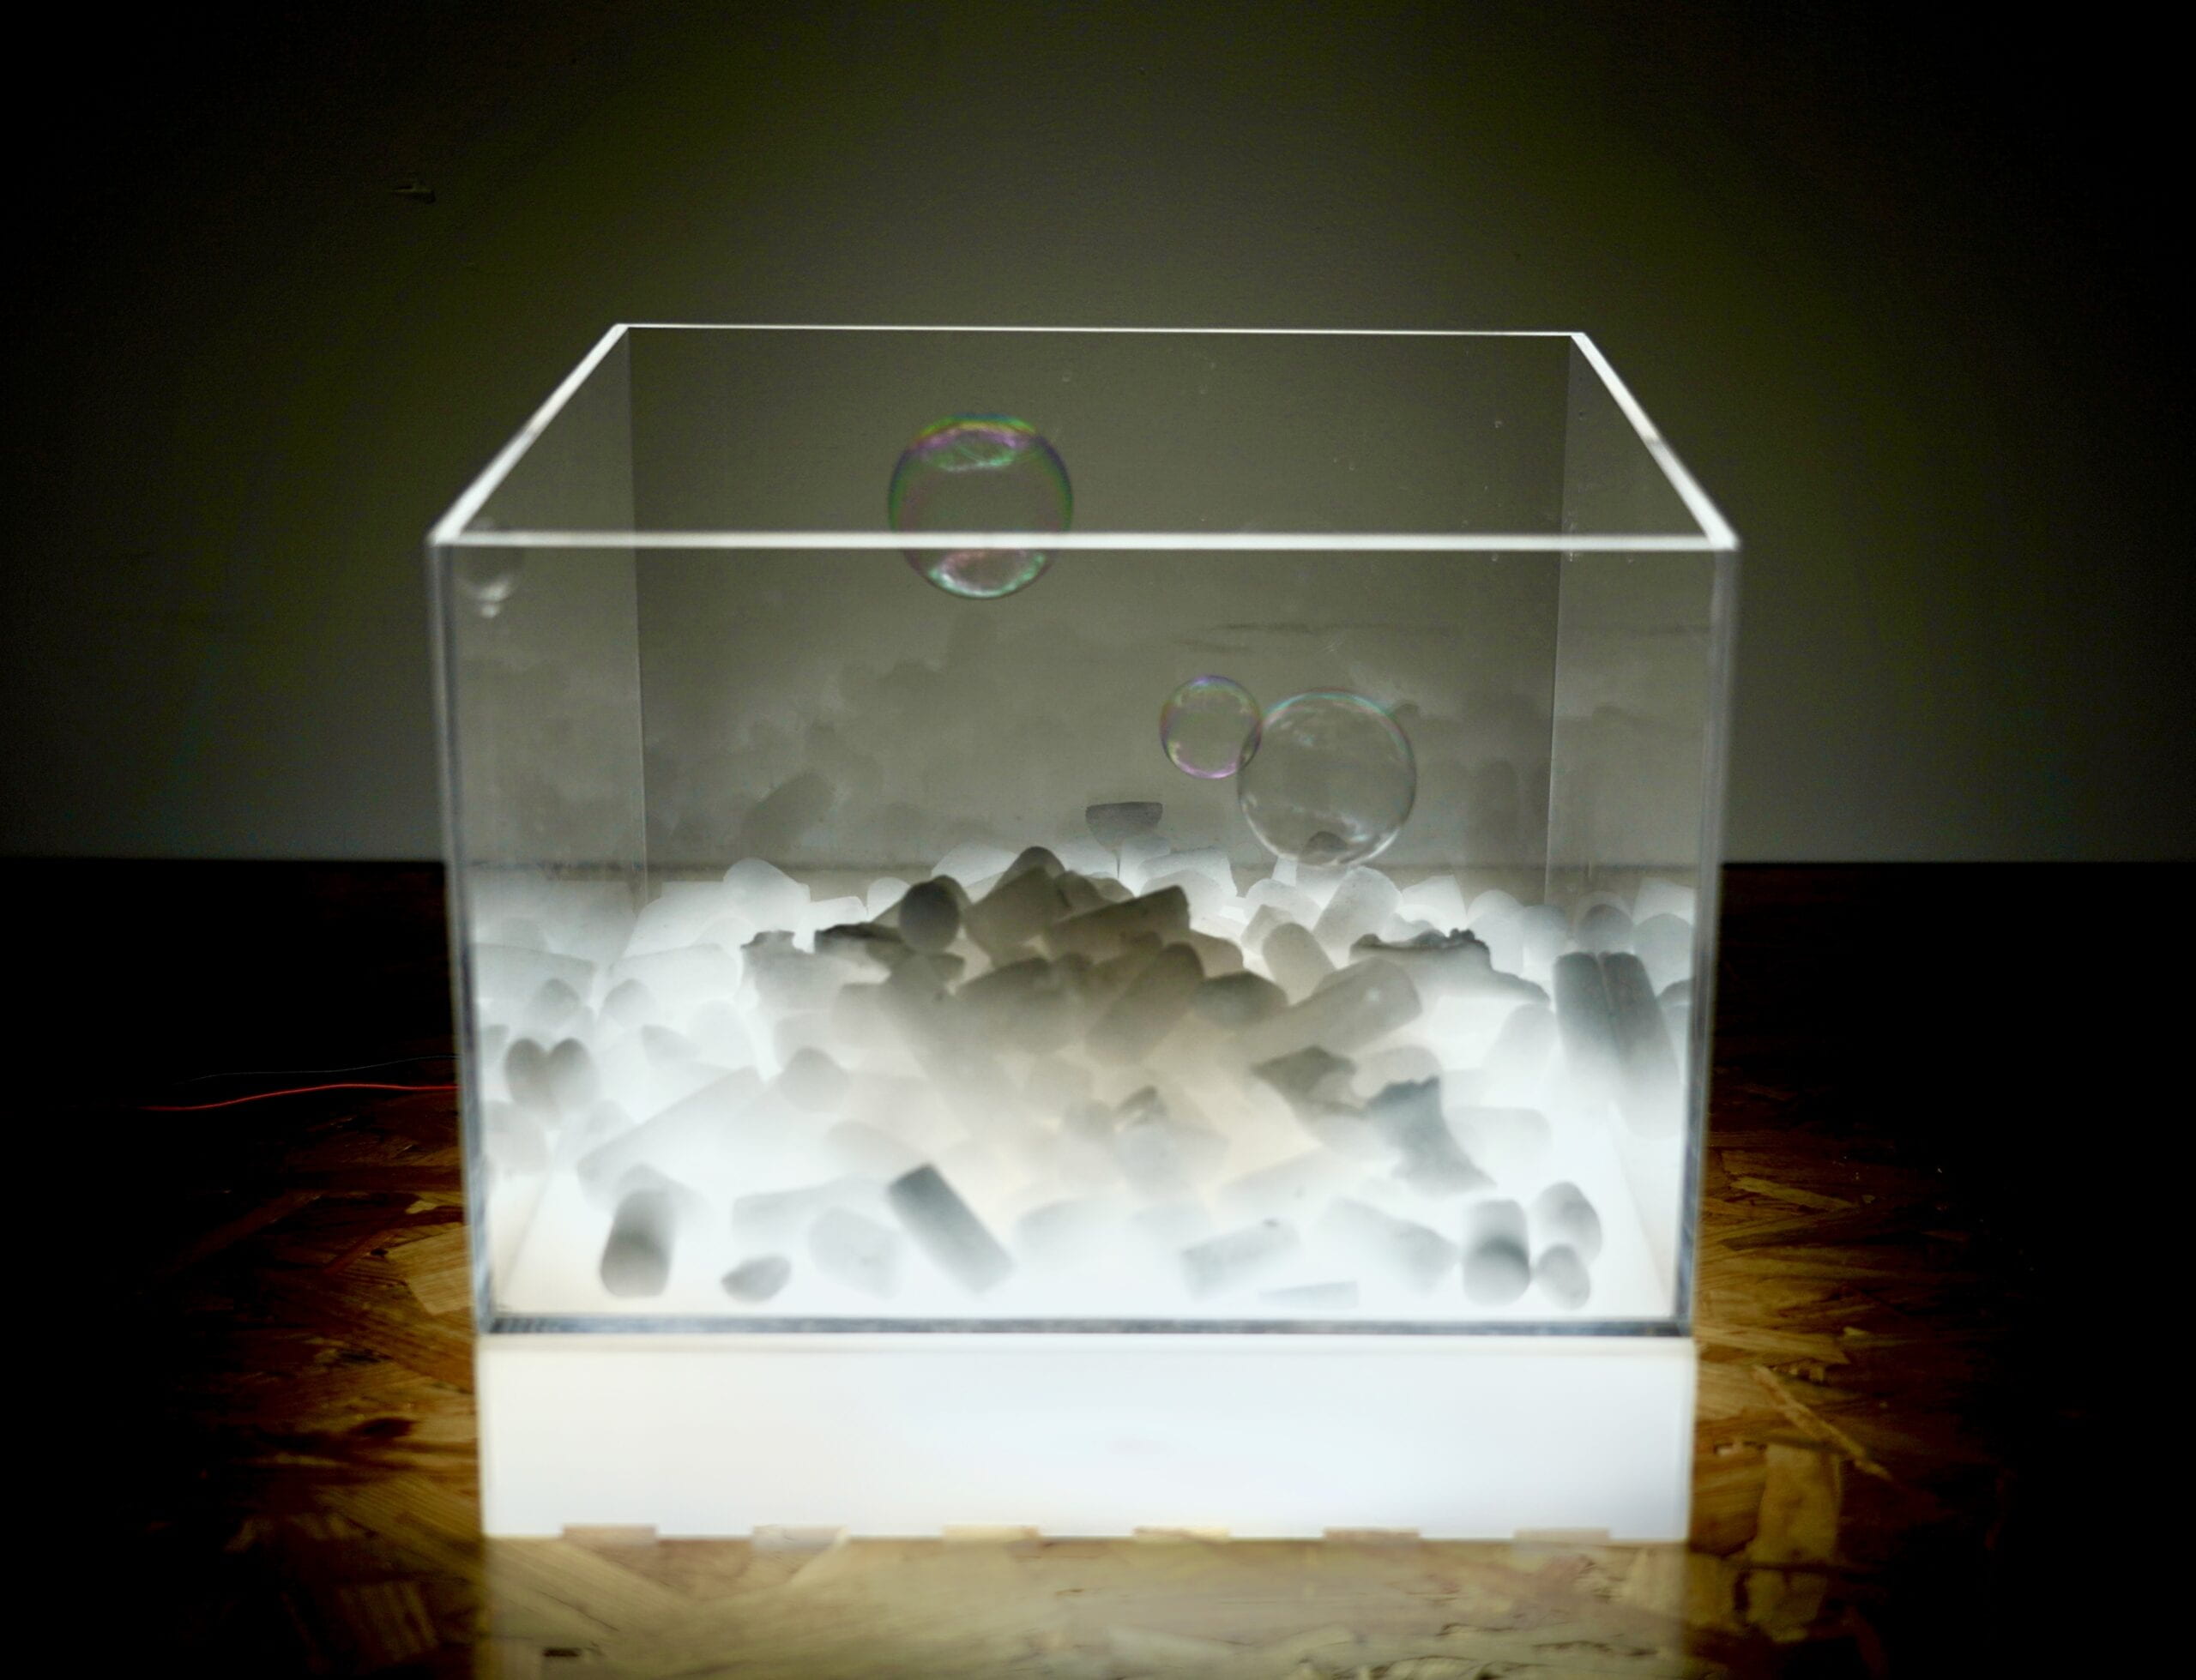
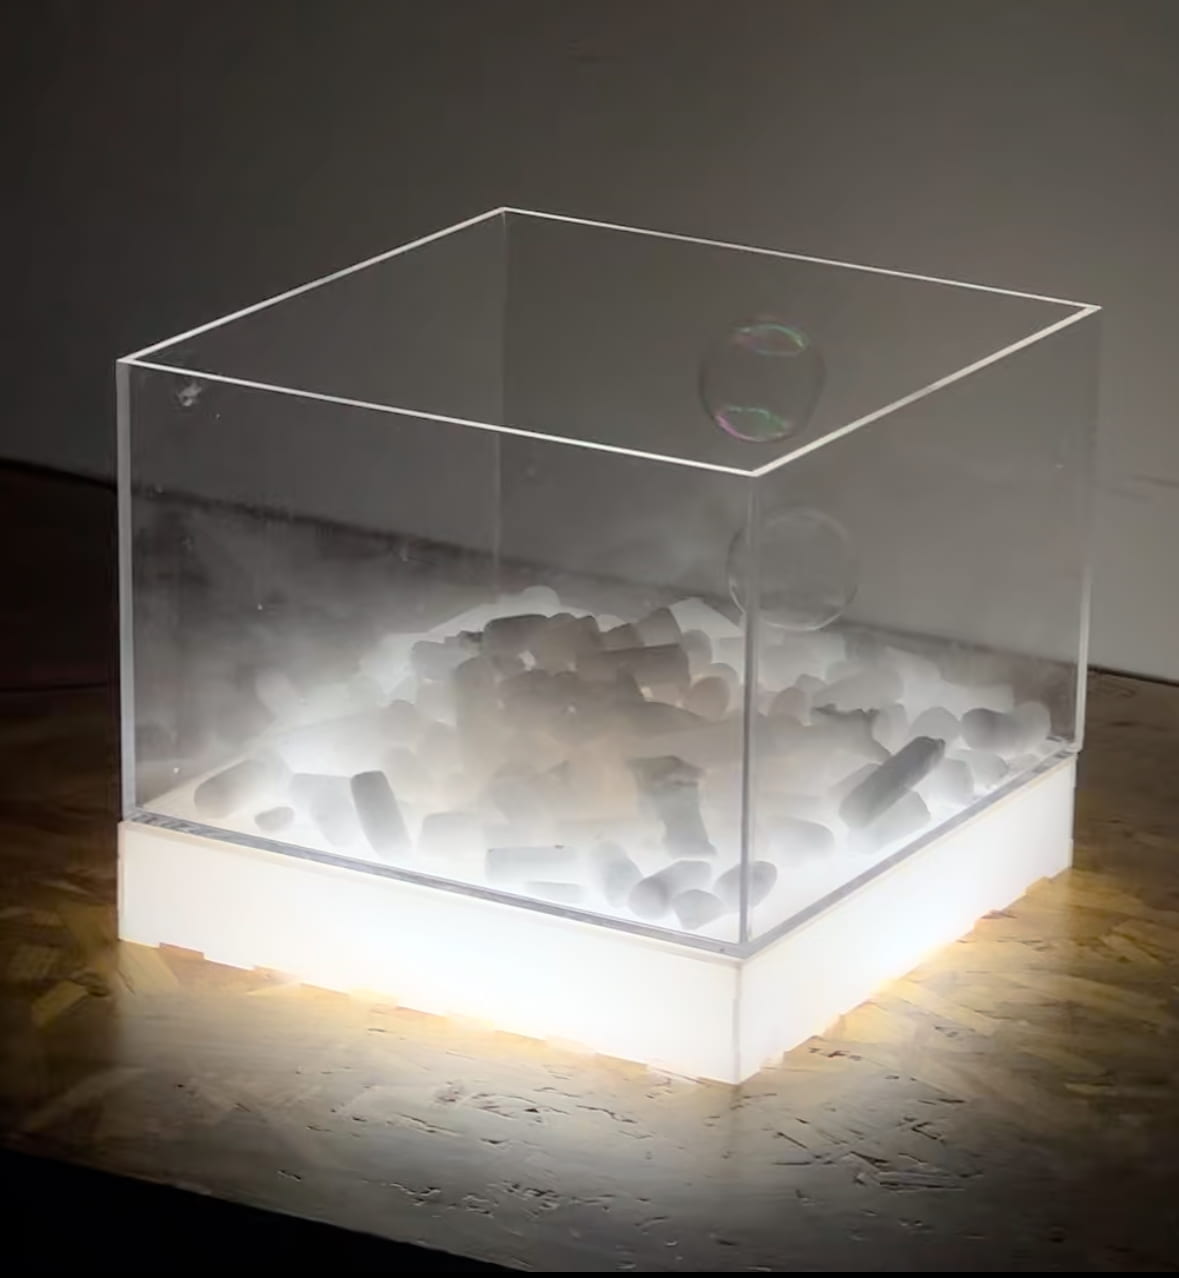
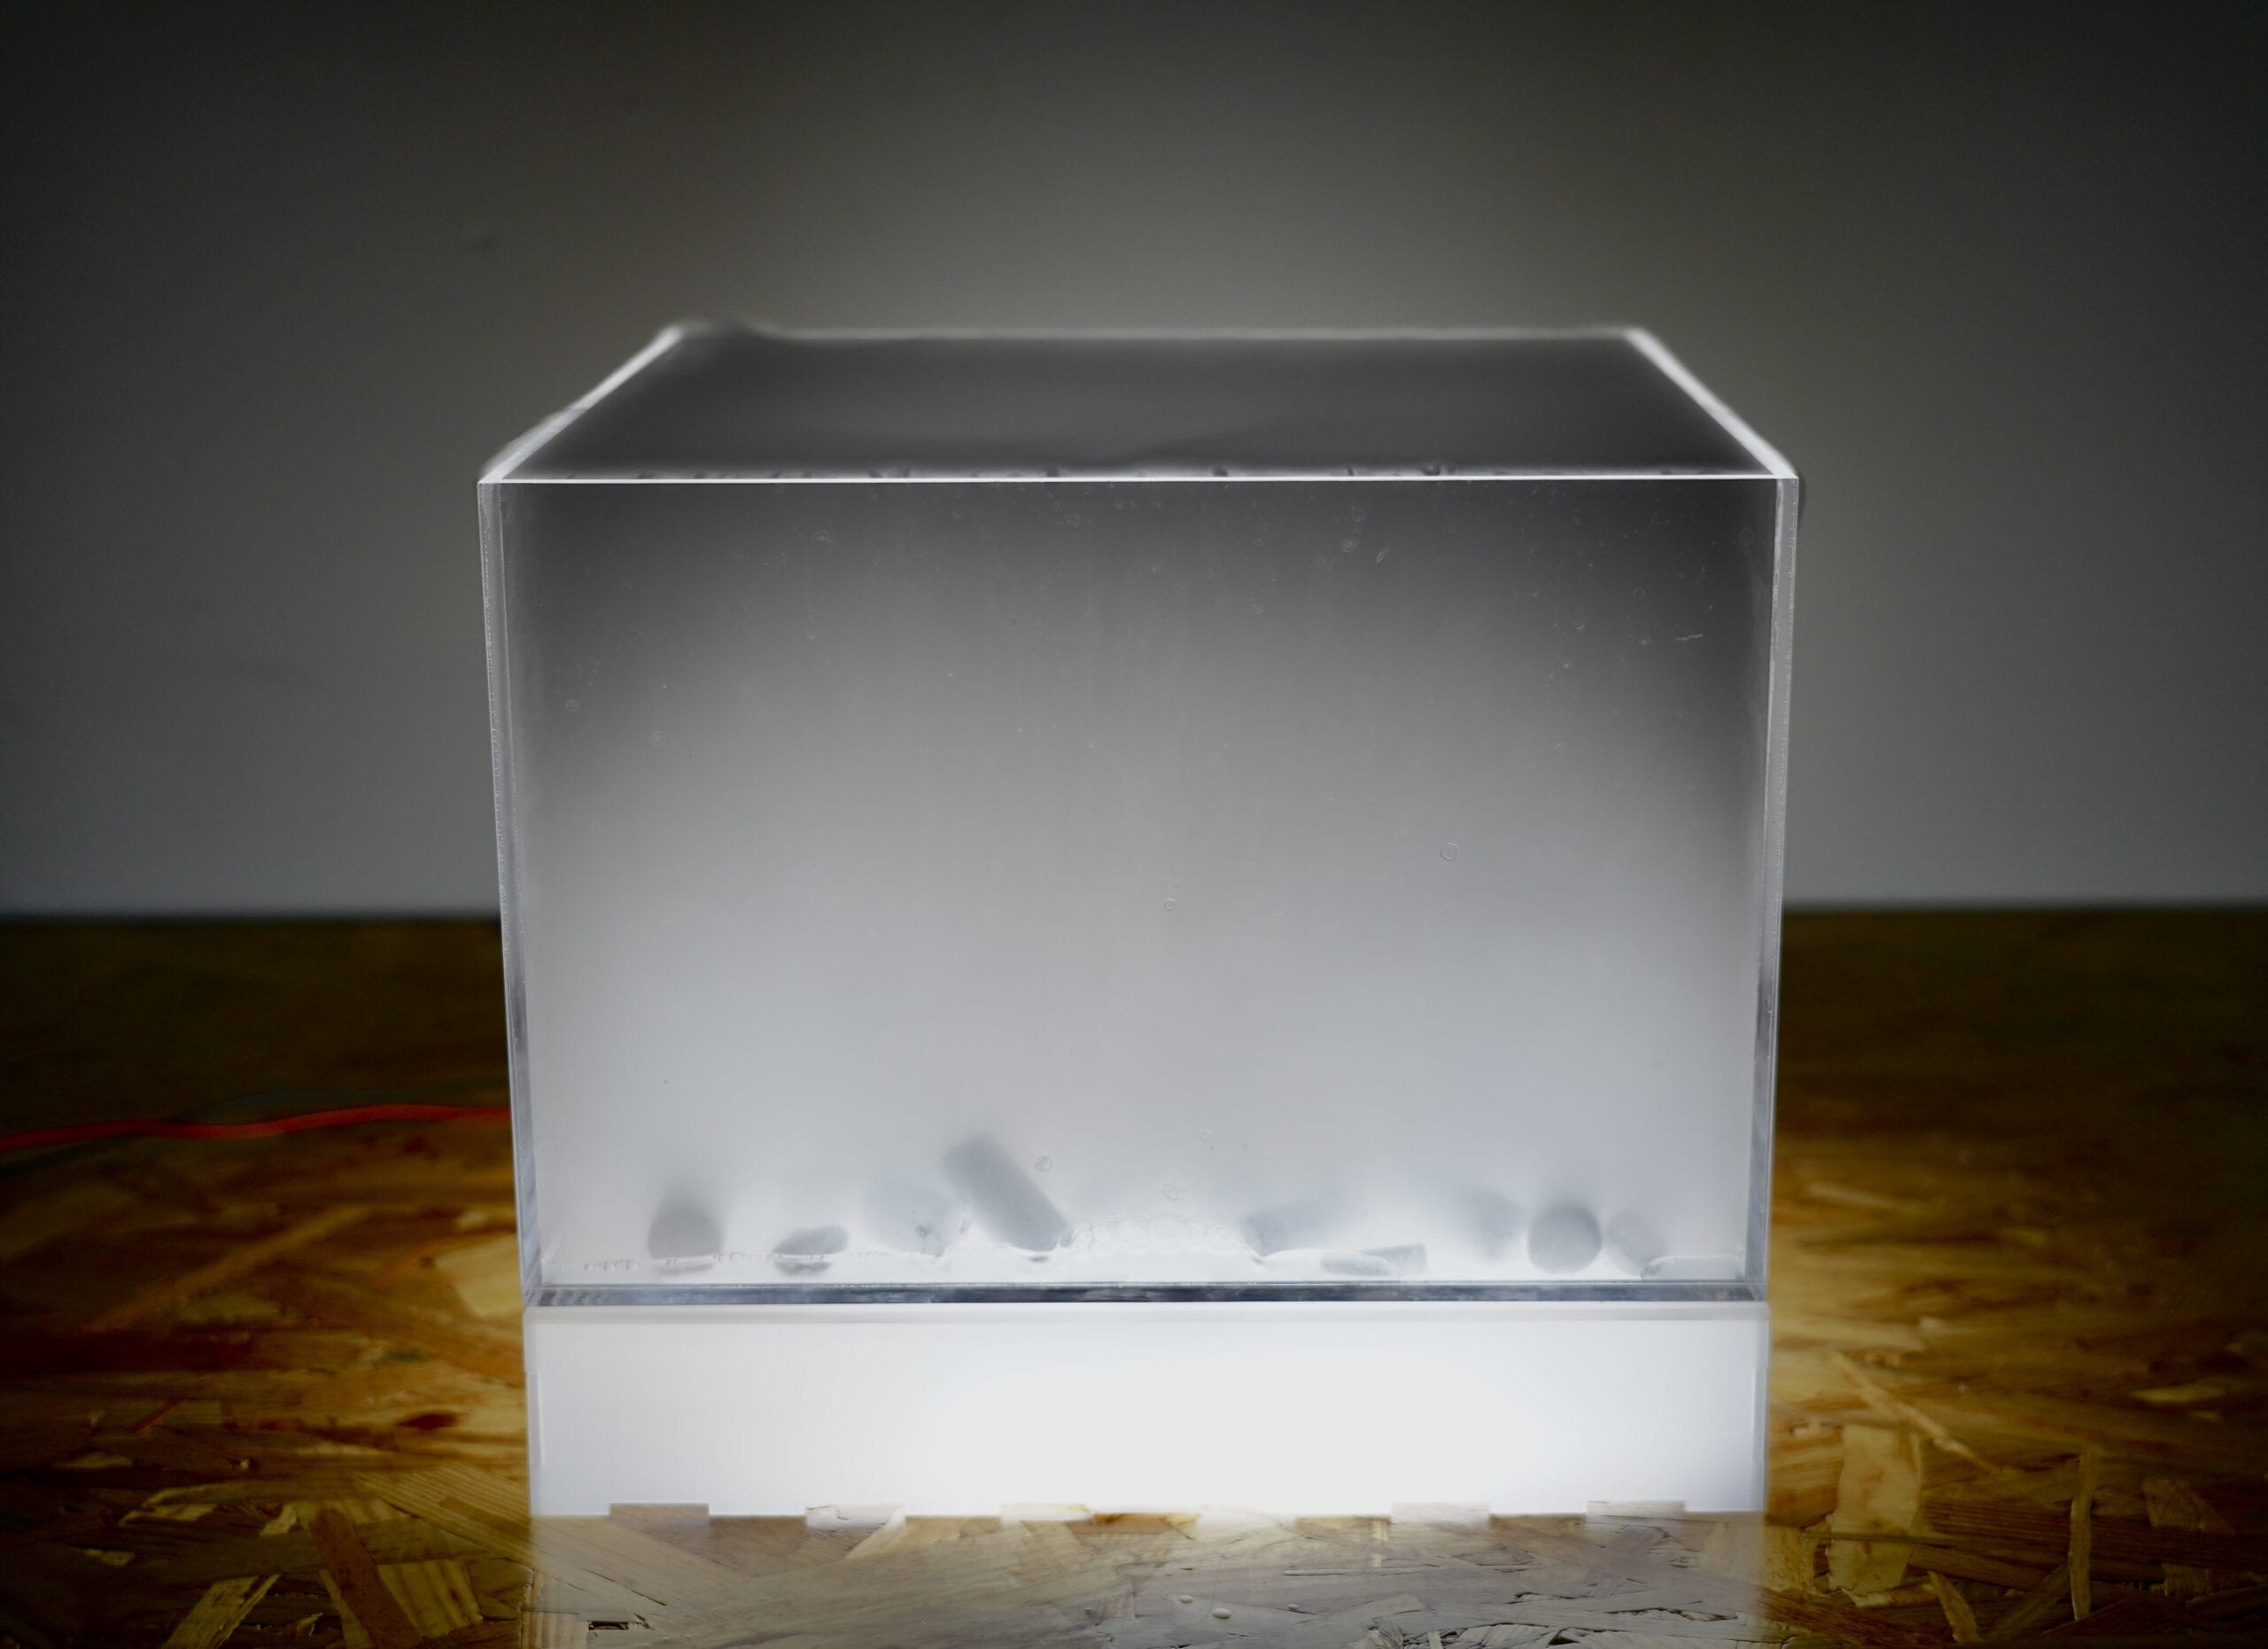
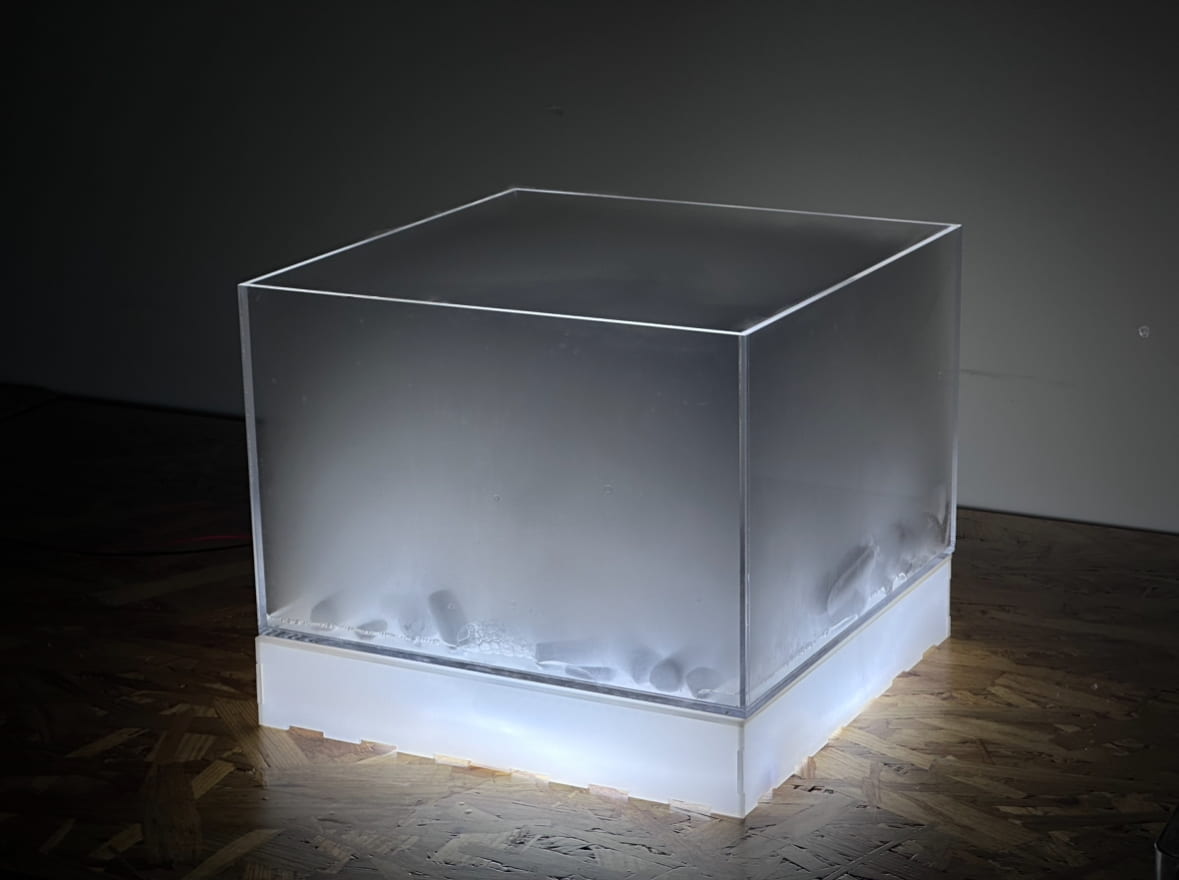
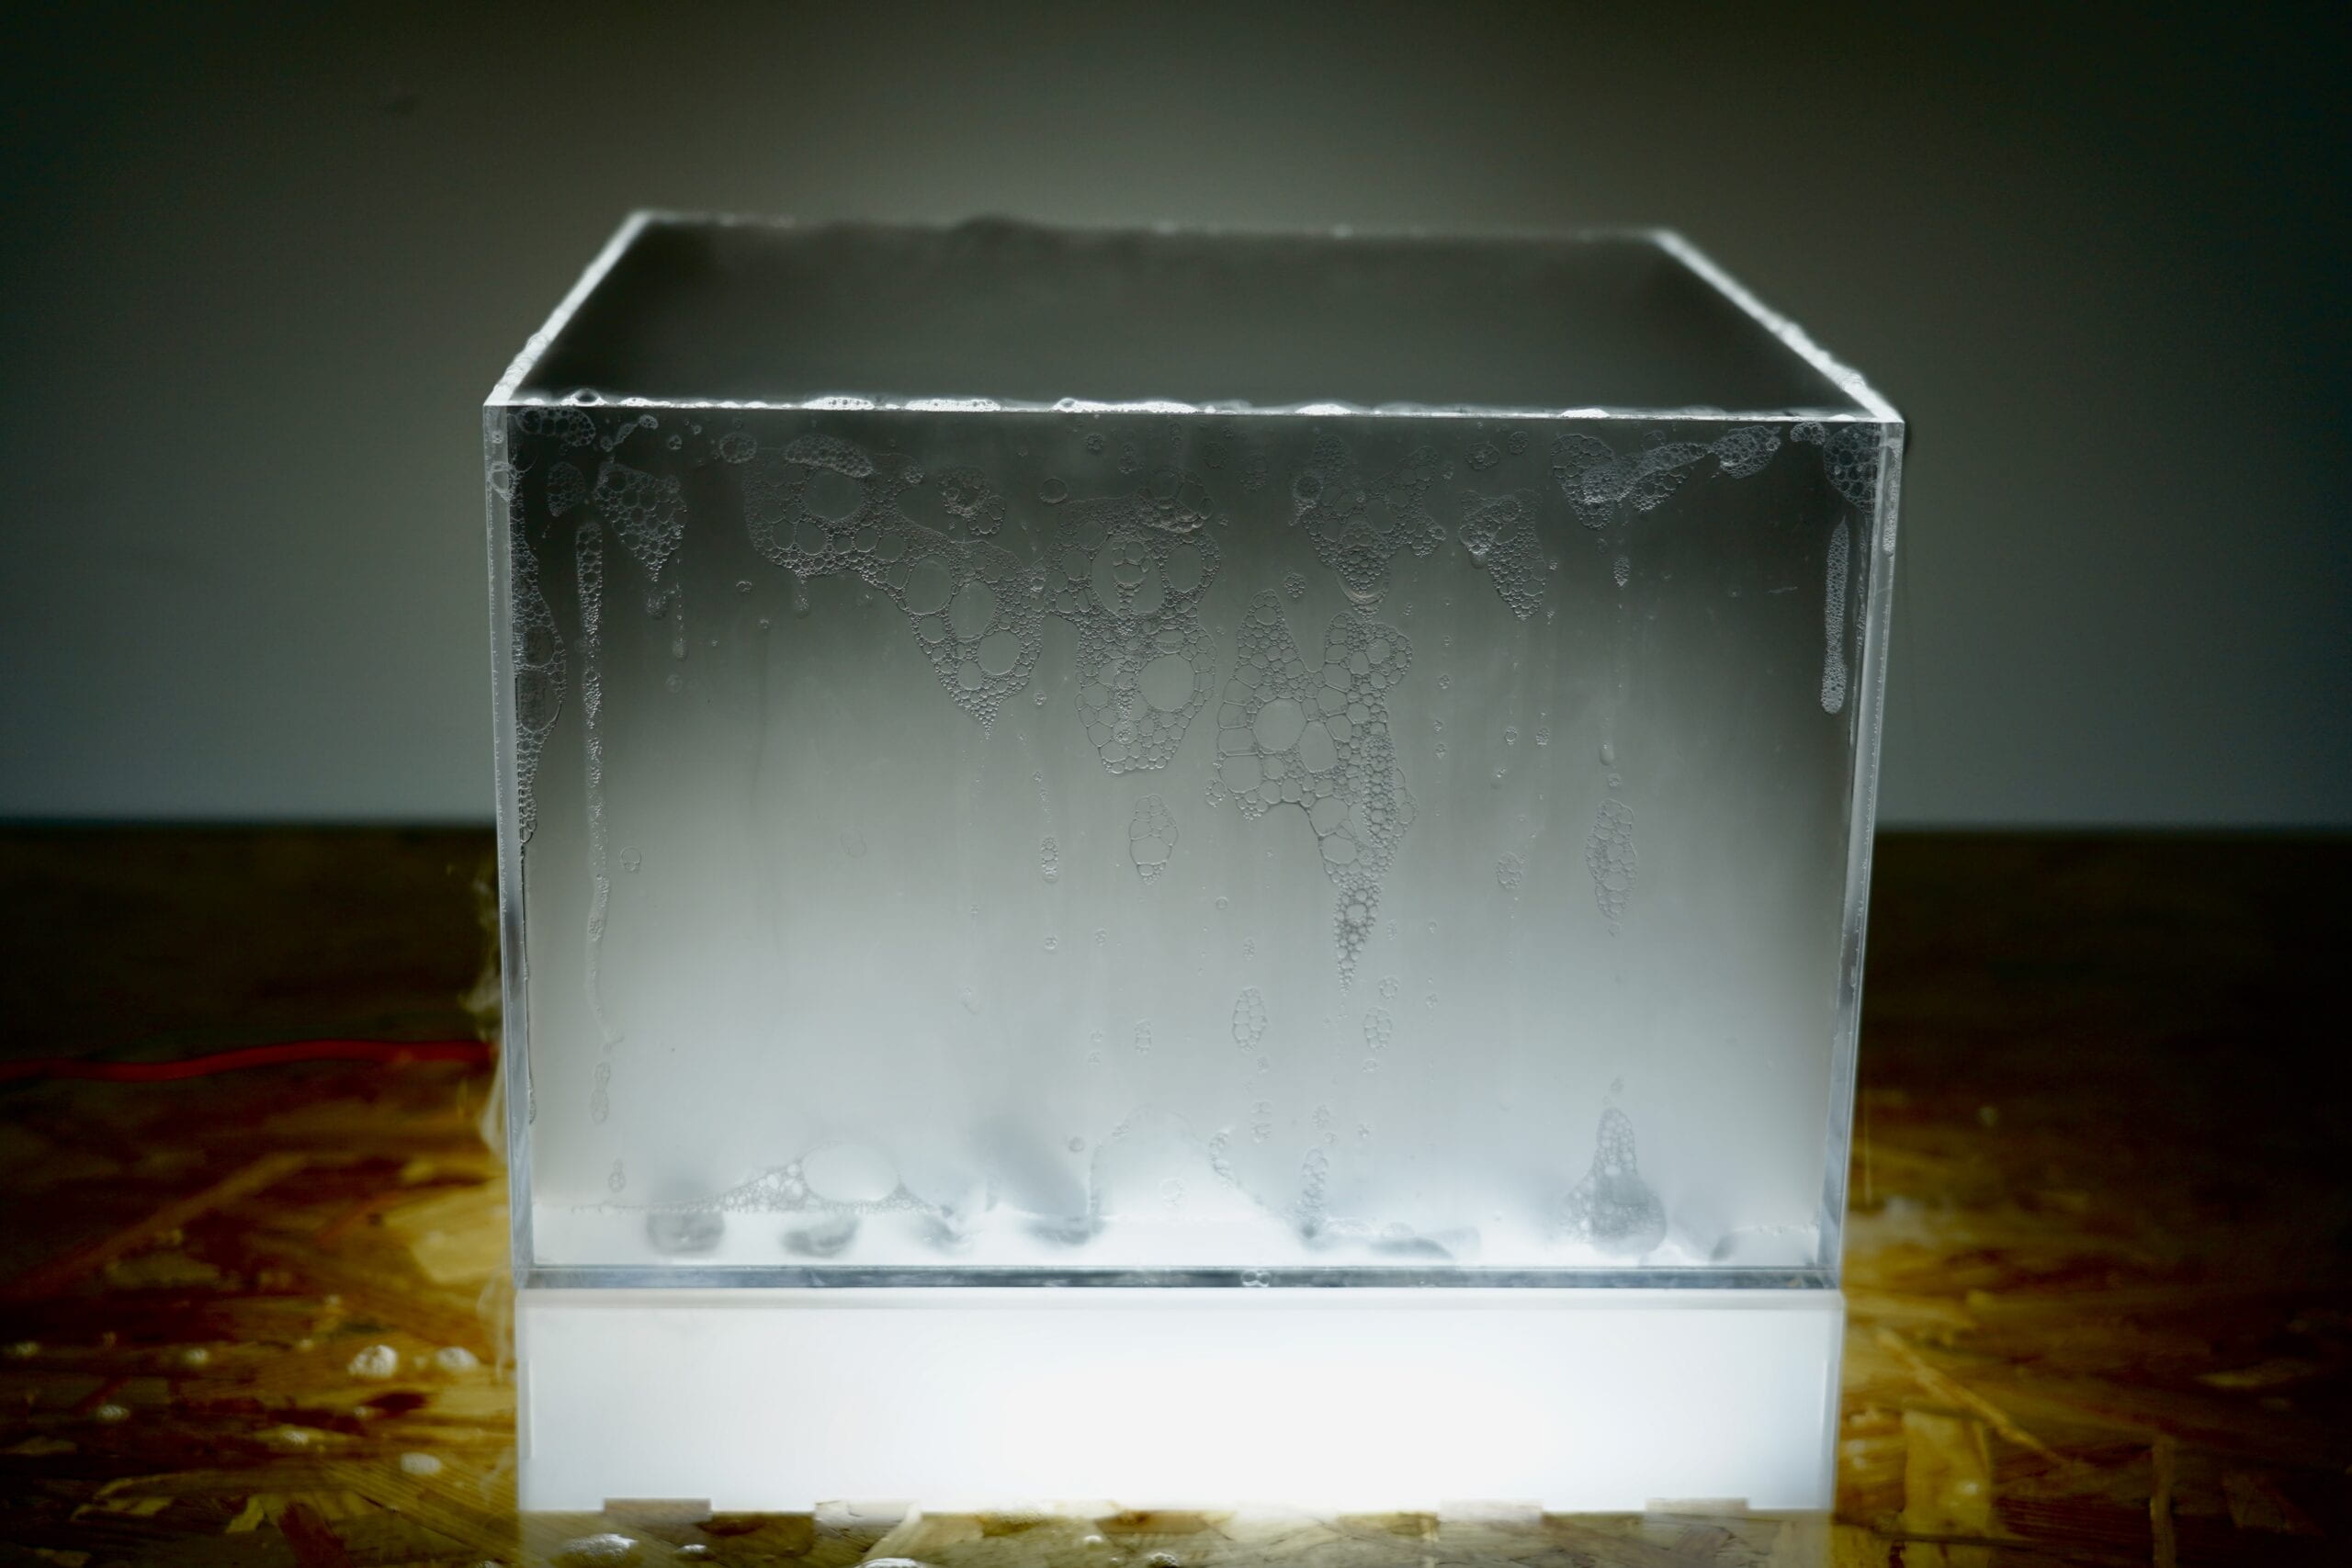
This project had two parts: first is blowing bubbles into an acrylic box with ice, and the bubbles will float in mid-air in the box because the support provided by the CO2 the dry ice releases; second part is adding water/bubble mixture into the box, and thus creates smoke and later growing small mountains of dense bubbles.
Perspective and Context
In terms of the context of art and perception, light art, and kinetic art as we’ve been discussing during the course, I find putting bubbles and smoke in a constraint space with focused light acts as a parallel of a frame to a painting, though bubbles and smoke can be observed in a natural, daily environment, having a geometrically shaped vessel can concentrate the audience’s focus on the movement of the smoke and bubbles as well as the subtle shift of colors that appears on bubbles’ surfaces. And for this specific project, having a container also allows me to create effects that would otherwise unable to achieve in a natural environment. The CO2 released by the dry ice at the bottom of the acrylic box would fill the space within and then flow out of it instead of simply disperse in air and get diluted quickly or drift away. It would then allow me to create bubbles that floats relatively steadily inside the box due to the difference of the density between air and CO2. The duration of the hovering would also be longer than bubbles normally would for the heavier CO2 holds them and keep them undisturbed. Also, I personally find them floating in a glowing cube very esthetically pleasing.
Development & Technical Implementation
I first tried to laser cut an acrylic box myself because I wanted the for sides of the box to be transparent but bottom of it to be material that diffuses light well. But after spending a whole afternoon and an evening making one, I realized it is almost impossible to create a water tight acrylic box by handcrafting myself no matter haas much glue I use. I eventually bought a watertight acrylic box online and laser cut a base using milk-white acrylic to diffuse the light to create the effect of a glowing cube I was looking for. I also intentionally assembled the parts with the sides that has serration facing downward so that I could have the wires in and out easily but it also wouldn’t be very noticeable compared to having a half-hole on one of the sides.
It took me quite a while to figure out the best way to create the “smoke”. I thought about using oil-based smoke for it is much easier to control and to preserve, but then quickly gave up on the idea after looking up the tools and seeing the price of them. I later realize the fact that dry ice could also create an “invisible water” that provides buoyancy force for the bubbles, and even though I had to buy a dry ice bucket additionally to preserve it, it is still much cheaper than the oil-based smoke making tools combined, so I eventually settled on dry ice. I was very pleased to find dry ice available online and could be delivered the next morning, which made things a lot easier for me.
I did not expect the bubble water would be the trickiest and the most time consuming part. I was very confident with my formula, but when I actually experimented with it over the weekend, things did not turned out the way I expected. I referenced this video I found online for the formula, and used detergent, baking powder and guargum powder to mix with water. But when I was about to do the mixing, I realized I had no clue what the proportion of each ingredient should be, so I got into the state of repeatedly adding more water and then more of the three ingredients. But the most excruciating part was blending the powders evenly with the watered detergent, because the guargum powder would immediately turn into this clue like paste when it meets water and it was almost impossible to avoid big chunks of slippery clogs in the mixture. And because it was slippery, it was also extremely difficult to break the clogs and “release” the still dry powder wrapped inside it. I later even had to buy a boult for this.
Though this formula can make the bubbles sticky enough and not easy to break, but when I was testing for the dry ice I realized it would also make the bubbles too heavy to float. I sometimes have to blow for minutes of bubbles before I could get one that has a perfect volume/weight ratio that allows it to float (though it might also have to do with not using enough dry ice for the testing). And it was also very skill demanding because sometimes when you blow on the straw to fast after pulling it out of the mixture it would create bubbles that have some water dangling beneath it which would also prevent it from floating.
Another problem with this formula is that it does not create the colorful texture that you normally see in a bubble. I also found formulas that suggests adding sugar in soap water but did not adapt that despite buying a bag of well-grind soft sugar. I was glad that I didn’t otherwise it would be another hell to go through for cleaning up afterwards.
Sadly, after all the efforts made for the bubble, I was very afraid that it would be hard to present with the very unstable bubble generation given the testings, and eventually bought a regular bubble water on Meituan to compare the effects, and hoping that by adding some of it into my homemade mixture would make things better. And the result was, it was much easier to blow bubbles when you buy the water online, AND they much prettier on line. Oh well… But, in my defense, my formula is a lot more skin-friendly and still came in handy when I needed to pour large amount of water/liquid into the box to generate smoke and grow a bubble mountain.
For the lights, I initially wanted to go for the analog LED trip and have some color changes, but after I tried plugging everything in place and test with some codes, it simply would not light up. I then went of the backup plan of using the neon tube and use a fade effect, but it was still unwilling to light up unless I connect it directly with the pawer source. I checked my wires components and the circuits I built numerous times but could not find the source of the problem. But looking back, it was probably better to go with a simple white light because a large part of the purpose is to accentuate the colors of the bubbles and the movement of the bubbles & smoke. Adding a fading effect would also make it distracting and confusing.
( Link to code (intended to use))
Presentation
Videos of presentation:
The presentation went OK. Though it was a bit sad I did not manage to recreate the big bubbles that covers the entire lid of the box, but I was glad that everyone seemed to have enjoyed the bubbles and the smoke and had fun trying to blow some bubbles themselves. I used a different cloth to make the big bubbles because when I was testing I could not get a cloth that is longer than 30cm with is the width of the box and I had to tie two pieces together to do it, and the knot made it very hard to cover the edge of the lid evenly to create the bubble. But the new cloth did not work very well either and I did not manage to create a big bubble during the presentation.
But then after some reflection after the presentation, I realized it is possibly because by the time I tried to make the big bubble I had already made a mess with the inner edges of the box with too many micro bubbles by pouring my homemade mixture too carelessly ( and maybe the new purchased mixed within also affected it as well), and no matter how strong the mixture the cloth soaked with is, as long as the micro bubbles break, the big bubble, which is connect with them, will too. So this is also why when I tried it again after it succeeded very quickly because by then the micro bubbles had all dried out, and when I tried to do it again with the light at the bottom in a dark room again and take a video, it was again a “mission impossible” (I later tried for half an hour in the dark), because the inner edges are messy again.
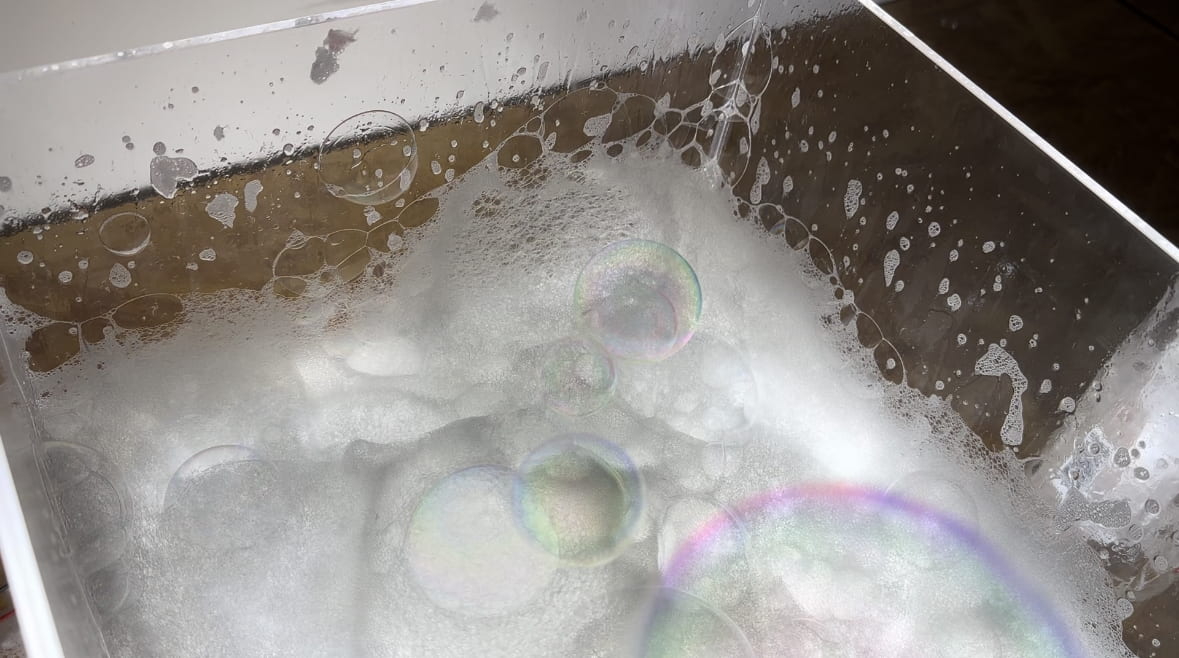
I also miscalculated the time it takes for the dry ice to convert from generating smoke to generating bubble mountains. Or it could also be that I did not add enough water and too much of my homemade bubble mixture. So the presentation also short of the “grow” part.
Pictures & videos of the bubbles I tried at home:
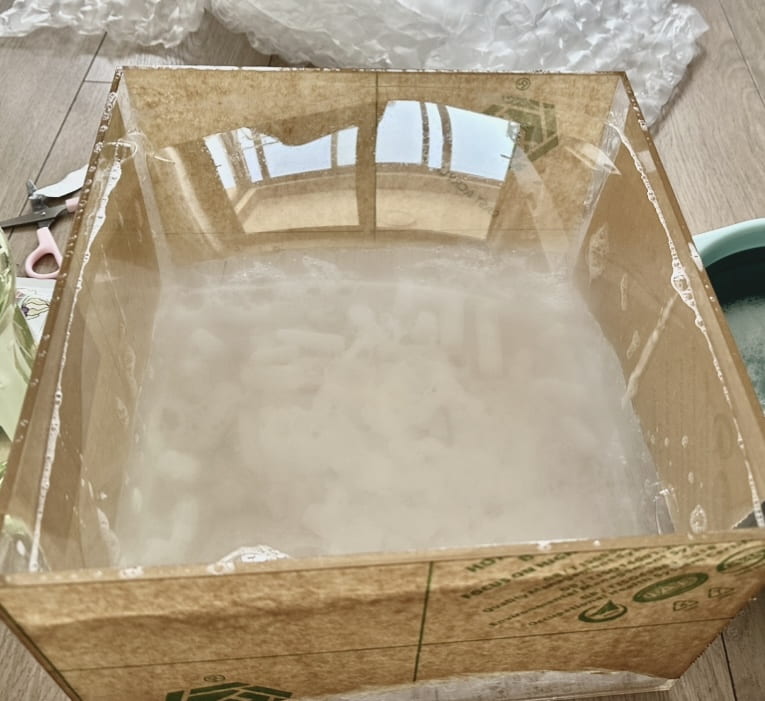
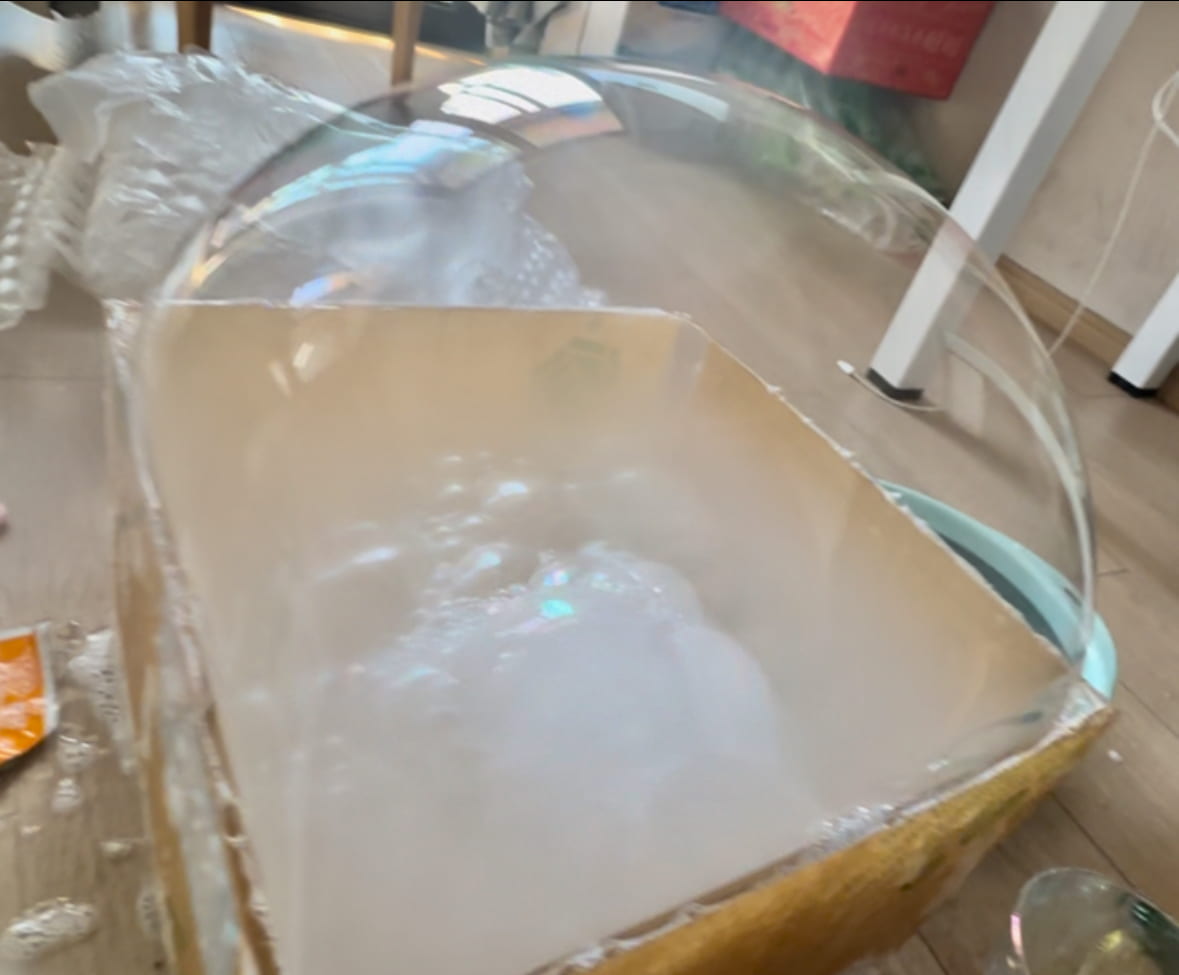
In these three videos you could see how water and dry ice expands a big bubble and grows a bubble mountain:
Here’s a video of a bubble floating for almost a minute when I was testing at home:
Pictures & videos of the bubbles I recreated in the classroom:
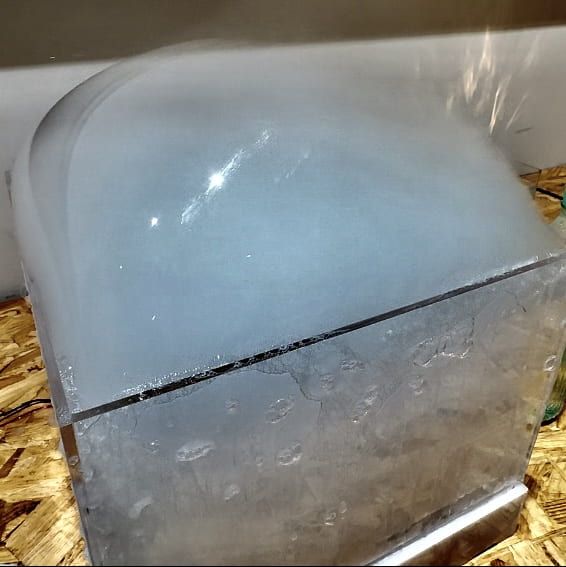
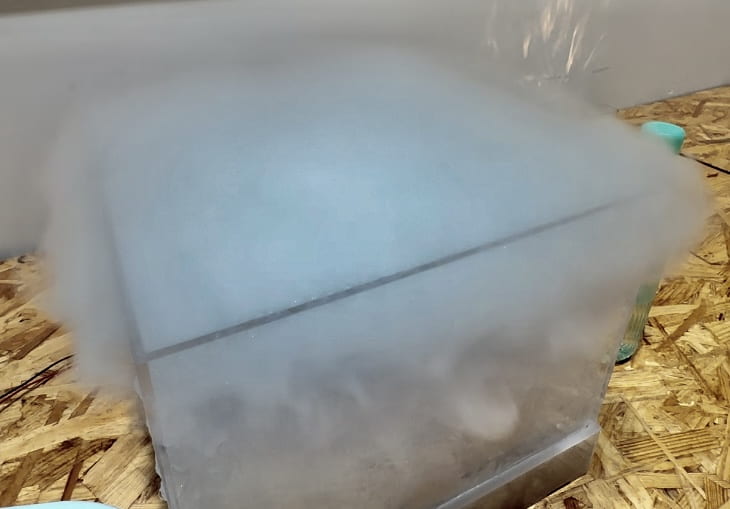
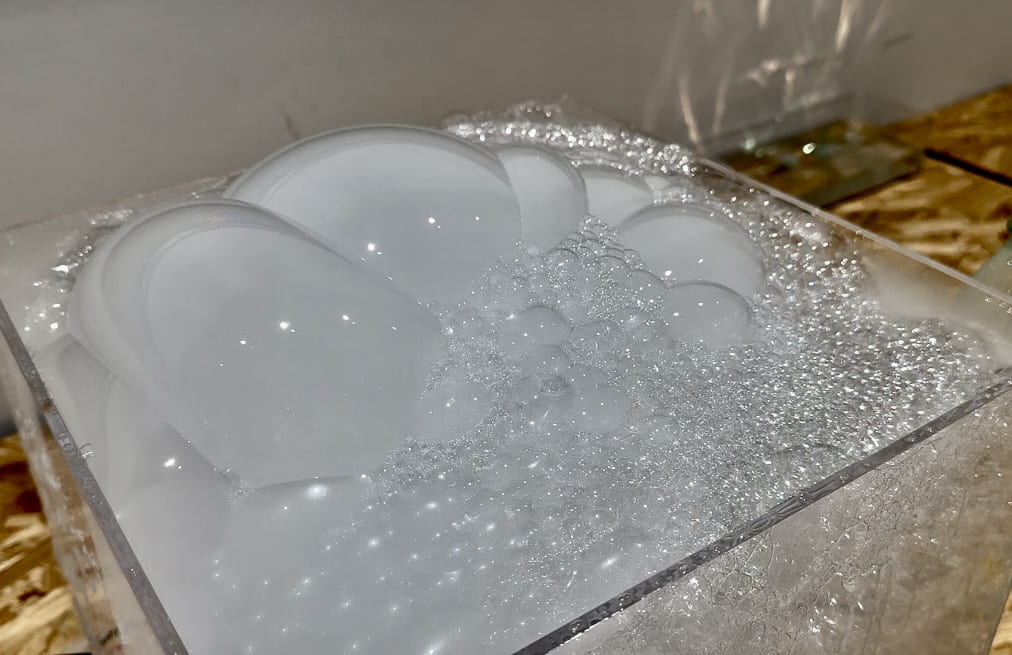
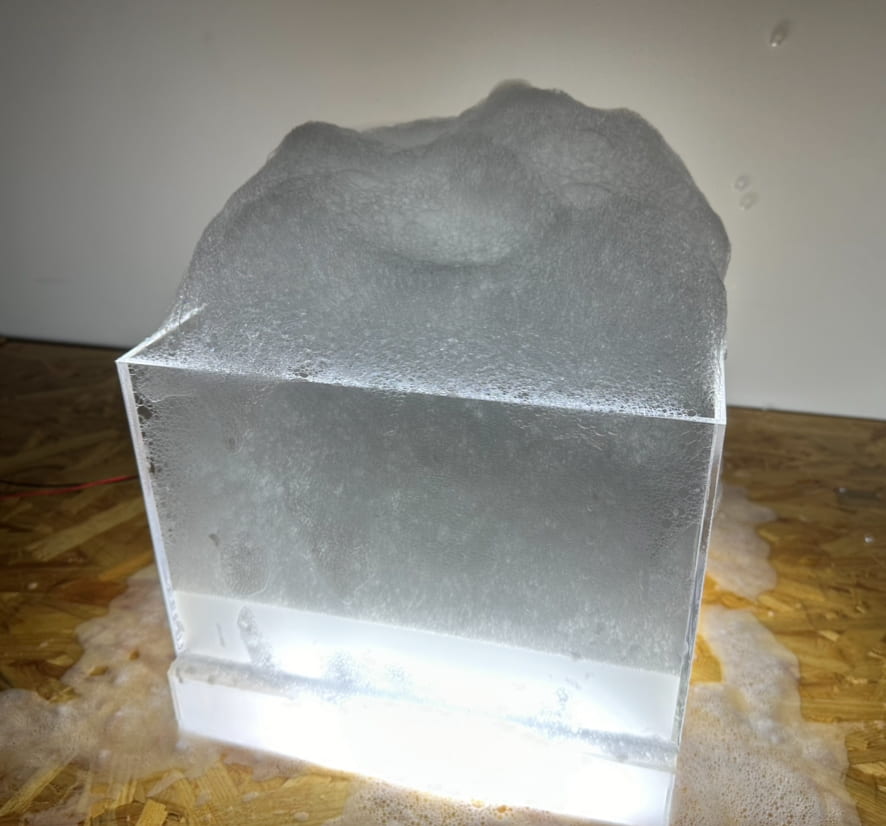
This video is a more satisfying smoke-swelled big bubble (the best I’ve caught on camera) and then exploding with the smoke flowing out beautifully:
In these following videos you get to see the bubbles mountains’ growth and the colorful texture of the bubbles clearer with the bottom light and how they explode with smoke:
Conclusion
Some important take aways: Make sure to sand down the edges if you are working with a new, heavy acrylic box! Or at least wear a pair of gloves! Especially if there are slippery liquids involved that easily results more and ever deeper cuts form the acrylic! Also wear gloves if needing to soak your hands into detergent or bubble water, avoid soaking your hands in them for too long and wash hand immediately afterwards or else you will get alkali burned like me! (I saw these coming but did not expect them to be that bad and regret not taking enough care of myself.)
It was fun experimenting with water and mixing different ingredients for different effects. I could definitely improve on the bubbles if had had more time, and maybe try with more lights and different angles instead of just having them emitting from the bottom. From this project and the previous assignment 3 I find water has so much potential for exploration for it could take in different forms, shapes, colors and dissolve different things that brings different texture on it, an it creates fascinating effects when adding light. I think it is a nice idea to continue to explore with water and incorporate it with other things.