Monthly Archives: March 2024

NOC W08 – Project A

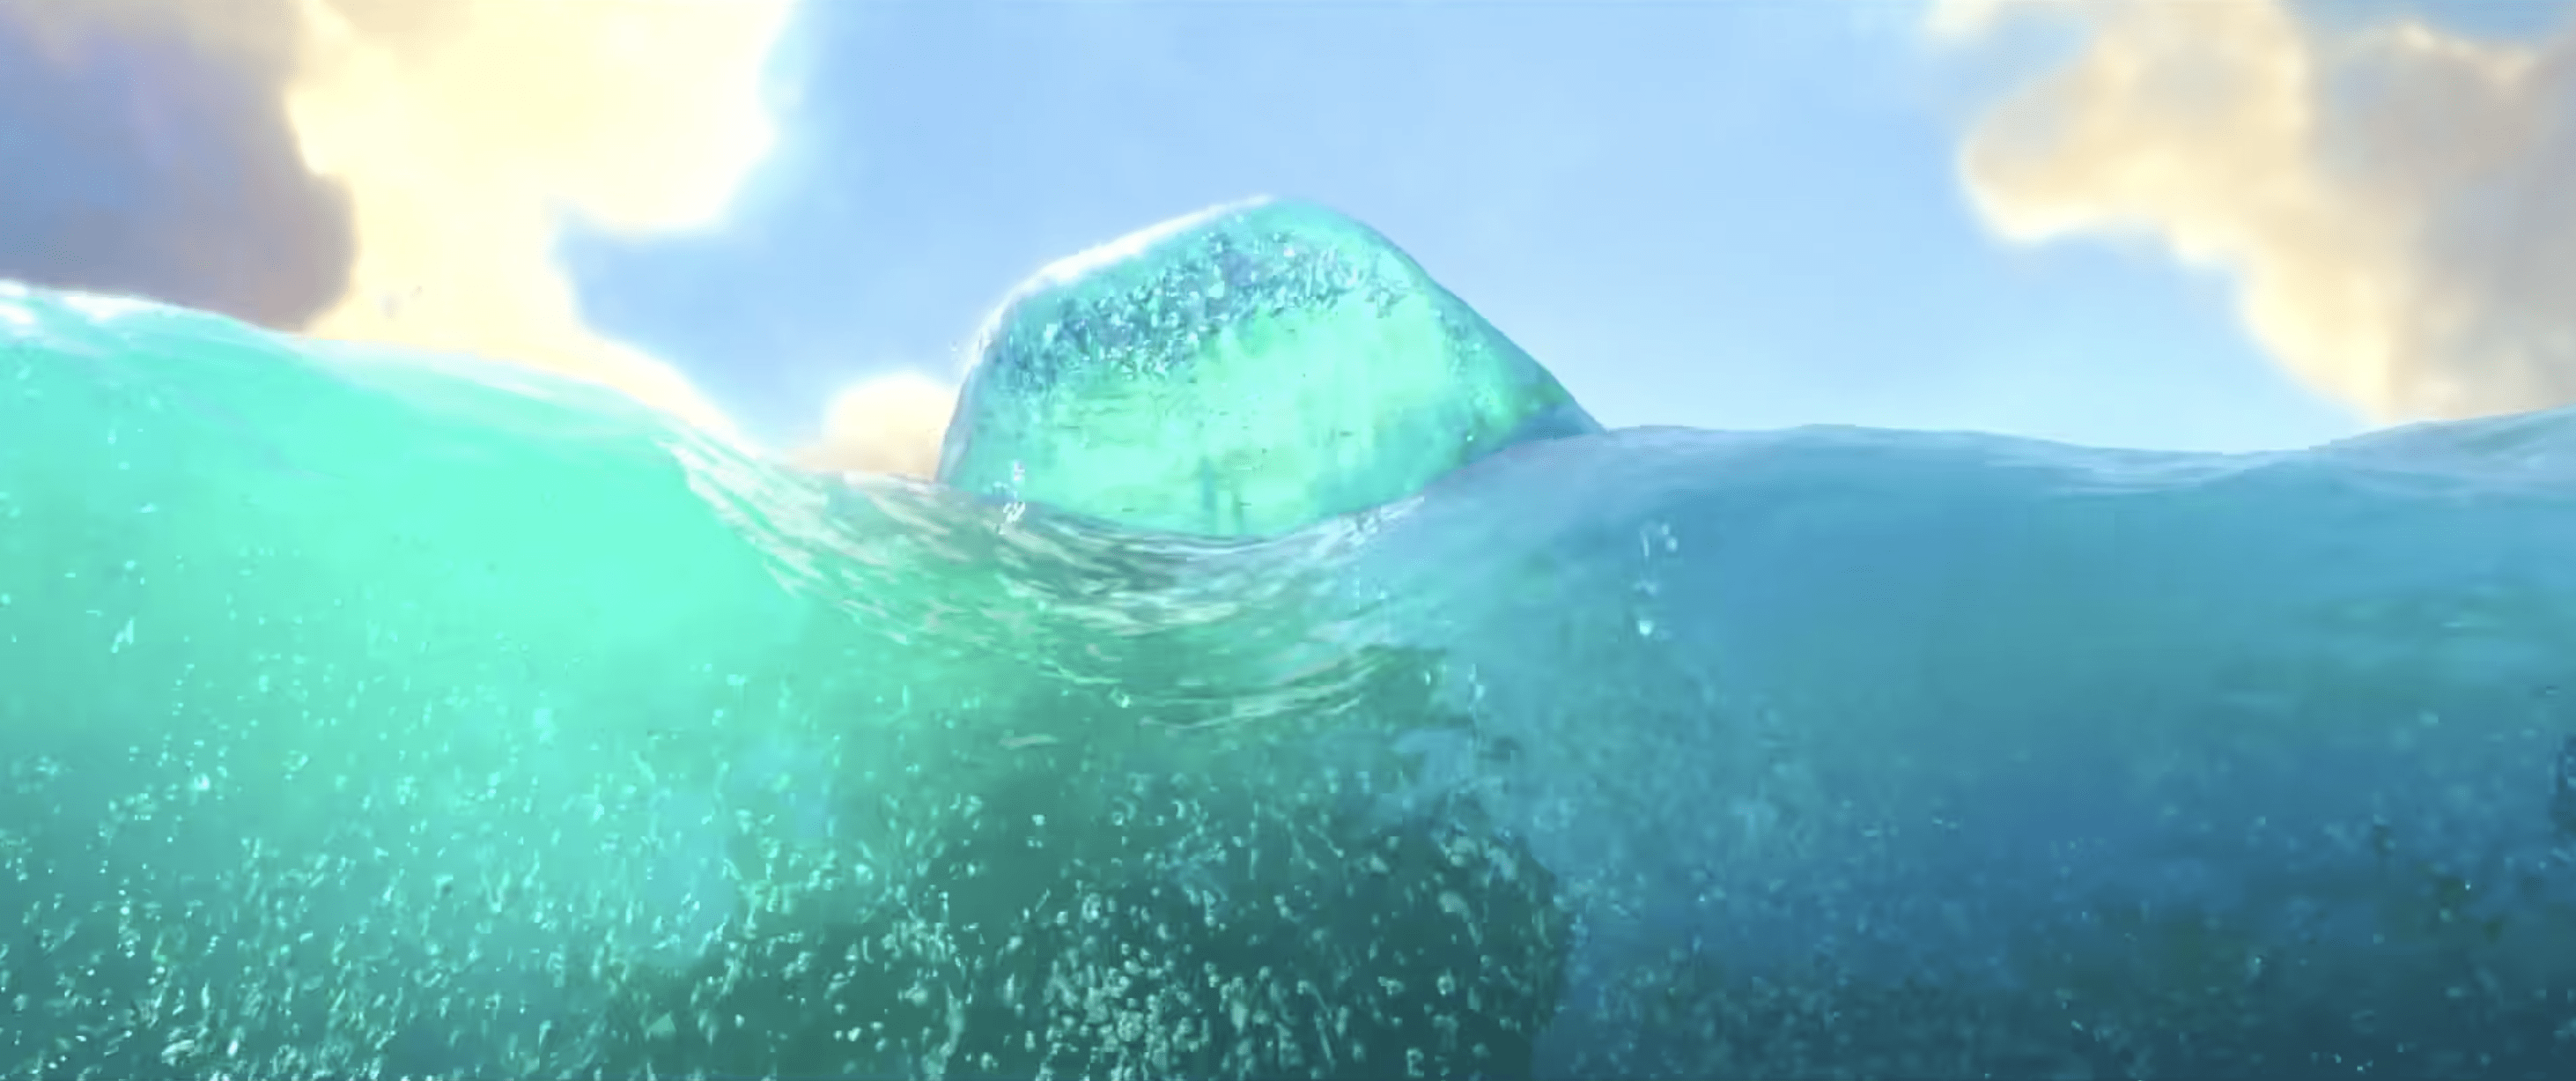
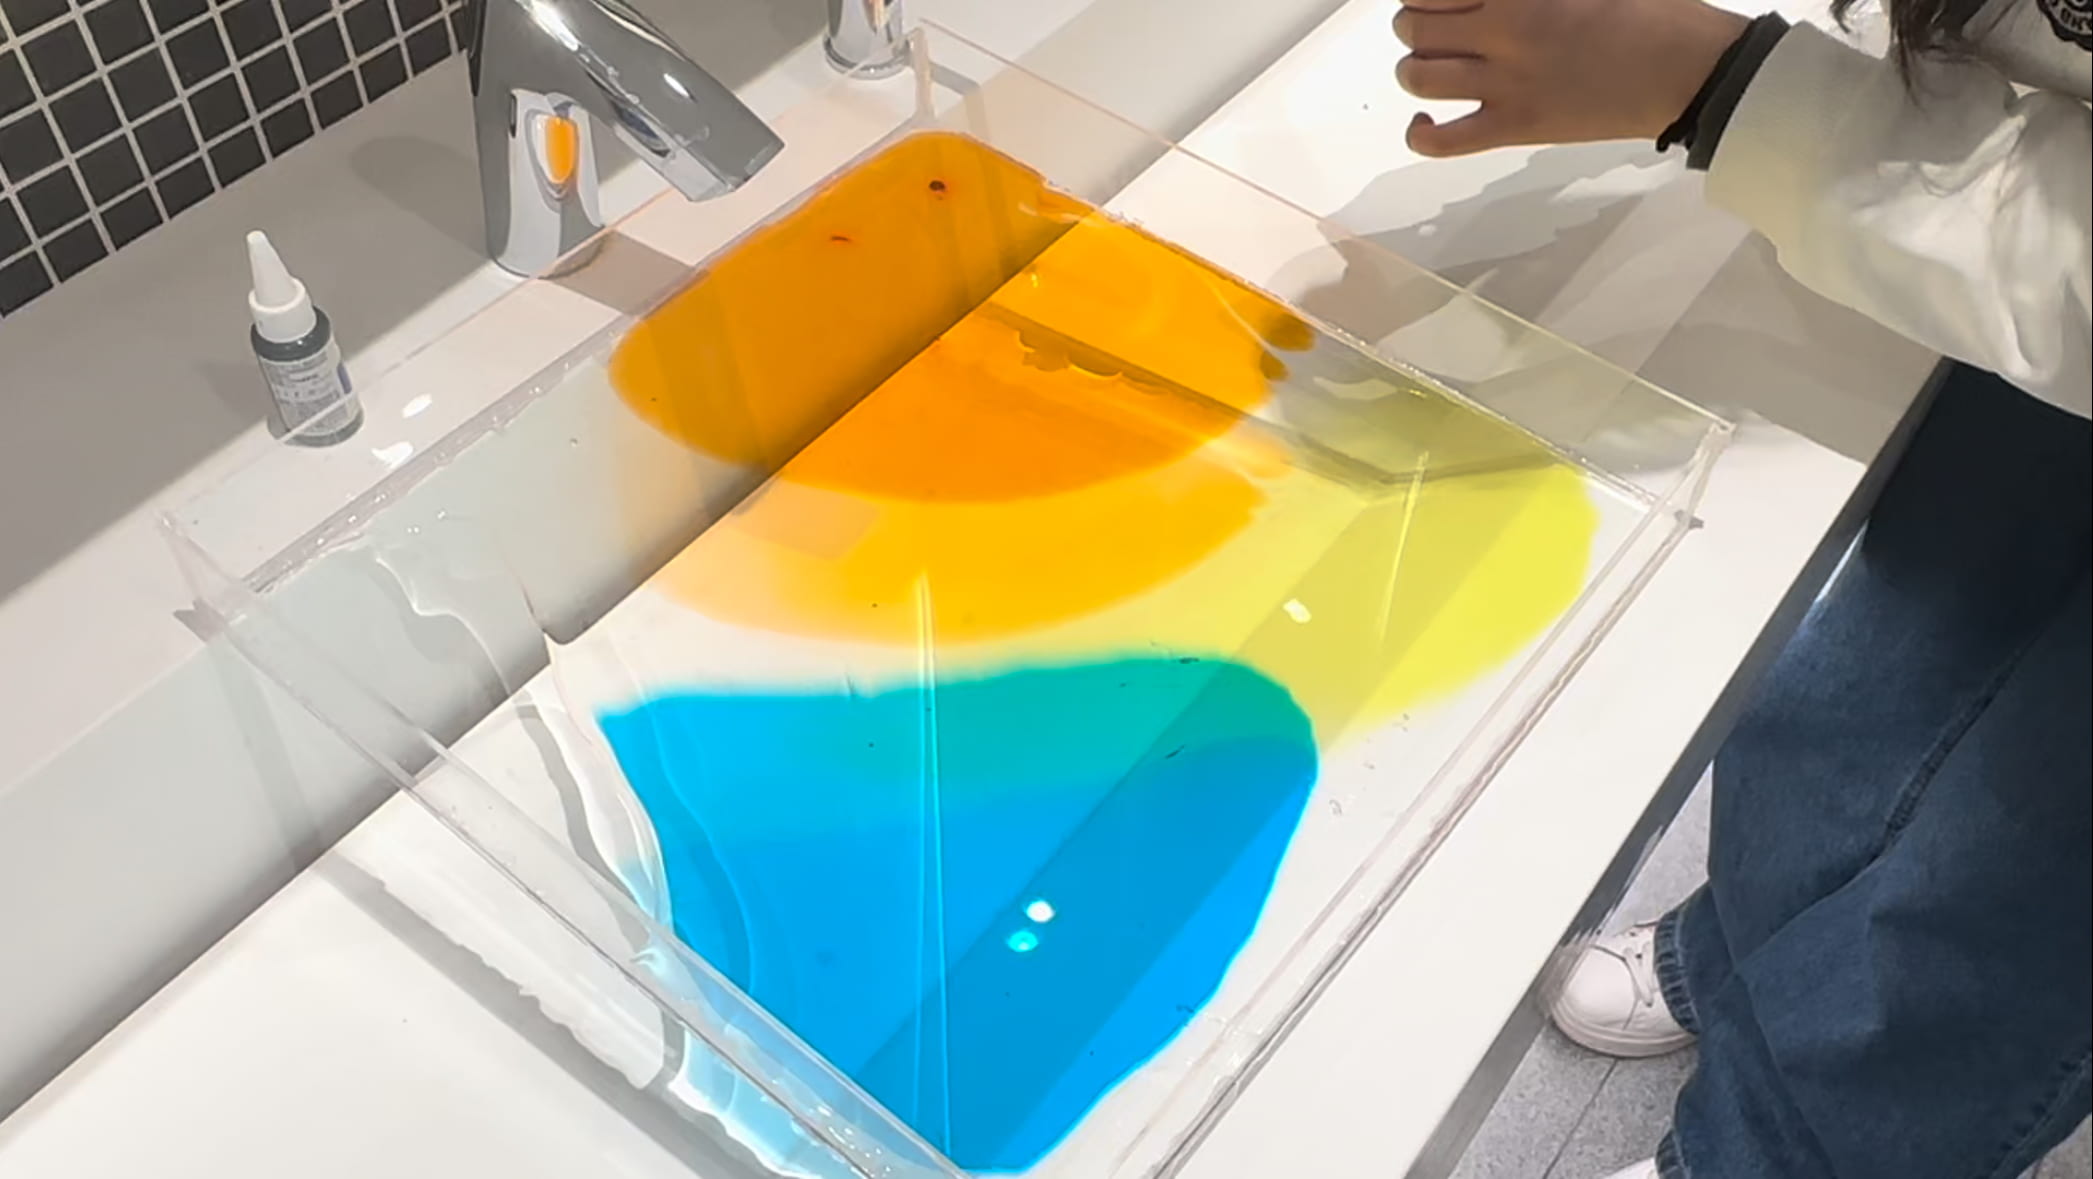
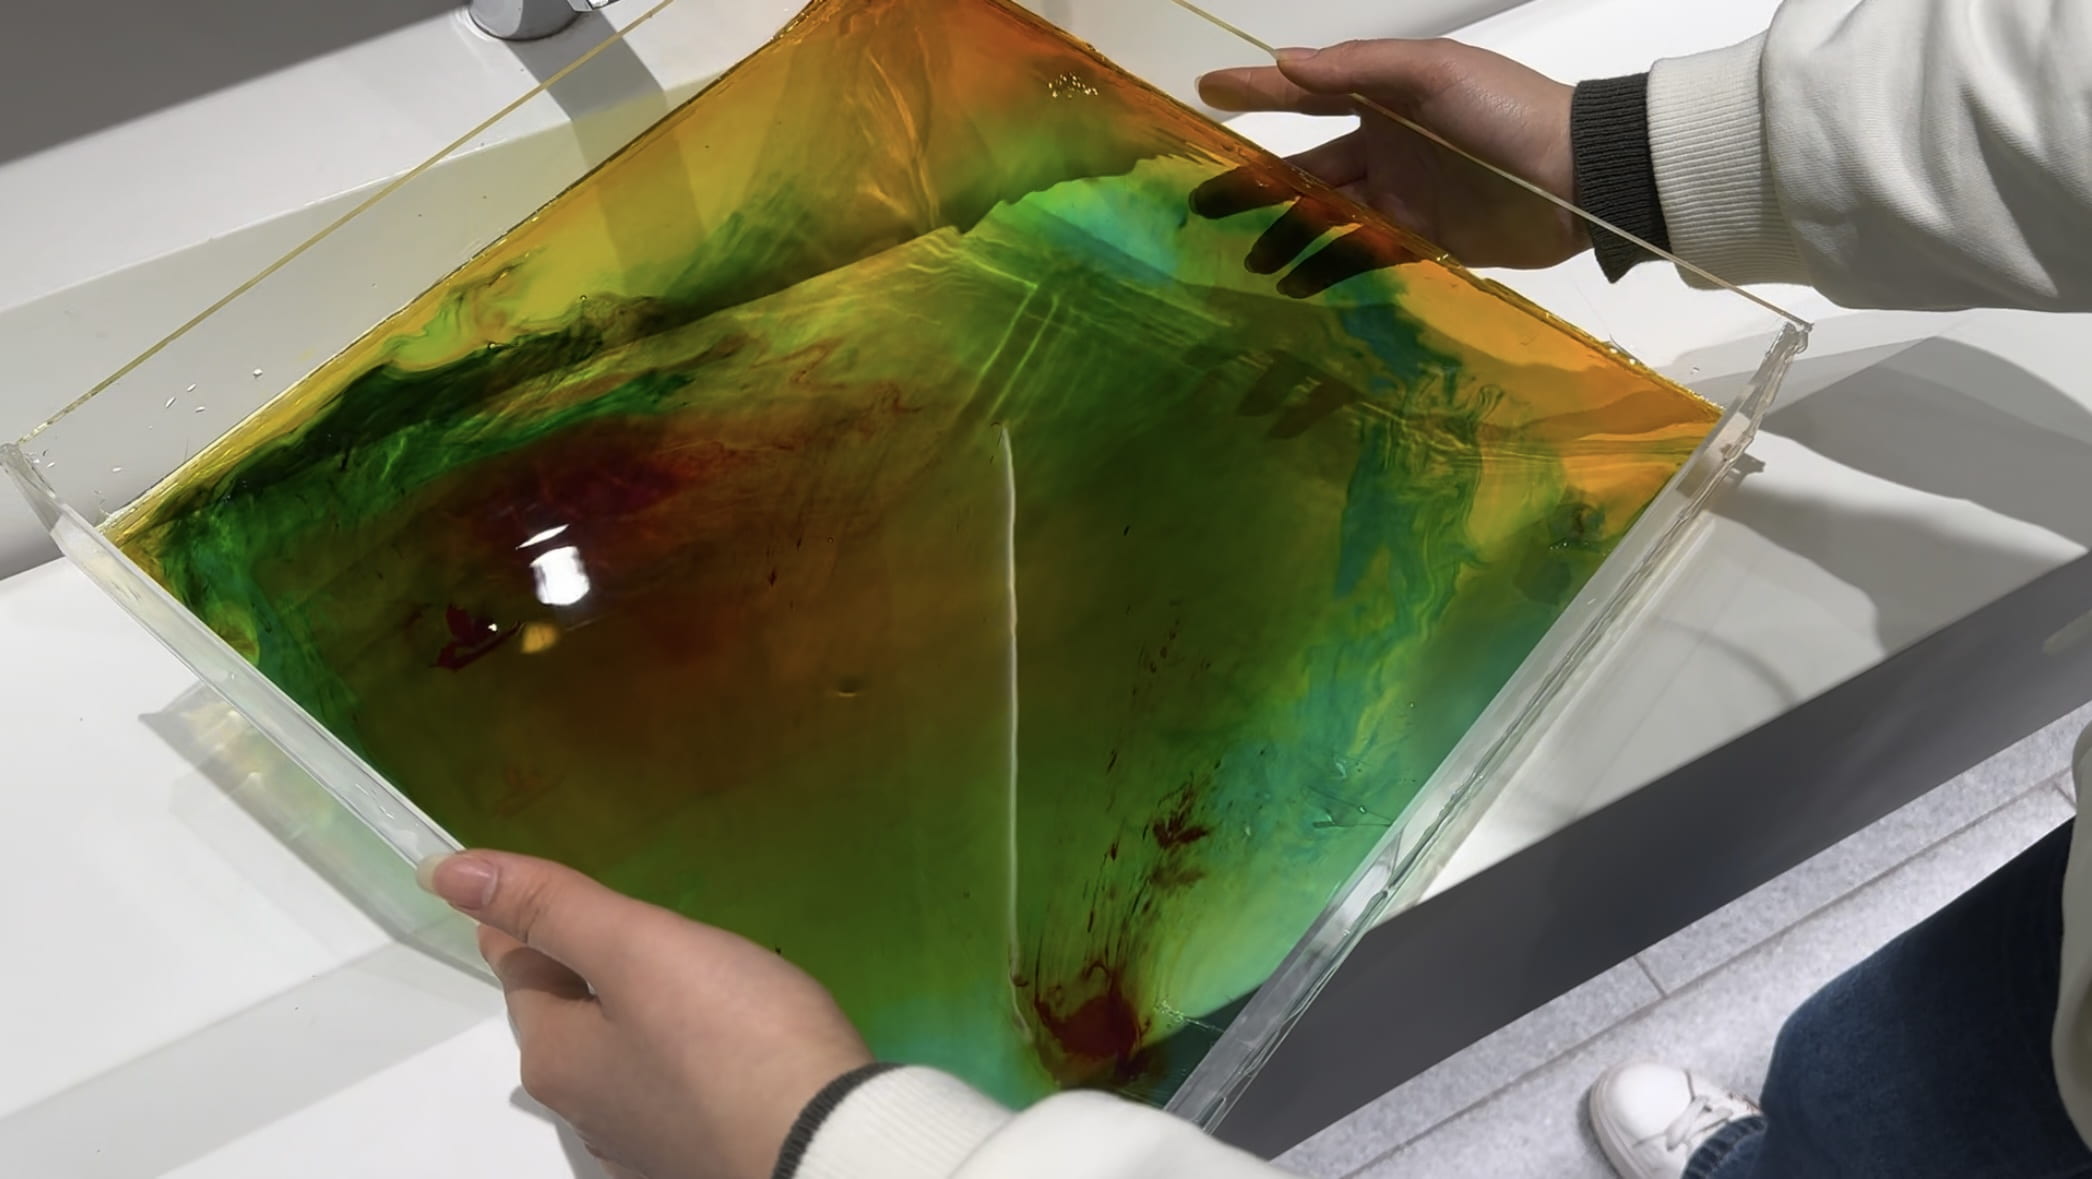
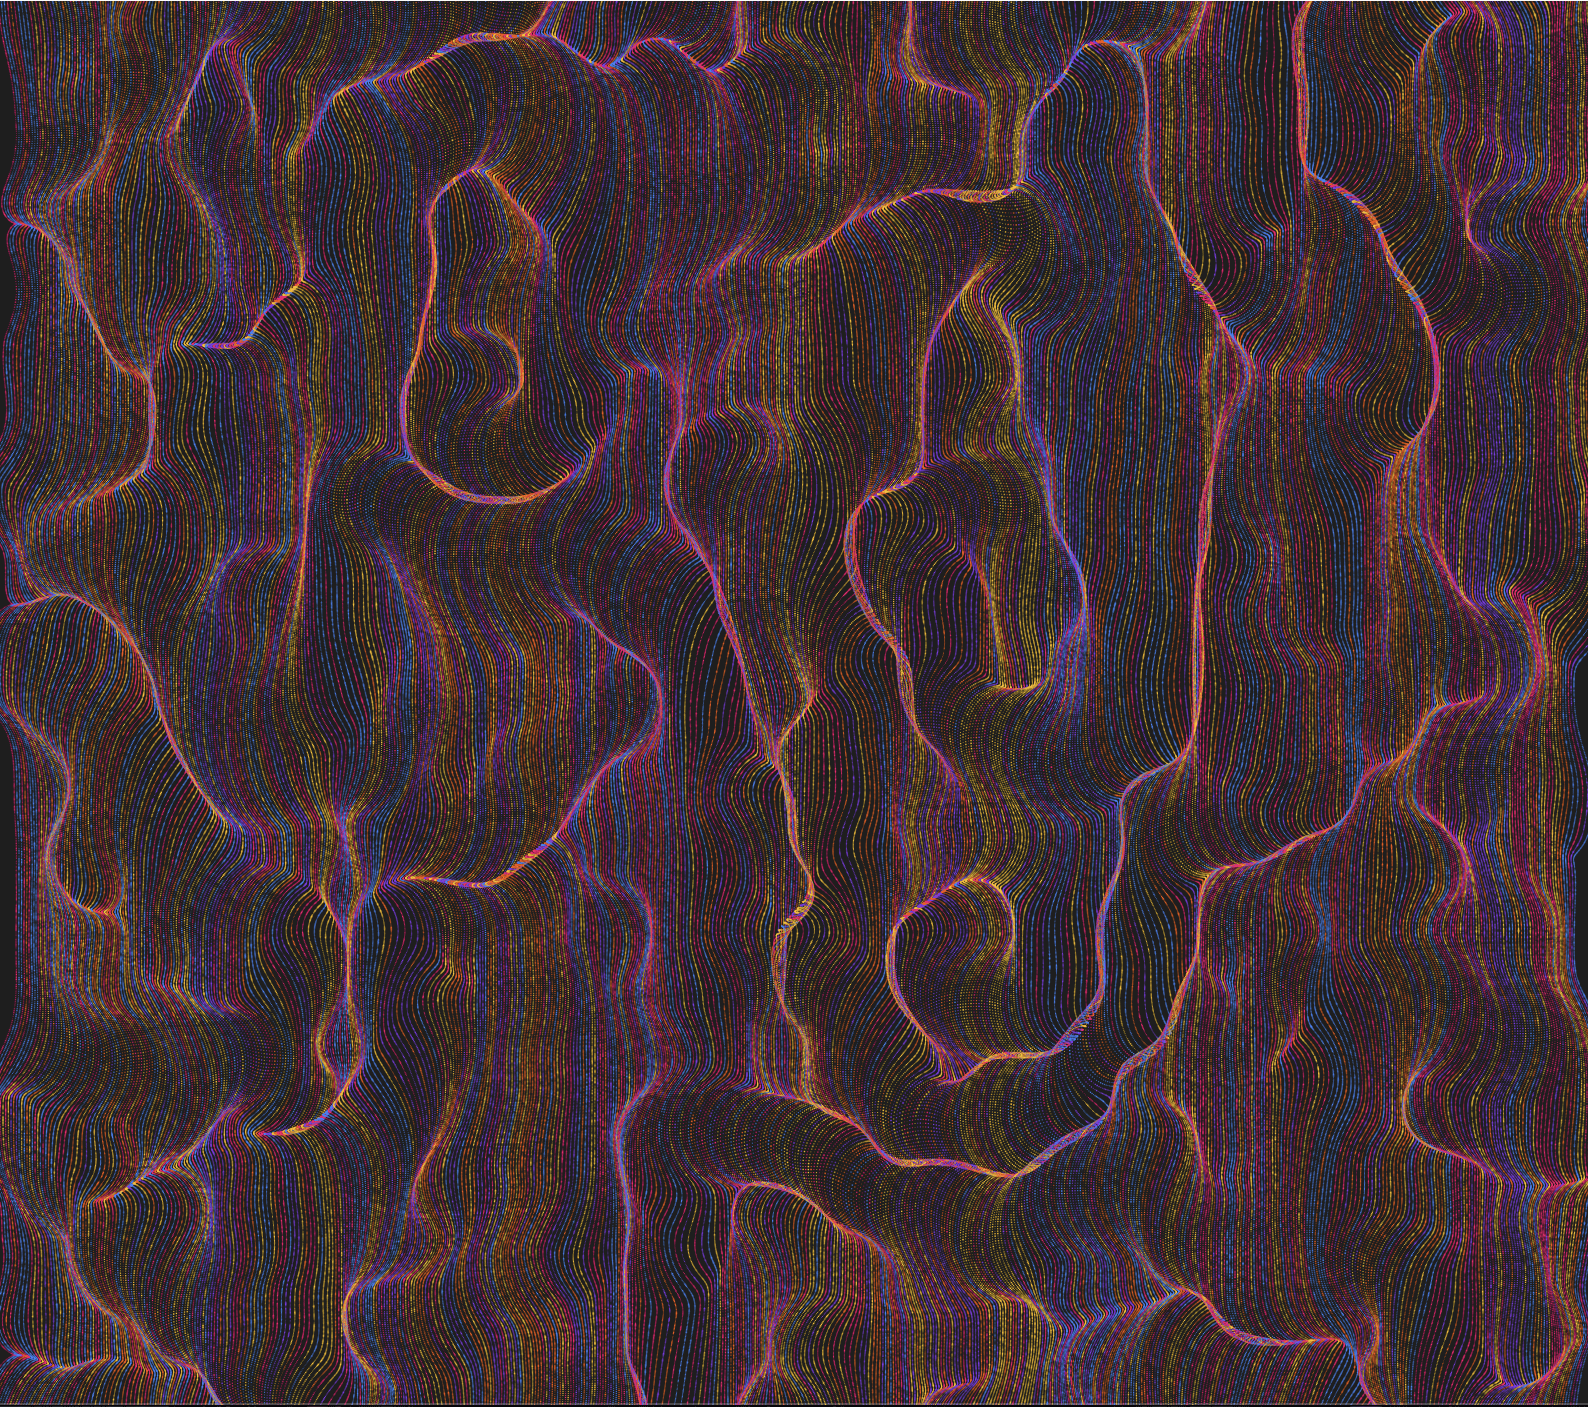
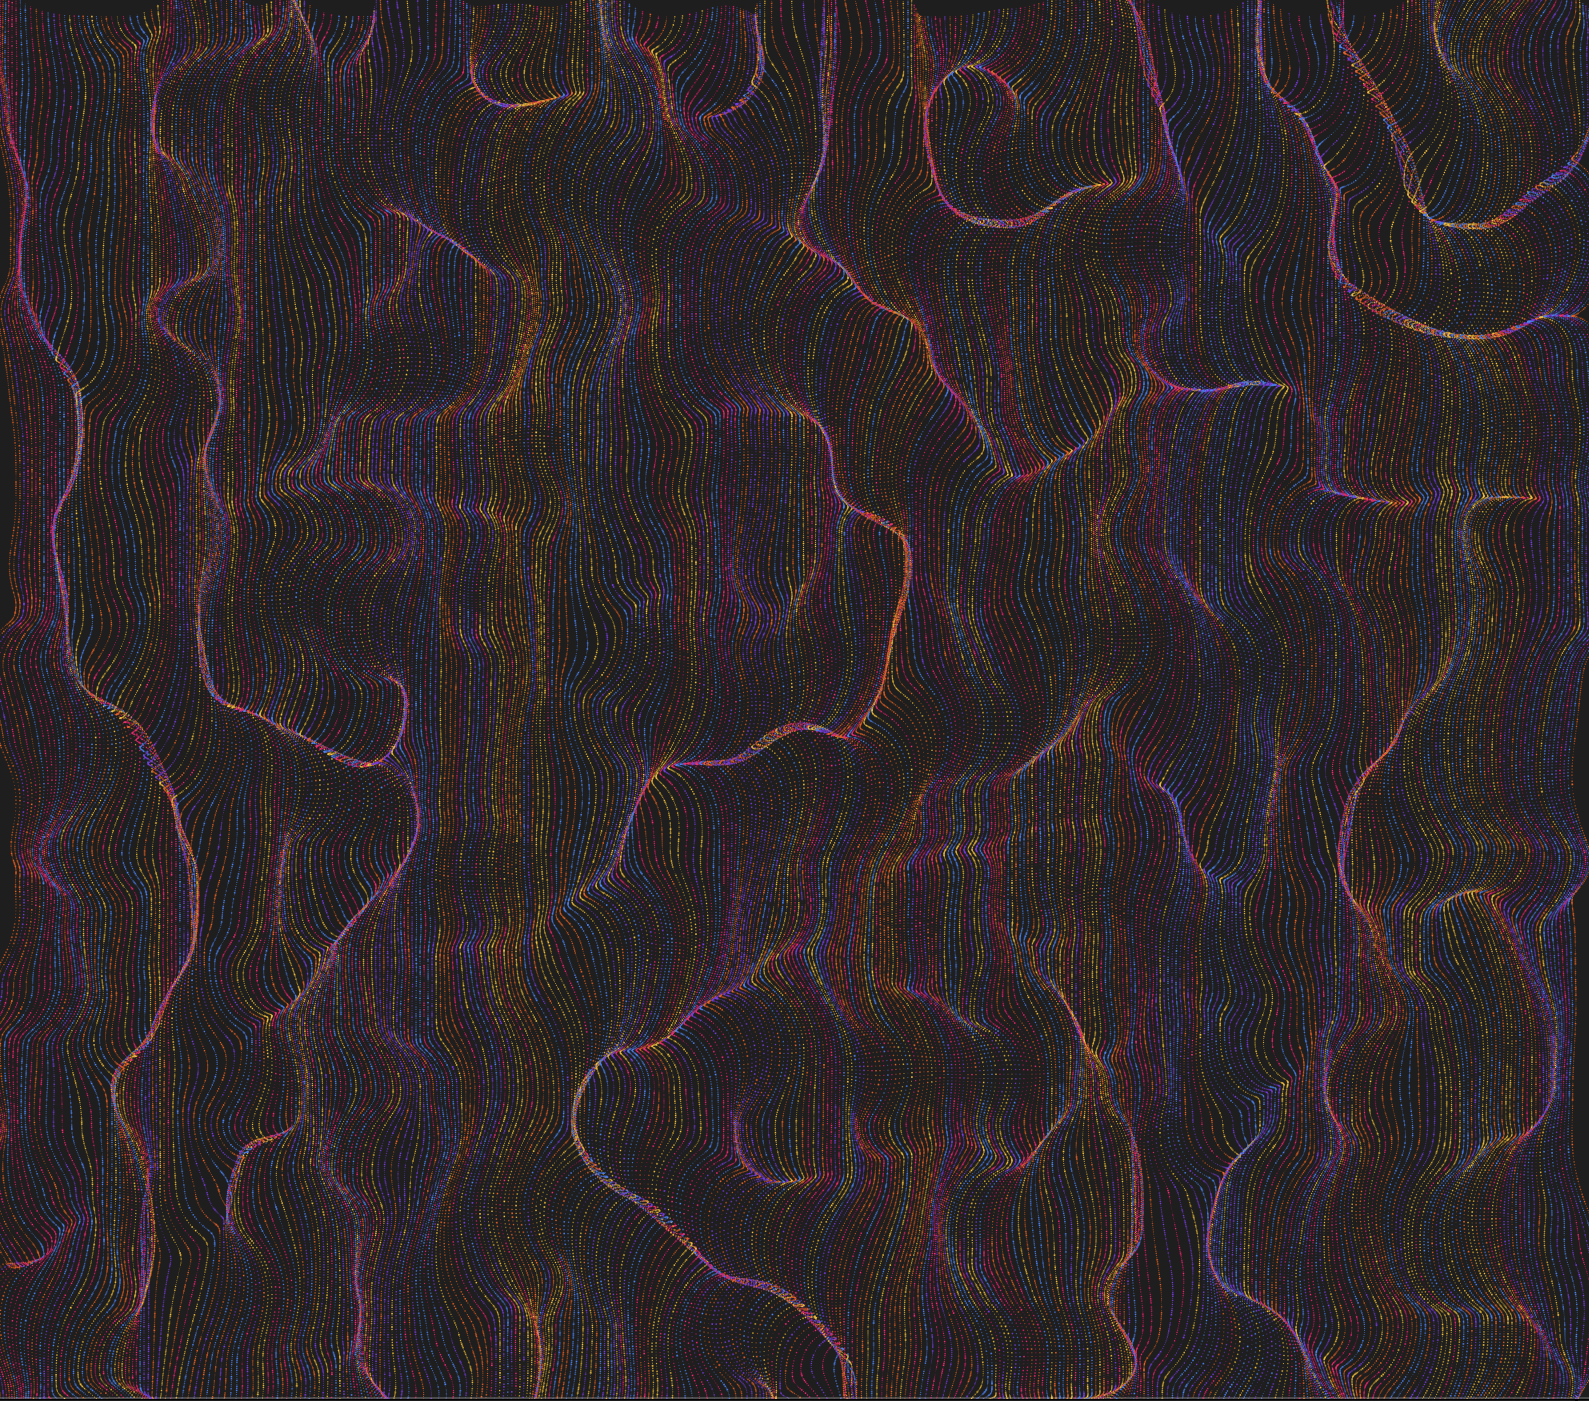
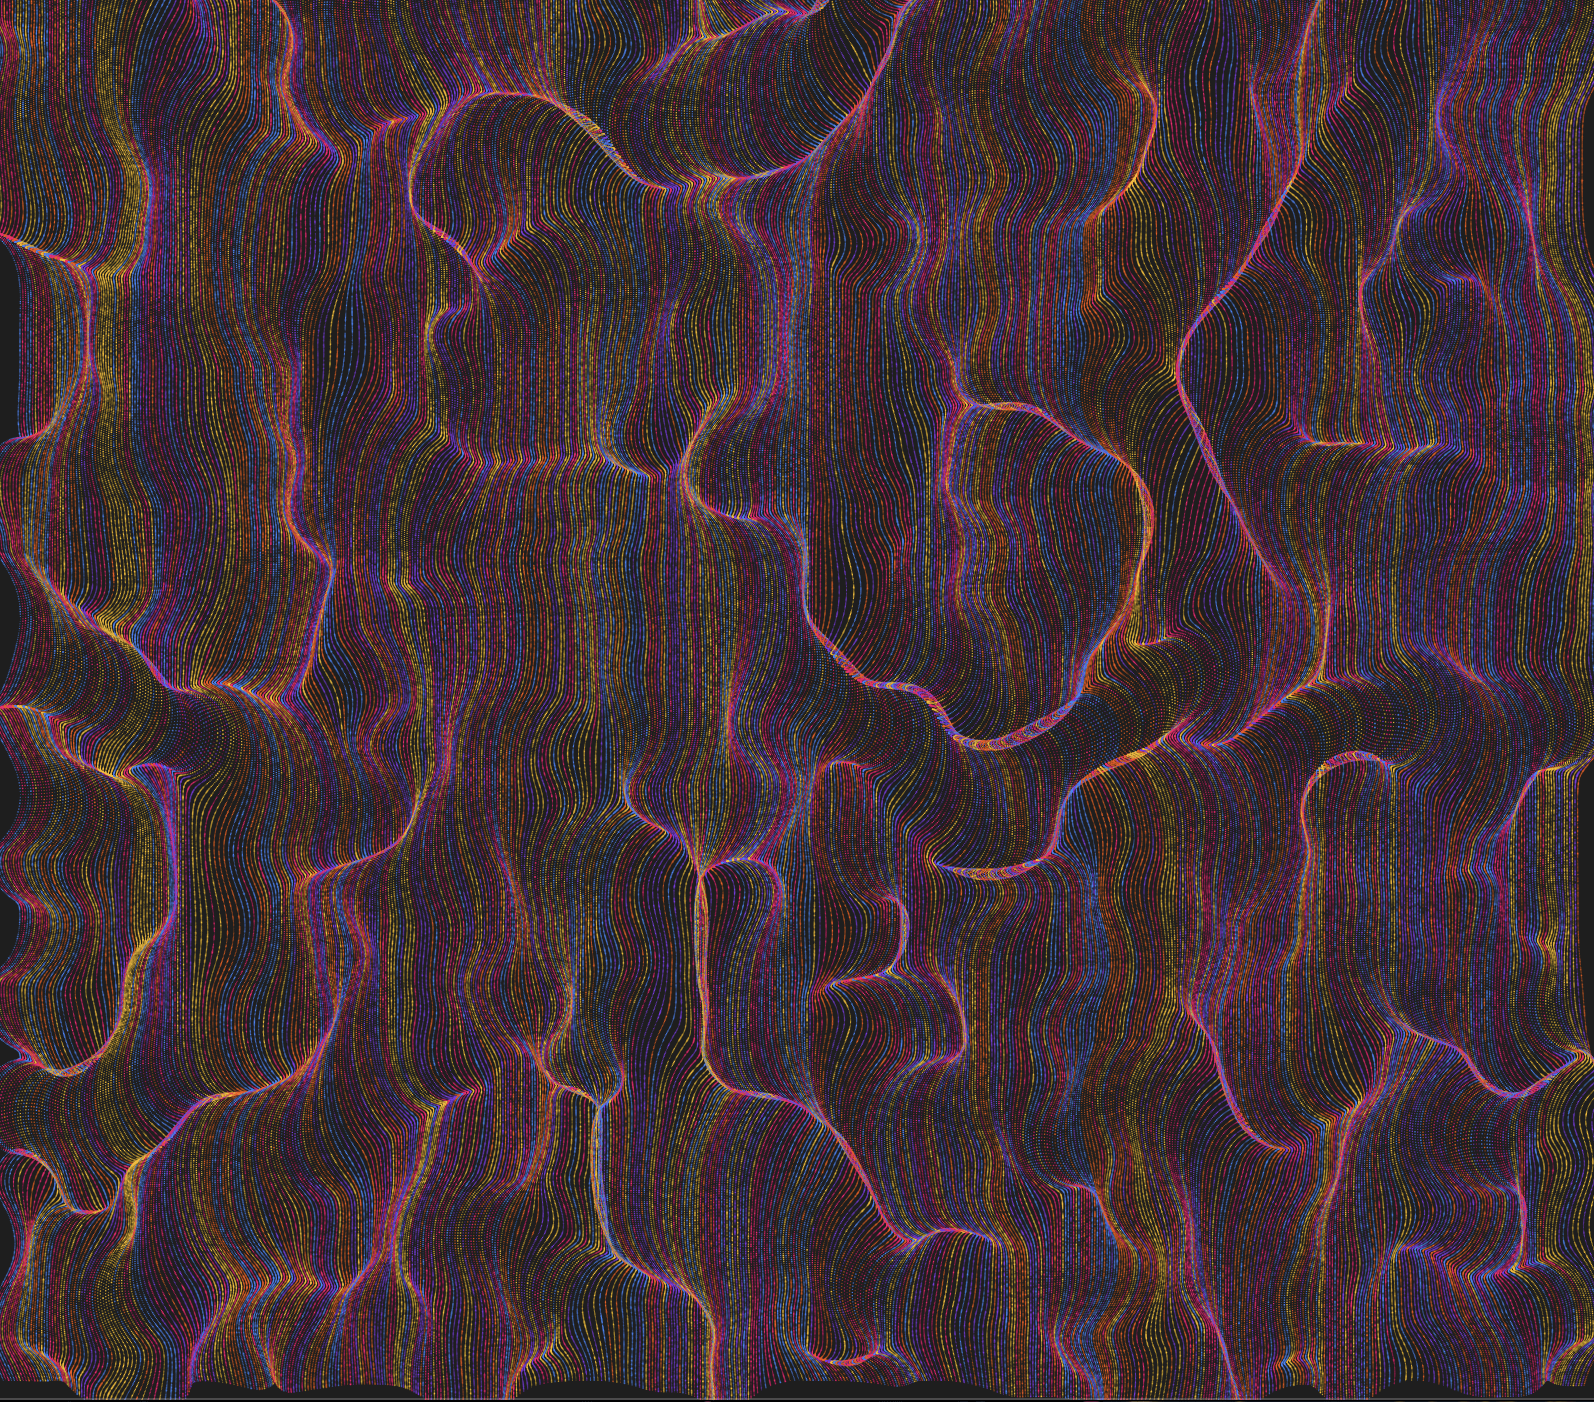
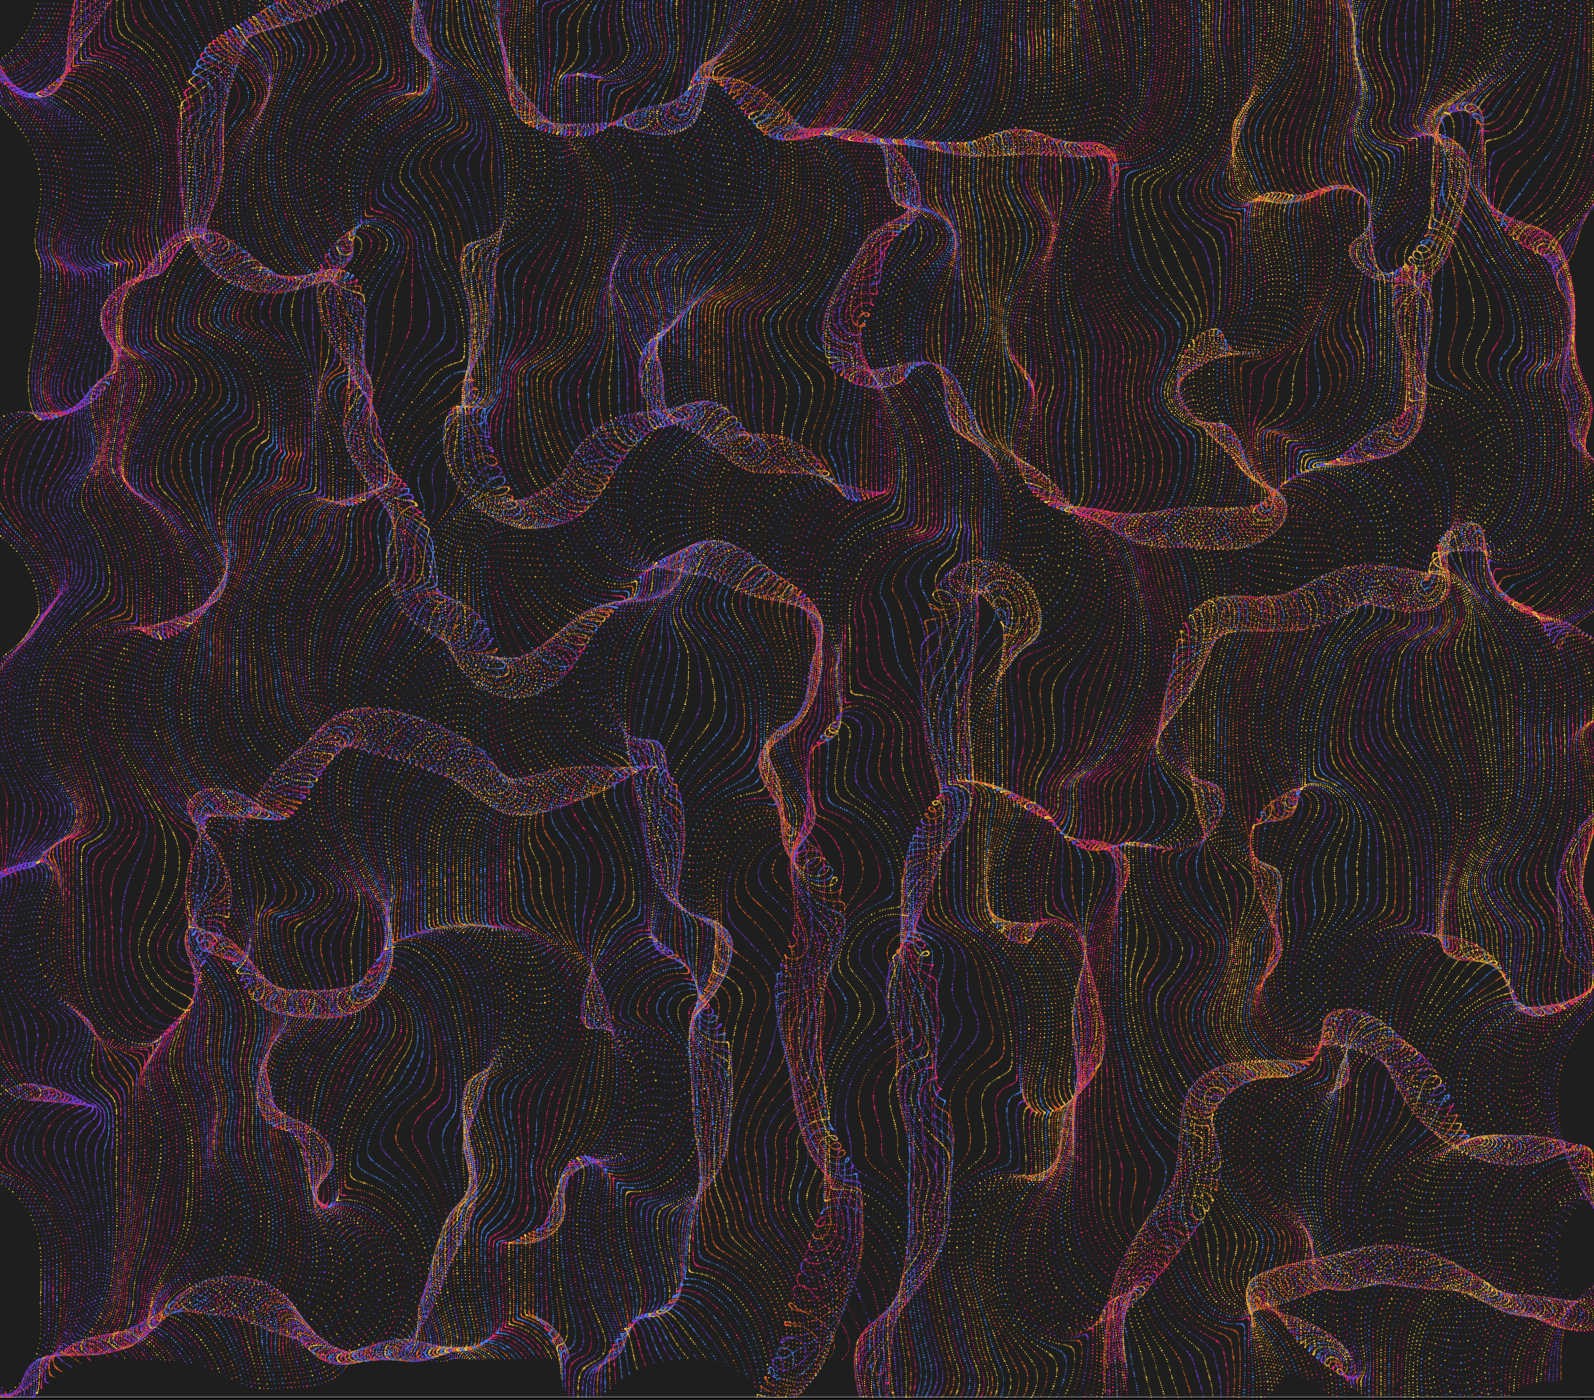
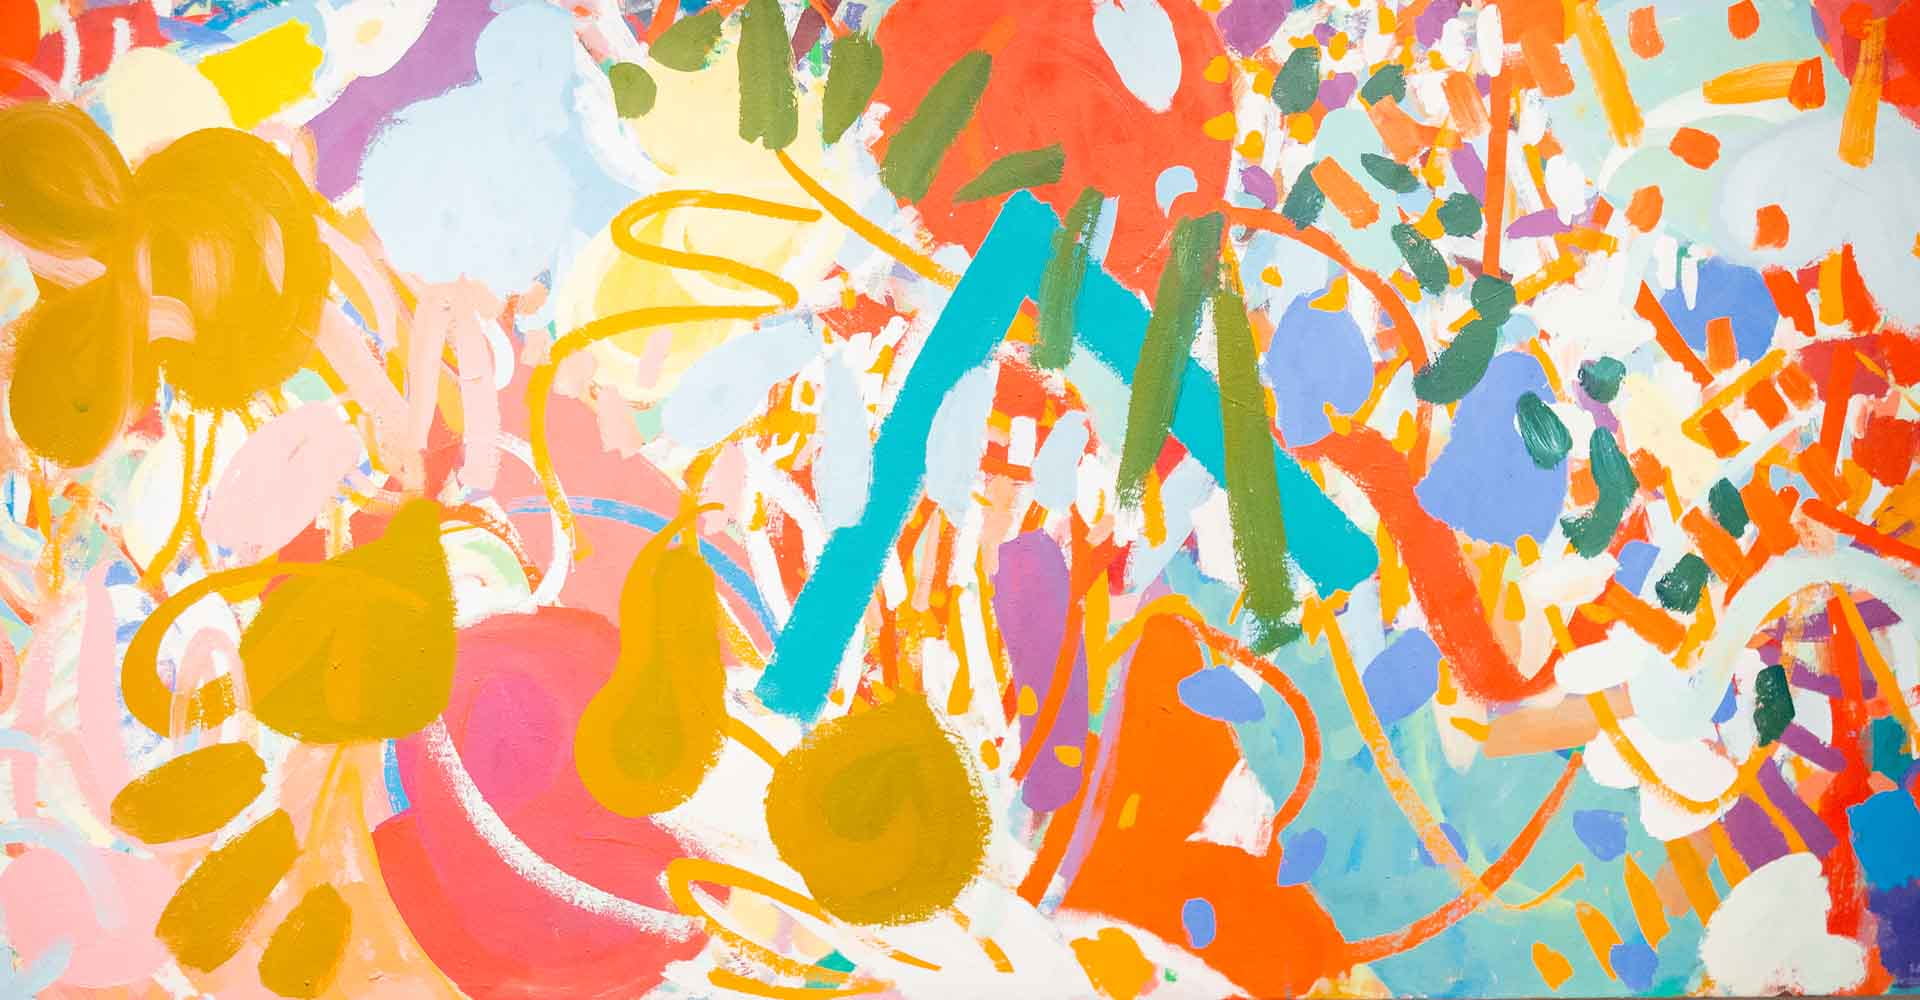
For this project I was inspired by the aesthetic styles of Alice in wonderland and attract art. I’m very fond of the usage of vibrant colors and patterns (as shown in the example pictures here), and intended to explore recreating this type of art style in p5. 


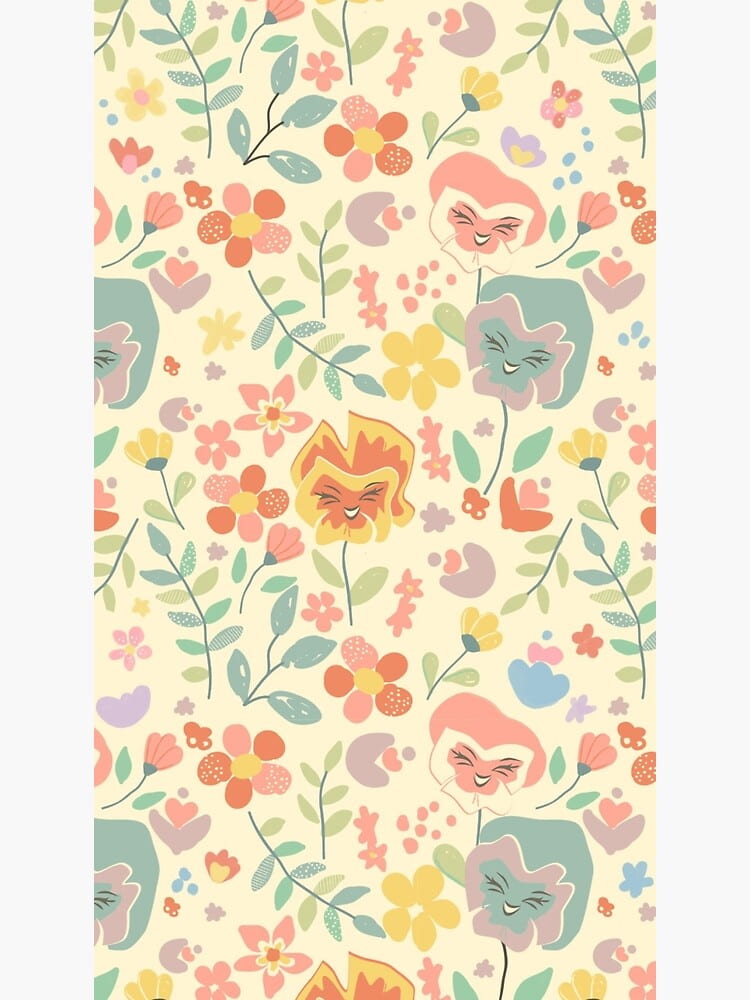
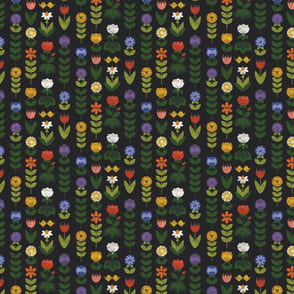
I first wanted to create some wonderland like shapes or landscape, especially floral like patterns like the pictures below. To make the flowers in a landscape distribute evenly but also make the stems of the flowers in different heights in a natural way, the x positions of the stems are based on width divided by a constant and the height of the stems are randomized, and drawn using the line() function. With this, the positions flowers could be settled as well using translation. For drawing the flowers, I thought geometric functions like ellipse() and circle() would be suitable because they keep the shapes simple. 

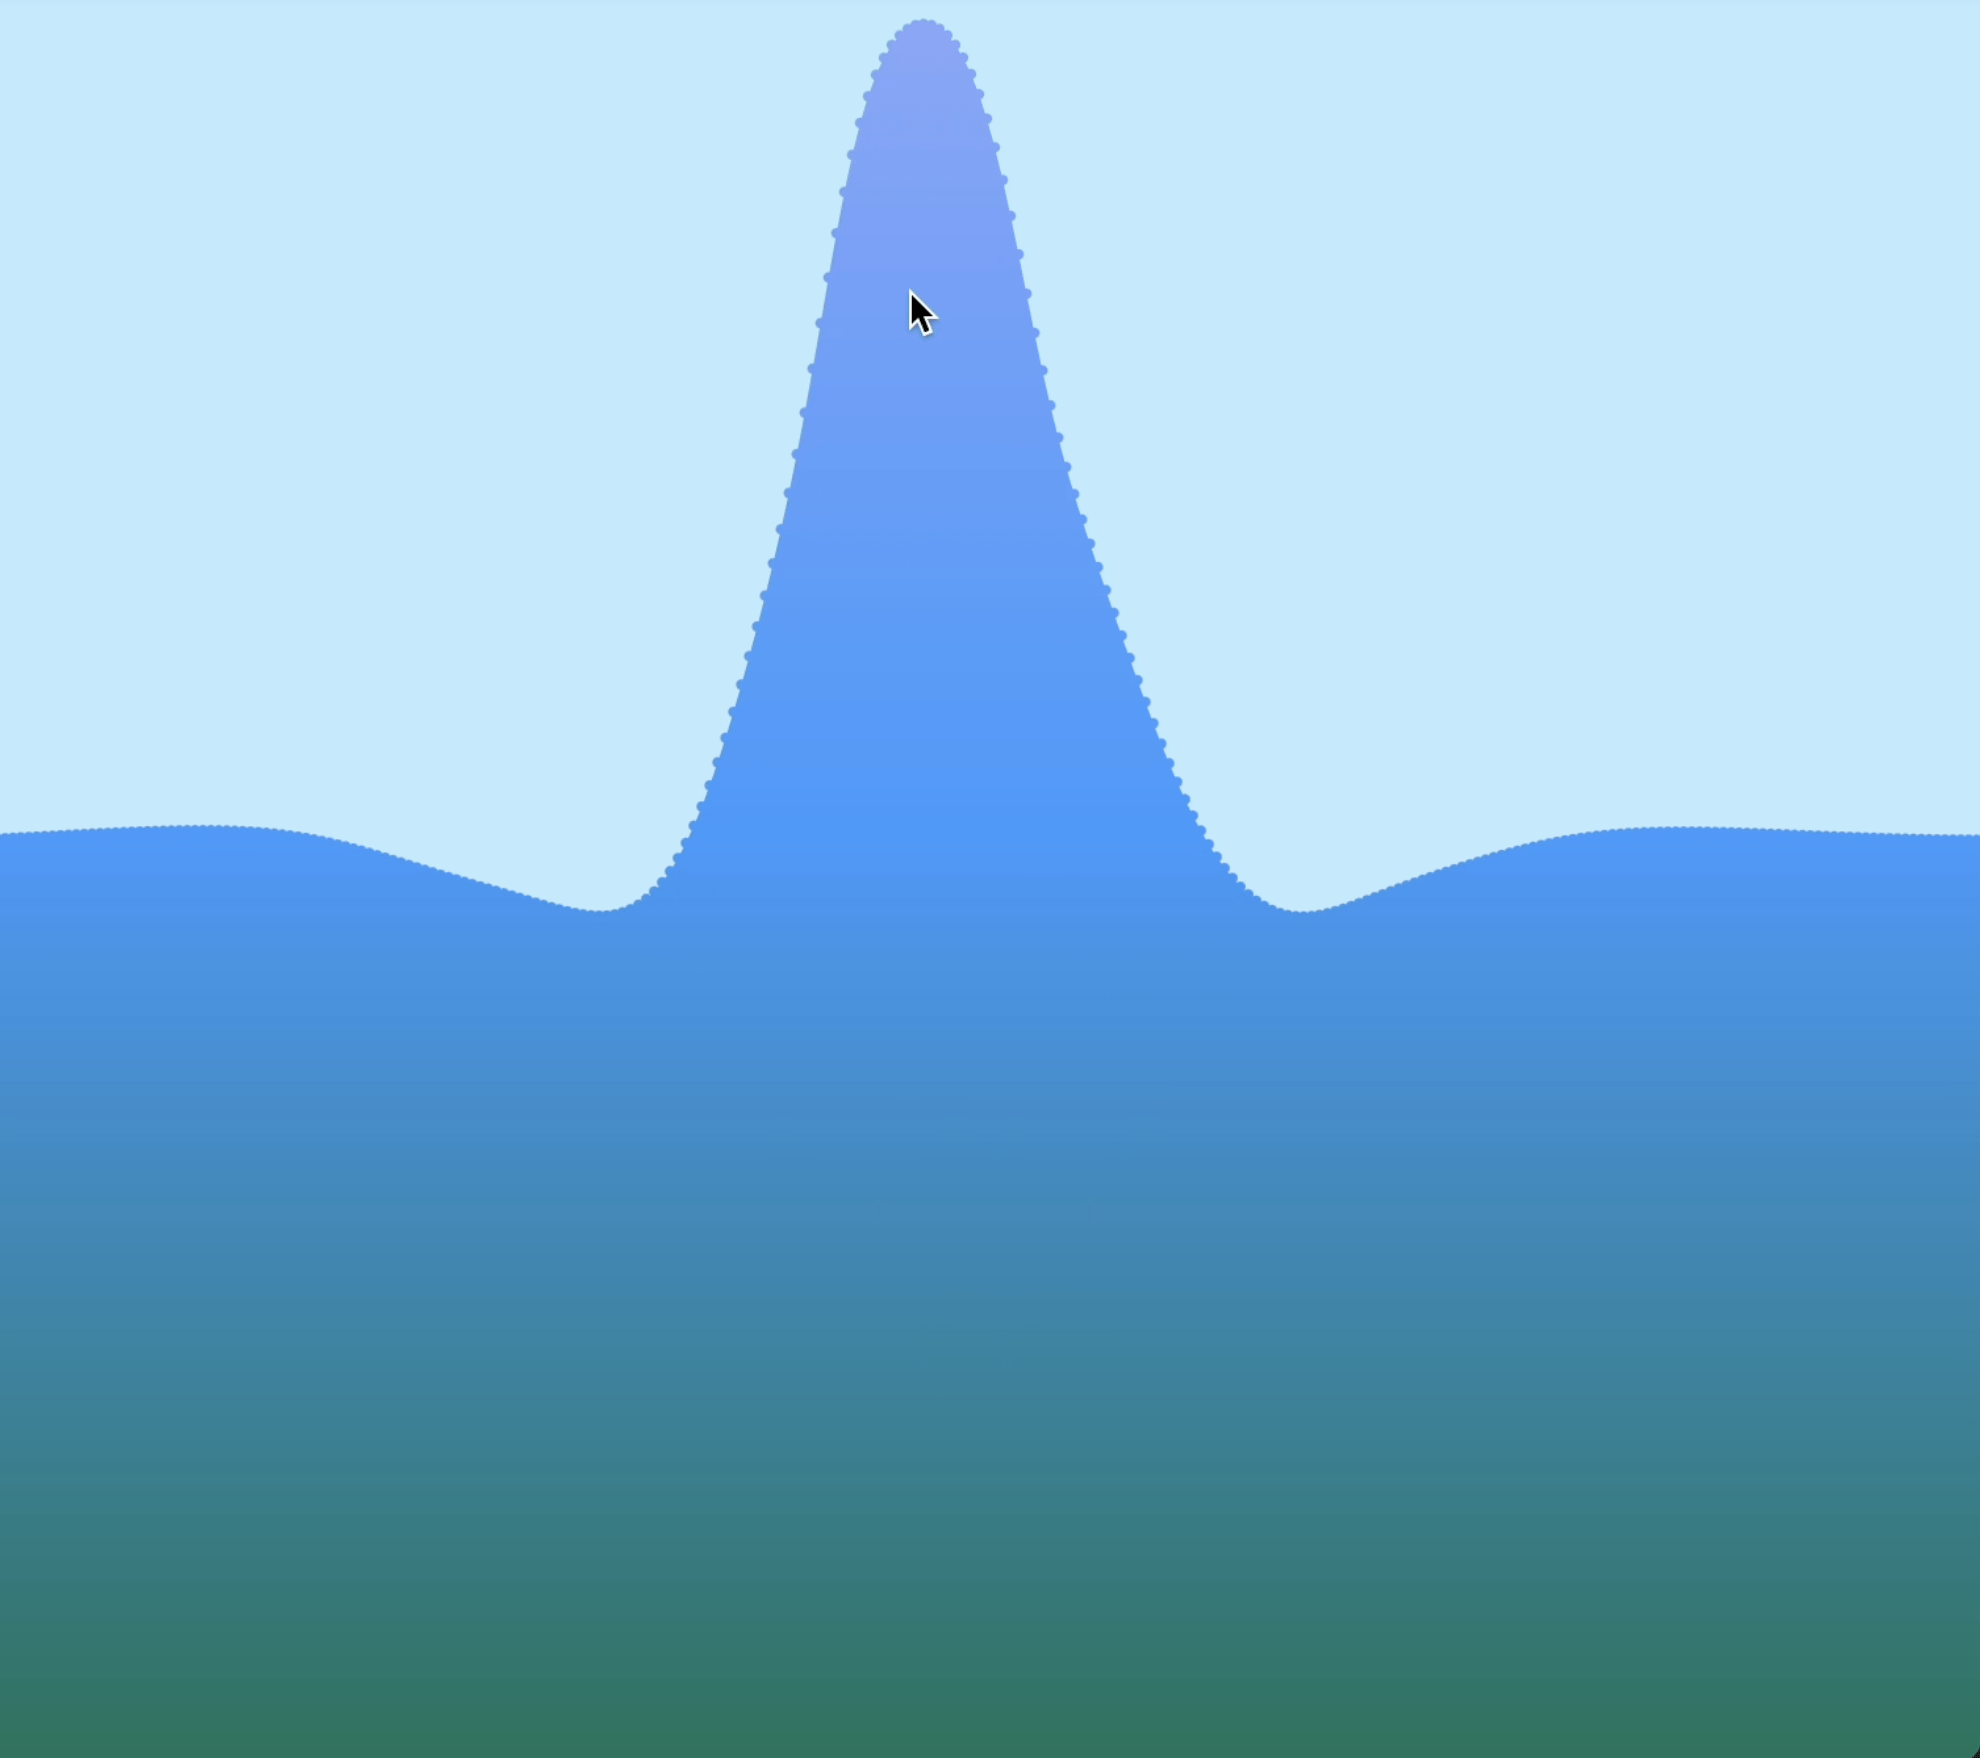
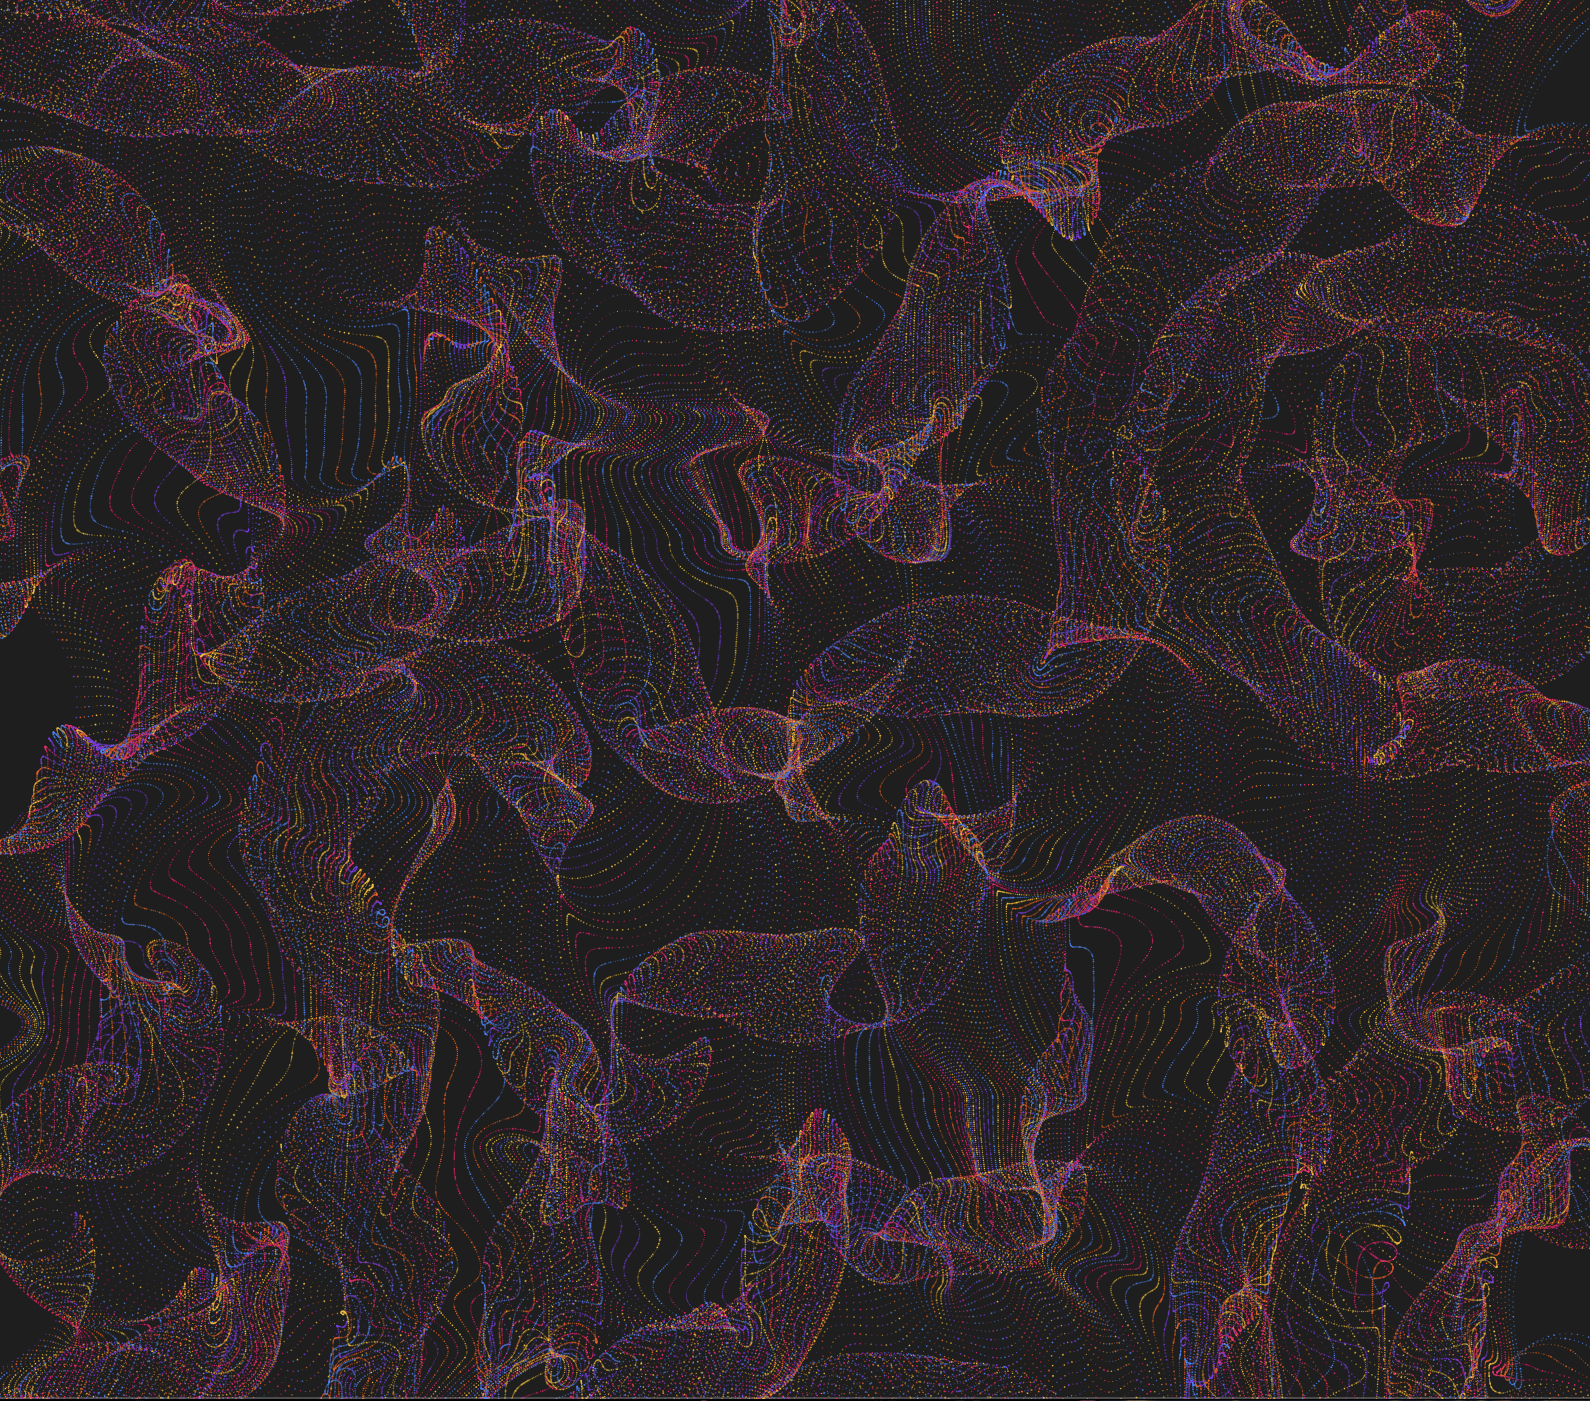
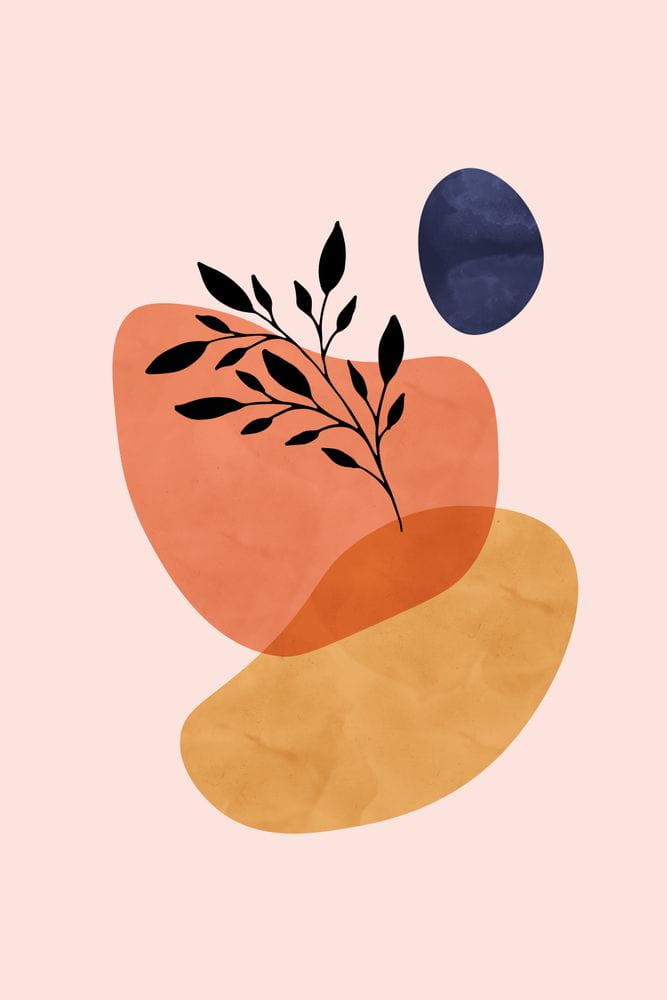
I thought of using rotate for the repetition of the petals, but had no clue how to make them having a bit of variation without being exactly identical with each other nor distinctly different. I also didn’t know how to draw the leaves. So I went to p5’s reference page. But instead of finding the examples I needed, I came across the example of curveVertex and thought it would be interesting to write another sketch based on it because it seems that it could be used to recreate something similar to this picture here below that was used in my slides for the concept presentation. 

I wanted to add some motion to it, so for the angle of the vectors I incorporated the noise function and sine and cosine waves, which created a movement almost creature like which I find visually entertaining. After this, I also wanted to create some shadow beneath it to add more dimension, and found the function drawingContext with shadowColor and shadowBlur, which made it look like the shape is almost hovering on the canvas. I later went back to the flower sketch and tried to find examples that creates floral patterns that would help with drawing the leaves and different flowers, and this sketch was very close to what I had in mind with the evenly spaced flowers and referenced it in my code. 

Here’s a video of the moving ink-like shape sketch running:


However, the random wiggly shape doesn’t seem to have ant obvious relationship with the wonderland theme, and I had to make something more. I went back to the course’s example codes and found that the blobby would be a good inspiration because the layered shapes and the fading trace of movements gives it a smoke/ghost like vibe and it goes well with the character of the Cheshire Cat from the story. I found an image online, tried the background and inserted it in the code of blobby and positioned it at the center of the ball ( this step accomplished mostly with the help of my kind and amazing professor). My instructor suggested me to add more characters in and consider incorporating more effects on the image such as rotate and flip. 

I thought these were really good ideas to further develop this sketch and started to look for images of more characters online. In terms of adding characters, I add another photo of the white rabbit that appeared in the beginning of the story. Since the picture I used for Cheshire Cat was its face, I looked for a picture that only has the head of the rabbit as well. I then used an if and a distant function to calculate the distance between the mouse and the image, and if the mouse is close enough to the image to will disappear. I then experimented with the rotating effect. Different from the disappearing, I had this one to not show the image but only the blobby in the beginning. And when the mouse hovers on the bloody the image will appear, spin, and then disappear with the blobby altogether, and then the imageless blobby reappears on another random position on canvas. 

Here’s the video of the disappearing effect:


Here’s a video of rotating effect:


This was also an interesting effect, but considering the concept I had with the characters, I eventually opt for the first one, because I thought it would make more sense since Alice could’t catch the rabbit and the cat is always disappearing mysteriously. And actually, when I was looking for pictures of different characters, there were also the card soldiers, the talking flowers, the caterpillars, but the rabbit and the Cheshire Cat fit better to the story if they were to float around on the canvas so I had just the two characters.

My professor also suggested me to utilize the flower sketch as a background for the rabbit and the cat, but when I was trying to combine the two sketches, when the part of the sketch that is supposed to draw flowers was put in the draw function it will start flashing the flowers like madness. And despite adding a void loop function, it doesn’t seem to work together with push and pop.

Here’s a video of the flashing flower background:


So after multiple attempts and failing I decided to insert the background as a picture. I first thought there was something with the code after I inserted the code because the blobby seemed to have disappeared, but I later figured out it was the picture covered it up a bit and adjusted the transparency of the blobby ball to make it visible again.

Lastly, by referencing the GUI code from last week, I add the GUI for the x, y position and the x, y speed for the images. Though it appeared to be an easy task but it still took me quite a while to get everything in place.

Here’s a video of the final sketch with GUI:


Through this project I also further familiarized with some of the functions and examples from class and learned with some interesting new functions. Looking back, I think I could’ve had different effects for the two characters, for example, the rabbit disappearing when the mouse is on the image and the cat appearing, spin, and then disappear. And during the presentation, my classmates and my instructor also gave me really good advices such as making the characters interact with each other, or have the characters hide-and-seeking within the flowers, and explore some crazier visual effects since the theme is Alice in Wonderland. 

Project 2 – Blow, Glow, Grow

Title: Blow, Glow, Grow

Project Description

I was inspired by assignment 3 where me and my partner experimented with combining water and light, and initially we intended to add detergent or soap water to bring more dynamics to the food coloring in the water, but later did not incorporate the idea due to time constraint. And when I was writing the proposal for this project, I thought it would be better to also create some smoke-like effects if I’m creating lights and bubbles, because with smoke it would make things more concrete and accentuate the volume of the projects instead of just hollow bubbles. In other words, besides seeing the colorful surfaces of bubbles under the reflection of light, smoke would also make them look like they are glowing themselves.

This project had two parts: first is blowing bubbles into an acrylic box with ice, and the bubbles will float in mid-air in the box because the support provided by the CO2 the dry ice releases; second part is adding water/bubble mixture into the box, and thus creates smoke and later growing small mountains of dense bubbles.

Perspective and Context

In terms of the context of art and perception, light art, and kinetic art as we’ve been discussing during the course, I find putting bubbles and smoke in a constraint space with focused light acts as a parallel of a frame to a painting, though bubbles and smoke can be observed in a natural, daily environment, having a geometrically shaped vessel can concentrate the audience’s focus on the movement of the smoke and bubbles as well as the subtle shift of colors that appears on bubbles’ surfaces. And for this specific project, having a container also allows me to create effects that would otherwise unable to achieve in a natural environment. The CO2 released by the dry ice at the bottom of the acrylic box would fill the space within and then flow out of it instead of simply disperse in air and get diluted quickly or drift away. It would then allow me to create bubbles that floats relatively steadily inside the box due to the difference of the density between air and CO2. The duration of the hovering would also be longer than bubbles normally would for the heavier CO2 holds them and keep them undisturbed. Also, I personally find them floating in a glowing cube very esthetically pleasing. 


Development & Technical Implementation

I first tried to laser cut an acrylic box myself because I wanted the for sides of the box to be transparent but bottom of it to be material that diffuses light well. But after spending a whole afternoon and an evening making one, I realized it is almost impossible to create a water tight acrylic box by handcrafting myself no matter haas much glue I use. I eventually bought a watertight acrylic box online and laser cut a base using milk-white acrylic to diffuse the light to create the effect of a glowing cube I was looking for. I also intentionally assembled the parts with the sides that has serration facing downward so that I could have the wires in and out easily but it also wouldn’t be very noticeable compared to having a half-hole on one of the sides.

It took me quite a while to figure out the best way to create the “smoke”. I thought about using oil-based smoke for it is much easier to control and to preserve, but then quickly gave up on the idea after looking up the tools and seeing the price of them. I later realize the fact that dry ice could also create an “invisible water” that provides buoyancy force for the bubbles, and even though I had to buy a dry ice bucket additionally to preserve it, it is still much cheaper than the oil-based smoke making tools combined, so I eventually settled on dry ice. I was very pleased to find dry ice available online and could be delivered the next morning, which made things a lot easier for me.

I did not expect the bubble water would be the trickiest and the most time consuming part. I was very confident with my formula, but when I actually experimented with it over the weekend, things did not turned out the way I expected. I referenced this video I found online for the formula, and used detergent, baking powder and guargum powder to mix with water. But when I was about to do the mixing, I realized I had no clue what the proportion of each ingredient should be, so I got into the state of repeatedly adding more water and then more of the three ingredients. But the most excruciating part was blending the powders evenly with the watered detergent, because the guargum powder would immediately turn into this clue like paste when it meets water and it was almost impossible to avoid big chunks of slippery clogs in the mixture. And because it was slippery, it was also extremely difficult to break the clogs and “release” the still dry powder wrapped inside it. I later even had to buy a boult for this. 

Though this formula can make the bubbles sticky enough and not easy to break, but when I was testing for the dry ice I realized it would also make the bubbles too heavy to float. I sometimes have to blow for minutes of bubbles before I could get one that has a perfect volume/weight ratio that allows it to float (though it might also have to do with not using enough dry ice for the testing). And it was also very skill demanding because sometimes when you blow on the straw to fast after pulling it out of the mixture it would create bubbles that have some water dangling beneath it which would also prevent it from floating. 

Another problem with this formula is that it does not create the colorful texture that you normally see in a bubble. I also found formulas that suggests adding sugar in soap water but did not adapt that despite buying a bag of well-grind soft sugar. I was glad that I didn’t otherwise it would be another hell to go through for cleaning up afterwards. 

Sadly, after all the efforts made for the bubble, I was very afraid that it would be hard to present with the very unstable bubble generation given the testings, and eventually bought a regular bubble water on Meituan to compare the effects, and hoping that by adding some of it into my homemade mixture would make things better. And the result was, it was much easier to blow bubbles when you buy the water online, AND they much prettier on line. Oh well… But, in my defense, my formula is a lot more skin-friendly and still came in handy when I needed to pour large amount of water/liquid into the box to generate smoke and grow a bubble mountain.

For the lights, I initially wanted to go for the analog LED trip and have some color changes, but after I tried plugging everything in place and test with some codes, it simply would not light up. I then went of the backup plan of using the neon tube and use a fade effect, but it was still unwilling to light up unless I connect it directly with the pawer source. I checked my wires components and the circuits I built numerous times but could not find the source of the problem. But looking back, it was probably better to go with a simple white light because a large part of the purpose is to accentuate the colors of the bubbles and the movement of the bubbles & smoke. Adding a fading effect would also make it distracting and confusing. 

( Link to code (intended to use))

Presentation

Videos of presentation:

 The presentation went OK. Though it was a bit sad I did not manage to recreate the big bubbles that covers the entire lid of the box, but I was glad that everyone seemed to have enjoyed the bubbles and the smoke and had fun trying to blow some bubbles themselves. I used a different cloth to make the big bubbles because when I was testing I could not get a cloth that is longer than 30cm with is the width of the box and I had to tie two pieces together to do it, and the knot made it very hard to cover the edge of the lid evenly to create the bubble. But the new cloth did not work very well either and I did not manage to create a big bubble during the presentation.

But then after some reflection after the presentation, I realized it is possibly because by the time I tried to make the big bubble I had already made a mess with the inner edges of the box with too many micro bubbles by pouring my homemade mixture too carelessly ( and maybe the new purchased mixed within also affected it as well), and no matter how strong the mixture the cloth soaked with is, as long as the micro bubbles break, the big bubble, which is connect with them, will too. So this is also why when I tried it again after it succeeded very quickly because by then the micro bubbles had all dried out, and when I tried to do it again with the light at the bottom in a dark room again and take a video, it was again a “mission impossible” (I later tried for half an hour in the dark), because the inner edges are messy again.

I also miscalculated the time it takes for the dry ice to convert from generating smoke to generating bubble mountains. Or it could also be that I did not add enough water and too much of my homemade bubble mixture. So the presentation also short of the “grow” part.

Pictures & videos of the bubbles I tried at home:

In these three videos you could see how water and dry ice expands a big bubble and grows a bubble mountain:


Here’s a video of a bubble floating for almost a minute when I was testing at home:


Pictures & videos of the bubbles I recreated in the classroom:


This video is a more satisfying smoke-swelled big bubble (the best I’ve caught on camera) and then exploding with the smoke flowing out beautifully:

In these following videos  you get to see the bubbles mountains’ growth and the colorful texture of the bubbles clearer with the bottom light and how they explode with smoke:


Conclusion

Some important take aways: Make sure to sand down the edges if you are working with a new, heavy acrylic box! Or at least wear a pair of gloves! Especially if there are slippery liquids involved that easily results more and ever deeper cuts form the acrylic! Also wear gloves if needing to soak your hands into detergent or bubble water, avoid soaking your hands in them for too long and wash hand immediately afterwards or else you will get alkali burned like me! (I saw these coming but did not expect them to be that bad and regret not taking enough care of myself.)

It was fun experimenting with water and mixing different ingredients for different effects. I could definitely improve on the bubbles if had had more time, and maybe try with more lights and different angles instead of just having them emitting from the bottom. From this project and the previous assignment 3 I find water has so much potential for exploration for it could take in different forms, shapes, colors and dissolve different things that brings different texture on it, an it creates fascinating effects when adding light. I think it is a nice idea to continue to explore with water and incorporate it with other things.

Assignment 3 – Sundial

For this DMX features group project we got the three spot lights. Because ours can’t really move so we tried to experiment more with the colors and the rhythm of the lights when all three on them work together.

We six struggled a bit at first with the concept, other than recreating a dial, we also thought about using selective materials or creating shadows. I proposed using a box (as shown in the picture below) that covers the three lights which would then project colorful shadows in the entire room. Or it’s also possible to have multiple wind shield like boards that has different patterns hollowed out, and would create dynamic shadows if pulling using the boards horizontally.

But after giving some thought we figured that it’s probably easier to build a wooden stick for the dial instead of making boards or boxes. But we then encountered the problem of not being able to create shadows that actually moves like a real dial. We could only make the shadows stick out on certain angles depending on where the lights were put. We tired to put the lights on the IMA chairs and moving the chairs but it would then Beto high to create a clears shadow and the lines would also be a big problem if they were to move in circles. Someone in the group also proposed combing some reflective material but apparently despite the difficulty of finding a perfect angle and installing them they would also block the view of the dial, so we gave up on that idea as well. 

Concept/present wise, we design the lights into three phases. First phase is when three of the light  illuminate one by one, second phase two at a time, the third three at a time. We wanted to use the Fade effect but then did not incorporate it due to timing. Based on this three phase design, I came up with the concept of mimicking a clock that represents the pace of our daily lives or the university life in a semester. We start off a slow paced light that changes color rhythmically, like how everything is smooth, stressless and in order. But as time go on it starts to pick up its pace and we see more colors flashing quicker, like how we accumulate more tasks. The shadows which could also be interpreted as the hands of the clock, could also mean that as we get busier we need to calculate our time more carefully and precisely, so we start from only look at the hour hand to the minute hand then to even the second hand. In the end, when the light flashes its fastest speed it could also be interpreted as the chaos derived from too much stress and work lol. One of the group members also said the colors and represent different mood, such as red for passion, green for energy and blue for being chill.

Here are the videos of the project:


Here is the code:

// 9 variables for the DMX channels of light 1
byte light1Dimmer = 0;
byte light1Red = 0;
byte light1Green = 0;
byte light1Blue = 0;
byte light1ColorMacros = 0;
byte light1Strobe = 0;
byte light1AutoPrograms = 0;
byte light1ProgSpeedSoundSens = 0;
byte light1DimmerSpeedMode = 0;

// 9 variables for the DMX channels of light 2
byte light2Dimmer = 0;
byte light2Red = 0;
byte light2Green = 0;
byte light2Blue = 0;
byte light2ColorMacros = 0;
byte light2Strobe = 0;
byte light2AutoPrograms = 0;
byte light2ProgSpeedSoundSens = 0;
byte light2DimmerSpeedMode = 0;

// 9 variables for the DMX channels of light 3
byte light3Dimmer = 0;
byte light3Red = 0;
byte light3Green = 0;
byte light3Blue = 0;
byte light3ColorMacros = 0;
byte light3Strobe = 0;
byte light3AutoPrograms = 0;
byte light3ProgSpeedSoundSens = 0;
byte light3DimmerSpeedMode = 0;

bool stage3shown = false;


// include the DMX library
#include 

// set the maximum amount of channels we'll need
// each light will run 9 DMX channels so 27 is enough
#define DMX_MASTER_CHANNELS 27

// pin number to change read or write mode on the shield
#define RXEN_PIN 2

// configure a DMX master controller, the master controller
// will use the RXEN_PIN to control its write operation on the bus
DMX_Master dmx_master(DMX_MASTER_CHANNELS, RXEN_PIN);


void setup() {

  // Enable DMX master interface and start transmitting
  dmx_master.enable();

  // To be extra safe,
  // let's set channel 1 - 30 to off (0) to start with
  dmx_master.setChannelRange(1, 30, 0);
}

void loop() {

  if (!stage3shown) {
    delay(2000);
    stage1Red();
    writeDMXdata();
    delay(5000);

    stage1Green();
    writeDMXdata();
    delay(2500);

    stage1Blue();
    writeDMXdata();
    delay(2500);

    stage1Yellow();
    writeDMXdata();
    delay(2500);

    stage1Purple();
    writeDMXdata();
    delay(2500);


    stage1GreenBlue();
    writeDMXdata();
    delay(2500);


    light1Red = 255;
    light1Green = 153;
    light1Blue = 18;

    light2Red = 173;
    light2Green = 255;
    light2Blue = 47;

    light1Dimmer = 255;
    light2Dimmer = 255;
    light3Dimmer = 0;
    writeDMXdata();
    delay(5000);

    light2Red = 216;
    light2Green = 191;
    light2Blue = 216;

    light3Red = 176;
    light3Green = 224;
    light3Blue = 230;

    light1Dimmer = 0;
    light2Dimmer = 255;
    light3Dimmer = 255;
    writeDMXdata();
    delay(5000);

    light3Red = 255;
    light3Green = 182;
    light3Blue = 193;
    light1Red = 0;
    light1Green = 245;
    light1Blue = 255;
    light3Dimmer = 255;
    light1Dimmer = 255;

    light1Dimmer = 255;
    light2Dimmer = 0;
    light3Dimmer = 255;
    writeDMXdata();
    delay(5000);
    stage3shown = true;
  } else {
    stage3();
  }
}

void stage3() {

  light1Red = random(0, 255);
  light1Green = random(0, 255);
  light1Blue = random(0, 255);

  light2Red = random(0, 255);
  light2Green = random(0, 255);
  light2Blue = random(0, 255);

  light3Red = random(0, 255);
  light3Green = random(0, 255);
  light3Blue = random(0, 255);

  light1Dimmer = 255;
  light2Dimmer = 255;
  light3Dimmer = 255;

  writeDMXdata();
  delay(400);
}


//2nd period: 2 lights are turned on together

 
  delay(500);

//3rd period: 3 lights are turned on together, random color, speed++

  light1Red = random(0,255);
  light1Green = random(0,255);
  light1Blue = random(0,255);

  light2Red = random(0,255);
  light2Green = random(0,255);
  light2Blue = random(0,255);

  light3Red = random(0,255);
  light3Green = random(0,255);
  light3Blue = random(0,255);
  
  light1Dimmer += 2;
  light2Dimmer += 2;
  light3Dimmer += 2;


  light1Red = random(0,255);
  light1Green = random(0,255);
  light1Blue = random(0,255);

  light2Red = random(0,255);
  light2Green = random(0,255);
  light2Blue = random(0,255);

  light3Red = random(0,255);
  light3Green = random(0,255);
  light3Blue = random(0,255);
  
  light1Dimmer += 3;
  light2Dimmer += 3;
  light3Dimmer += 3;


  // write the DMX data to the lights
  // see the function declaration below
  writeDMXdata();

  delay(50);
  */
//}


void stage1Red() {
  light1Red = 255;
  light1Green = 0;
  light1Blue = 0;
  light2Red = 0;
  light2Green = 0;
  light2Blue = 0;
  light3Red = 0;
  light3Green = 0;
  light3Blue = 0;
  light1Dimmer = 255;
}

void stage1Green() {
  light1Red = 0;
  light1Green = 0;
  light1Blue = 0;
  light2Red = 0;
  light2Green = 255;
  light2Blue = 0;
  light3Red = 0;
  light3Green = 0;
  light3Blue = 0;
  light2Dimmer = 255;
}

void stage1Blue() {
  light1Red = 0;
  light1Green = 0;
  light1Blue = 0;

  light2Red = 0;
  light2Green = 0;
  light2Blue = 0;
  light3Red = 0;
  light3Green = 0;
  light3Blue = 255;

  light3Dimmer = 255;
}

void stage1Yellow() {
  light1Red = 255;
  light1Green = 255;
  light1Blue = 0;

  light2Red = 0;
  light2Green = 0;
  light2Blue = 0;
  light3Red = 0;
  light3Green = 0;
  light3Blue = 0;

  light1Dimmer = 255;
}

void stage1Purple() {
  light1Red = 0;
  light1Green = 0;
  light1Blue = 0;

  light2Red = 255;
  light2Green = 0;
  light2Blue = 255;
  light3Red = 0;
  light3Green = 0;
  light3Blue = 0;

  light2Dimmer = 255;
}


void stage1GreenBlue() {
  light1Red = 0;
  light1Green = 0;
  light1Blue = 0;

  light2Red = 0;
  light2Green = 0;
  light2Blue = 0;
  light3Red = 0;
  light3Green = 255;
  light3Blue = 255;

  light3Dimmer = 255;
}


void writeDMXdata() {
  // write to channel 1-9 for light1
  dmx_master.setChannelValue(1, light1Dimmer);  // 亮度
  dmx_master.setChannelValue(2, light1Red);
  dmx_master.setChannelValue(3, light1Green);
  dmx_master.setChannelValue(4, light1Blue);
  dmx_master.setChannelValue(5, light1ColorMacros);  // 光宏
  dmx_master.setChannelValue(6, light1Strobe);       //频闪
  dmx_master.setChannelValue(7, light1AutoPrograms);
  dmx_master.setChannelValue(8, light1ProgSpeedSoundSens);
  dmx_master.setChannelValue(9, light1DimmerSpeedMode);

  // write to channel 11-19 for light2
  dmx_master.setChannelValue(11, light2Dimmer);
  dmx_master.setChannelValue(12, light2Red);
  dmx_master.setChannelValue(13, light2Green);
  dmx_master.setChannelValue(14, light2Blue);
  dmx_master.setChannelValue(15, light2ColorMacros);
  dmx_master.setChannelValue(16, light2Strobe);
  dmx_master.setChannelValue(17, light2AutoPrograms);
  dmx_master.setChannelValue(18, light2ProgSpeedSoundSens);
  dmx_master.setChannelValue(19, light2DimmerSpeedMode);

  // write to channel 21-29 for light3
  dmx_master.setChannelValue(21, light3Dimmer);
  dmx_master.setChannelValue(22, light3Red);
  dmx_master.setChannelValue(23, light3Green);
  dmx_master.setChannelValue(24, light3Blue);
  dmx_master.setChannelValue(25, light3ColorMacros);
  dmx_master.setChannelValue(26, light3Strobe);
  dmx_master.setChannelValue(27, light3AutoPrograms);
  dmx_master.setChannelValue(28, light3ProgSpeedSoundSens);
  dmx_master.setChannelValue(29, light3DimmerSpeedMode);
} 

NOC – W06 Spring Waves


For this project I wanted to use spring to create the waves by having many points in one line and mimic the motion of waves on a sea/water surface. I was also inspired by the ocean in the Disney movie Moana and referenced this code which helped me realize the project.

To make the surface of the water smooth, the number of spring points are set as one third of the canvas, and for the waves it’s done using two arrays with an initial length equal to the length of the spring points. Then there’s a function calculating the difference in height (diff) between the current spring and its adjacent spring(s), then multiply this with a factor smaller then 1 (which I set to 0.99 because the effect is most satisfying to me) to determine the amount of wave propagation.

In the final version of the project the code of drawing the springs is commented out but here’s a screenshot of the points being drawn.

Finally I adjusted the color to a green-blue gradient that matches the one in the movie. I wanted to draw some clouds in the background and maybe play with the transparency of the water but ran out of time. I also thought about making two sets of surfaces to create a sense of depth to the image, which is something that could be explored later on.

Here’s a video of the waves with the points drawn and a smoother animation.


Assignment 2 – Ripples of Light

I got the inspiration for this project from a 1.5L water bottle in my dorm. I first experimented with my cellphone flashlight, and because the water in a cylindrical clear bottle acts like a convex lens that concentrates light, and because there’s also some index that makes the surface a bit uneven, the projection of light on the wall would have a ripple-like shape and shifts and swirls when I turn the bottle. 


So I first had the idea to put the light source in the bottle by putting a smaller bottle inside the 1.5L one, but me and my partner later gave up on this idea because (a it looks a bit too poorly crafted if we only have some cut plastic bottles and (b I realized that it might be different if the light source is inside the water battle because it would then be the equivalent of a index lens that diffuses light and would not achieve the same visual effect as I had with a flashlight outside of the bottle. But still we gave it a try and here’s a video of what it looks like.


So I then proposed the idea of creating the projection through a thin layer of water, and to add variation, motion, and interaction to it, I purchased some food coloring and prepared straws to create different colors of projection and ripples. 

My partner helped draw the laser cut template and we glue-guned the pieces together. We built a lidless box to put the lights and a tray with a bottom the same size as the box to fill water in with clear acrylic. The tray will then be put on top of the box to create the shadows.

Because we shift our project to creating water ripples with a box quite late during the process, so we did not incorporate the halogen light bulb until the last minute. We first planned to just use the analog LED strip for light but realized later when testing that the light is too faint to create visible projections of ripples on the ceiling. But luckily we managed to get everything in place before presenting and the finishing result looks satisfying enough for us lol.

Here’s a video of the final version of our project.


If we had more time we should add a white canvas above our project because we overlooked the fact that the ceiling in our classroom is not an ideal surface to project anything on, and with an even white cloth maybe the colors form the food coloring would also be a lot more obvious.

The code is only to let the LED strip light up in blue, and I modified it last minute based on the example codes in class. For the halogen light bulb we just directly connected it to the 12v power supply via breadboard.

#define REDPIN 4
#define GREENPIN 6
#define BLUEPIN 7
 
#define FADESPEED 5     
 
void setup() {
  pinMode(REDPIN, OUTPUT);
  pinMode(GREENPIN, OUTPUT);
  pinMode(BLUEPIN, OUTPUT);
}
 
 
void loop() {
  int r, g, b;
 
  // fade from blue to violet
  for (r = 0; r < 256; r++) { analogWrite(REDPIN, r); delay(FADESPEED); } // fade from violet to red for (b = 255; b > 0; b--) { 
    analogWrite(BLUEPIN, b);
    delay(FADESPEED);
  } 
  // fade from red to yellow
  for (g = 0; g < 256; g++) { analogWrite(GREENPIN, g); delay(FADESPEED); } // fade from yellow to green for (b = 255; r > 0; r--) { 
    analogWrite(BLUEPIN, r);
    delay(FADESPEED);
  } 
  // fade from green to teal
  for (b = 0; b < 256; b++) { analogWrite(BLUEPIN, b); delay(FADESPEED); } // fade from teal to blue for (g = 255; g > 0; g--) { 
    analogWrite(GREENPIN, g);
  } 
} 

NOC – W05 Cortex Wrinkles

For this project I was inspired by this generative art piece and used it as a reference. 

The lines are created using ellipse and they are rotated around random x, y positions within the frame by applying noise in the rotate angle. I tried out different values of the angle to get different effects and the value I used in the final version is the one I think that is closest to the idea of waves. The size of the ellipse will also be controlled by the nose, but I later find that round circles looks better than actual ellipses so I made their width and height the same value.

Here are some more variation of the code in the process of experiment, basically the lager the angle the more dispersed the lines will be.


Here’s a video of the running code: