In this recitation class, we needed to combine laser cut and a motor to make a rotatable object. Lesley and I were partners for this class!
Step 1: Design
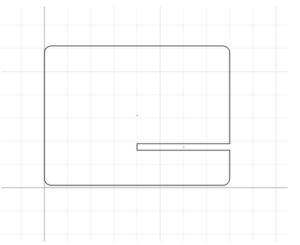
As for the design, we used cuttle.xyz, which is a website introduced in class before. While doing the stand design, I was in charge of the right side one. It was not hard, but we should carefully follow the instruction to pay attention to the units, data, location.
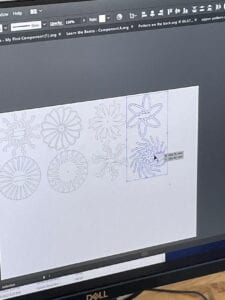
As for the pattern design, I watched the instructional video and then designed a figure inside the circle of the specified size and then duplicated it several times by building groups, and this figure I designed for the outside part was finished.
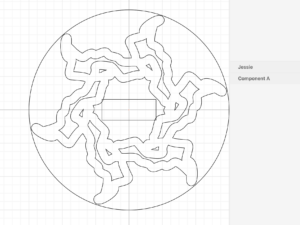
Then, I exported 2 of my files and went to 823 fabrication lab to laser cut.
Step 2: Laser cut
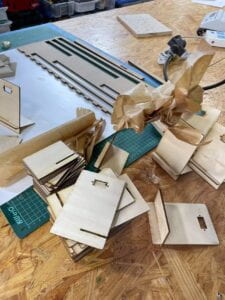
We were the first ones to go to laser cut and we found that the professors had already cut the stands in advance on wooden boards. All we needed to cut was the pattern of our own design for the spin.
The rectangle in my design was inside my pattern and didn’t intersect with my pattern, so printing down my pattern was going to break. So Andy made some adjustments to it. Finally it was successfully cut out.
Step 3: Assemble
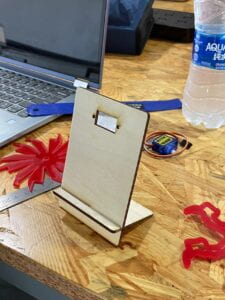
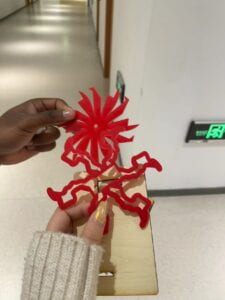
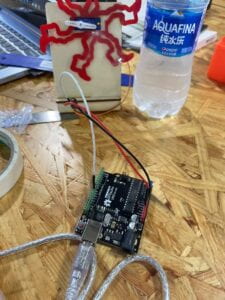
There was nothing wrong with the process of assembling our stand, and there was nothing wrong with the wiring on the Arduino as well. However, we found that the servo and the acrylic board we cut were a bit unassembled, so we taped them to make them fit together, although not very firmly.
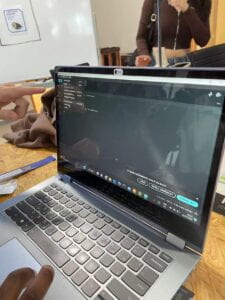
Both Lesley’s and my computer had a problem with the Processing version, and we couldn’t find the example in the library, so we borrowed Jason’s computer to run the code, and we found that ours ran smoothly.
Reflection
I found this class very interesting and I really liked the use of cuttle.xyz which is new to us, this graphic design is very attractive. We will also use laser cut in our final, so I have been watching the steps carefully. One of the shortcomings of our design is that Lesley and I didn’t pay much attention to which cut would be in front and which would be behind, so his design was smaller than mine but behind my board, which was not well thought out.