In this recitation class, we needed to use light strip in combination with Processing and Arduino, We were asked to connect the sound to the light strip and the light strip to the computer.
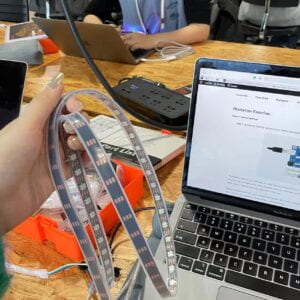
Task one:Test the NeoPixel
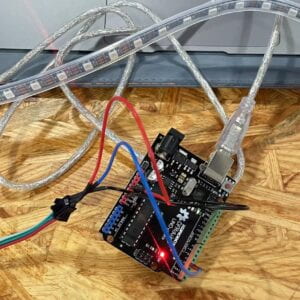
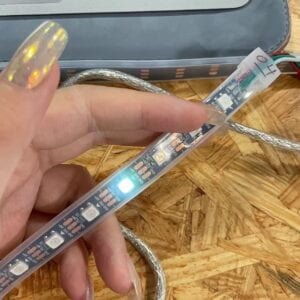
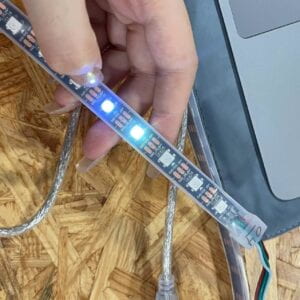
First, we were asked to connect the computer to the light strip and make sure the program was running properly. I built the circuit by using three jumper cables to connect the NeoPixel strips to the Arduino.
I downloaded the FastLed library and tested several examples, for example, I tested blink. The whole thing was running very smoothly. I also modified the code to make it flash a different color every other light
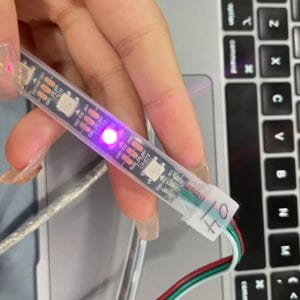
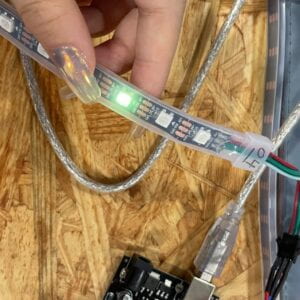
Task two: Use your computer to light up NeoPixels
I downloaded the Serial Record library before, so I started the second step directly. I tested my code with Serial Monitor and the whole process went well and smoothly. I had no problem with my Arduino, I programmed my Arduino with the code we had in class, which I simply copied and pasted from the link provided on the Recitation page. Then, I entered the serial values (CSV) of 1,255,0,100 into my Serial Monitor. The first value represents the pixel number, the second the content of red, then green, and finally blue. The outcome indicated that my Serial Monitor was operational.
But when I got to the third step of Processing part, my computer couldn’t run it for some reason. In the end, with the help of our professor, the students who were using Macbook air downloaded another version of the file and solved the problem.
Then we managed to implement the interaction between Precessing and Arduino at Fast Led. Although it’s not something I programmed myself, I understood the logic in general, and I thought it was pretty cool.
Here’s a documentation video:
Task three: Add Music!
This part was quite interesting that we downloaded a music clip from the internet and tried to visualize it. So I chose the music called “The Glimpse of Us” as the one going to be played and dragged the downloaded file into the Processing file. I replaced beat.aiff with joji.mp3. Then I also connected it to the Arduino’s FastLed, which means that when the song was playing, in addition to the screen displaying the video based on volume and rhythm, the FastLed’s light strip would also be displayed accordingly. I also modified the color of the screen visualization video according to the rhythm and style of the whole song.
But I also found some problems and did not find useful solutions, which was that the LED response to the music was relatively lagging. And when the amplitude of the music changes, for example, when the amplitude changes from high level to low level, the LED does not change. But overall I was still satisfied with the whole work. I feel that this class gave me a rough idea of the logic between Arduino and Processing.
But my video doesn’t seem to have recorded the part with the LED strip, but you can see from my code that I did include it.
Final Code:
import processing.serial.*;
import osteele.processing.SerialRecord.*;
import processing.sound.*;

Serial serialPort;
SerialRecord serialRecord;

int W;         //width of the tiles
int NUM = 60;  //amount of pixels
int[] r = new int[NUM]; //red of each tile
int[] g = new int[NUM]; //red of each tile
int[] b = new int[NUM]; //red of each tile


SoundFile sample;
Amplitude analysis;

void setup() {
  size(600, 200);
  W = width/NUM;


  // You can use this syntax and change COM3 for your serial port
  // printArray(Serial.list());
  // serialPort = new Serial(this, "COM3", 9600);
  // in MacOS it looks like "/dev/cu.usbmodem1101"
  //or you can try to use this instead:

  String serialPortName = SerialUtils.findArduinoPort();
  serialPort = new Serial(this, serialPortName, 9600);
  serialRecord = new SerialRecord(this, serialPort, 4);
  serialRecord.logToCanvas(false);
  rectMode(CENTER);

  // load and play a sound file in a loop
  sample = new SoundFile(this, "joji.mp3");
  sample.loop();

  // create the Amplitude analysis object
  analysis = new Amplitude(this);
  // analyze the playing sound file
  analysis.input(sample);
}

void draw() {
  println(analysis.analyze());
  background(75, 120, 237);
  noStroke();
  fill(125, 212, 77);

  // analyze the audio for its volume level
  float volume = analysis.analyze();

  // volume is a number between 0.0 and 1.0
  // map the volume value to a useful scale
  float diameter = map(volume, 0, 1, 0, width);
  // draw a circle based on the microphone amplitude (volume)
  circle(width/2, height/2, diameter);

int n = floor(map(volume, 0, 1, 0, 60));
  r[n] = floor(map(volume, 0, 1, 0, 255));
  g[n] = floor(random(map(volume, 0, 1, 0, 255)));
  b[n] = floor(random(map(volume, 0, 1, 0, 255)));

  serialRecord.values[0] = n;     // which pixel we change (0-59)
  serialRecord.values[1] = r[n];  // how much red (0-255)
  serialRecord.values[2] = g[n];  // how much green (0-255)
  serialRecord.values[3] = b[n];  // how much blue (0-255)
  serialRecord.send();            // send it!
}