During the first recitation, we learnt how to solder and built 3 seperated circuits. We ran into some troubles at first, but then we solved them perfectly.
Materials:
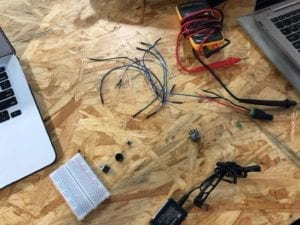
- 1 * Breadboard( a base for circuit to connect)
- 1 * LM7805 Voltage Regulator( to regulate the voltage in order to protect the transducer)
- 1 * Buzzer(speaker)
- 1 * Push-Button Switch(connect or disconnect the circuit)
- 1 * Arcade Button(same as switch)
- 1 * 220 ohm Resistor( resistance for protecting the circuit)
- 1 * 10K ohm Resistor( resistance for protecting the circuit)
- 1 * 10K ohm Variable Resistor (Potentiometer)(changable resistance for protecting the circuit)
- 1 * LED(light)
- 1 * 100 nF (0.1uF) Capacitor(store electricity and work with regulator)
- 1 * 12 volt power supply(power, provide electricity)
- 1 * Barrel Jack(contain components)
- 1 * Multimeter(measure the resistance and voltage)
- Several Jumper Cables (Hook-up Wires)(connect components)
Soldering
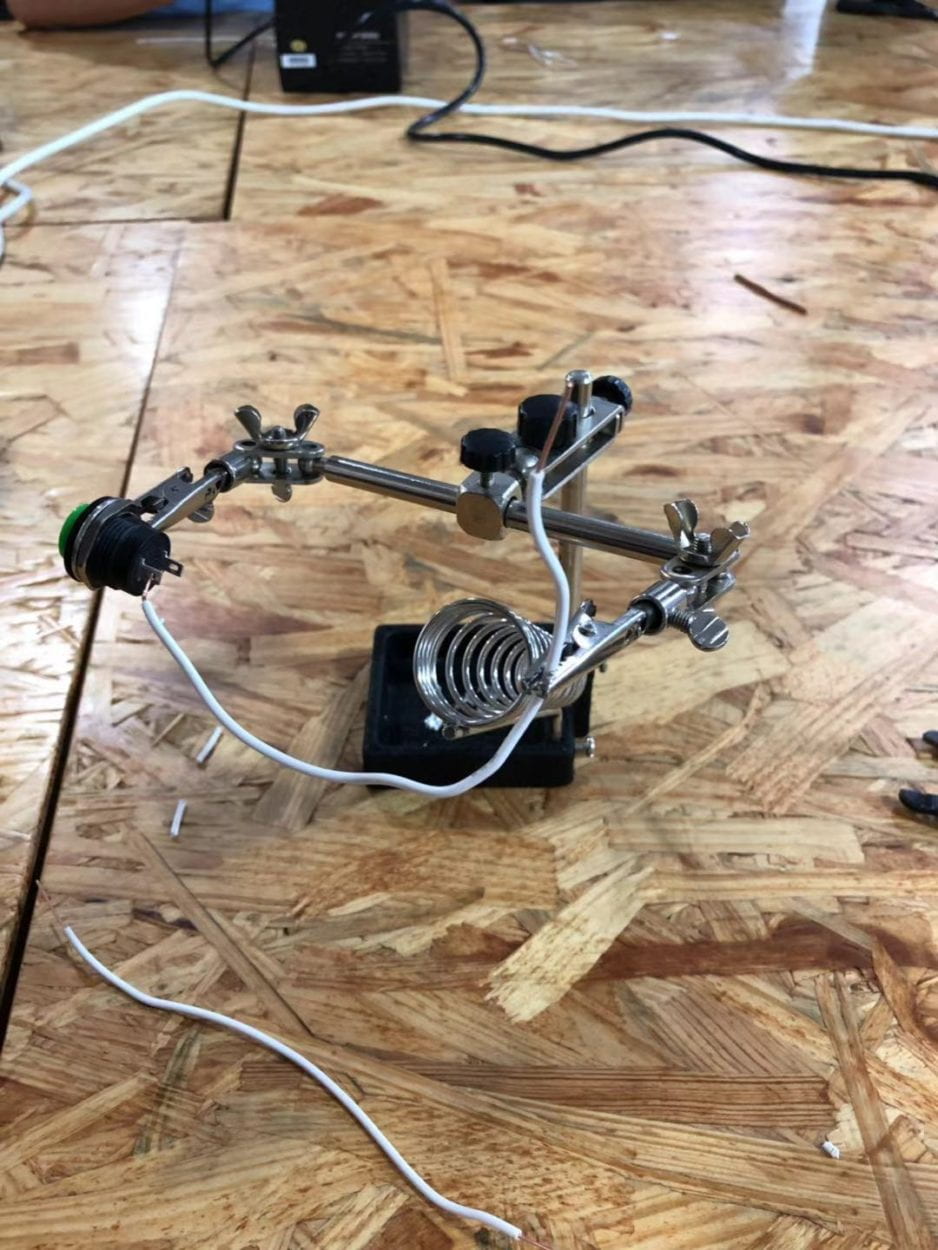
We connected wires with the metal part of the button. After heating the gun, our instructor Rudi showed us how to connected those two parts with a metal, which is very easy to melt. At first, my partner failed to connect because she put the metal into the wrong place. But after we found out, we successfully connected them.
Circuit 1: Doorbell

We can’t understand the circuit at first, we were confused about the numbers on the lines and couldn’t figure out which wire to connect. With the help of the instructors, we finally understood that the capacitor is parallel with theregulator. With several tryouts, we finally made it. When we heard the beep, we are so happy that we screamed out 🙂
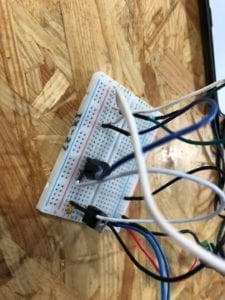
Circuit 2: Lamp

With the expierence of the bell, we made the lamp quickly, and also, we understood the working theory of the bread board, so we used less wires to connect. This one is quite easy~
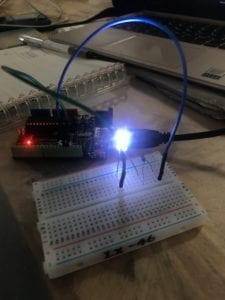
Circuit 3: Dimmable Lamp
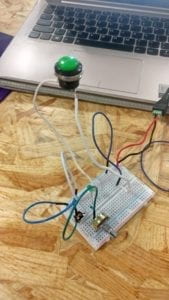

With the basics of the lamp above, we just needed to add a Variable Resistor, and then we could use the variable resistor to adjust the luminance of the lamp. I think my study lamp in the dorm is also based on this theory.
Question 1:
I think it includes interactivity. The interactivity is based on 3 steps: input, processing, output. Use the lamp for instance, when I press the button, it’s the sign of input. The output is the lamp brighted. The processing is that by those components like wires and regulators, the action finally make the lamp bright. So does the bell.
Question 2:
The Eyewriter in Zach Lieberman’s video impressed me the most. This design built a bridge between disabled and the art, with the Physical computing and interaction with human and the technology. This shows that in ordet to build an interctive art, one needs interactive design to serve his purpose, and uses Physical Computing to build a bridge between the art and daily life.