I was super happy with the serial communication recitation exercises because I got them both right! I usually have a hard time with coding with processing but I feel I’m starting to get the hang of it right about now.
The two folders which we had to download in class called “Arduino to processing” and “Processing to Arduino” for one or multiple variables really make coding a lot easier.
Exercise 1:
First of all, I connected the circuit which would help re-create the etch-a sketch device that was shown in the recitation example. I used the two potentiometers and connected them to an arduino through a breadboard to get them to work like the controllers with which we drew across the canvas.
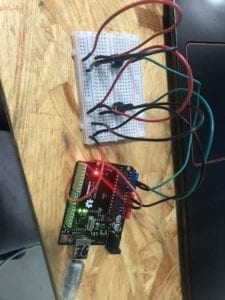
After doing so, I opened up the Arduino into processing folder for the multiple-
value code and utilized that. 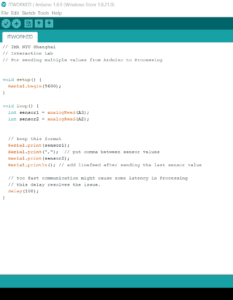 I changed the inputs for the analogRead values to A3 and A2 because those were the arduino ports inside of which I plugged my responding potentiometers.
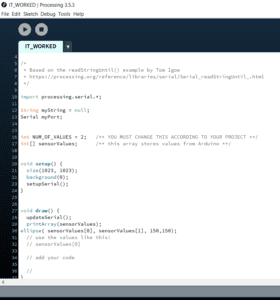
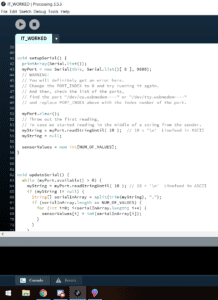
Then I went into processing, changed the size of the background so that the canvas was large enough to work with the values of x and y which the potentiometers were inputting into them with the elipses. Then I changed the NUM_OF_VALUES to 2. I ran the program and it produced some…very pretty artwork, I must say.

Exercise 2:
Exercise two was a bit more complex and I messed up almost immedietly by not realizing that I didn’t really need to use both x and y values in order to make the buzzer create a different sound. I could only use either y or x! This meant that I needed to select the single-variable code from processing to arduino for this excersize.
Simliarly to the last exercise, I decided to do the circuit which we needed for the exercise first :
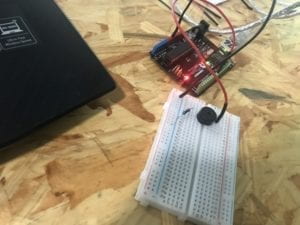
After I was done with that, I moved on to look at how to do the code. Since this example wanted us to start from processing and move the code over to arduino, I took a look at the processing code first!
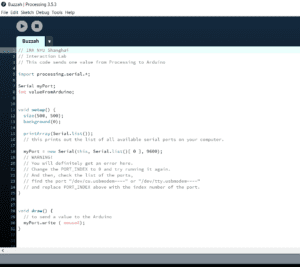
The most important step here for me was figuring out that I need to put myPort.write ( mouseX); into the void draw function of processing. I also needed to put in that the value for the Post was “0” so that it recognize the values imputed into it when the mouse moved across the x-axis.
I then moved into arduino.
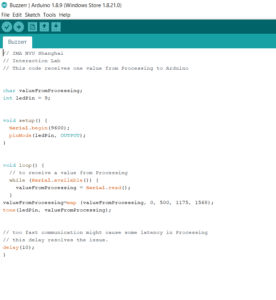
I needed to change the value for the ledPin (which was actually my buzzer pin) to 9 so that arduino read the correct output values. I then needed to use the map functions, which was very complicated, and finally, I made the buzzer create sound when I moved my mouse across the x-axis in processing through tone(ledPin, valueFromProcessing);
Thank you!