Context and significance
The previous group project has made me think more in terms of making the output of the interaction perceivable in more dimensions such as looking, hearing, touching, even sniffing. Before starting the projects, we searched tons of interactive designs. A very interesting design is a dog that could turn its to face the user when the user is looking at it. When the user is trying to pat the dog, it would shake its head to avoid being hit. I think this design has made me reconsider the emotional effect an interactive device should bring. For example, after seeing the interaction with the dog, I felt very amused, for it is funny to see the dog reacting lively to my physical activity. What also left a deep impression on me, yet not viewed as an interactive design was the LED cube. Though the device could make very cool light effects using LEDs, the only thing the user could do is looking at the light effects. In other words, there is no input or output in this interactive design at all. That alerts me an interactive design should be interactable before adding other cool features or effects.
My understanding of the interaction, therefore, has a strict and clear boundary. Just as what I wrote in the last blog post for the group project, I was expecting a design where users could have untraditional way of inputting. After the computation, the design would present its output in different ways for users to perceive. The output users perceive, then, should make the user feel emotionally different.
What makes my project unique is the representation of tones is not limited to its sound, but also through the turning on and off of the LED, the textile feeling of touching the optical fibers in the shape of grass. In general, it could make this instrument more approachable, and users could get a more natural feeling when playing music. What I would like to redesign is the entrance door of the library. This is an auto door during library time. When the library hours have passed, however, the door wouldn’t open without swiping the NYU ID. But it’s normal that people forget to bring along their ID cards when trying to get in or out of the library, making them have to either go back to get their card or to wait till someone swipe their card. If I were to redesign the door, I would replace the card swiping machine with a facial-recognition machine. Students only need to “swipe their faces” to get in or out of the library, an act to make their stressful life easier. The target audience of the project is certainly the whole student body of NYU Shanghai, as the majority of them are suffering from the entrance door.
Conception and design
As I mentioned above, I expected the users to not only perceive the tones through hearing, but also through touching and watching, thus bring about more immersive experience playing music. It should also be a more approachable musical instrument compared common instruments.
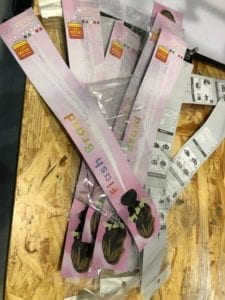
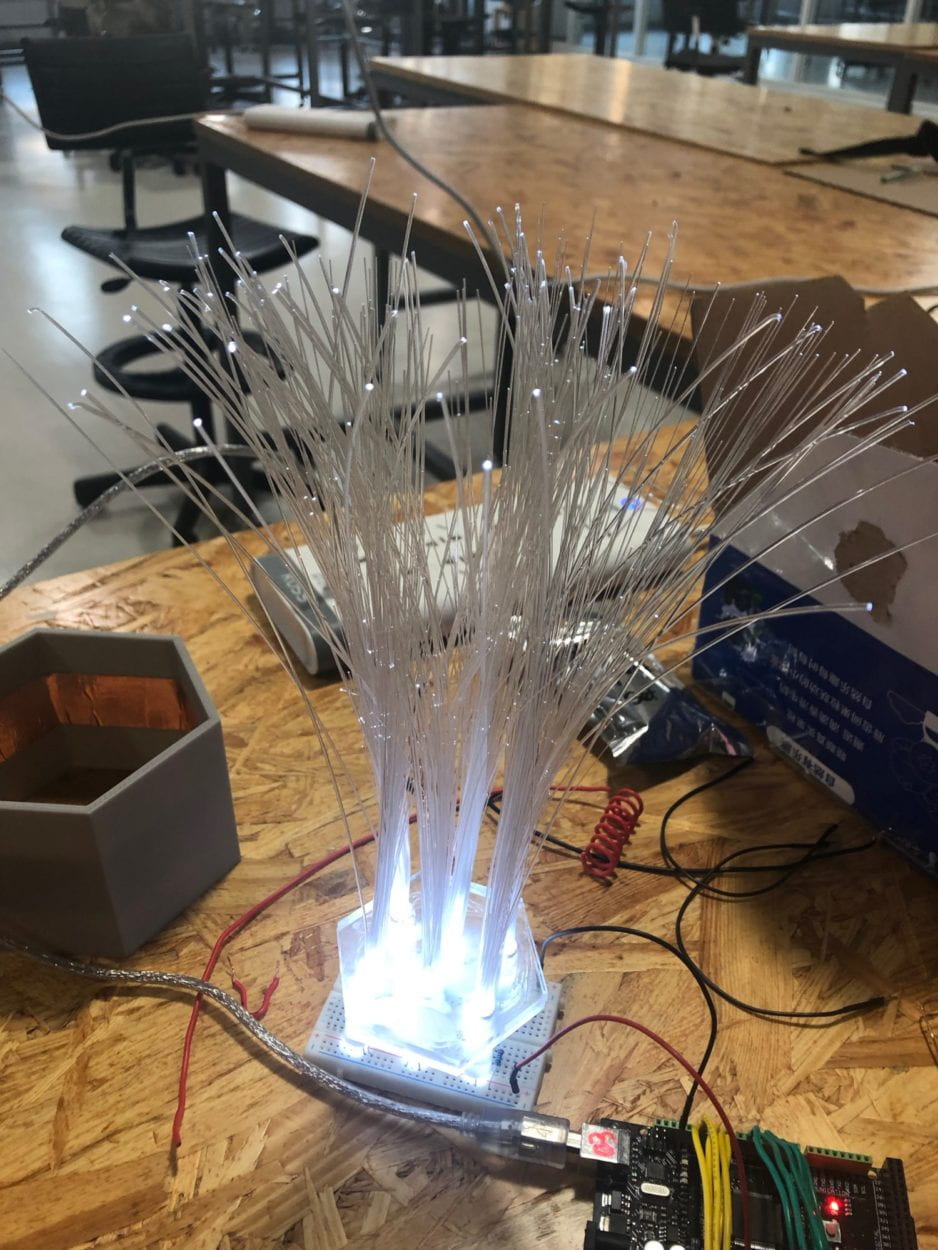
In the actual design, we used the optical fiber to replace keys or strings on common musical instruments. These optical fibers are arranged in the shape of grass. Users only need to push or shake these optical fibers to make tones. We chose optical fibers out of two main reasons, its shape resembling real grass, its ability of transmitting light from LEDs at its bottom. Copper wires could also be an option. We rejected it because it cannot transmit light coming from the LEDs at its bottom. It was rejected also because it doesn’t fit into the aesthetic scene we set.
To indicate the on and off of the tone, we used 30 white LEDs to shoot light through the optical fibers to create shiny white dots at the top of the optical fibers. The LEDs would turn on slowly after the user the grass and would fade away when the user let go. In terms of other options, during the user testing session, many have asked whether there would be other colors for LEDs. We rejected this idea, for it would again, ruin the aesthetic feeling the optical fiber creates. There were also people suggesting using LED matrix or strip to replace individual LEDs placed on the breadboard. Some other people also suggested using the LED matrix or LED strip to replace bread boards with LEDs on it. However, the optical fibers are arranged in a special way that the position of LEDs needs to be flexible. The light matrix certainly cannot meet criteria because the position of each LED is fixed.
In terms of the sound, we attempted to play the sound of harp using speakers. The pitch ranges from C to G. This time, no other options arose for the sound of the instrument we are using. As tones played by harp is so harmonic that it perfectly fits into the scene we set.
Fabrication and production
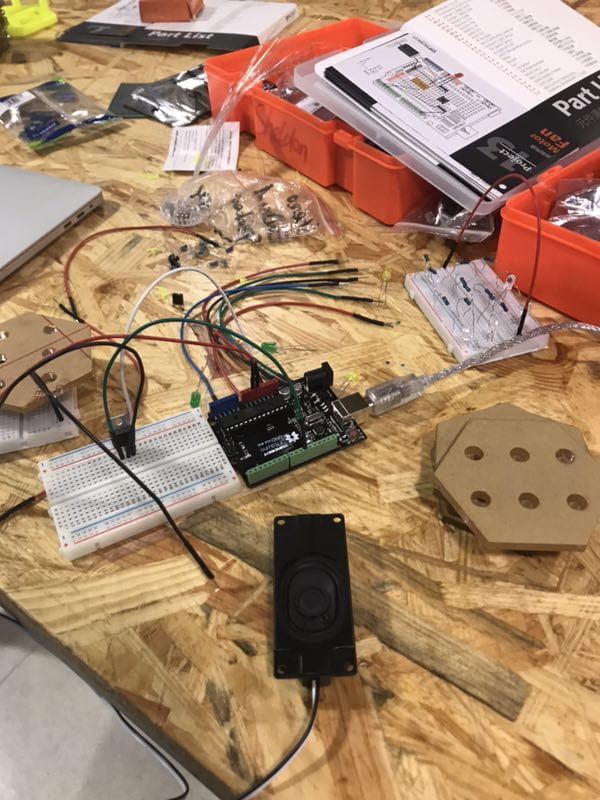
The first important step we made was making two sets of LEDs. Each of the set has a button to control the on and off of six LEDs with fading effect. The LEDs would stay bright as long as the button is pressed. When it is released, the corresponding LEDs would also fade away. It was a bit hard to achieve such function in coding, as the Arduino would be running in a loop after it is powered up. Therefore, I have to introduce certain variables memorizing the on and off of the light after a loop is executed.
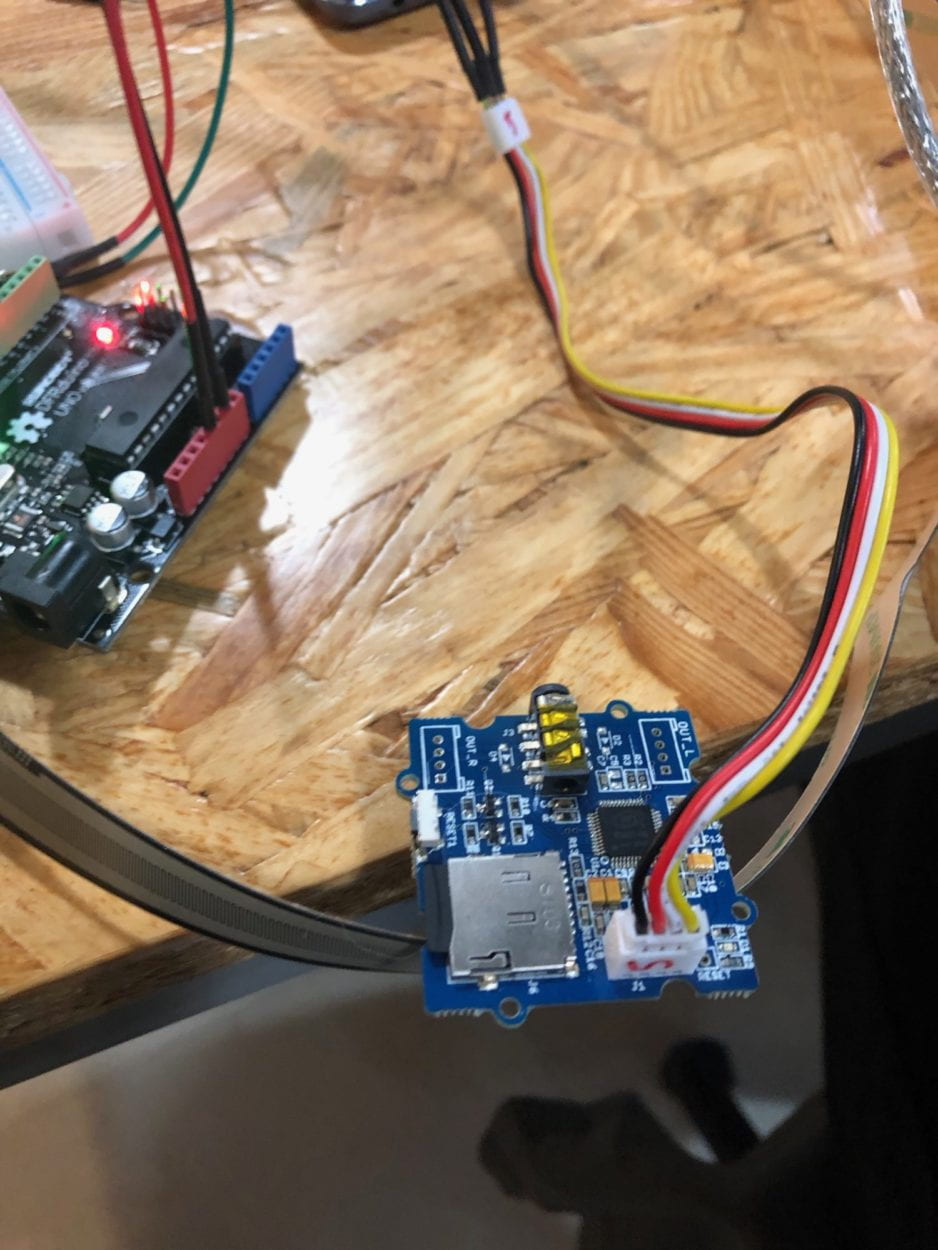
Attempting to use the Arduino to play the sound of the harp was also an important yet struggling step. To make it play such sound, we have to make the Arduino read external sound files. Currently, there are two options to make the Arduino play sound files, one is to store the file in Arduino’s internal memory, the other is using the SD card as storage. We first tried to use the internal storage of the Arduino. But it was too small to even store two sound files while we are trying to store five. As for the SD card plan, we tried two kinds of SD modules, neither of them worked. When trying the module by DF Robot, the files were read successfully, but the volume was so small that one has to put the speaker on his ear to hear it. It didn’t work even with an amplified circuit. We then turned to try the MP3 SD card module. Instead of using the speaker connecting to pins, this module uses a head jack to connect to the speaker. Unfortunately, this option also failed because the SD card is only capable of reading one file from the directory at a time, while we were expecting it to read multiple tones at one time. We ended up going back to the Stereo Enclosed Speaker Set to play tones using the tone() function.
Transplanting LEDs onto the amplified circuit was also an important step. Because we need to power thirty LEDs, the internal 5V power supply from the Arduino is far from enough. Instead, an amplified circuit is needed. After the circuit is changed, the LEDs couldn’t light up after the buttons were pressed. Nick helped me out by reconnecting everything in the circuit. It turned out I made the wrong connection because of the messy circuit.
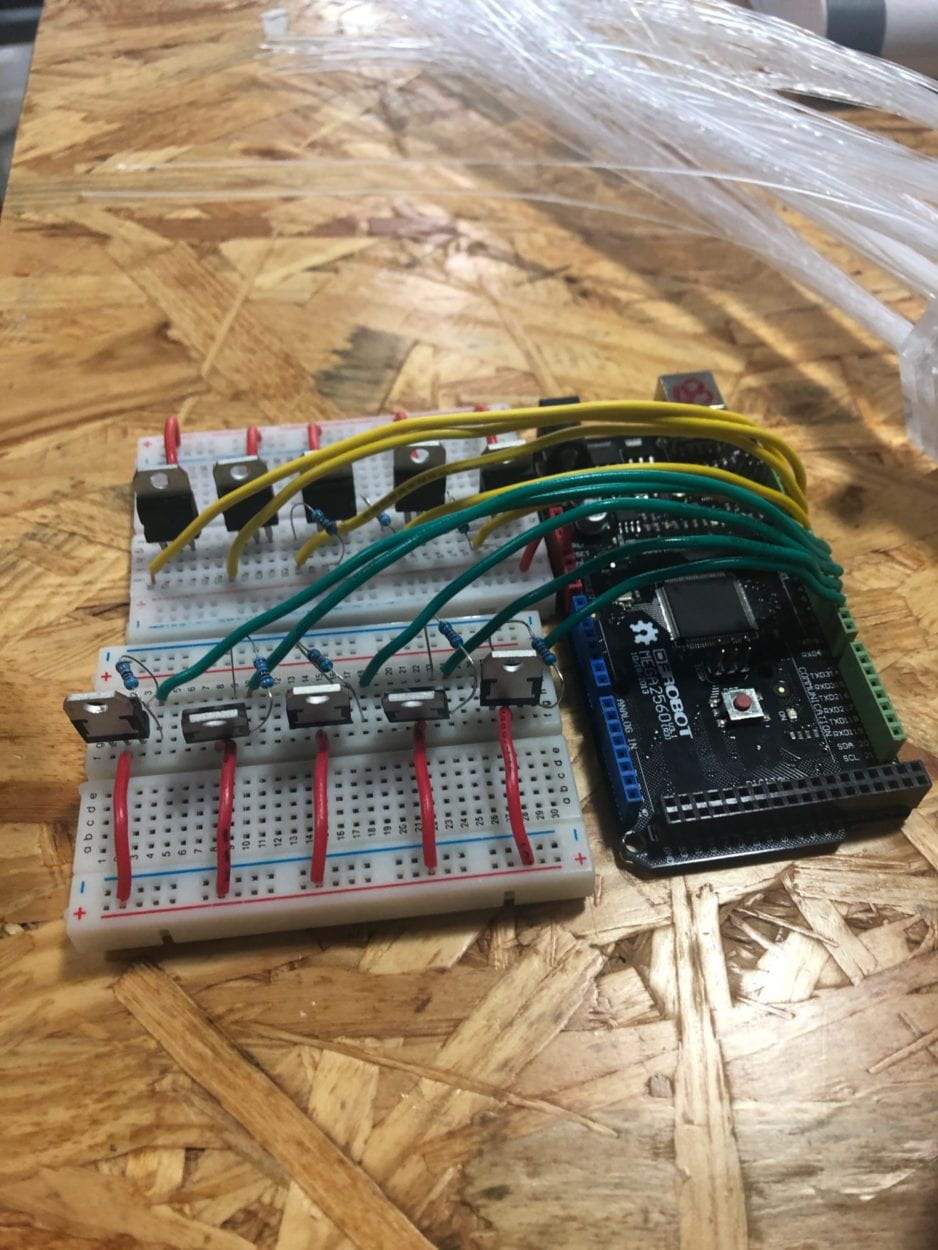
After the struggles above, we finally reached some success. Before user testing, we assembled two sets of LEDs using the physical button to trigger the on and off of each unit. When the user push or shake the grass, the physical button beneath would be pressed by the pillar under the platform holding the optical fibers. A series of things would happen subsequently.
Another failure, yet interesting step we encountered was after the user testing, where Nick suggested us using the conductive tape as switches, turning the set on when the bread board is touching the shield. However, it was so weird that the LEDs would light up even when there is no physical contact between tapes. After testing and thinking for a morning, it turned out that this was caused by magnetic induction. One part of the tape is connected to the 5V and has circled the bread board, and the other part of the tape is also circled in the shield. When the bread board in the shield is moving, the magnetic flux would change and produce electricity to make the digital pin receive false message of the switch being turned on. All the light and sound would be made consequently.
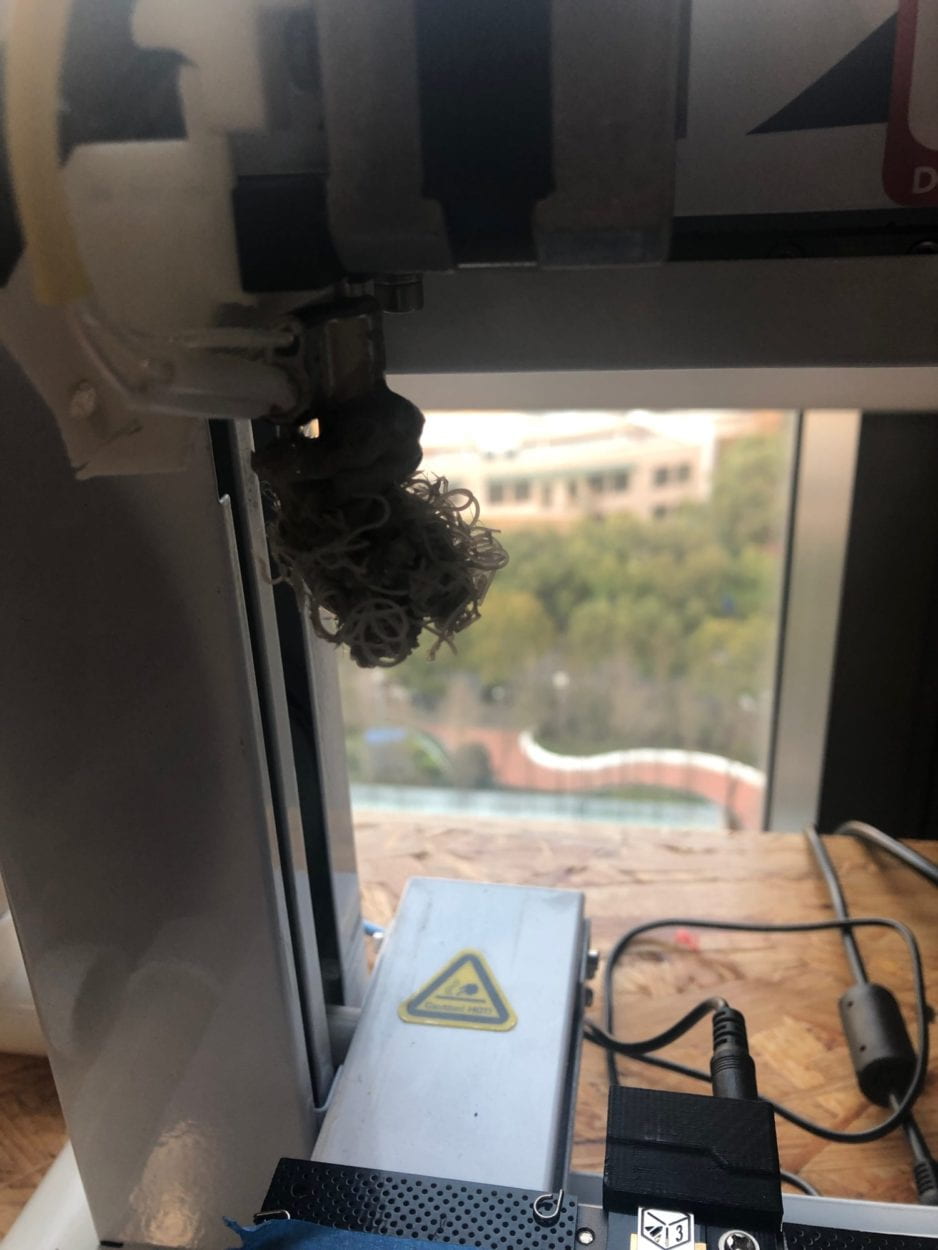
Apart from above, we have been encountering the 3D printing failure throughout the process. Even after the first and second layers are printed successfully, there are still high chances the printing would fail.
During the user testing session, some users were had no idea how to interact with the grass. The common scene was the grass being very unsensitive to users’ pushing, shaking. In fact, users have to push down the grass to trigger the button sets. Some asked what are the optical fibers used for. A lot of users also asked whether there will be any other colors for the LED.
As for the unsensitive switches, we consulted Nick for an alternative. Nick offered us that method of using the conductive tape to act as switches. When the user pushes the grass, it would make the whole bread board move. And the conductive tape on the bread board would make contact with the conductive tape on the surrounding areas on the shield. After encountering the difficulties mentioned above, we cut the tape to one small piece sticking at one side of the bread board and the inner part of the shield. This switch was definitely more sensitive than the physical switch. But because we are moving the whole bread board with optical fibers and stuff on it, the set always has problem repositioning itself to the right place. In other words, it became too sensitive.
In terms of how people asked the meaning of grass, we thought it was because the light is not coming through the optical fiber to hit the top of the fibers. We first removed glue covered at the bottom of the fibers. To make the light of the LED go precisely to the bottom of the optical fibers, we 3D printed some sockets to line up the bottom of the optical fibers and the top of the LED. And it was successfully addressed.
Apart from the suggestions received from the user testing, there were also numerous design changes we made during the production. A significant one involves the platform holding the optical fibers and the number of the LEDs. To attain the best visual effect, we originally planned to use nine LEDs in each set and arrange them in a circle. But it turned out this would use too much of the optical fibers and the circuit would be too complicated to assemble on a bread board. Thus, the number of LED was set down to six, and they would be positioned in a parallel way.
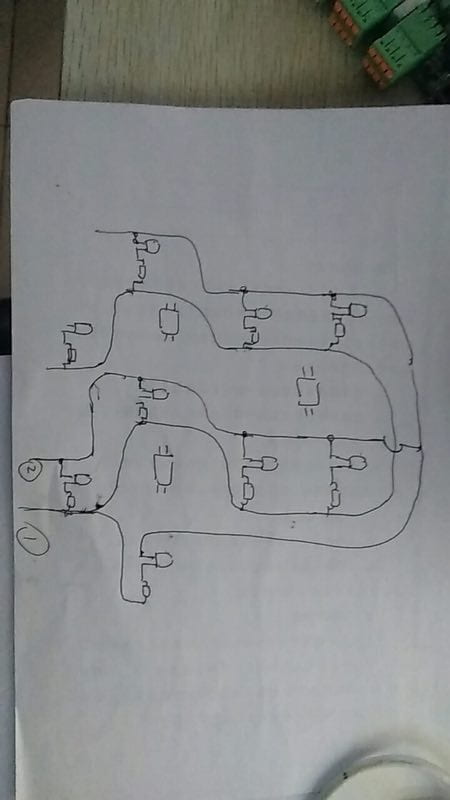
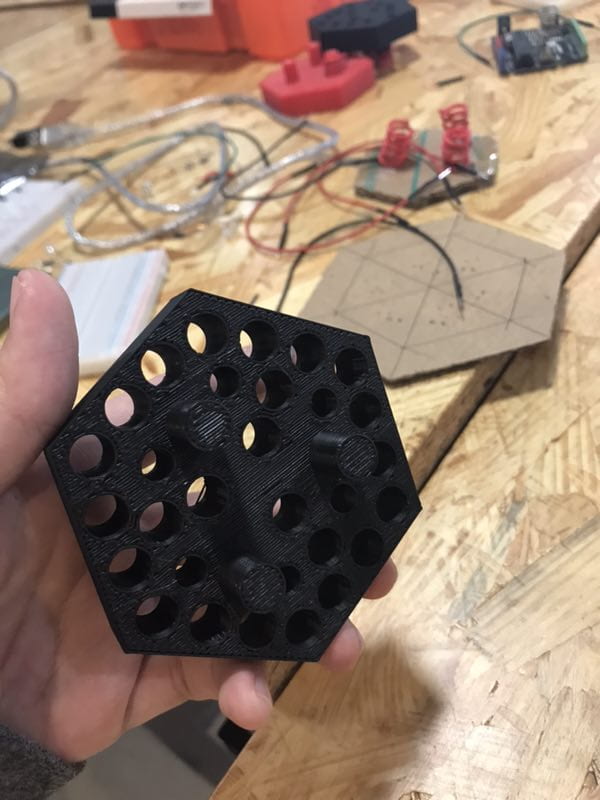
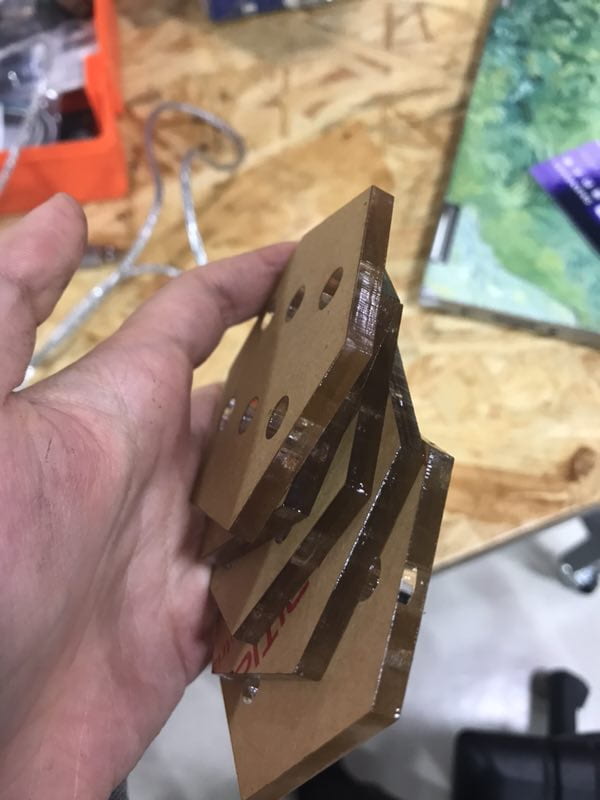
There were also several choices for the material of the platform holding optical fibers. We originally planned to use 3D print these platforms. But given the prototypes we printed, 3D printing wasn’t efficient, and it doesn’t look well-designed. Thus, we turned to use the laser cut and put two of them together to form one platform.
Conclusion
The goal of my project, as mentioned above, is to create an instrument enabling users to perceive music not only through sound, but also through seeing and touching. It is aligning with my definition of interaction because the interaction involves a clear process of having the user input by physical action and present the output in multiple ways. Most importantly, users were amazed by the beautiful visual effect when they are trying to make sound with the device. What this project failed to align, then, was it is not easy to interact with. Because the switches are usually too sensitive, the user have to reposition the whole bread board set after interacting. This could result in huge inconvenience for the users. And like some users mentioned after the presentation, one could hardly produce real music with such device. In the end, the audience were not able to remember the direction to push the grass, as each grass set is triggered in different direction. Without knowing some “tips” on repositioning the grass, some grasses keep going off after the user’s operation. If I have time to improve this project, I would make each tone controlled by one Arduino with speaker and LED set. And I’ll make seven of them to attain an octave. What’s more, I would use joystick to replace the conductive tapes. Whenever the joystick is not at its original position, it would send a signal indicating back to allow following activities.
My biggest take-away from my failures is that “功夫不怕有心人,铁杵磨成针”(Progress would be made with lots of trials and errors). As for my accomplishment, I have learned to deal with malfunctioning 3D printers, learned that Arduino is worst for playing sound, the differences between different Arduino boards, etc.