Introduction:
I was supposed to create a drawing machine with my partner Hanqi Deng by using an H-bridge to control stepper motors attached to mechanical arms. Unfortunately, because of the wrong connection in Deng’s Arduino, her circuit burns. So I use my circuit and Clover Li’s circuit building a drawing machine at the end.
Materials:
For Steps 1 and 2
1 * 42STH33-0404AC stepper motor
1 * L293D ic chip
1 * power jack
1 * 12 VDC power supply
1 * Arduino kit and its contents
For Step 3
2 * Laser-cut short arms
2 * Laser-cut long arms
1* Laser-cut motor holder
2 * 3D printed motor coupling
5 * Paper Fasteners
1 * Pen that fits the laser-cut mechanisms
Paper
Step 1: Build the Circuit

The diagram for the circuit is here. It is a little complex at the first glance, but it will be much easier to figure out what is going on if using different colors for specific functions. 42STH33-0404AC stepper motor has 4 wires to connect and also both 5V and 12V will be connected to the circuit. So we need to be really careful about that. The advises given by LA are to separate the 5V part from the 12 V part on the breadboard so that even if you connect it wrong, it won’t burn, and also pay attention to the place of semicircle on the H-bridge. Because of that danger (for Arduino), I double checked the circuit before I plug in. However, my partner Deng unfortunately built a wrong circuit and plug into the USB port without double check. She burnt her Arduino so that I could only finish the rest by myself and borrow another circuit from other group to build the drawing machine.
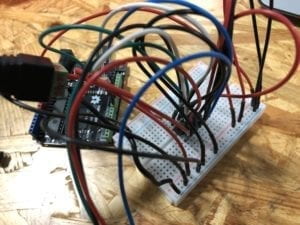 This is the circuit with complex wires.
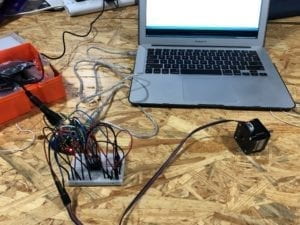
Step 2: Control rotation with a potentiometer
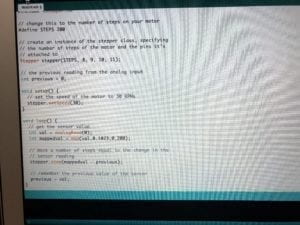
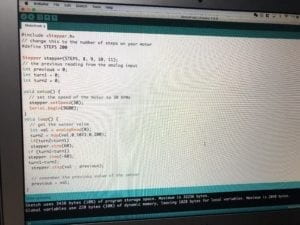
After adding a potentiometer to the circuit to read analog input, I use map to connect the potentiometer with the motor to control the motor. Then, I upload the MotorKnob (Arduino>File>Examples>Stepper>MotorKnob) example,modifying the number of steps within the code to 200, because the 42STH33-0404AC Stepper Motor is a 200 step motor.
I change the code a little bit to better fulfil the requirement of step 3, which is building the drawing machine.
Step 3: Build the drawing machine
After the step 1&2, it’s much easier since I only need to borrow a circuit (since my partner’s one is burnt) and connect the Laser-cut arms and pen holders with paper fasteners.
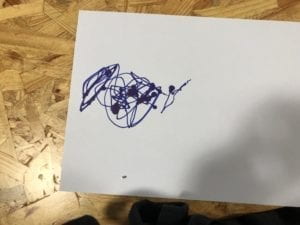
Here is my final work and the drawing!
Question 1:
What kind of machines would you be interested in building?Add a reflection about the use of actuators, the digital manipulation of art, and the creative process to your blog post.
I would like to build a device that can bring audience some inspirations that they never think about before or some ideas that answer to their problems. After the building several circuits and learn about some other interactive art pieces, I feel like what is different in interactive devices from the normal machine is the inner ideas brought up by the interactive devices when they respond to your actions. The actuators are just a tool for your final project. Without any meaning, it’s just a component of a circuit. However, the ideas brought up may be an inspiration, an answer, or even a question, or something you never expected. So I’m really interested in building a machine that can answer your question in an unexpected way. It may bring you a new way.
Question 2:
Choose an art installation mentioned in the reading ART + Science NOW, Stephen Wilson (Kinetics chapter). Post your thoughts about it and make a comparison with the work you did during this recitation. How do you think that the artist selected those specific actuators for his project?
Waves built by Daniel Palacios in 2006 is one I feel interesting. It is a device that using motors to rotate an elastic rope to create complex sound and visual wave oscillations based on the audience’s motions. Regular sine waves is the respond to simple motions, and complex motions will create a more chaotic patterns for motor rotations. It is a device that has monitor to detect audience respond, which is more automatically interactive in comparison with the drawing machine we built, which also use motors but is controlled by potentiometer in a less automatic way.
I think the artist first has the initial motivation before his start. In this case, it’s the linkage between our motions with the visible sound, which we never thought before. After find out this motivation, the artist choose the motor and elastic ropes to visualize the wave of sounds.