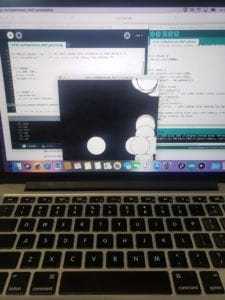
Once I understood/got a refresher from a fellow about the line of logical thinking behind creating an Etch A Sketch type experience with Arduino and Processing, I was able to feel miles more confident in my ability to grasp the methods used to facilitate serial communication between the two programs. After about 35 minutes of going over a step-by-step guide on connecting Arduino and Processing and how to implement certain functions and syntax that allow them to effectively communicate, I began working on the initial stages of an Etch A Sketch:

Although it’s a little hard to make out from the photo’s atrociously bad quality, I began by following the instructions in the recitation site, and essentially made an Etch A Sketch of a bunch of trailing circles rather than one continuous line. After fiddling with the code for a little while, trying to determine the best way to form a line similar to that of an Etch A Sketch, I felt as though the line was perhaps the easiest component to produce, with delayed ellipses and setting up serial communication initially being the most difficult parts of the process.

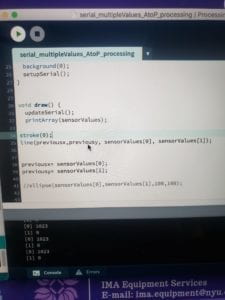
The image shown above demonstrates the relative simplicity of the code used for this recitation, a development that surprised me considering my slow start to getting my bearings with setting up serial communication. While I did not have time during the recitation to complete the make a musical instrument section, I did however come to understand the added benefit of knowing how to work with Arduino and Processing simultaneously.