Exercise 1 – Etch a Sketch
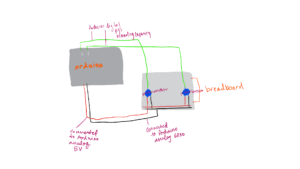
In order to build the etch a sketch, I started by connecting two potentiometer to the arduino. I connected the 5V power and the ground to the analog pins on the arduino. Then, I connected a jumper wire to the remaining pin on the potentiometers and to a digital pin with analog capacity (the one with the ~ symbol). For the coding, I sent the value from the potentiometer into processing, then mapped it to the width and height of the canvas. I made some minor issues within the map function at first, but this was easily fixed. I chose to draw a series of ellipses based on the mapped values of the potentiometers. Though the final sketch worked, I found that the frame rate was too slow. I believe that the main cause of this was that the values from arduino had to constantly be processed, which combined with the frame rate would make it slow.
Exercise 2 – Musical Instrument
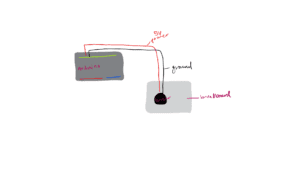
For this exercise, I chose to have a speaker play a tone whenever the mouse was inside of the Processing canvas. Along with this, I tried to map the tone value in relation to the mouseY. However, I noticed that regardless of the number I passed in as the frequency of the tone() function, the buzzer would make the same sound, and there would be no difference in pitch. I do not know if this was due to the button I used or to a coding error, but I got the sketch to work regardless. I think it may also be that I only connected the button to a digital Arduino pin. I decided to make my sketch more interesting, and chose to add text on the canvas reading “don’t touch me.” I feel that using the mouse as the medium of interaction was not very natural, and I feel that this could be implemented through a sensor to create an interesting effect.
Circuit Schematics:

