Week 11 Assignment: Deepdream Experiment (EB)

For this week’s assignment, I decided to experiment further with Deepdream. The concept itself reminded me of a psychedelic-induced trip from contemporary media. Media such as Harold and Kumar, Rick and Morty, as well as others show moments where characters see their world distorted by drugs. In those scenes, the character is usually looking out towards nature, therefore, I chose to use a picture of the rainforest as my initial input.
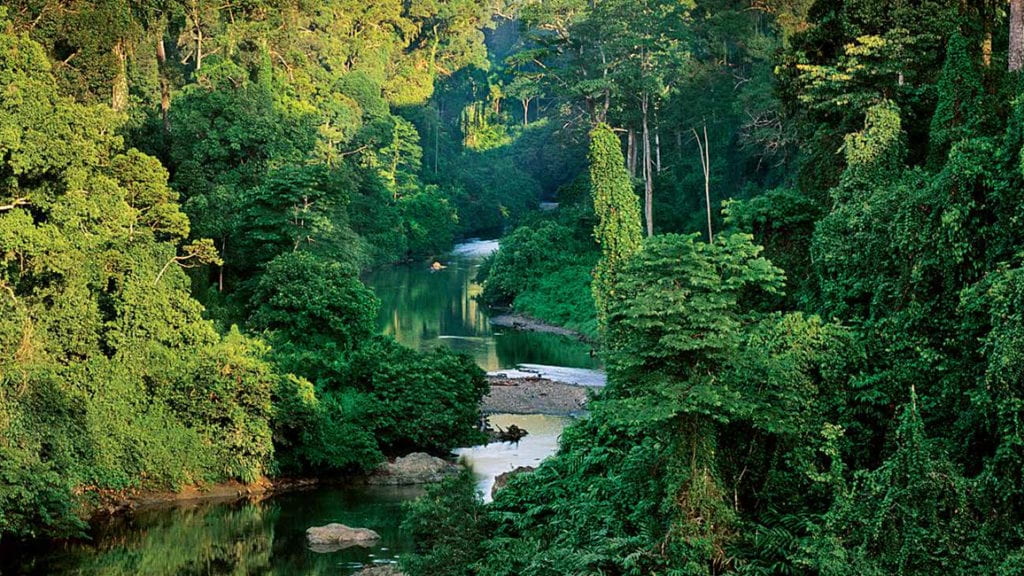
I thought that the output would result in something interesting and similar to what I have seen in popular media.

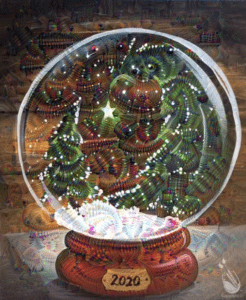
I started to play around with the layers first without playing with the other variables. The product of this was actually very interesting. It seemed to me like it produced different styles of the initial image. This image used the mixed 3a layer.
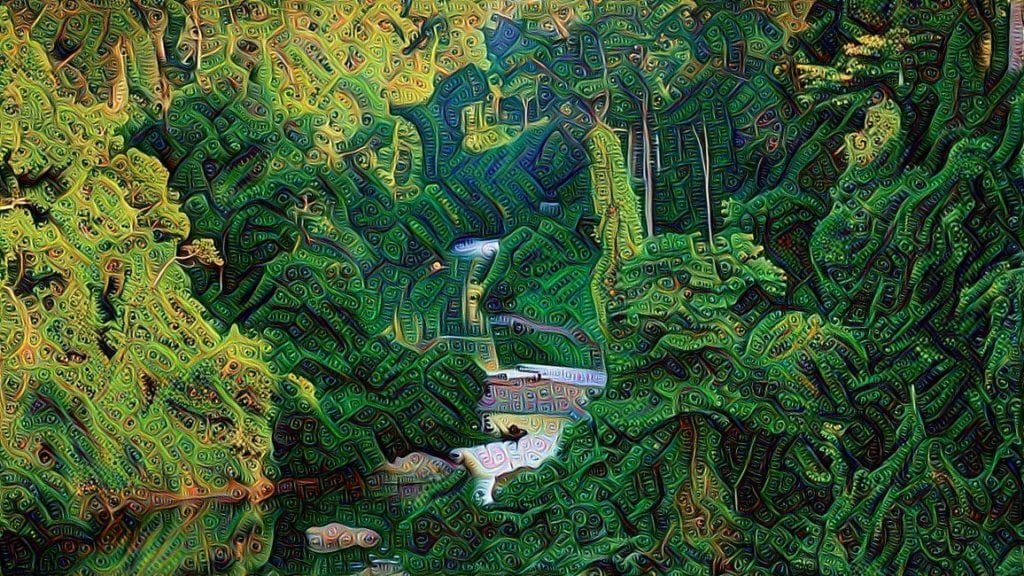
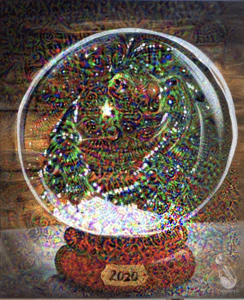
This image used the mixed3b layer.
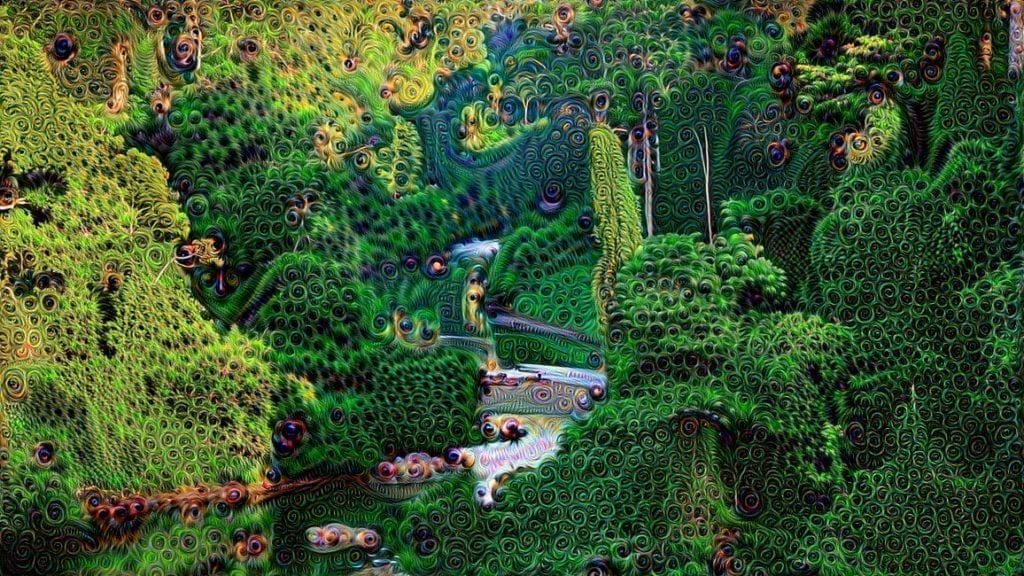
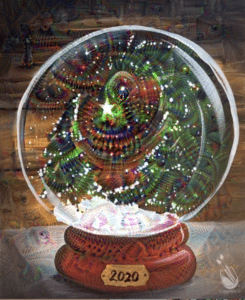
This image used the mixed4a layer.
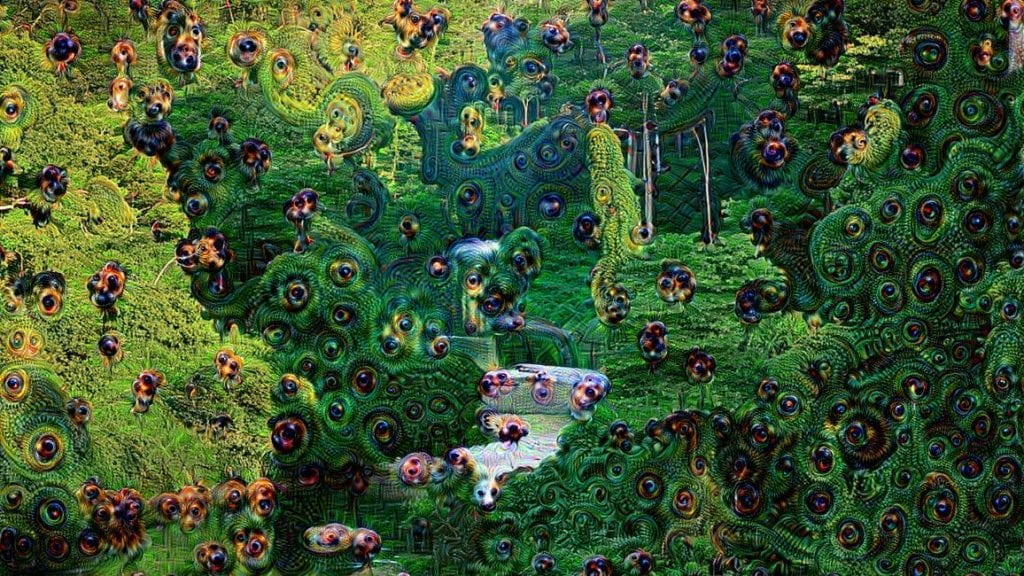
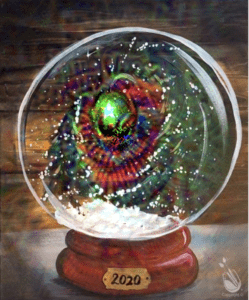
This layer used the mixed4c layer. 
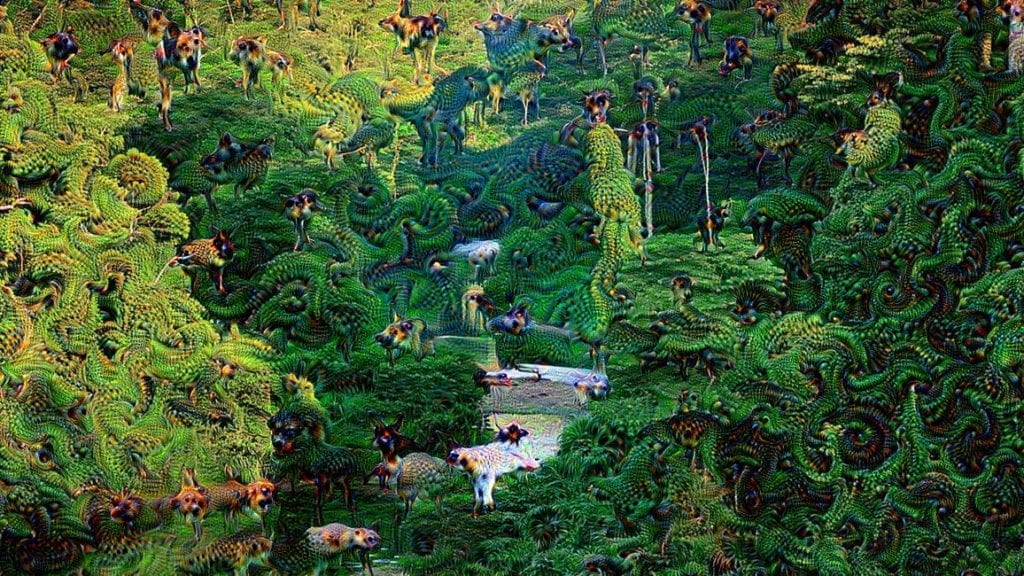
This layer used the mixed5a layer.
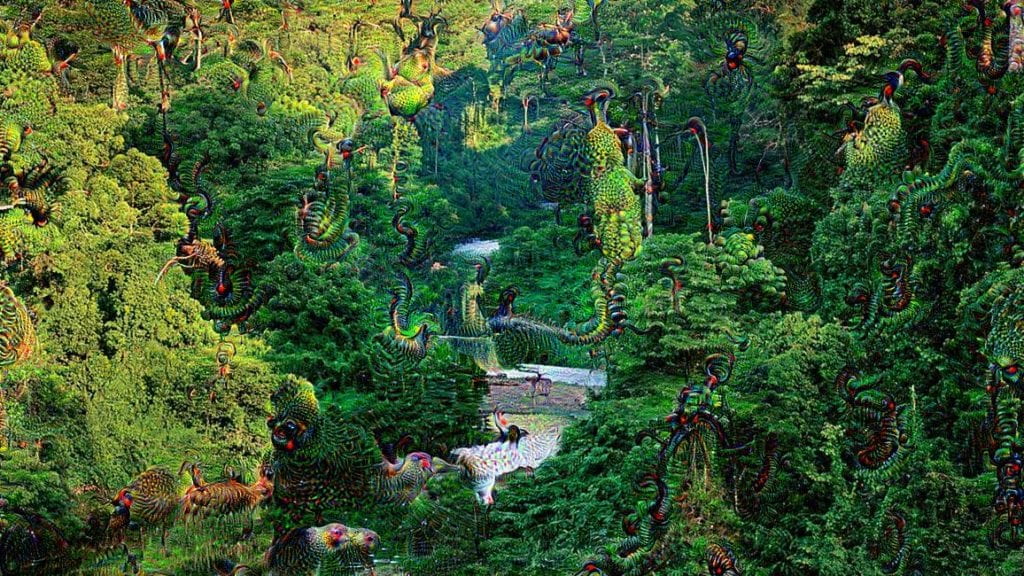
In terms of exploration, this experiment allowed me to replicate the forms of psychedelic trips that can be seen. Each layer altered the image in a different way, giving them unique styles. It seems as if the different layers chose the same locations on the image to alter, but the way in which they did was interesting to see. 

After this experimentation, I wanted to know what it would look like to produce a video similar to the one we saw in class. Then I came up with this.

https://youtu.be/mVasZounarc

Overall, I think that this experiment gave an interesting insight into what the Deepdream can do. I wonder whether it would be possible to maintain the style of the different layers by using style transfer and training a model based on the layer, and how different it would be compared to just using deep dream.

I also see myself using this as a way to produce interesting images of my cyberpunk cityscapes. The results should be pretty interesting I imagine. 
AI ARTS Week 11- Deep Dream Experiments – Eszter Vigh

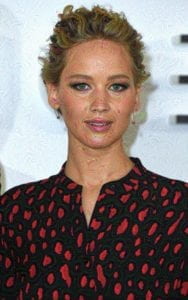
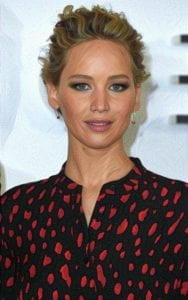
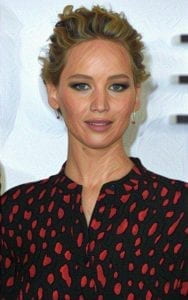
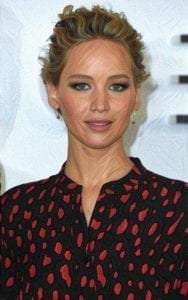
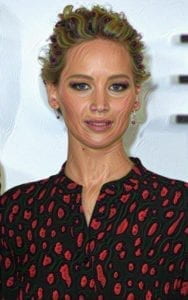
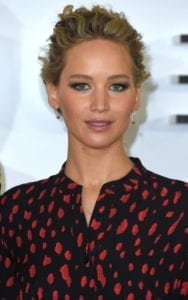
Jennifer Lawrence
My starting Image

Aven’s Deep Dream example with his face was scary. I was wondering if maybe it was just that specific filter he has chosen to use for the example that yielded such a terrifying output.

Deep Dream
Deep Dream Attempt 1

So the first thing I learned with the example is YOU MUST USE CHROME. I am a safari user, and I couldn’t get my own image uploaded into the sample. I restarted my computer several times before giving in and switching browsers. This was my first attempt using Aven’s presets to see if I could get a result (as the in-class example videos just would not work for me, despite Aven’s continued efforts to help me).

another experiment
Slightly Different Filter (3A vs 4A)

I picked the most aesthetically pleasing option, in this case option 3A over 4A. I liked it slightly better, so I thought maybe the output wouldn’t gross me out as much as the previous example. (I was wrong, but I didn’t know that yet).

3A
Continued 3A filter Experimentation

So I worked through the example, changing all of the subsequent parts of the process to reflect my 3A filter preference. I felt like the 3A filter gave the whole image this more “comic-like” design, at least from a distance. 

Iterations
Further 3A Iteration

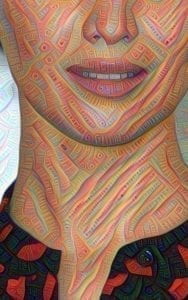
Then I decided to do the zoom example, and this is where I stopped liking 3A and Deep Dream altogether. It starts looking as if my favorite actress has horrible scarring from a distance.

3a zoom
Zoom Attempt

Zoom 1 didn’t help. I am happy that this isn’t the “eye” example that Aven did because that was creepy, these squares were nicer, but this zoom still showed her mouth, and it made the now striped patten look odd. 

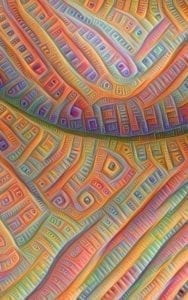
Zoom zoom
Further Zooming

The zoom feature worked well! Further zooming yielded actual results. It’s a relief that at least SOMETHING works in terms of examples. I still haven’t been able to get Style Transfer stuff downloaded, but at least this worked. 

Not cute
This isn’t cute

UPDATE! Hi! I got the video to work with my old LinkedIn photo! Enjoy! 

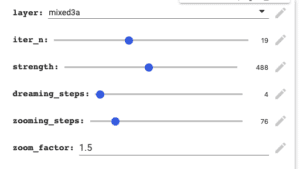
It is a total of eighty frames. The actual information on how I inputed the variables is here:

ai inputs
Inputs!

Week 11: BigGAN – Cassie

For this week’s assignment I played around with BigGAN. In class we experimented with how truncation would affect single images, but I wondered how it would affect the video animation from one object into another.

I wanted to morph an object into another one that is already similarly shaped, so at first I chose guacamole and ice cream on truncation 0.1. This turned out to be…really disgusting looking.

Video: https://drive.google.com/file/d/1mAewM63SA8vT1rez3u7co2fDE3eP7d0C/view?usp=sharing

For some reason the guacamole didn’t really seem to be changing at all at the beginning, and when it did begin to morph into ice cream it just looked like moldy food. The ending ice cream picture also didn’t really look like ice cream.

So…I decided to change the objects to a cucumber and a burrito. This worked a lot better. I created four videos, one with truncation 0.2, one with 0.3, one with 0.4 and one with 0.5. I then put these into a collage format so you could see the differences between all of them:

Though it’s subtle, you can definitely tell that there is a difference between the four videos. Theoretically, the top left corner is 0.2, the top right corner is 0.3, the bottom left is 0.4 and the bottom right is 0.5, however I am not super well-versed in video editing and when I put this together in iMovie it was hard to tell which one was which.

Week 11 Assignment: Explore BigGAN or deepDream – Ziying Wang (Jamie)

For this week’s project, I tweaked the parameters in the DeepDream model. 

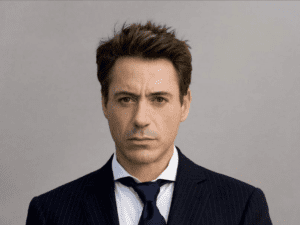
The tried the examples in the images folder first, then discover that id photo or human portrait works the best with deep dream model. Therefore, I used the picture of Robert Downey Jr. for my deepDream project.

The original picture:

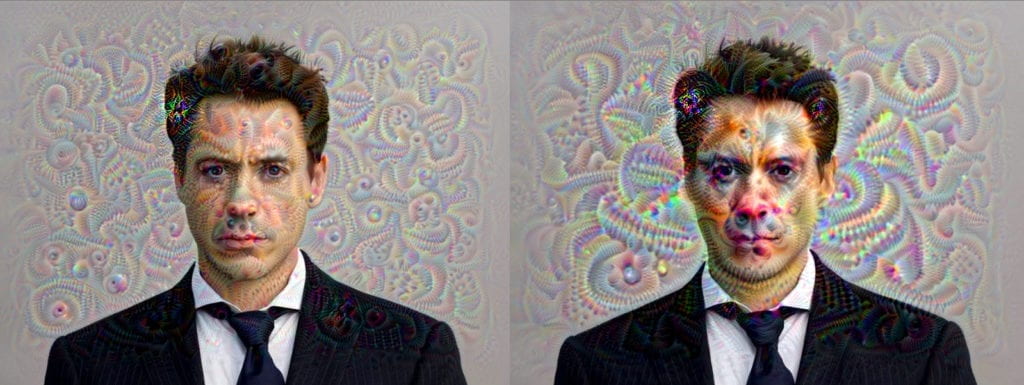
The first set of parameters I changed was the mixed figures.

From left to right, I gradually changed the mixed number from 0 to 0.2, which means for the fourth picture, all four mixed figures in the features become 0.2. The pattern on the picture slowly reduces as the mixed number of each layer increased.

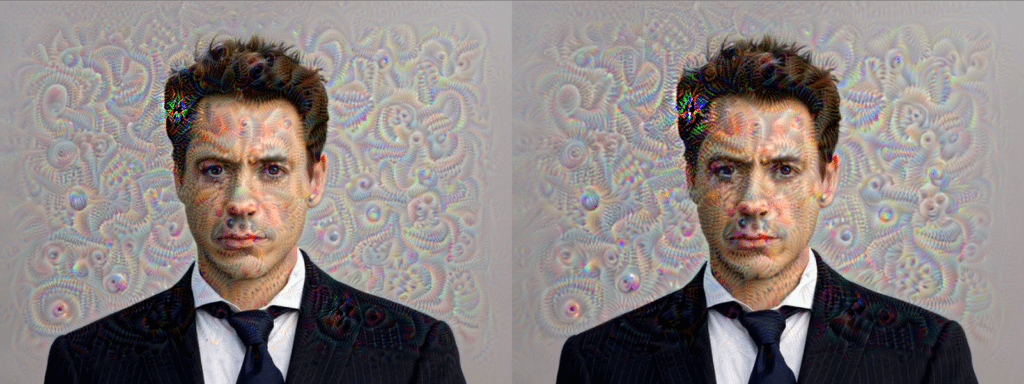
Then I kept the features as they were in the fourth picture, and changed the step size from 0.01 to 0.05 and 0.08 (from left to right). The effect increases as the step size increases, as well as the pattern’s complexity.

The third parameter I tweaked was the number of the octave, I changed it from 3 to 5. The opacity increases while the complexity decreases.

Finally, I increased the iterations from 20 to 50. The opacity of the effect remains the same while the complexity lessens.

After this short tweak with terminal, I uploaded the original picture of rdj to my google cloud and used the deepdream_video_hack to generate the deepDream video.

The video’s frame length depends on the zooming rate and the dreaming rate. Since I didn’t change these rates at first, the video ended quickly. I then changed the dreaming rate to 50 and the zooming rate to 100, then I changed the fps to 150, which should get me a 1 s video, I ended up getting the 1 s fast zooming DeepDream video.

To observe the transformation better, I changed the zooming rate and changing rate to 100, then reduced the fps to 24 frames/s, and generated a 13 seconds long deepDream video that demonstrates the change well.

The zoom_factor of the previous video was too high and the zooming rate was too big, the video was zooming endlessly and the ending became boring. I, therefore, decreased both factors as well as the dreaming rate, so that the time before the zooming can reduce ass well. I ended up getting this video which is quite satisfying.

Week11 Assignment: Exploration on deepDream — Crystal Liu

Problems:

This week we have learned BigGan and deepDream and I have done some exploration on BigGan in the class. Thus, for this week’s assignment I choose to explore more about deepDream. I met some errors when I train the model. One is that I ran the python script without installing keras and tensorflow so that I couldn’t run the script. The other one is that I didn’t change the a+=b to a=b+. After I changed that, the model could run successfully.

Process:

This is my original image:

The default version looks like this:

Then I changed the step from 0.01 to 0.1 and the result looked vague.

The next step I changed the number of scales from 3 to 6 and the result looked like this: it looked more like the original one except for the ring in the middle.

Then I changed the size ratio from 1.4 to 1.8 and the result looked like this:

Then I changed the max-loss and found this change doesn’t have great effect on the result: