[Interface Lab]Lab Documentation 2

For this lab I’m trying the tone out put using Arduino.

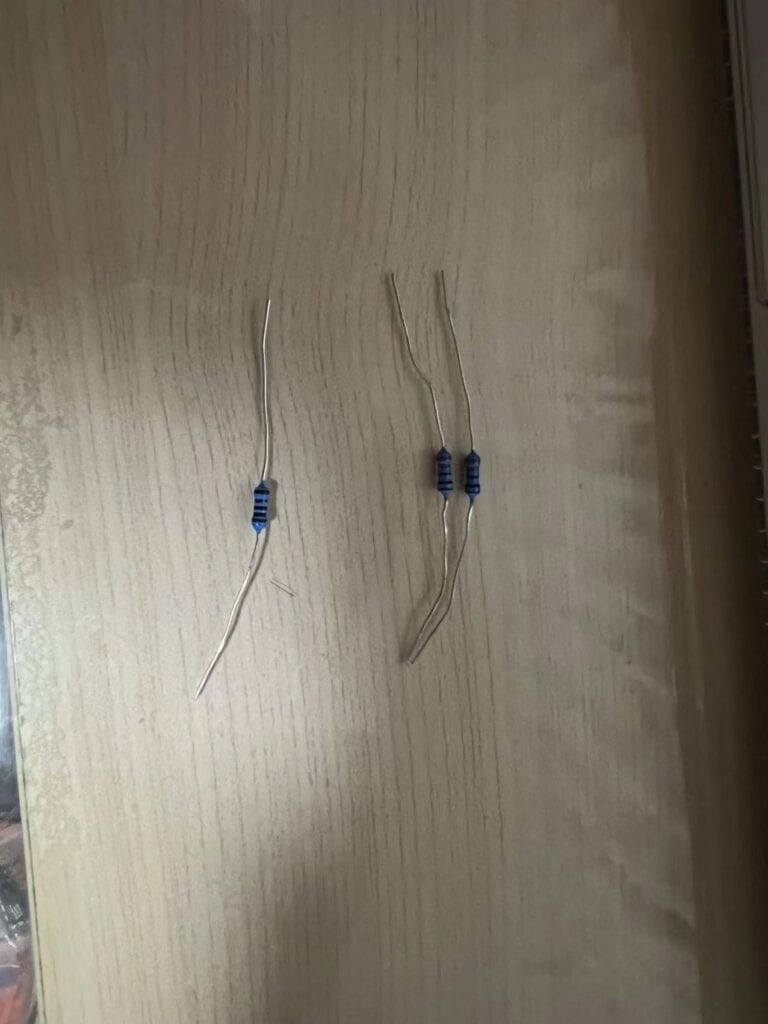
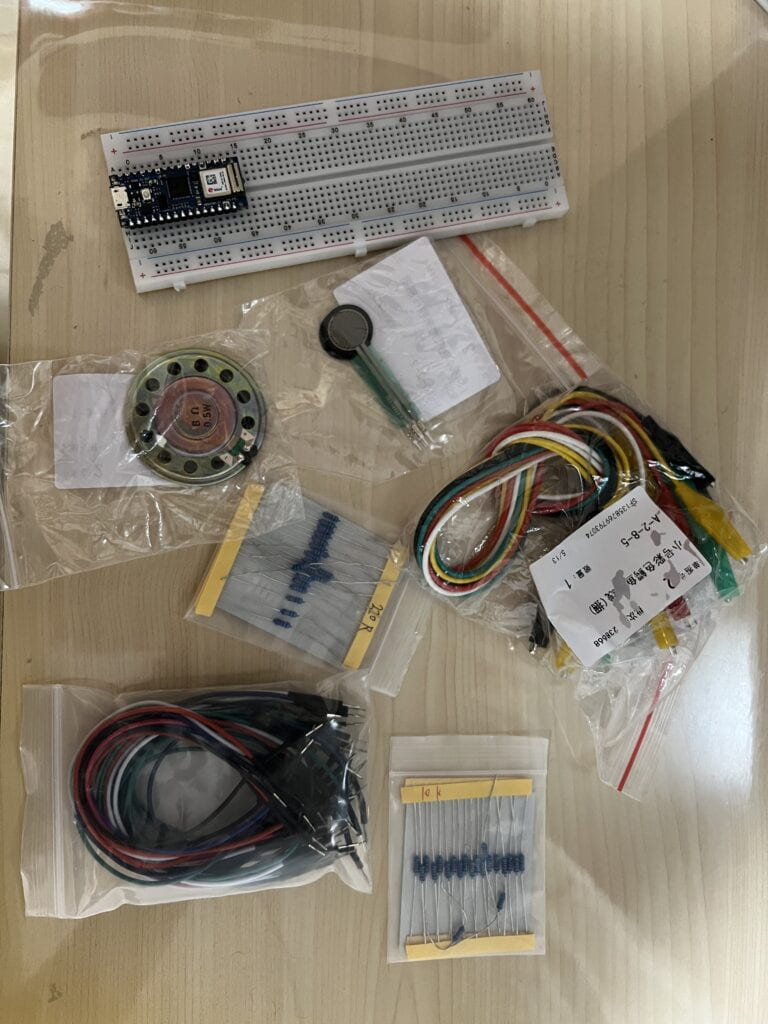
Here are the materials I prepared: breadboard, Arduino, resistors, wires, an 8 ohm speaker, and a force sensing resistor.

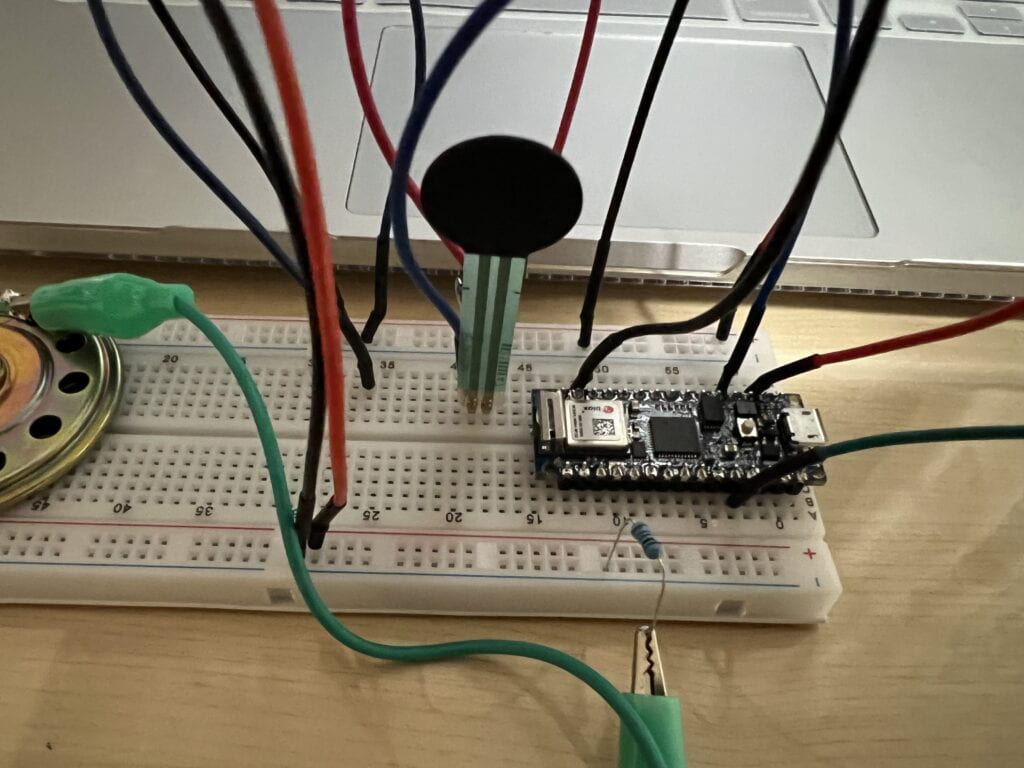
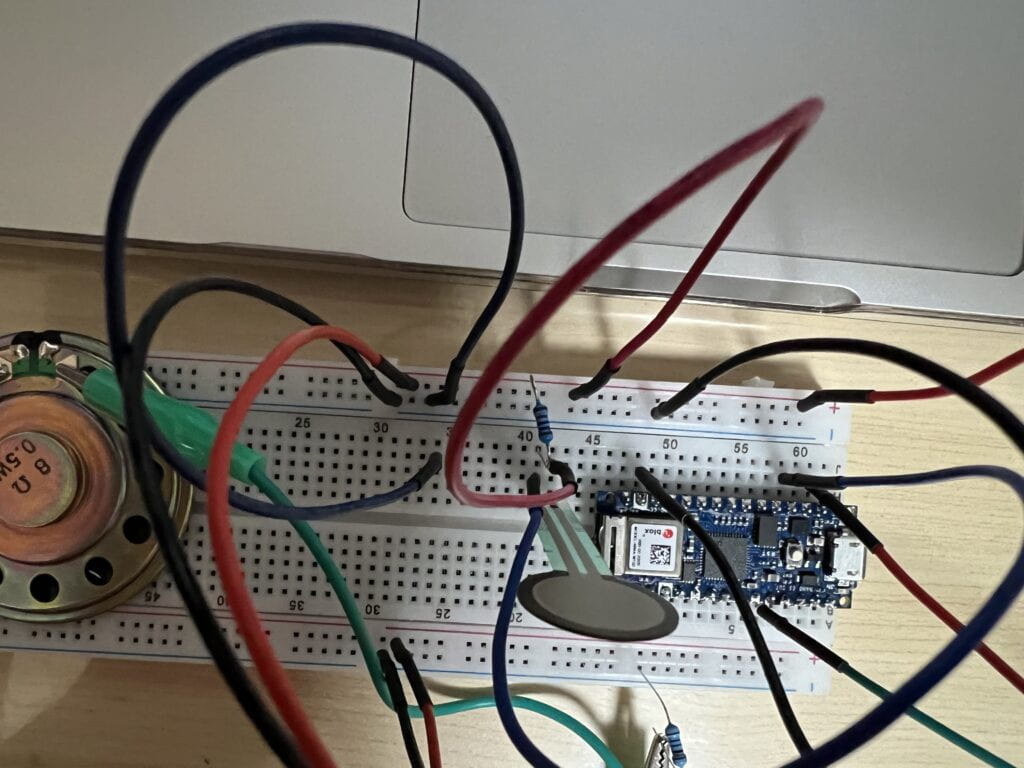
Step 1: I connected all the components according to the instruction. 

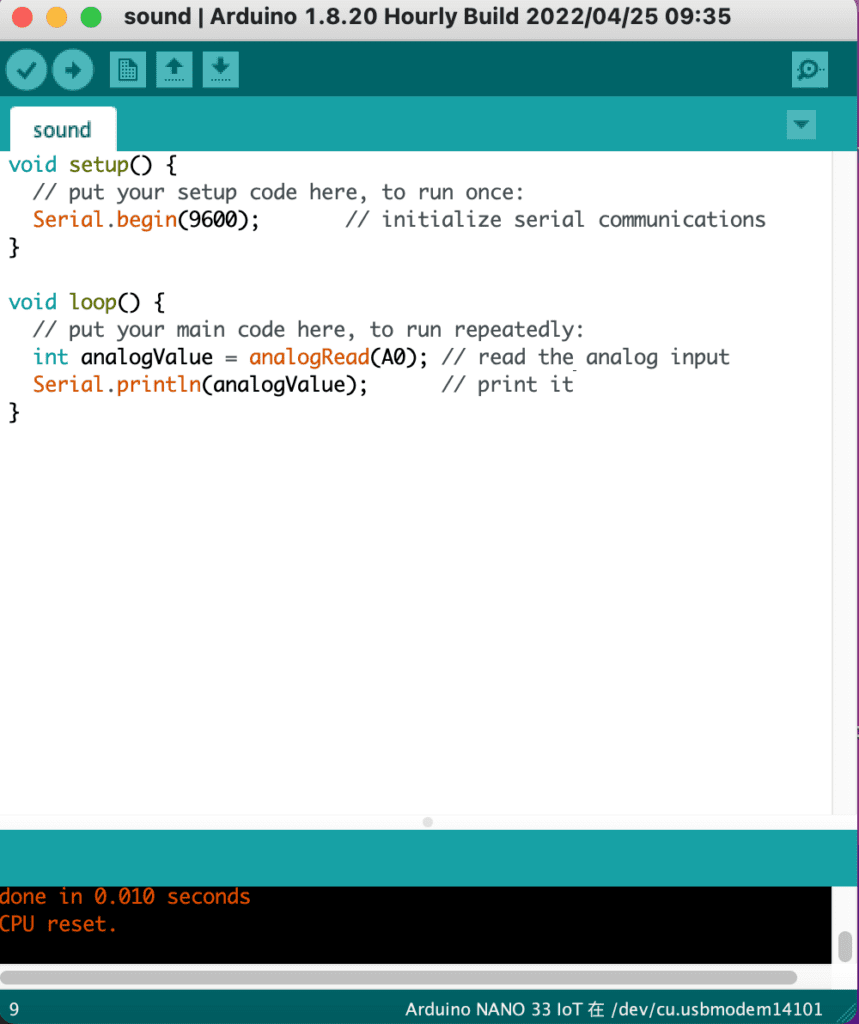
Step 2: I used this code to test the force sensor input. Here is the code and here is a video documenting the number received when pressing the sensor. It worked perfectly.

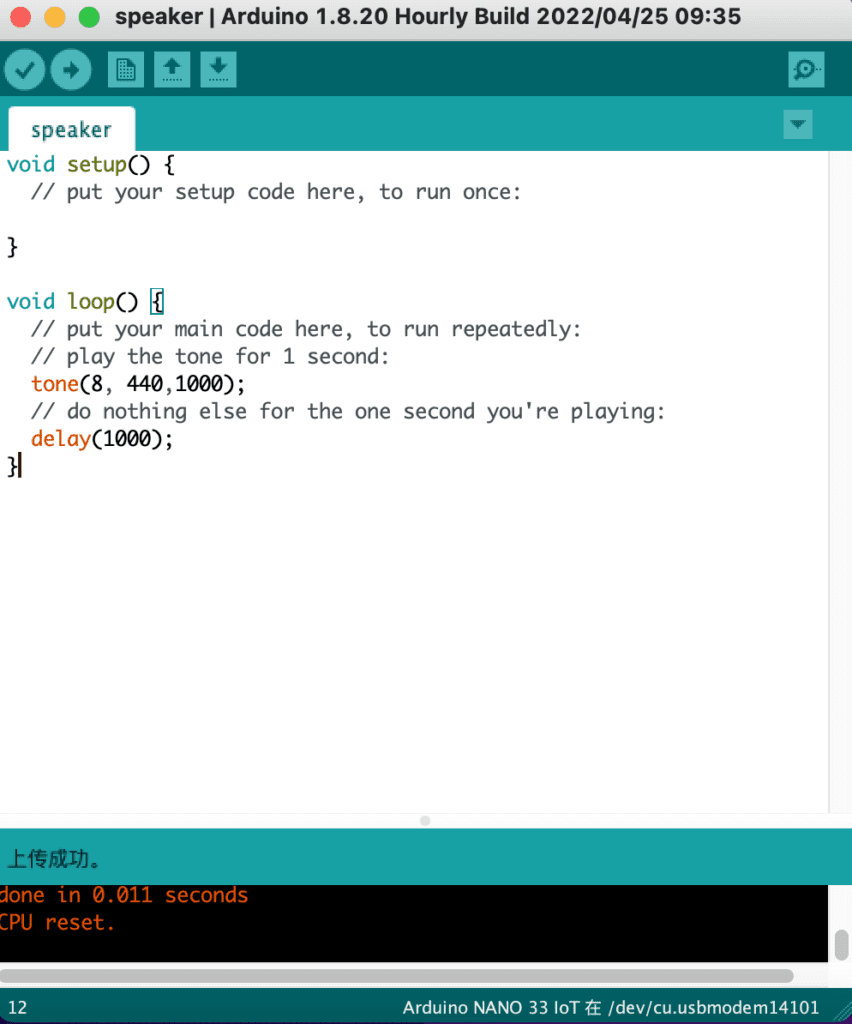
Step 3: I used this code to test the speaker, but unfortunately, my speaker didn’t make any sound. I tried changing the resistor, but it didn’t work. I’m still trying to solve this problem.

[Interface Lab]Lab Documentation 1

Here are the things I used for this lab:


  • 2 220-ohm resistors
  • 1 10-kilohm resistor
  • jumper wires
  • a breadboard
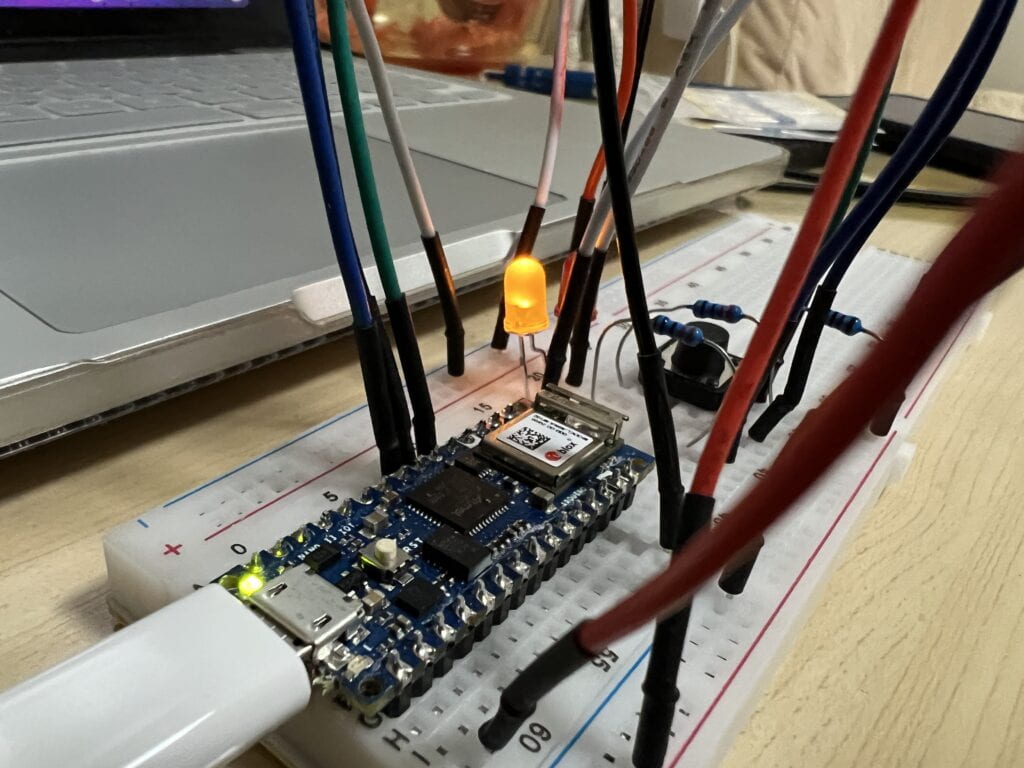
  • Arduino Nano 33 IoT
  • 2 LEDs, one red and one yellow
  • a pushbutton

Step 1: 

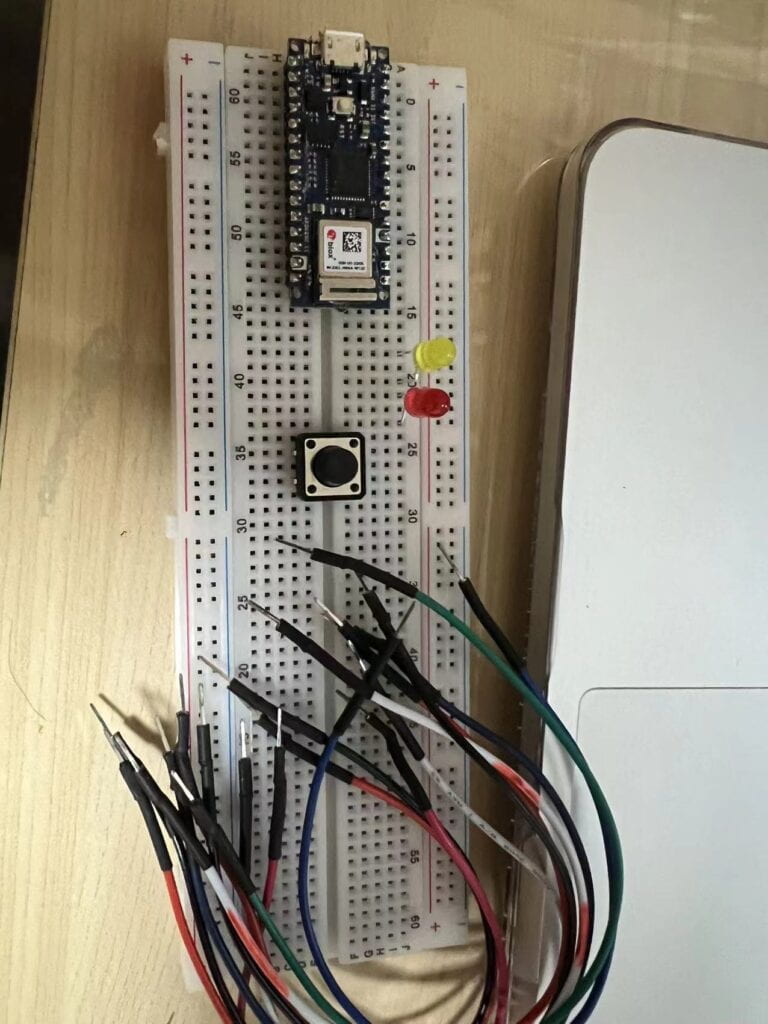
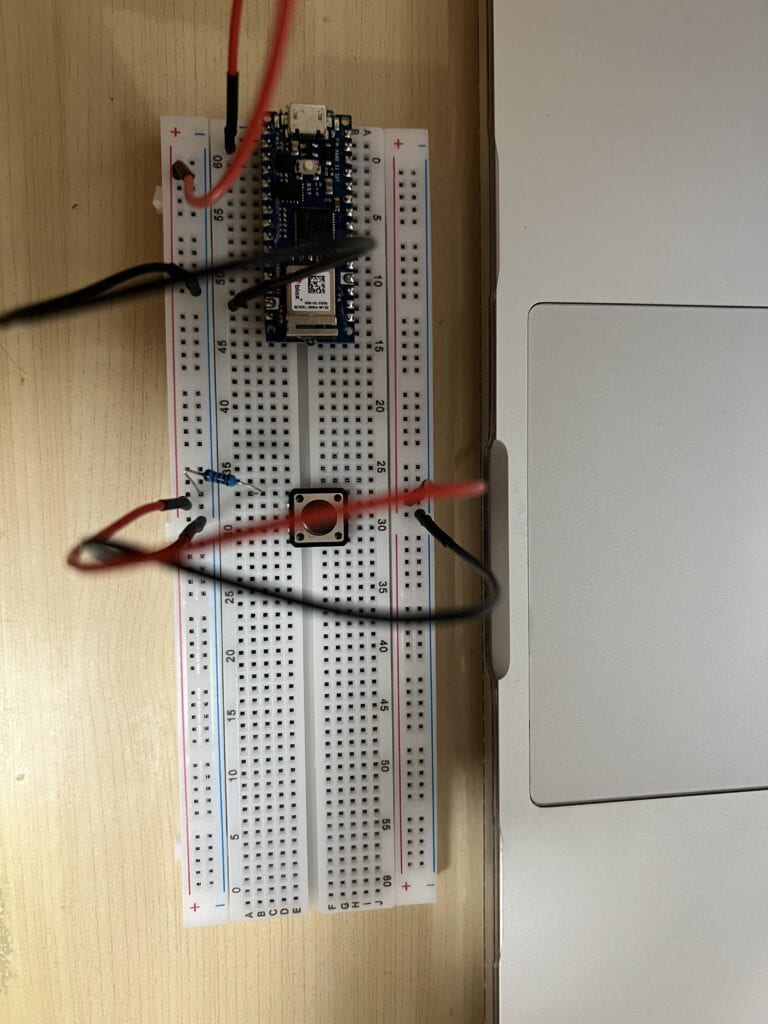
Connect the Arduino with the 10-kilohm resistor and the pushbutton on the breadboard.

Step 2:

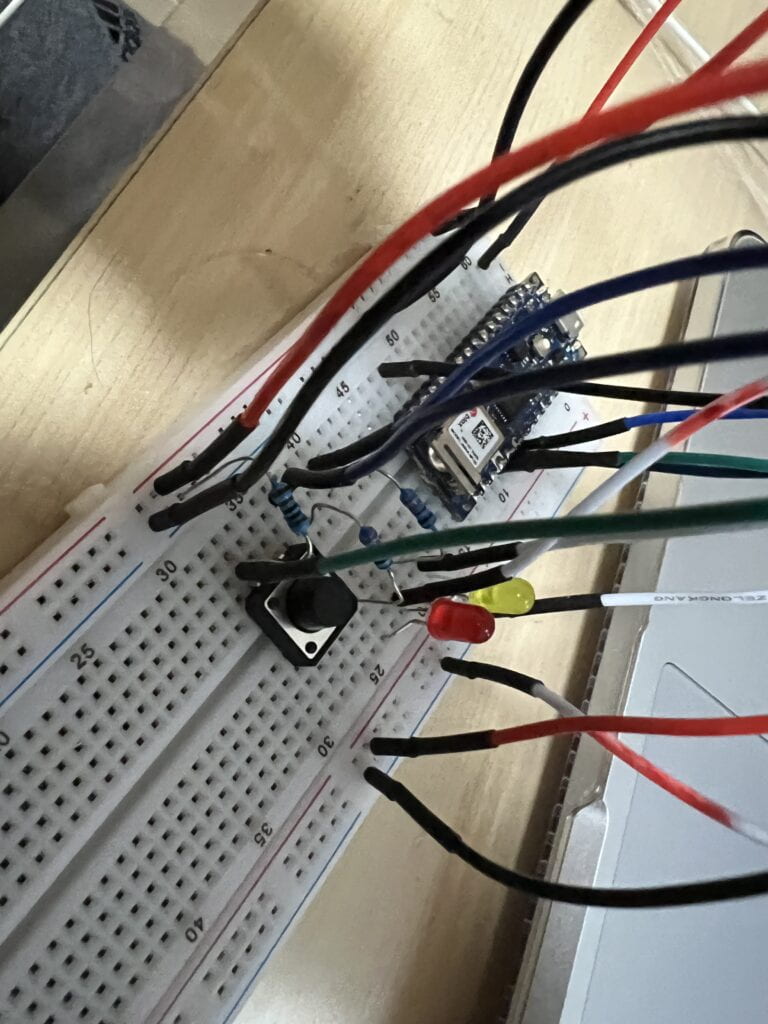
Connect the LEDs and the other two resistors on to the breadboard.

Step 3:

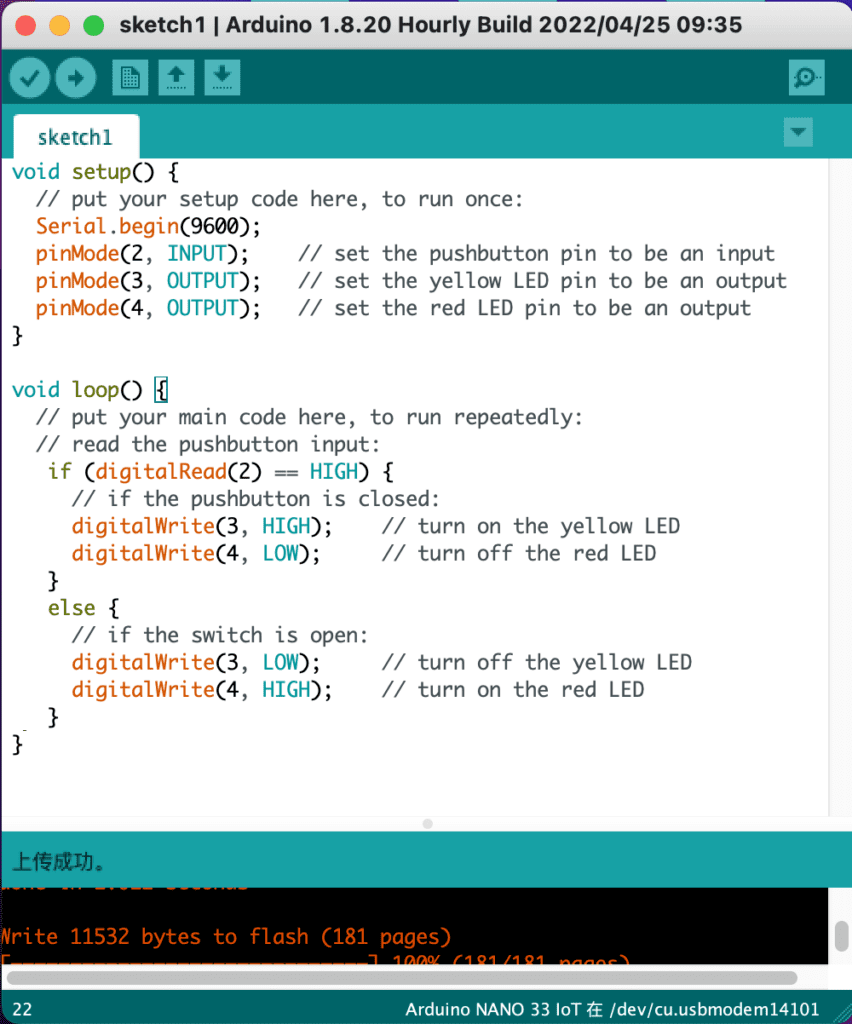
Code in Arduino. I followed the tutorial from the lab, and here is what I wrote in Arduino. After saving and checking the sketch, I uploaded to the Arduino microchip.

Step 4: 

After uploading the code and plugging in the Arduino, the yellow light lighted up. And when I pressed on the pushbutton, the yellow LED turned off and the red LED turned on, matching the description from the tutorial.

Here is a video recording of the changes when pressing the button.

Some problems I met:

  1. When I first linked the Arduino chip with my computer, I couldn’t find the port. I tried different ways for trouble shooting, for example changing the USB port to plug in, restarting the program, etc. In the end, it turned out that the wire I was using was not working, and I was able to find the port of my Arduino after I changed another wire.
  2. When I first connected all the things on the breadboard and enabled Arduino, the yellow light normally, but nothing happened when I pressed the button. So I went through all the wires and connections on the breadboard again, and found that I forgot to connect the power line with the red LED. After I connected it properly, the LEDs and the button worked perfectly. 

[Interface Lab]Week 1: Observation Blog

This a surveillance camera on the wall. It records videos.

This is the door of an elevator, it senses the presences of people or objects. The door will stay open if there is something in the middle.
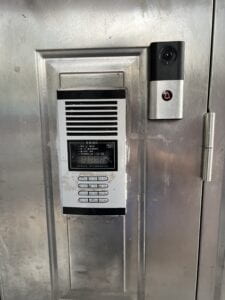
This is an access control device at the front door of the building I live in. There are two ways to access. Either you have a key card, swipe it on the screen then the door will unlock; or you can enter the room number and call the residents living here to unlock the gate from their home.
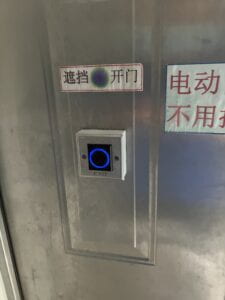
This is the back side of that access control device. To unlock the door from inside, you only need to put your hand in front of the “button” and block it. The door will open when sensing something blocking the sensor. I’m guessing it’s a light sensor or an inferred sensor.

This is the entrance of a subway. There is x-ray security screener that checks your bag, and a metal detector that checks if you are carrying dangerous objects. There is also a temperature detector that monitors the body temperature of the passengers. 
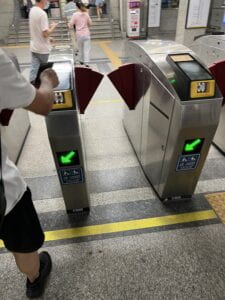
This is the gate to enter and take the subway. It has a detector on the top, where you can swipe your card, ticket or your phone to pay for the fee. After you swipe your card, the gate will open for you to pass. Similar as the elevator door, the subway gate can also sense people or objects, and keep the gate open whenever there are things blocking the way.

This is a camera that captures pictures and record information of cars that are parked illegally. After taking down the information of the cars, it will show the plate number of the cars on the screen, in order to warn other cars.
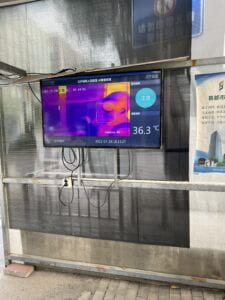
This is a inferred temperature sensor that senses the body temperature of people entering. I think it uses AI algorithms to separate human from other objects or animals. When a person passes by, it marks the face of that person and shows the person’s body temperature on the right side of the screen.
Creative Coding_Creative Assignment #1: Opposites

Here is the link to the sketch: https://editor.p5js.org/WentaoWang/sketches/3P2nNrOD3

The topic I chose to express is “expend & shrink” and “hard & soft”.

I chose to use mouse to control the movement of the shapes. The more the mouse moves to the center, the small circles will move toward the center, while the circle in the middle will expand to the edges of the canvas. The movement of the mouse also rotates and changes the square in the middle. 

I drew two squares in the middle to form a star with 8 angles. At first, I couldn’t get the two square to rotate at the same speed but with different starting angle. To solve this problem, I put the two squares in two separate push and pops, which worked in the end. I guess the rotation function might disturb  each other when put together. 

[Interface Lab]Week 1: documentation 1

We talked about games in the in-class discussion. Here are some of the notes from our discussion.

1. What is a good interaction?

  • easy to understand
  • functional
  • beautiful
  • color design
  • not to take much attention
  • consider users’ limitation

2. What are the affordances and drawbacks of a given interaction? Which senses are prioritized?

  • Controllers vs screen

Visual / sound / touch

3. Who is prioritized in a given interaction? Who is the interaction / device for?

  • Users / gamers

4. Is a given interaction clear? legible? frictionless? and/or intuitive? How so? Should it be? Why or why not?

  • A game should be frictionless
  • highlighting out the instructions
  • Immerse into an environment
  • Different goals of games, designed for the user to explore
  • users helping each other (communication / community)